Red Bag

Last time I posted, I hoped I could post about the red bag being finished. I am very proud of myself for actually doing that. Today I finished the red bag. Now, you might wonder what ‘the red bag’ is. When I decided to start quilting I went to the library to get a book. I came home with two, of which one was “Japanse quiltstyle” (or “Easy Japanese quilt style” – by Julia Davis and Anne Muxworthy (here)). I really liked the bag on the front (here) but I couldn’t find enough different fabrics to make a fun multi-coloured patchwork bag. Then, a light bulb turned on in my head. I could do it in one colour I really liked and do with piping!

I searched my stash for a fabric and located a red linen stuff that I really love the colour of. I always think that red and black go very well together so I found a black pinstripe fabric that had 2 cm apart pinstripes. This meant that I could cut on the lines and they would make nice even piping (if I had sewn straight). I cut out 18 squares of red and 2 of black. Only 9 fit the width of the red stuff and  I figured, variety isn’t bad right, so I took two other squares.

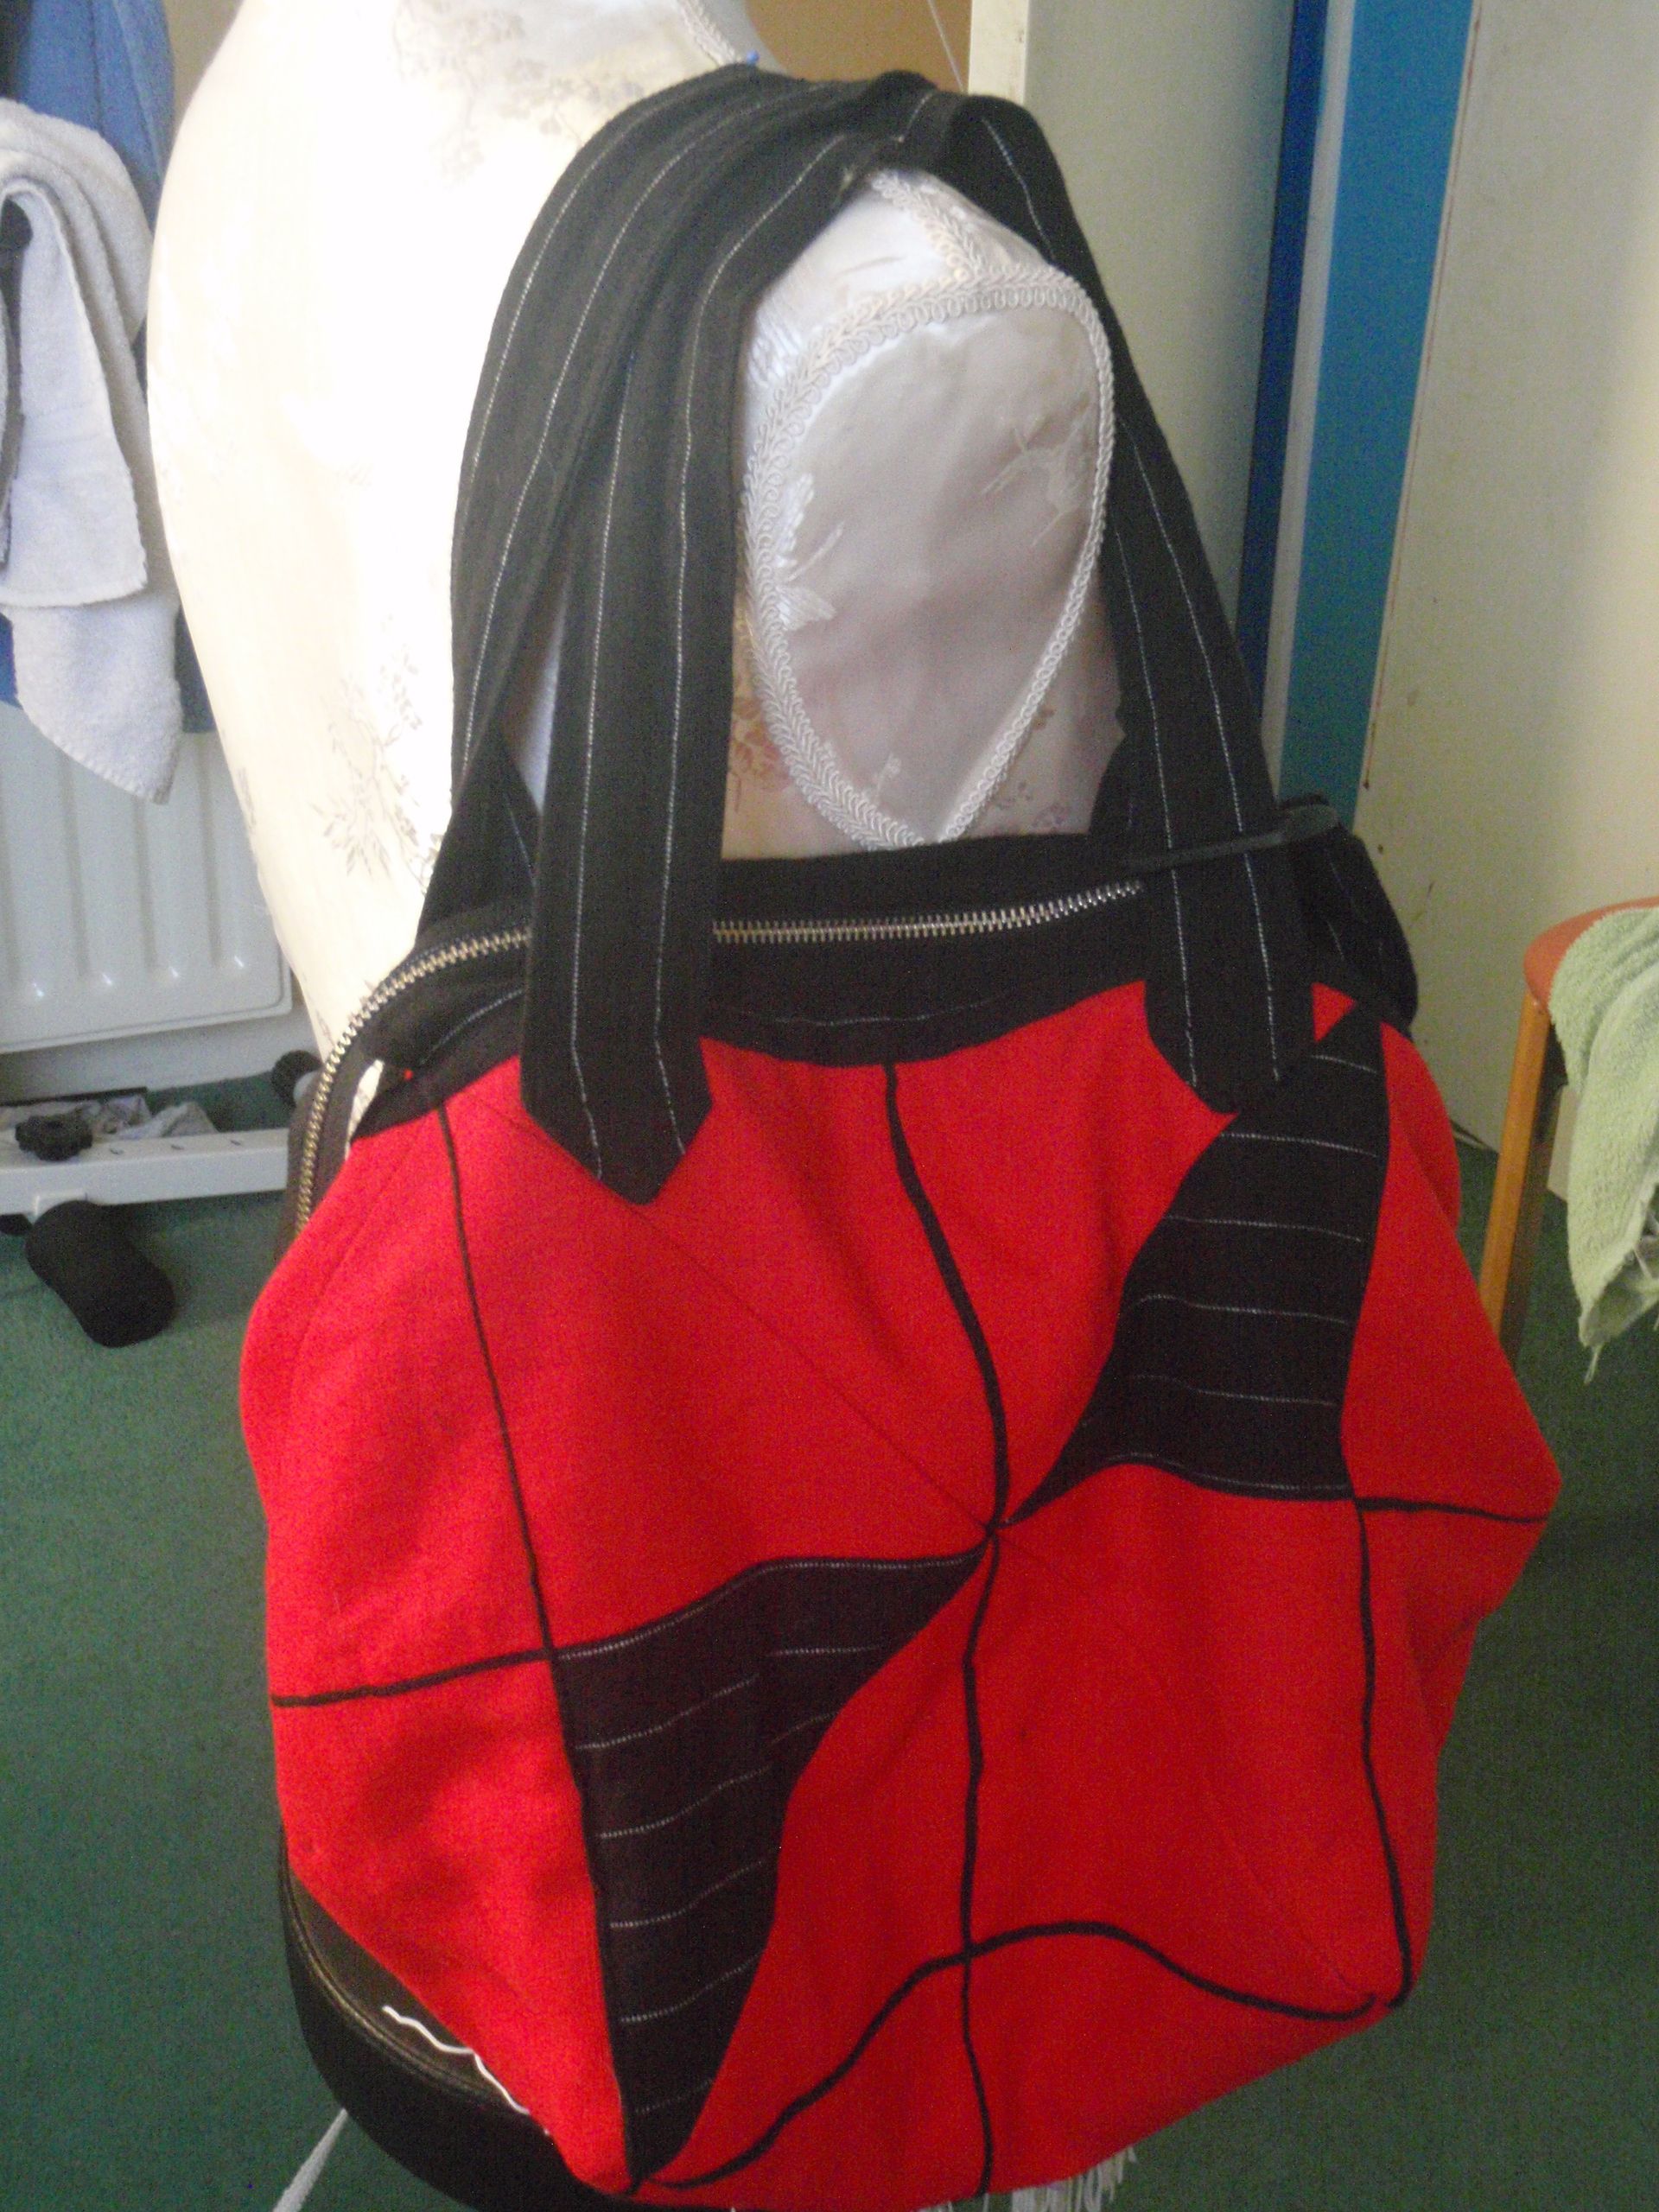
I made some paper models to figure out how the bag was put together. They have you make a windmill shape that sort of twists around such that the diagonal of a square forms the top. It was difficult to picture in my head, so I decided to model it. I sewed everything together and added a couple of touches from my own. Here is the finished product.
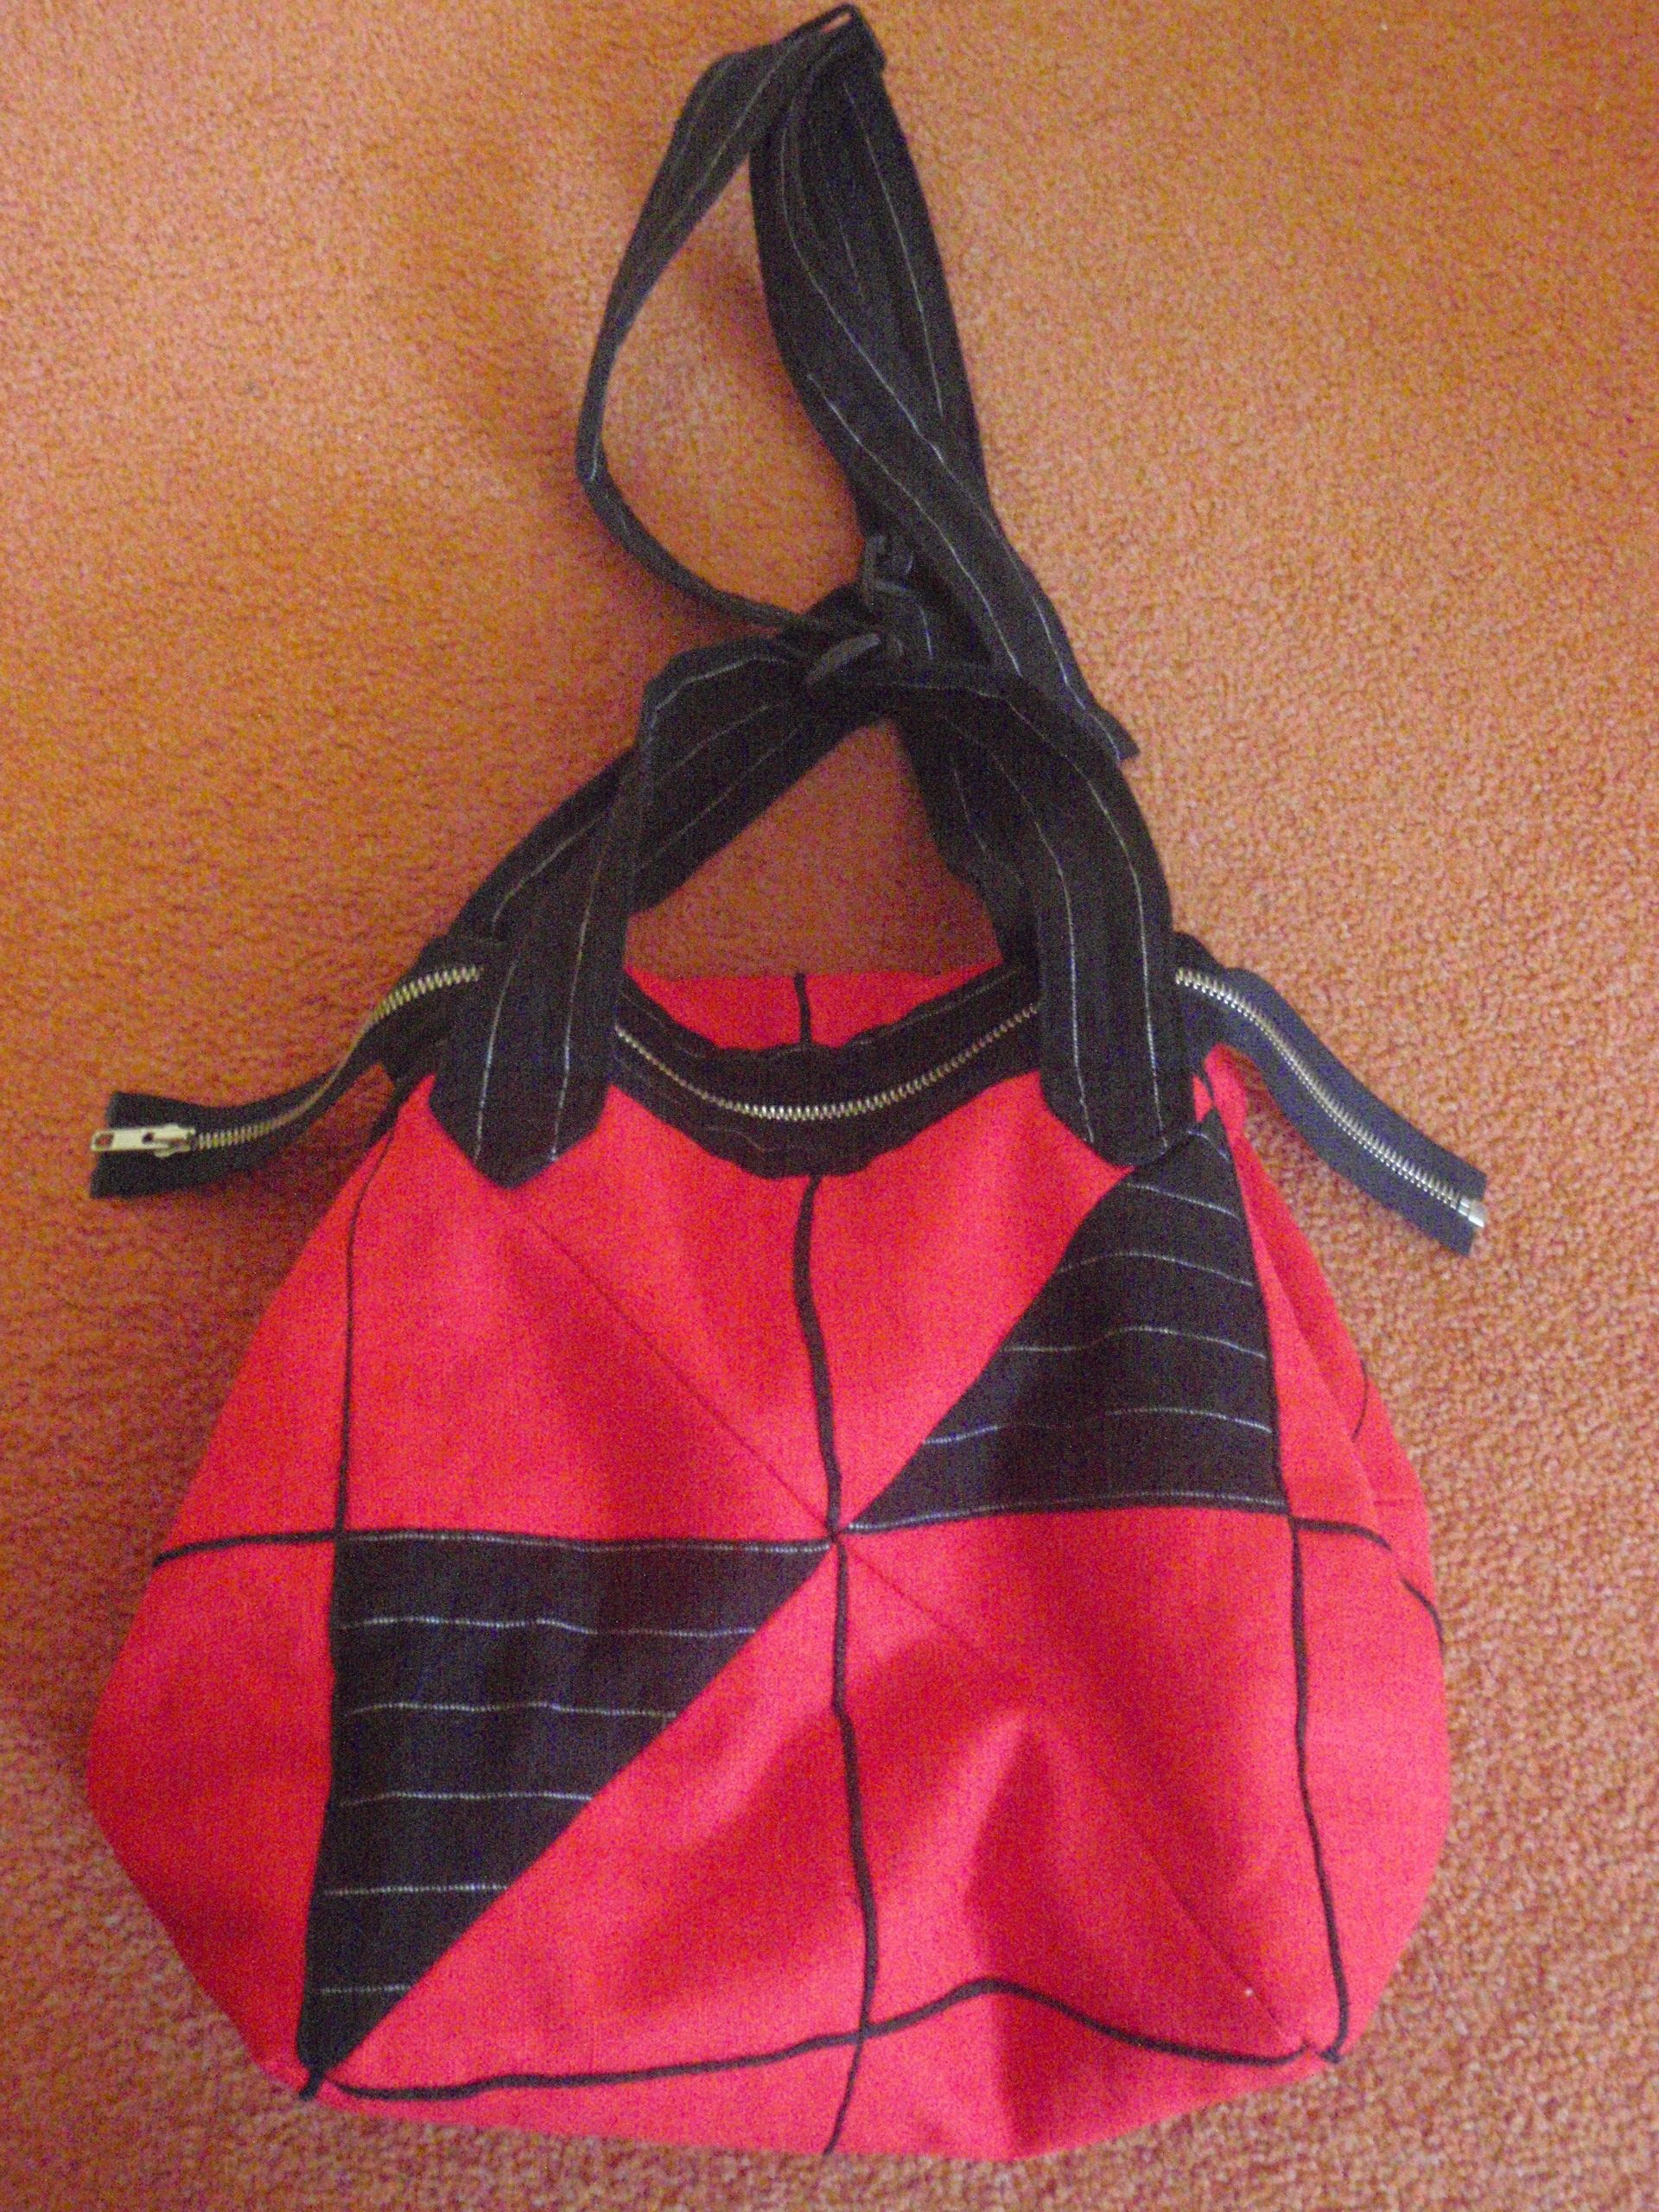
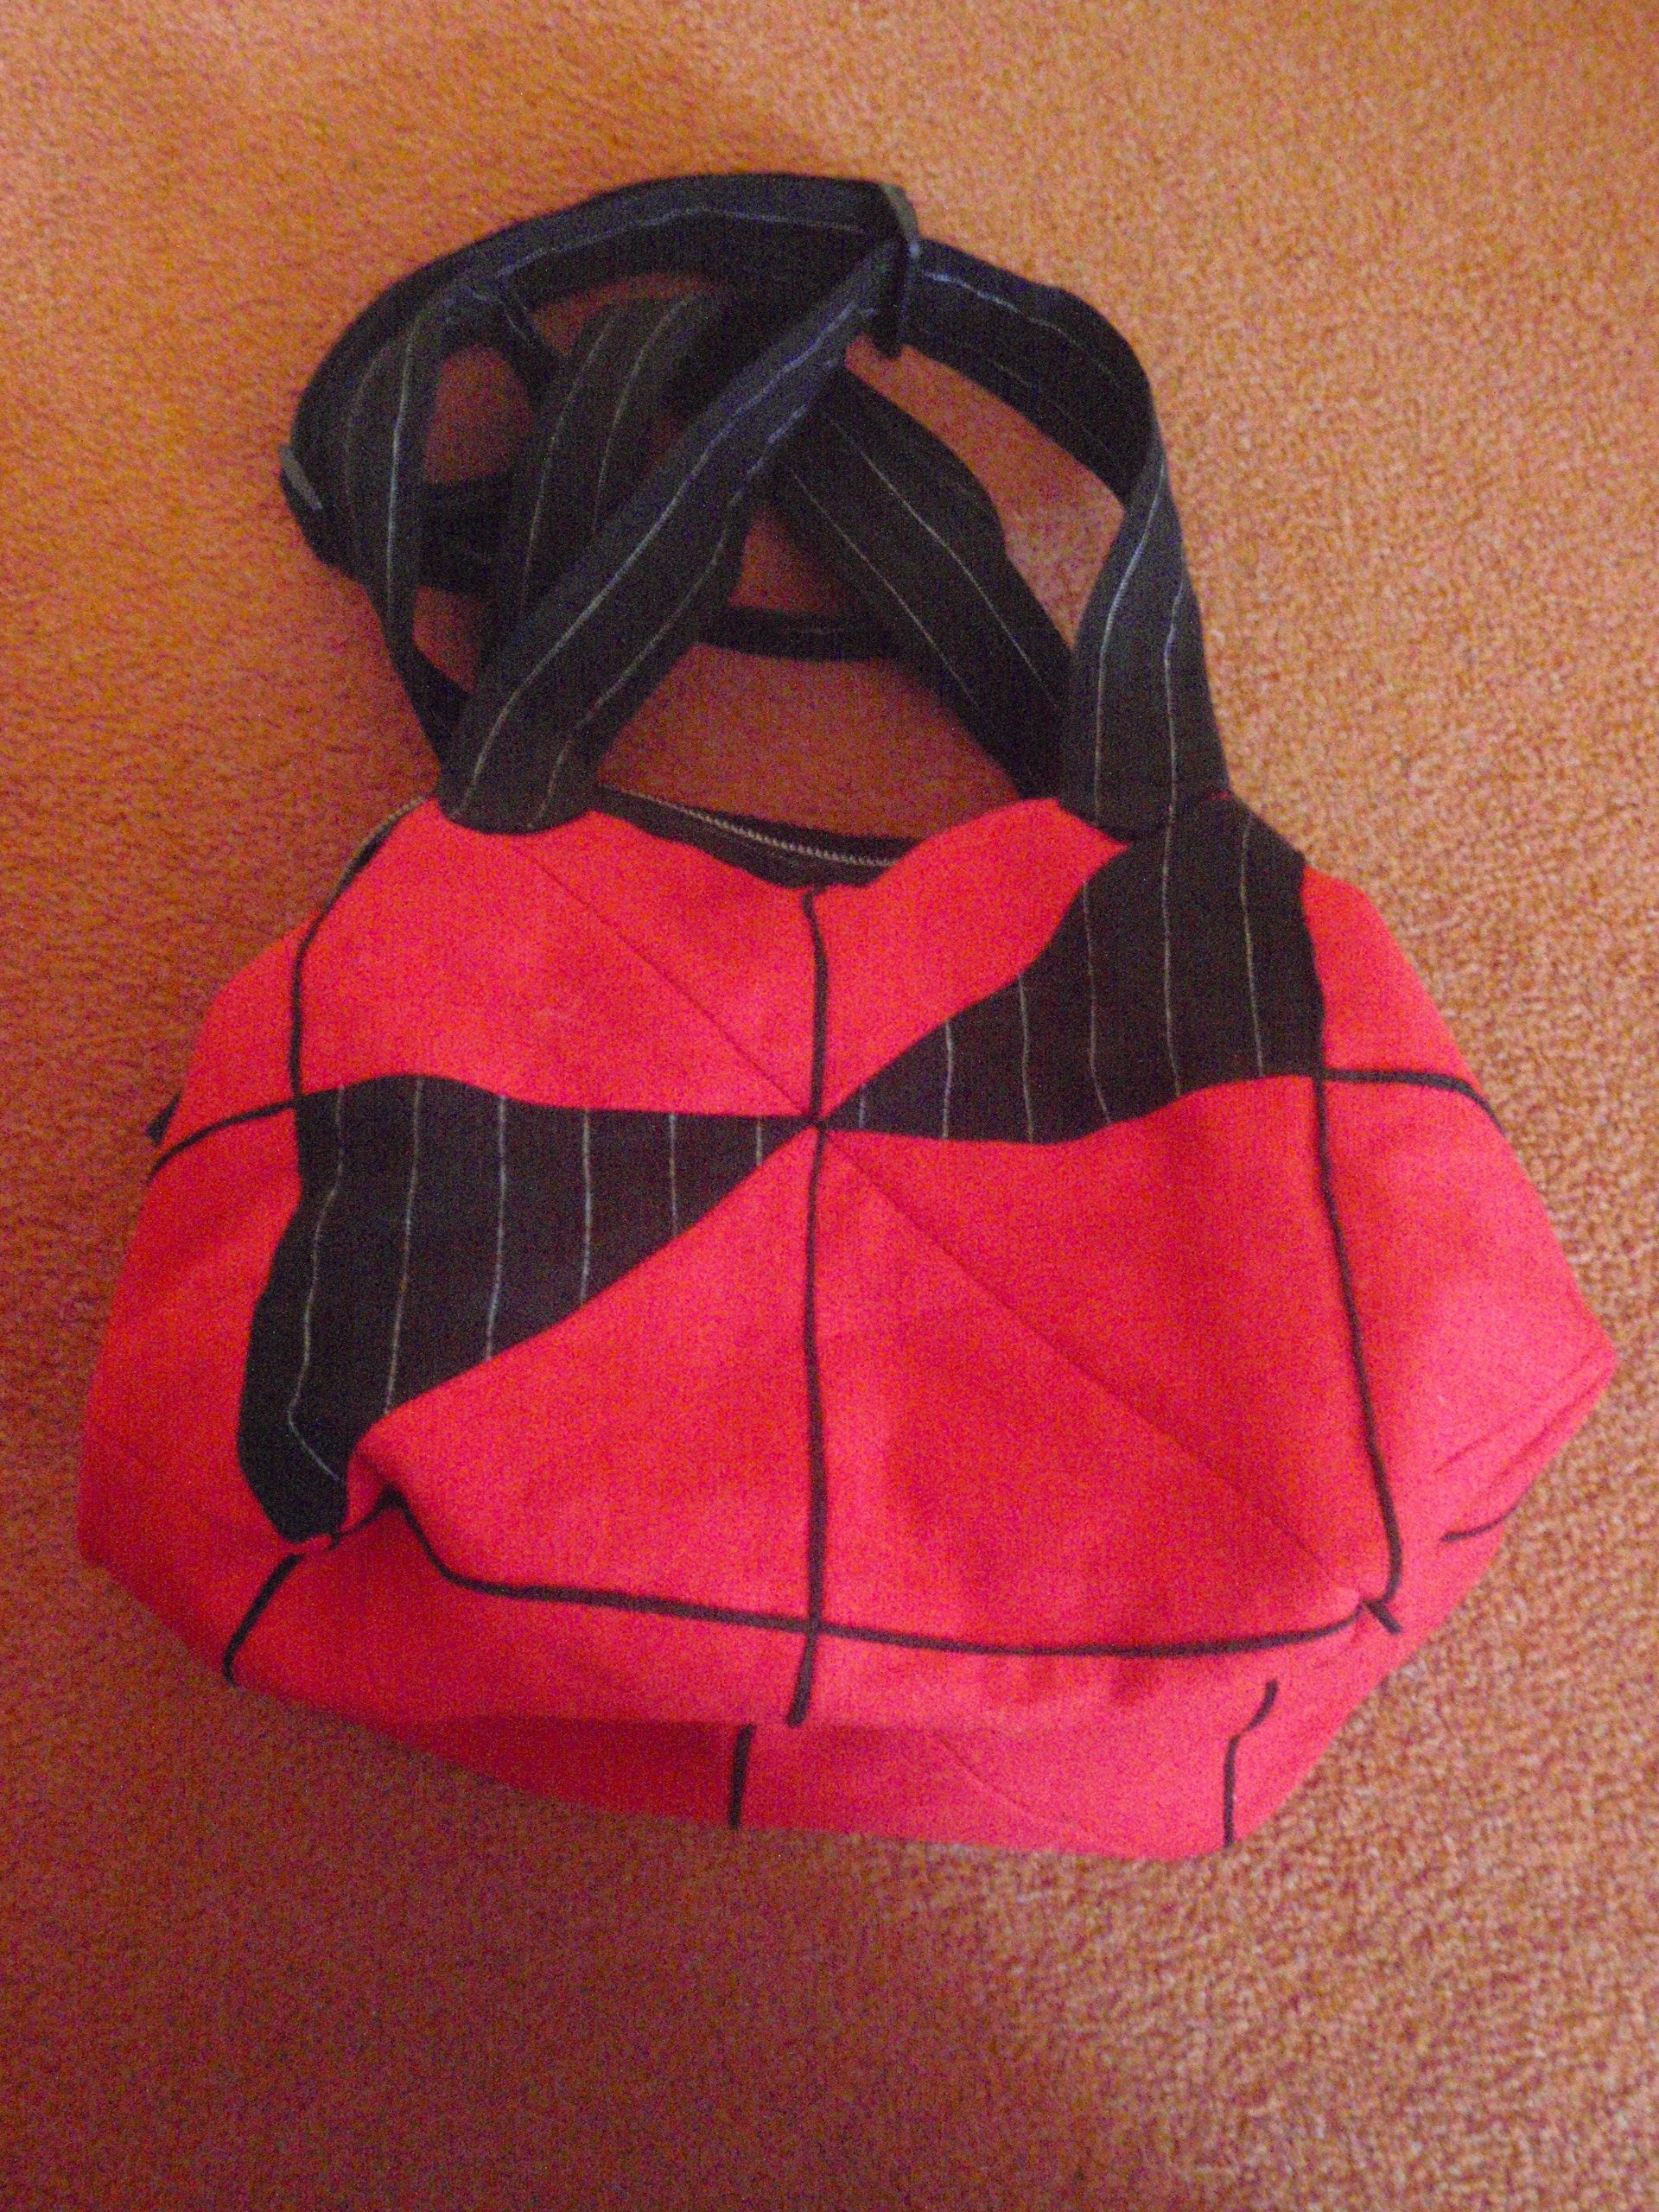
Front Back

The tie strings on the side were omitted. I did add a half-lining that was waterproof. I also added some pockets on the inside. One big one on the one side, and 2 smaller ones and 2 pen slots on the other side.
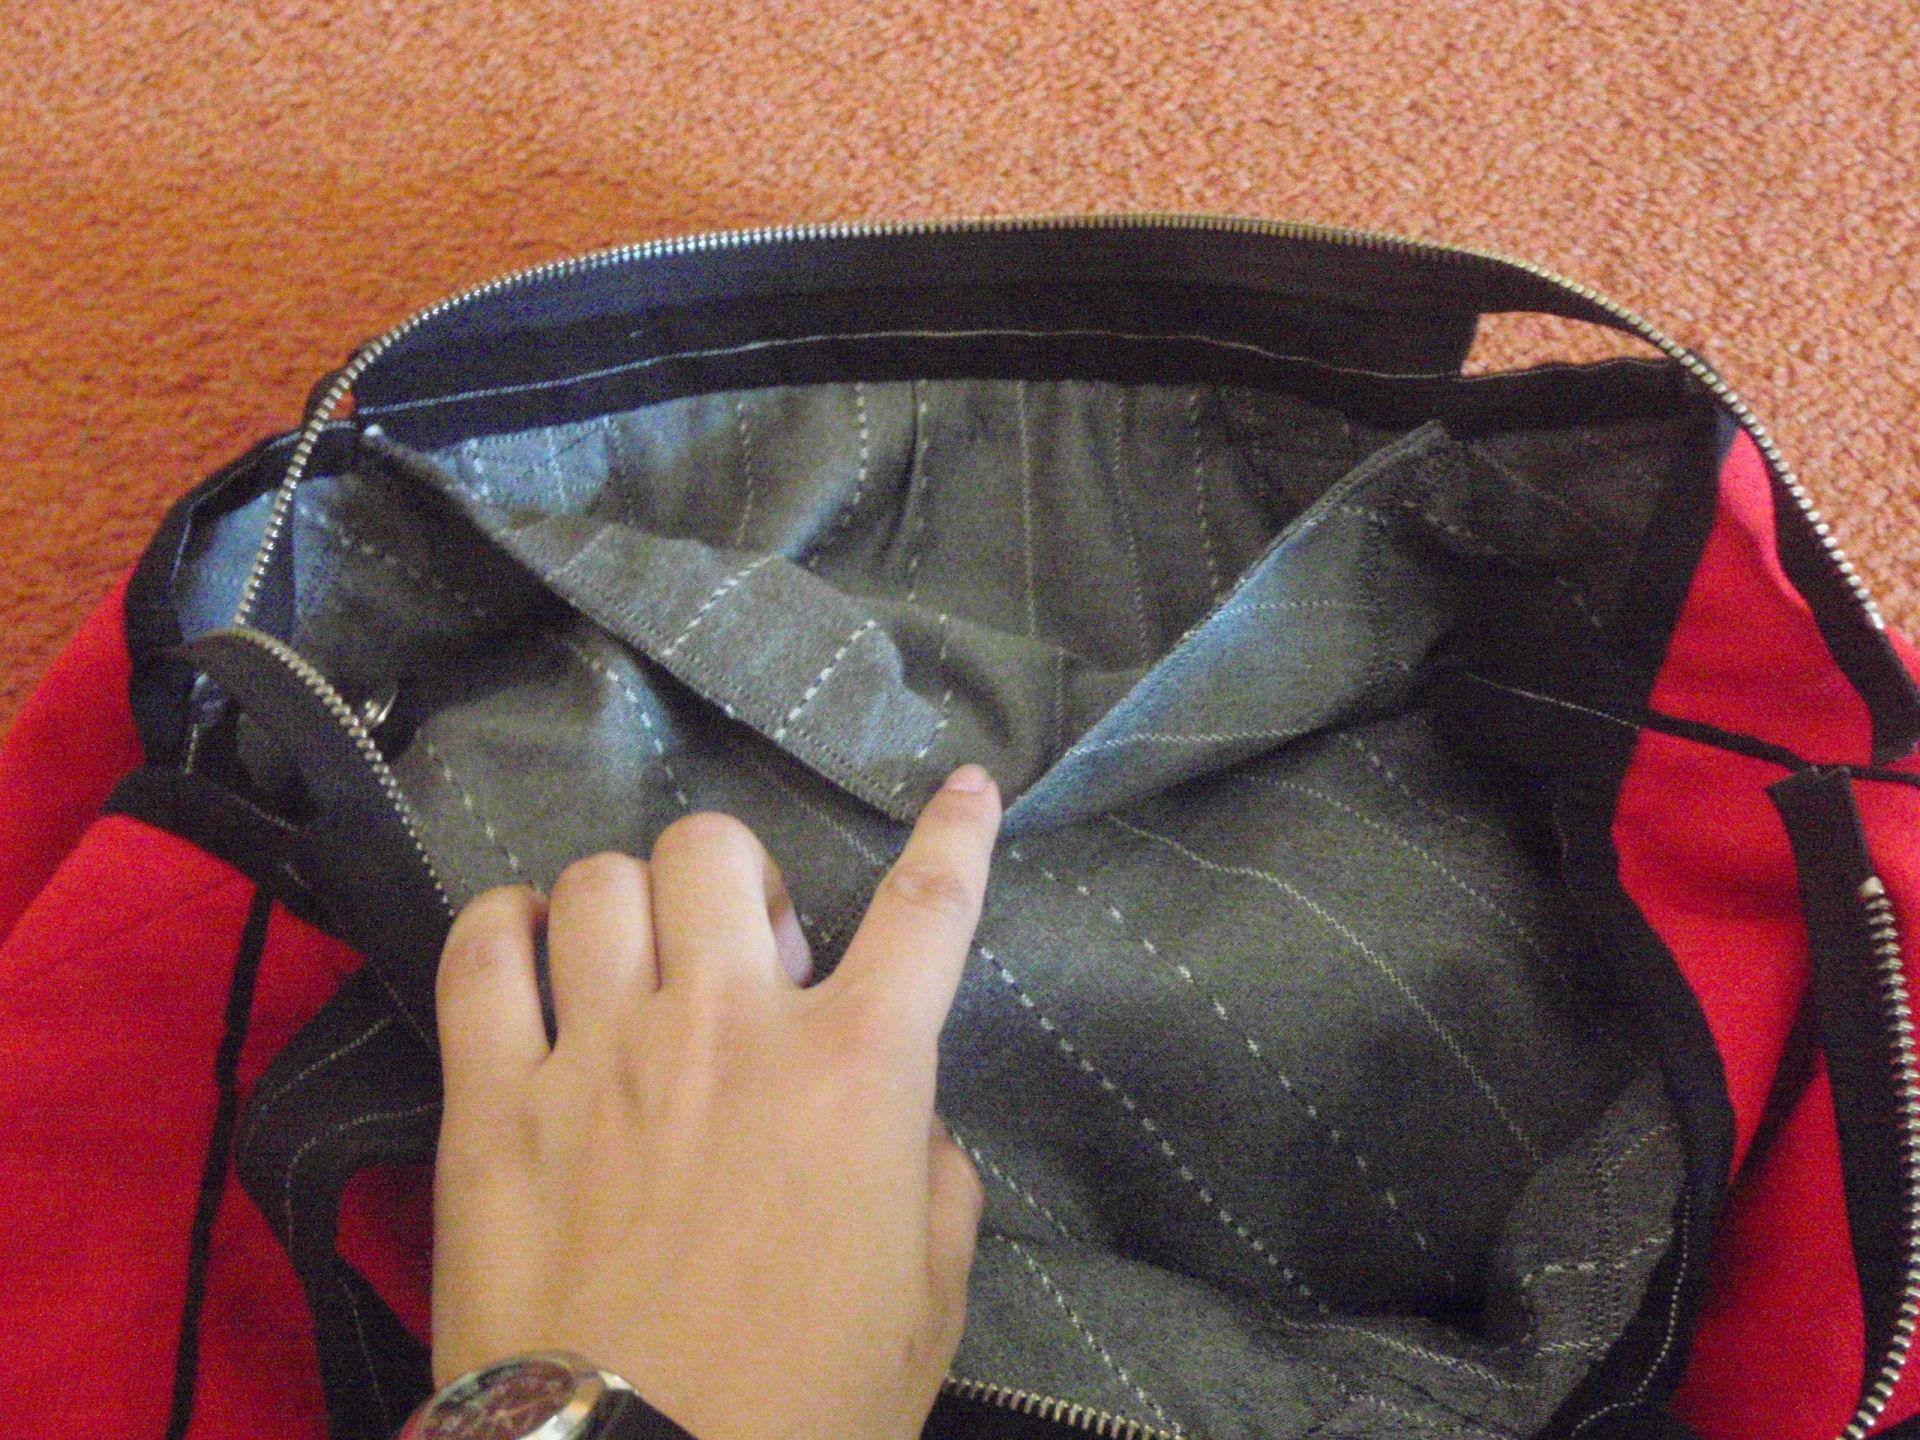
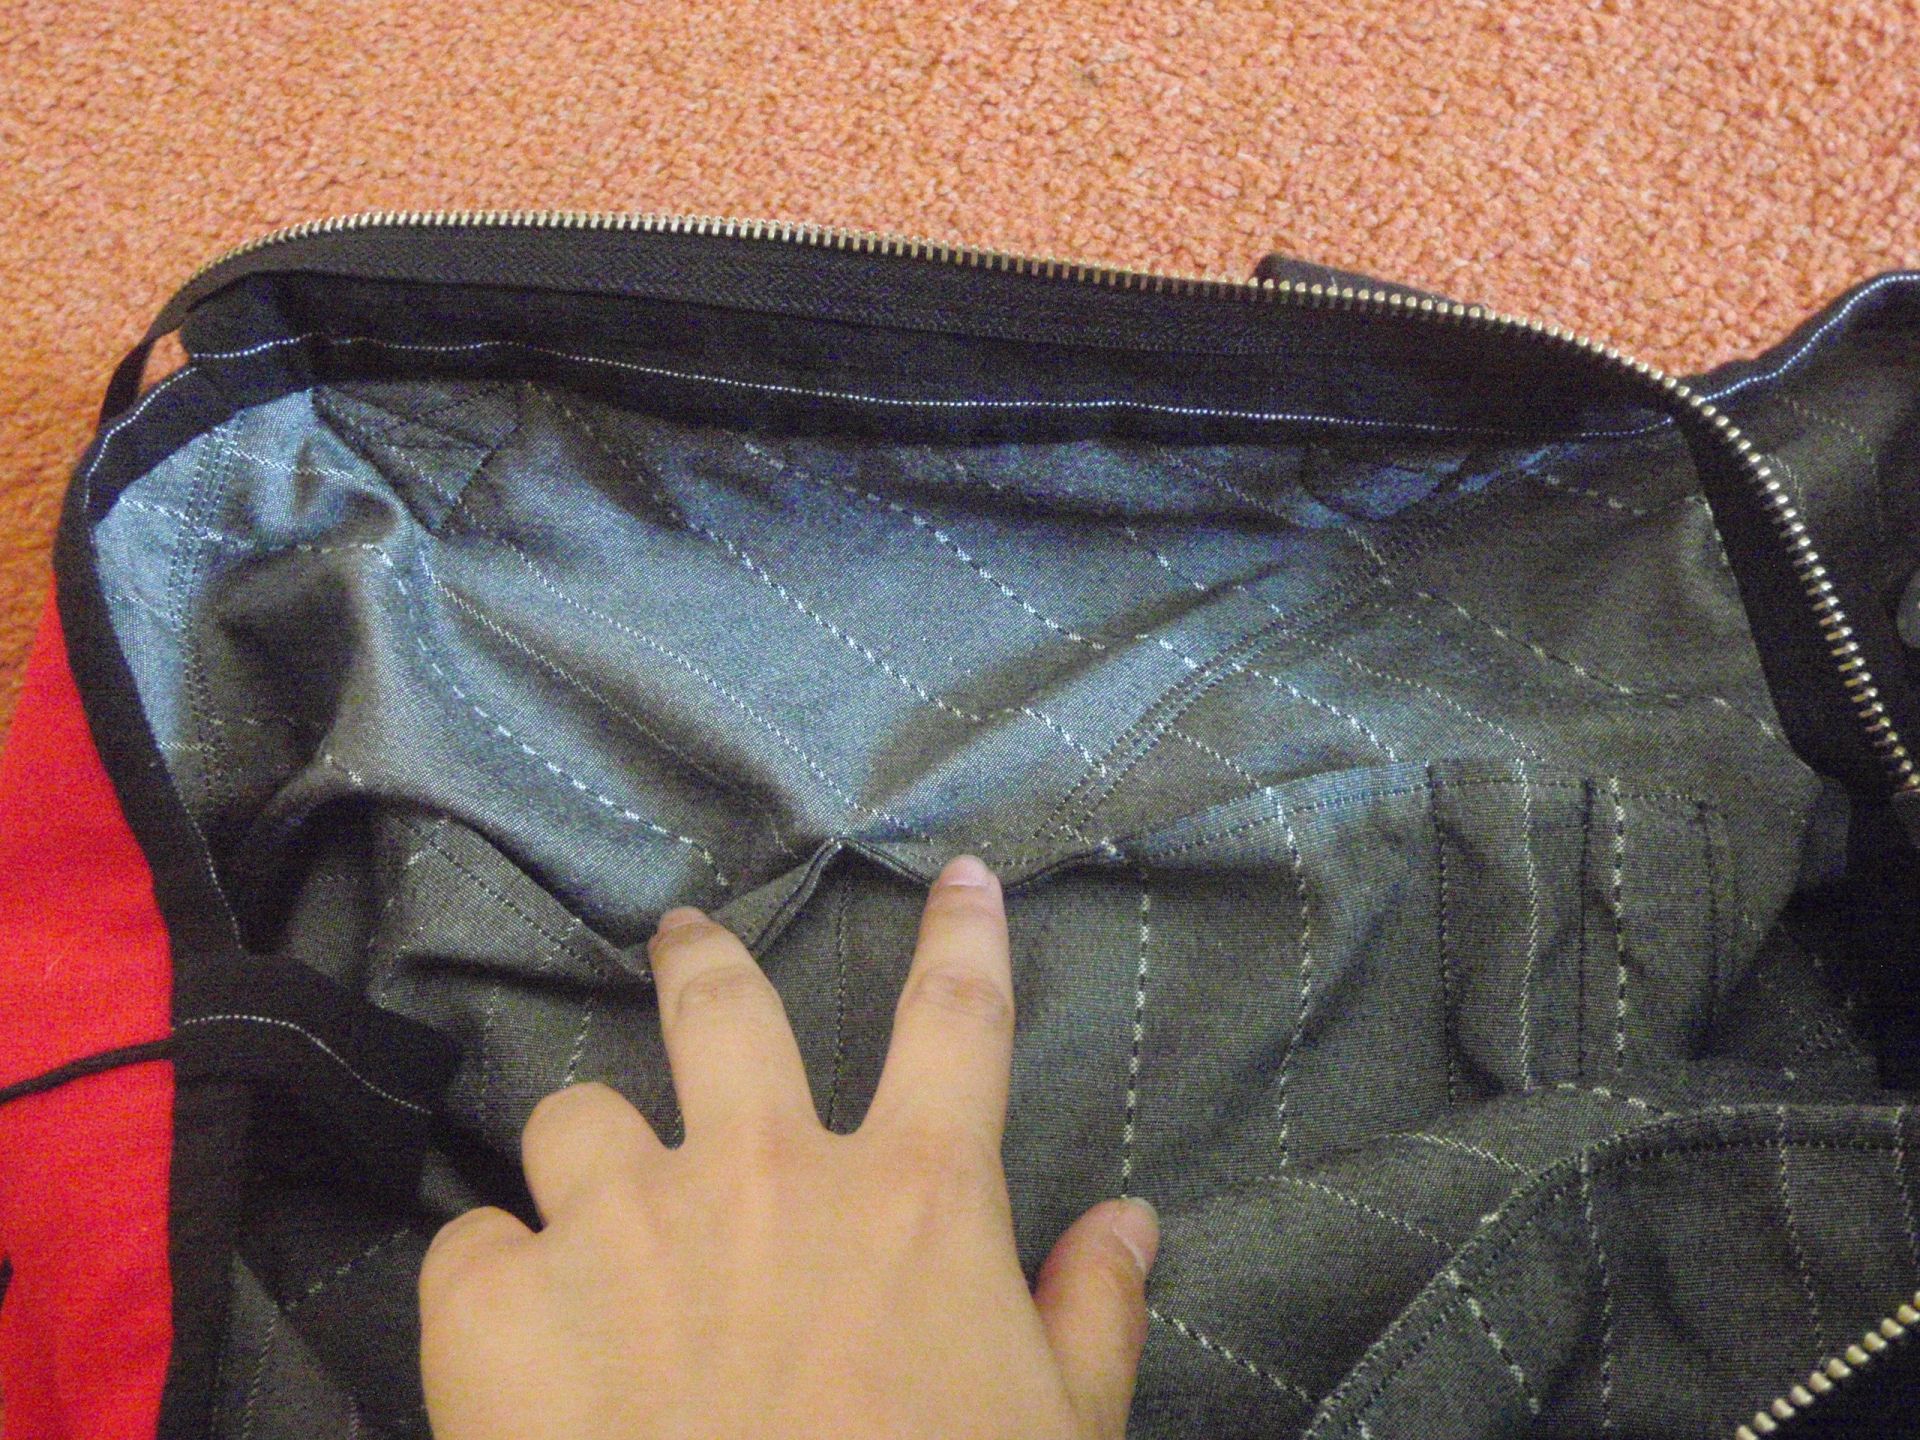
Big pocket Small pocket

I also added a magnetic button closure to close the bag on the inside, and an overly long (design element) zipper as top closure.
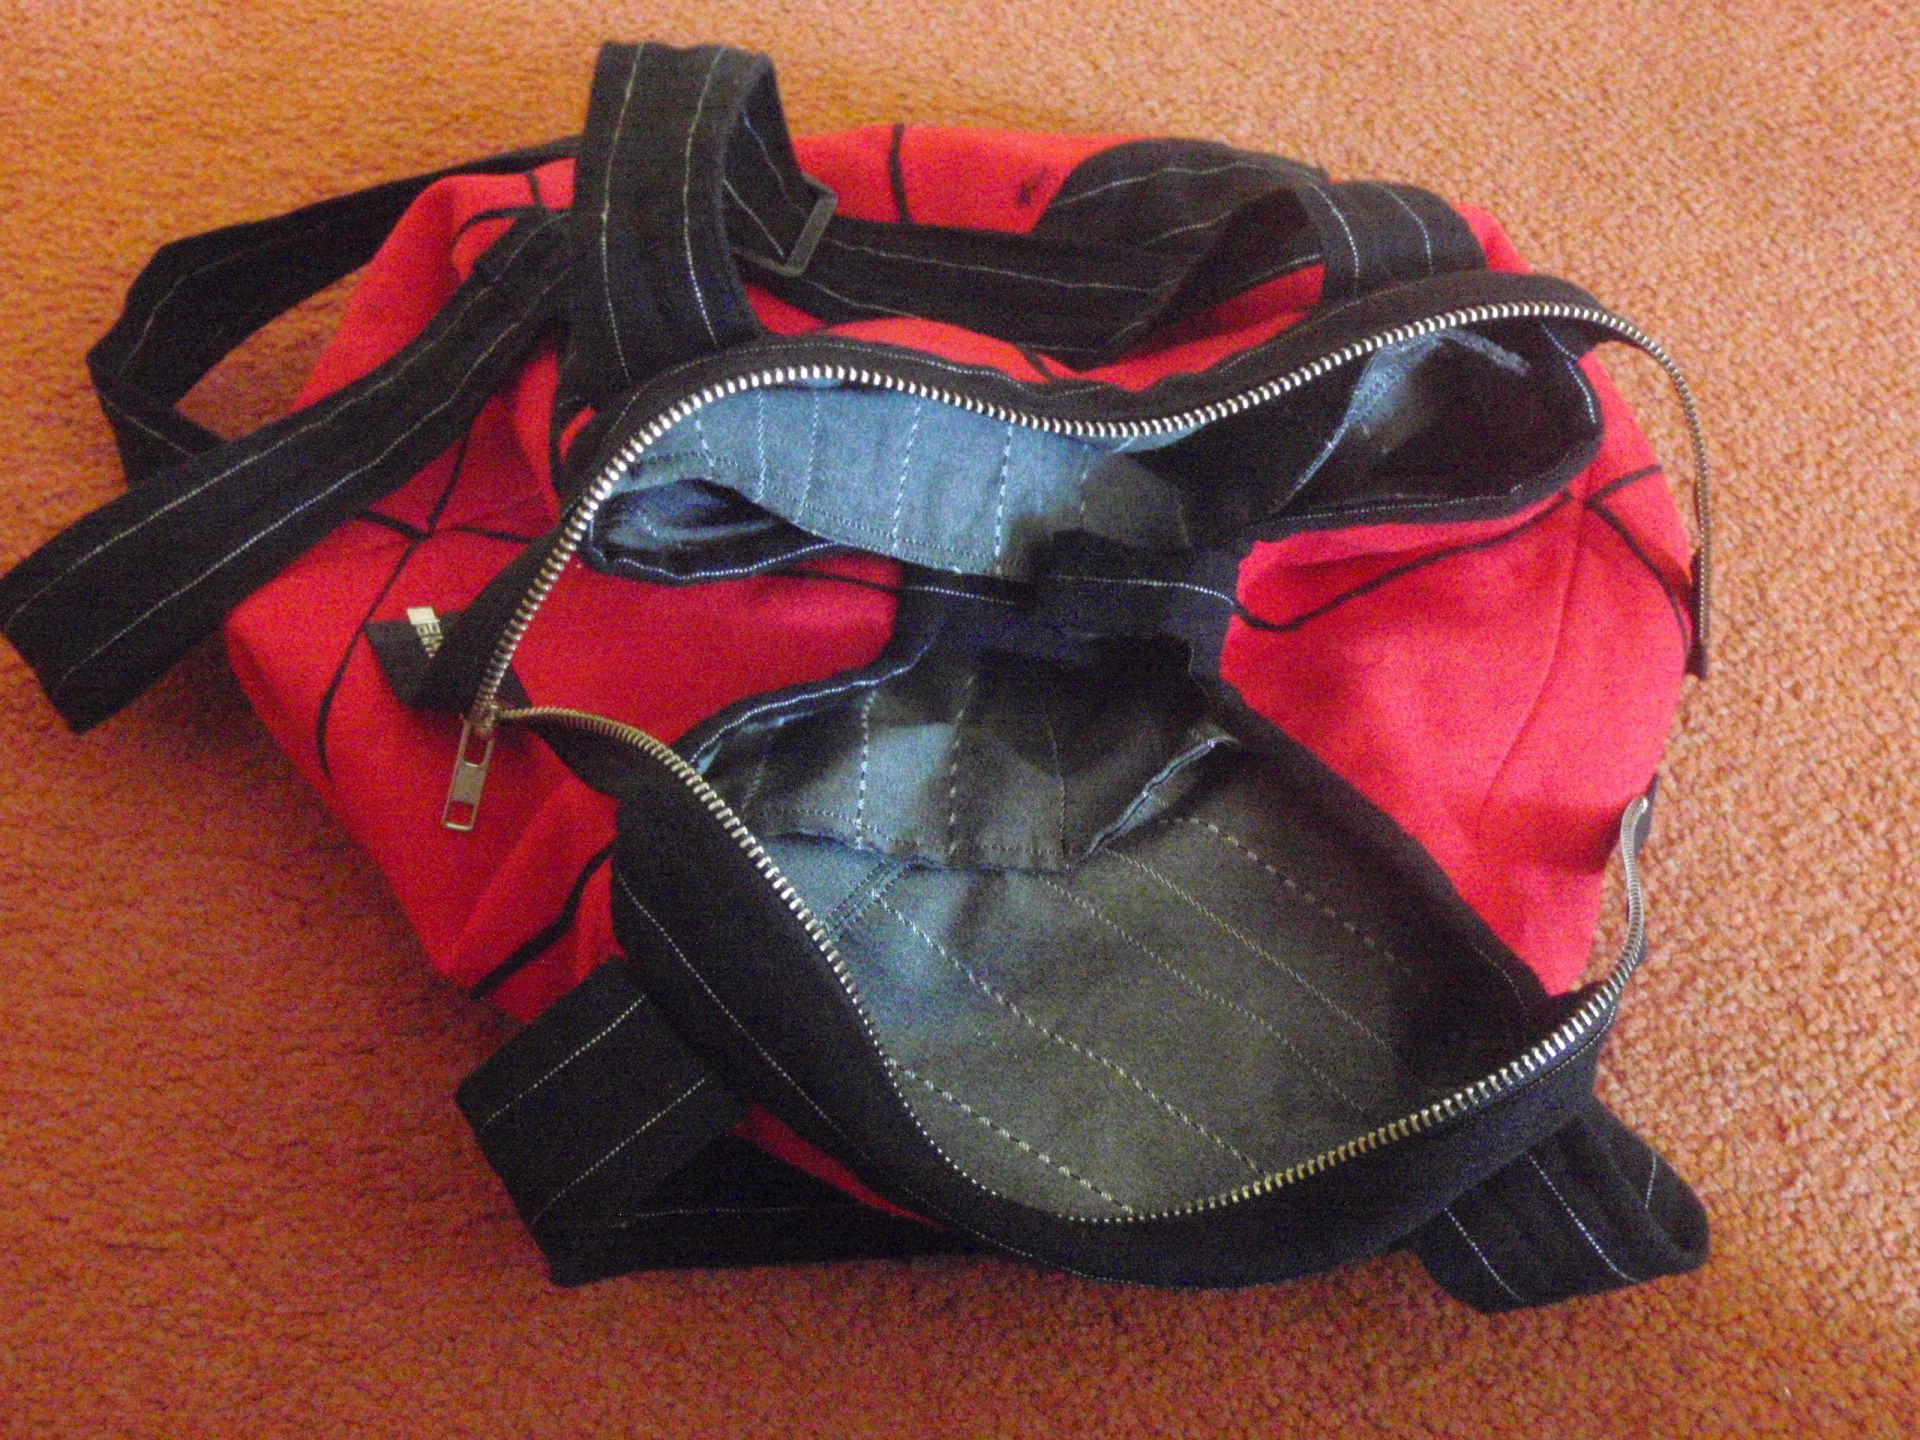
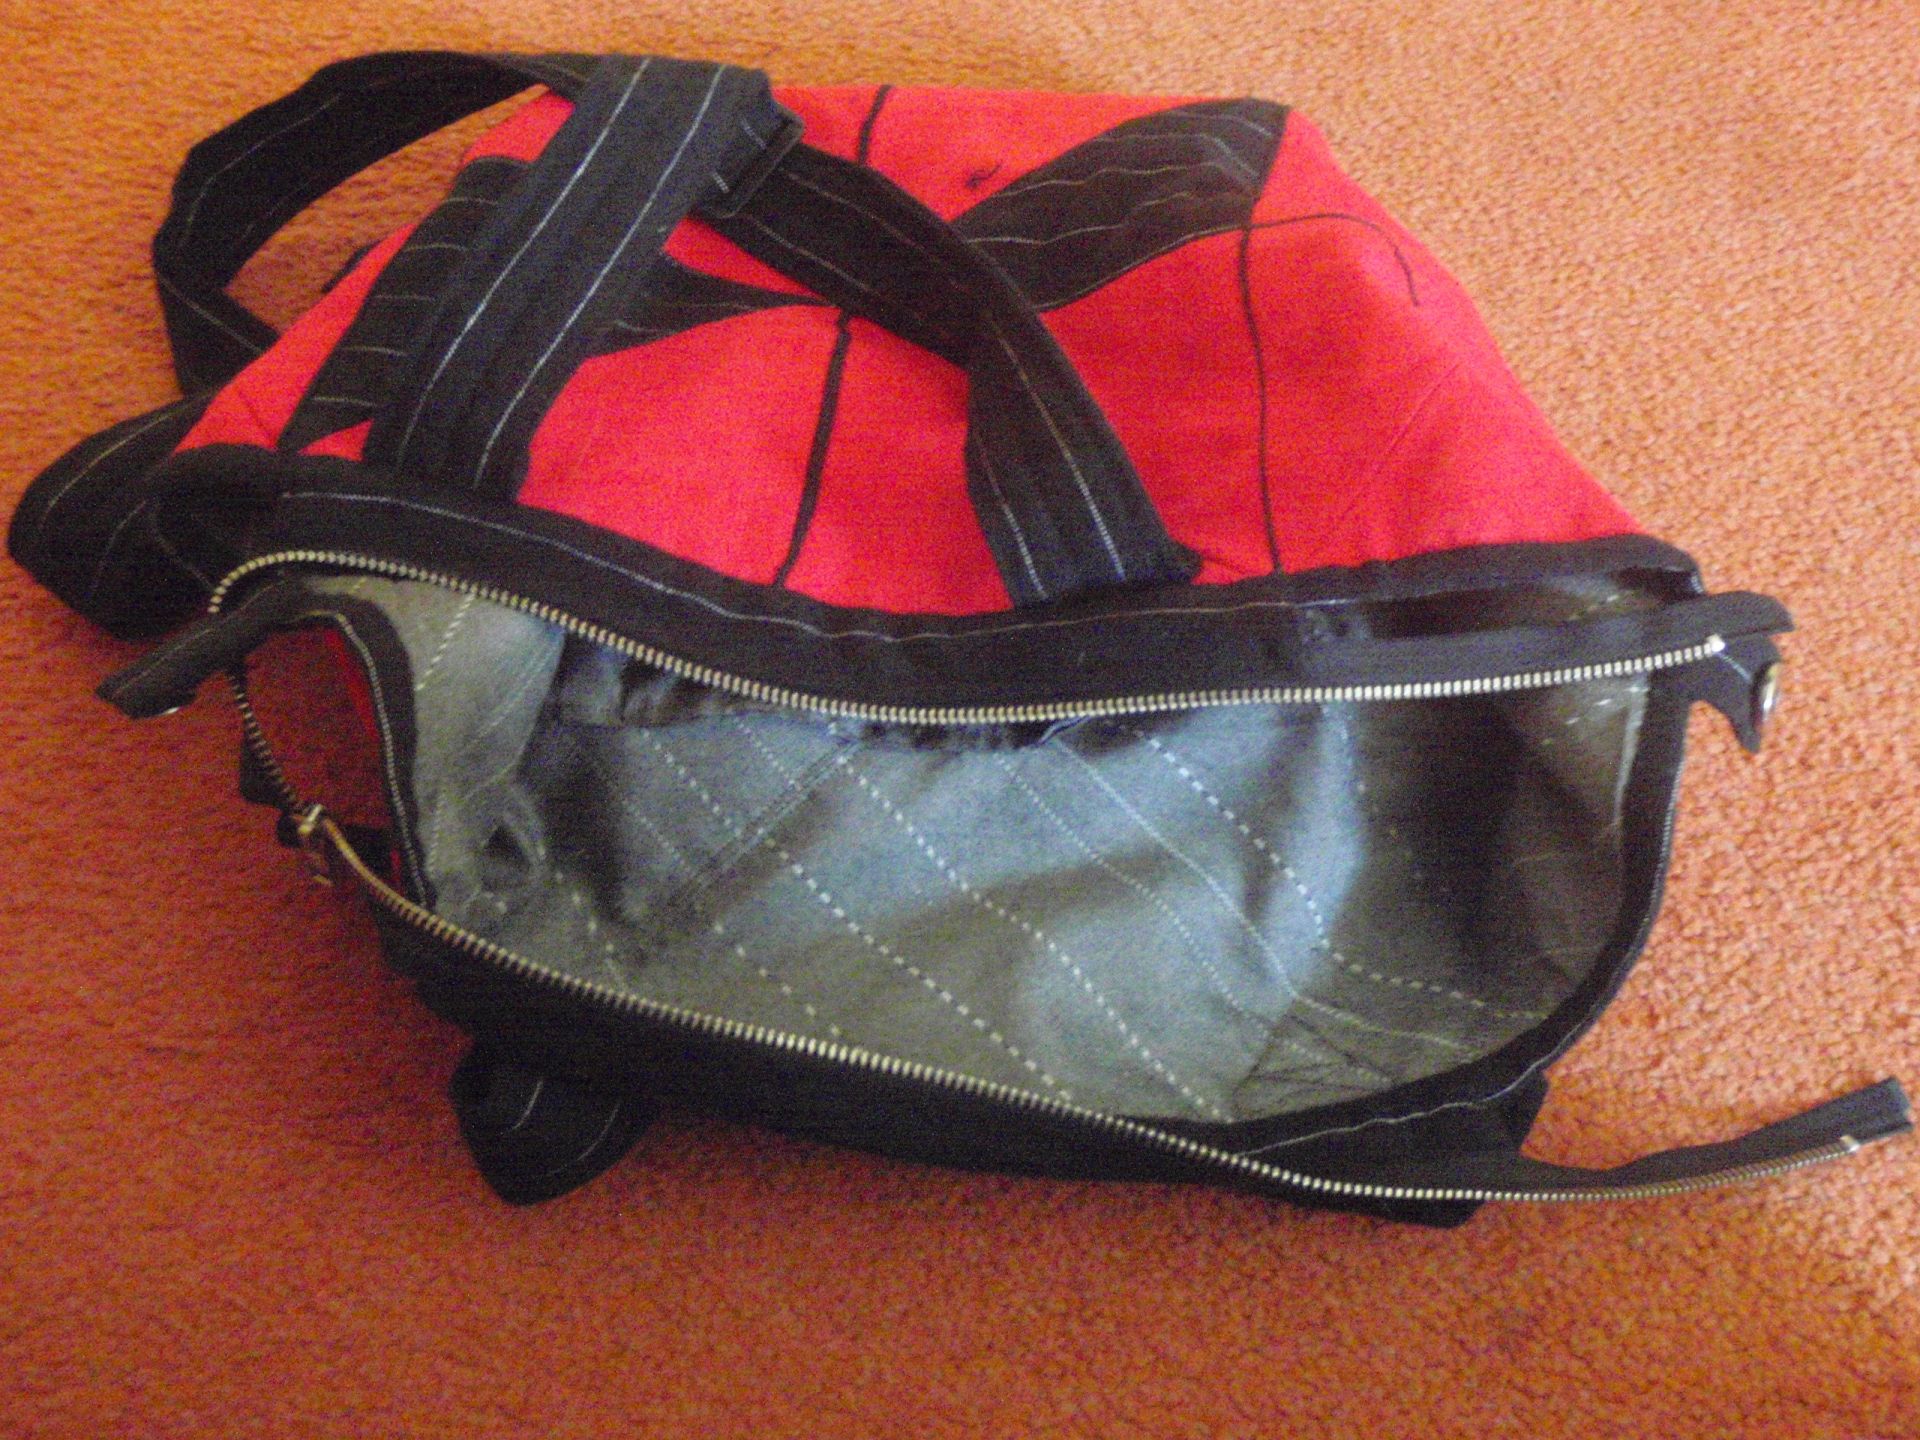
Inner closure Inside

I also added the option of a long strap next to the short straps. If I want to wear the short strap, I can shift the longer strap to the side and then inside. Then I can use the short straps on their own. However, I have found that short straps then to slide from my shoulders, so I like a long strap. This is a (semi-broken) mannequin wearing it.
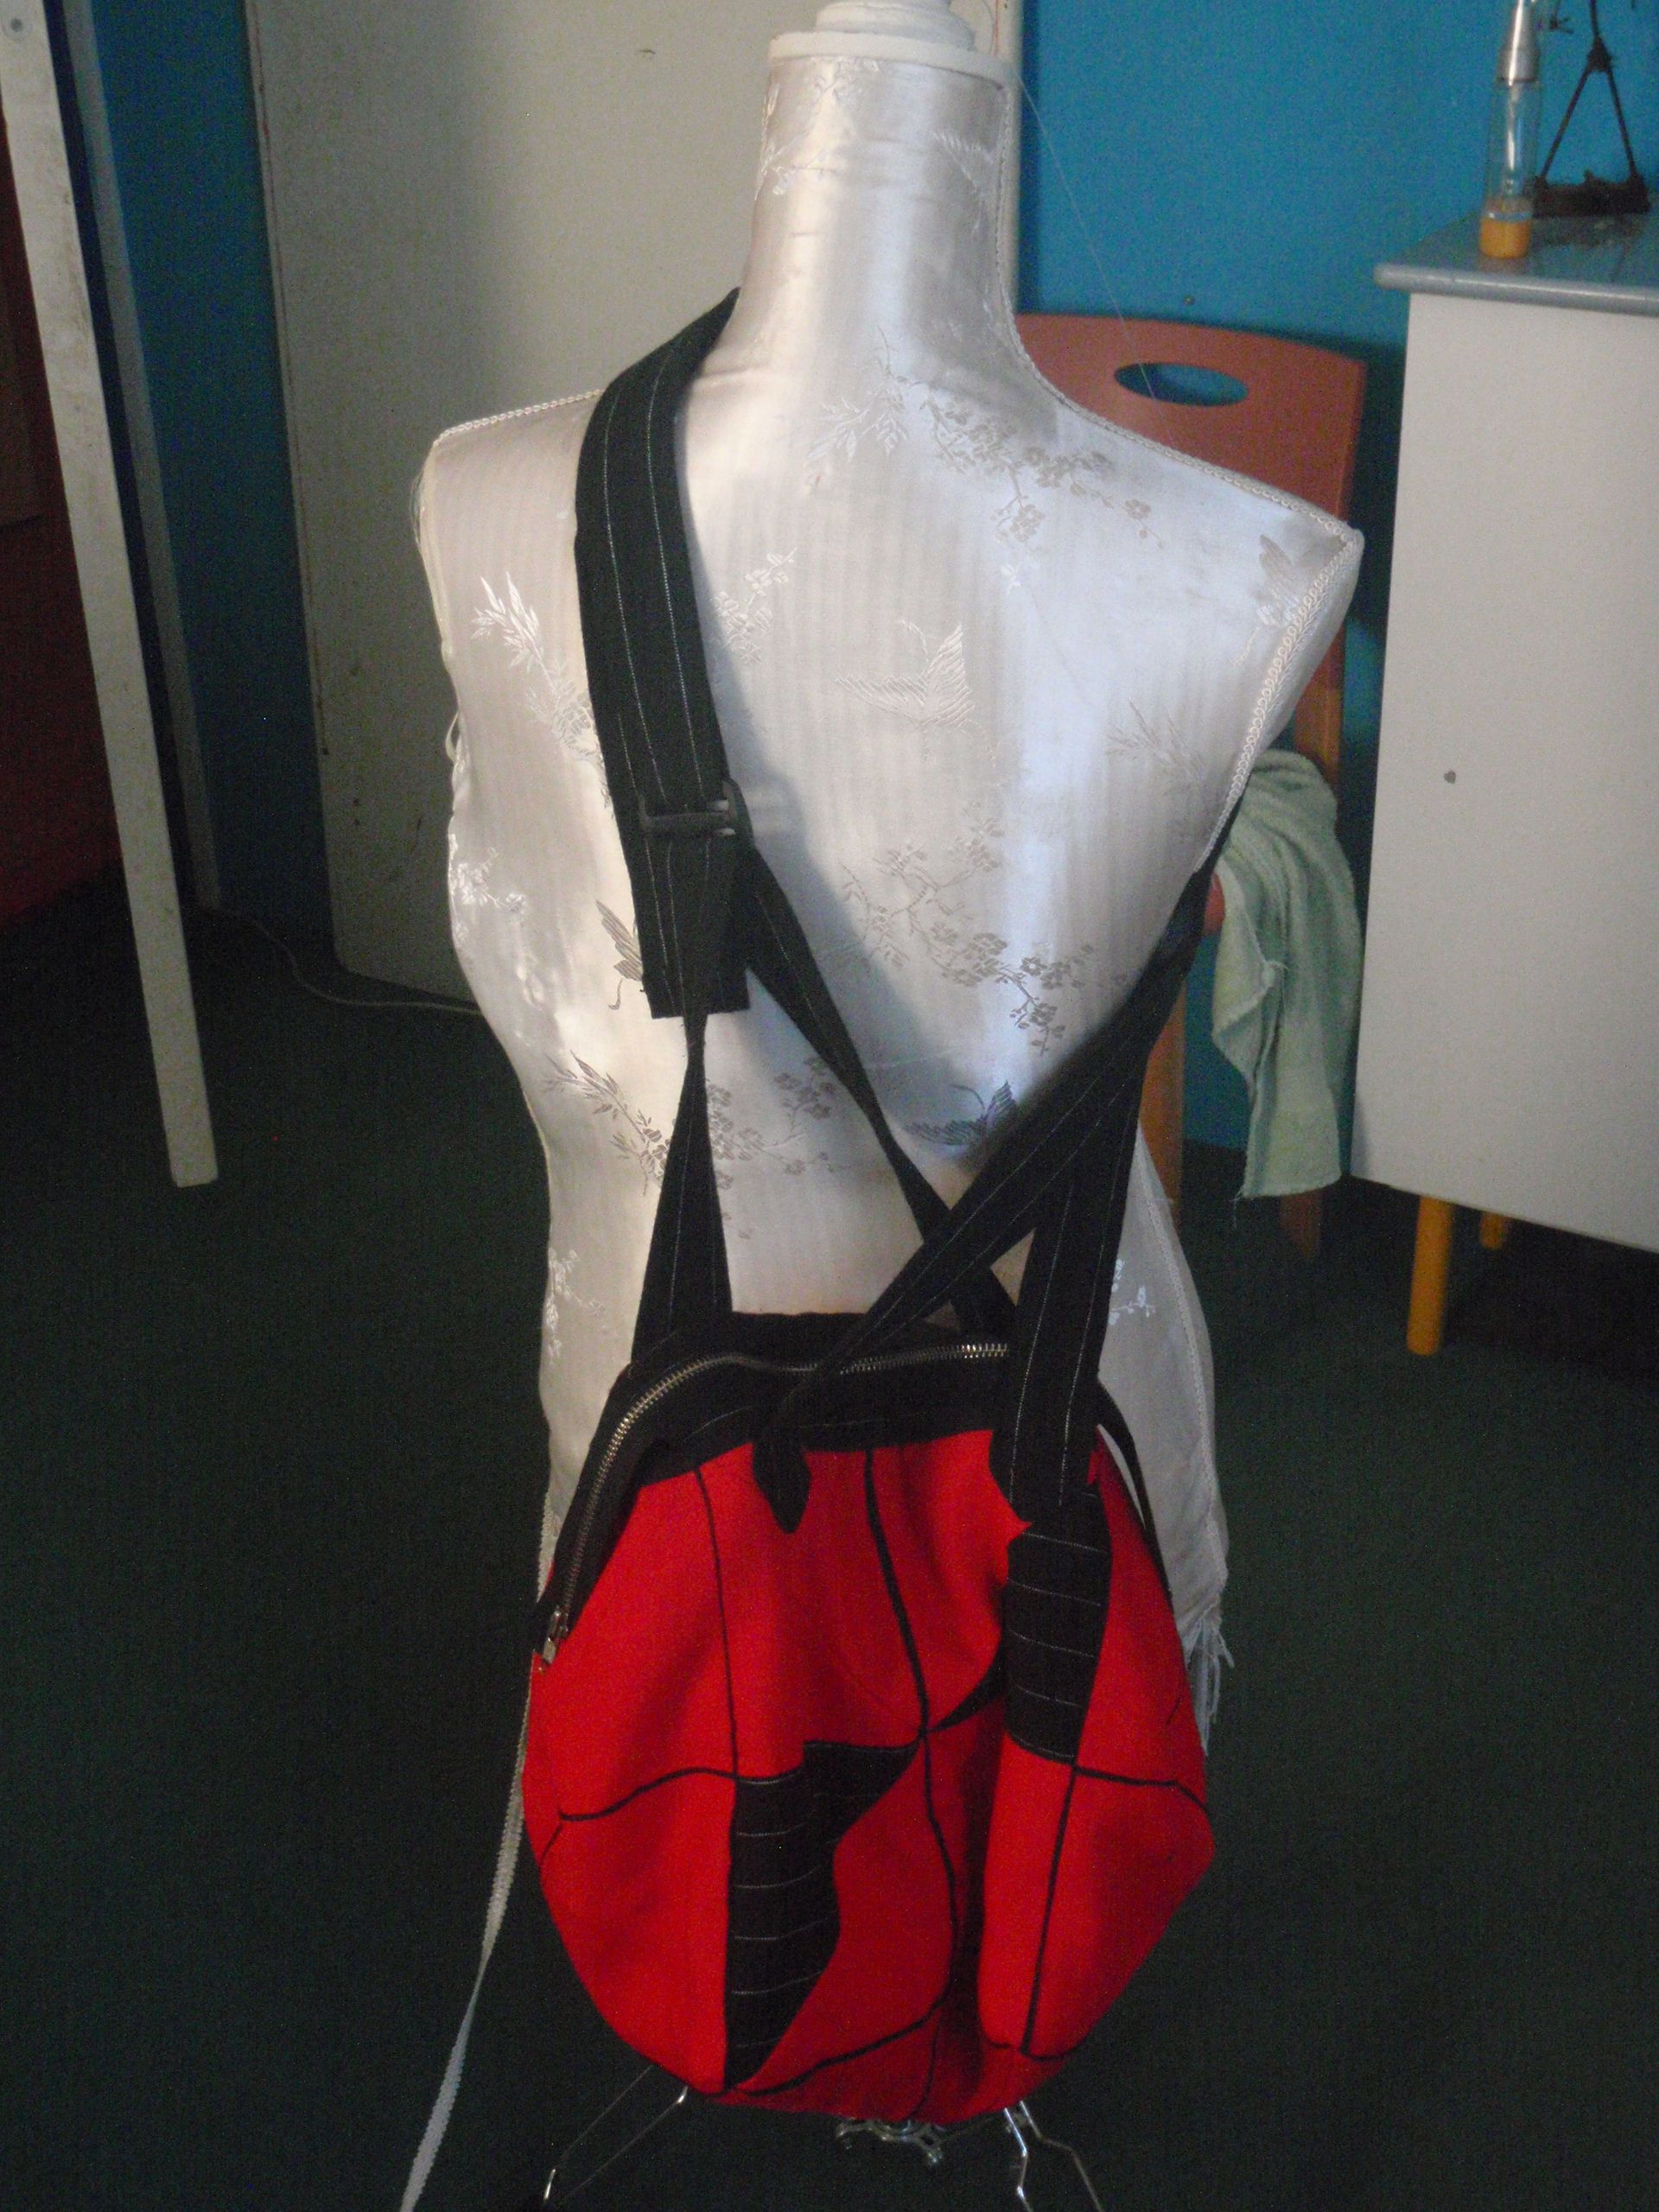
Wearing Wearing

I hope to actually be able to use it too, to see if it works nicely. I’ll see how that turns out. Now I should continue with the large quilt, since this project is finished!


Necessities

I was thinking about what to bring with me for this weekend and I remembered that I am using a plastic bag to hold my toiletries when I go and stay with someone. So I found the bit of waterproof fabric I still have in my stash and made the most simple toiletries bag possible. Two lines of stitching to close the sides and a zipper. Done.

Bag bag

It should work though, I’ll find out tonight!

Finally

Yes! I finally finished something. After all this time, I’ve managed to do something creative again. Whoopy!

I made a needle-case for my friend on Friday (hot pink, dark blue, lime green, yellow thread and a grey ribbon), which I forgot/neglected to take a picture of (since I was finishing it on the train ride there). However, I did ask her if she could make a picture of it, so I’ll possibly upload that somewhere in the future.

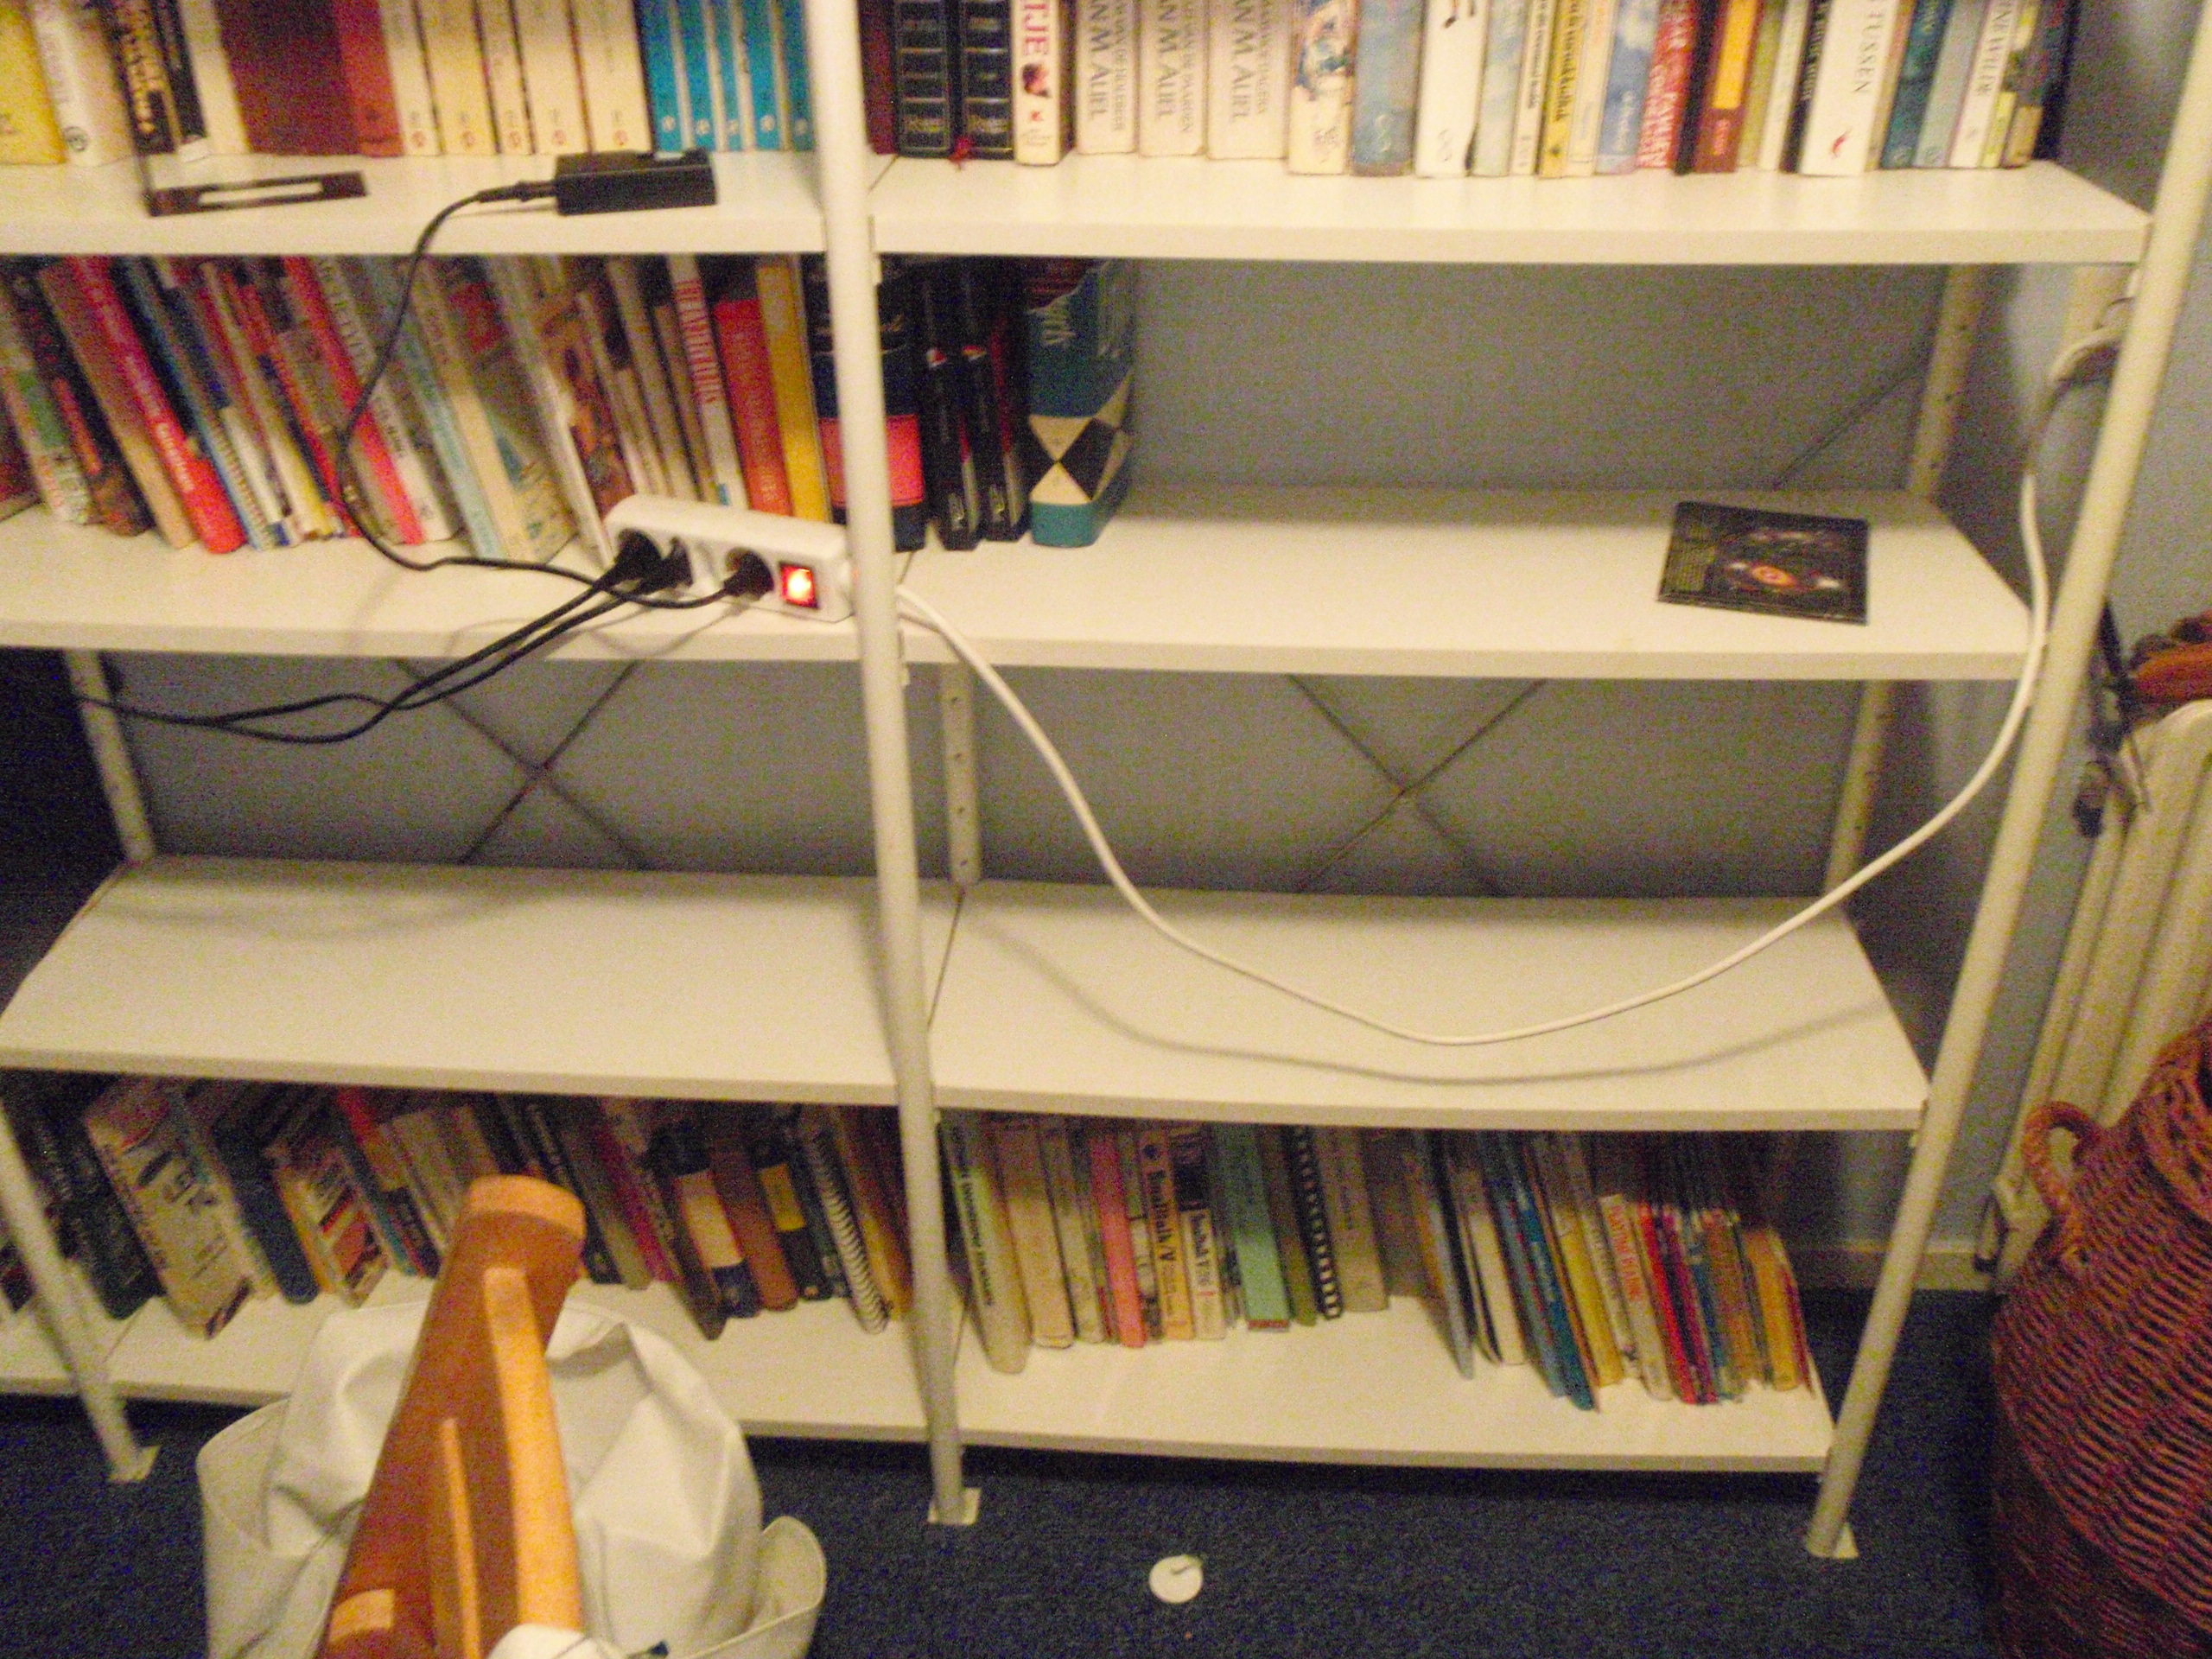
And today, a glorious free day (which I will have for the rest of the week: go holiday!) I finally finished clearing up my sewing room/my parents storage room. I had decided I wanted to sort the books in the bookcase, which turned out to be an enormous, hideously huge task.  But I have finished it and created: 3 more empty shelves! Hip hip Hooray!

Empty shelves

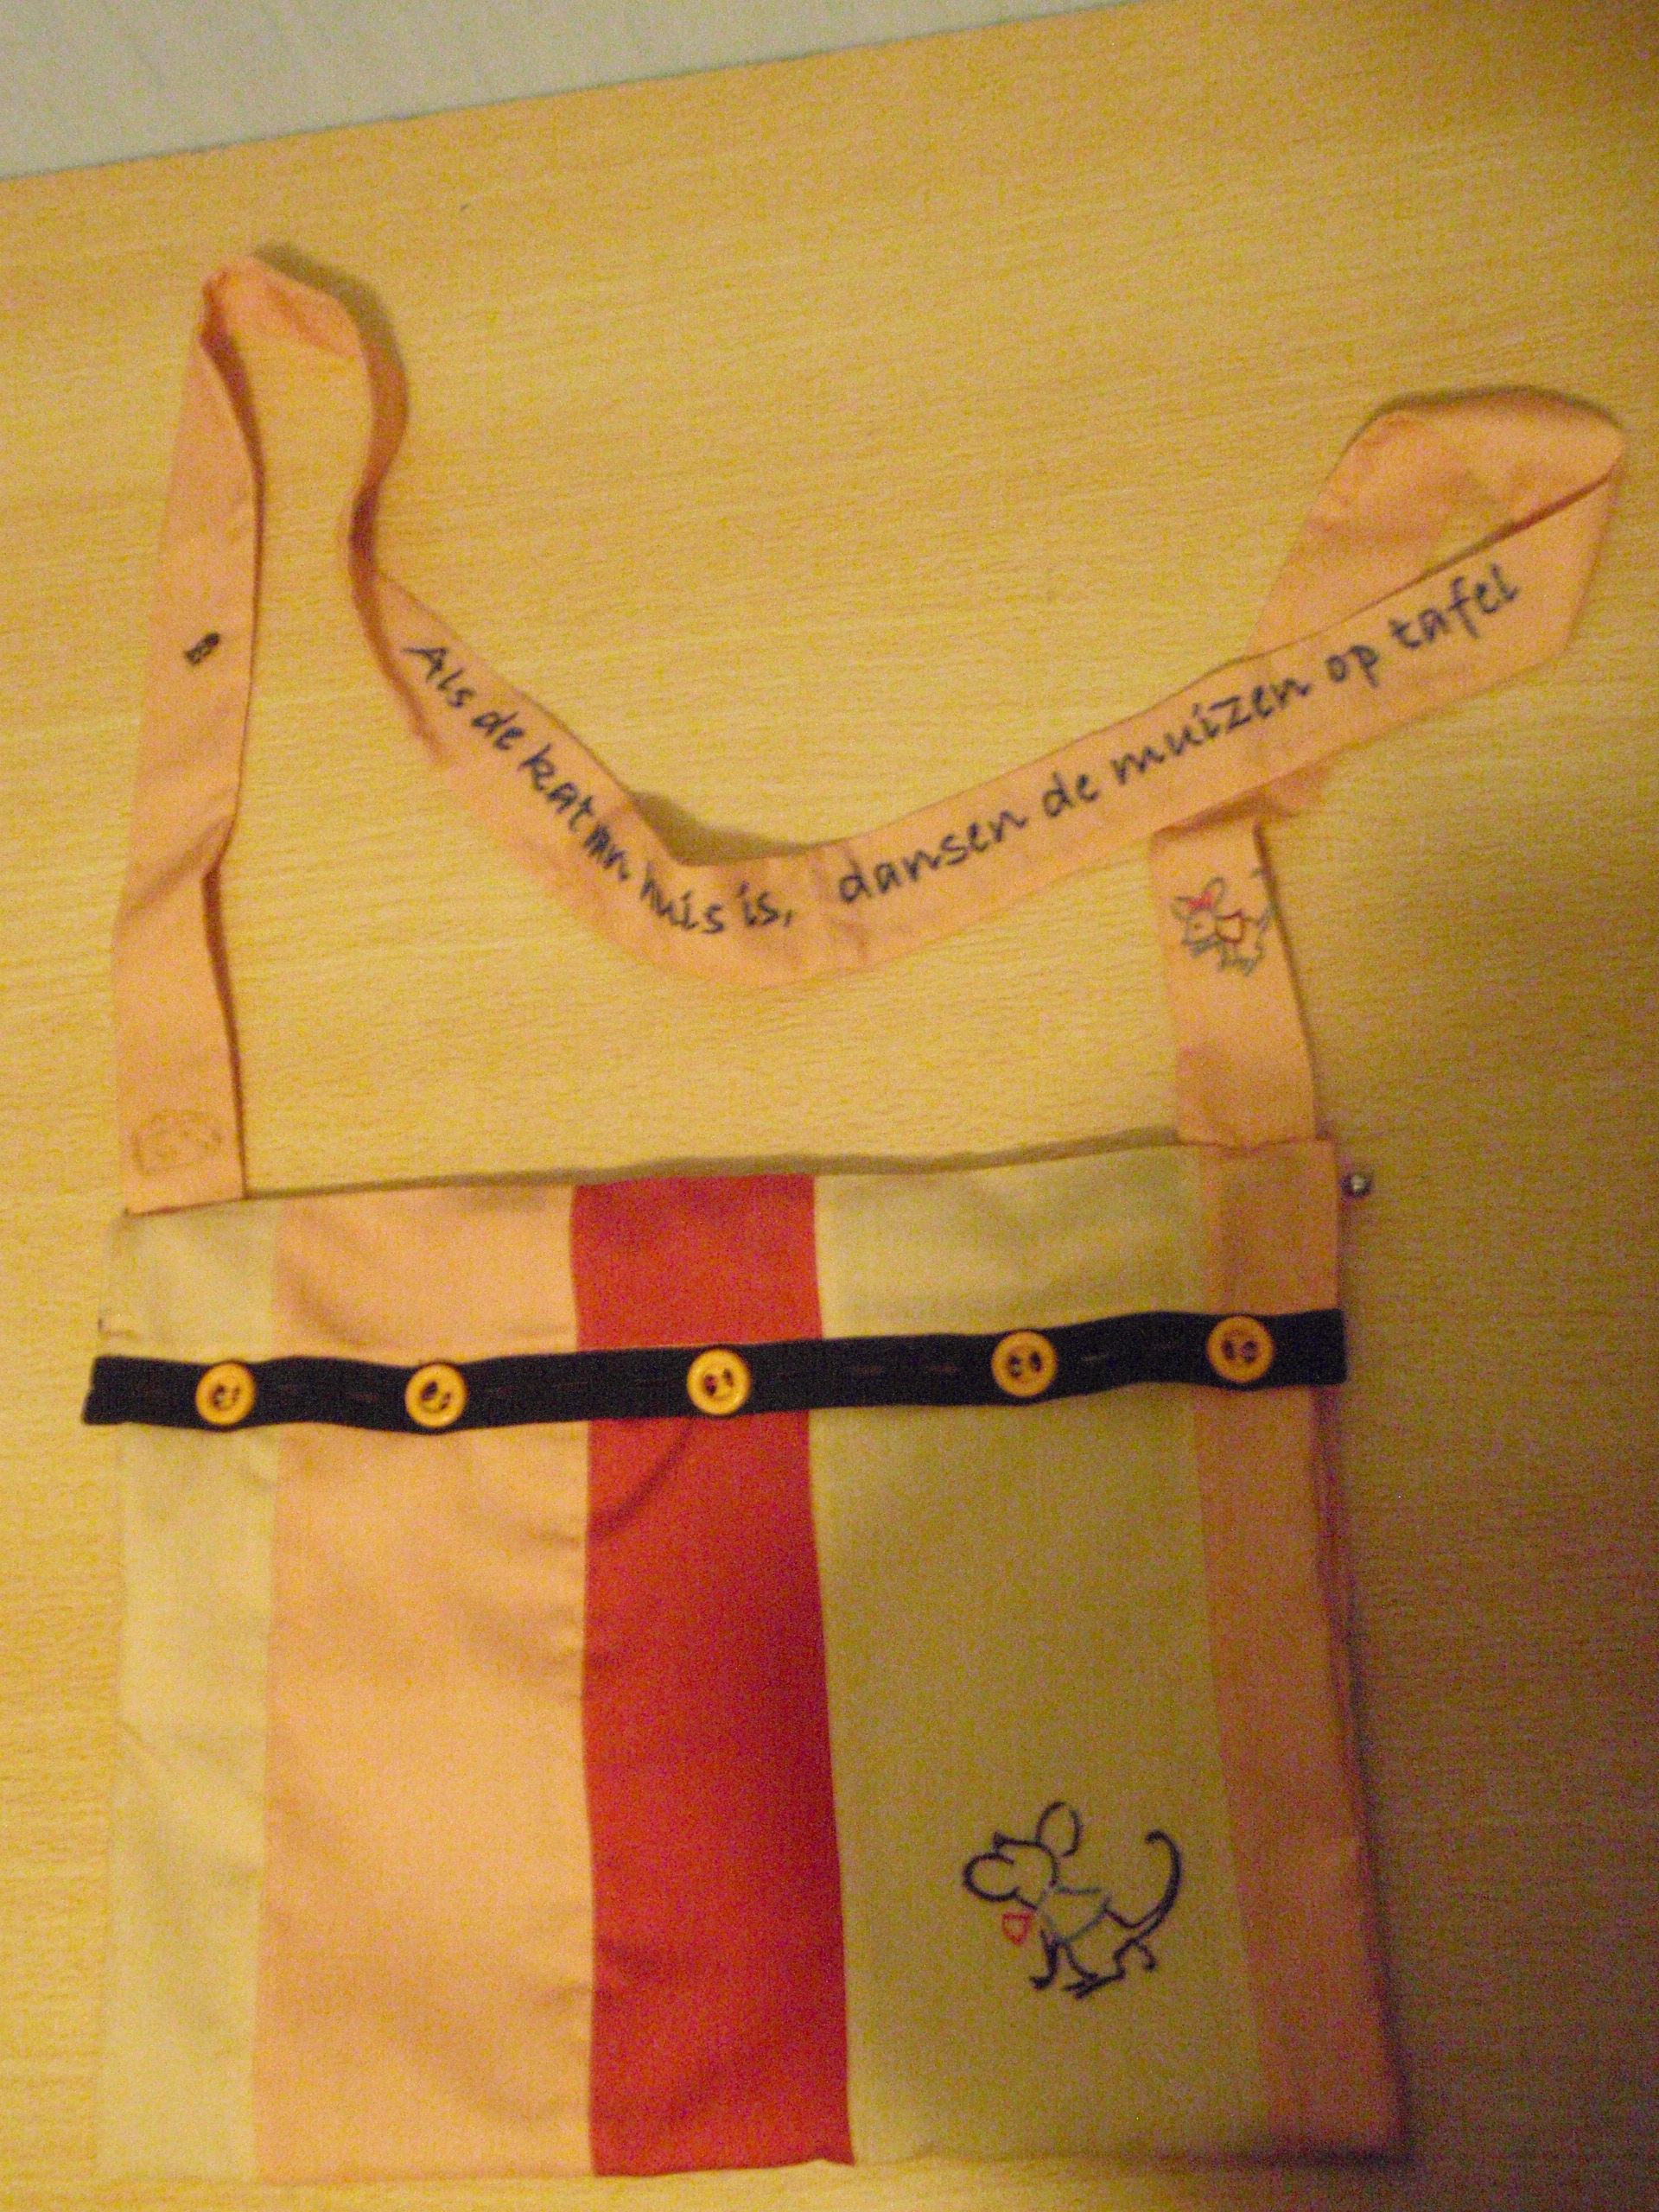
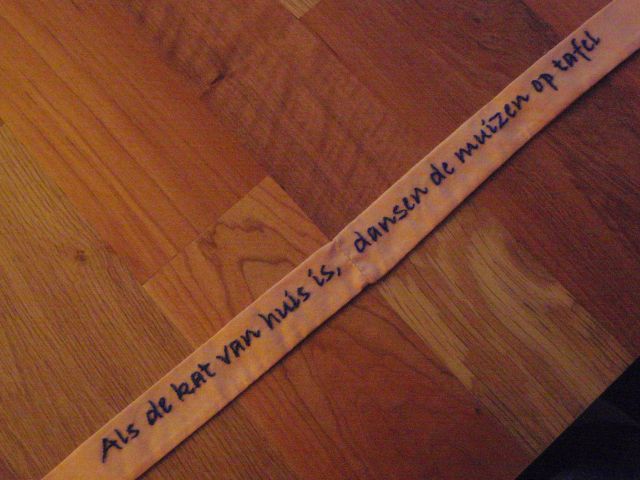
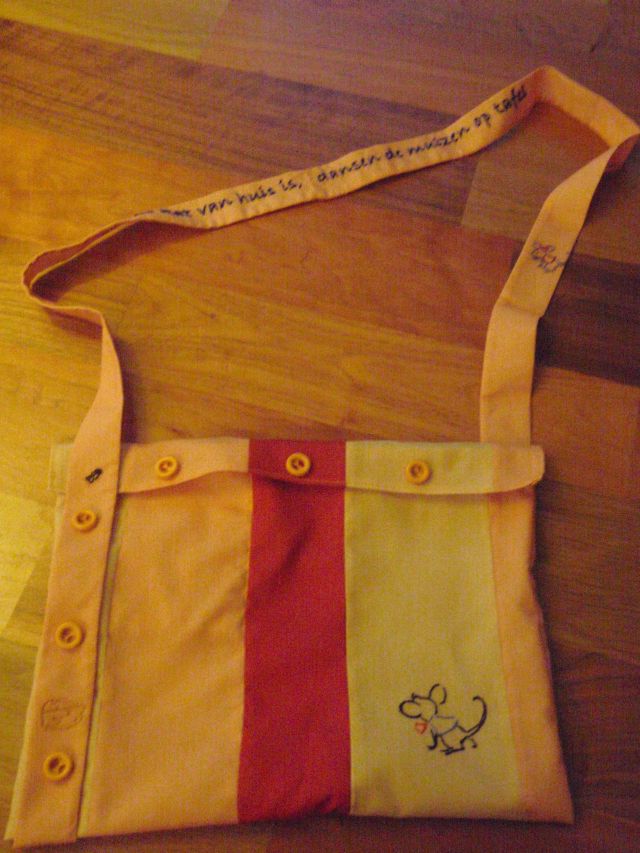
And consequently decided to finish my mice bag. So I finally attached the straps and the buttons, and added some button elastic for easy closing (and a nice different color pop). And it is finished! Mice mice mice, the text reads “Als de kat van huis is dansen de muizen op tafel”, loosely translated as: when the cat is away the mice will play.

Finished Mice bag

I hope this free week will let me start (and finish) some other projects, like:

The black & purple dress (only hemming and attaching shoulder bands).
Redoing the red pants (complete ehm, upper area needs redoing).
Starting a 3/4 circle skirt with pockets.
Repairing the bolero thing (stitching 5 cm)
Gathering the black & white houndstooth shirt (only 10 cm gathering)

As you can see… I am quite lazy and tend to postpone even the smallest of tasks. But now I have the illusive free time to play in. I’ll see what I’ll actually get done, but I hope to do at least the above mentioned things. So hopefully I have more to share.

Bag Progress

I have been making a little progress on my mouse bag, it’s now bag-shaped (yay!).

Bag

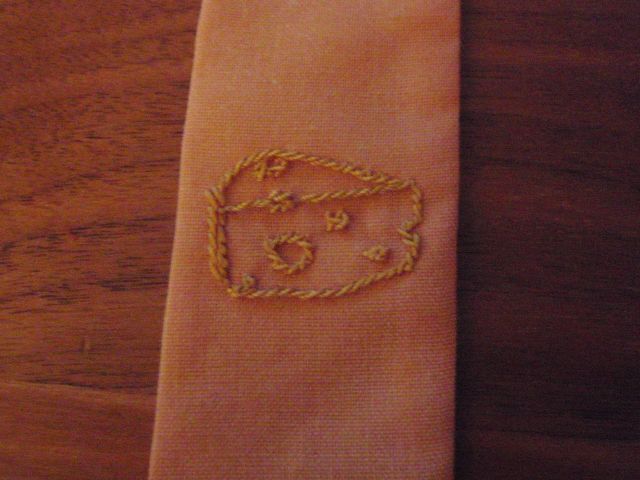
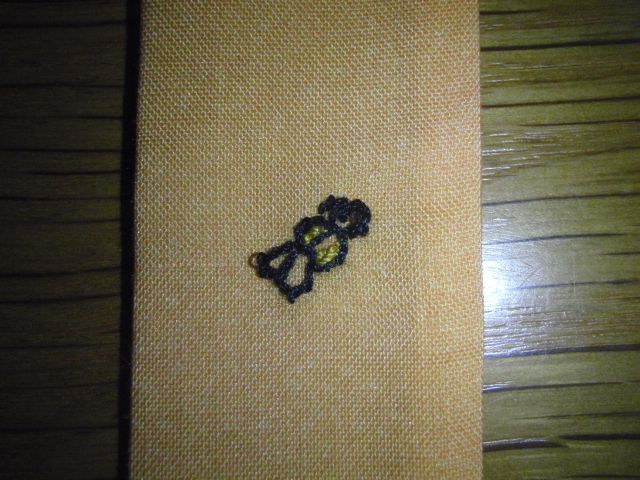
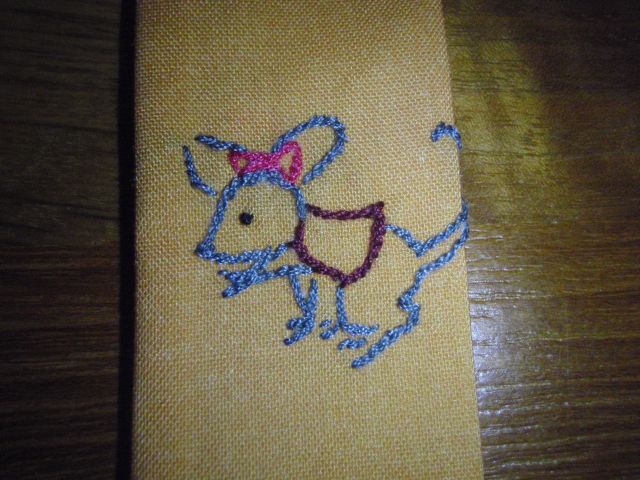
You might be able to see that the zipper does not reach from one end to the other, but from the right to bit over halfway to the left. This is because a) I couldn’t find a long enough zipper, b) was too lazy to go to town and get one and c) thought it was quite handy. You might think, why.. why Luus would you think that that would be handy?? Well the answer to that question is that there’s a little pouch for my mobile phone to the left. And no zipper equals easy access. And room for a snap. So ok, maybe it’s not super handy but I like it. In the meantime I have also worked on the strap, I did some embroidery. Cheese, a bee (don’t ask me why), a Dutch proverb and another mouse. The proverb literally translates as when the cat is away from home, the mice dance on the table. However, there is an English proverb that means approximately the same: when the cat’s away the mice will play. I figured since there were mice on the bag, the proverb would be a nice touch.

Cheese Bee Strap Mouse

It’s still not done, since it needs to close and the strap needs to be attached. I’ve thought of a way to attach the strap, by attaching one end and making the other end movable with buttons. I’m not sure if that will work though, but this is what it would possibly look like.

Potential Bag

I’m wondering if I need to add another bit of fabric to the bottom of the flap (possibly the red, or the yellow (not the orange since the strap is also orange even if the pictures don’t show it very well). Which would mean the buttons would go about 3 cm further down. The left side would be where the strap can be adjusted by buttoning the strap further down or up. So I hope I’ll finish it next week since school starts next week. I’m a tad scared for that. But at least I can impress them with my monster bag (link).

More Bags

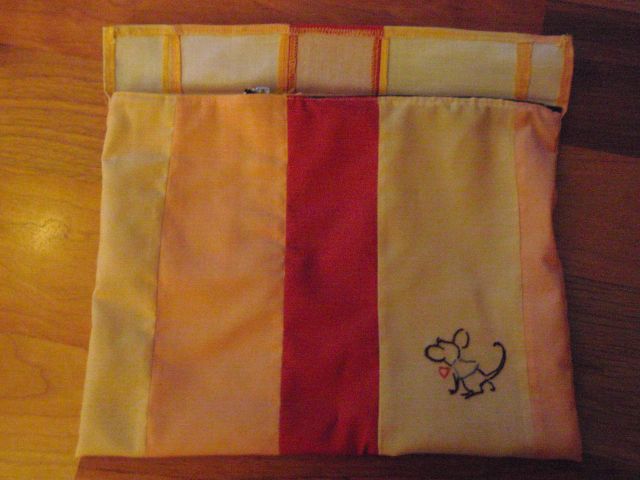
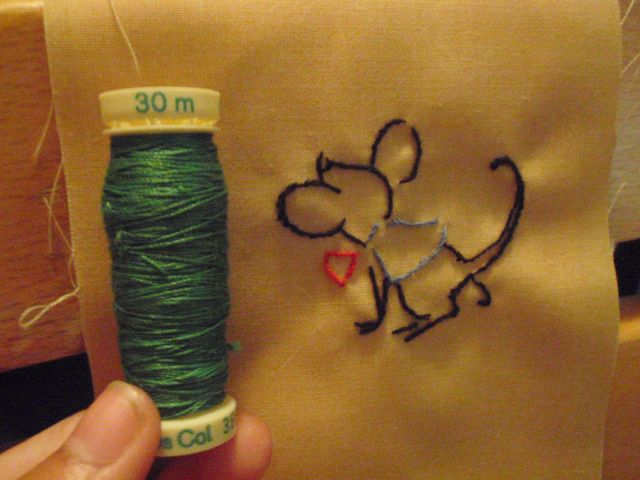
While I was on the subject of bags the previous post. I remembered just now that I have another bag in the process of making. The other day I found a vintage pattern for a sampler in the vintage embroidery patterns Flickr (link). I really like the mouse, the cat, not so much. I had some strips of fabric leftover from previous projects and decided to make them into a bag. I embroidered the mouse on the widest strip I could find, later I plan to attach all the strips together and make them into a bag. But I haven’t gotten that far yet. As of right now they are just strips with a little mouse on one of them. Here’s the mouse:

Mouse  Mouse with reference

Left is the mouse, right is the mouse with a reference length (about 3-4 cm I’d say). I personally thinks it’s really cute and awesome. Now just have to finish the bag. I hope I’ll do that soon.

Monster Bag

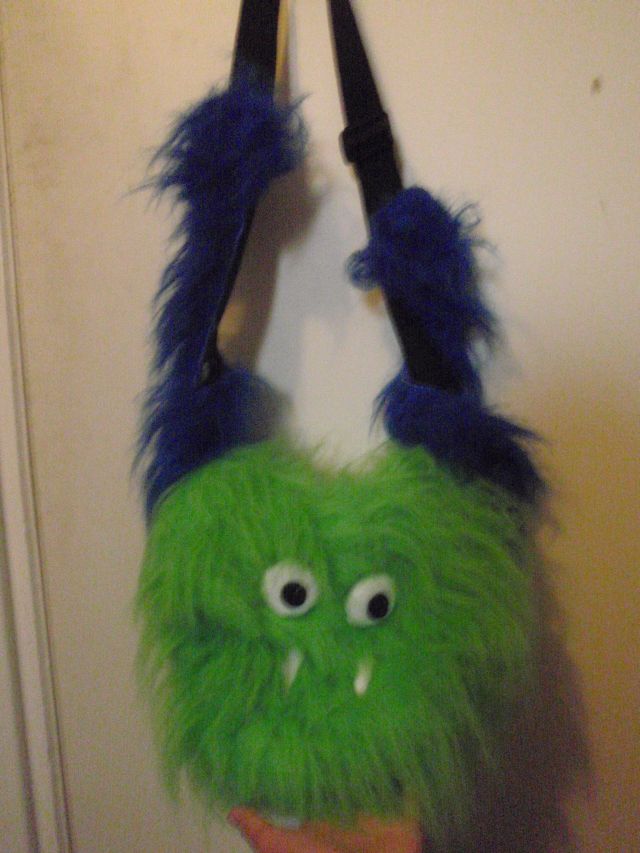
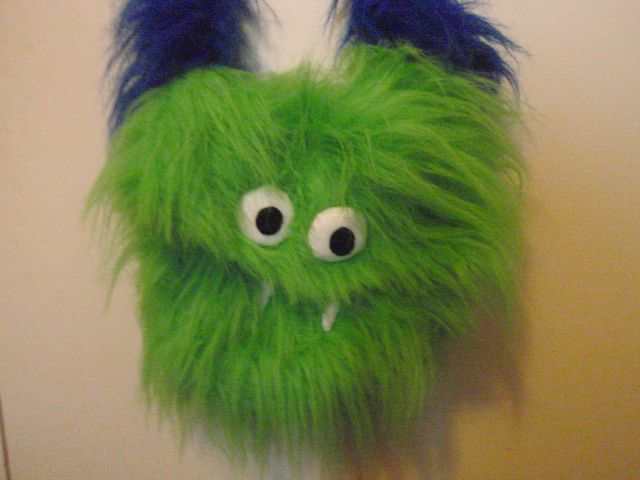
Remember the suits I made for Carnaval? I had some leftover furry fabric, so I decided to make something with it. The result was a bag. It’s reminiscent of the Monsters Inc. monsters. It’s green and furry with big eyes and 2 teeth. I think it’s really cute. My mother things it looks like Cookie monster (maybe she’s colour blind or something). Anyways, here it is. I’m very happy with it as I think it’s extremely cute:

Full Monster Monster close up

Excuse the blurriness of the first picture, I found it hard to hold the bag and move far away from it to get it all on camera. The blue furry bits along the straps are supposed to be its arms. I have some legs lying around, but I’m not sure if I want to add them. Suggestions?

It closes with snaps beneath the eyes, I had to trim it a bit around the bottom snaps because there was too much fur. But it works just fine now, so I’m happy with that. I’m quite fond of my monster bag, now I’ve got to test it on the road to see if it’s not only super cute but also useful.