Deadline Work (5) – Apron

I used to wear a shirt with a lot of pockets when I went larping (here). However, I found out that this was not very practical. It made a lot of noise, I lost a lot of stuff and running was extremely difficult. That’s why I decided to make the backpack. The skirt did have some redeeming qualities, namely the two large front pockets where I could store my books. After testing out the backpack at the last event, I discovered I really wanted those pockets back. So I made an apron. With pockets.

I went through my ‘do something with this you were unsatisfied the first time around’ box, which has bits and pieces of discarded projects to find the skirt portion of this dress (here). I removed the centre back panels and zipper and created ties out of the panels. I can probably reuse the zipper in the future. I hand hemmed the sides of the apron and attached the ties. I found some brown home dec-ish stuff and made two large pockets. I embroidered a raven on one of the pockets as my character is a firm believer in the god Raven (of knowledge). It’s a very faint outline, but I know it’s there.

Raven embroidery Embroidery

I also attached some small leftover pockets to hold my pencil and other small bits that might be handy to keep close. This is the finished thing, front and back:

OLYMPUS DIGITAL CAMERA Back

And this is me in full costume. You can see the shirt, the apron, some belts and other things I wear. I’m quite packed with stuff, while some others wander around with practically nothing. To each their own, as they say.

Call 35 1

You can just see the straps of my backpack, I’ll finally post the last update on that backpack as the last entry in this series.

Larp Top

Hi there, it’s been a while. I have been doing things though. I made a top/bra that could theoretically be used for a larp when it isn’t raining and extremely cold. I made it from a semi-larp approved fabric and it’s fully lined. I did the buttonholes myself. It’s not very special, but I figured I’d show you what I’ve been up to. It was inspired by this, but I was too lazy to do the embroidery I wanted to do. I’m going to make it again some time, but then place the straps closer to the middle, so they (hopefully) don’t slide of as easily.

Front Back


So this is front and back, and below are the fully linedness and handmade eyelets. I enjoy doing eyelets, I find it a nice skill to have.

Fully lined Eyelets

This thing was made from the remnants of that fabric out of which I also managed to get the top for another vintage simplicity dress. I hope that I can finish that soon. It will be a bit nautical, with white on top and navy on bottom, with maybe some navy details on top too. But we’ll see how that goes.

Brown Dress – Now Finished!

Now the reason I finished the Brown Dress today, is that today is the last day of the Sew Weekly Reunion. While I hadn’t officially signed up, since I didn’t think I owned or any of those colours, I think this fits that weird brown colour ‘carafe’. (It’s close enough in my book anyway.)

So I present you my Sew Weekly Reunion piece: The Brown Dress (catchy name, right?)

The Facts
Fabric: Brown linen (? I don’t know my fabric types)
Notions: White and brown thread (does that count?)
Pantone Challenge colors: Carafe
Pattern: I cannot find the original pattern any more, but it was something like this: Medieval dress

With some alterations that I added, such as the neck treatment and the back eyelet panels.
Year: Old.
Time to complete: 5 years, in total maybe 30 hours? It is completely hand sewn.
First worn: For pictures, will be worn in the middle and end of September
Wear again? Yes!
Total Cost: I’m guessing maybe 4 Euro for fabric and thread? (I was really cheap back then, student budget)

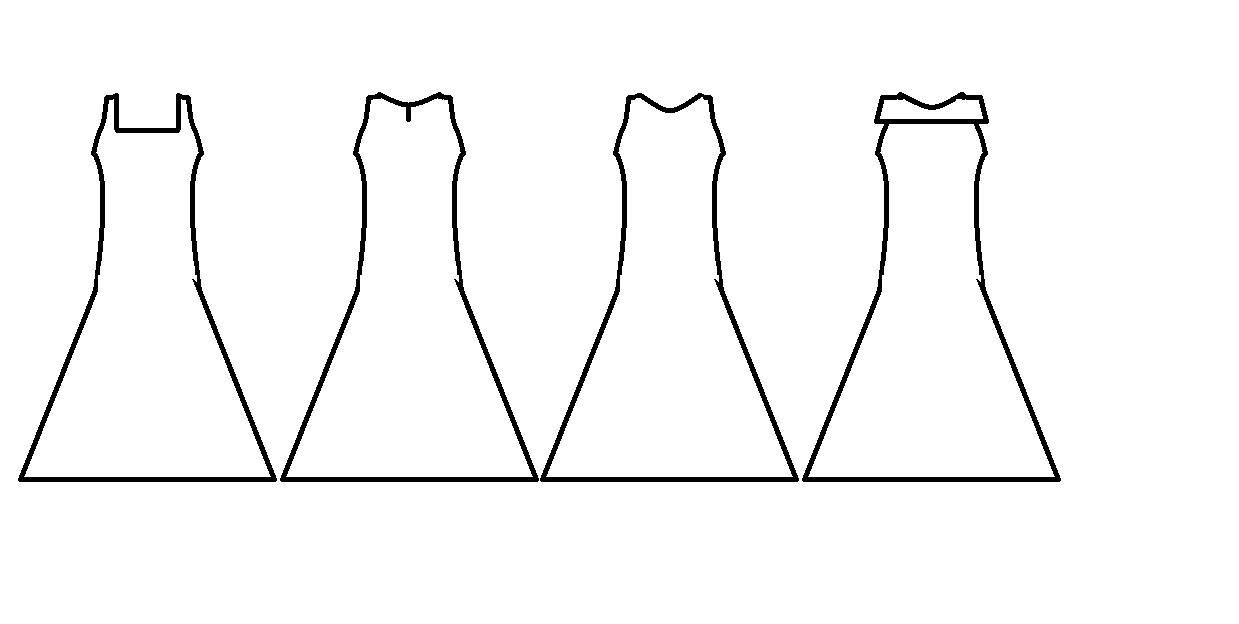
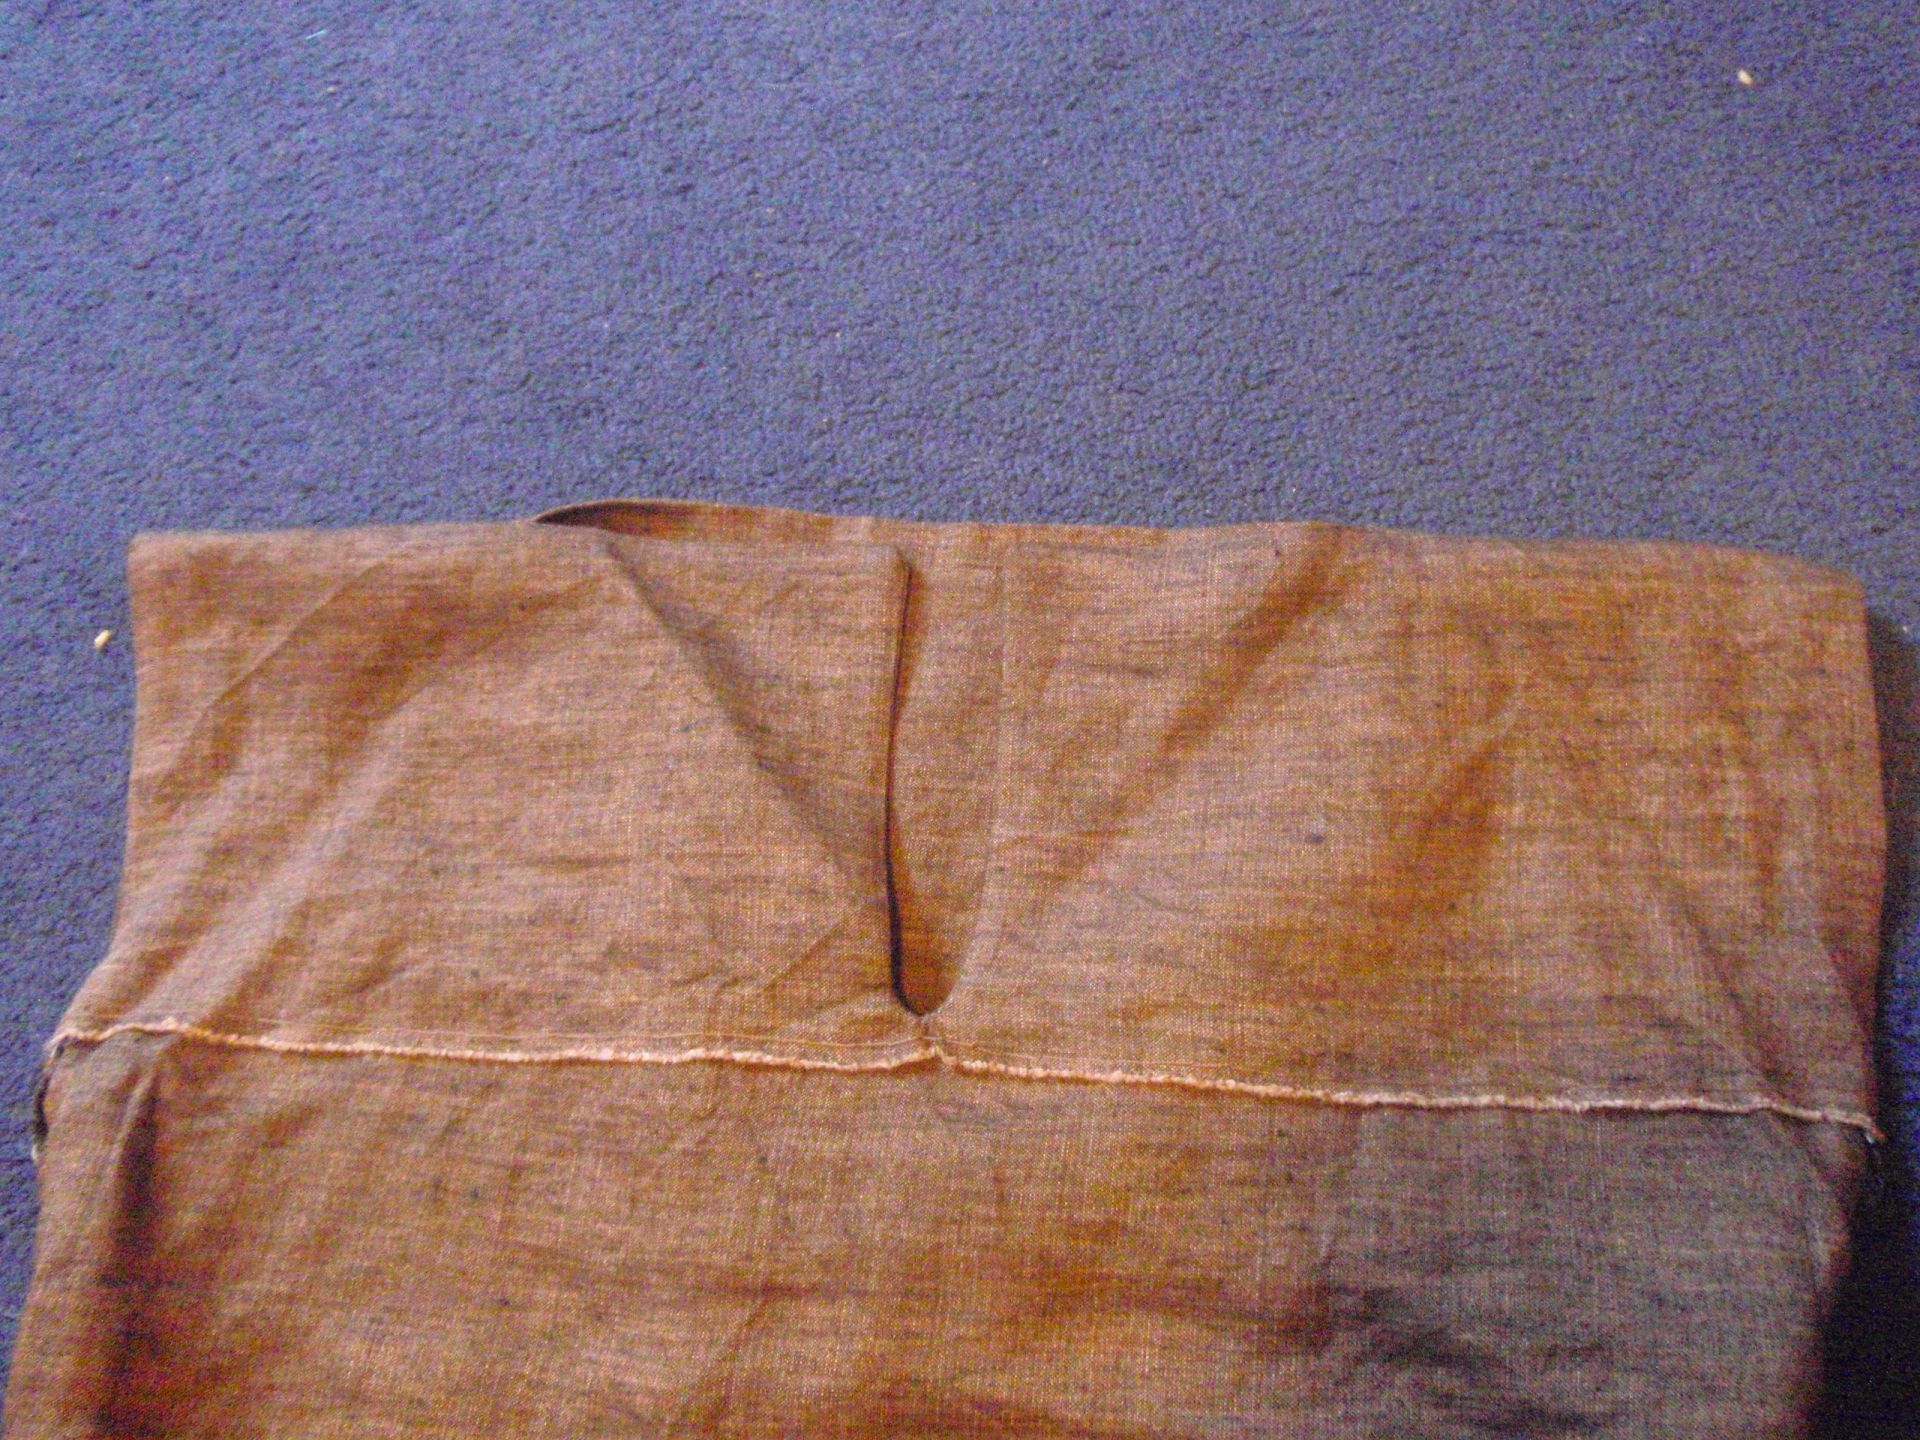
So, I finally decided on a neck treatment for my brown dress (here). I had four different options to choose from and I eventually settled on B (see below). The reason for this is that it’s high, so it’s warm, and a slit is fairly easy to sew if you have 15 odd centimetres of fabric too much at the top of your dress.

tops
(Yes, this is a really quick Paint sketch, gotta love Paint, people!)

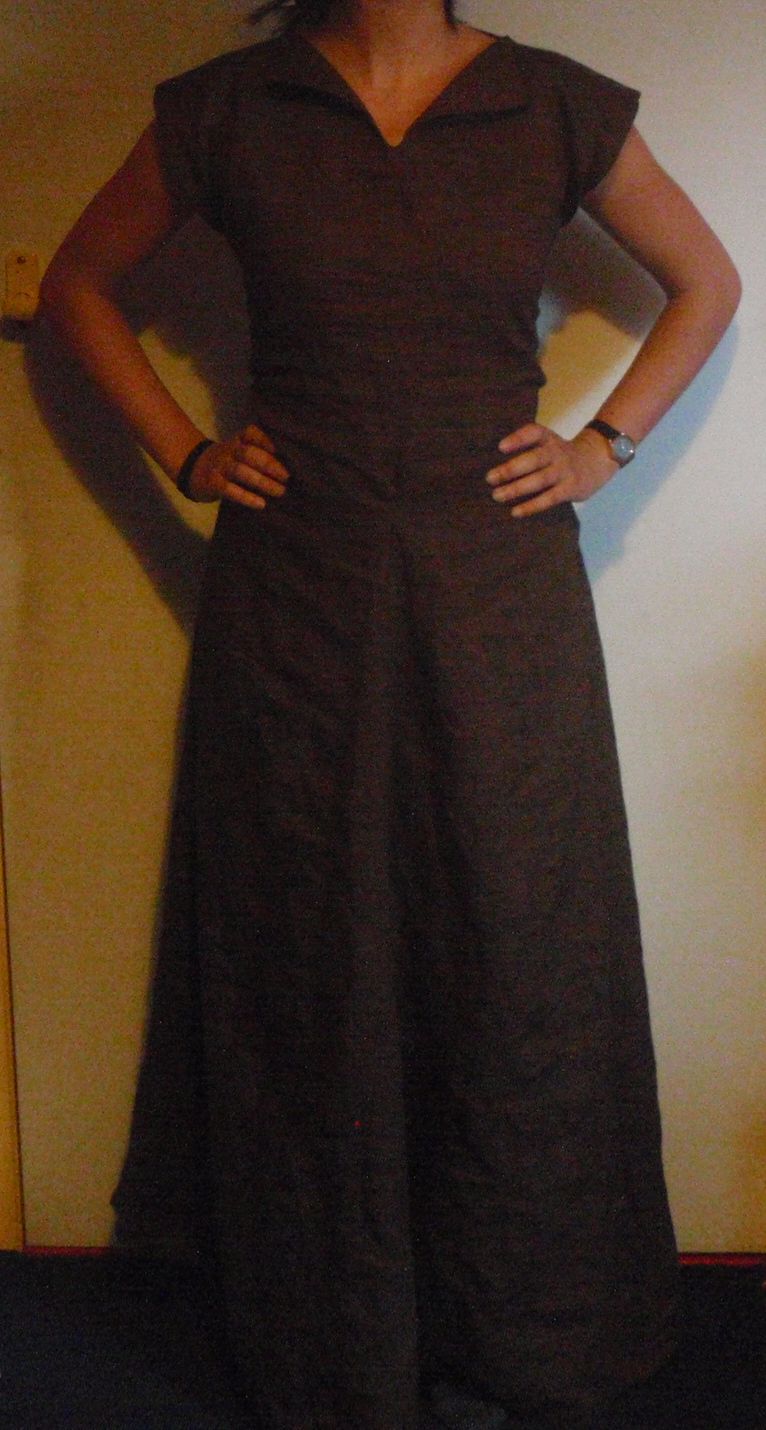
This treatment is also easier to finish as I had an inbuilt facing piece already. Anyway, here is the finished dress!

Front Back Top

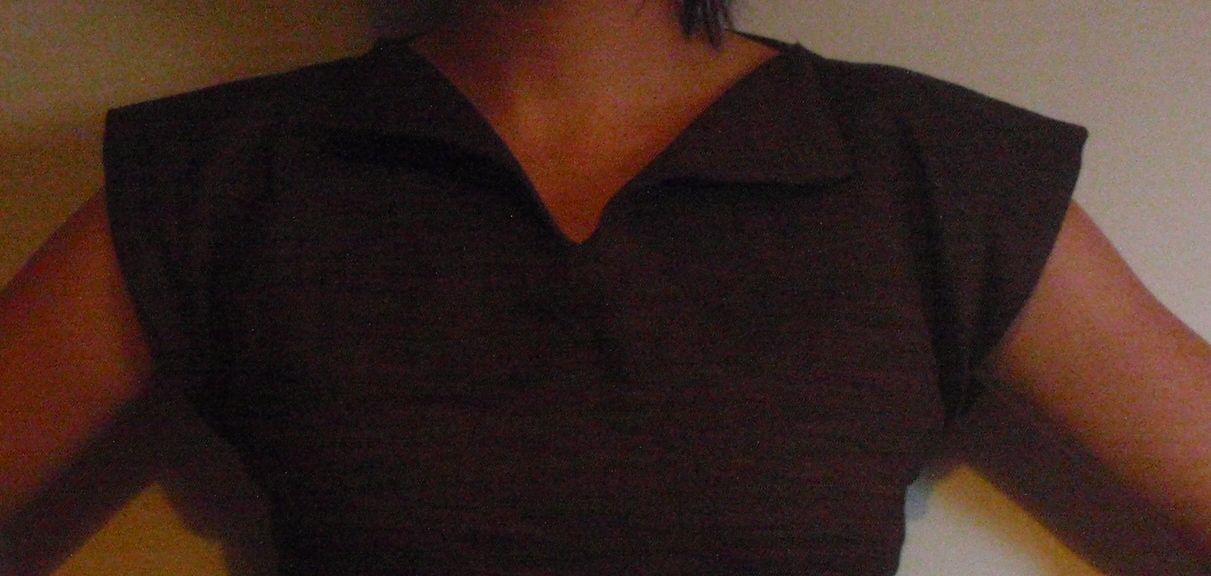
Front and back go first of course, with a detail of the neck slash opening.

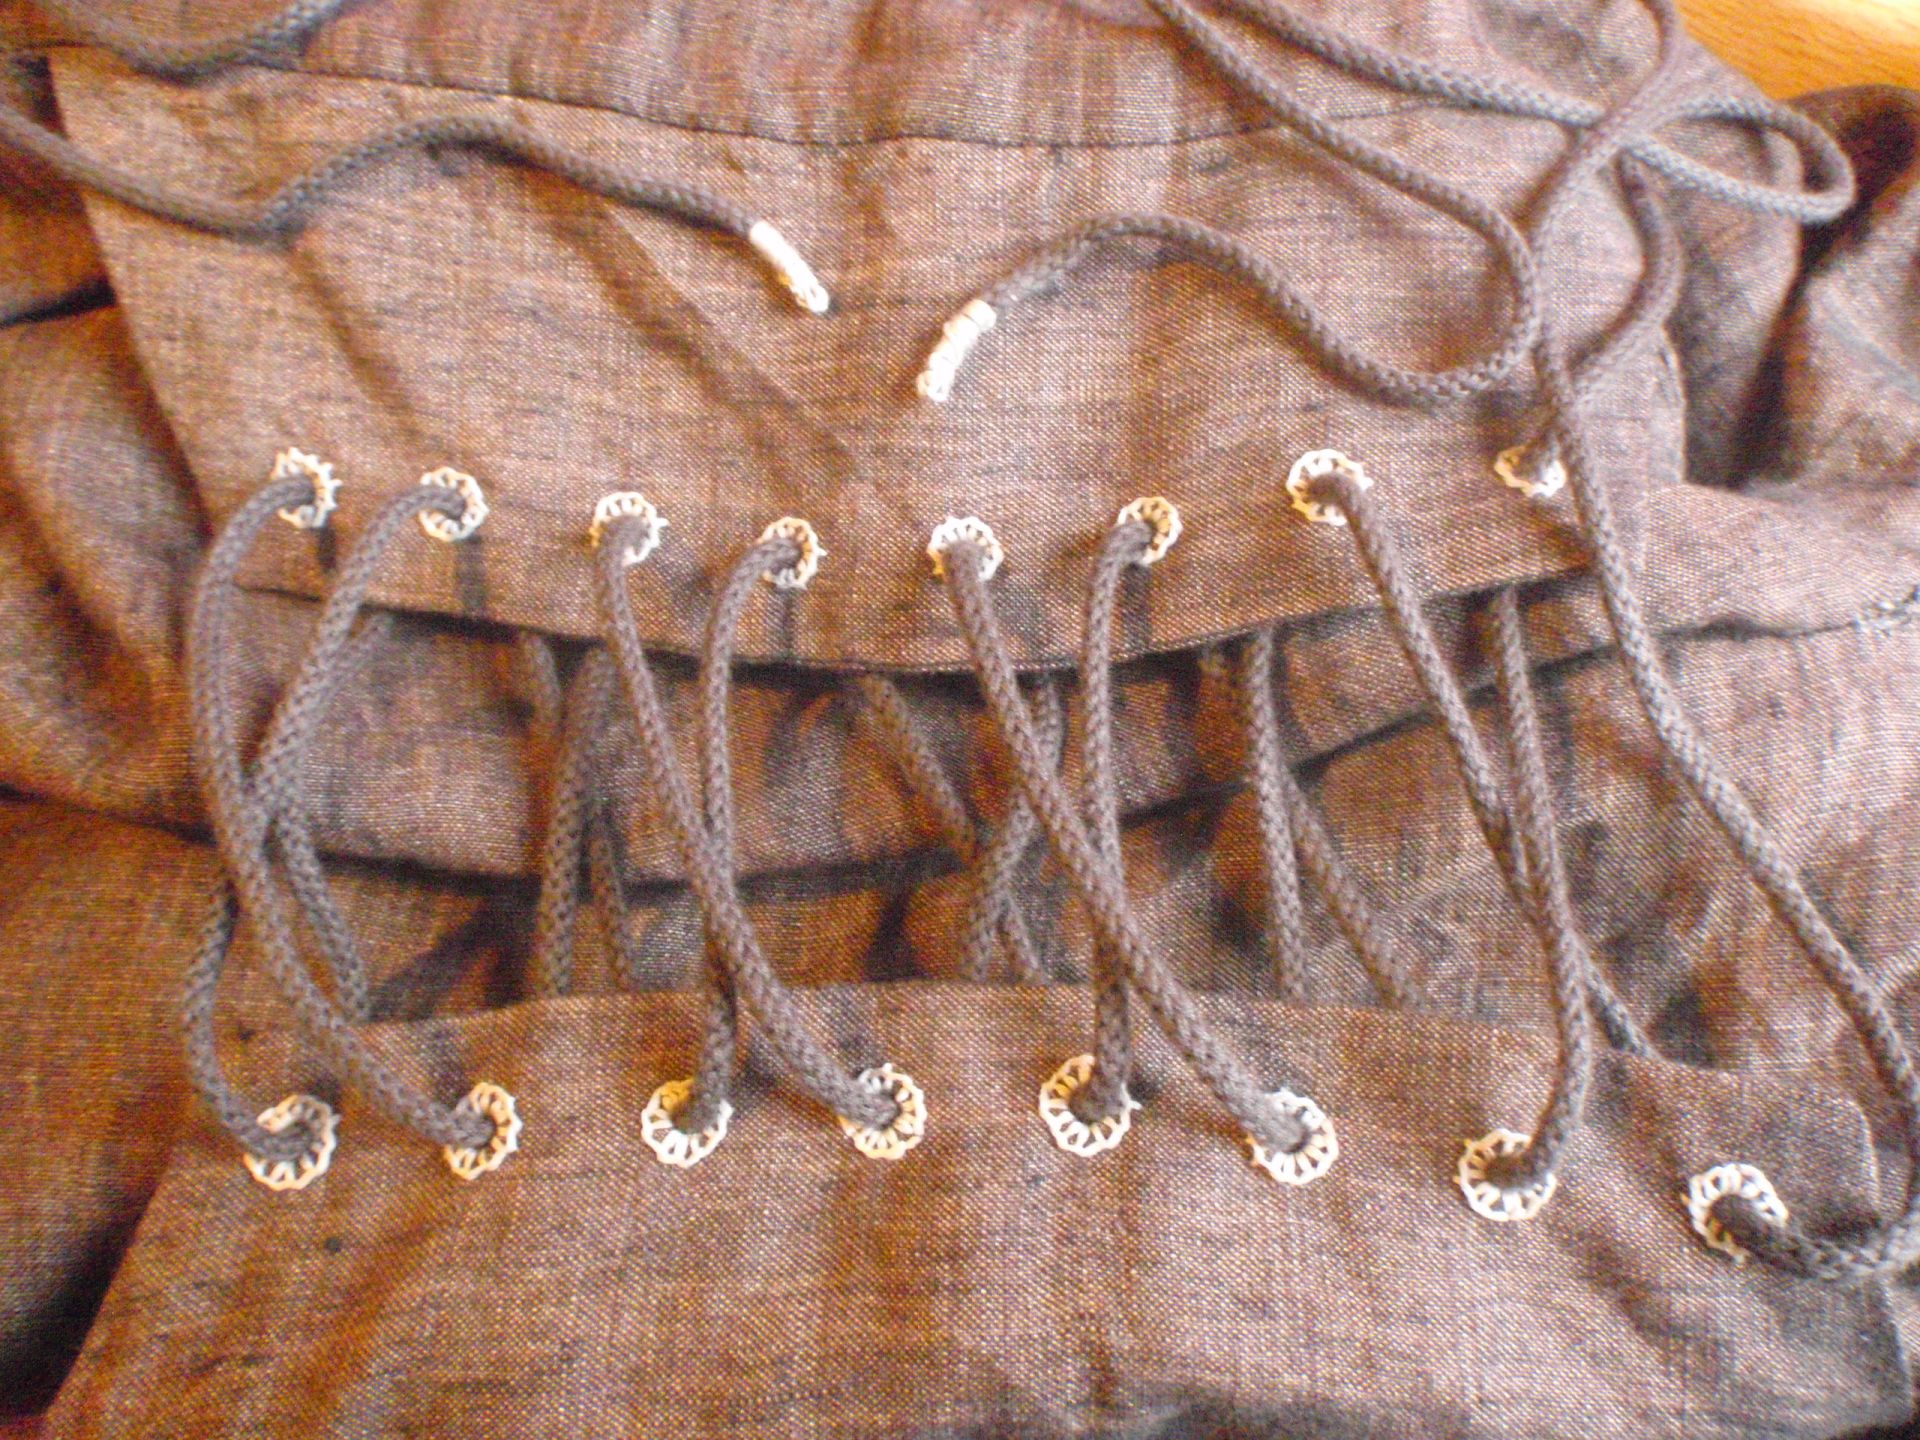
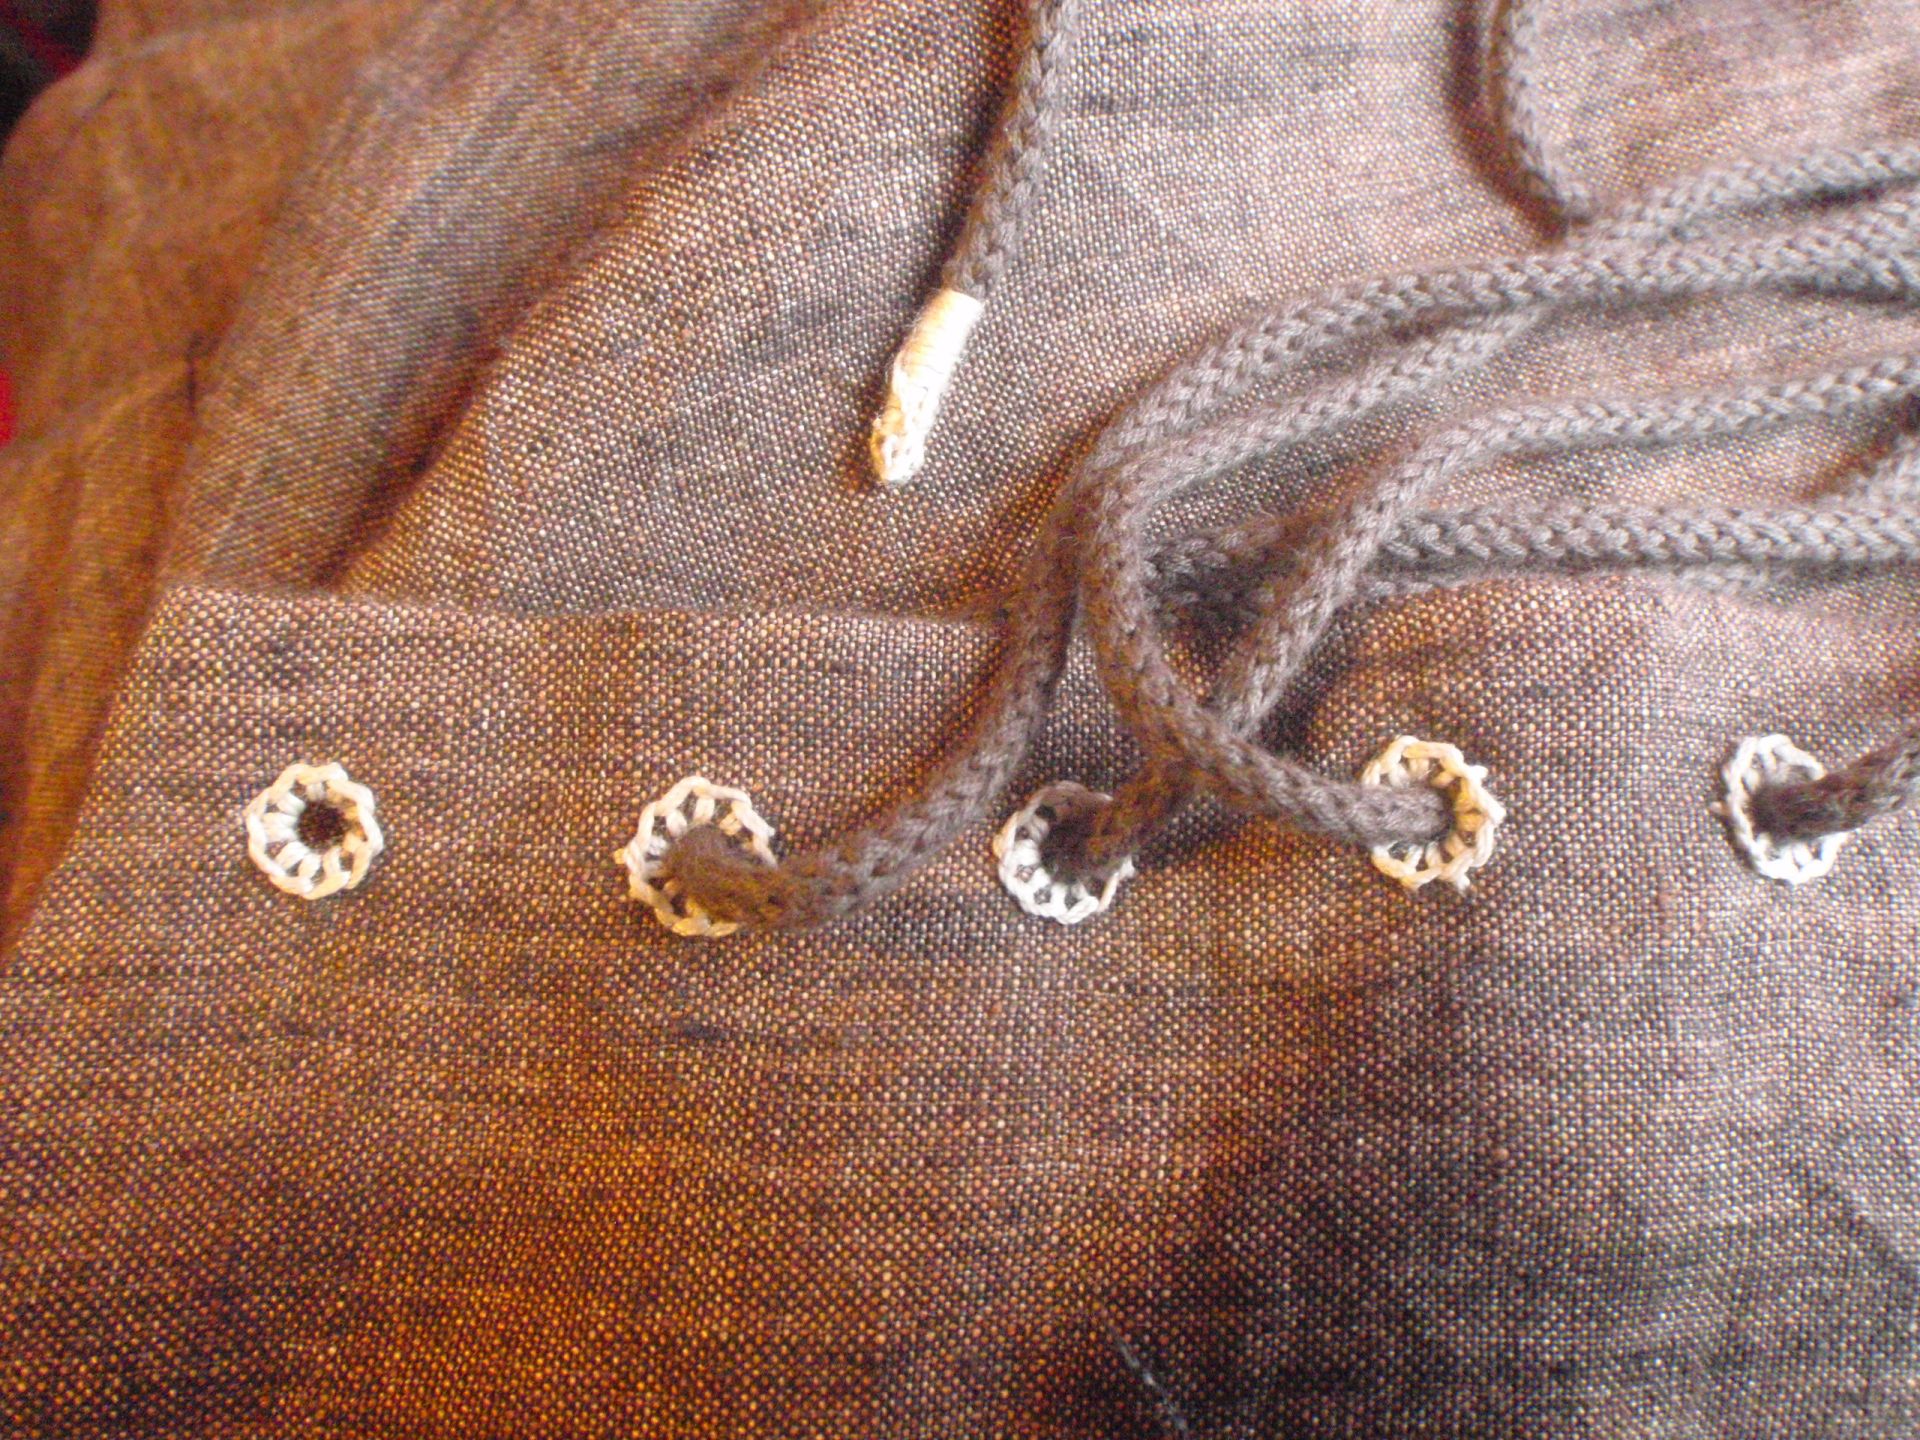
I sewed this thing completely by hand, with only the use of an iron, a metal current meter and a paint brush. Those last two might seem a bit strange, but I had to use an awl for poking the eyelets, and I couldn’t find one. However, the combination of the metal stick and the paint brush to make the hole bigger worked fine. Here is a picture of my eyelets including the ends of the string that I bound so they go through the holes easier.

Eyelets Eyelets

I also want to show you a picture of the insides, first top back and front:

Top front inside Top back inside

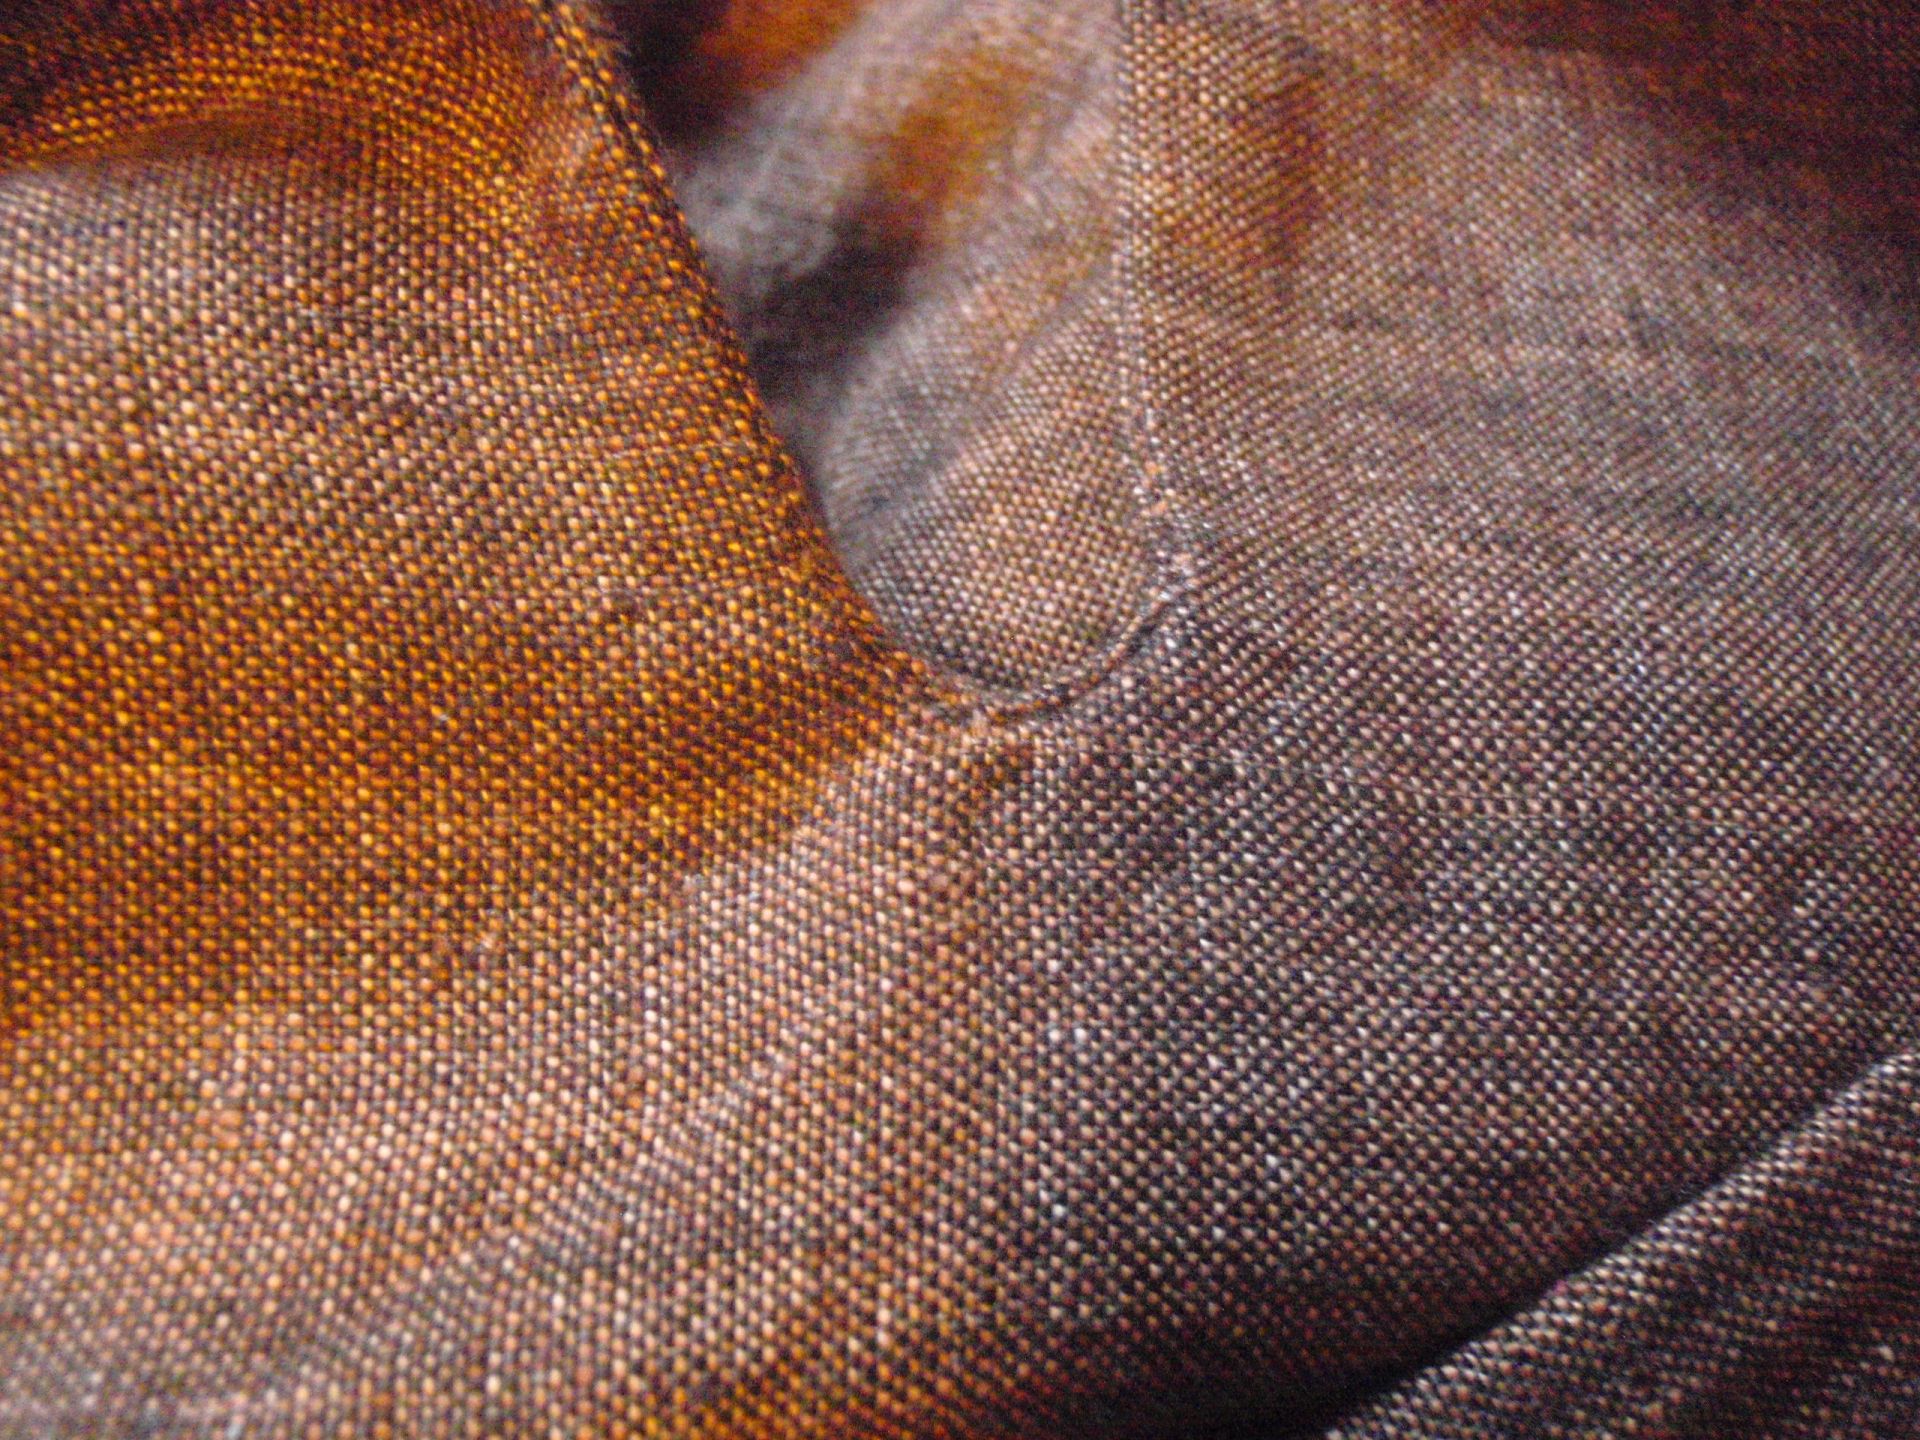
The edges are the selvage of the fabric, so they don’t fray. I did tack them down, but somehow managed to make  those stitches as close to invisible as you can get. I put this down to variegated fabric and matched tread. Below you see the bottom of the slit, clearly the facing had to have been tacked down somewhere there, but I couldn’t find my stitches.

Slit and invisible stitches

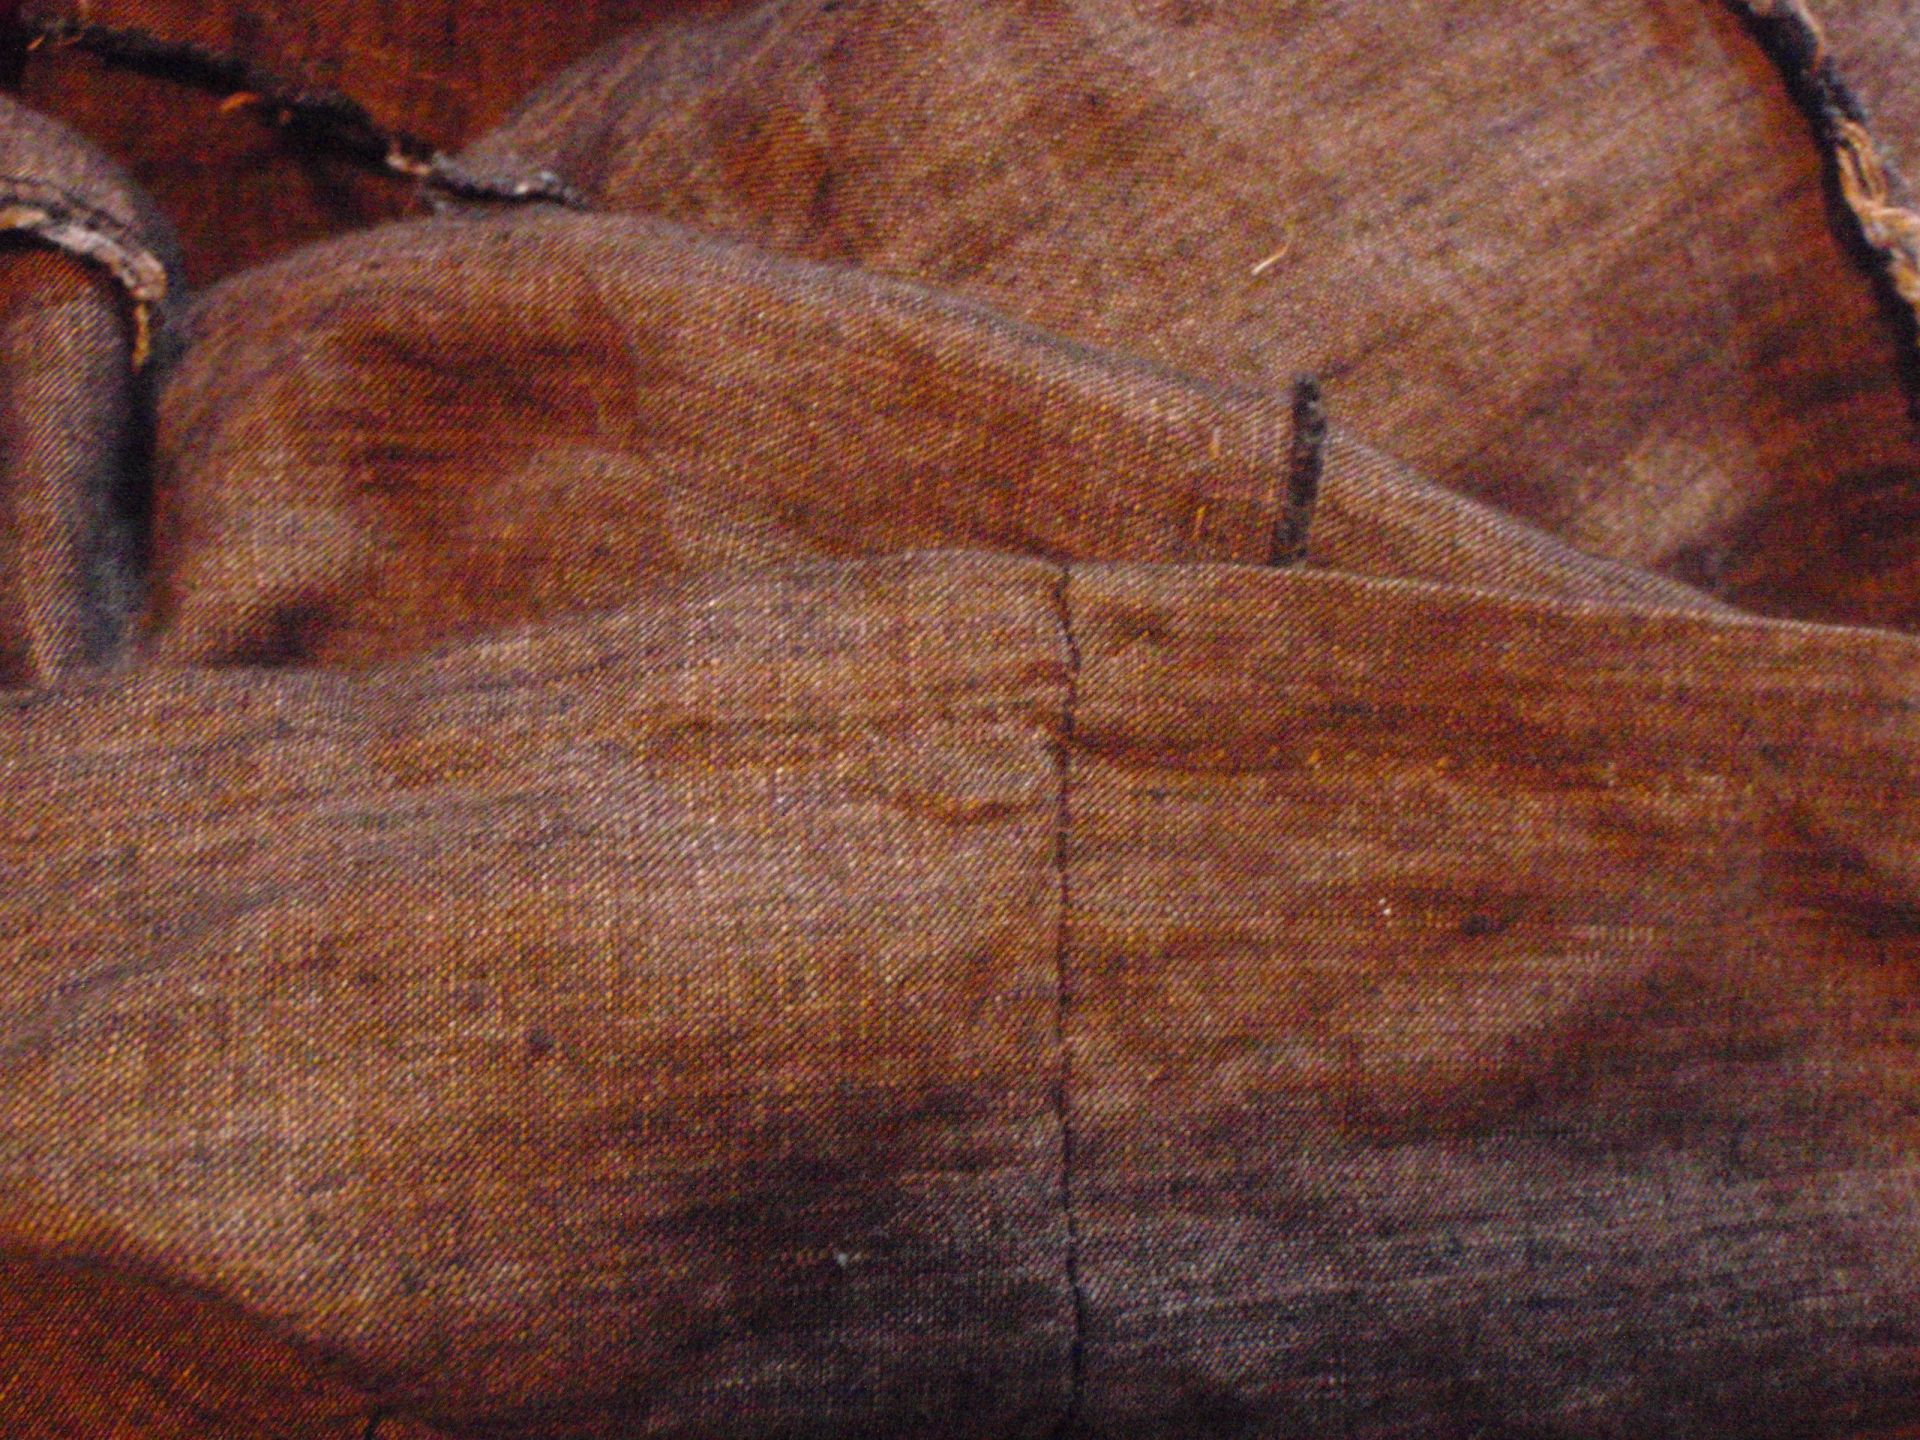
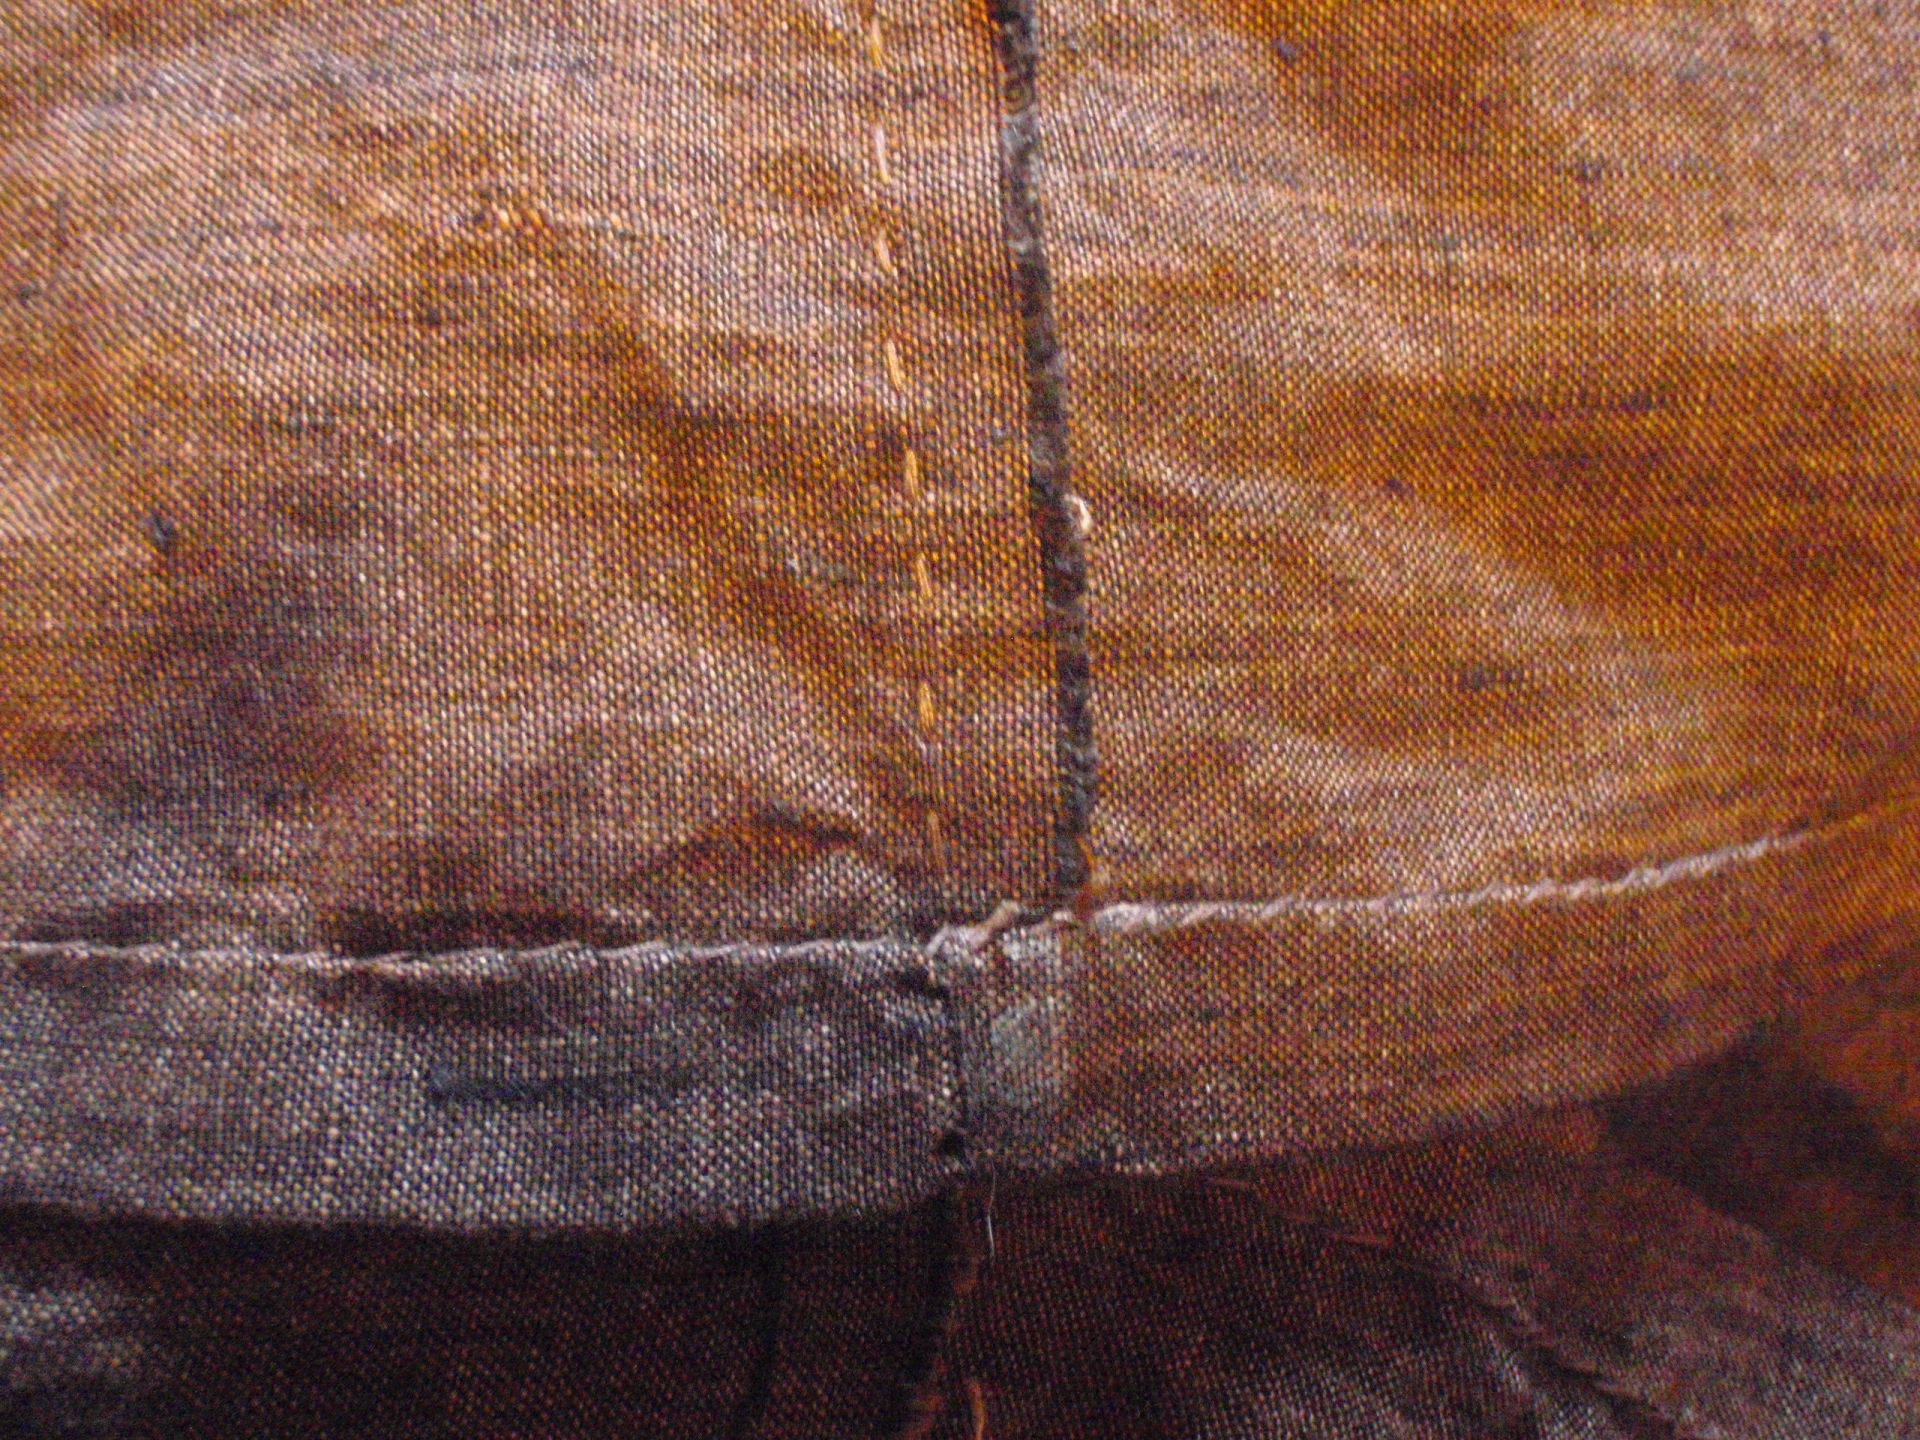
Lastly, the hem. This is also near invisible, which I’m really proud of. Next to it is a shot of a bit of the insides, all painstakingly hand sewn.

Invisible hem Hem


So while it did take quite a while to finish this dress. I’m really happy with it. It fits well, I can dress myself and I have shape (some at least) in it. I’m so glad I managed to find a solution and put this puppy to sleep. Now, I need to finish some other projects!


Injuries and armour

I’m going to try to make myself an armour. A soft leather armour corset thing. I found some skai, took a meter of it home and found some pictures online that would hopefully give me a nice idea. At the place where I got the skai, I also got some stretchy fabrics that I’m planning on using soon.

I was trying to work with some of that fabric (fleece) and my machine kept skipping stitches. I learned a lesson that day.. Make sure you turn your machine off, or at least keep your foot of the pedal when you put your fingers under the needle..

Finger

You probably can’t see it very well on that picture, but the left arrow is pointing to the entry point of my sewing machine needle, and the right to the exit point of said needle. Needless to say.. it HURT! A lot! It happened about 1.5 week ago, and while it doesn’t really hurt anymore, my finger feels weird still. Luckily this was the first time it happened in about.. 10 years? I’m planning on never having it happen again.

So, back to the armour.. I attempted this pinterest thing again (I fail) but at least it saves my pictures. Here you can find my pins (I hope).  I have two now that I’m basing my design on. The left and the right, the middle one, with the straps, I’m not liking as much. The skai has a white back, so I’m using some black denim like stuff as an under layer to stitch the skai on. I made the black body and then cut out the pieces. I only needed a very small amount of skai:

Skai

I have way over half left, so I haven’t got a clue yet what I’m going to do with it. I also purchased some black thread and hope to pursue this project further soon. I’m now also working on finishing that blue coat that you’ve been hearing about for ages. Finishing one sleeve and adding two buttons, that’s all that’s needed. I’d better go back to that now.. Happy creative activities to you all!

Skirt

The skirt I started here, finally got hemmed on Tuesday. I decided to also redo the top. Gather it a little more. Since last time I messed up my calculations and made it wide enough for my hips and it had to cross over in the back. This made the hem all weird and crooked. So before attempting to actually hem it, I had to unpick the top and do it all again. Luckily it went a little faster than the first time.

Skirt front Skirt back

Front and back respectively. It is a narrow hem, therefore it doesn’t stand out as much as it could do. There is approximately 6 meters of circumference in the hem, so imagine how long it took to hem it.. (pin, iron, sew, iron, iron, cut, iron + pin, sew, iron, iron… I saw each piece way too often).

Skirt

Yes, I pulled my shirt over my sweater, I know, it’s silly, but it keeps up the sweater really quite well. I’m thinking of making button loops at the bottom of the skirt in four places, and 4 buttons on the waistband of this skirt or the potential overdress, so that if I actively plan to go into battle, I can put it up and have less chance of stepping on the hem. I’m not sure yet. I’ll probably just add loops anyway, it won’t harm the hem.

On to the next, the overdress and maybe I’ll make a little light armour out of fake leather, we’ll see.


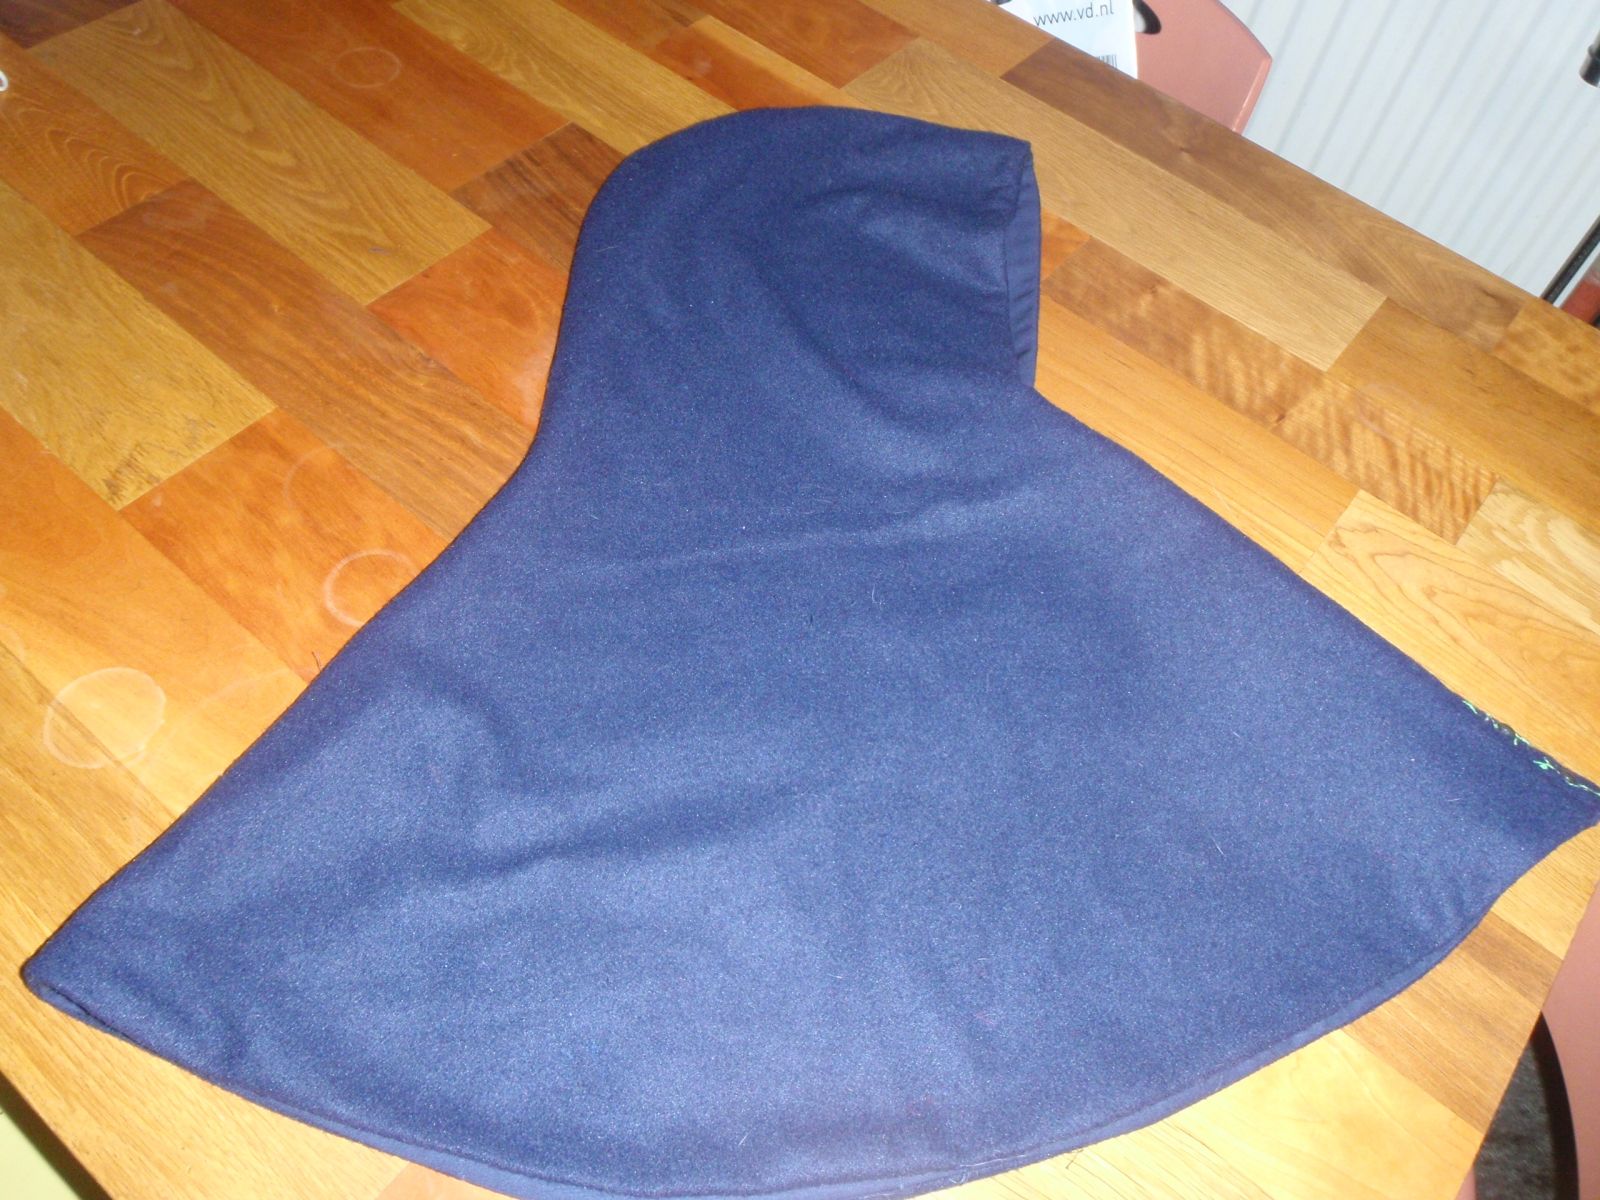
Costume hood

For my new back-up character I wanted to make a costume. I already drew a sketch (here), and started on the skirt (which still does not have a hem by the way). I started the hood the day before yesterday. I had made a hood before out of fleece and drew around it, this made my pattern. I cut it out of the same fabric I used for my coat (which is actually almost finished, just sleeve ends and hems). Found some fabric for lining (the same as I used for the outside of my other costume (here).

Sewed it all up except for the front, since I wanted a button closure. I don’t know if it’s historically correct, and I know my buttons aren’t, but I liked the idea. Then I decided I wanted to add a button band, and wanted some embroidery on it. So I googled and googled and drew and drew and came up with an ivy pattern to connect my buttonholes. It took until late that night to finish it. The next night I sewed on the buttons and the band, and it was finished! Here it is, let me know what you think.

Hood side Hood

The button band is embroidered with ivy leaves. The vines are darker green and the leaves are lighter green. The vines were stem stitched and the leaves back stitched. The buttonholes were done by machine. I’m really happy with it. I like the ivy a lot. I’m starting to wonder if I should embroider it on everything in the costume.

Button band Detail


Productivity, 3.

The other thing I made was a skirt. I already spoke about the larp event we are organising. I quite like to have costumes for that sort of thing, even if I’m not playing myself. However, a month later (beginning of May) there is an event where I will be playing. In case my current character decides to die (or just dies) I would like to have a backup character ready to step back in again.

So while I was at school trying to work on my thesis, I decided to take a break and google for a larp-staff. A piece of equipment I have been wanting to own for years, however, the only ones available are.. well.. ugly. I don’t like them at all. Then, a miracle happened, I founded something I liked! Or at least, liked a lot more than all the other ones out there. It can be found here. Now, the only thing I didn’t like were the metal caps around the bottom. I got a custom order and they will make me one without the caps. It all went fairly smoothly and they are very friendly at Skian Mohr.

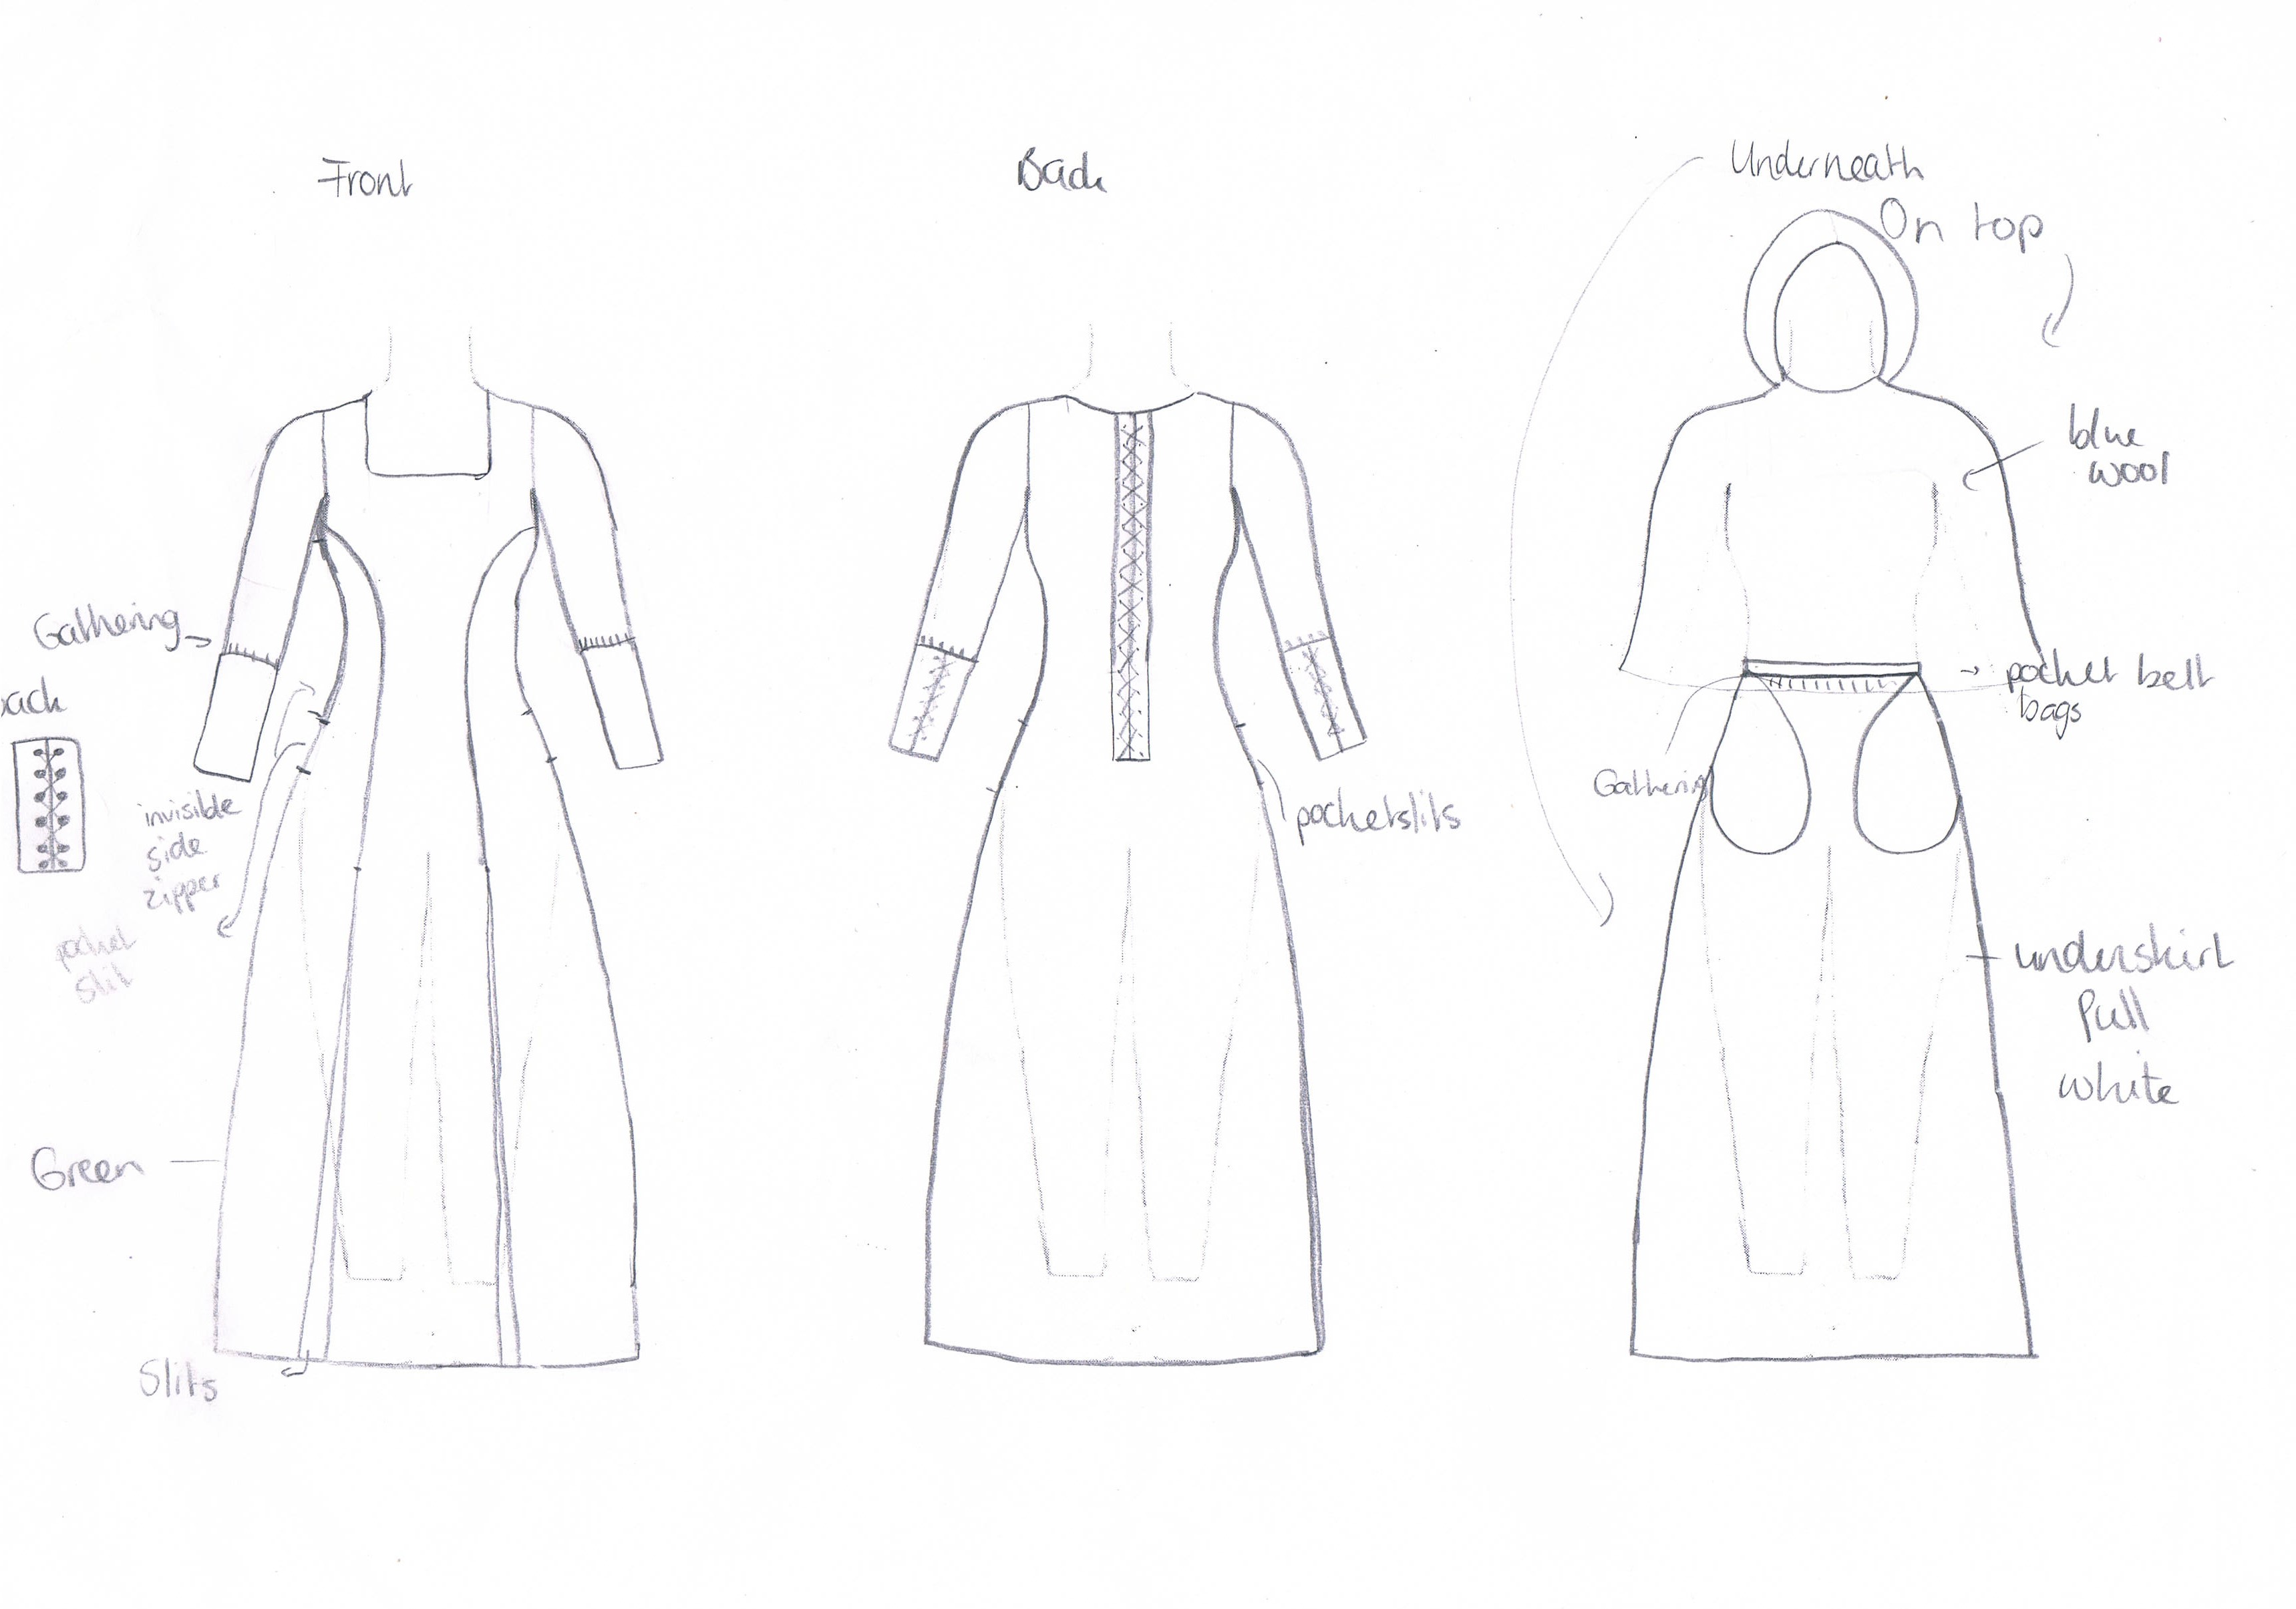
Next, I needed a new costume (of course) so I drew one out:

Fighterdress

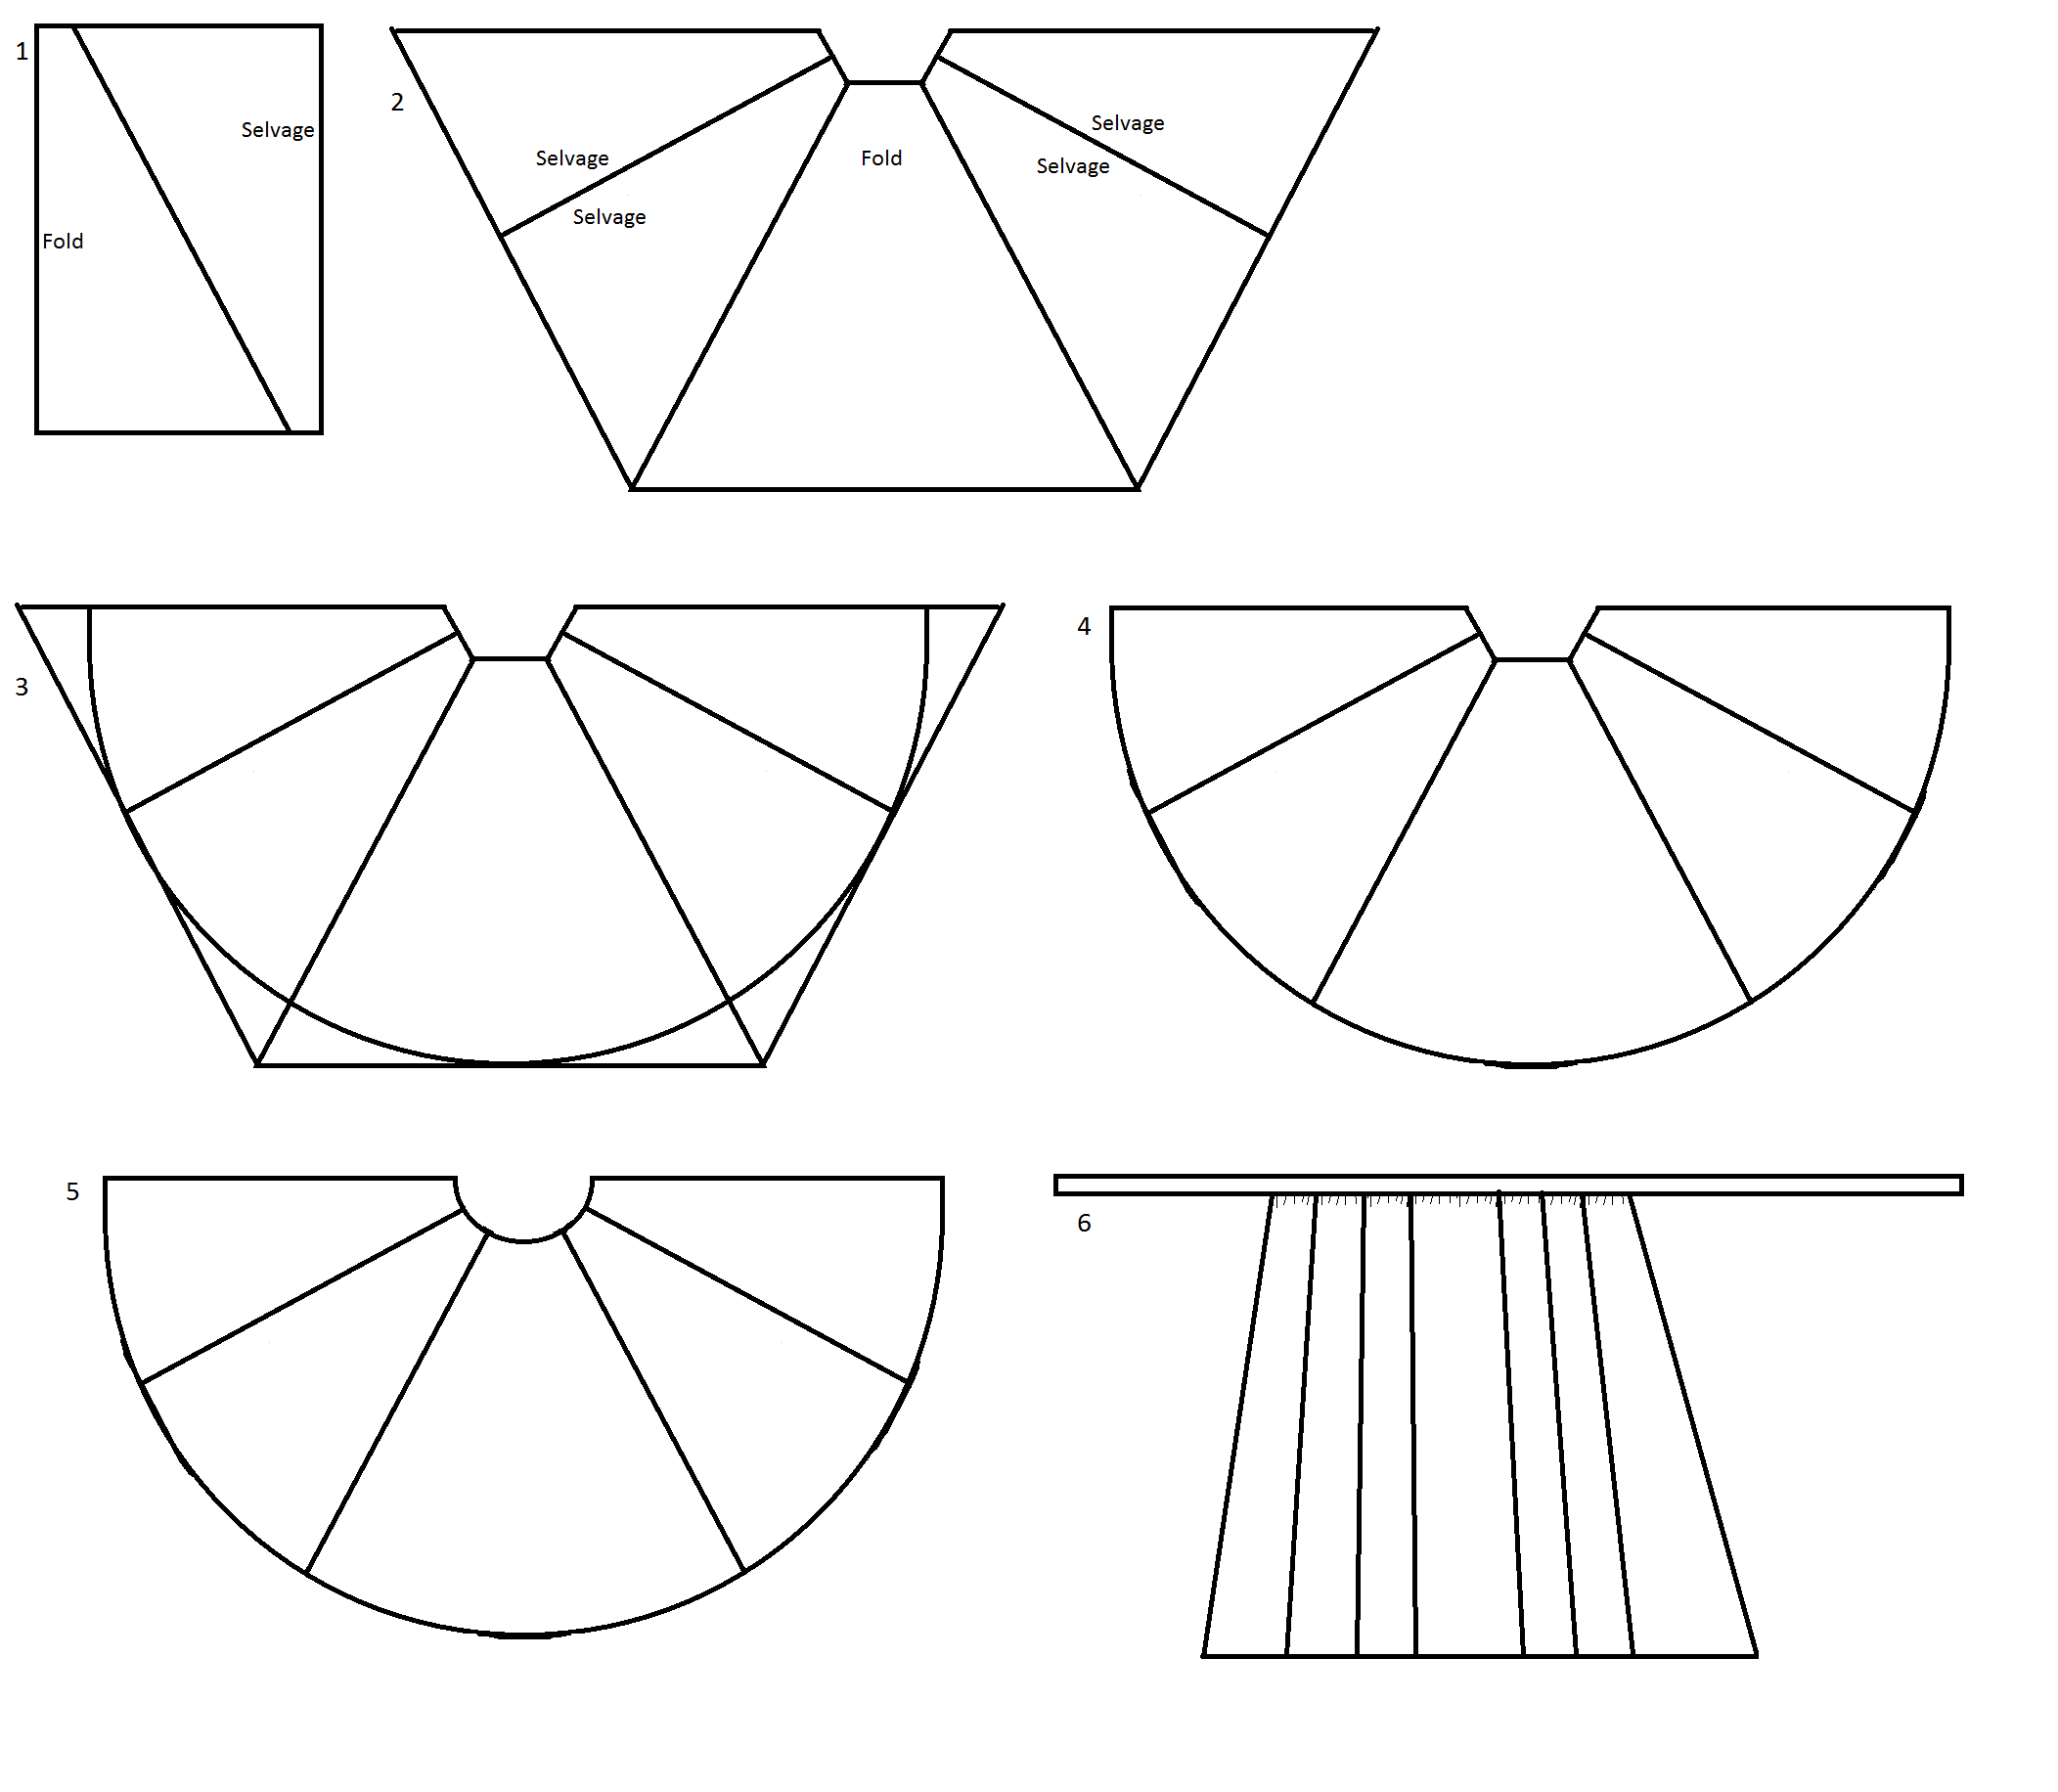
On Saturday I started with the first layer: the white underskirt. I decided to do it simple. I made a little “tutorial” to show what I did. Step 1 consisted of cutting 3 lengths, slightly over one meter (the length from floor to my waist) and then cut them across diagonally. The selvage edges were then sewn together (to end up with 3 pieces with a  selvage seam in the middle). The selvage and fold pieces were then alternately attached to each other using French seams. Number 2 shows half the skirt. The other half would look the same only there would be two fold pieces on both sides and a selvage piece in the middle. At step 3 and 4 I marked and cut the bottom of in more of a circle shape. In step 5 I cut the waist section in a circle shape. Then I cut a very long rectangular piece to be the waistband. I then gathered all the panels onto the waistband (6; yes this drawing makes little sense). All in all there is a lot of fabric at the bottom, the hem is going to be several meters long.

Tutorial

I have not actually hemmed it, which is why it is not finished yet. I felt I should let it hang for a while before hemming it, since the fabric is somewhat stretchy. I attached a little extra waistband to be able to tie it into a bow at the front. It’s actually really comfortable (if much too long). This is what it looks like, without the hem finished.

OLYMPUS DIGITAL CAMERA OLYMPUS DIGITAL CAMERA

As you can see, it’s very wide at the bottom, and much too long. Still I feel it looks nice. It’s also finished on the insides and the ‘getting in’ opening.

OLYMPUS DIGITAL CAMERA OLYMPUS DIGITAL CAMERA

Just hemming to do on these and I will really have been productive!

Medieval Dress

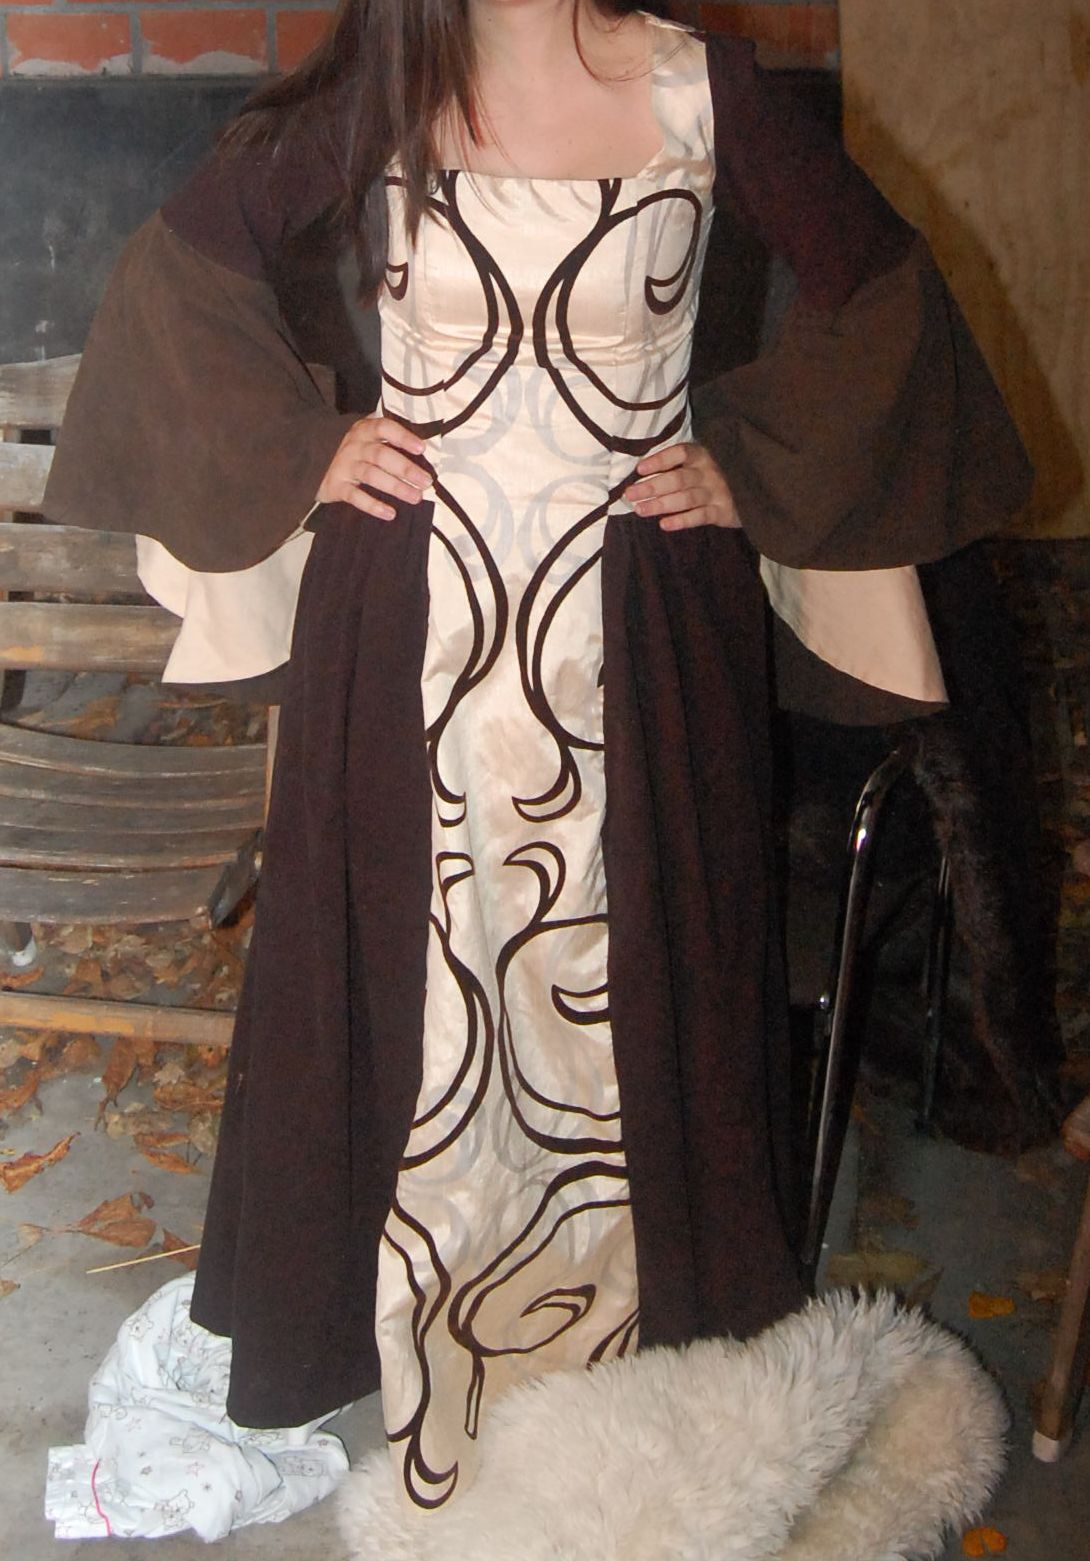
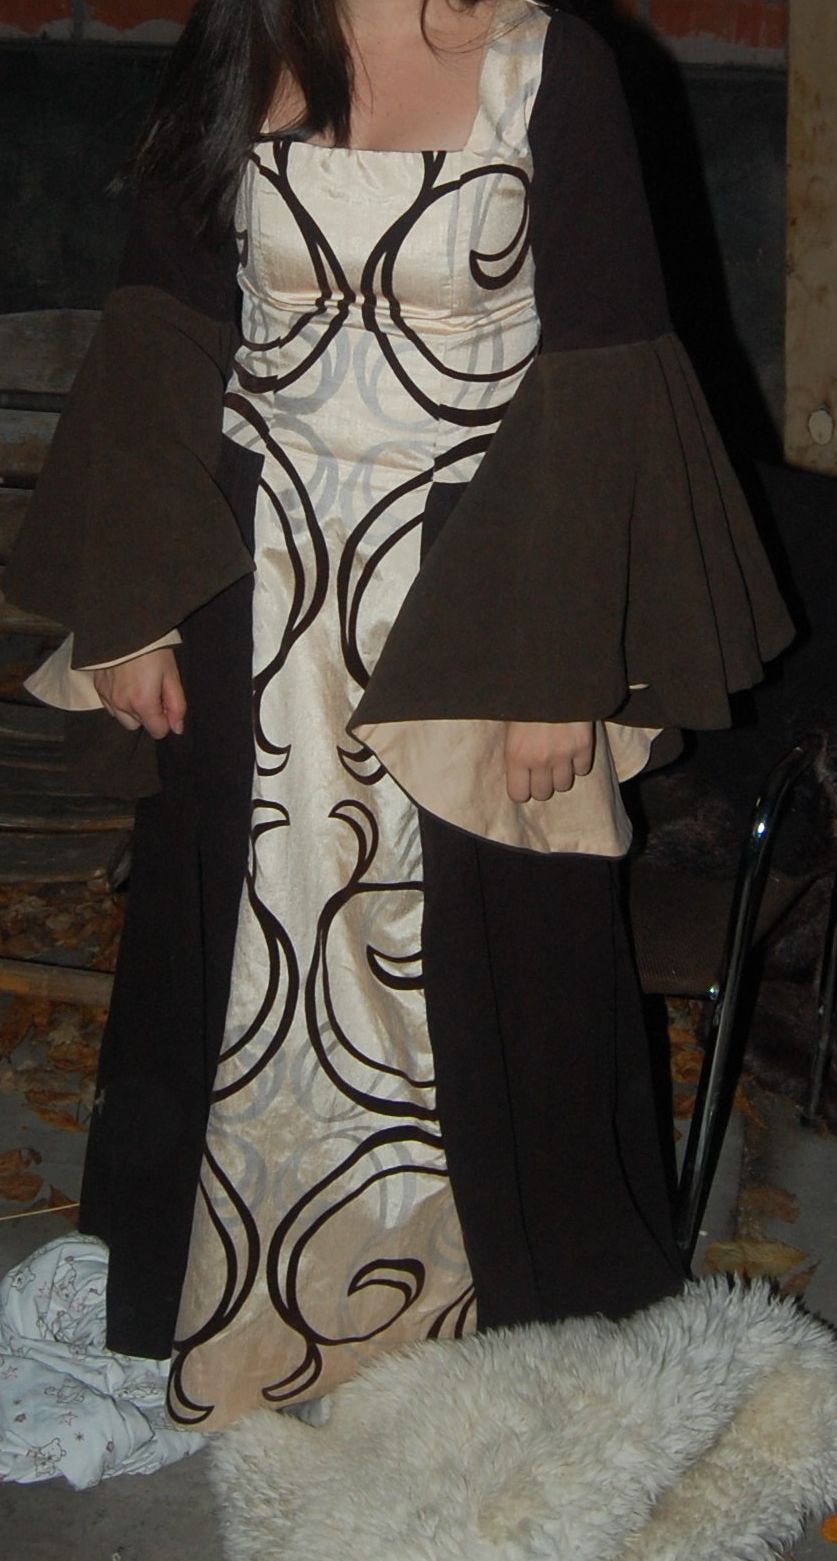
Whoops, it’s obviously been a while since I’ve been here. The last couple of months have been extremely busy and I’m still trying to get back on my feet. However, I have finally found the time (and motivation) to write about my new dress. A friend of mine celebrated her birthday the 10th of November with a party with a medieval dress code. The first deadline for this dress was September 6th (see here), I obviously failed at that, but I did finish it before the second one (the party)! I even have proof of me wearing it:


However, it takes a long time to put on thanks to this:


The back has a corset type closure, but there is no zipper and putting the cord through all those loops takes forever after. I have tried my best to match the pattern on the light coloured fabric. However, it was printed really off grain so that was not always possible. That’s why the browns are mostly matched up, although the centre back is a little off still. The same was true for the front, so although it doesn’t really show, the fabric is not sewn in symmetrically, in order to keep the pattern sort of similar.


Those sleeves are not very handy for.. anything, but they look really nice, and I’m very happy with them. I am really proud of myself for both thinking it all up (especially those sleeves) and for actually finishing it. I forgot to take pictures of the insides, but it’s fully lined and it looks really nice from the inside too. I’m so happy to have it finished!

On a random side note, tonight I have finally decided to eat the endive I’ve been growing in my garden. It was just enough to make me meal. I made “stamppot”, a Dutch recipe that’s really easy. Boil potatoes and mash them, add cut up endive and mash it all together, serve with bacon cubes. Done.

So now my patch is empty and I need to wait for spring again to start it all over. This year was not very productive, all in all I grew about 7 carrots and 1 plate worth of endive. I may have forgotten to fertilise last year. Anyways, I’m still busy, so I’m not very creatively productive nowadays. I’m trying though, I hope it will work, and good luck with your own creative outlets!

Full Larp Costume

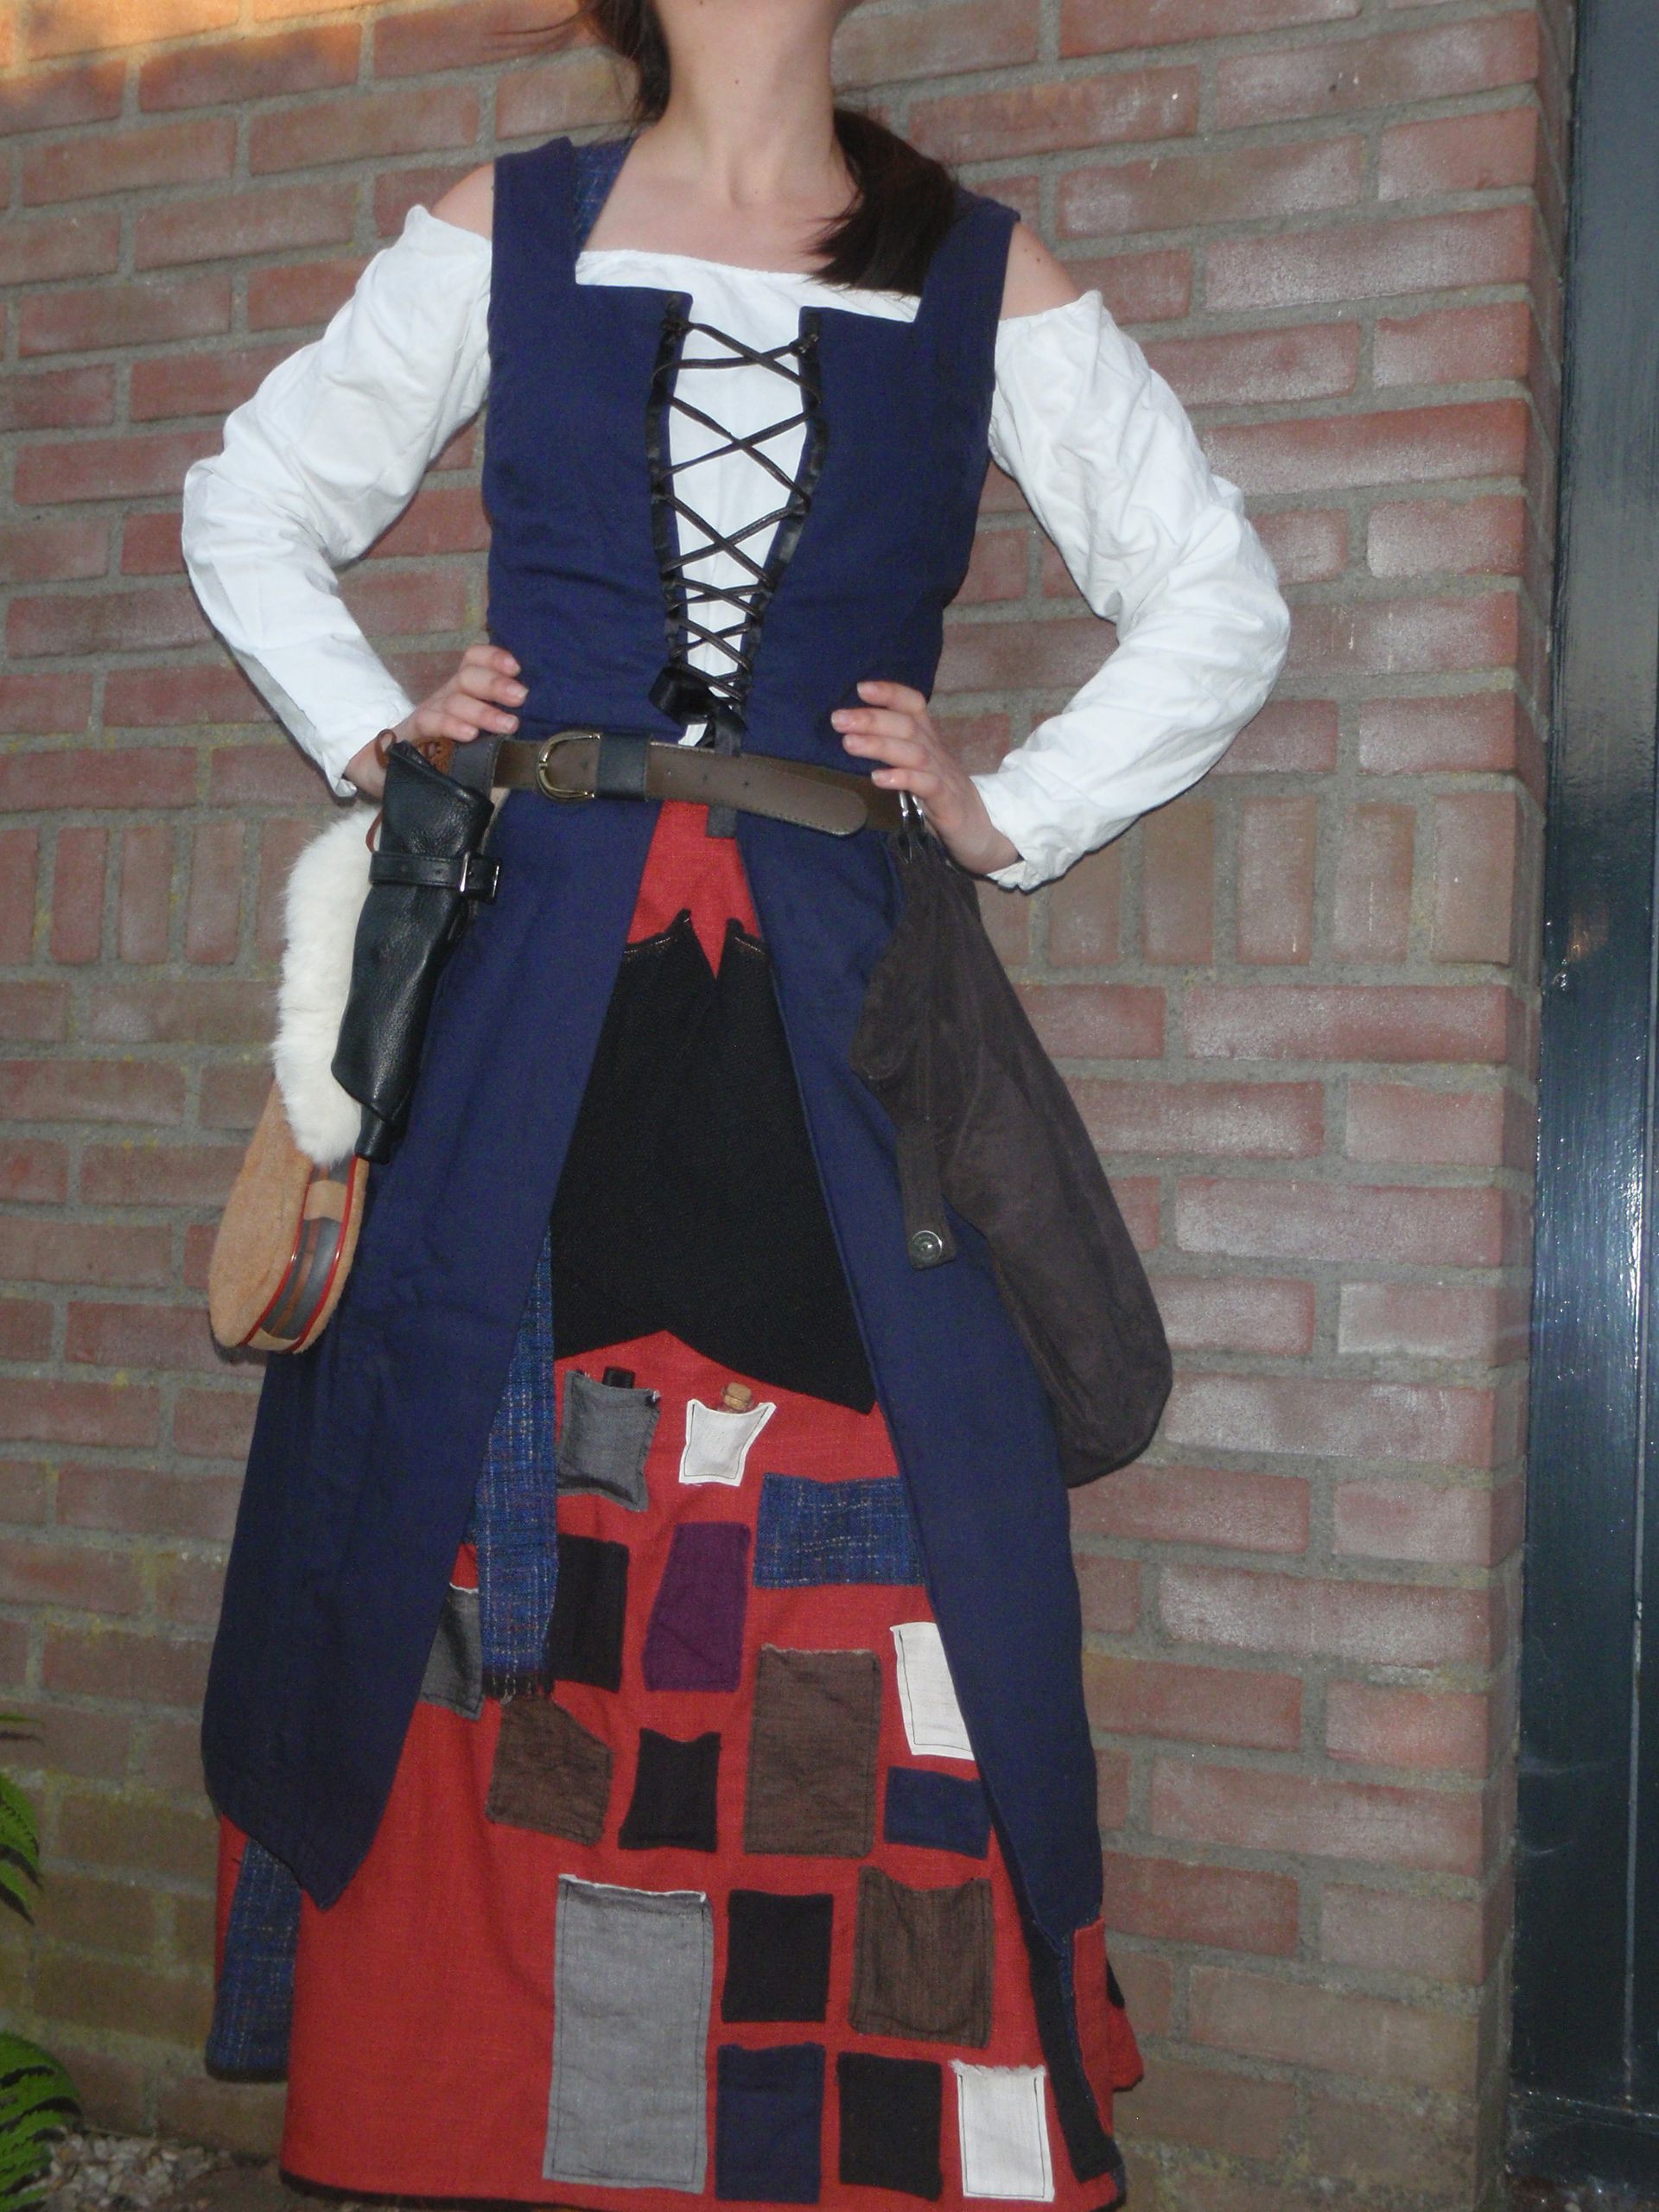
So here it is, in its entirety: my larp costume for the Ravenskeep event on May 17-20 2012. Prepare for a photo-heavy post, people.

First up: the full view (apart from the boots).


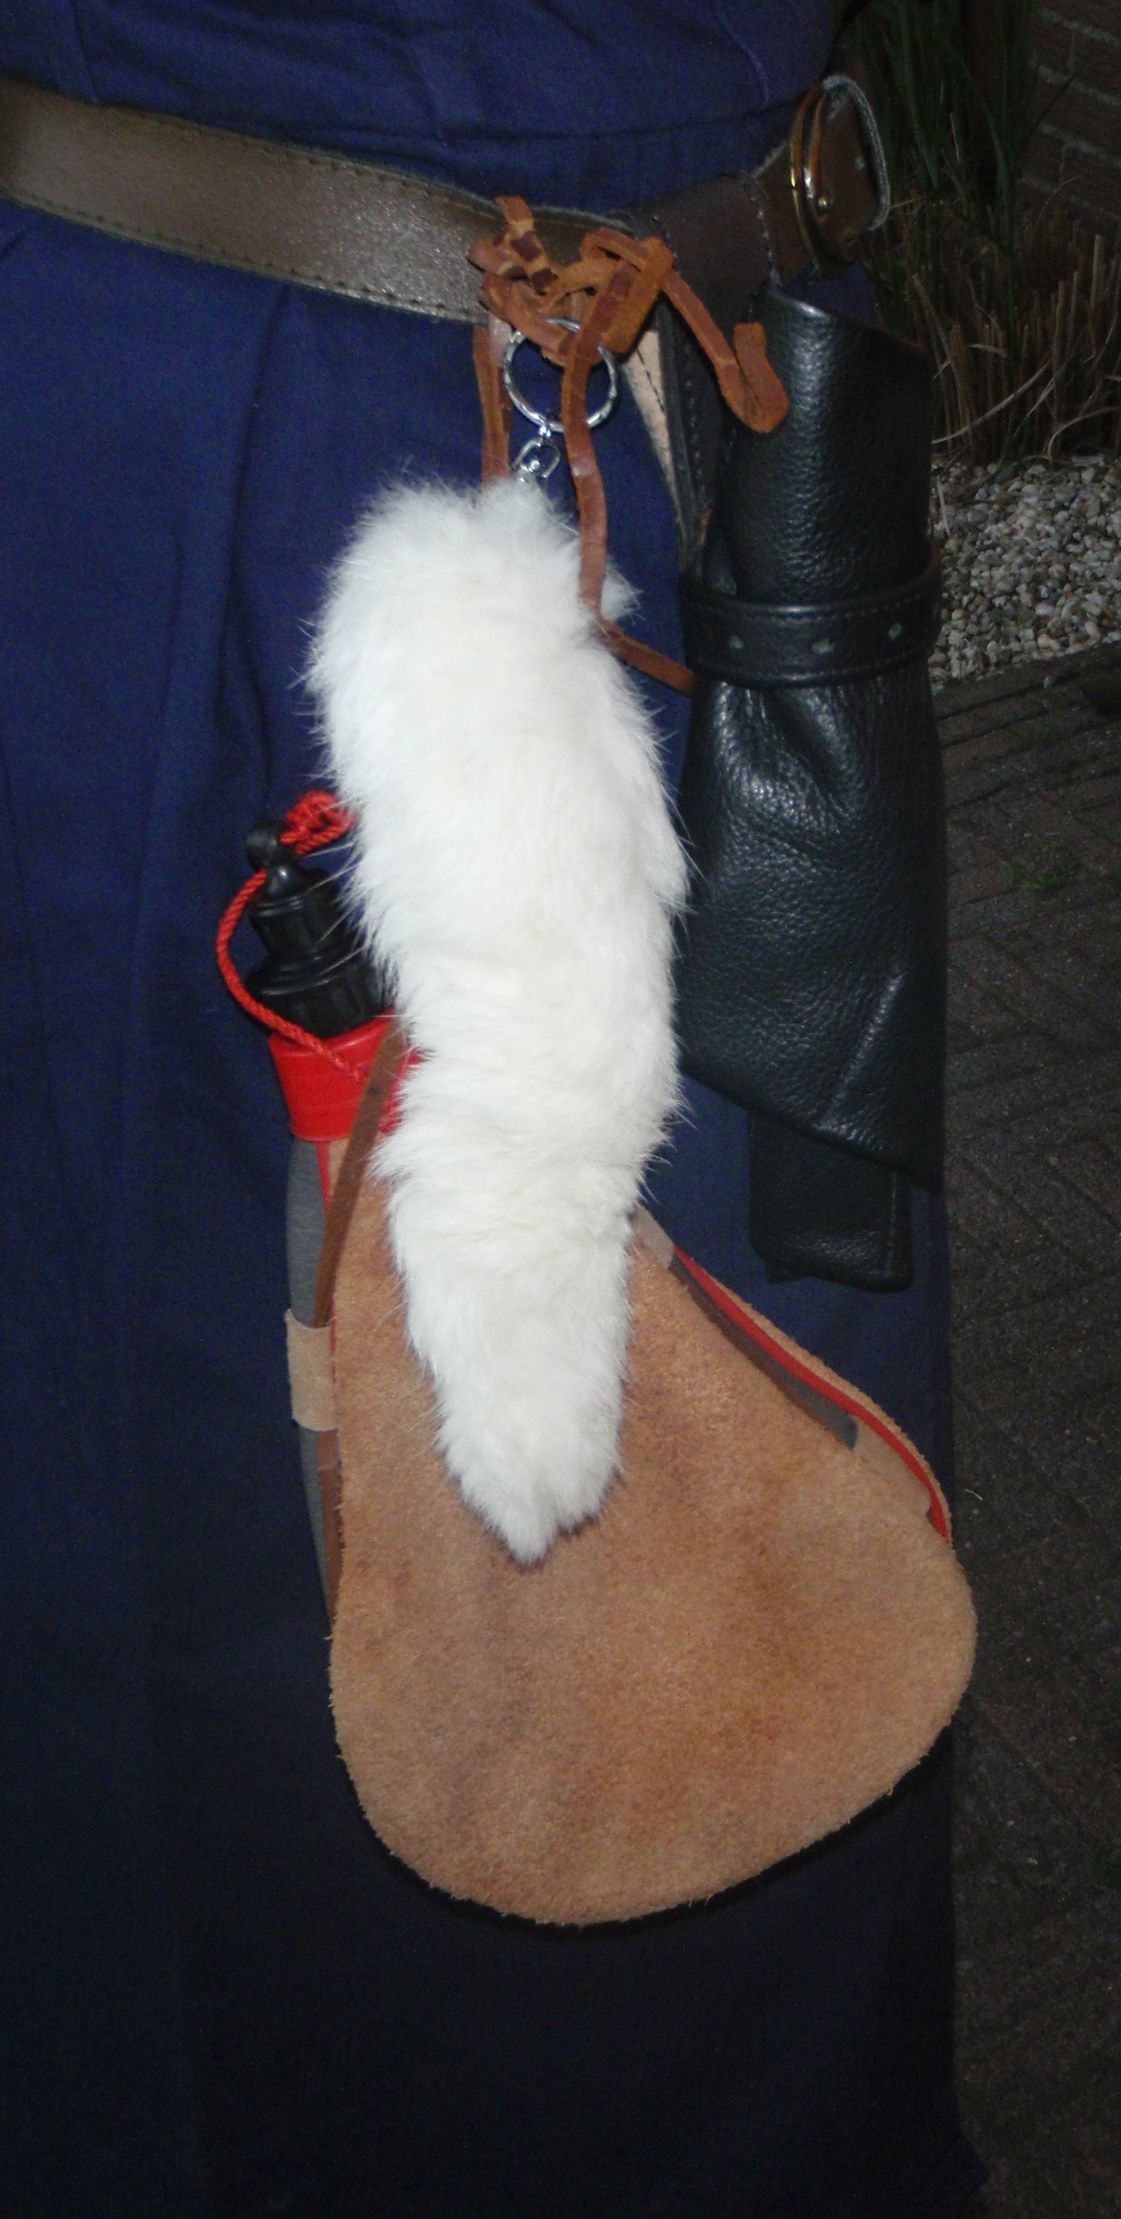
Left the top, in the middle the bottom half, including the usually very heavy brown bag and boots. To the right the side with a water sack and a ‘lock-picking set’.

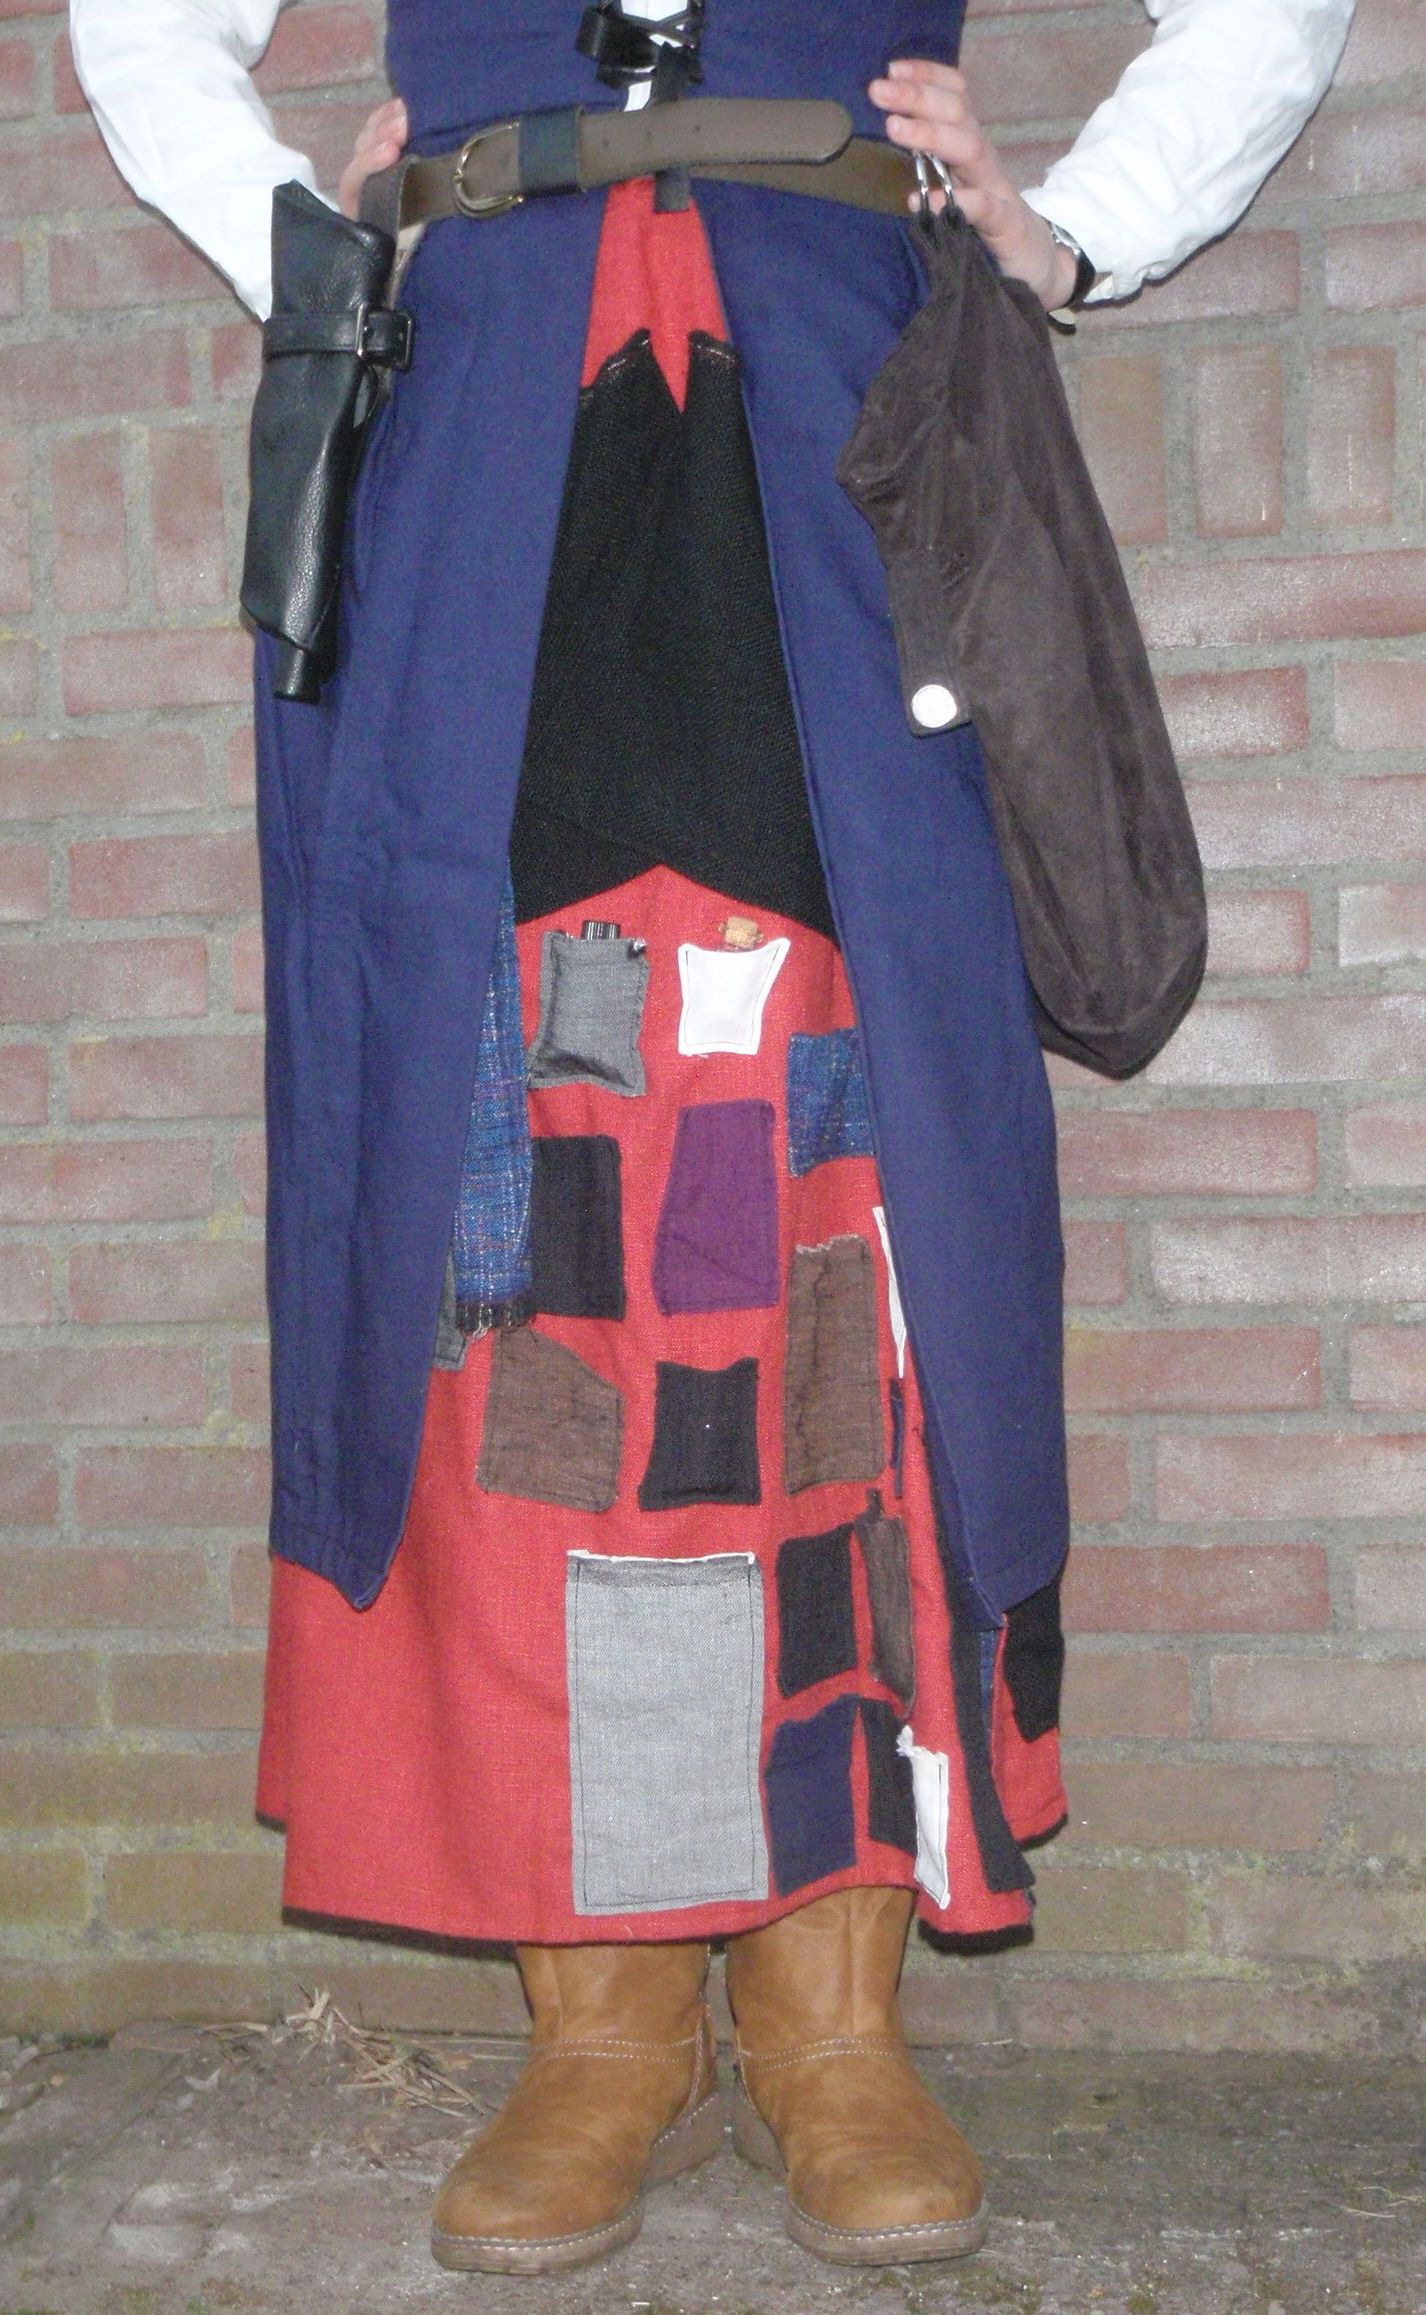
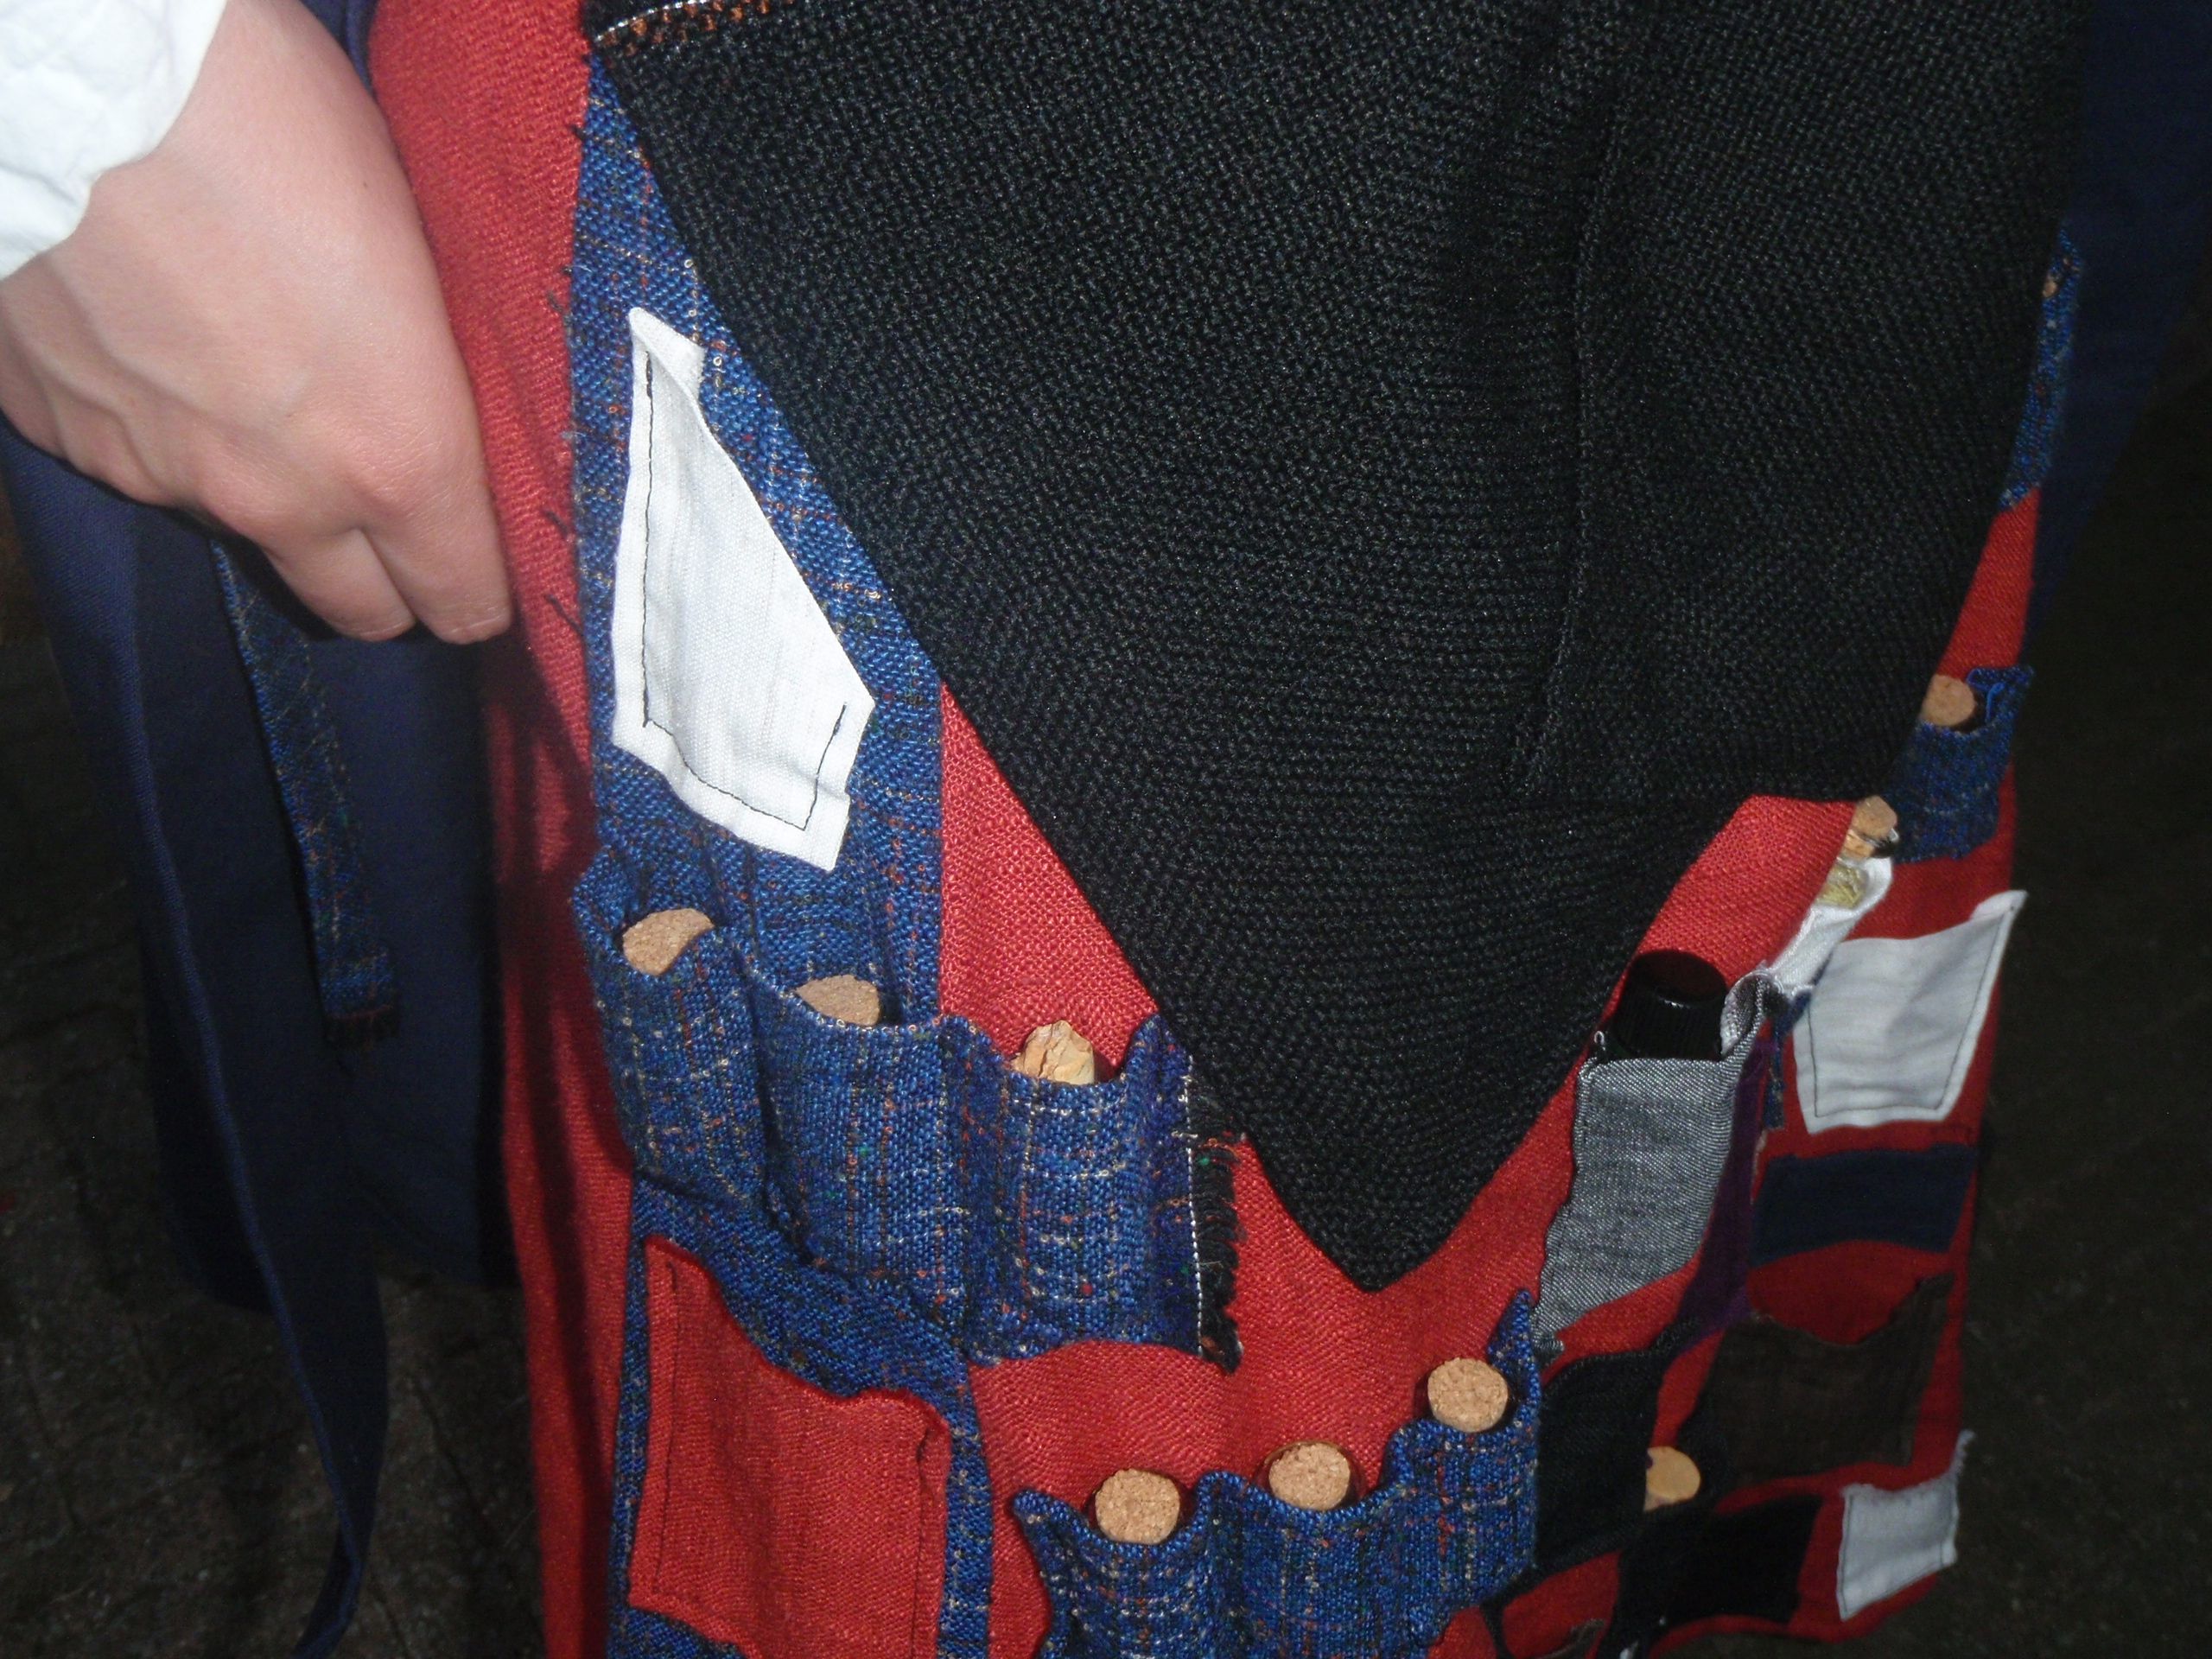
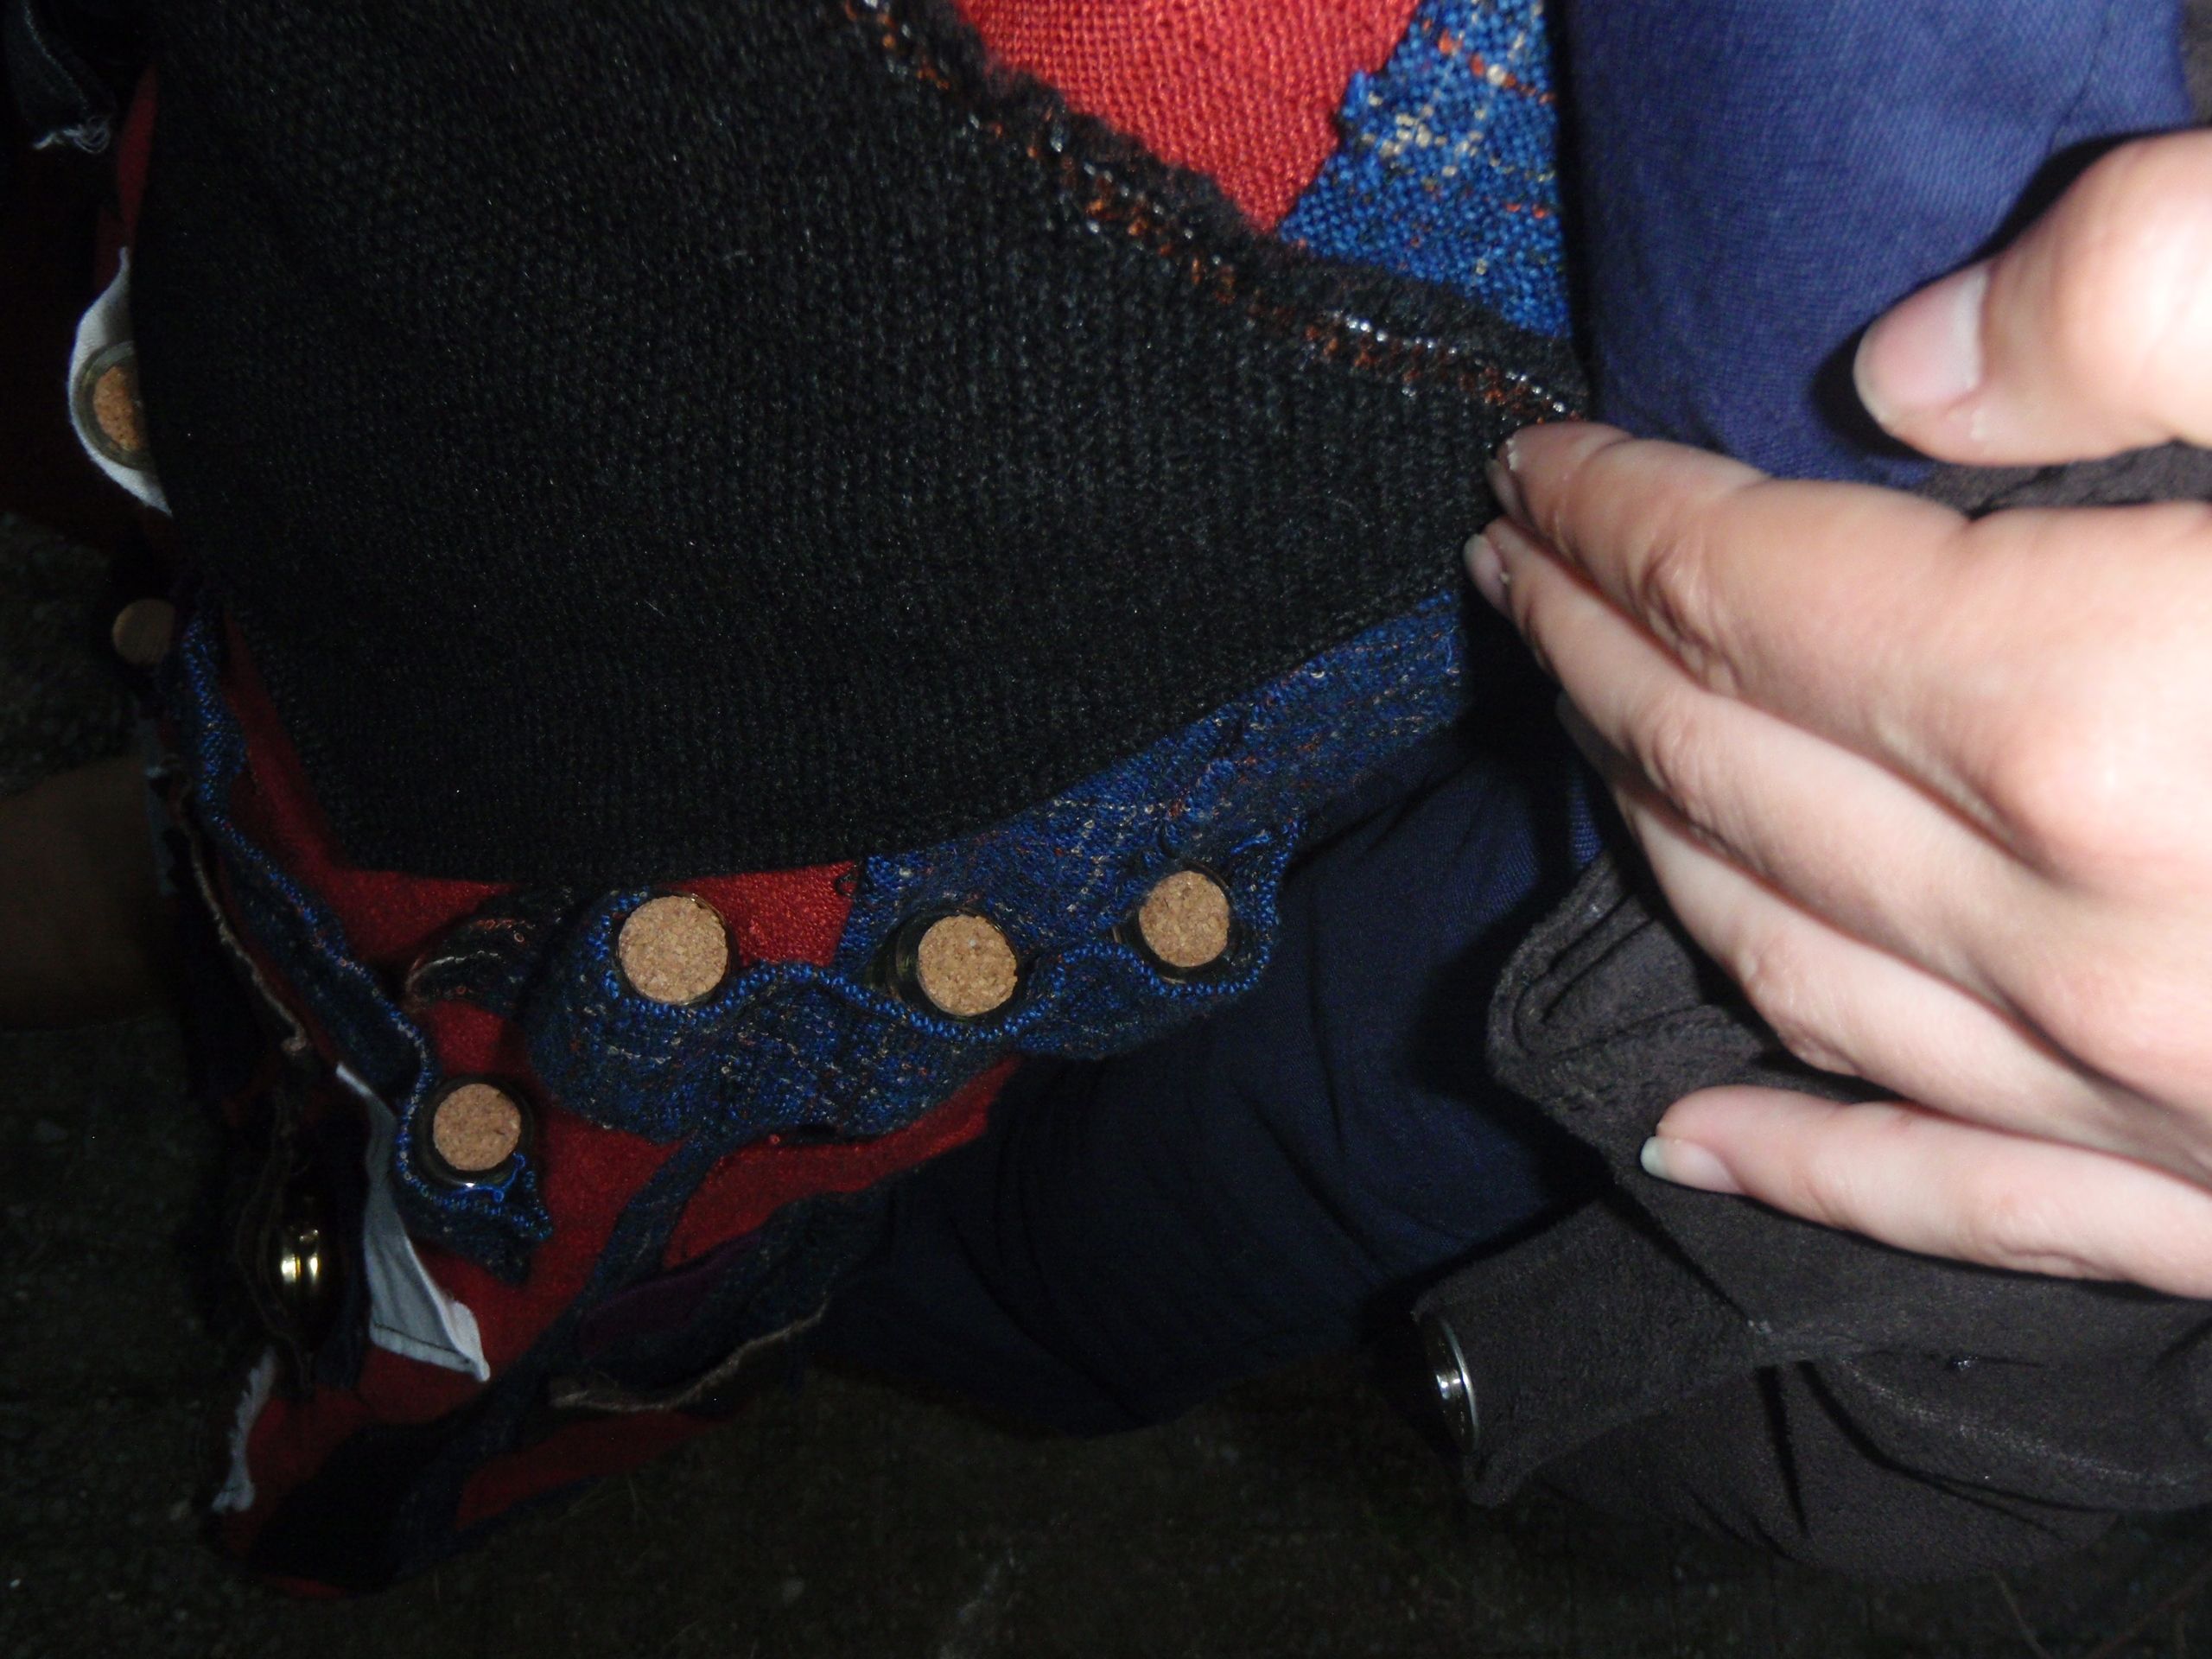
And the pockets from close up, including content:


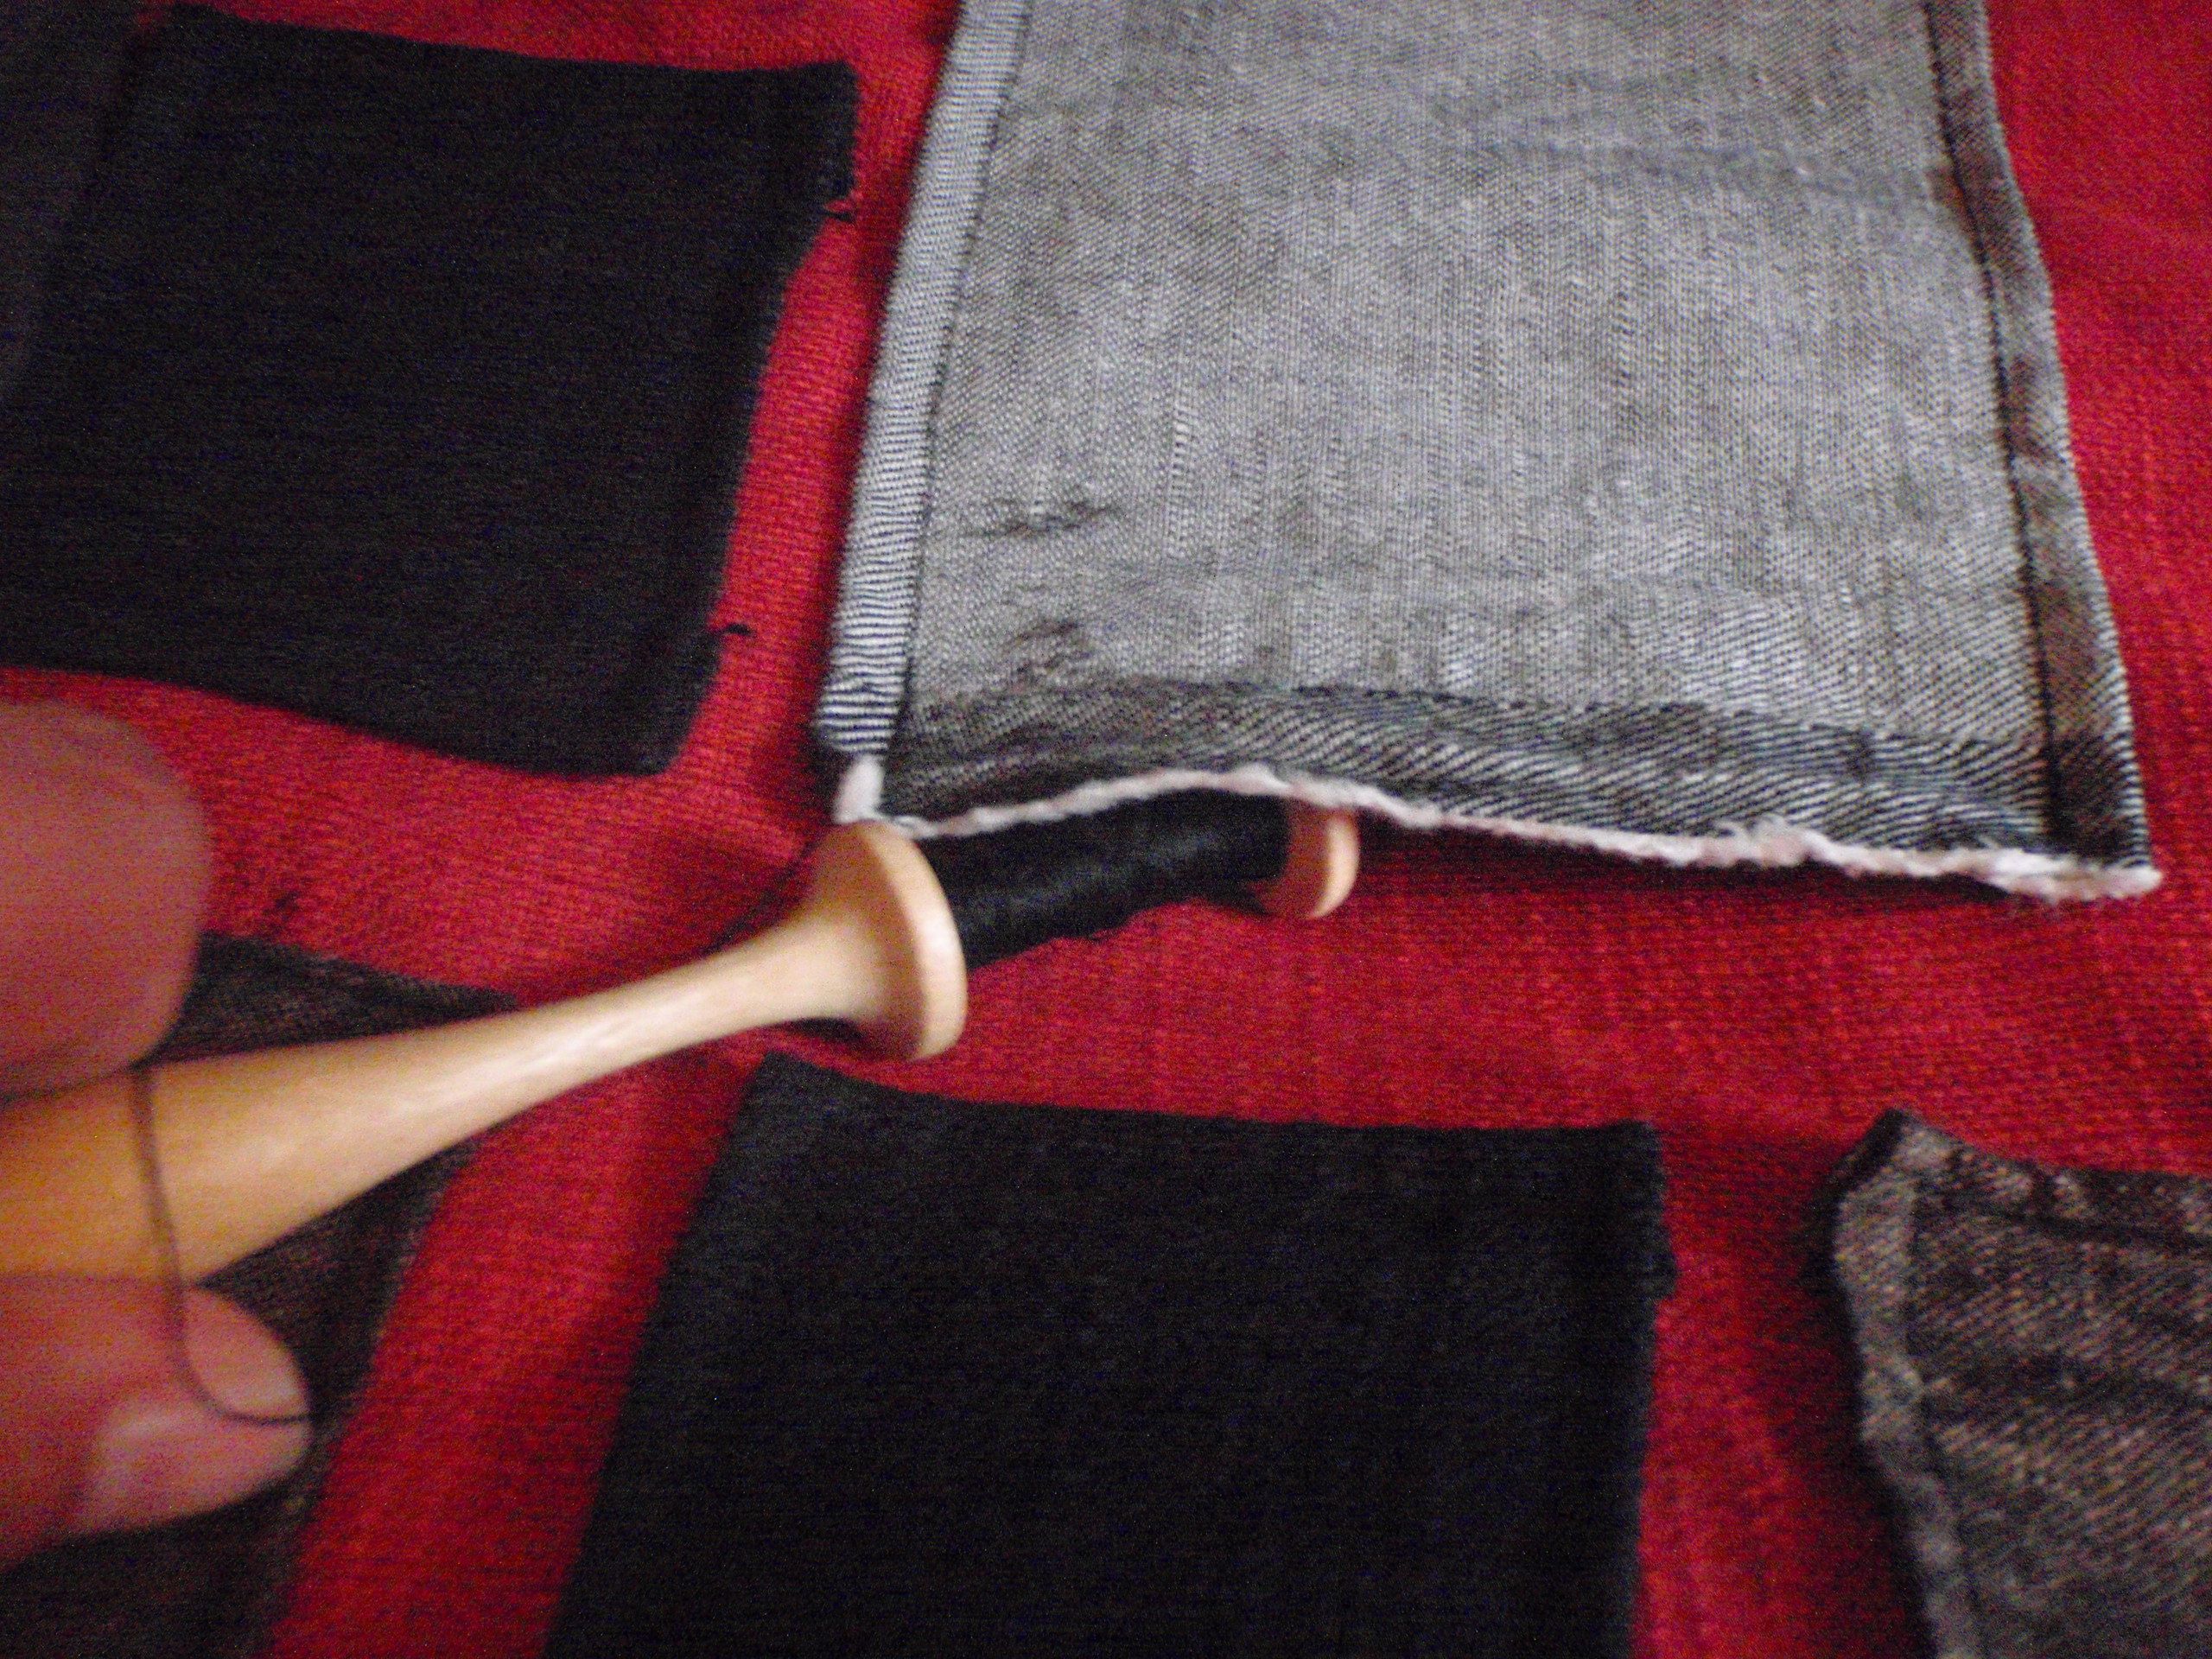
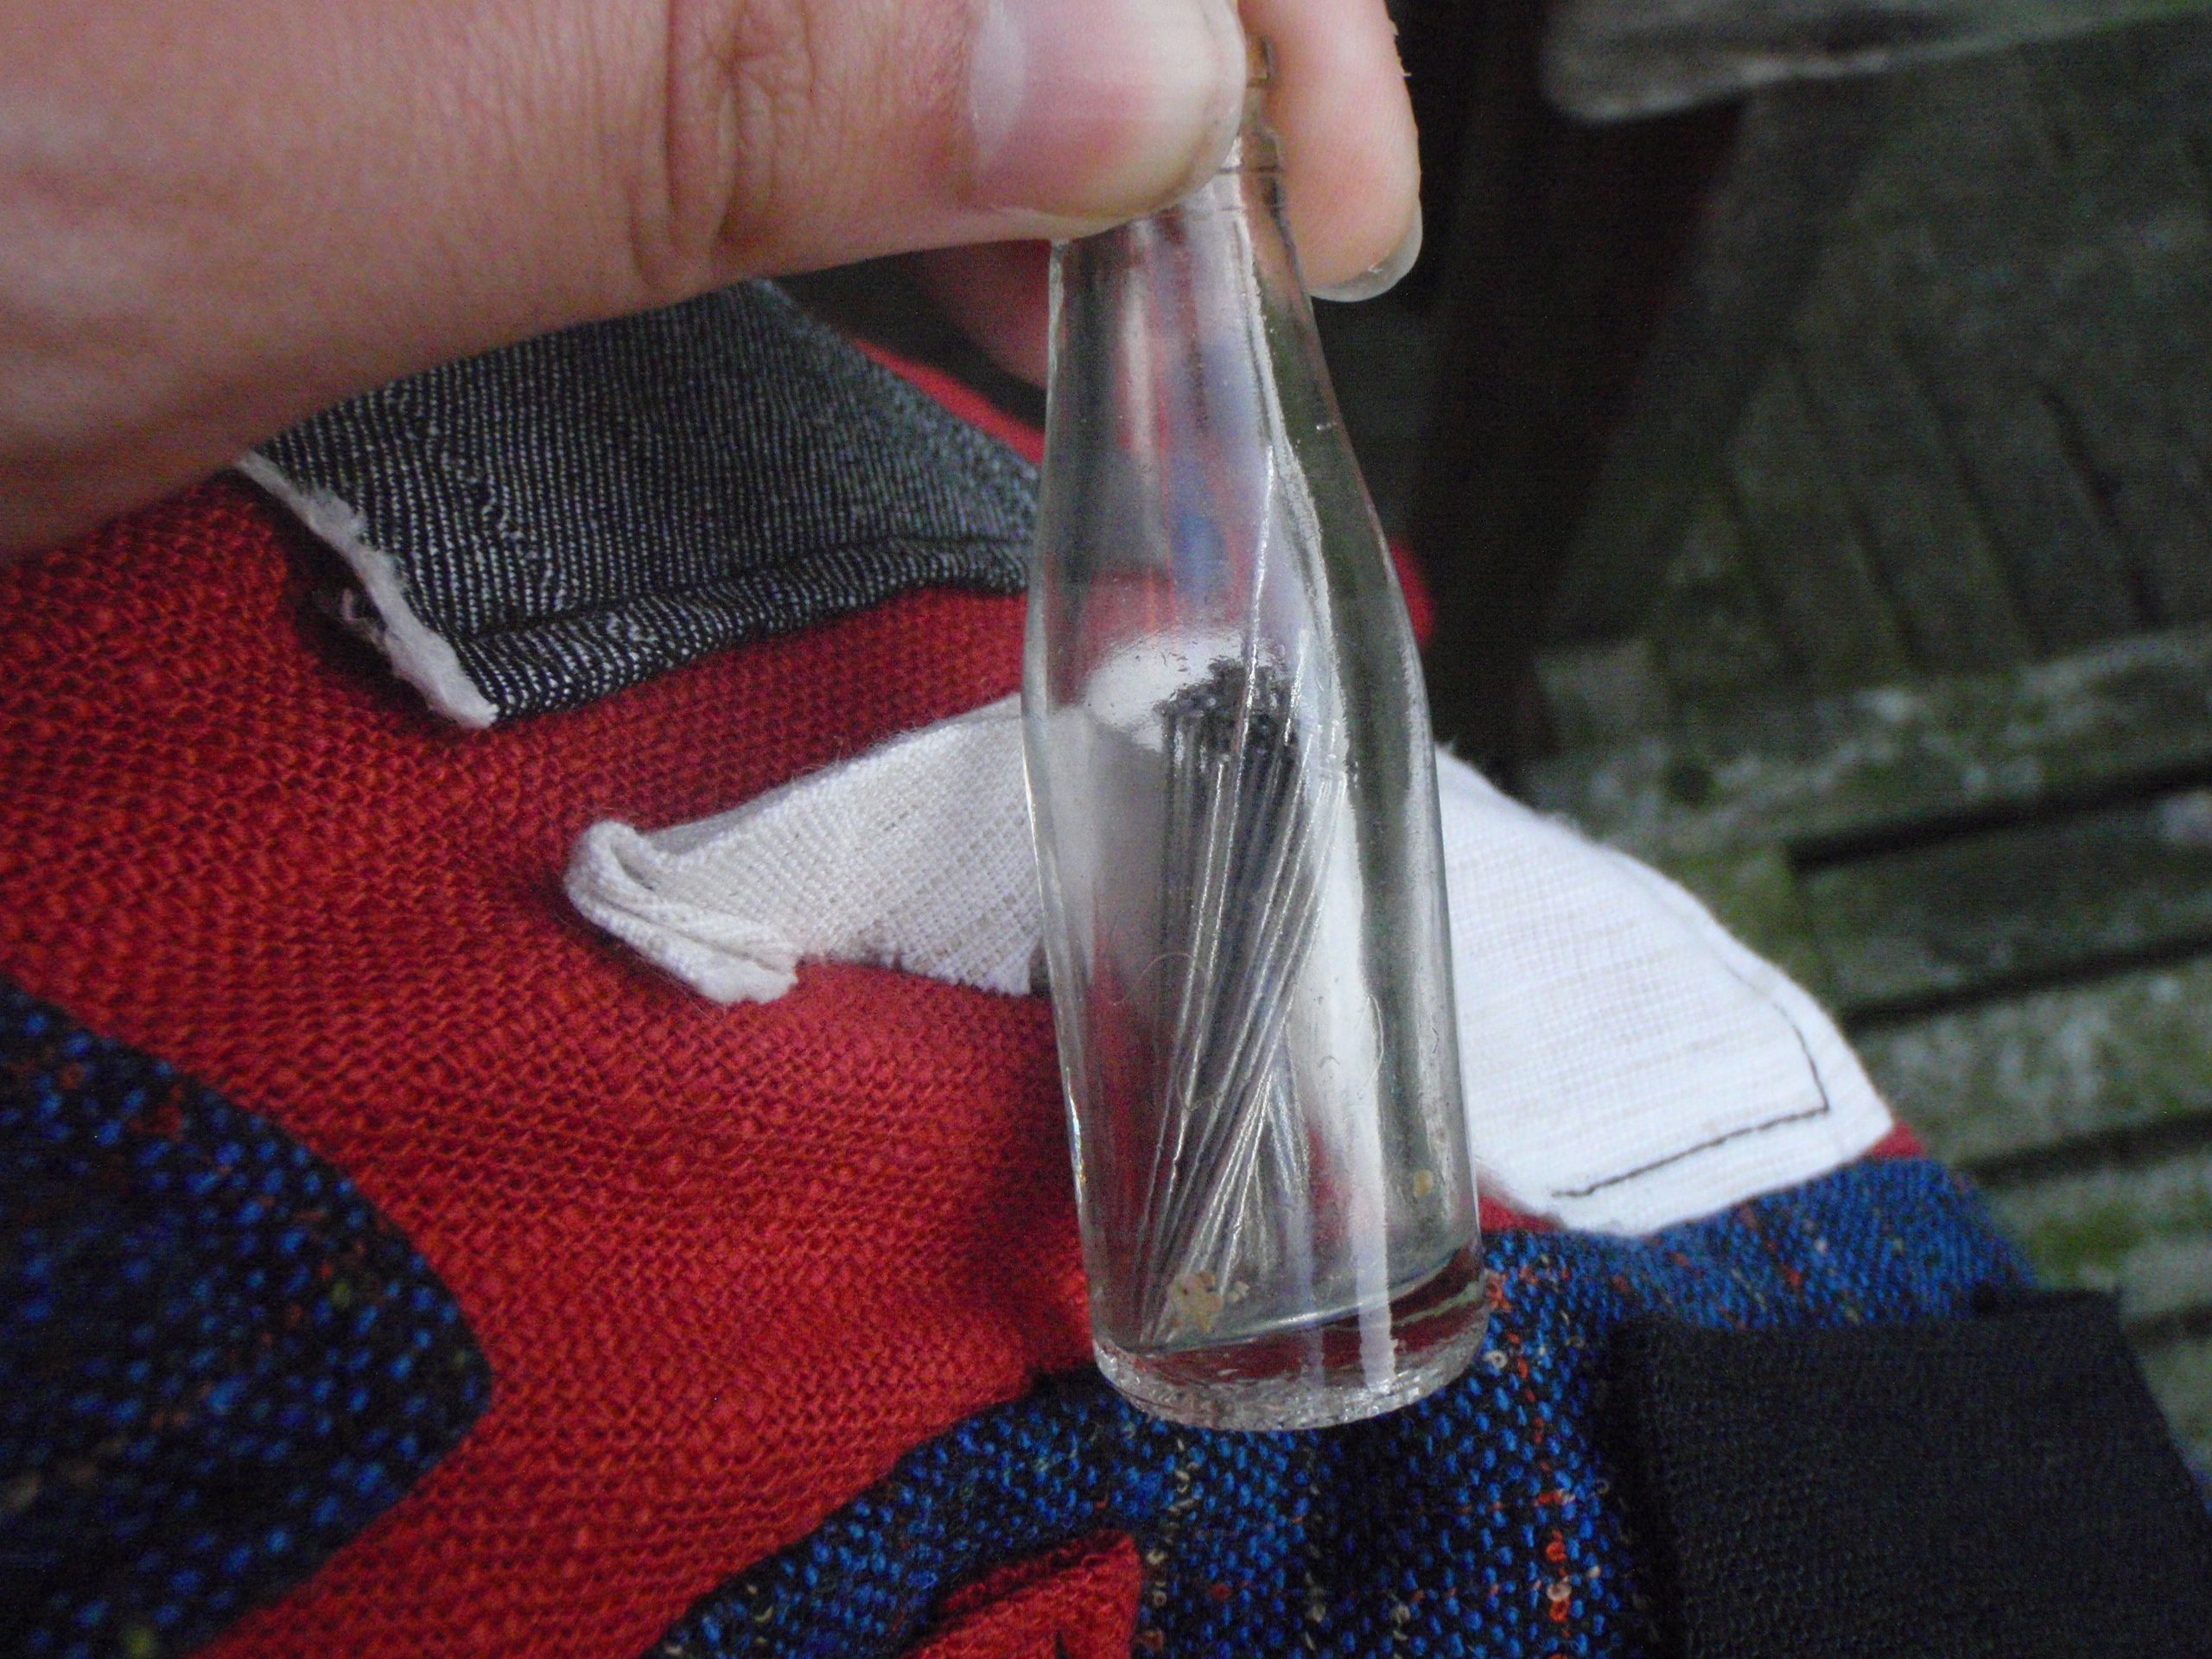
Thread left, pins and needles right.


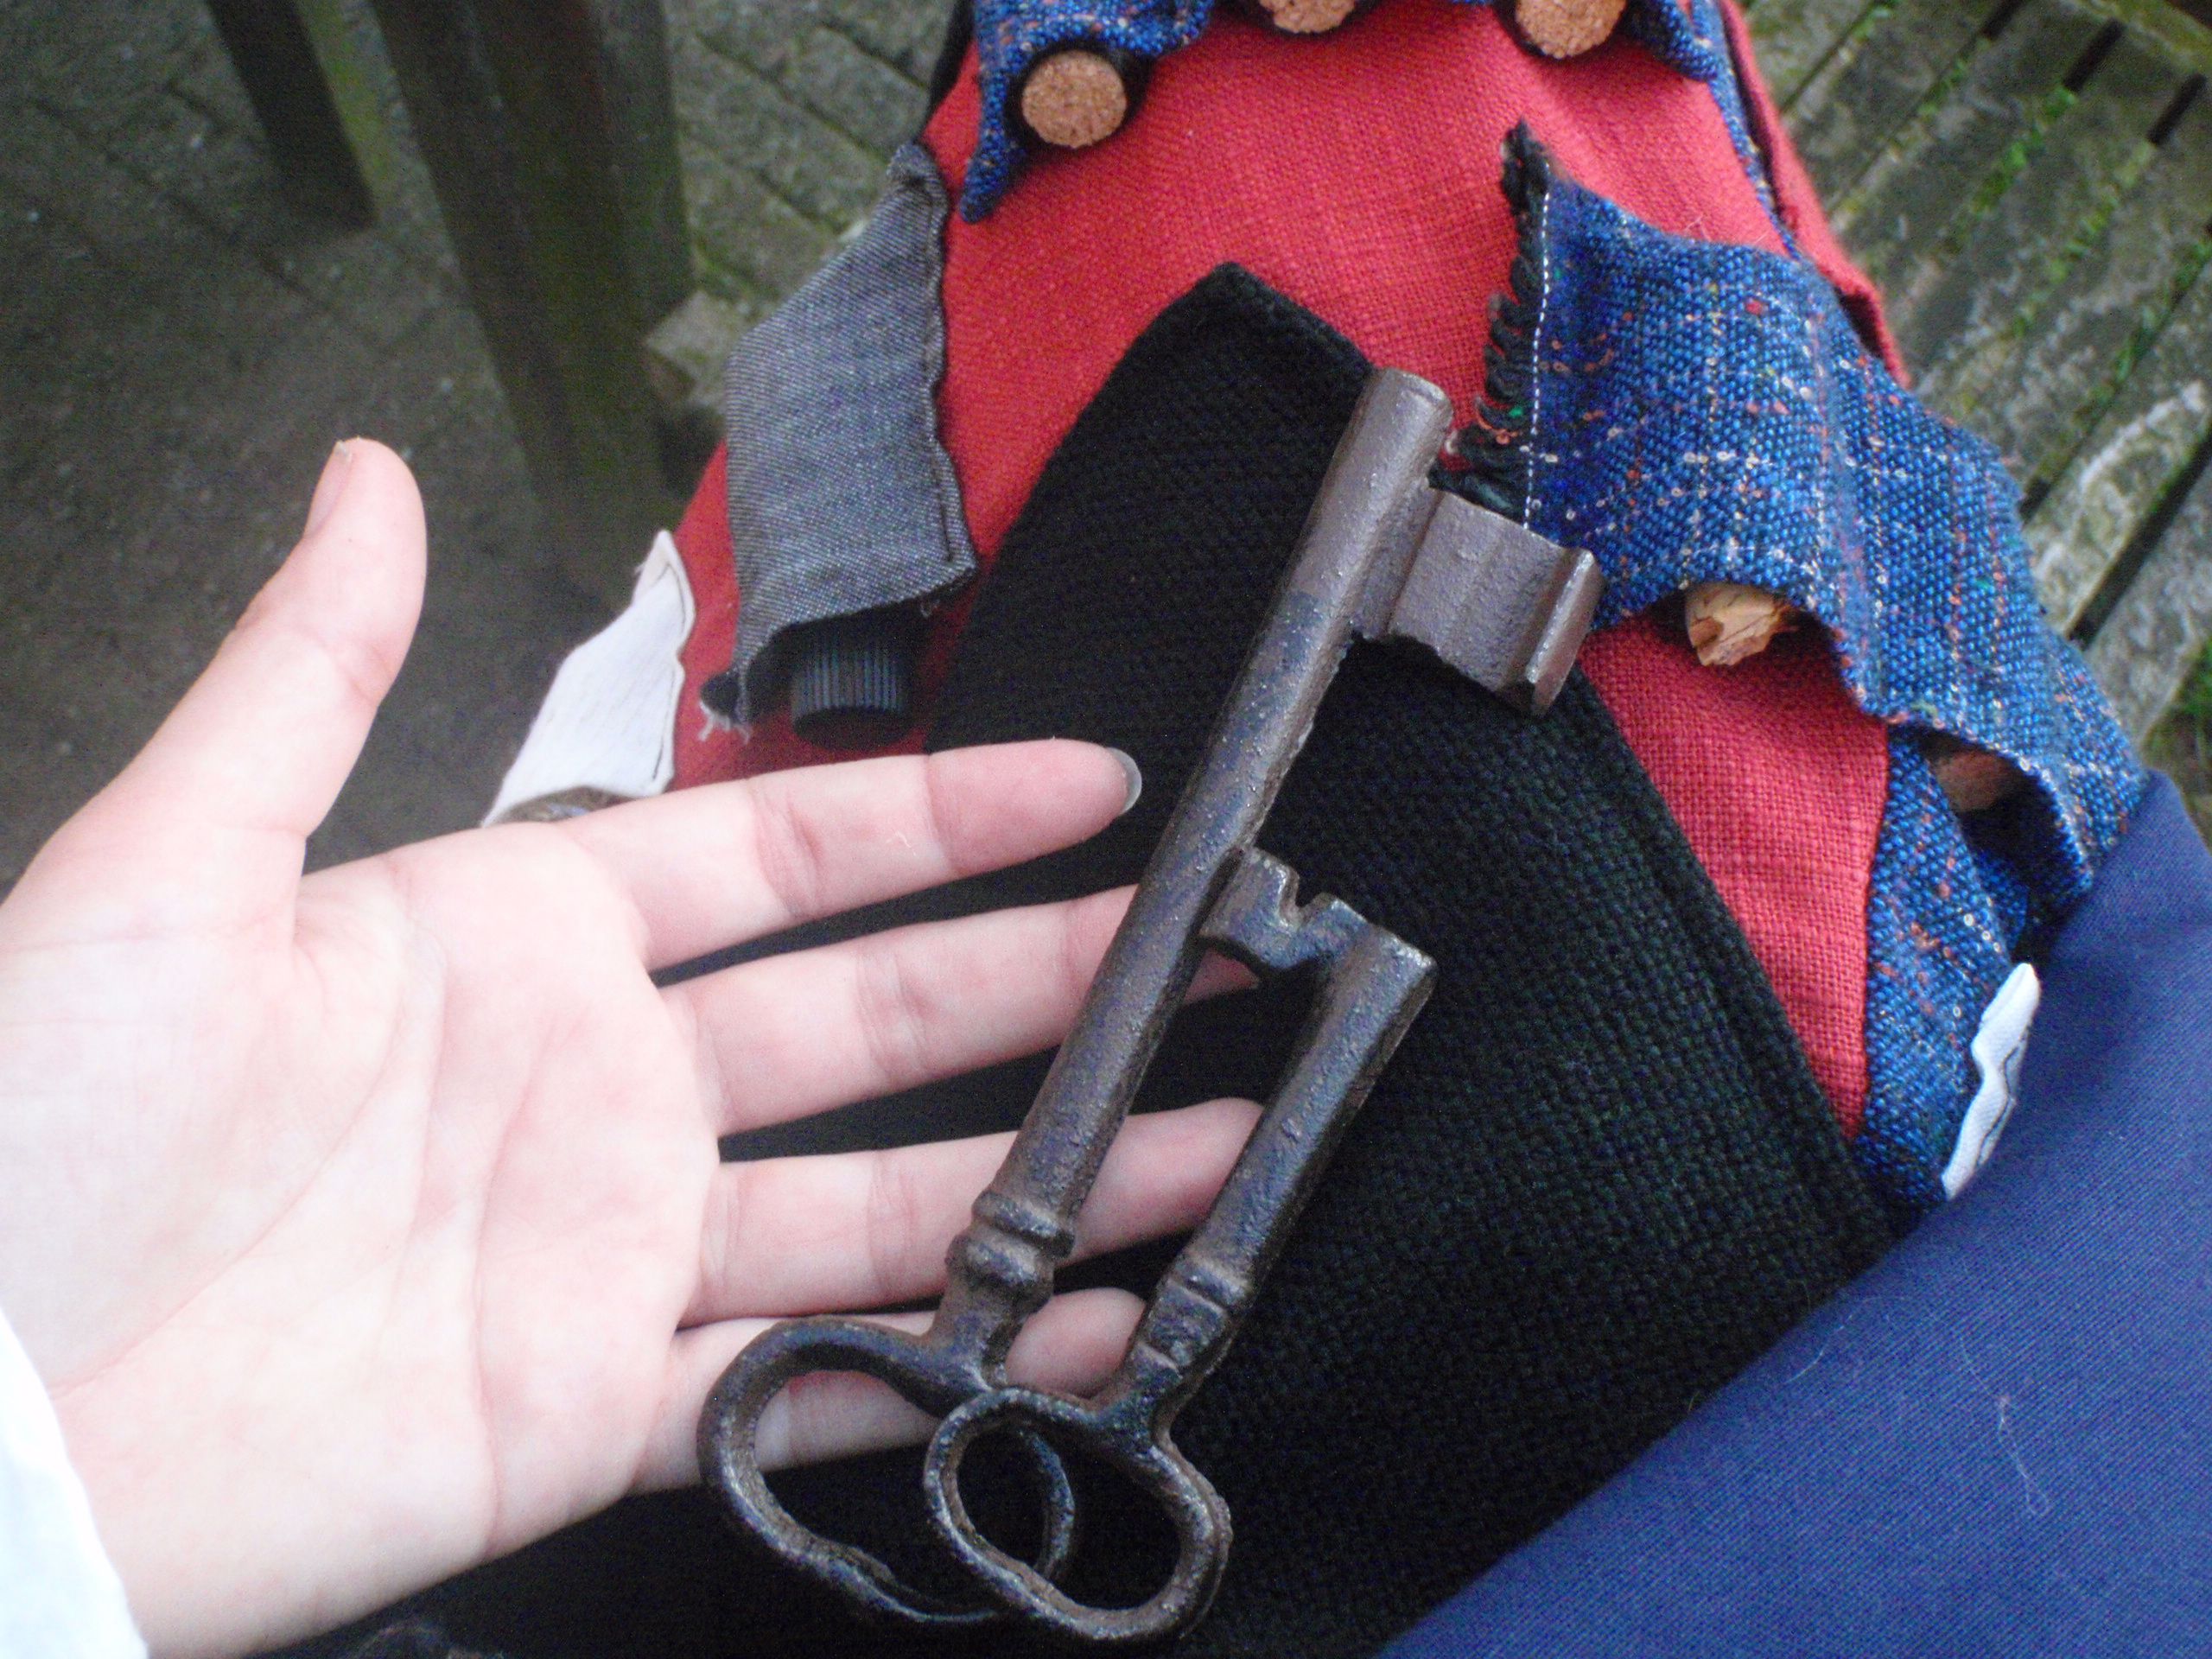
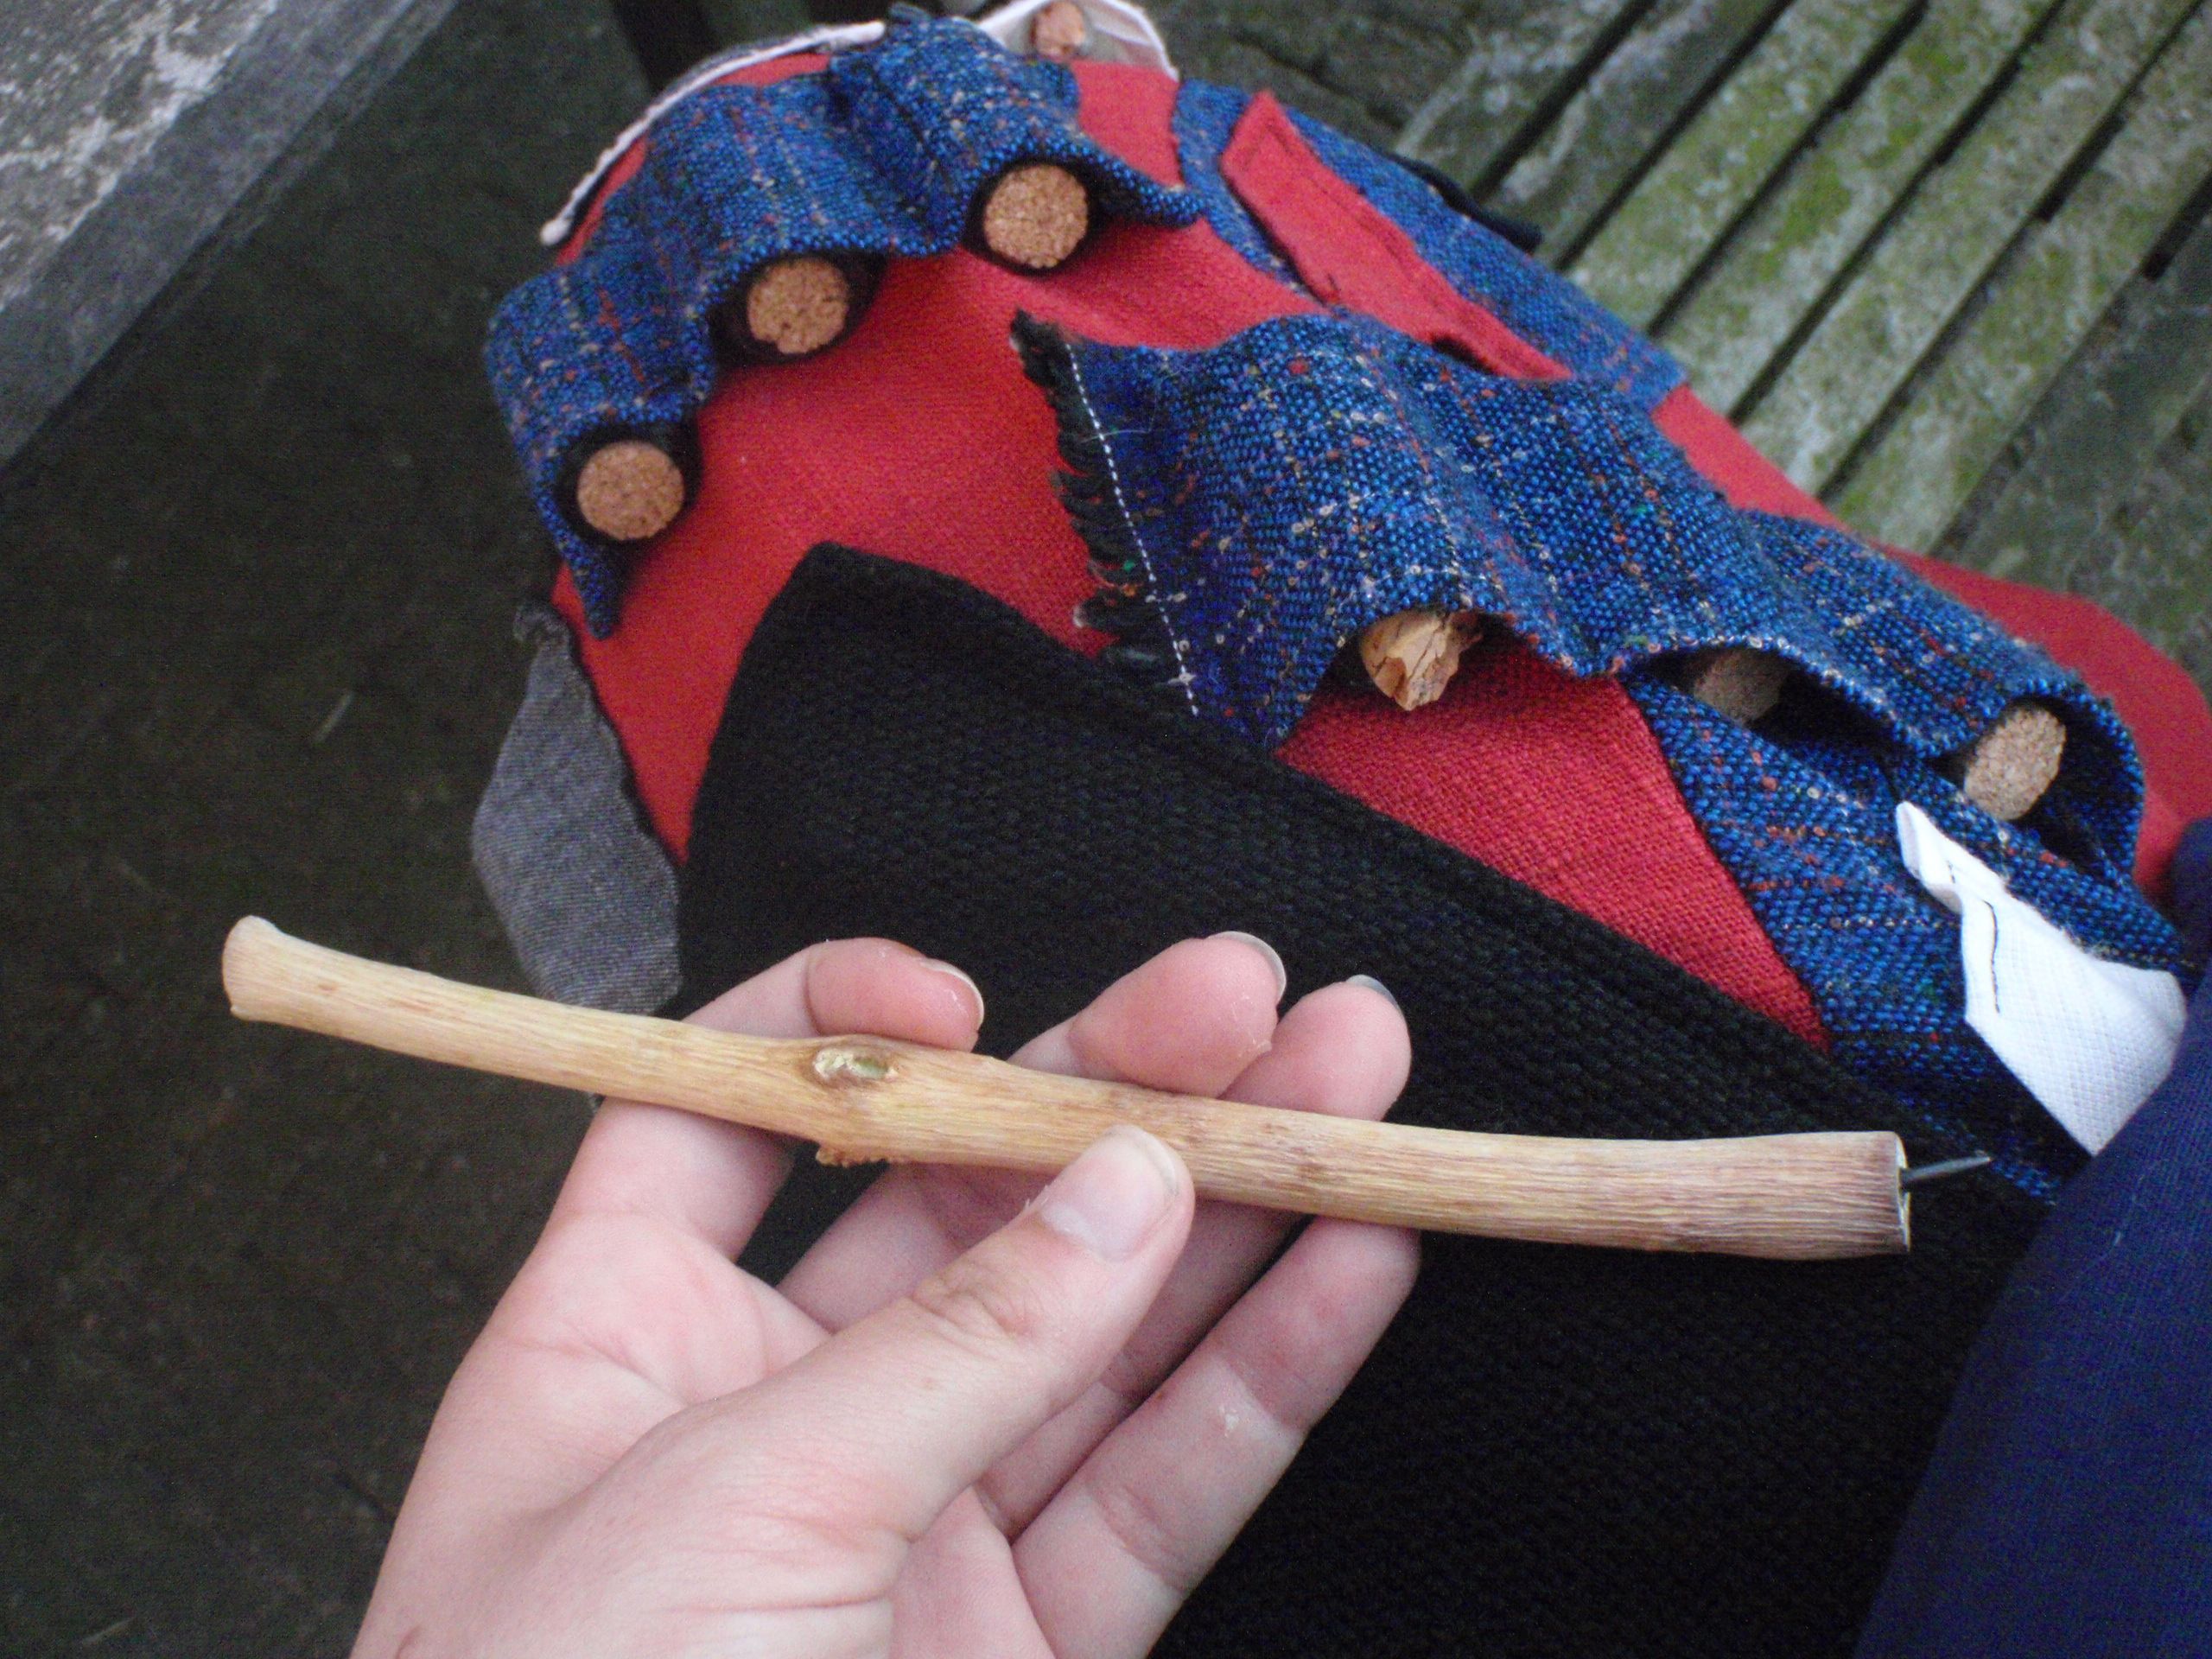
Keys left, home-made pencil right (glue a graphite bit in a stick, really easy, really satisfying).


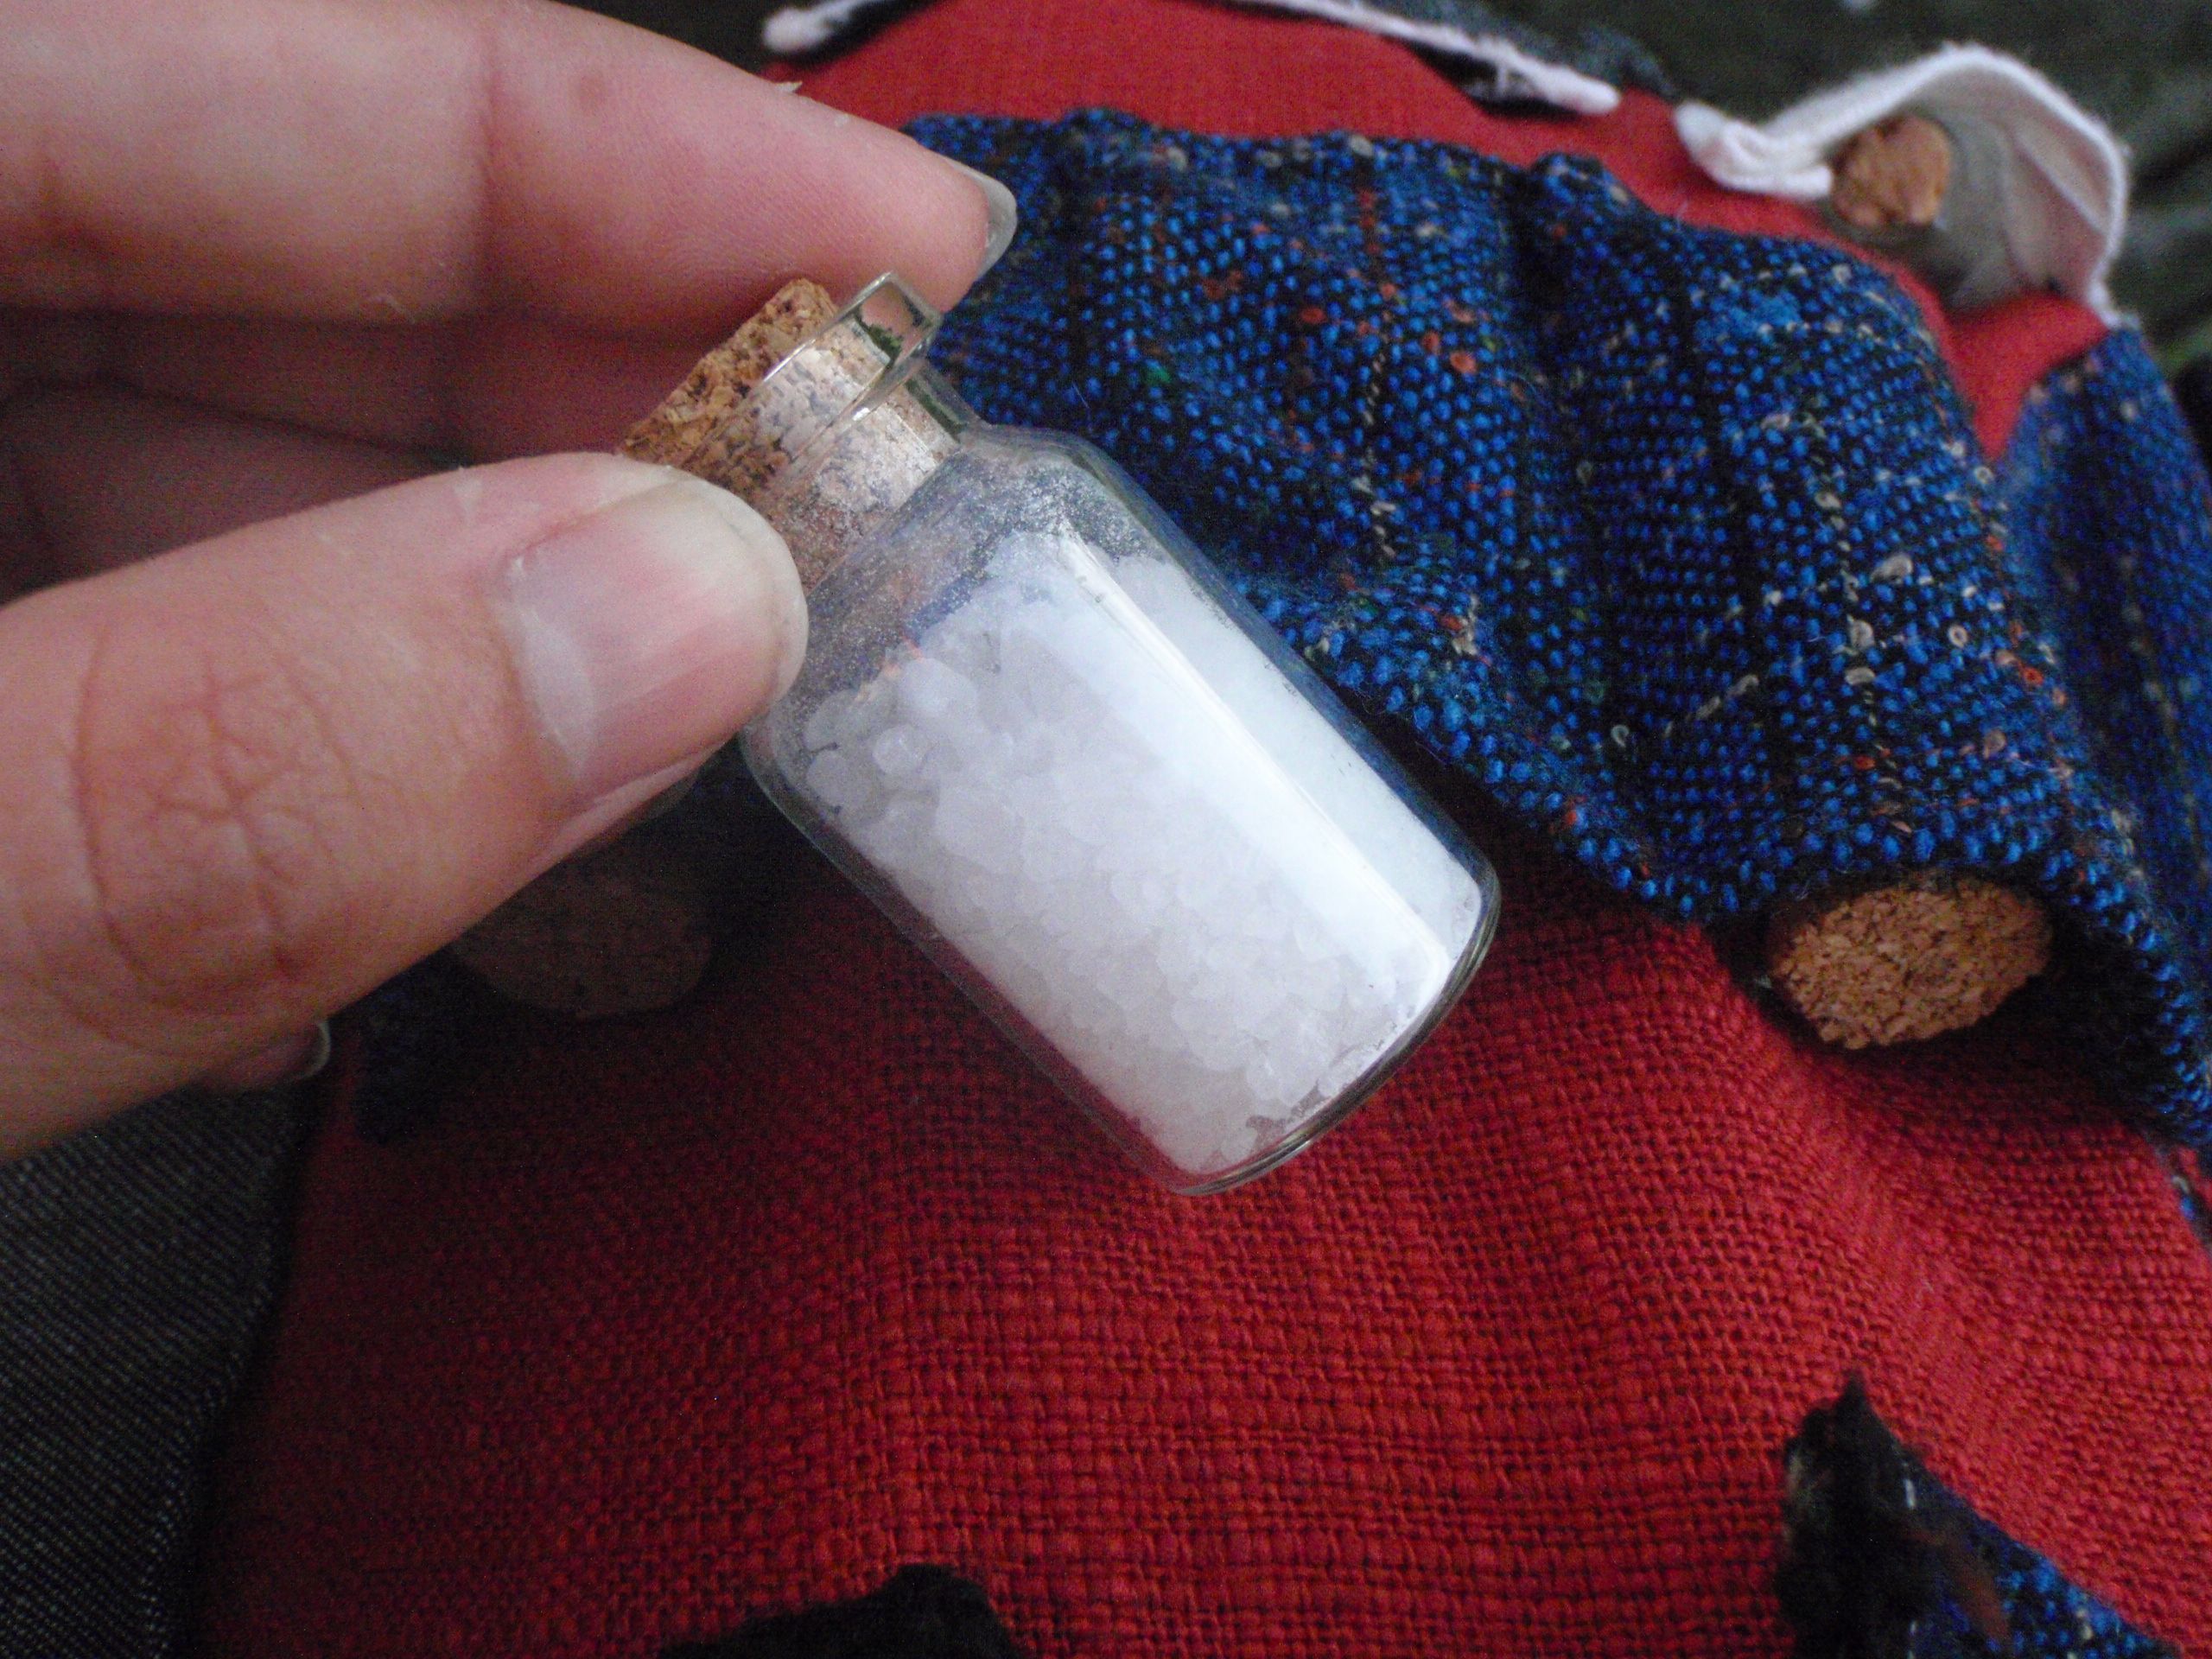
Salt left, and more pockets with more vials with herbs and an ink bottle (with a black cap)

 and even more pockets and vials!

I was really quite happy with the outfit although it did pose some technical difficulties. Sitting down on something low (for example: the ground or tree logs) is very difficult, because stuff might fall out. Running in the skirt is also not advised. However, it did hold up well, and the main issue I had, was with my overfull bag which hang on my hip bones (see also the picture up top), making the bones ache a bit. So I could probably improve the function of the skirt, snaps? perhaps. Overall, I’m happy about that though.

However, I have not made my mind up about the event itself yet. There was enormous chaos in the beginning (Friday night) and on the Saturday I had a scare which kept me out of it for most of the day. Sunday was really nice, because I got a task and figured out something I could do and felt really useful. I like feeling useful!

I’m going to have to see if I go again, of course also in combination with the always difficult part of figuring out the schedule at the university.
I think I might prefer not being the same person for 3 days straight, but that might change once I actually figure out the things I’m supposed to know in the game. (Pretending to have knowledge on the history of the country without knowing anything about the country is really difficult, that’s for sure.)

On to the next project! I’m thinking a t-shirt.
Happy crafting!

Larp Over Dress

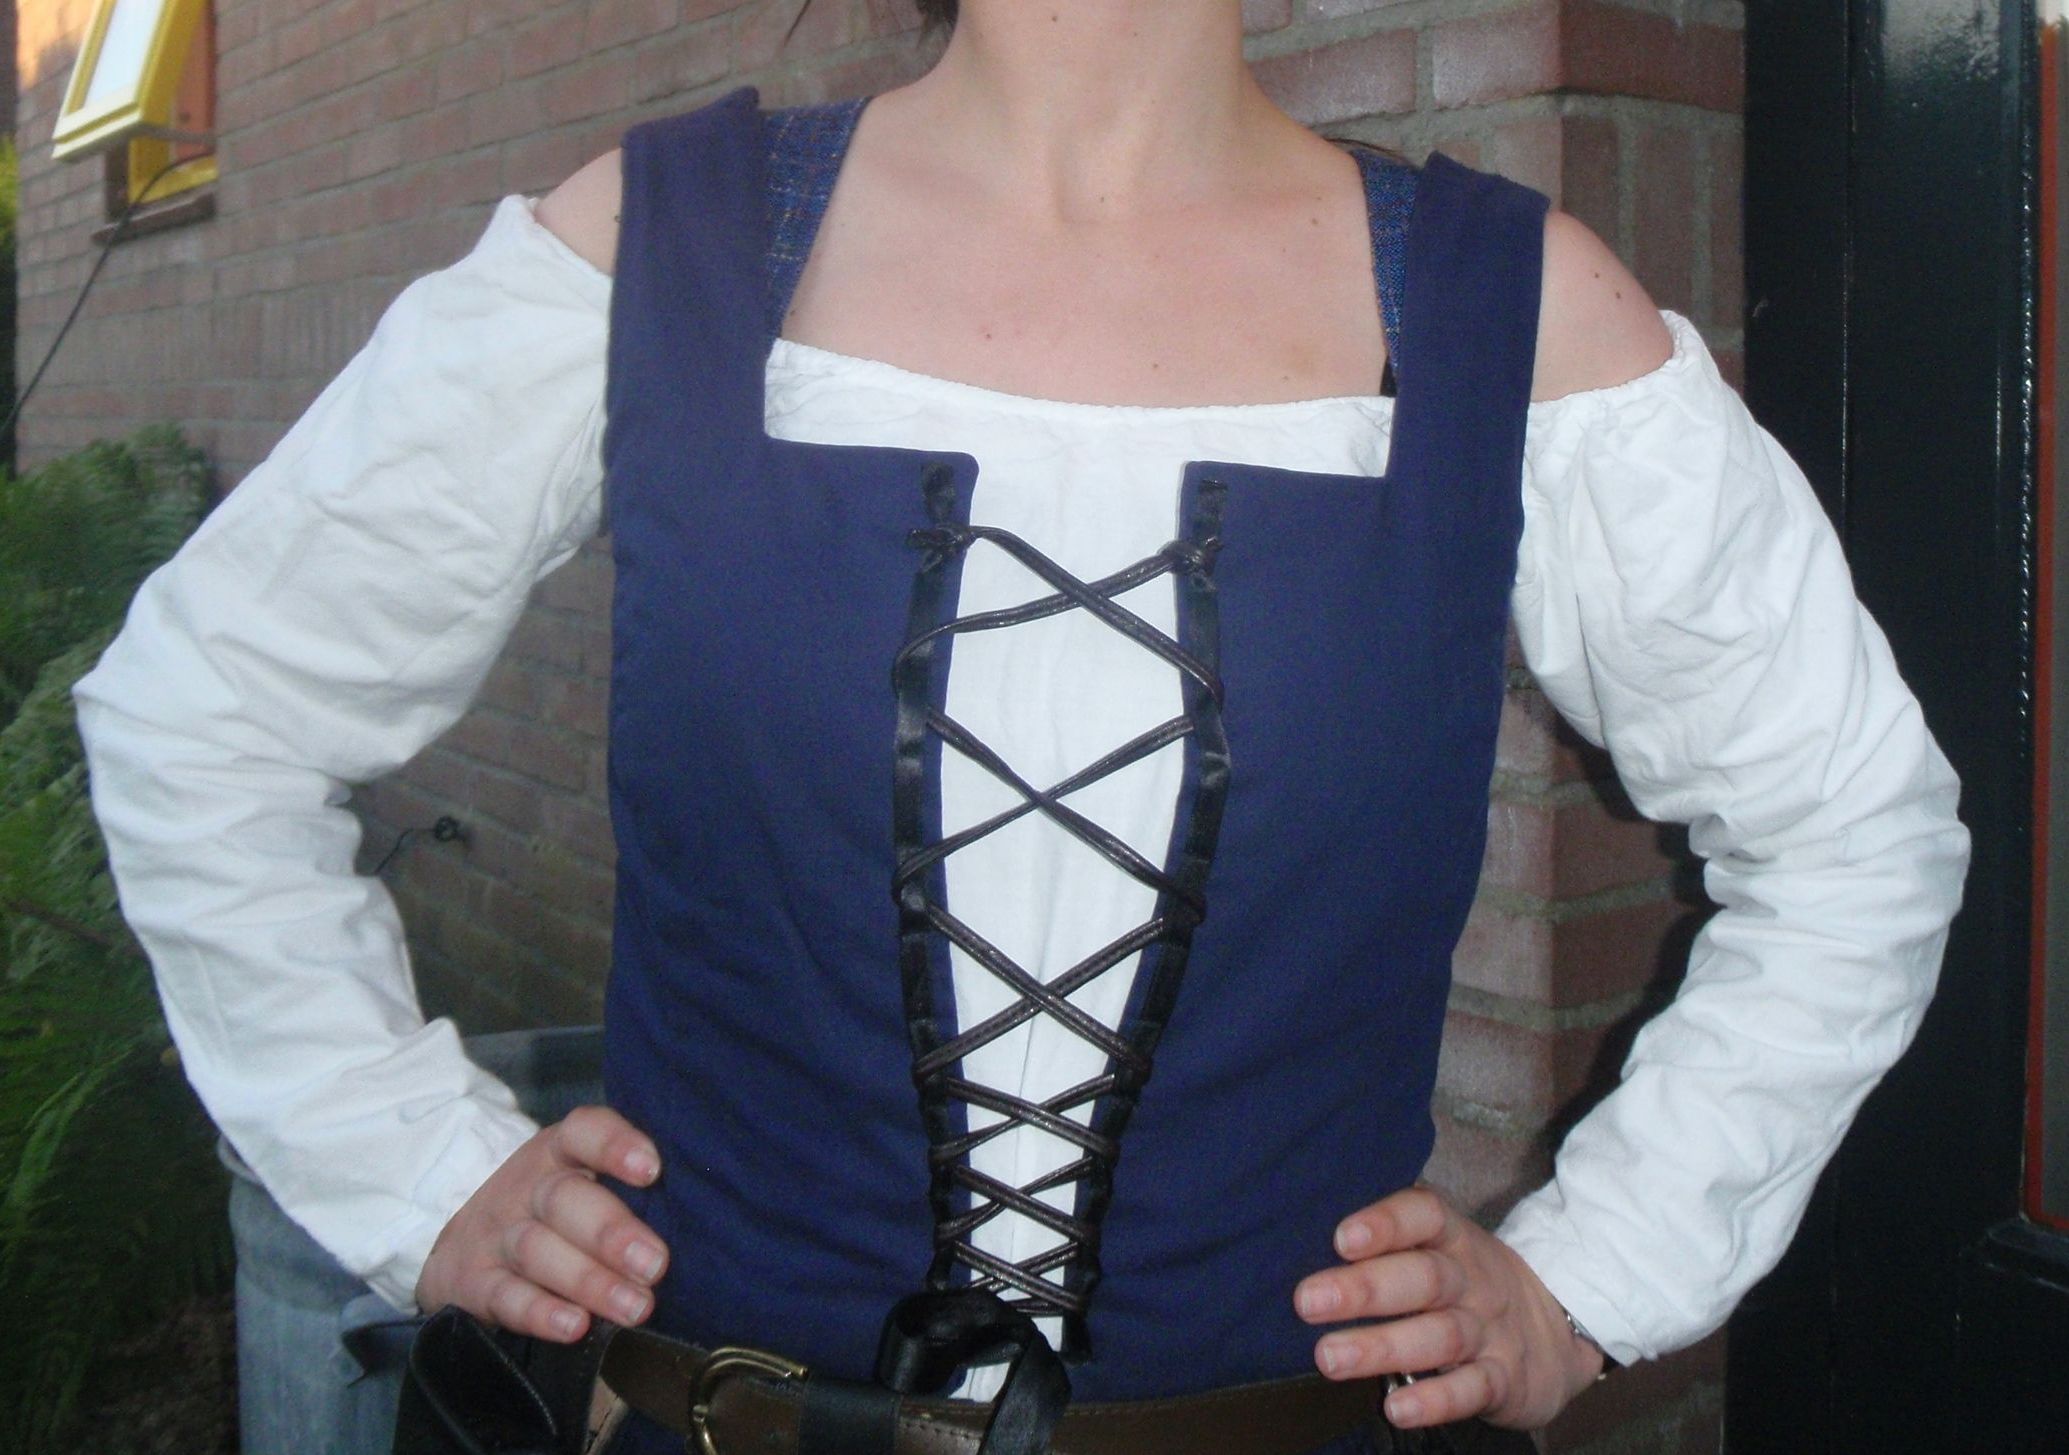
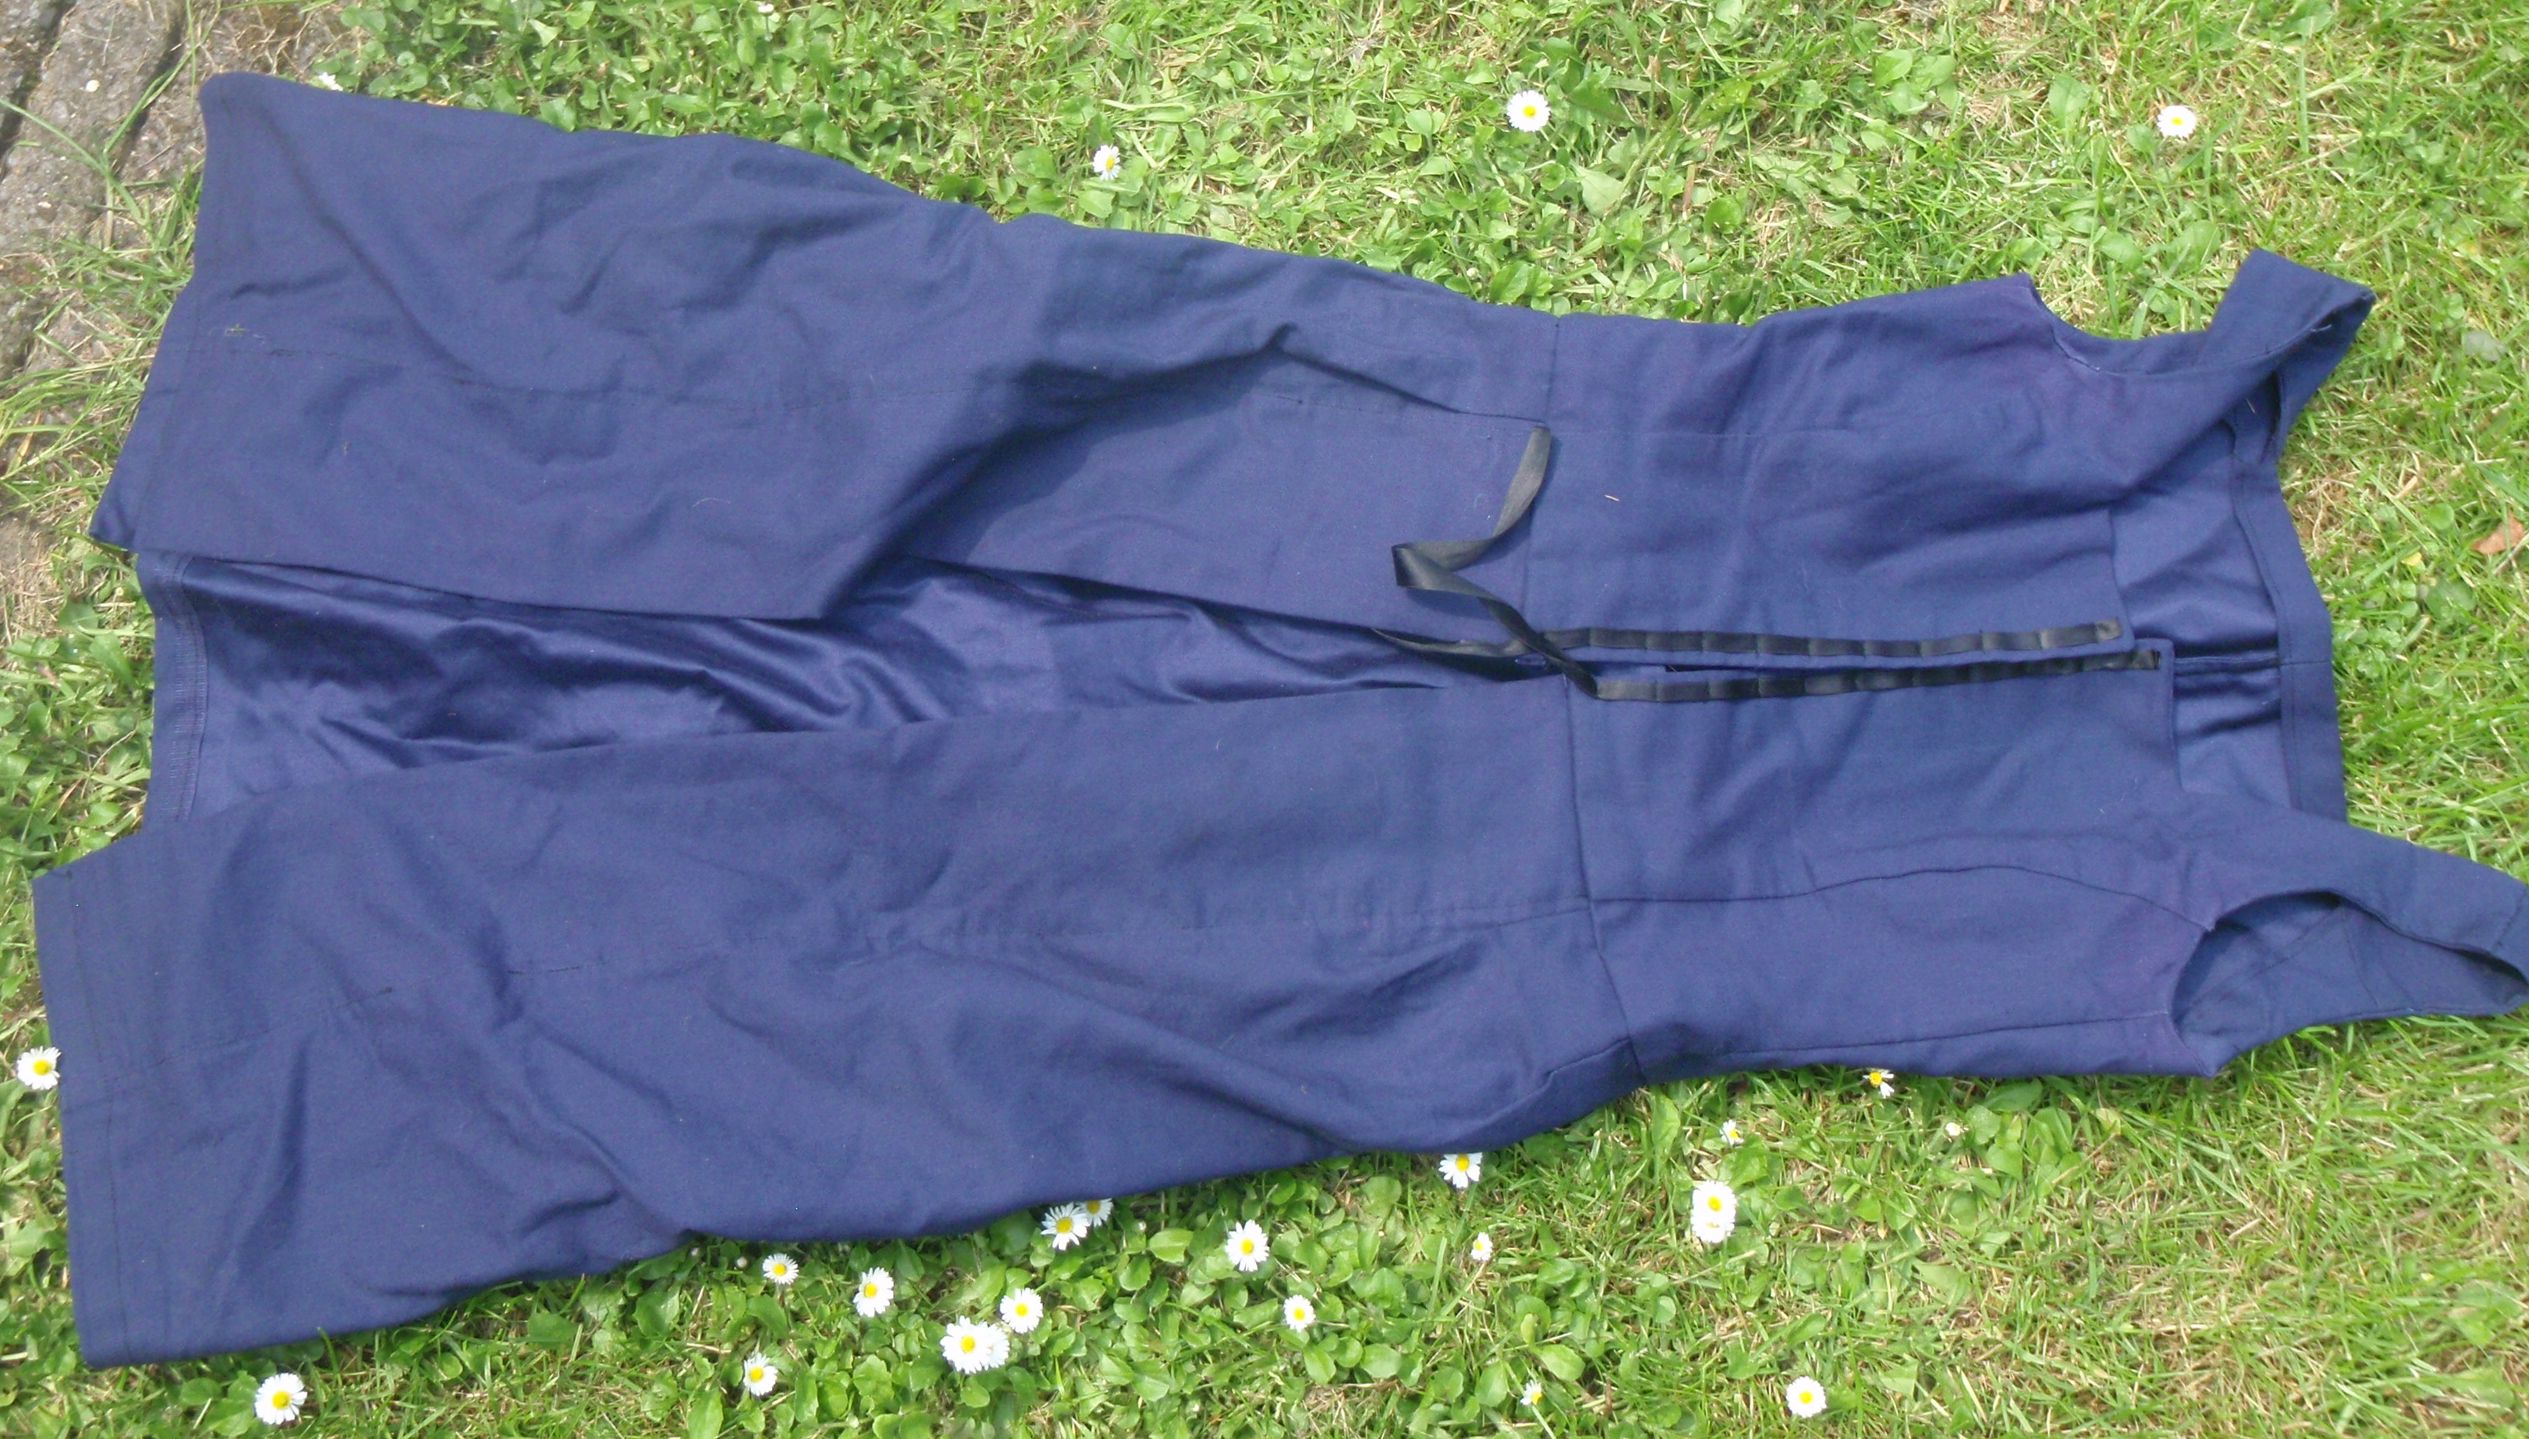
I don’t know if it’s a real word, but the last section of my Larp costume was an over dress. Somewhat coat like, with a lacing closure at the front and no sleeves. The top part was based (partly) on the Franzi vest pattern from Burda style (here). Admittedly, it doesn’t look anything like it any more, but I used the bones and then just cut the bits away that did not correspond with the vision I had.

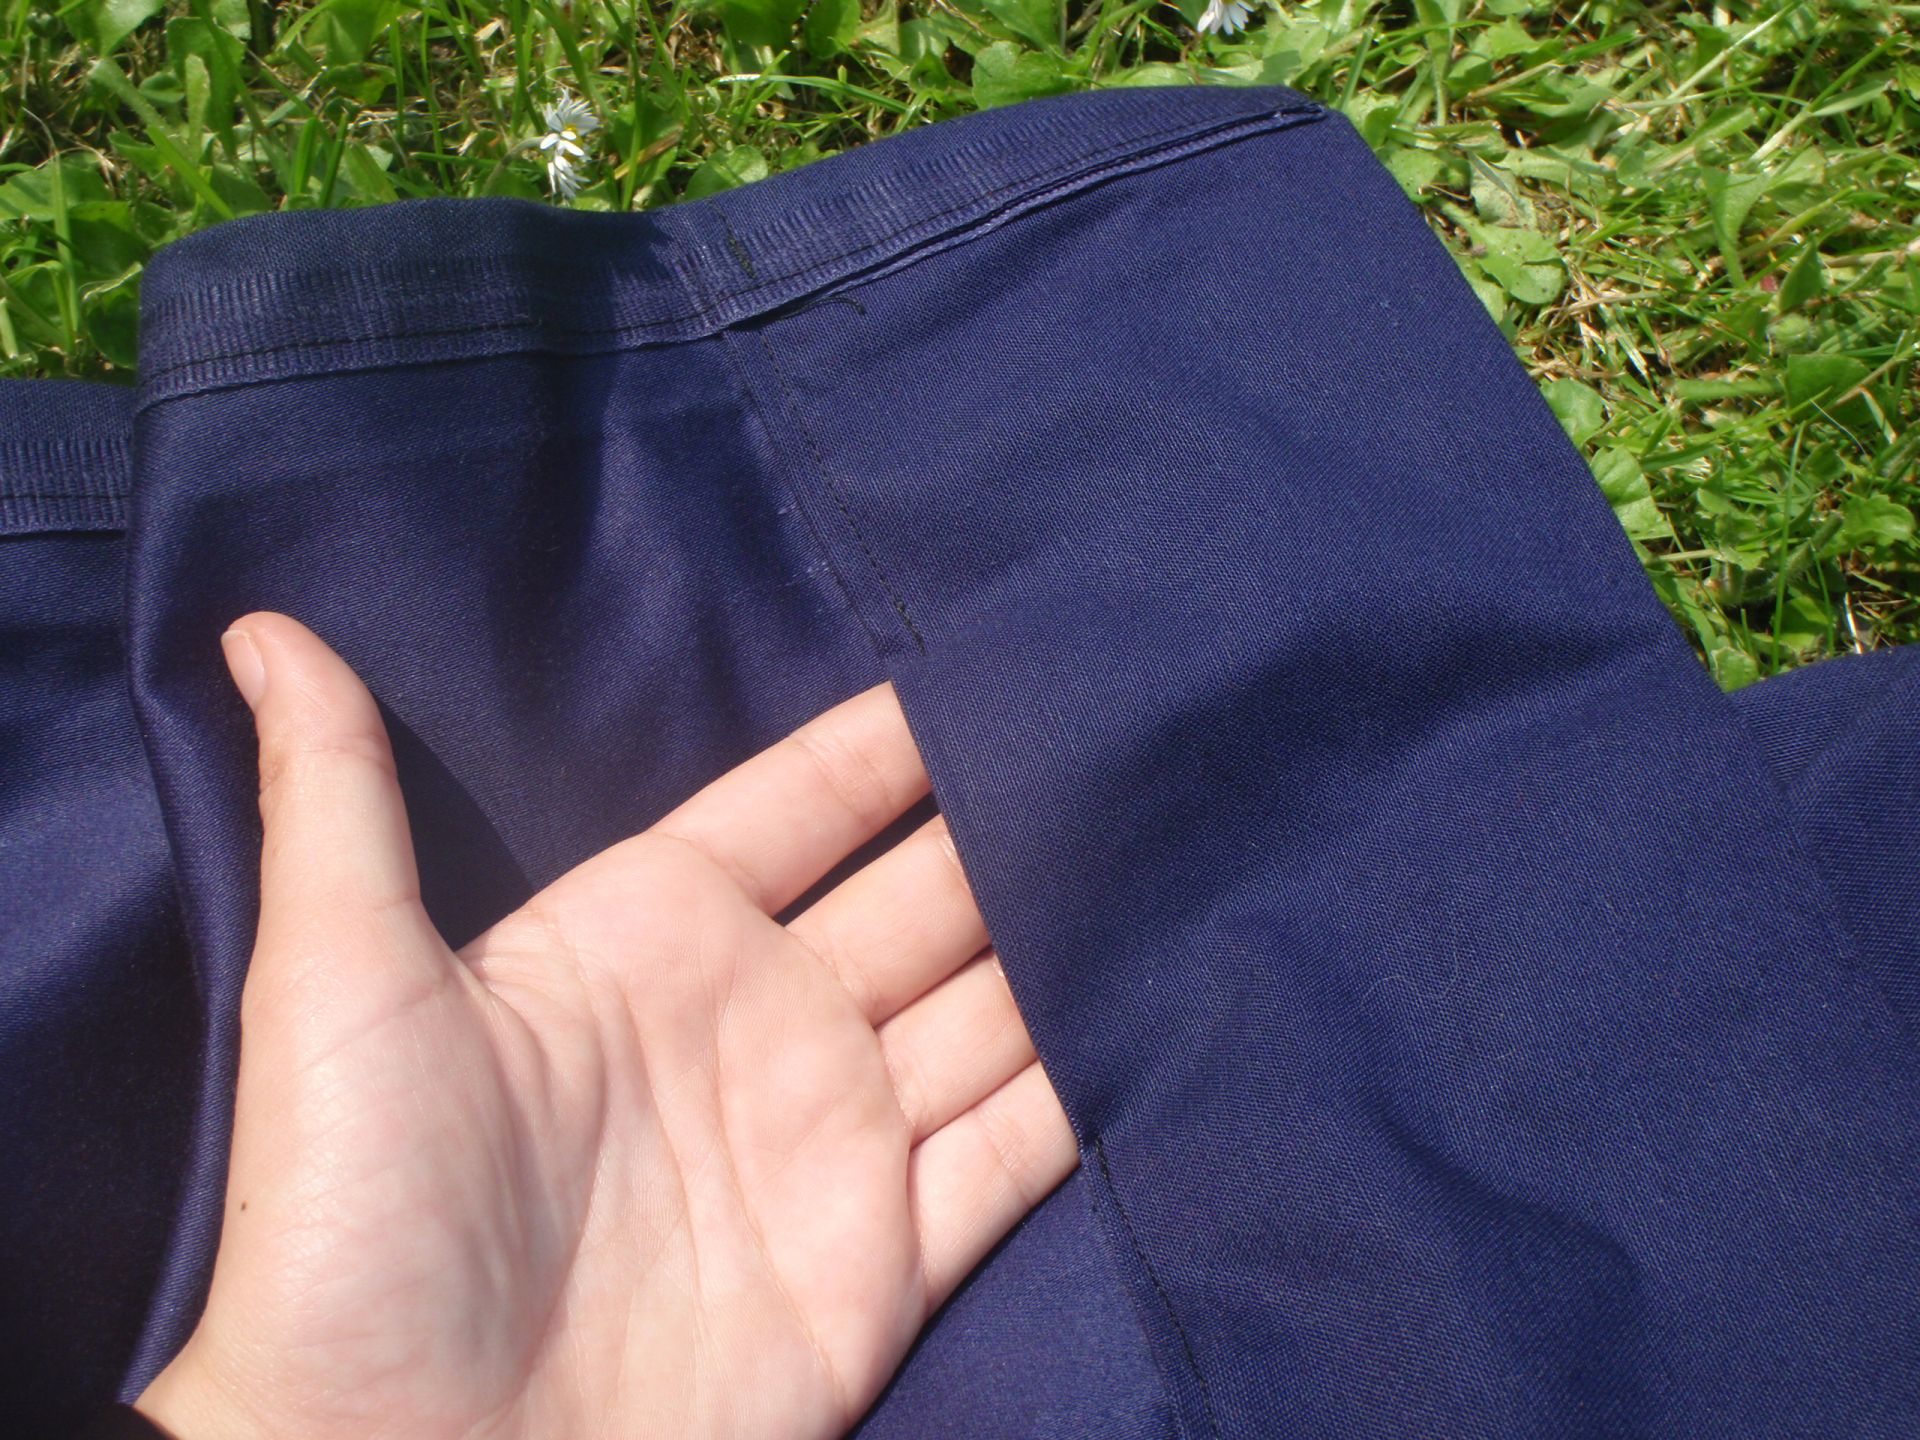
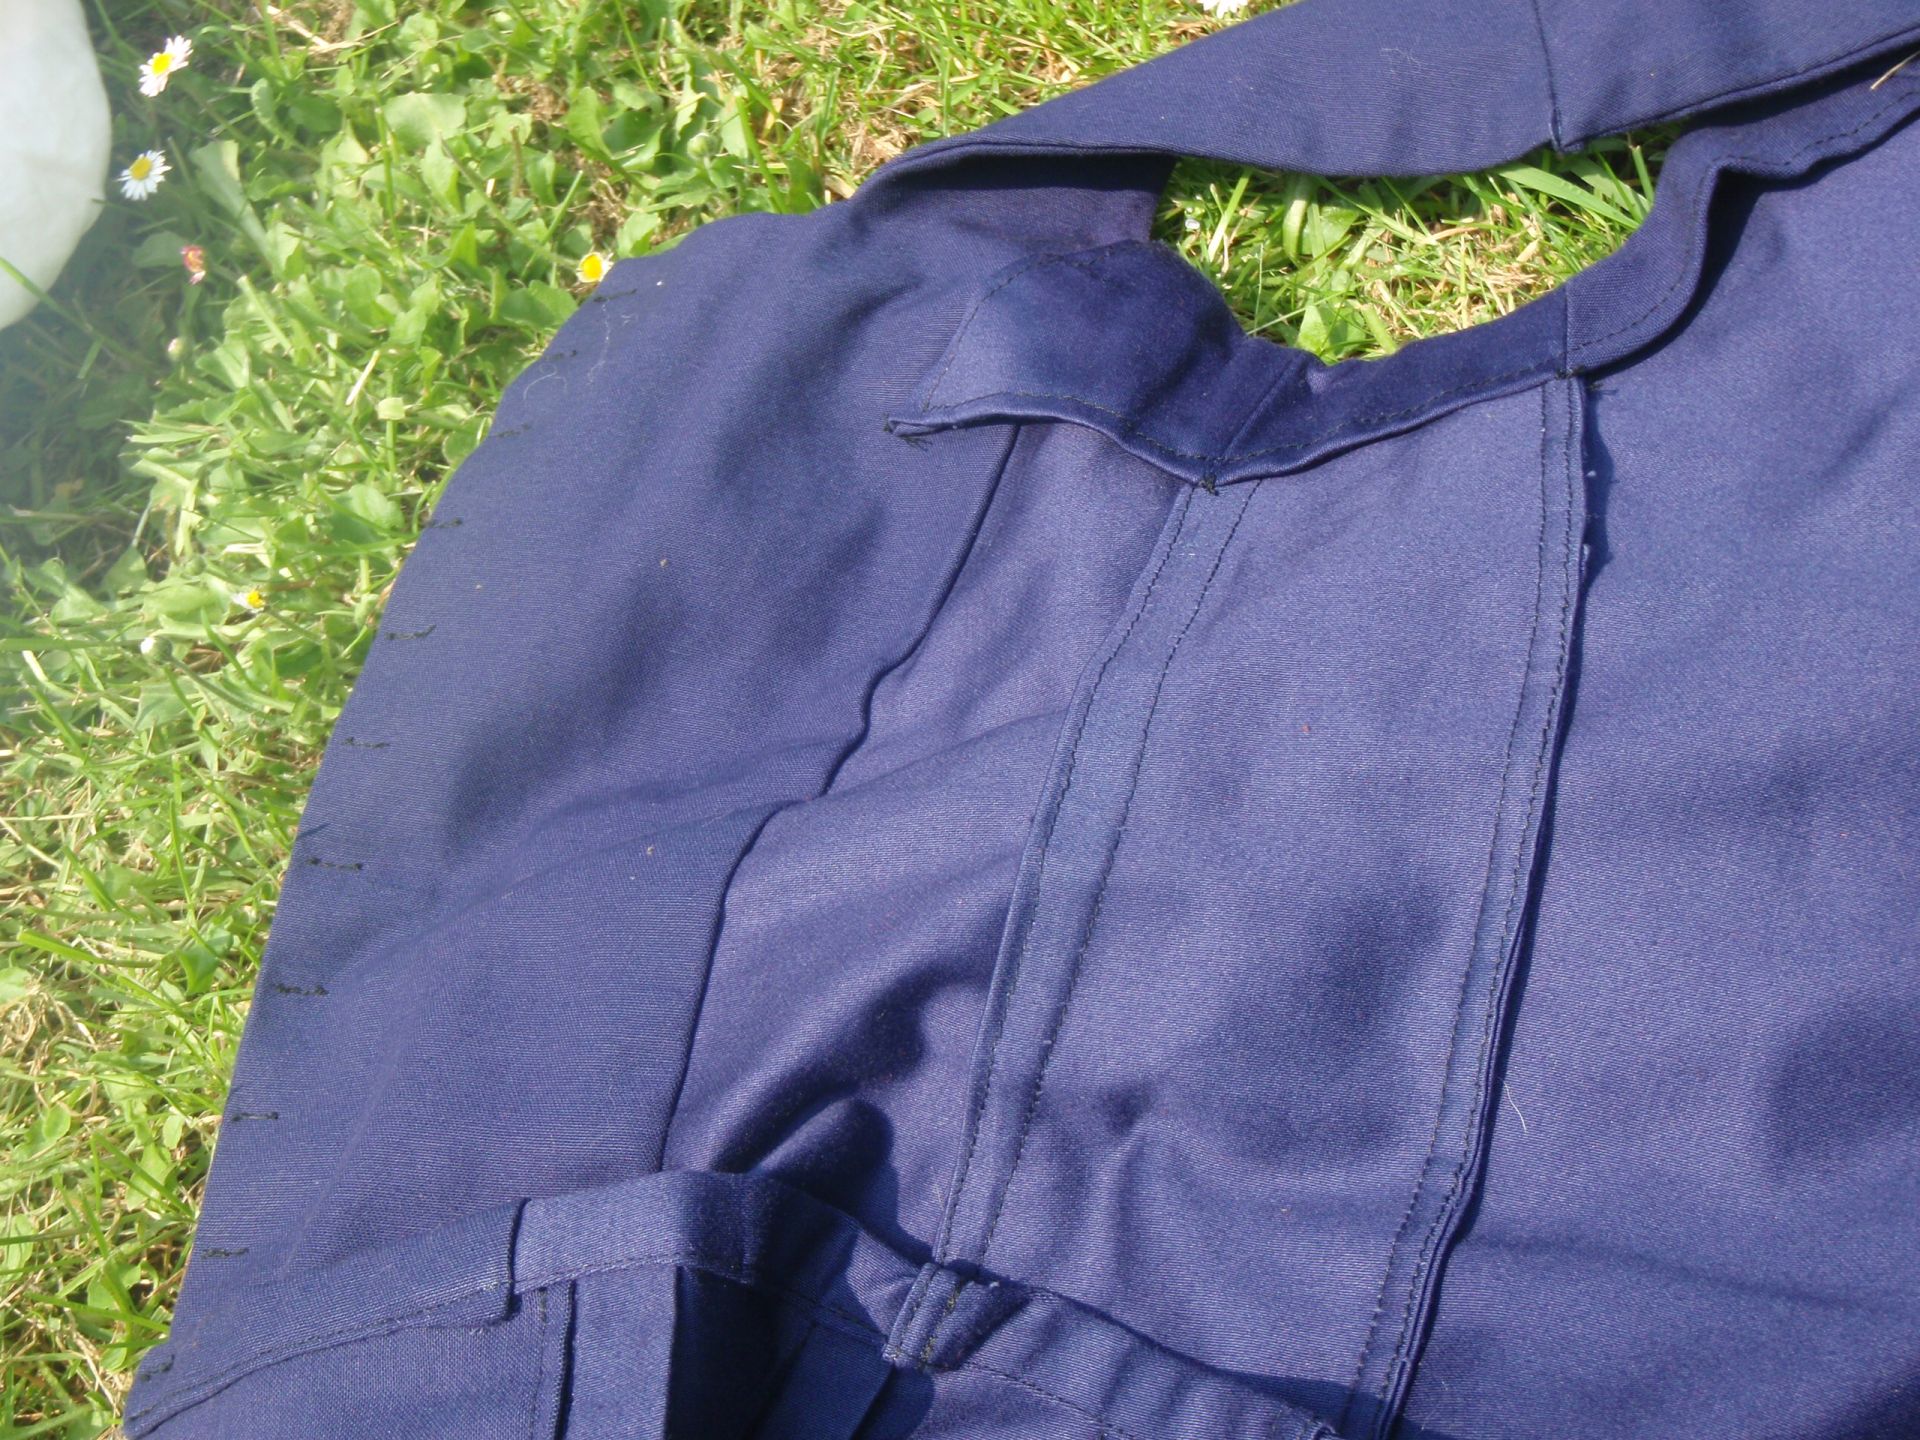
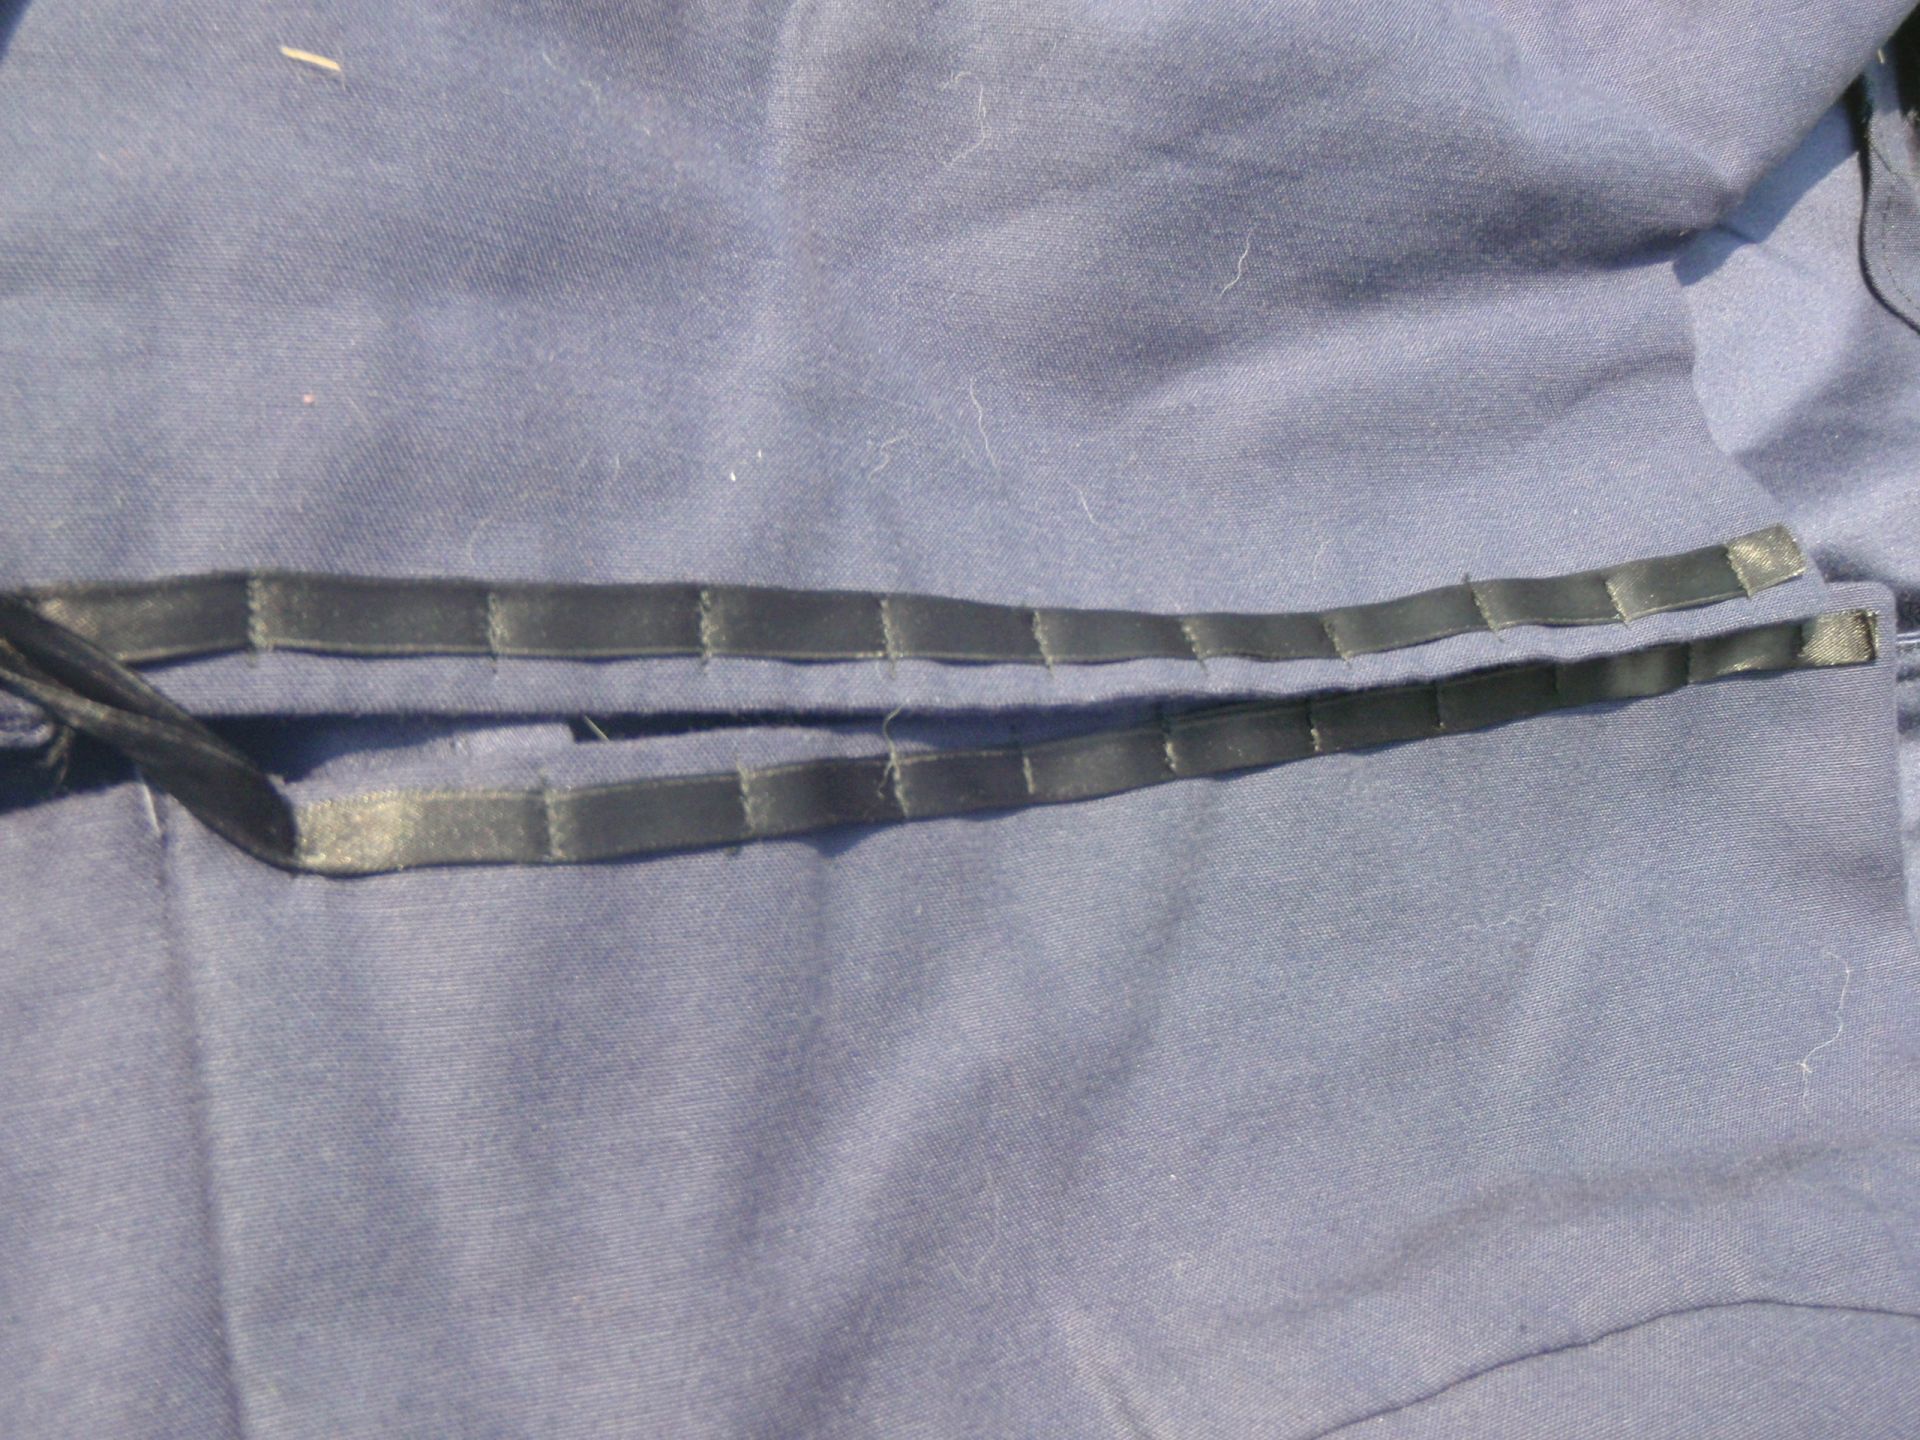
I made the straps thinner, cut the back a bit deeper, trimmed of the bottom so it was straight,  cut a section away from the front to create the square neck and made it too small in front so it would not close (on purpose). Then I added a square section of the curtain (yes, it was made from a curtain) with pleats to the bottom of the vest part. I also drafted my own facings for the top section, and added a ribbon to each front section, sewing it at approximately 1.5 cm intervals so I could thread a string through it and lace it up. There are also two pockets in the front sections of the skirt part, where I just left a bit of the front hem open (more pockets, yay!).

All in all, I’m really satisfied with this piece, it turned out pretty much exactly how I wanted it. It was really comfortable and I didn’t have any problems while wearing it.
So here it is:


From left to right: the complete overdress; the pocket in the lower left hem, the inside (completely finished) and the closure through which a string or ribbon gets laced. The bottom of the ribbon gets tied together to close the dress at the front before lacing commences. It helps in the process and looks nice in the final product.
Again all wrinkly and stuff, but this will be remedied with a bit of laundry and an iron.

Tomorrow the final part of this series: the complete costume!