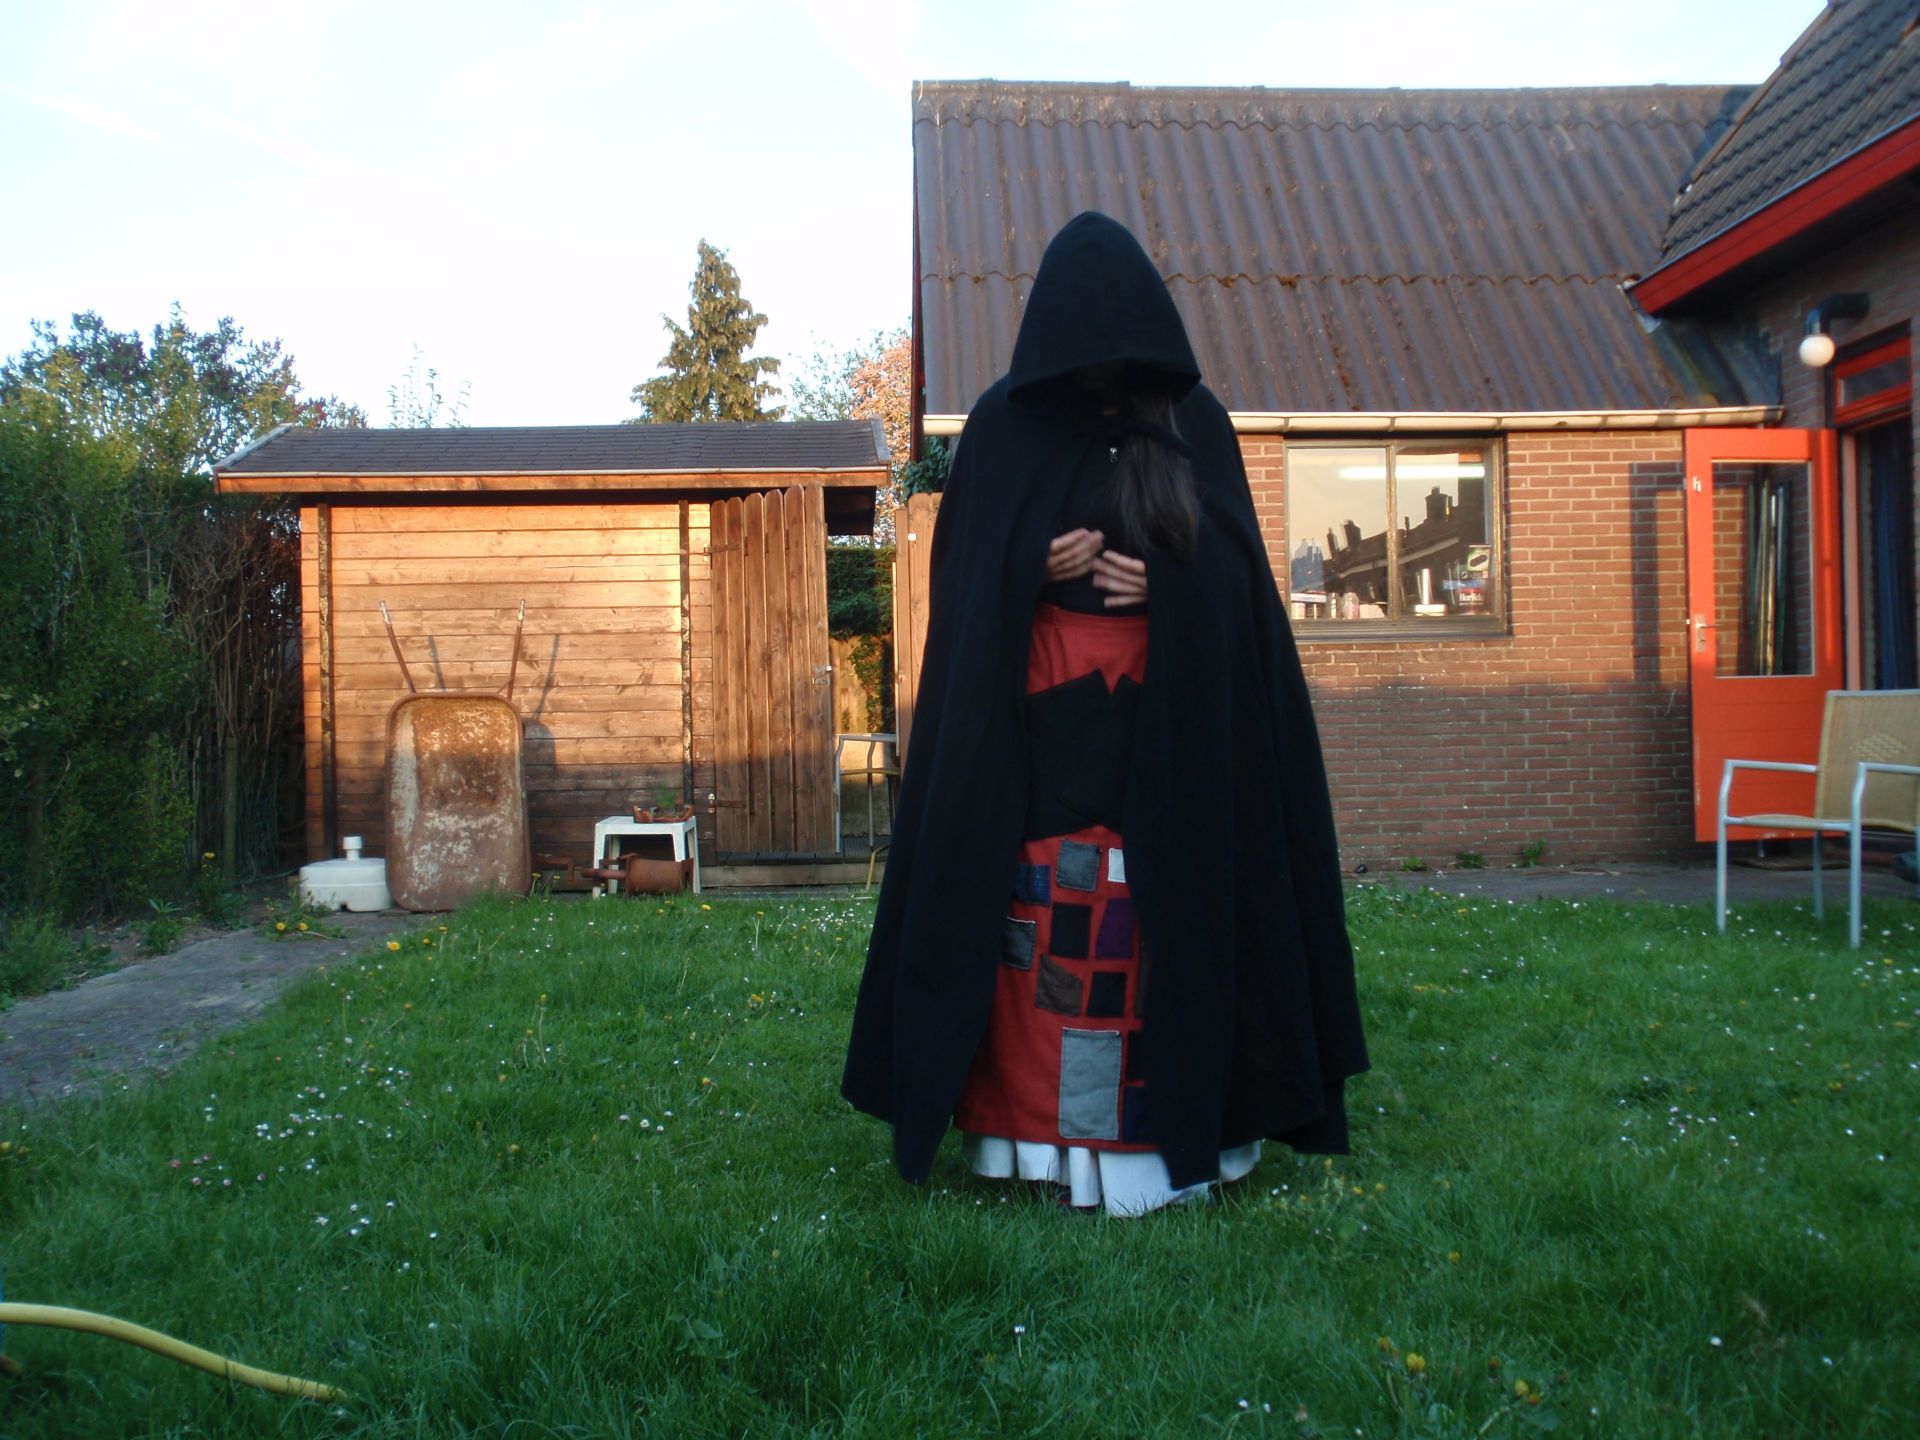
Curtain Cape

Who needs sleeves when you can have pockets in a cape?

Some months ago, I was sent a picture of a comic by abbycomics/Paige Walshe about a girl being asked about her cloak. With the reveal being that cloaks are cool especially lined with pockets. You can find the whole thing here. This sparked the beginning of an idea in my head. It was percolating for a while, but after repeatedly grabbing for my boiled wool cape to feed a cat half a block over, I figured I wanted another cape/cloak thing. This time one that closes and has pockets.

I was looking through all my pattern magazines and taking photos of the line drawings when I stumbled upon a cool cape pattern. Burdastyle 10/2011 Model 101 A/B. It’s a hooded cape with arm slits and a zipper down the front. It had cool style lines and there were a few reviews and blog posts that made it look decent. So I traced that pattern and started looking through my stash. Nothing really caught my eye though.

So, after hibernating in my house for the full week of Christmas, I decided to go on an excursion on the Saturday. I accidentally woke up early and travelled half the country to go buy fabric. I wandered the market and found a stall that sold curtain fabric for only 2 euro per meter. It’s a napped fabric with an almost fleece like black backing. I got 2.5 meters of the grey and 1 meter of black, since I was planning on making the front zipper placket a different colour.

Once I got home and washed the fabric, I was amazed by how quickly it dried and I could get to work swiftly. There was perfectly matching thread in my stash, so that was great. I cut a size 36 with 1.5 cm seam allowances and got going on the cape. Since the fabric is really thick, but doesn’t fray at all, I didn’t overlock anything. I did want to flatten the seam allowances a little, especially in the shoulder corner pieces. So I trimmed the inside seam, stitched the allowances down, and cut the outside seam close to the stitching. I like the decorative nature of this too.

I did make a few alterations, as usual. The pattern calls for lining the hood, which I didn’t think it needed although I did cut a facing for the opening. I skipped the zipper placket all together but included plackets over the arm openings. I’ve added an ‘unzipped’ hook and eye as closure and a hanging loop. The most important change was to add pockets to the inside. Since the cape isn’t lined, I took special care to make everything as symmetrical as possible, and follow the lines of the cape, since the stitching would show on the outside.

There are four pockets in total, two hand warmer pockets that open vertically; the ones closest to the zipper. The other two are content pockets that are on the side front pieces. These open at the top but I can still get to them when the cape is on. The pockets were all made out of fleece, since I thought the cape fabric was a bit too thick.

I quite like how it turned out and it’s so soft! I can just pet this cape forever.

Curtains

When I woke up for the third time in three days at 8 o’clock having gone to bed fewer than eight hours before, I finally decided to get my butt in gear and get some curtains. Clearly the roll-thing that was there was not sufficient. I’d previously tried to buy a curtain rod and fabric, but I kept on chickening out, unsure whether I could make it work. Well, Saturday, I decided that I could, so off to the store I went, keeping 1.5 meters distance from everyone as mandated.

I got 4 meters of a white fabric that should not let any light through and four meters of some outer fabric. Got some curtain tape, a pre-assembled curtain rod and went on my merry way. I used the lines on the outer fabric to iron hems and edges into place and then put the lining and the curtain tape on. Sewed it all down, installed hooks and it was good to go.

The before and after is quite striking considering it’s broad daylight outside. I don’t know whether it will have much effect on my sleep. However, the fact that I managed to hang up curtains all by myself (I used a drill and everything) is as much of a boost as getting more sleep will be. At least for now.

Curtain

Last weekend, after I’d gotten up on Saturday because I heard the bread seller tooting his horn (literally), my father asked me to go to the fabric market in Utrecht with him. He wanted to get some fabric for a curtain. We’ve inherited the curtains from my grandmother but they only covered two of the windows in the living room. We, therefore, kept the old blue curtain to cover the window in the back door. After years of dogs jumping at it and just generally old age, there were enormous tears in that curtain. It was taken off and we’ve been living without one on the door. Curtains seem to help with keeping heat in, so we wanted a new one.

After measuring the door, taking pictures of the other curtains (see below) and jumping on the train, we wandered over the entire market looking for something to match the curtains. We found some nice blue; not enough left, some nice red; not enough left and then we found the stuff we wanted. One problem, I thought blue would be better. My dad wanted yellow. His house his choice, so six meters of yellow went home with us. We also got some easy curtain making tape stuff: you sew it on and pull the strings and it makes pleats for you.

Curtain detail Curtain

For myself, I got two lining fabrics, one for my pants (which I cannot try on for fit well because it itches so much, so it still isn’t finished) and one for the jacket that I’m supposed to make to go with the pants. I also got some flannel like stuff with owls on, for new pyjamas.

As soon as we got home, my dad said: It should have been blue. Well, we didn’t have blue, we had yellow, but we still like it. My mother and I worked on the curtain on Sunday. We’d cut it in half, sewed those bits together (to make it 3×3 instead of 1.5×6), hemmed the sides, added the tape and then put it on the rail in order to hem the bottom. It was hanging there, unfinished, until Saturday morning. We were going to host the new years party for the street, so I wanted the curtains done. My mum and I hemmed it by hand and I finished the tape nicely. So our nice yellow curtains are now hanging in the living room.

New curtain New curtain

With that project done, I had time and eventually energy to start work on the owly pyjamas. See those here soon.

Larp Over Dress

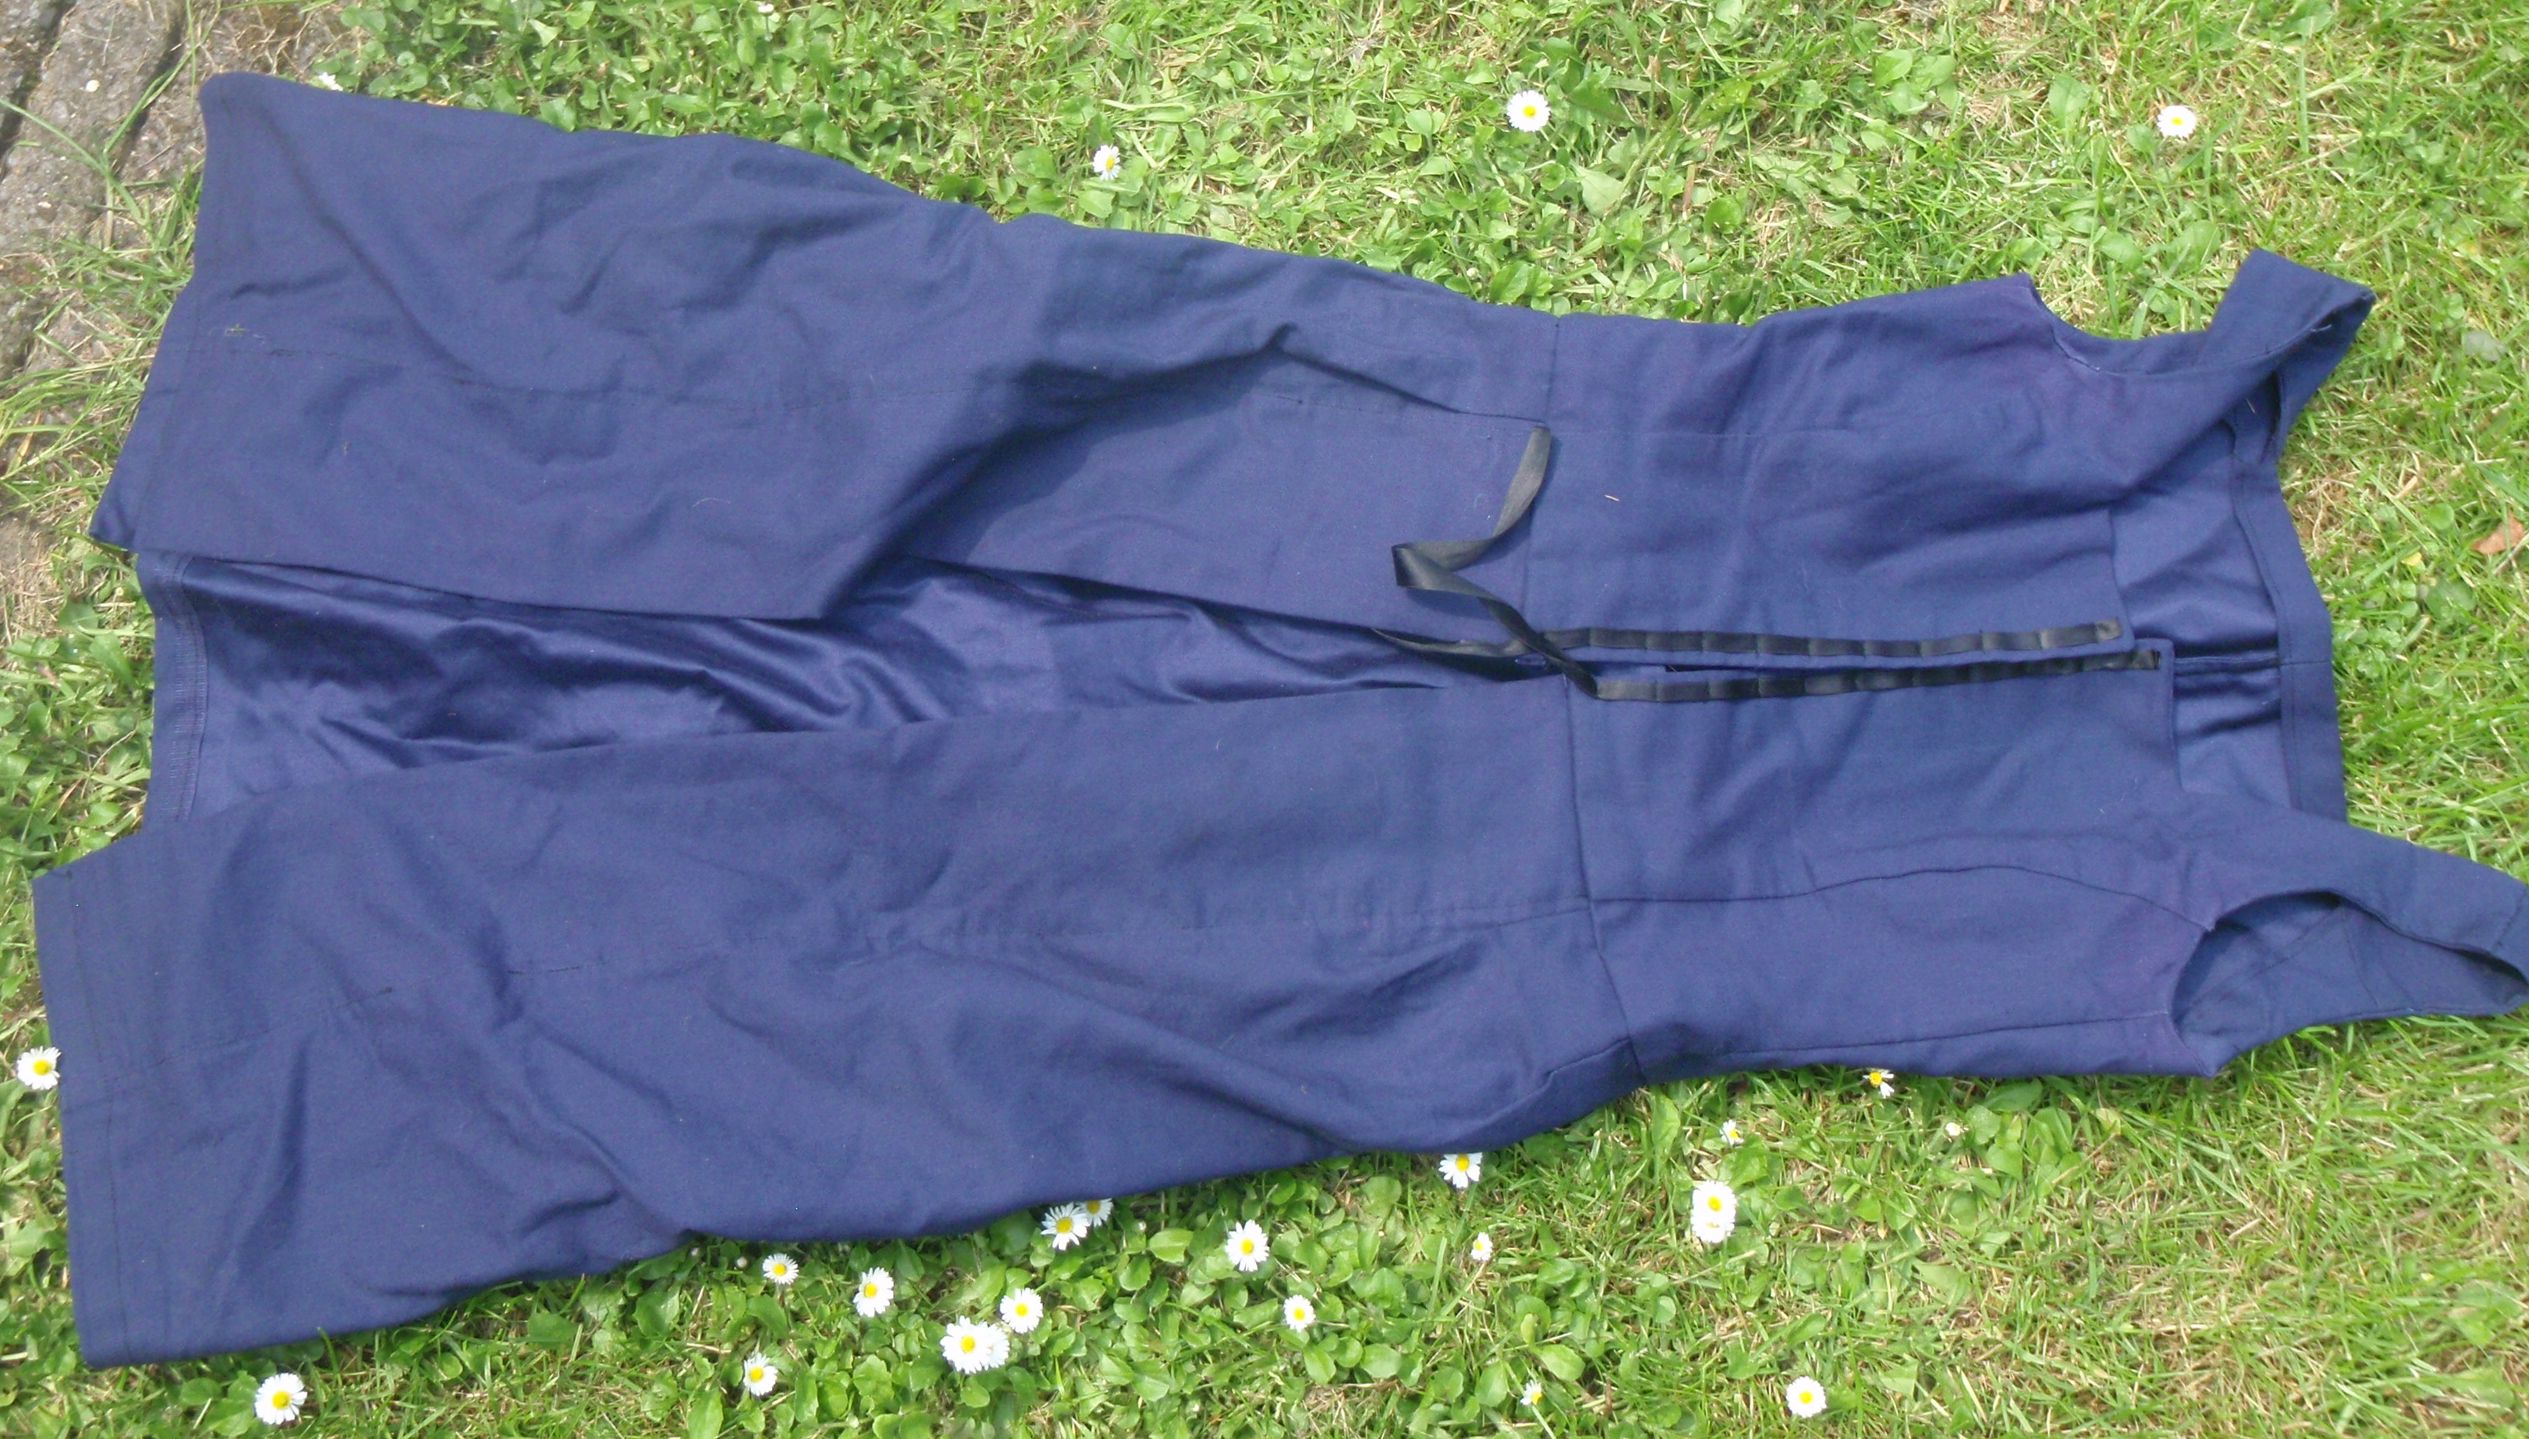
I don’t know if it’s a real word, but the last section of my Larp costume was an over dress. Somewhat coat like, with a lacing closure at the front and no sleeves. The top part was based (partly) on the Franzi vest pattern from Burda style (here). Admittedly, it doesn’t look anything like it any more, but I used the bones and then just cut the bits away that did not correspond with the vision I had.

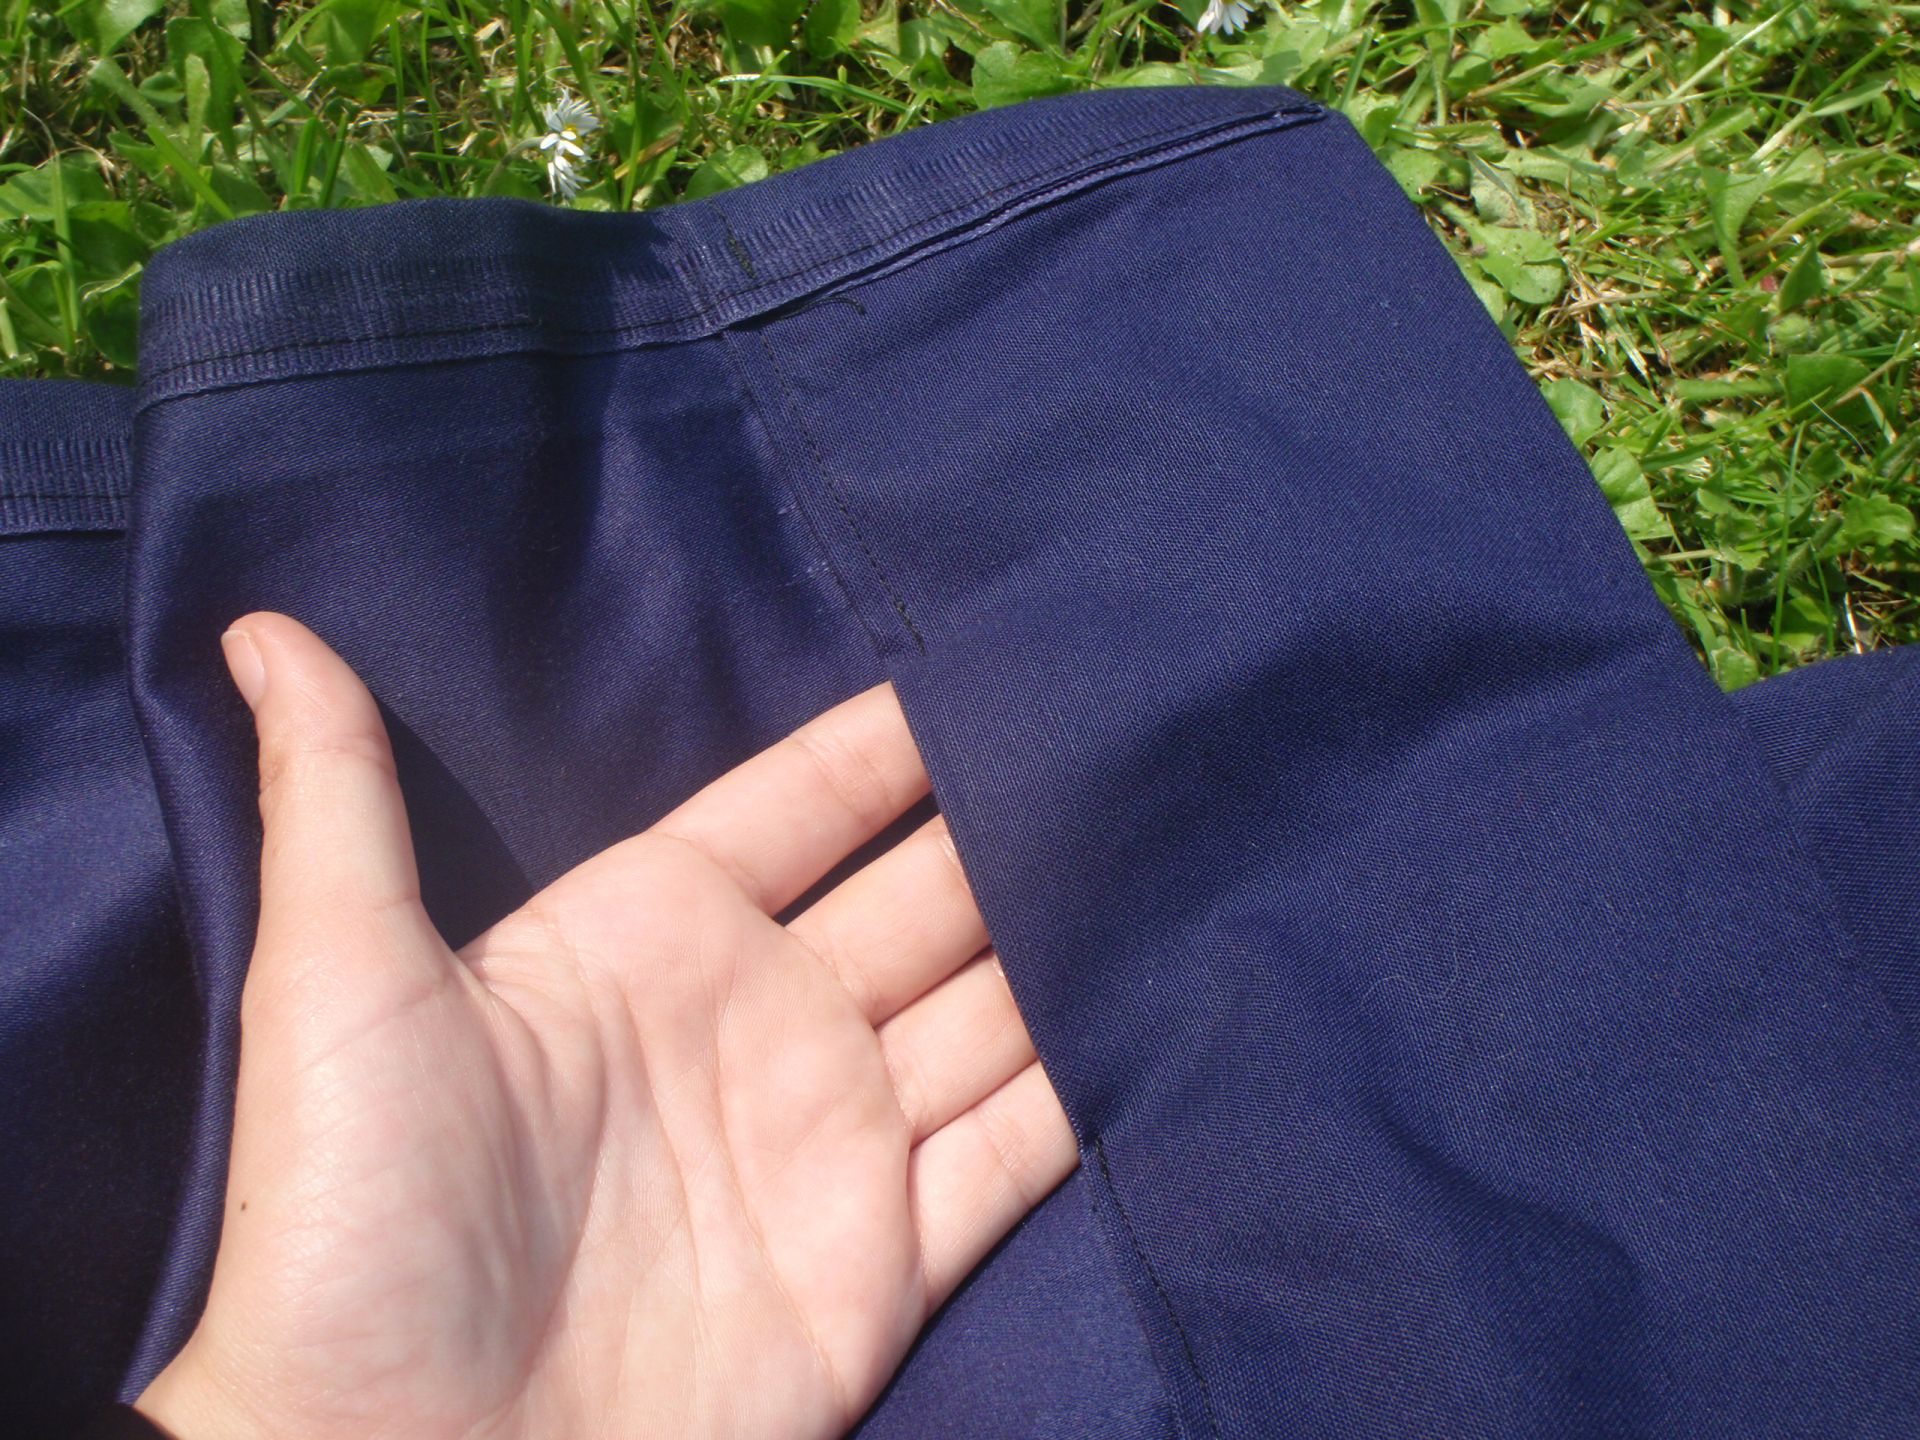
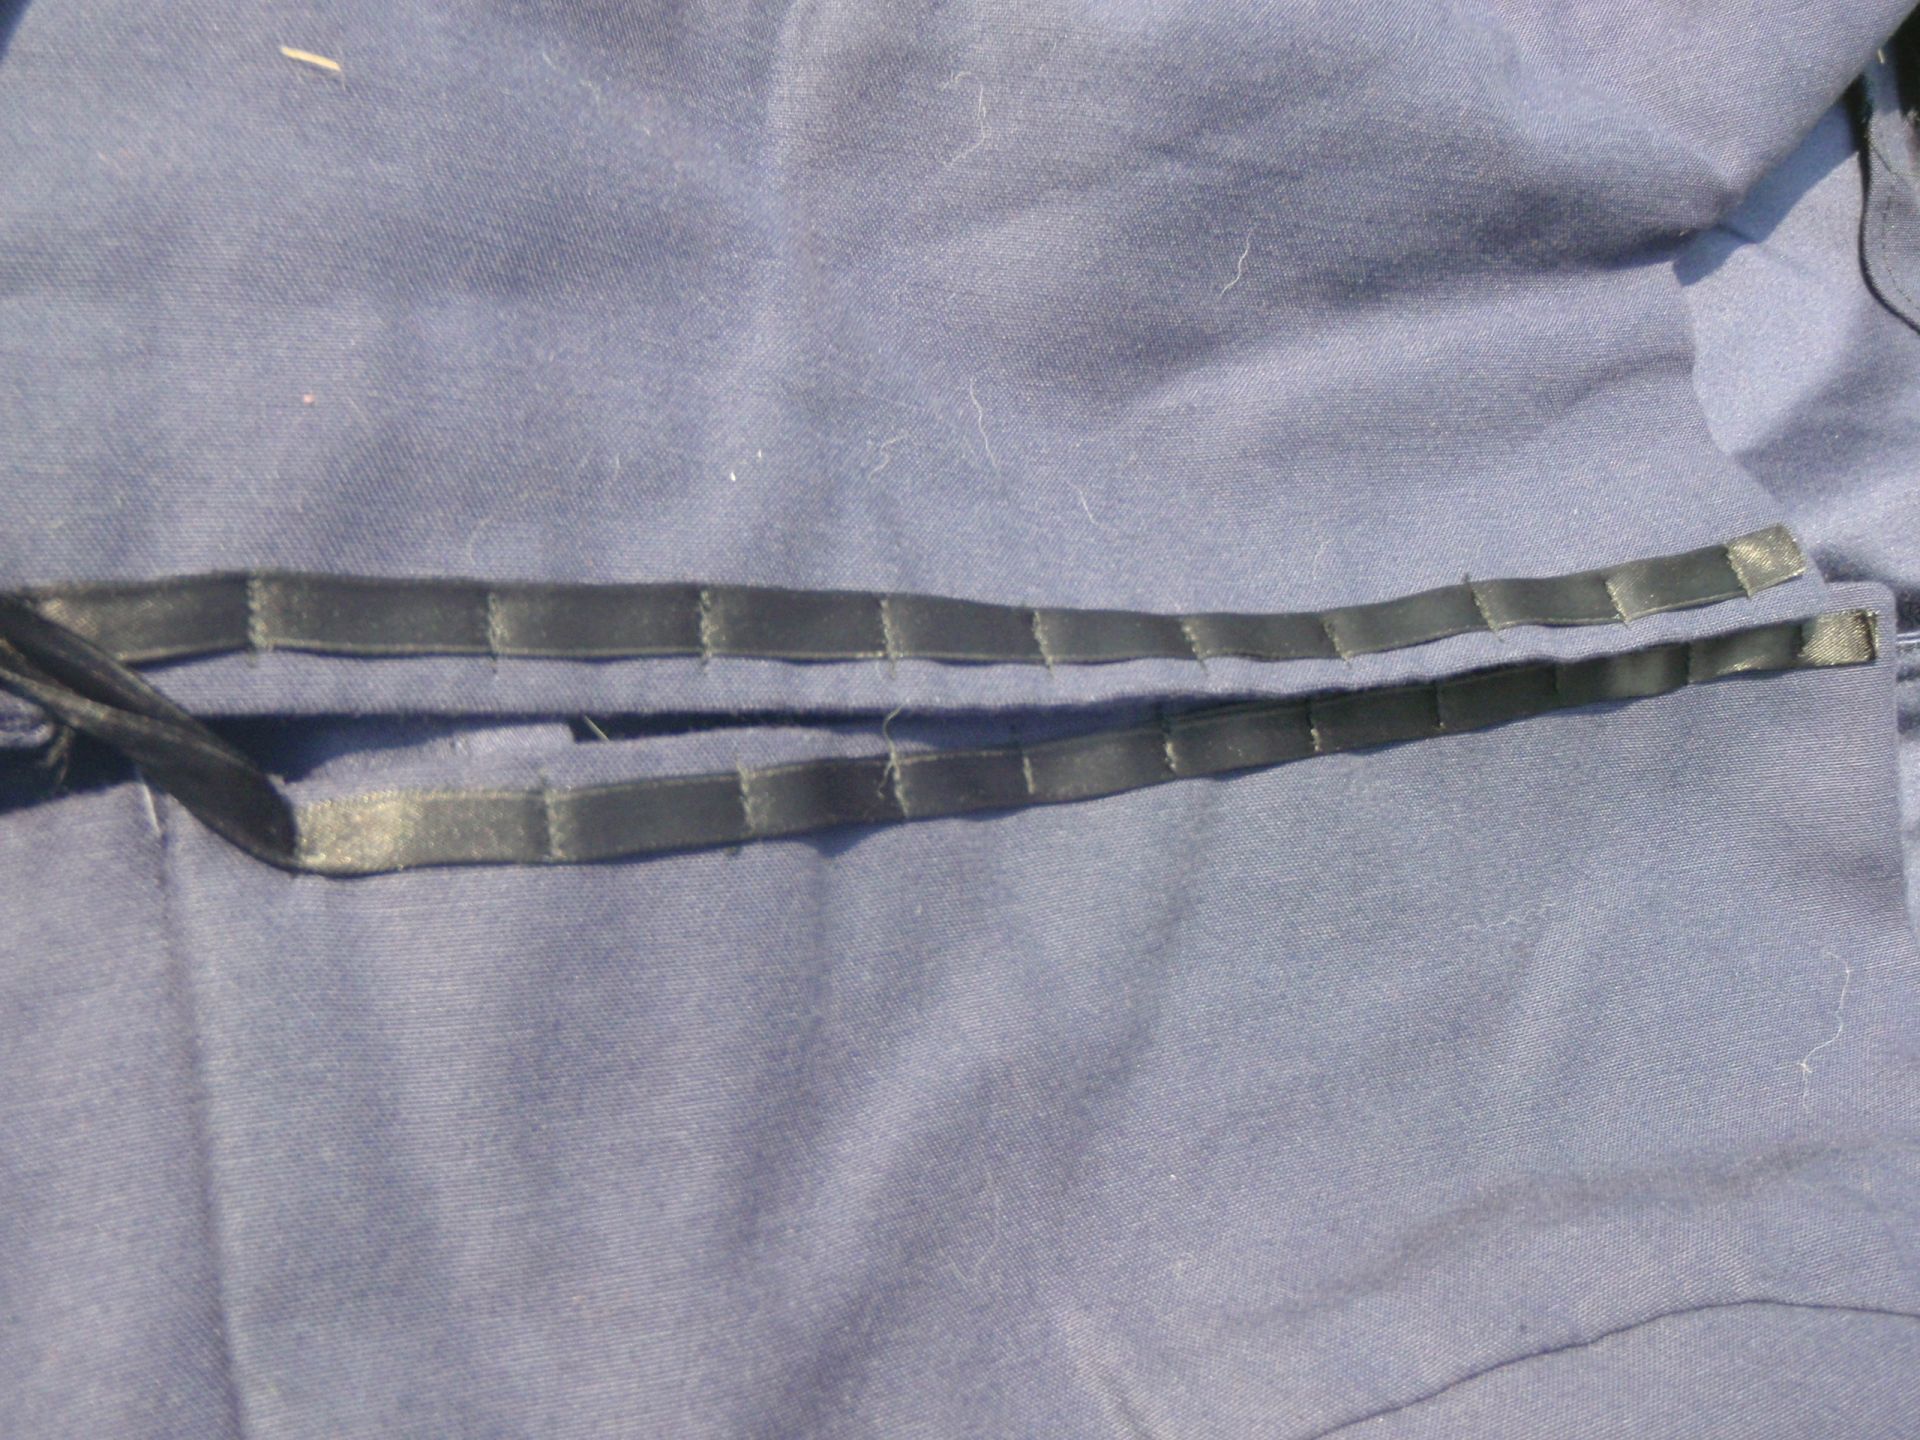
I made the straps thinner, cut the back a bit deeper, trimmed of the bottom so it was straight,  cut a section away from the front to create the square neck and made it too small in front so it would not close (on purpose). Then I added a square section of the curtain (yes, it was made from a curtain) with pleats to the bottom of the vest part. I also drafted my own facings for the top section, and added a ribbon to each front section, sewing it at approximately 1.5 cm intervals so I could thread a string through it and lace it up. There are also two pockets in the front sections of the skirt part, where I just left a bit of the front hem open (more pockets, yay!).

All in all, I’m really satisfied with this piece, it turned out pretty much exactly how I wanted it. It was really comfortable and I didn’t have any problems while wearing it.
So here it is:


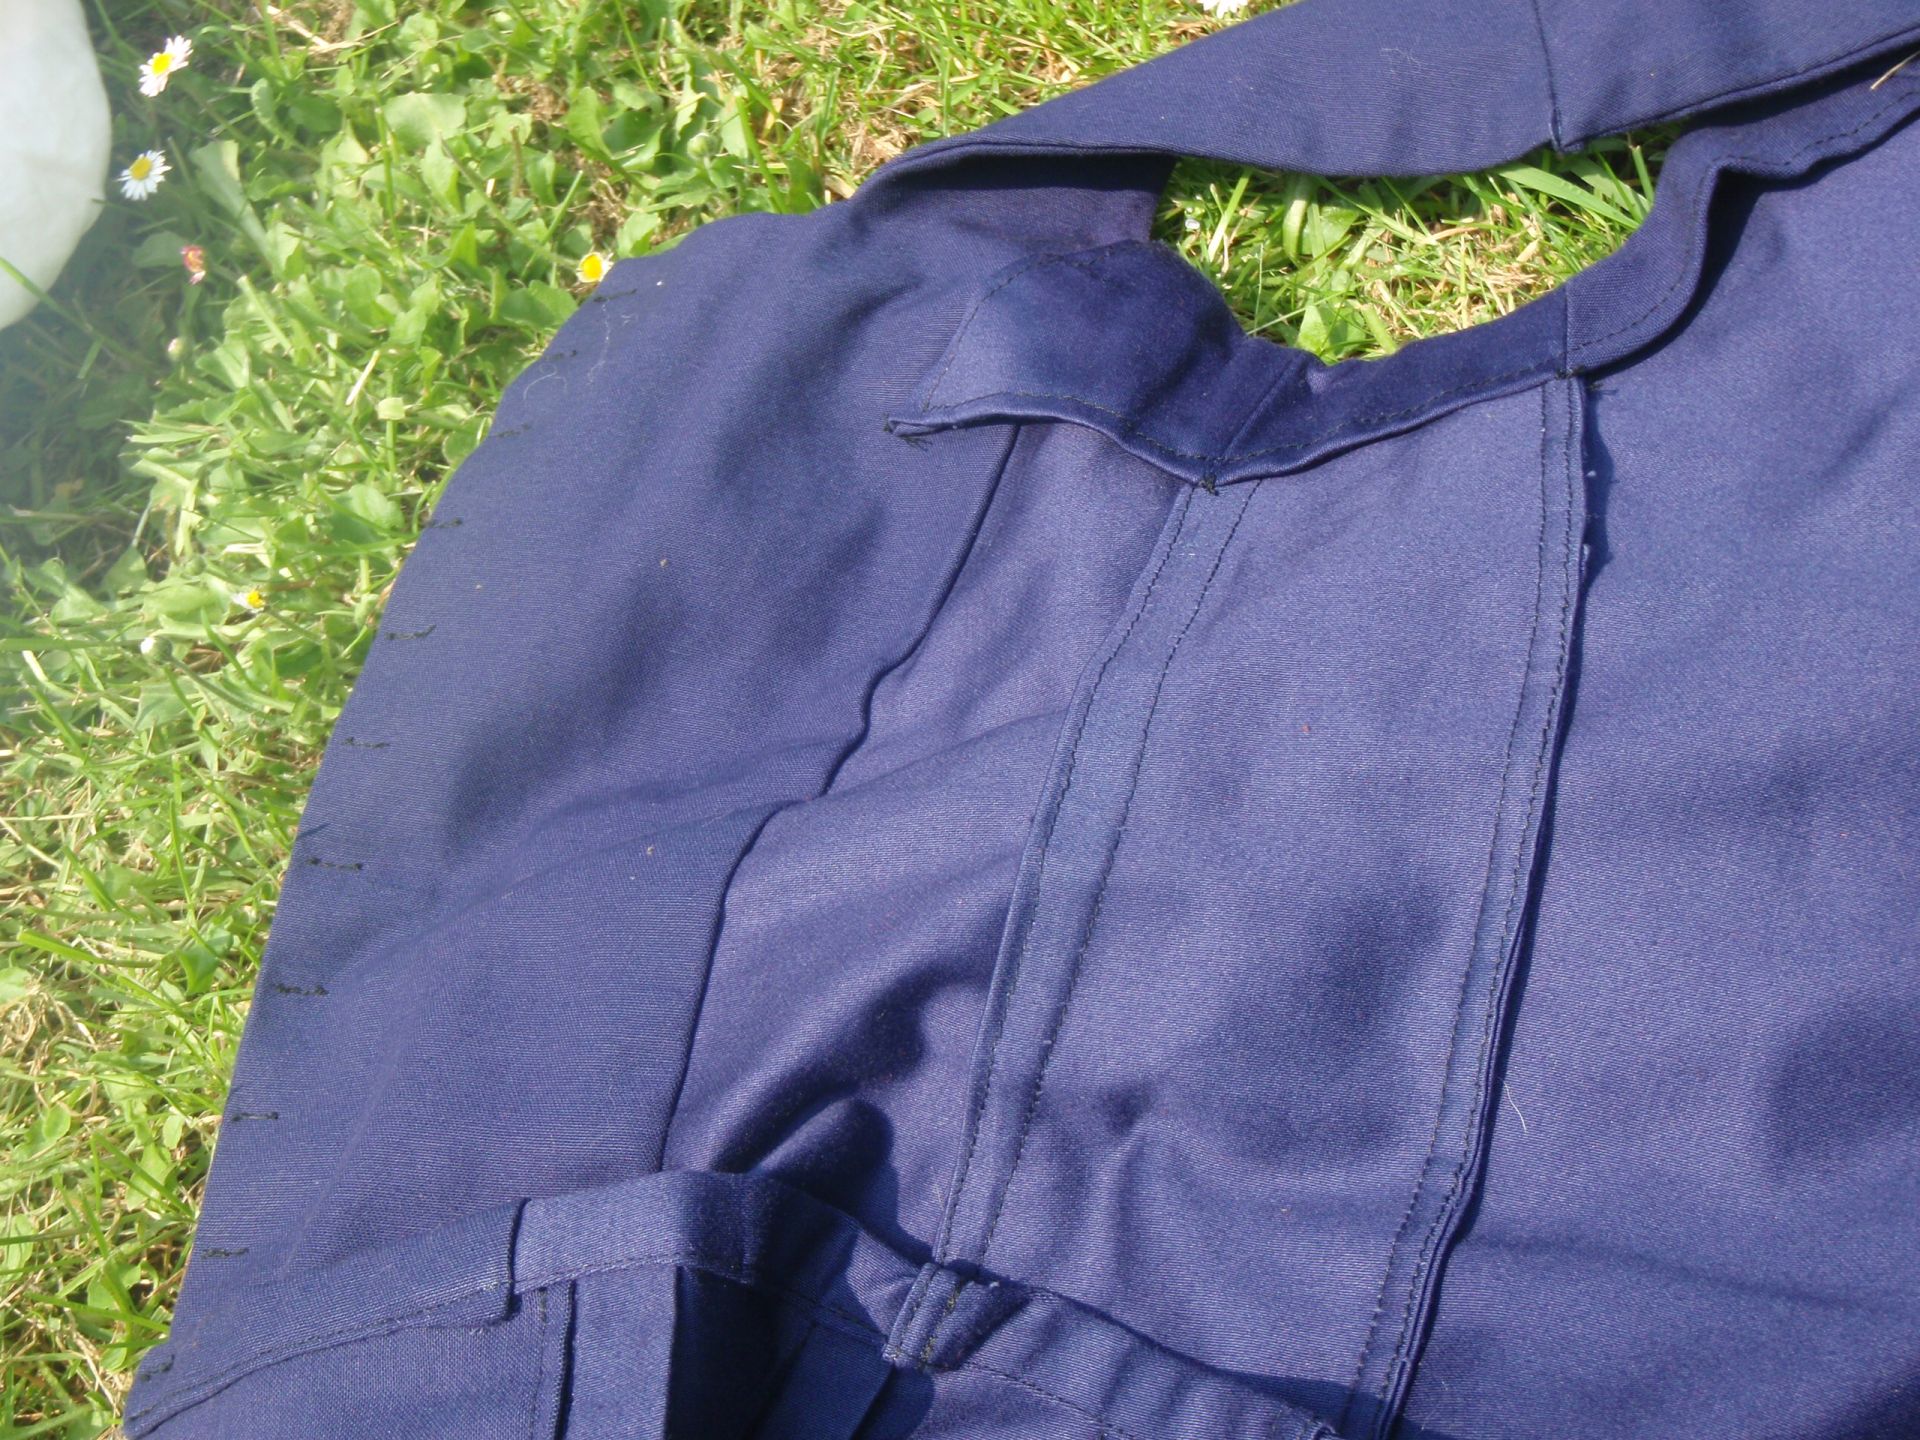
From left to right: the complete overdress; the pocket in the lower left hem, the inside (completely finished) and the closure through which a string or ribbon gets laced. The bottom of the ribbon gets tied together to close the dress at the front before lacing commences. It helps in the process and looks nice in the final product.

Again all wrinkly and stuff, but this will be remedied with a bit of laundry and an iron.

Tomorrow the final part of this series: the complete costume!