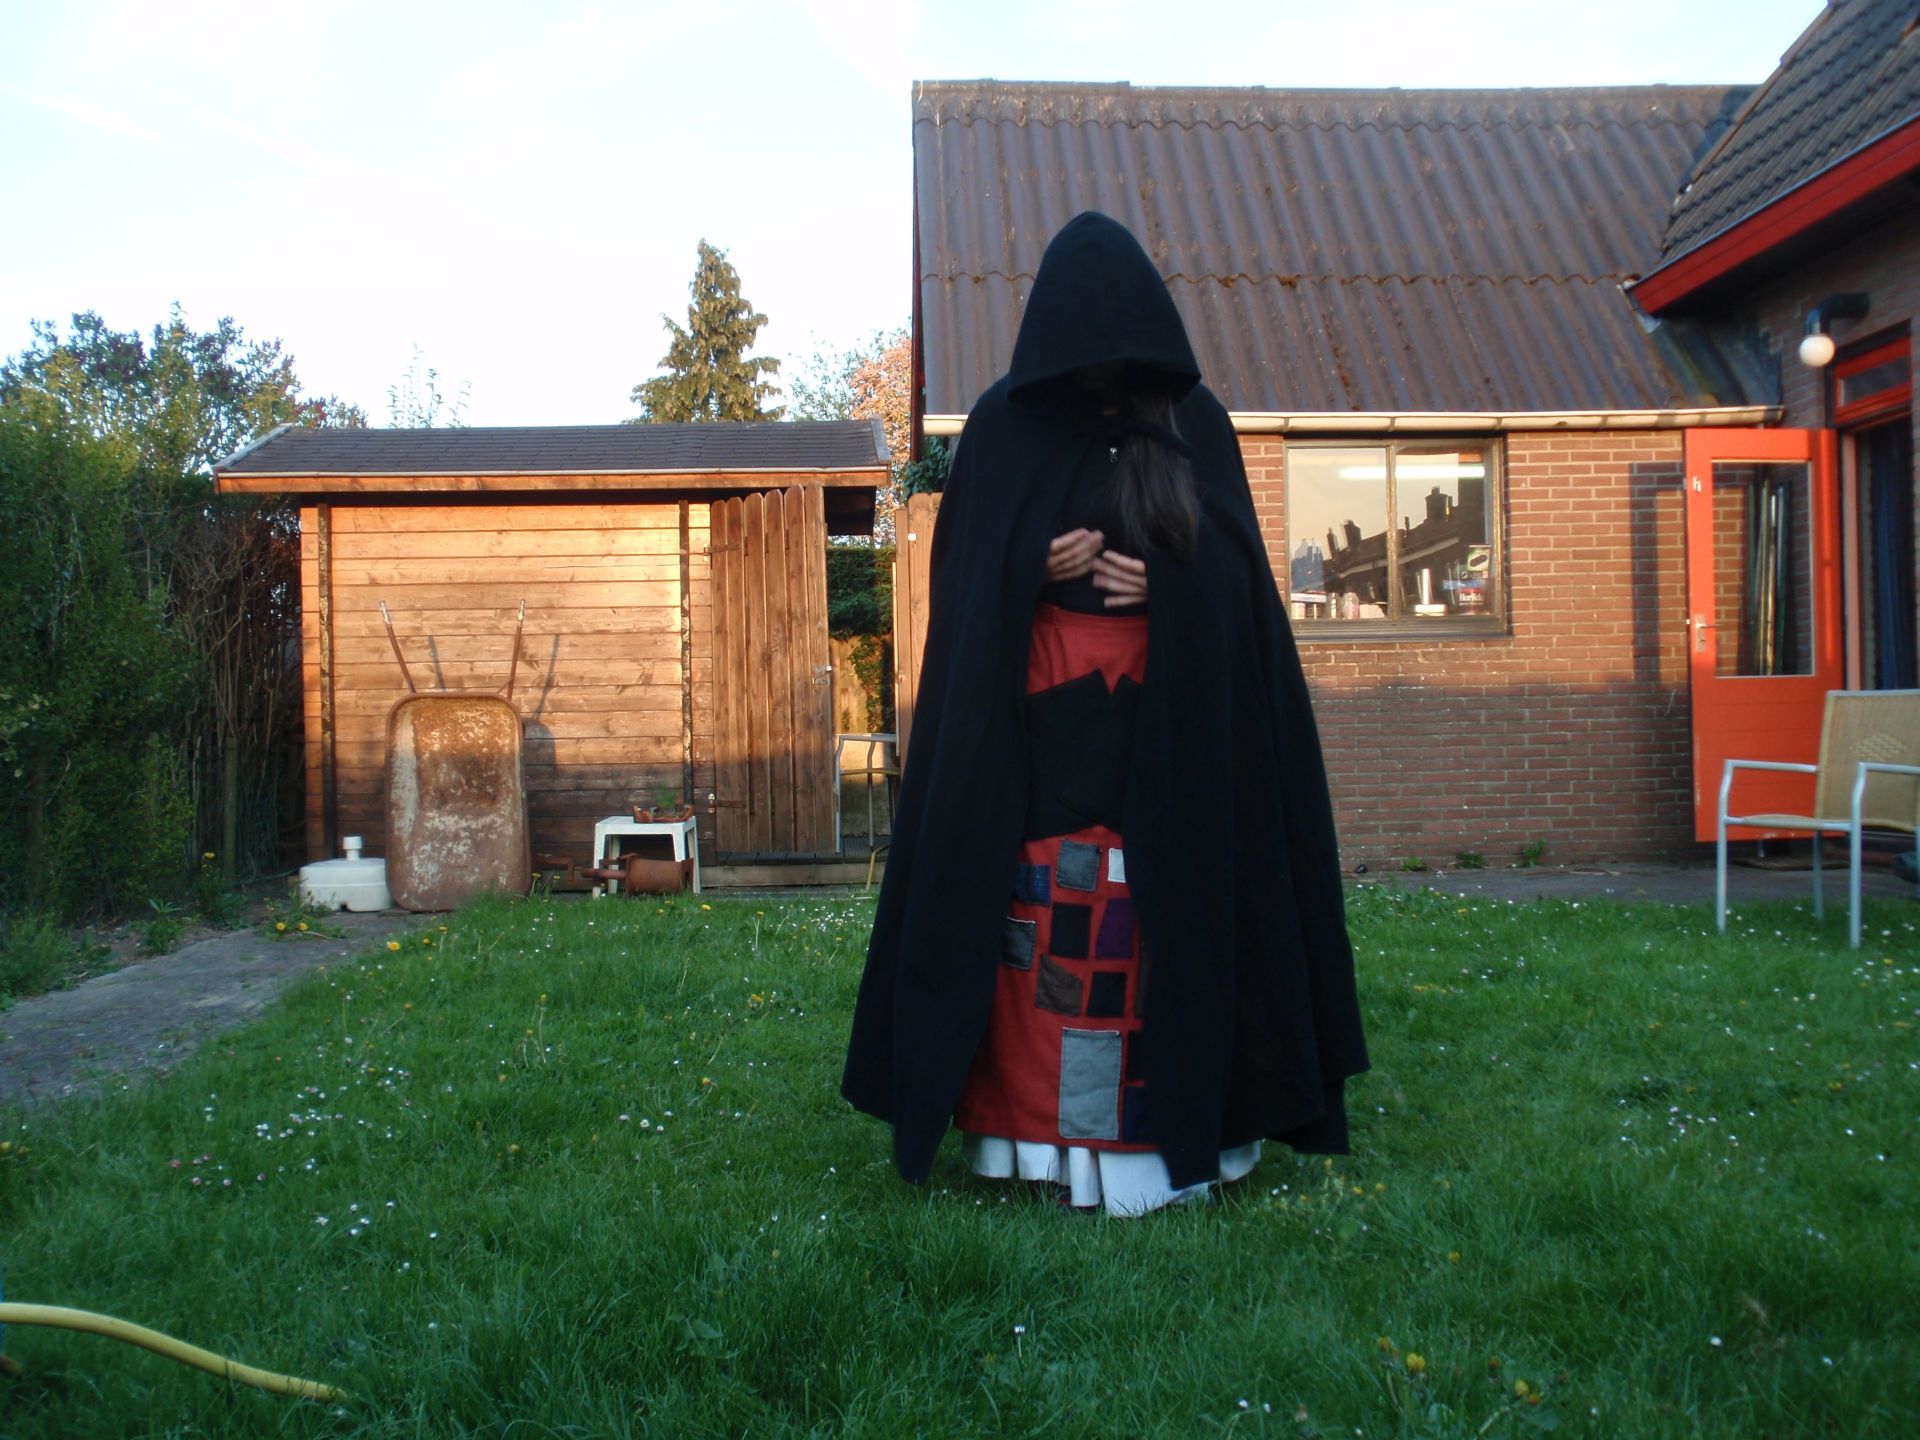
Cape Coat

I finished a coat but I don’t like it.

I want a coat with a cape(let).

That’s how this started. I found a fun pattern online that I bought and printed and taped together and tried to figure out. And then I wasn’t convinced by my mock-up. So I chucked that in the corner and let it be. I restarted the project by buying the Tsubaki coat from Waffle Patterns. I was so enamoured with the Dinosaur Momiji that I hoped that this would also do well.

The pattern comes with options: hood or collar, several different pockets to mix and match, and some options for cuffs too. I opted for the hood, one zippered pocket, two welt pockets, one inside pocket and knit cuffs but detachable. I also widened the bottom of most of the pattern pieces to make it more a-line and I drafted a capelet.

For the lining, I chose a brownish stretch cotton with Monstera leaves. I really like the look of this fabric. For some reason, the lining was shorter than expected, so I think I probably made a mistake there. The buttons came from the hoard and were all different, so I made pairs and arranged them in an (to me) aesthetically pleasing order. Unfortunately the welt pockets are too low, so I cannot comfortably reach the bottom, but I do like the look of the zippered pocket.

I don’t like wearing the end result. The look is great, the functionality not so much. I tested it when it was raining and the hood doesn’t stay on my head, the front blows open in the rain so my legs still got wet and my knit cuffs are not long enough so they are too cold. Most of those things are probably my fault but I’m not sure how to fix them yet. So for now, this thing is just hanging on my coat rack waiting for my inspiration to hit.

The thing I do like is the capelet that I drafted. I quite like the detachable nature of it. It buttons onto the already existing buttons on the coat and a hook on the back. I made two straps so that it is theoretically wearable by itself too. I think I probably made it too wide, so if I make one again, I’ll narrow it more. For now, I don’t think either the coat or the capelet will see much wear, but who knows, maybe I’ll change my mind.

Curtain Cape

Who needs sleeves when you can have pockets in a cape?

Some months ago, I was sent a picture of a comic by abbycomics/Paige Walshe about a girl being asked about her cloak. With the reveal being that cloaks are cool especially lined with pockets. You can find the whole thing here. This sparked the beginning of an idea in my head. It was percolating for a while, but after repeatedly grabbing for my boiled wool cape to feed a cat half a block over, I figured I wanted another cape/cloak thing. This time one that closes and has pockets.

I was looking through all my pattern magazines and taking photos of the line drawings when I stumbled upon a cool cape pattern. Burdastyle 10/2011 Model 101 A/B. It’s a hooded cape with arm slits and a zipper down the front. It had cool style lines and there were a few reviews and blog posts that made it look decent. So I traced that pattern and started looking through my stash. Nothing really caught my eye though.

So, after hibernating in my house for the full week of Christmas, I decided to go on an excursion on the Saturday. I accidentally woke up early and travelled half the country to go buy fabric. I wandered the market and found a stall that sold curtain fabric for only 2 euro per meter. It’s a napped fabric with an almost fleece like black backing. I got 2.5 meters of the grey and 1 meter of black, since I was planning on making the front zipper placket a different colour.

Once I got home and washed the fabric, I was amazed by how quickly it dried and I could get to work swiftly. There was perfectly matching thread in my stash, so that was great. I cut a size 36 with 1.5 cm seam allowances and got going on the cape. Since the fabric is really thick, but doesn’t fray at all, I didn’t overlock anything. I did want to flatten the seam allowances a little, especially in the shoulder corner pieces. So I trimmed the inside seam, stitched the allowances down, and cut the outside seam close to the stitching. I like the decorative nature of this too.

I did make a few alterations, as usual. The pattern calls for lining the hood, which I didn’t think it needed although I did cut a facing for the opening. I skipped the zipper placket all together but included plackets over the arm openings. I’ve added an ‘unzipped’ hook and eye as closure and a hanging loop. The most important change was to add pockets to the inside. Since the cape isn’t lined, I took special care to make everything as symmetrical as possible, and follow the lines of the cape, since the stitching would show on the outside.

There are four pockets in total, two hand warmer pockets that open vertically; the ones closest to the zipper. The other two are content pockets that are on the side front pieces. These open at the top but I can still get to them when the cape is on. The pockets were all made out of fleece, since I thought the cape fabric was a bit too thick.

I quite like how it turned out and it’s so soft! I can just pet this cape forever.

Cape!

Everyone needs a cape, even if you’re only 2 years old.

In the same afternoon as the dinosaur tail, I decided that the little boy also needed a cape. Everyone needs a cape after all. However, capes for two year olds probably could be a choking hazard and we do want to keep him alive for a little while longer. So I set off on a google adventure and found a nice YouTube tutorial about a no-choke superhero cape. While superheroes are fun and all, I’m more of the witch and medieval type cape person, so I modified it.

I folded a black fleece blanket over and cut out a half circle shape. Then a smaller half circle shape for the neckline. With the cutting of this half circle, I automatically had a weird shaped piece leftover. My brain immediately went LIRIPIPE, so I used that to make a hood for the cape. I left part of the bottom seam open to attach to the cape part and sewed the rest shut to make a hood.

The idea of the no-choke thing is that the cape is attached by going under the armpits and around the back and Velcroed to the front again. I liked that idea but since I didn’t have the kid with me, I improvised with some elastic and Velcro on both sides. My theory is that elastics stretch and that if it’s too big you can add a small seam in the back of the elastic. To attach the strap to the front, I chose to make some triangle shaped bits with the other side of the Velcro on the backside. Since it’s fleece, no hemming required. I hope it fits, and otherwise I’m sure it’ll be a nice blanket.

Forgotten

I guess I’m one of the few who looks through her uploaded picture files on her blog and then notices a project that she completely forgot about. I still like this thing so I’m going to show it here anyway. This was made in A few years ago, a friend of mine celebrated her birthday. We were asked to show up in medieval type clothing, so that was the first time I really wore this dress out. However, it was November and cold. I was feeling a little under the weather and the dress wasn’t very warm in the neckline area. Some other friends had brought a very warm fake-fur pullover.

Furry

This was the first time I decided that I needed something  fake-furesque and warm to pull over any too cold clothing. I had thus been looking for something affordable for about 1.5 years. What I eventually found was a blanket. I wanted a hood, so I also got myself a pillow case. The finished project is smaller than the original example. It looks like this:

Cape back

It is basically a blanket folded in half with a cut out in the middle where a hood is attached. I wanted it to be closed on the sides but I also wanted it to be able to open to cover my bed if it was very cold during the night. I had a long hard think about this (read, 3 minutes) before I decided I would use buttons to close it. What you can see below is the monster closed and opened. I like the versatility that this offers.

 Cape flat Full out

Below is the inside of the cape. If you look very carefully you can see 5 black closures on both sides of the cape. They are basically a button on one side and a loop on the other, which can be seen on the right. I lined the hood in more fleece so it’s nice and warm. The hood was really large and sort of fell of my head so I eventually added another button there to be able to close it.

Cape insides Buttons

I am currently wearing it and it’s really warm! I quite like it but for the next time I will find a larger blanket/piece because my arms are only half covered.