Letter Dress

Reading zippers and secure pockets.

For the last big work event of the year, I made a dress with a statement zipper. I found some teal-ish? slightly stretchy fabric on the market last year, and thought it would work well. I chose a pattern for a mandarin collar dress with bishop sleeves from Etsy. I’m currently thinking that it was possibly an AI pattern and not necessarily tested by real people. The image didn’t match the line drawing, very weird fonts, no particular instructions, stuff like that.

I cut out the pattern and put it all together. It was supposed to have buttons down the front, but that didn’t really work as it would become too tight, so I took the leap and made it a zip front dress. I’ve had this letter zipper in the hoard for several years, and have wanted to use it for a work thing forever. I originally put on the bishop sleeves and it didn’t look great. Way too big in this particular fabric. So I cut off the bottom and hemmed them a lot shorter. I also had to take in the center front from about bust up and I shortened the whole dress.

The last change I made was to do a completely different style of pocket: Loom & Stars, an Ingenious Pocket. I followed the same principle but made my pocket closer to the front and with a more rounded shape at the top. I really like this pocket. It feels very secure and like you know where your stuff is going to be on you. I also added a little loop in the top of the right pocket to hang my keys.

This dress was very nice to wear, so I’m very happy with the results. It will also be a great dress to throw on when I’m still in bed but the doorbell goes, zip front is quick!

Non-stretch Culottes

Nice and cool culottes for the warm summer weather.

I wanted some more of these culottes but this time non-stretch, so that they wouldn’t almost fall down when I stick too much in the pockets. So I looked in the hoard and found a bit of the blue fabric I also used for these pants and for a mock-up of another pair of pants. I found the original pattern, cut it out with a bit more crotch depth, freehanded some pockets and pocket openings on the front and set out to sew it together.

This fabric frays fairly easily, so I attempted to French seam it together. This worked remarkably well. I even managed to French seam the side from the zipper down. The zipper was an invisible zip and went in pretty smoothly. I cut the waistband just a little bit too short, which is why there’s a little extra tab on that side. I also added a little snap to keep the overlap to sit flat.

When all but the hem was done, I let it hang overnight so that it could get all the bias stretch out. When I pulled it back on to see if the hem was level enough to sew, I found out that it wasn’t. This wasn’t really surprising, I always have to cut the front down to match the back. It was hemmed with bias tape, which was so much easier than trying to double fold it. The final detail was to add a little d-ring on a ribbon so I can hang my keys. All in all, pretty nice for not too much work!

Impromptu Sweater Dress

From flat fabric to dress in less than a day.

This morning after slowly rolling out of bed at 10:20, I wasn’t sure what I was going to do with my day. So I did some hula hooping as a form of exercise and decided that I wanted to wear a sweater dress. Small problem, I don’t have one of those. However, I do have the Lekala Tunic Pattern nr. 4742, the Pattydoo Nelly sweater pattern and a large fabric stash.

I pulled out this sweatshirt type fabric with a soft grey fuzzy backing and got to work. First, I brought the Lekala pattern back to its original state without the shortening required for the flamingo sweater. I grabbed the hood pieces from the Nelly pattern and pinned it all to my fabric. I added a little length to the bottom of the dress pieces and cut it all out. Sewing it went smoothly, only one unpick where I put the center front hood facing bit in the wrong way round.

Around 16:00, I had a full dress together and was trying to decide what to do with the sleeve ends. I didn’t really feel like hemming them and then I remembered that thumbhole cuffs *exist*. So I made some of those, following some tutorials on YouTube. The bottom of the dress was hemmed and then I had to mend a tiny hole on the front. 17:15 and the whole thing was done! Less than a working day to finish this thing. It’s nice and warm, just in time for summer (not), and I am yet again certain that I will never participate in a speedy sewing competition…

Curtain Cape

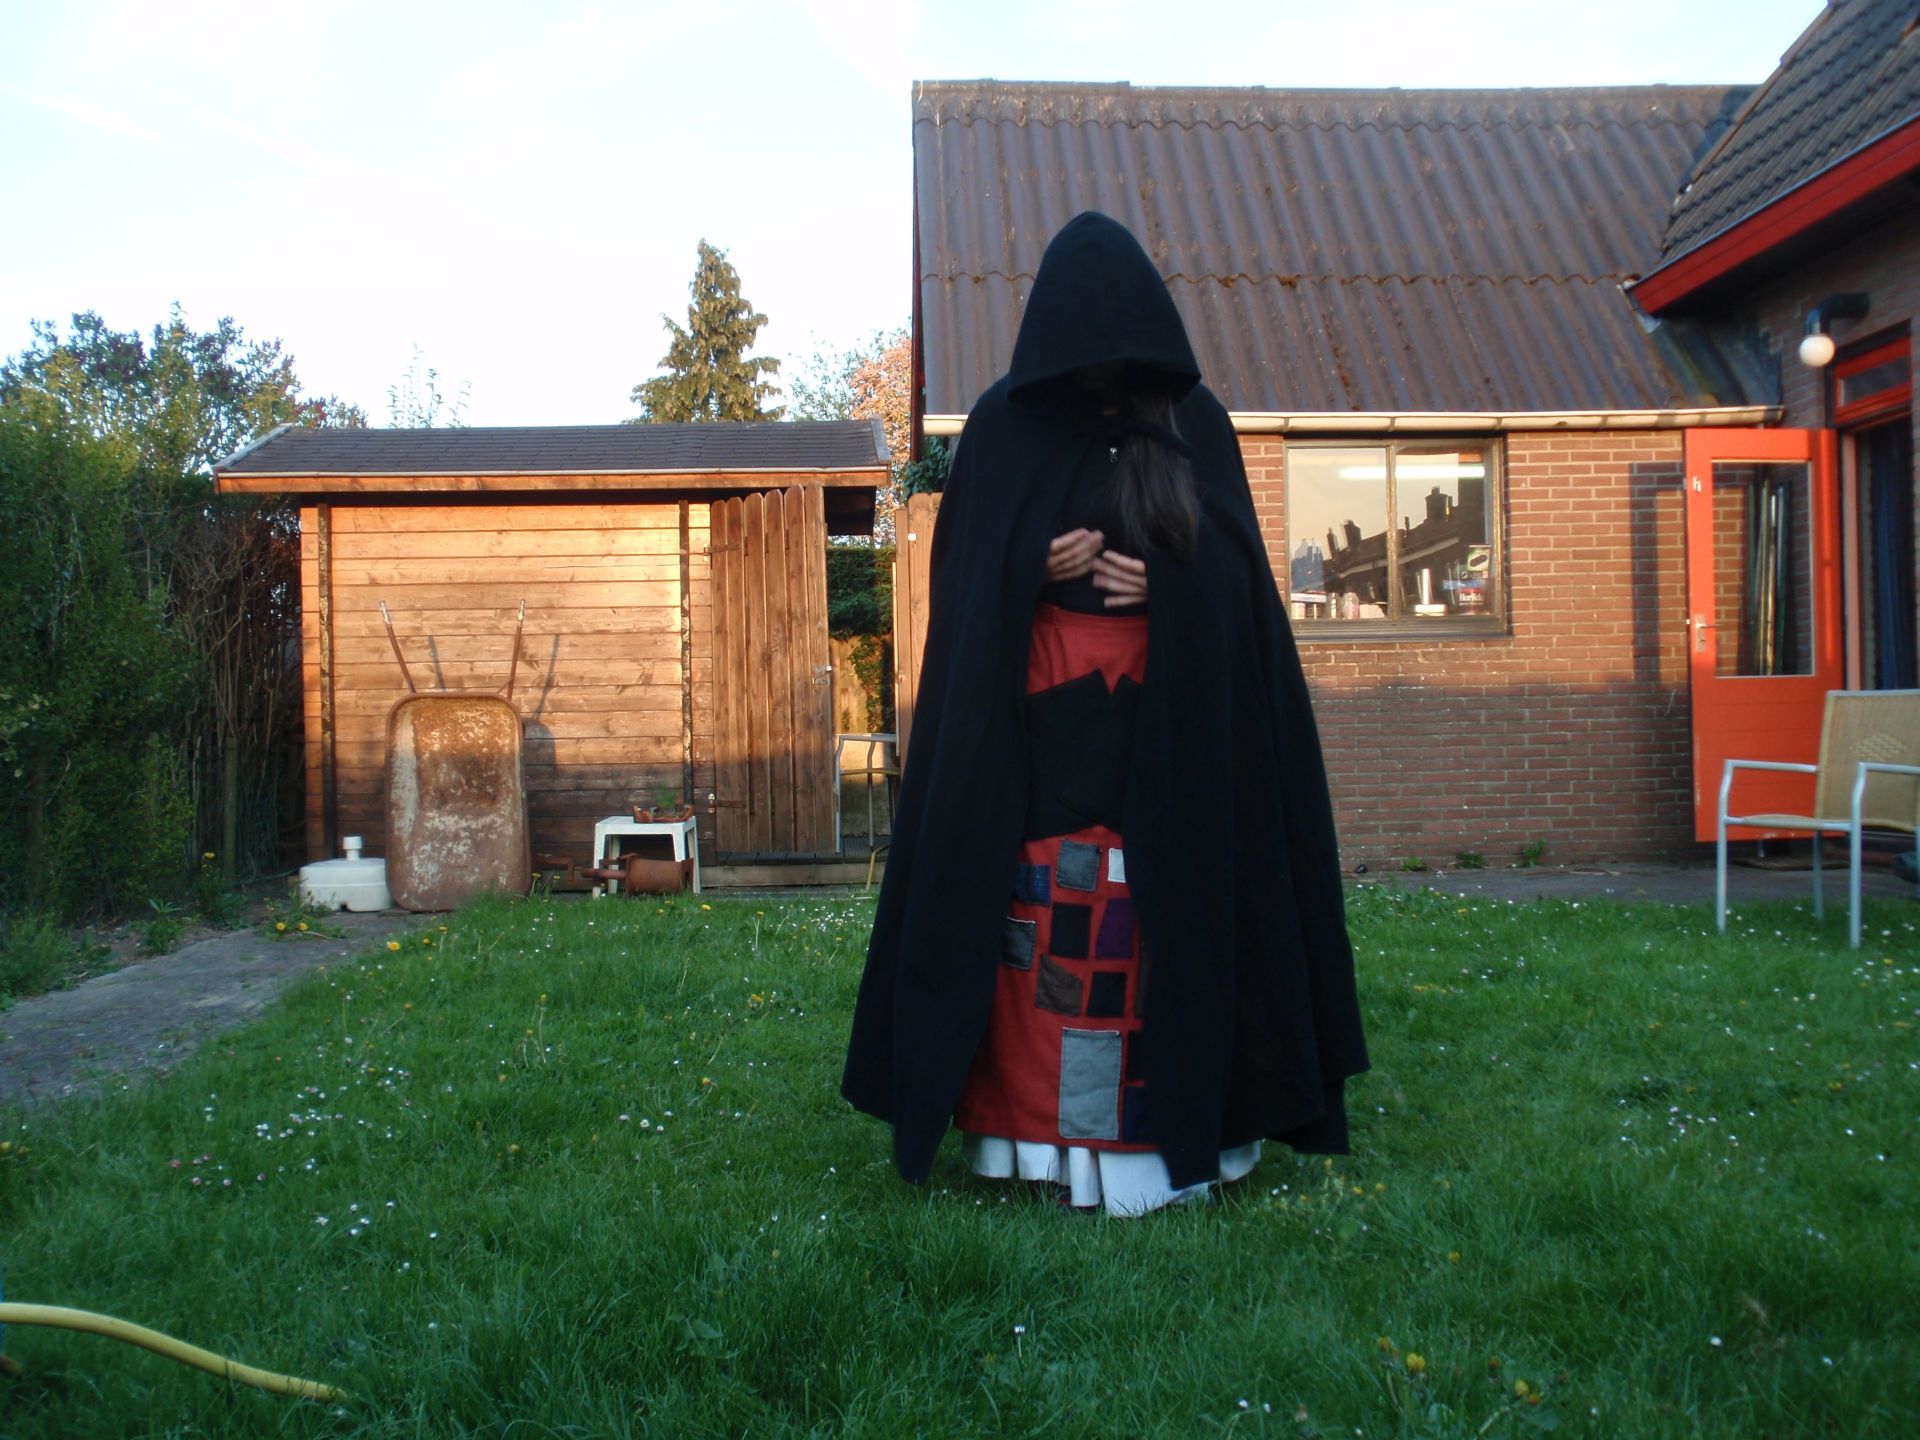
Who needs sleeves when you can have pockets in a cape?

Some months ago, I was sent a picture of a comic by abbycomics/Paige Walshe about a girl being asked about her cloak. With the reveal being that cloaks are cool especially lined with pockets. You can find the whole thing here. This sparked the beginning of an idea in my head. It was percolating for a while, but after repeatedly grabbing for my boiled wool cape to feed a cat half a block over, I figured I wanted another cape/cloak thing. This time one that closes and has pockets.

I was looking through all my pattern magazines and taking photos of the line drawings when I stumbled upon a cool cape pattern. Burdastyle 10/2011 Model 101 A/B. It’s a hooded cape with arm slits and a zipper down the front. It had cool style lines and there were a few reviews and blog posts that made it look decent. So I traced that pattern and started looking through my stash. Nothing really caught my eye though.

So, after hibernating in my house for the full week of Christmas, I decided to go on an excursion on the Saturday. I accidentally woke up early and travelled half the country to go buy fabric. I wandered the market and found a stall that sold curtain fabric for only 2 euro per meter. It’s a napped fabric with an almost fleece like black backing. I got 2.5 meters of the grey and 1 meter of black, since I was planning on making the front zipper placket a different colour.

Once I got home and washed the fabric, I was amazed by how quickly it dried and I could get to work swiftly. There was perfectly matching thread in my stash, so that was great. I cut a size 36 with 1.5 cm seam allowances and got going on the cape. Since the fabric is really thick, but doesn’t fray at all, I didn’t overlock anything. I did want to flatten the seam allowances a little, especially in the shoulder corner pieces. So I trimmed the inside seam, stitched the allowances down, and cut the outside seam close to the stitching. I like the decorative nature of this too.

I did make a few alterations, as usual. The pattern calls for lining the hood, which I didn’t think it needed although I did cut a facing for the opening. I skipped the zipper placket all together but included plackets over the arm openings. I’ve added an ‘unzipped’ hook and eye as closure and a hanging loop. The most important change was to add pockets to the inside. Since the cape isn’t lined, I took special care to make everything as symmetrical as possible, and follow the lines of the cape, since the stitching would show on the outside.

There are four pockets in total, two hand warmer pockets that open vertically; the ones closest to the zipper. The other two are content pockets that are on the side front pieces. These open at the top but I can still get to them when the cape is on. The pockets were all made out of fleece, since I thought the cape fabric was a bit too thick.

I quite like how it turned out and it’s so soft! I can just pet this cape forever.

Little Black Dress

First iteration in 2012, repeated in 2021 and finished even quicker than back in the day!

Black dresses are supposed to be a staple and since the one I had doesn’t really fit anymore, I finally set out to make one. The fabric is some black, slightly stretchy scuba fabric that does not fray. There was about 1.5 very crookedly cut meters of it. This dress only just managed to get squeezed from the yardage I had. There was so little that I actually had to cut the pockets (because a dress without pockets is just a horror-tube) from a different fabric. The pattern I chose was Simplicity 2473, first debuted in 2012. I cannot for the life of me remember what happened to that iteration, but I’m certain it no longer resides in my closet.

Since the fabric was quite thick, I chose to use a slightly different construction method than the original pattern instructed. This to eliminate some bulk along the waistline. The front was sewn together first (so bodice, waistband and skirt) and nearly all seams pressed open, then the back was sewn together (bodice, waistband and skirt) and seams pressed open. Front and back where then attached along the side seams, with a hand sized section left open for the pocket. Special attention was paid to make the waistband match up along the sides. This also means that there is no waistband lining, but the fabric is thick enough that it doesn’t matter.

The instructions for the short cap sleeve were just about completely ignored, as the pattern called for a lining and I didn’t think that was necessary. I just folded over the hem, sewed it down and hoped that the stretch in the fabric would allow it to lay well. I then inserted them in the sleeve cap, which worked remarkably well. After that came the collar. The collar by itself was very thick, so if you compare it to the 2012 version, this one is a lot smaller. That is because it stands up by itself a lot more. This time I chose a size 10, which fits my 2021 body a lot better than it did my 2012 body.

The zipper was inserted next. In a recent haul of a Czech crafting supplied webshop, I discovered ‘continuous zippers’. This means that you get a very long zipper without a pull. You can cut them to size required and then install the pull yourself. You can buy those in multiple sizes, colours and types. I saw one in rainbow and decided I needed to have it. There was no project in mind when I bought it, however, after starting this dress, I thought it would liven up this fairly dark project suitably. During that haul, I also got some superfine pins for no real reason. Turns out that I was psychic again and this scuba fabric only wanted to play with those superfine pins and really resisted everything else.

The last bit were the pockets. I chose to do a historical pear-type pocket that was pieced from some remains of the scuba and some secret sweatpants fabric. These are easy to install after the fact and can hold a lot of stuff. A secret key loop was attached in the right pocket for my carabiner. They are further attached by the waistband with some afterthought strips of fabric. Last but not least, it was hemmed. The most awesome part of this project is the fact that it’s finished and did not languish in the project-box-of-shame for any time. I started it yesterday and finished it today. It also feels very nice and warm to wear and I hope to make some use out of it with some tights or very long socks.

Plaid Pants Again

When you make pants and then wait weeks to actually complete them.

A couple of weeks ago, a friend of mine celebrated her birthday in Rotterdam. Rotterdam has a large market on Saturday which also has a few fabric stalls, so I convinced another friend to come with me to the market to look at some fabrics. I fell in love with a sneaky sweatpants fabric with a black, white and grey plaid on it. The fabric feels very similar to the striped one I used for these pants, so it had to come home with me.

Determined not to let the fabric languish in the hoard for too long, I set out to make my new pants pretty swiftly. Since the plaid is unbalanced, it would never be possible to make symmetrical pants, but I did decide to do my best to plaid match the horizontal where possible. I settled on a pattern that had arrived recently in the Simplicity Naaimode magazine (nr. 45), model 30 also known as Simplicity S8956, which was fairly wide legged, with a pleat and pockets in the front and a shaped waistband. All the pieces were cut out and sewn together. The only changes I made were to add an extra belt loop for my keys and to cuff them as they were seriously long.

So that meant that this thing was finished right? Nope, wrong. The front pockets that come with the pattern are really not very big, and while I was debating the entire time whether to add back pockets, I decided not to put them in at the time I worked on it. So when I’d finished the pants as per the project on the 27th of September, they then lay in my ‘to work on’ pile until last Sunday, waiting for back pockets. I chose to do single welt pockets for the first time and used a different kind of fabric for the pocket back to hopefully alleviate some of the denseness that welt pockets can create. I probably should have made them a little bit wider, but they did turn out well and function as pockets! Will even fit my phone, so job’s finally done.

Scrap Nelly

Using leftovers to make a one-pocket sweater.

So I told you a little about Nelly in a previous post (here), but never showed you what I used the original Nelly for. Nelly is reason that I discovered Pattydoo patterns. I found the assymmetry in the sweater so much fun, that I wanted to have it. I apparently bought it in December 2019, printed it, stuck it together and then forgot about it. When rummaging around the sewing room the other week, I found the box of leftover bits of sweater fabric that I still had. This included a small bit of Flamingo and a bit of grey from this sweater. These two fabrics together were precisely enough to make the body and sleeves of the sweater. The neck was about half as tall as it was supposed to be, due to the fact that I didn’t have more fabric.

Now, you might notice that there are a few differences between my sweater and the original. For one, I use only two fabric while there are three in the pattern – I didn’t have a third coordinating fabric, so problem solved by taping two pattern pieces together. Its also a mirror image of the original, that’s because I put the pieces (single layer) on the back of my grey fabric. I was EXTREMELY lucky that I figured out that I had them on the front of the flamingoes before cutting the fabric, and could turn them around. This project would have been a disaster otherwise. The cuffs are also a little shorter, made from some grey jersey in the hoard, mainly because it was already a little large so I didn’t need more length. And lastly, it’s more fitted through the armholes, since I took in the armhole and a bit of the side and sleeve by 3 cm at the widest point. It just looked too baggy. I think it should’ve cut a size smaller.

However, I am happy with it. Fabrics from my stash, nearly using it all up so it’s effectively a nearly free second project, especially as I’m planning on using the pattern more than once. It has the option to make a sweater with a kangaroo pocket or a hood too. I have found that the one pocket is not deep enough for my phone if I bend over, so that might be something to fix in another version.

Pocket Coatigan

Recently, I discovered that some of my all time favourite yarns was brought back into production. The Tweed yarn by Zeeman had returned! I’ve used it in the past for classics such as the leaves sweater, the striped sweater, the eighties revival sweater and the eyelet sweater. Once I brought back a bunch of yarn in three different colours, I discovered that the yardage per 100 grams was less than the original. I also determined that the red yarn I bought was exactly the same the eyelet sweater…

Once I’d discovered this, I still set out knitting a red top. The first try was using a pattern called Gardner by Amanda Keep Williams. While I did like the idea of this sweater, I got about halfway when I decided that I didn’t like it nearly enough. I don’t tend to wear cropped anything, so it was a bad choice to start with. So I frogged the whole thing and set out on search for another pattern. I ended up with the pocket coatigan by Originally Lovely, a free pattern available on their site.

According to my Ravelry notes, I set out knitting the coatigan on the 25th of January. That means it’s taken me a little over a month to finish. Quite decent if I say so myself. The knitting is straightforward. I made a few small changes along the way. There were a few extra decreases in the sides to attempt some shaping (not sure if that helped at all), and somehow my stitch count at the neck edge was off. I’m unsure how it’s possible to knit the size S with the stitch counts they give, because they don’t add up according to my math, but perhaps I’m wrong. So I winged the neckline a little.

I haven’t worn it out yet, nor have I done any blocking (not that I’m planning on doing that anyway), so I’m unsure how this will hold up. The sleeves are a little long, but that’s because this yarn tends to shrink on me lengthwise, which means that practically none of my Tweed sweaters have arms that are over bracelet length. It does have pockets, which admittedly were the main attraction for me. Now I just need to see if I will voluntary pick a sweater from my cupboard that doesn’t closes, if not, I may still add some form of closure to make it more wearable. But yay! I finished a thing!

Ochre Obsession

So, I went on holiday and tried on a sweater. It was ochre, from Primark and I loved the colour. The fit however, terrible. The sleeve height was so high, that it felt really constricting. The colour was good, I liked the neckline (even if my friend hated it, he said there was too much fabric) and it had pockets, always a win.

This one is the inspiration

This was the start of my ochre obsession. I really, really, really wanted an ochre sweater now. Since my local fabric shops do not have something like this fabric, I started scouring the internet. I found some fabric that looked nice and even bought some more fabrics because the hoard is never full enough.

I’d already found the pattern I wanted to use, a shortened version of Lekala #4742 – Tunic with Hood. Once my fabric arrived, I was slightly disappointed. It wasn’t stretchy as I’d assumed it would be and one of the cut ends frayed a little. However, I really liked the colour, so I got to work quickly. Shortened the bottom by 12 cm, and followed the instructions apart from using grommets instead of sewing buttonholes. After it was all sewn together, it felt a little tight in the armpit, so I decided to add a little diamond piece of fabric to increase the range of motion.

The hood is ENORMOUS, I think it will fit two heads – I’m guessing something may have gone wrong with Lekala’s sizing there. However, I still like it quite a bit. Because of the size and the position, I’m not sure the hood is super functional as a hood, but I still like the look of it on the front. The fabric is super warm, so I might need to wait for a little to be able to wear it comfortably.

I may want to make something like this again, but some things would need to change. I would want to use a more stretchy fabric such that I could take the side seams in a little and reduce the swayback action going on. The size of the hood would need to be reduced by at least 5cm in height, if not more. I may want to add bands to the sleeves and bottom although I quite like this sleek look too. Now to wait for winter to wear my ochre dream.

Improvements Needed

Remember all those sporting skorts of which only one had pockets? This is no longer the case. I put pockets on the three remaining skirts such that I will actually choose them. I also took in the elastic on of them such that it fit slightly better. I’m quite happy with this improvement. You might even be able to see the single pocket that was added to these skorts.

The second improvement was to the riding jacket. As I mentioned before, it shrunk in the wash and the sleeves needed to be let out and lengthened. Finally finished this today. I’m not sure why it took me so long to get done. It was not too hard to finish it.

Lets hope that these improvements will help to get more wear out of these items.