Plaid Pants – Blue

So somewhere in 2017, I bought a length of black-blue-red plaid to make another set of plaid pants. I reworked my original pattern a little bit – slimming and straightening the legs a little and copying all the pattern pieces onto tracing paper since the original is still the boob-height pattern of the Helena Culottes. Now I have all pattern pieces that fit together well. Apart from one thing, but we’ll get to that.

Cutting out the pieces taking care to pattern match, where possible and sewing it together all went pretty well. I used the blue origami cats for pockets/waistband/zipper guard (I thought it was funny to have more cats behind the zip). The only problem was the waistband. I clearly did not use a well-fitting waistband so I had to make numerous adaptations. This is the one major aspect that I need to improve for the next version (there will probably be a next version).

I had worn it with hooks & eyes and the too wide waistband, but that was not a true success. So I shortened it a little, and replaced the hooks & eyes with a jeans type button – lesson 2: shorter shank next time. I also took more chunks out of the waistband to get it to fit better. Now it works really quite well, I finished it right before Christmas and I enjoy wearing it.

These new plaid pants also allow me to wear my red sweaters with them. My other plaid pants are green, and I don’t want to look like Christmas in July, so that was not an option. This was a large part of the reason for picking up the fabric. Also just because it is plain and I seem to have a fond liking for plaid. I still have a length of red plaid in the stash, but I was planning on making a jacket out of that.. We’ll see whether that ever happens.

Graduation Dress 2017

Blue seems to be a recurring colour in my summer graduation dresses, see the evidence from 2014, 2015, and 2016. Again in 2017, I found myself attracted to blue yet again. This time I picked two blues with the intention of making something with a circle skirt. However, the idea lost its appeal and I started looking around my pattern magazines for something new. Turned out that I liked another pattern from a Simplicity magazine. It could also be done two-toned, so that worked out great.


This was the pattern, in Simplicity Naaimode 16, pattern 6-10. It came in sizes 38, 40 and 42. Since I generally don’t fit in size 38, I redraw the 38 pattern to get a size 36. I made up the pattern, pretty much as drafted. At the start the only thing I changed was to also add piping along the side-back seam and the back skirt seam. I also had to pull up the shoulder seams as it was too long. That resulted in the one on the left:

The proportions of the top were just off. It was too high and there was not enough darker blue. So I recut fronts and put those on while attaching it lower on the front by about 4 cm or so. This was much better as showcased on the right.

I hemmed the dress with the lining slightly longer than the shell. I liked the idea of some of the darker blue peeking out.

The side view is to show how the piping ran on. The invisible zip is slightly not invisible enough but it isn’t too bad although I like the matching on both points (skirt and top).

It also looks clean on the inside. I am hoping that the fabric does not fray too much in between the layers. I’ve worn it since graduation and it is comfortable to wear. It will most likely see more wear this summer.

Ceremonial Jumpsuit

Yesterday we opened the Academic Year. This is an event in which new students are welcomed to the community, and teachers show up in black gowns. I try to make a fun thing for the events that we do, but this time I wanted something different. I have been dreaming of a jumpsuit for a while now, and I figured that yesterday’s celebration would be a fine occasion (and necessary kick-in-the-butt) to get my ass in gear and get cutting.
I decided to check out my stash for some fabric. I eventually found some fabric that is very stable, but very stretchy in one direction. It was the only bit that I thought was large enough really, as it turned out, it was also perfect. The pants pattern I used is the free Helena Culottes pattern by Ralph Pink, which by now has seen numerous alterations. I started by cutting out the pants as frugally as I could, using some striped fabric as used before in a shirt as pocket fronts. I also changed the grainline a little, because in the past there have always been weird folds in the back leg. The size of the pocket opening was also decreased, significantly, and a bit of the top was left off.
Pattern changes September 11

For the top, I first gathered some inspiration on Pinterest (e.g. this and this and this). It was quickly determined that I should do a v-neck, preferably with some overlap and maybe even sleevesies (church event and all). So searching though my pattern stash, I found a pattern in one of my old Burda magazines with all those characteristics (Burda Style 11-2007, pattern 112). Unfortunately the pattern only came in a size 76 (size 38 for long people), and I’m both smaller than size 38 and short. On the pattern piece you can see three (or four) different line colours to distinguish between the different sizes to create an approximate size 36. I then pinned the overlap together at the center and pulled the points down until they would fit my front and not be overly large. Sewed that all to the waistband that I sewed on to the inside, such that the inside waistband would be clean finished.

Inside front Inside back

I then added the second layer of the waistband and zig-zagged that on. I used a zig-zag stitch, because I found out that the fabric was so stretchy, that I was able to pull it over my butt without having to use closures! This makes it approximately the easiest thing to put on and be ready to go out. It’s easier than most knit dresses, as it has pockets!

Front Pocket

The top is a little wide-set, so to not show bra straps (and it being.. 9 o’clock on the night before the event), I found some fur-hooks to hook the straps behind and keep them from view. They do double duty with keeping the top on my shoulders. Although I have to take care when putting bags over my shoulder as that can dig in.

Bra-hook Front Back

So now for the full length view, in front of my closet. These pictures are unfortunately not the best ever. So I’m hoping that event photographers managed to get me once with some better light and stuff. I got a number of compliments (and people being surprised that I made it) which makes me very happy. It was worn to work today and it’s perfectly fine to do an entire day of office work in too.

Conclusion, I really, really like it and will enjoy wearing it in the future!

Jeans!

At some point in the past, I found some actual jeans fabric in a second-hand store and brought it home. A couple of weeks ago, I figured it was time to turn the fabric into actual pants. I washed the fabric beforehand, to get rid of some of the residual ink. However, I did get somewhat smurf-like hands throughout the project. It’s definitely destined for some similar colour laundry.

The pattern was a bootcut pants pattern, from the Burda Easy Fashion Spring/Summer 2009 edition, model number 3. I made a number of changes, including different pockets, more of a yoke, a higher waistband and some on the fly things. The back isn’t perfect, but the front is fairly nice and this thing does not sag after a wear. There are definite improvements possible, but it doesn’t seem to be worse than my store-bought jeans. Prepare for pictures…

Front Back

There is a quite severe yoke, and angled pockets as other ones would not have fit.

Yoke Pocket

The front also has pockets which I closed up a little after sewing to create more storage space. I also added a plaid as the pocket lining.

Pocket Pocket

It closes with a hook and bar type closure and again has the plaid as the lining.

Close Inside

This experiment was successful enough to try something similar again. I would like to create some pants that are a little tighter around the legs and flare out later. We’ll see if it happens!

Deadline Work (5) – Apron

I used to wear a shirt with a lot of pockets when I went larping (here). However, I found out that this was not very practical. It made a lot of noise, I lost a lot of stuff and running was extremely difficult. That’s why I decided to make the backpack. The skirt did have some redeeming qualities, namely the two large front pockets where I could store my books. After testing out the backpack at the last event, I discovered I really wanted those pockets back. So I made an apron. With pockets.

I went through my ‘do something with this you were unsatisfied the first time around’ box, which has bits and pieces of discarded projects to find the skirt portion of this dress (here). I removed the centre back panels and zipper and created ties out of the panels. I can probably reuse the zipper in the future. I hand hemmed the sides of the apron and attached the ties. I found some brown home dec-ish stuff and made two large pockets. I embroidered a raven on one of the pockets as my character is a firm believer in the god Raven (of knowledge). It’s a very faint outline, but I know it’s there.

Raven embroidery Embroidery

I also attached some small leftover pockets to hold my pencil and other small bits that might be handy to keep close. This is the finished thing, front and back:

OLYMPUS DIGITAL CAMERA Back

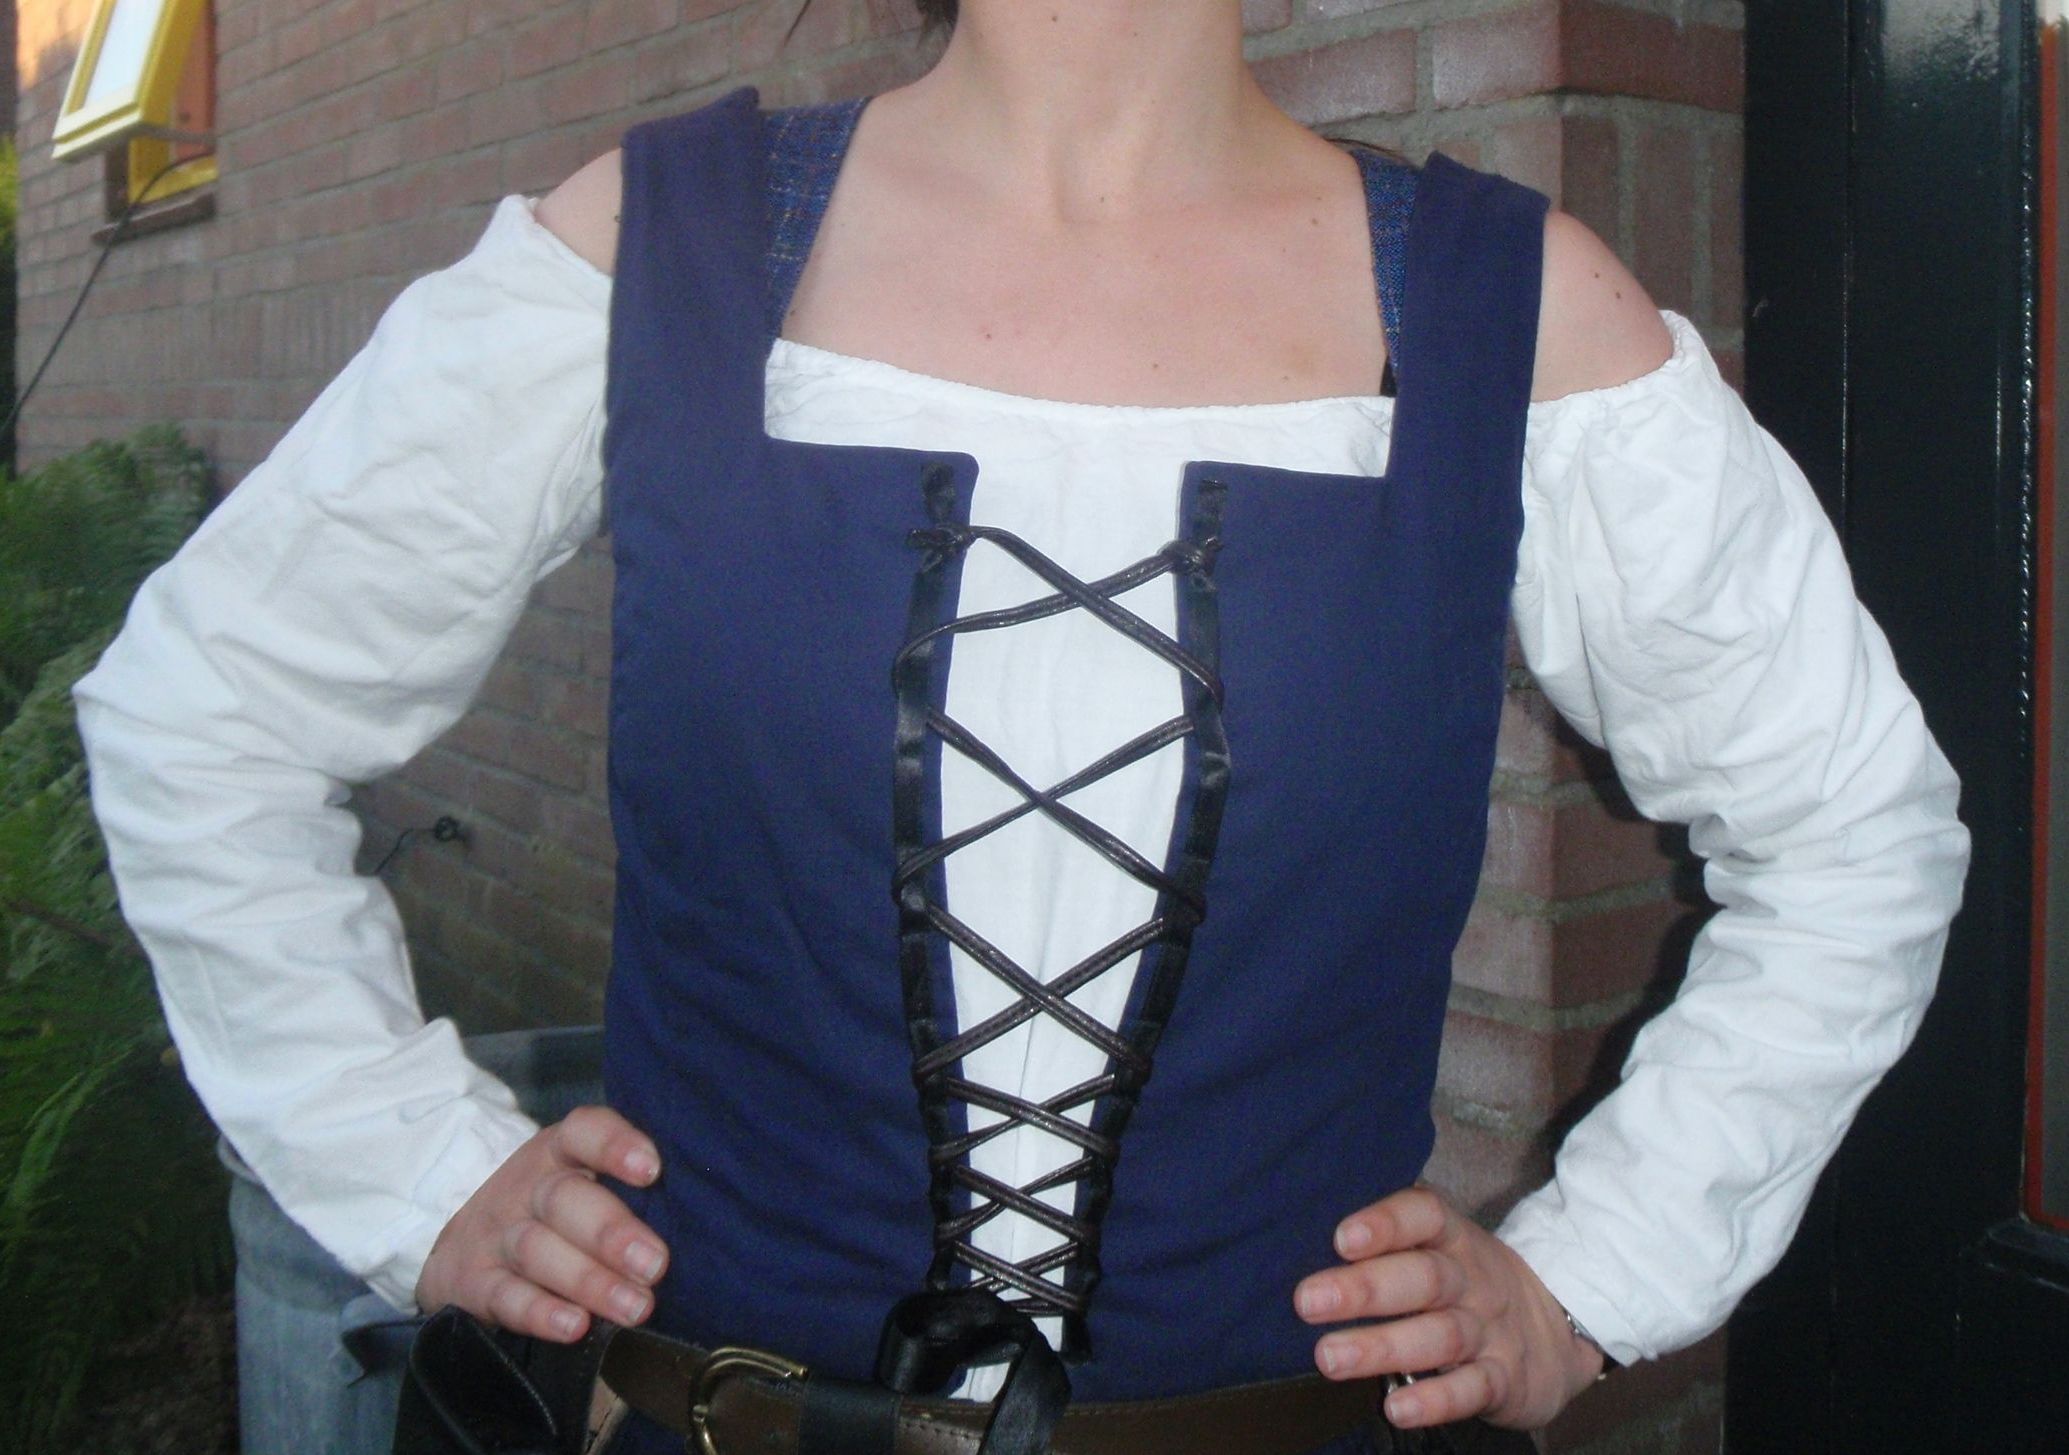
And this is me in full costume. You can see the shirt, the apron, some belts and other things I wear. I’m quite packed with stuff, while some others wander around with practically nothing. To each their own, as they say.

Call 35 1

You can just see the straps of my backpack, I’ll finally post the last update on that backpack as the last entry in this series.

Coat update

Yes, another update can be made on the coat. After ripping it all out again, since I was not happy with having the interlining as a second layer and feeling it was extra bulky. I took it all out and treated the outerfabric and interlining as one. Yes, I know I should have done that from the start, but hey, I’m not so fantastic at this and mistakes are what you learn from, right?

Anyway, before sewing the thing together I figured I’d make the pockets differently, since I was not happy with them in the first iteration. I now had my heart set on slanted, middle-of-the-side-front-panel-pockets, with a zipper and a thingy over the top. I didn’t really know how to do this, but I figured it would be sort of similar to making bound buttonholes. Admittedly, before this coat, I’d never done those before.

However, I figured that they would make the coat more “work”-proof. If I’m going to graduate this summer, I need to do job interviews this fall and possibly winter, and I need a coat that isn’t made for children and has pretend paint spatters all over it. Yes, it’s true, I wear a children’s ski jacket at present, and I love it, even though it’s not very professional.

So I set about re-finding the tutorial for bound buttonholes that I was sure I’d seen somewhere on the 100 blogs/comics I follow. I did find it and used it to make very nice buttonholes (this tutorial). If I do say so myself.

OLYMPUS DIGITAL CAMERA (5 of these)

I did do it a bit different since I couldn’t get the folds to be equal so I just sewed a line of basting stitches to get it to close and then press it and sew the sides to the little flappy bits (yes, this probably makes no sense).

Anyways, following the first couple of steps, I sewed around a long rectangle a little smaller than my zipper, proceeded to cut it like >—< so, and then sewed the end of the zipper right side on right side to the bottom triangle. Folded the whole shebang inside, lined the edges of the zippers and long sides of the box together, sewed along that and pressed. I had to hand do the top, since my zippers were too long and I hadn’t figured out how to keep it closed and sew it at once. But it worked!

Zipper OLYMPUS DIGITAL CAMERA

I then also attached the pocket bits to this contraption, aligning them such that they would lay flay and sewed that one. I only had to reposition one once, which is a vast improvement on my normal pocket skills (read, at least 5 attempts are needed). Then I sewed the flap on it, and hand stitched the sides. The flap was done! Then I had to put the thing together again. From the  first iteration I learned that there was practically no waist and I looked like a Michelin man. So I put all but the underarm and side seams together and then pinned the side seams to my liking. That’s why the right seam next to the pocket is nice and flat and the left one all ugly and puckery. It’s not actually sewn yet. Still pins in there.

OLYMPUS DIGITAL CAMERA

However, I seems I am making progress on this project. Hopefully it’s done soon!

Jacket

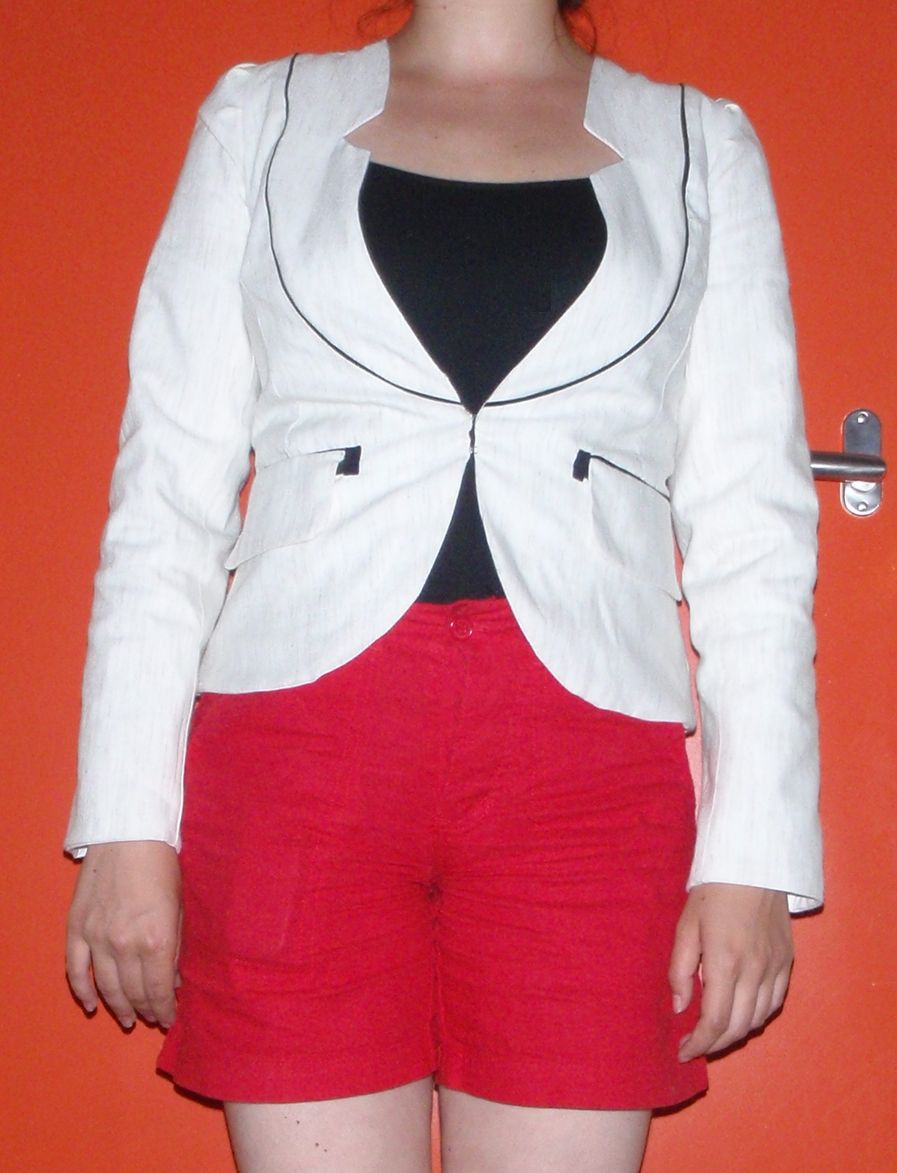
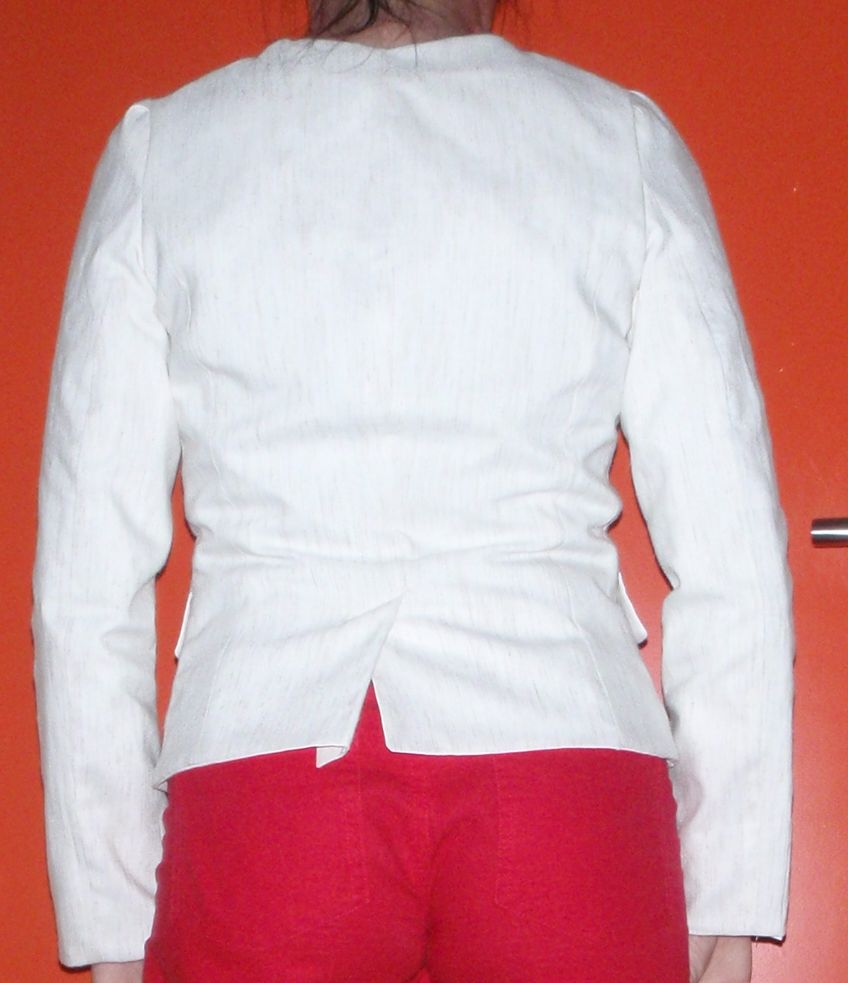
I finished a previously long-time unfinished project! The shell of this little jacket has been done for months and months. I don’t even remember how long really. However, a friend of mine was on holiday this week, and he has threatened to come by and chuck all my unfinished projects away. So I figured I’d take the time and use it to finish something. Less for him to throw away, right?

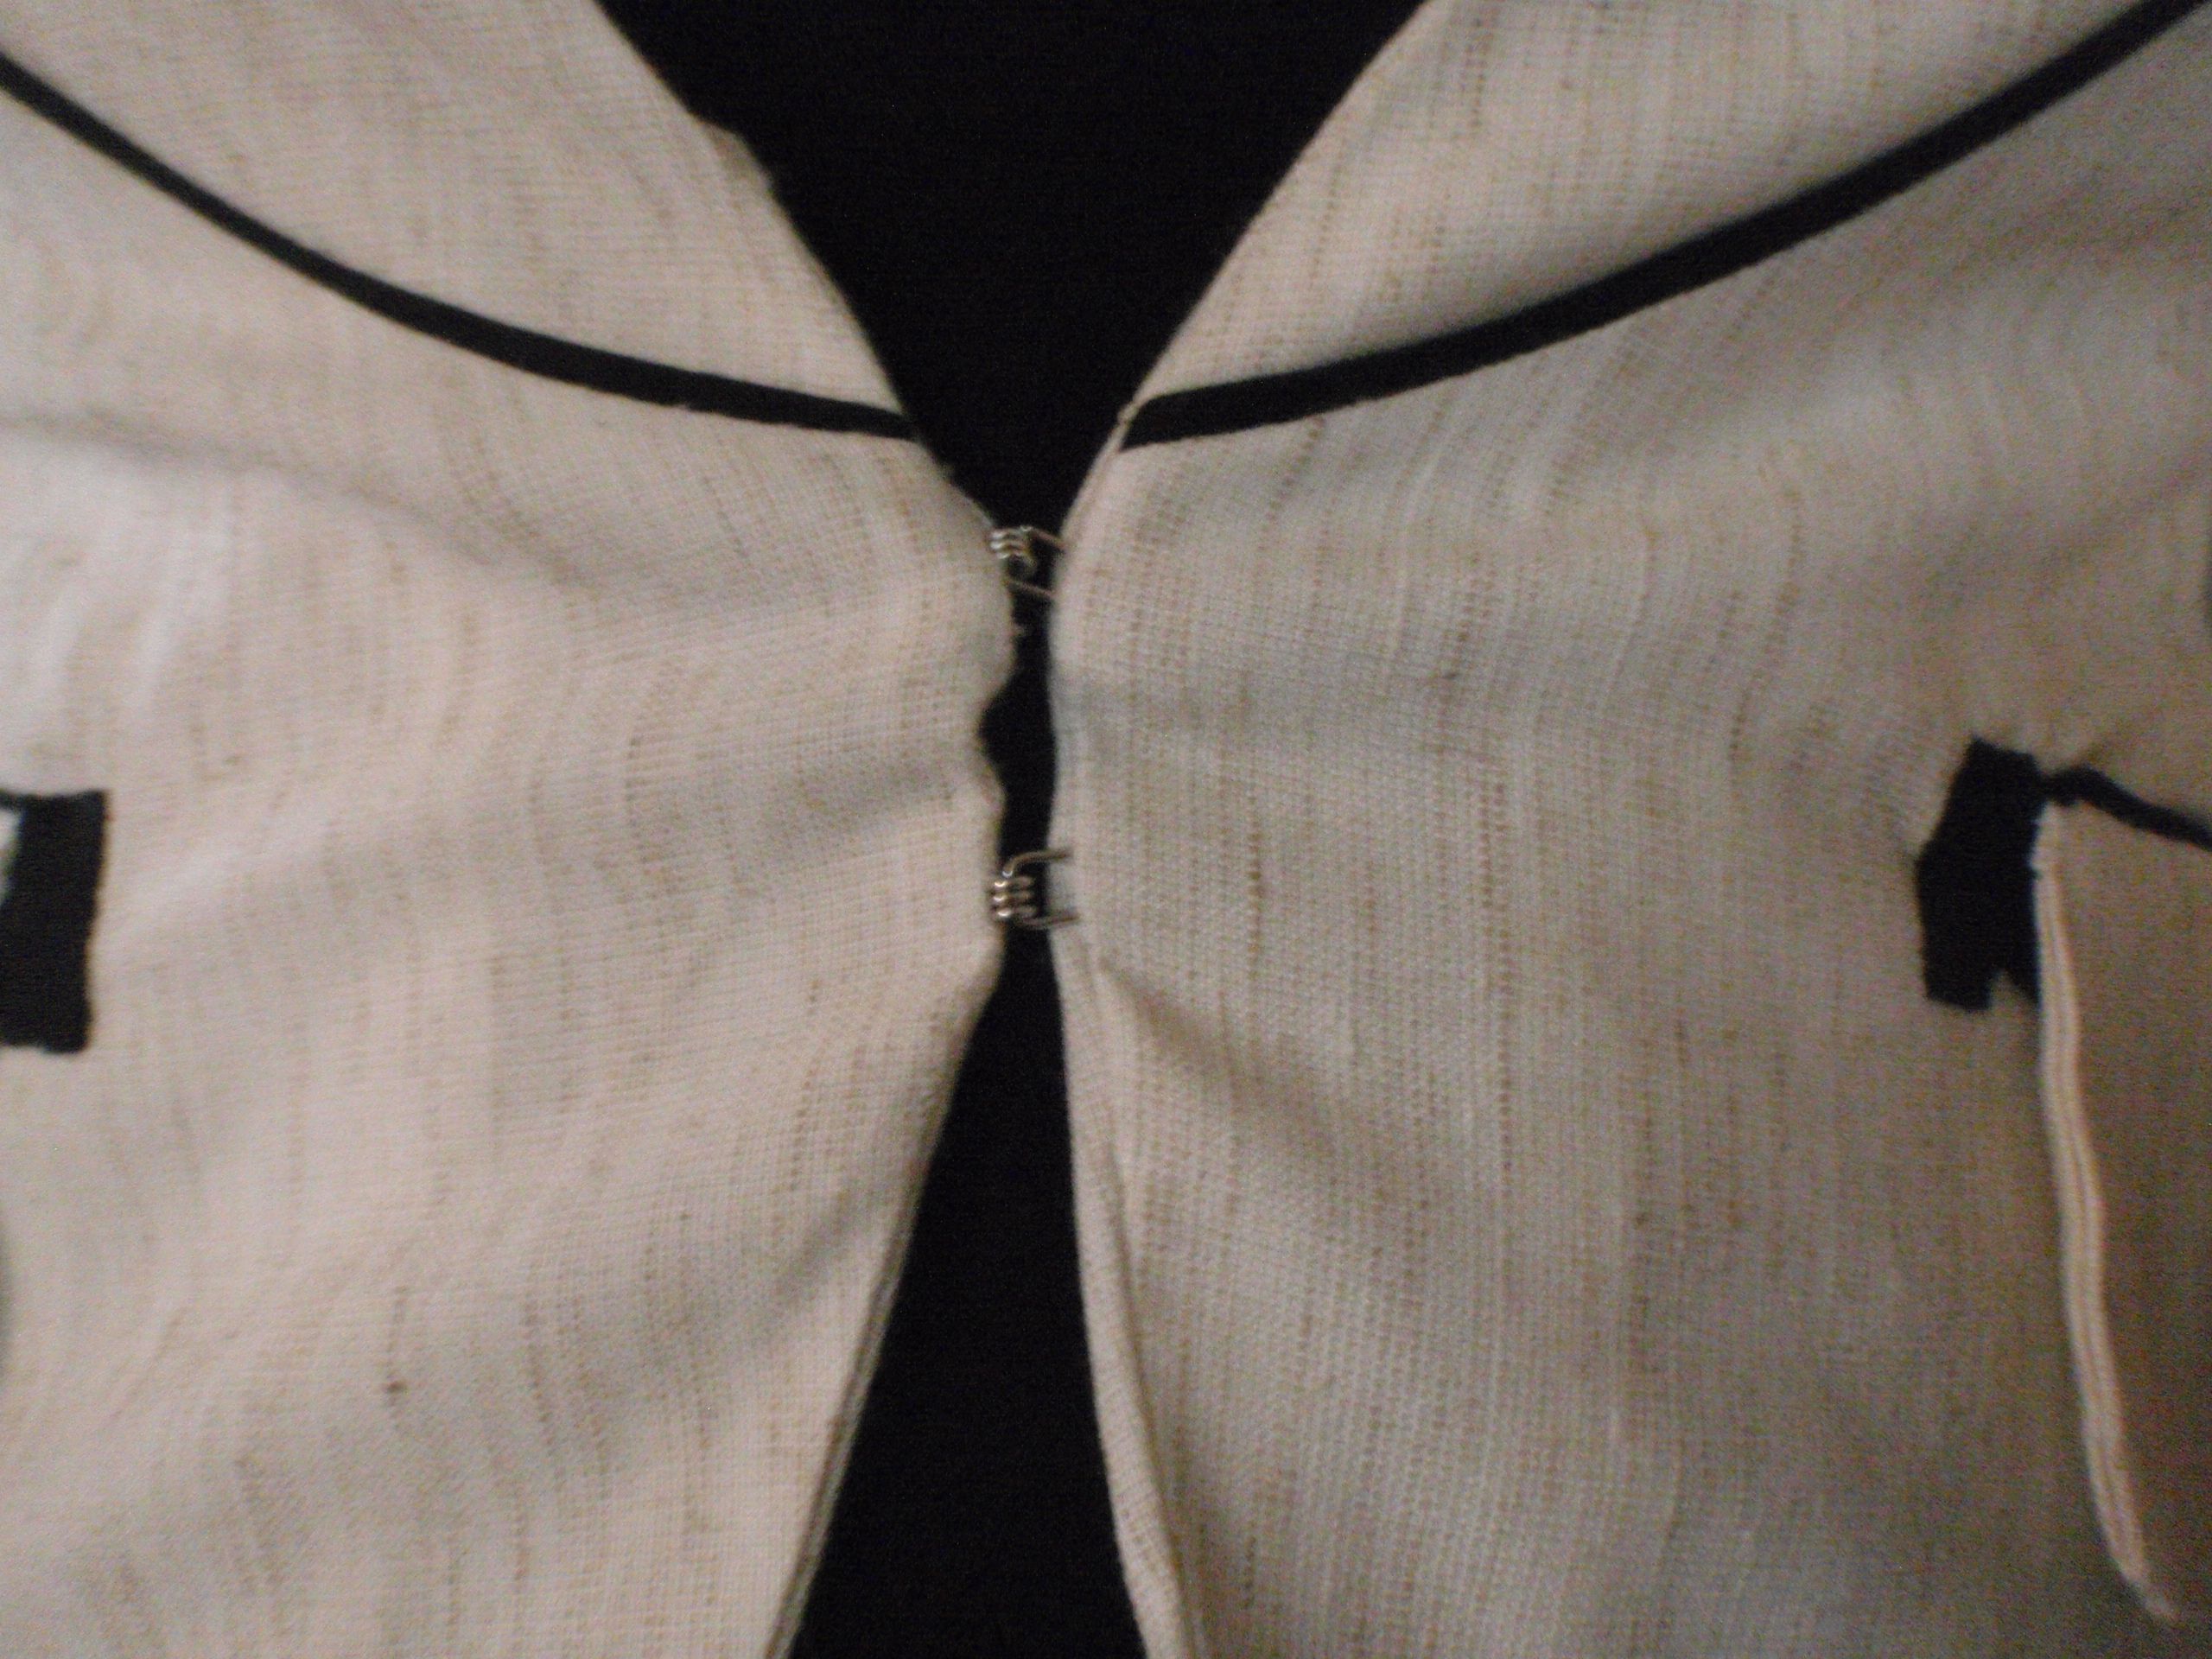
I did exactly that, not perfectly in time (he got back yesterday morning and I stitched the last stitch 1.5 hours ago), but it is finished now. I got the pattern from the Dutch magazine Knipmode. I heavily modified the original pattern because it seemed that they had anticipated on me having a 3 times as large bust as I do. However, the lines have turned out approximately as they had in their description. Although I did choose a hook&eye closure in the front, instead of a button.

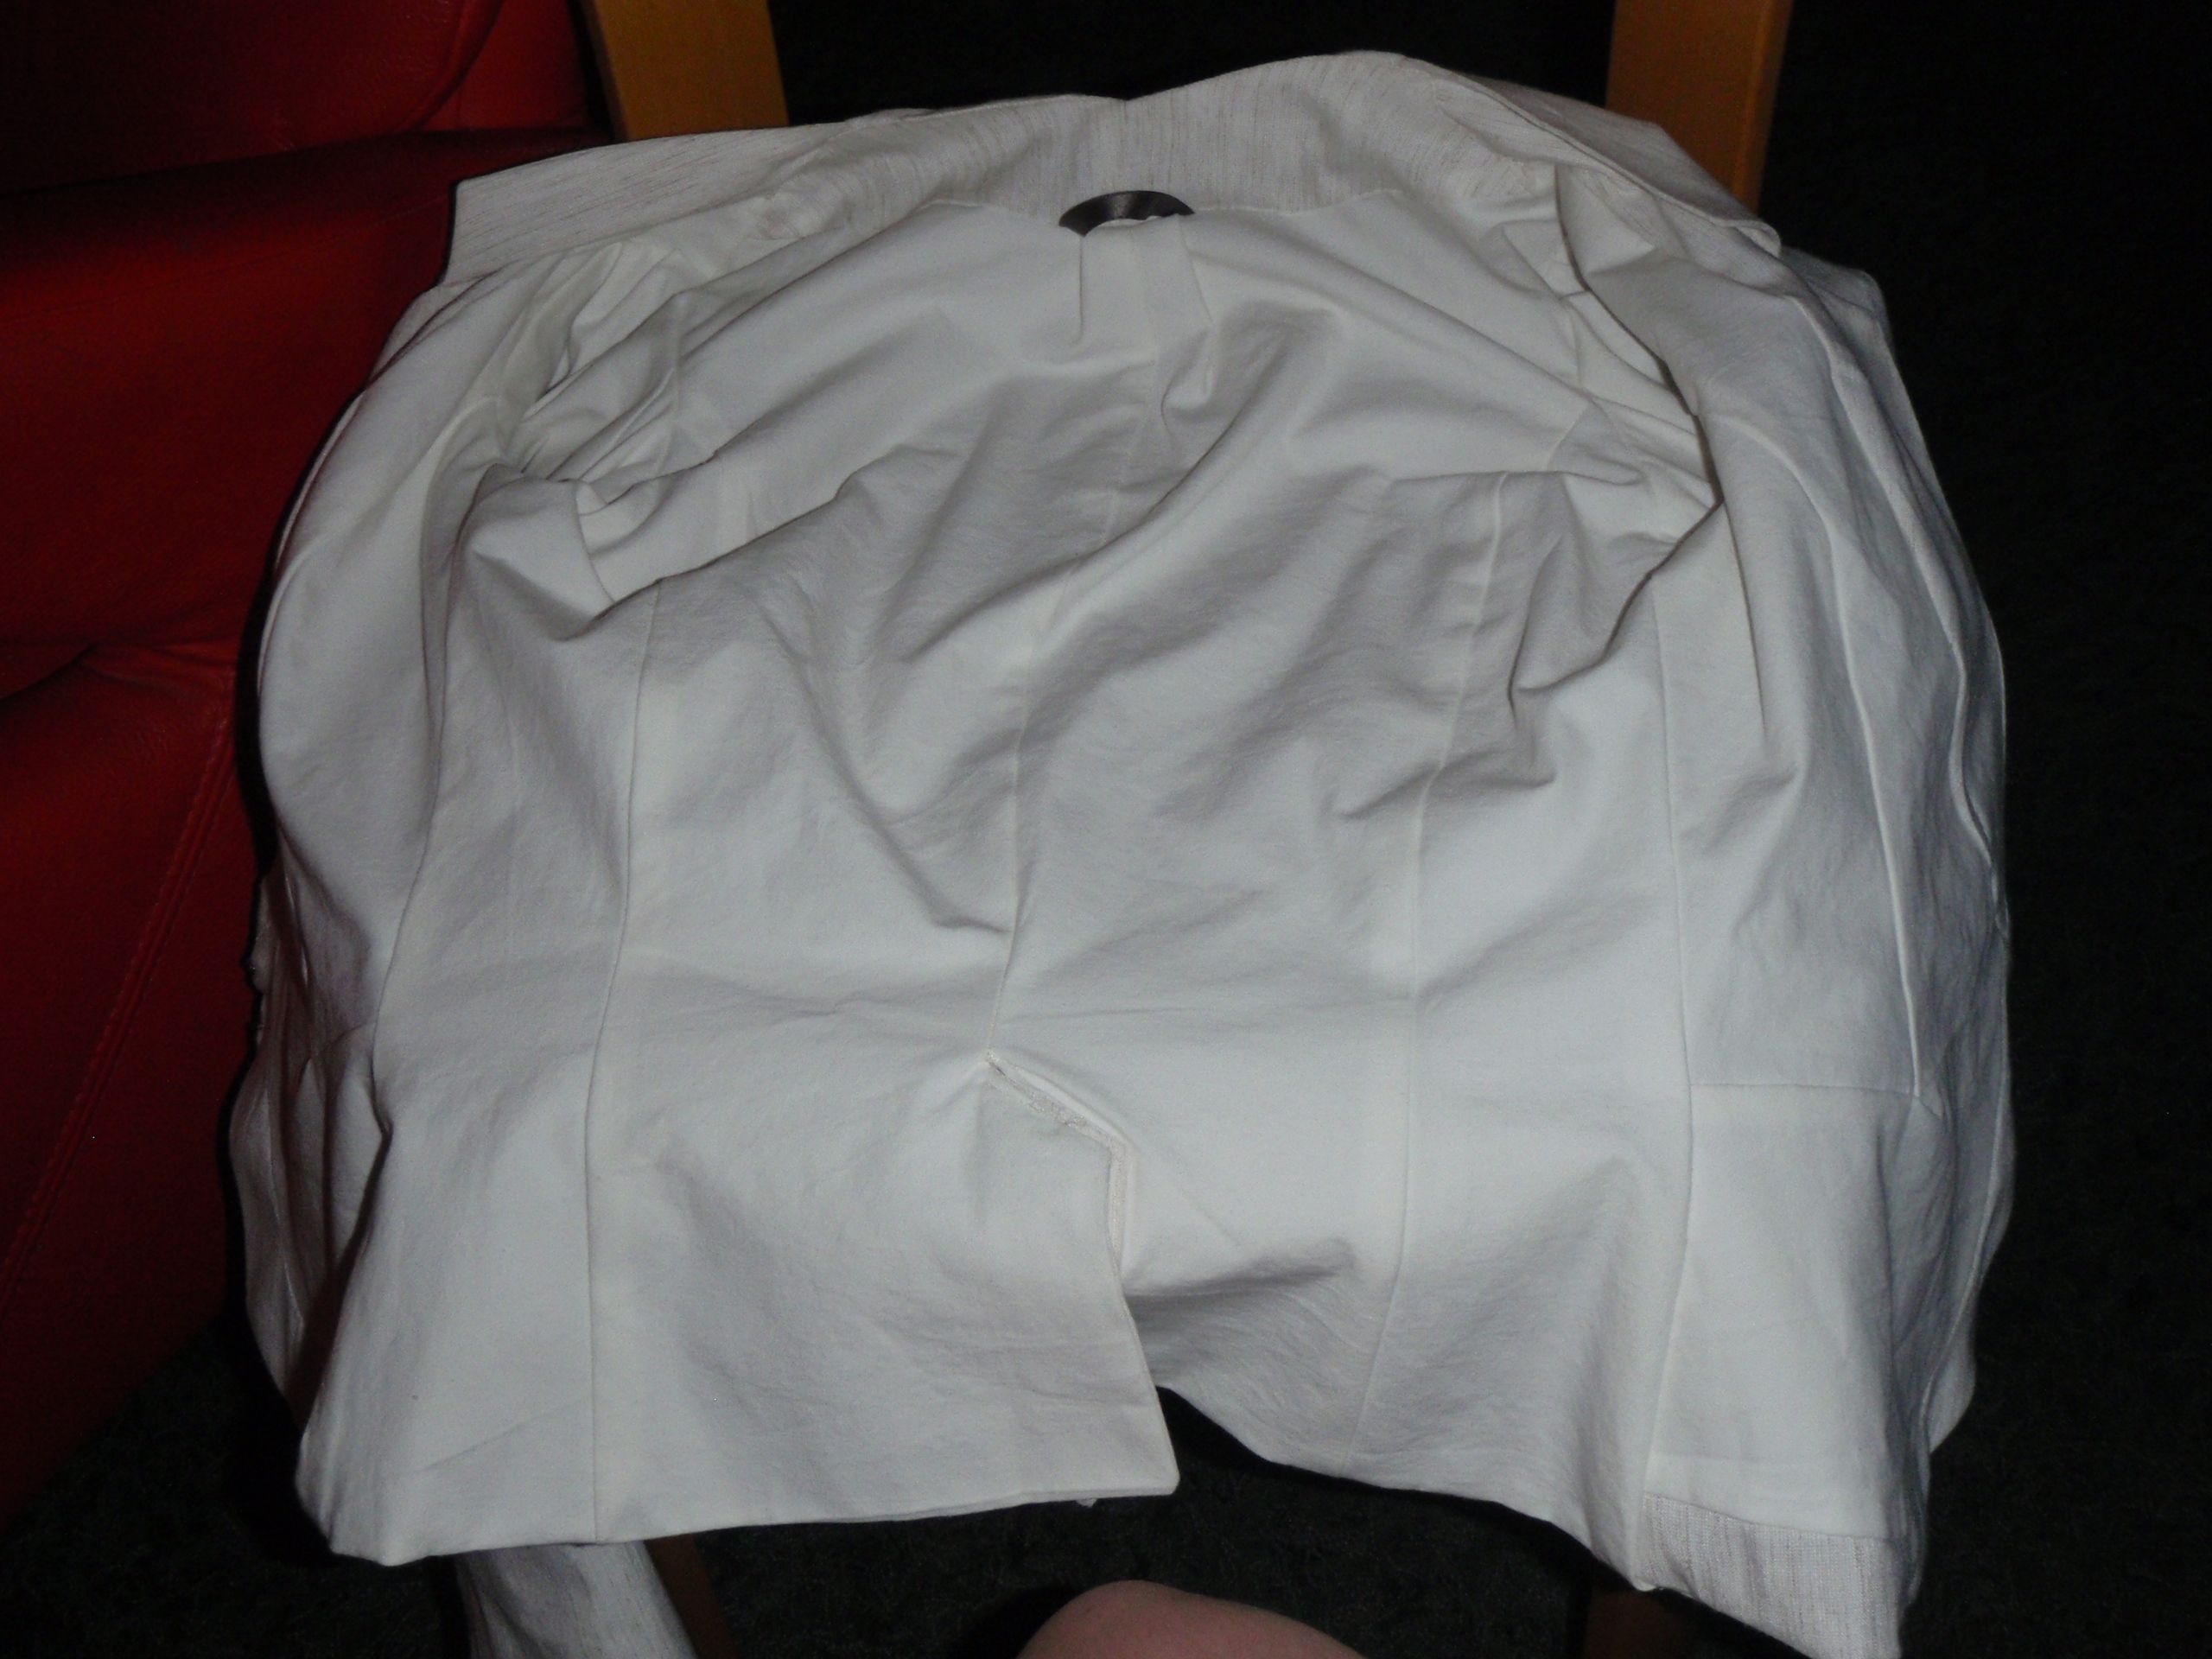
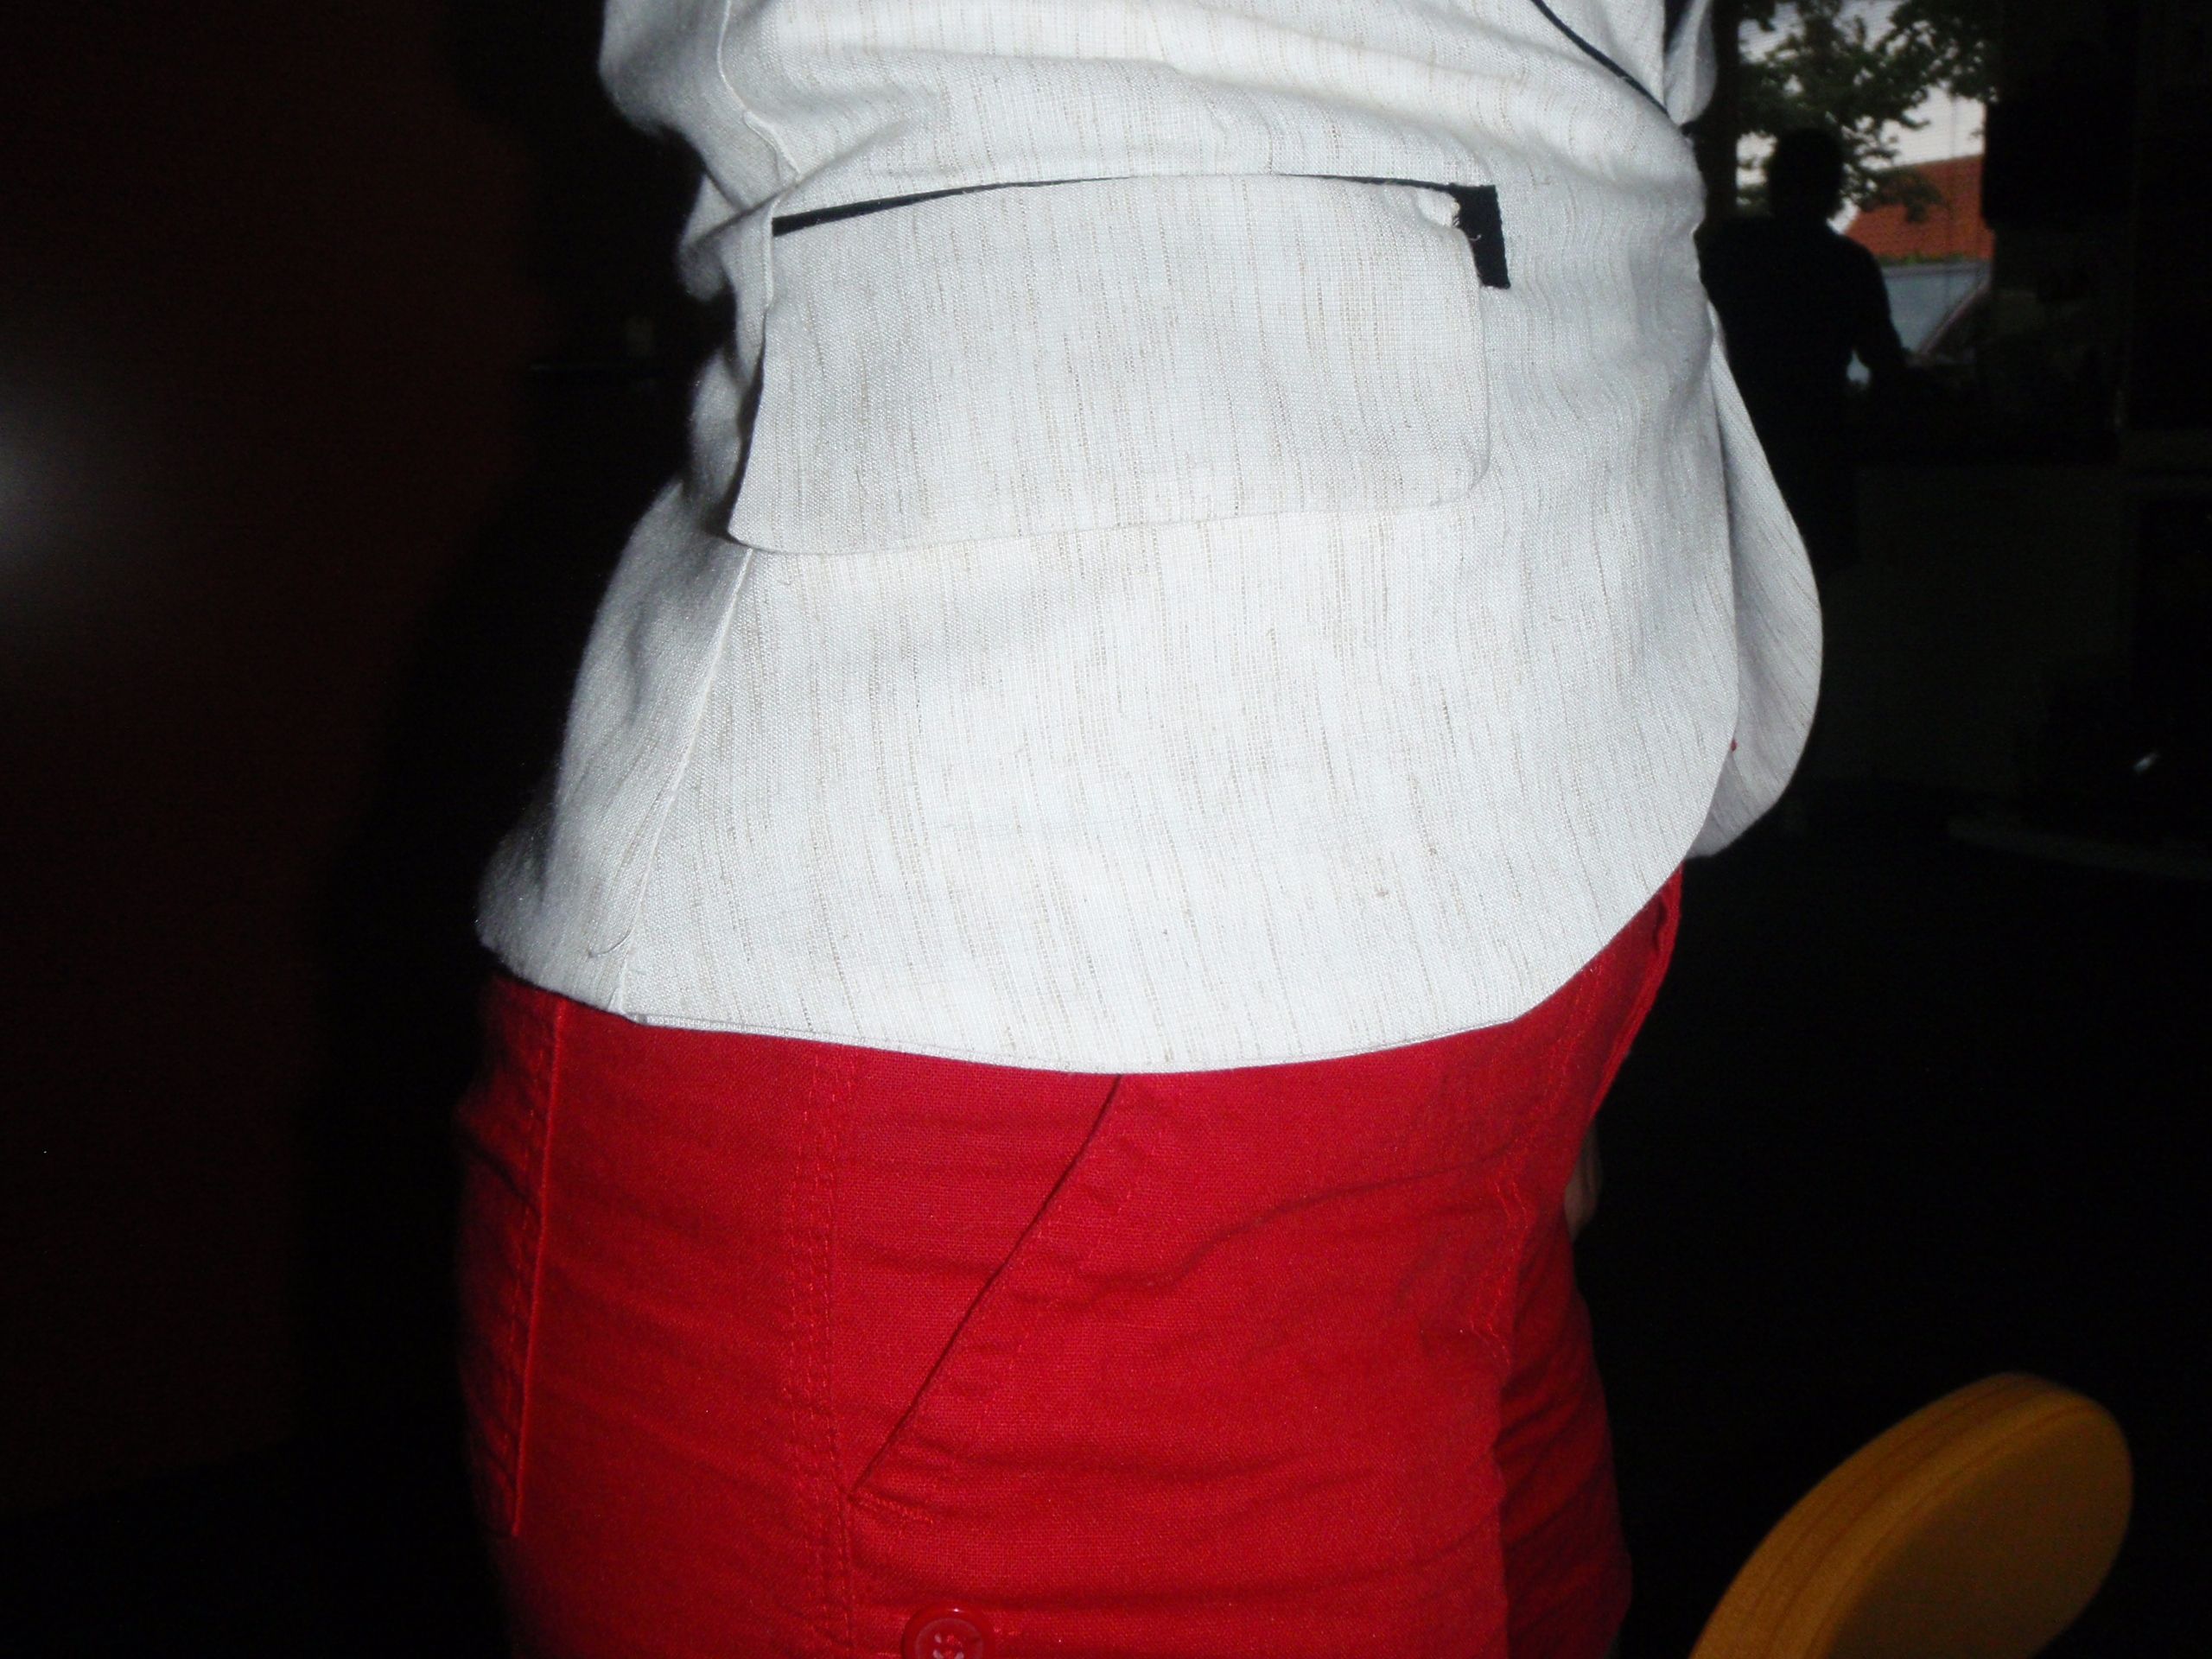
So, here it is, front, back, lining and some details: pocket (functional!), neckline stitching and closure:


That is it, my finished jacket. I still have some of the shell fabric left, so expect a skirt soon(-ish, or well possibly at some point, in the future), which will make it part of a fully fledged suit (like outfit).

But for now, it will occupy a place in my closet to function as another garment for my top half. This will increase the me-made jackets by 100% (I now have 2), that can be worn to school. I have also made some progress on the knitting, and will continue with that now.

Pants!

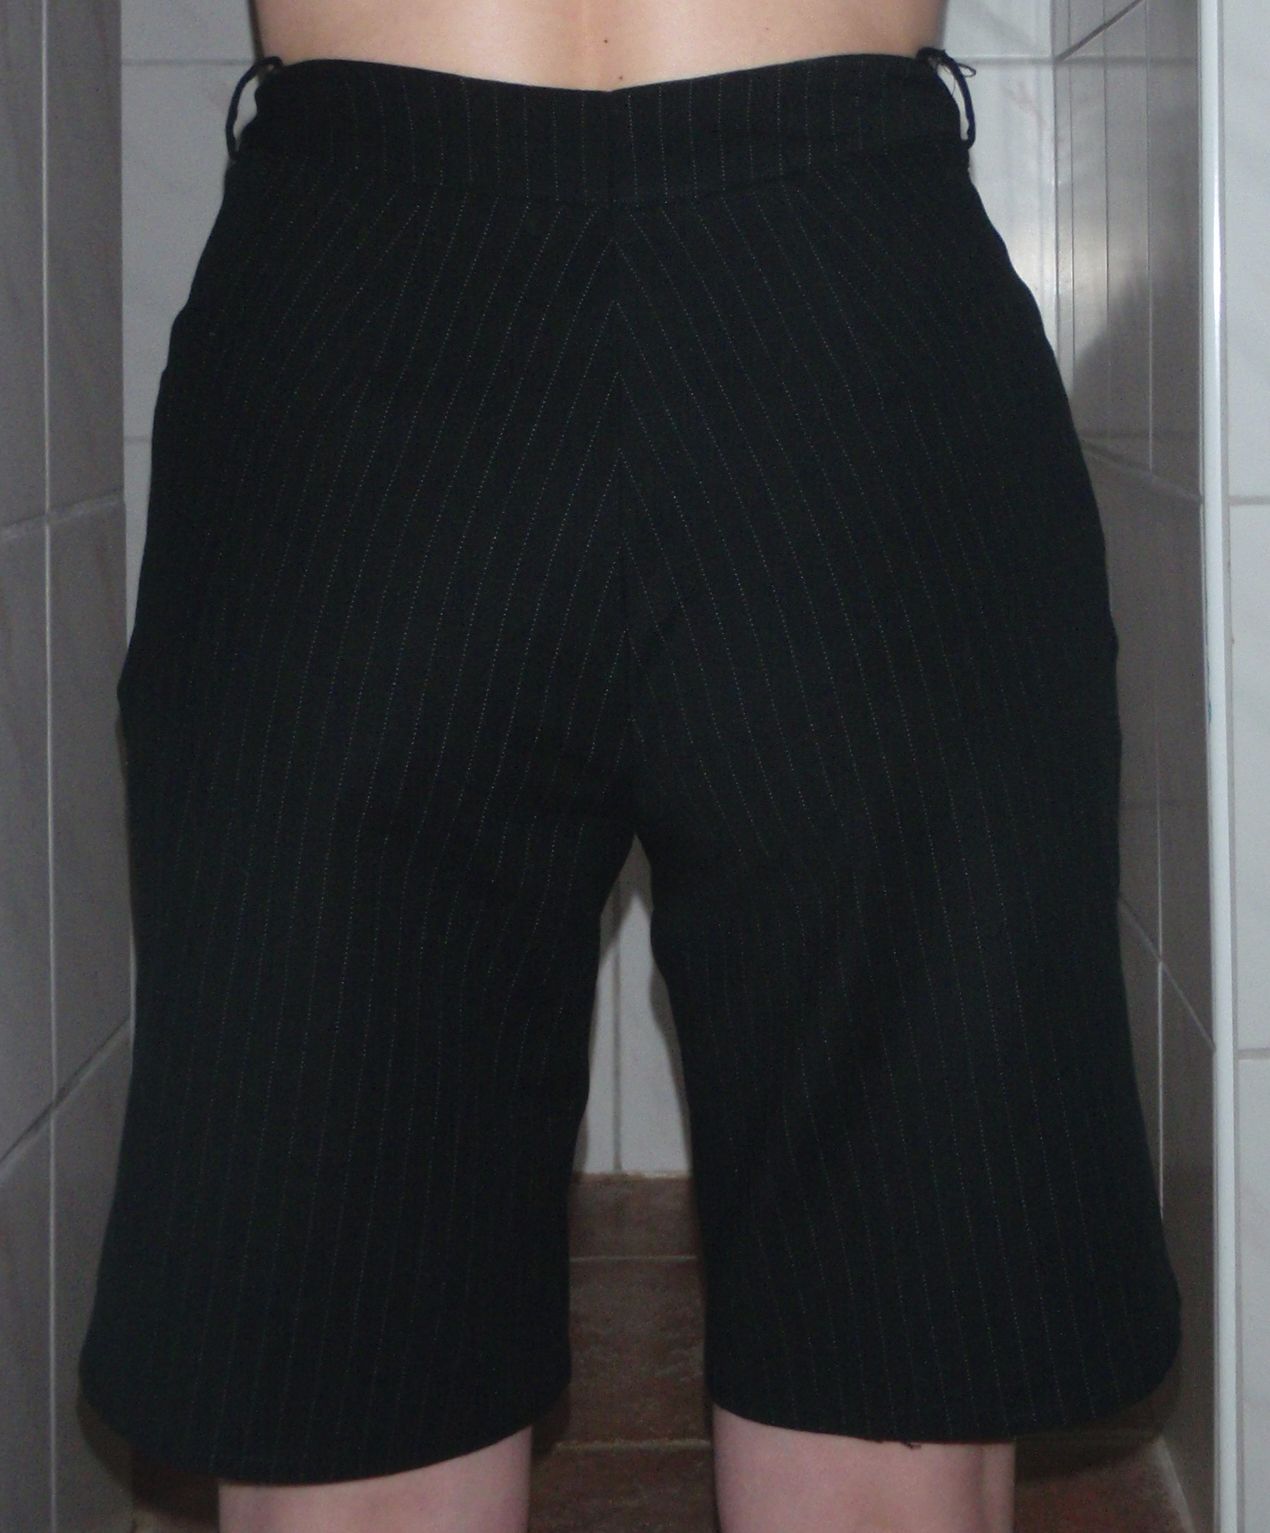
As I said yesterday, I also finished a pair of shorts. I still had some left over fabric from this  dress, and as I’ve said before, I love the fabric. It’s just really nice to both sew, and touch and do stuff with as far as I’m concerned. I have had the idea of making a pair of pants from a navy linen for a while now, but pants are always a nightmare for me. The shorts you will see shortly are meant as a wearable muslin (yes I know, some people don’t believe in those) for those navy ones which I will make full length.


This in theory seems like a good idea. However, I forgot to add more room in the crotch section to play around with. So this one is not really to satisfaction fit wise (although I’m sure I’ll wear it) in the crotch, although the length is absolutely perfect. I don’t like my shorts too short. They also come up a little high in the waist, and although I like coverage, this might be a little too much.

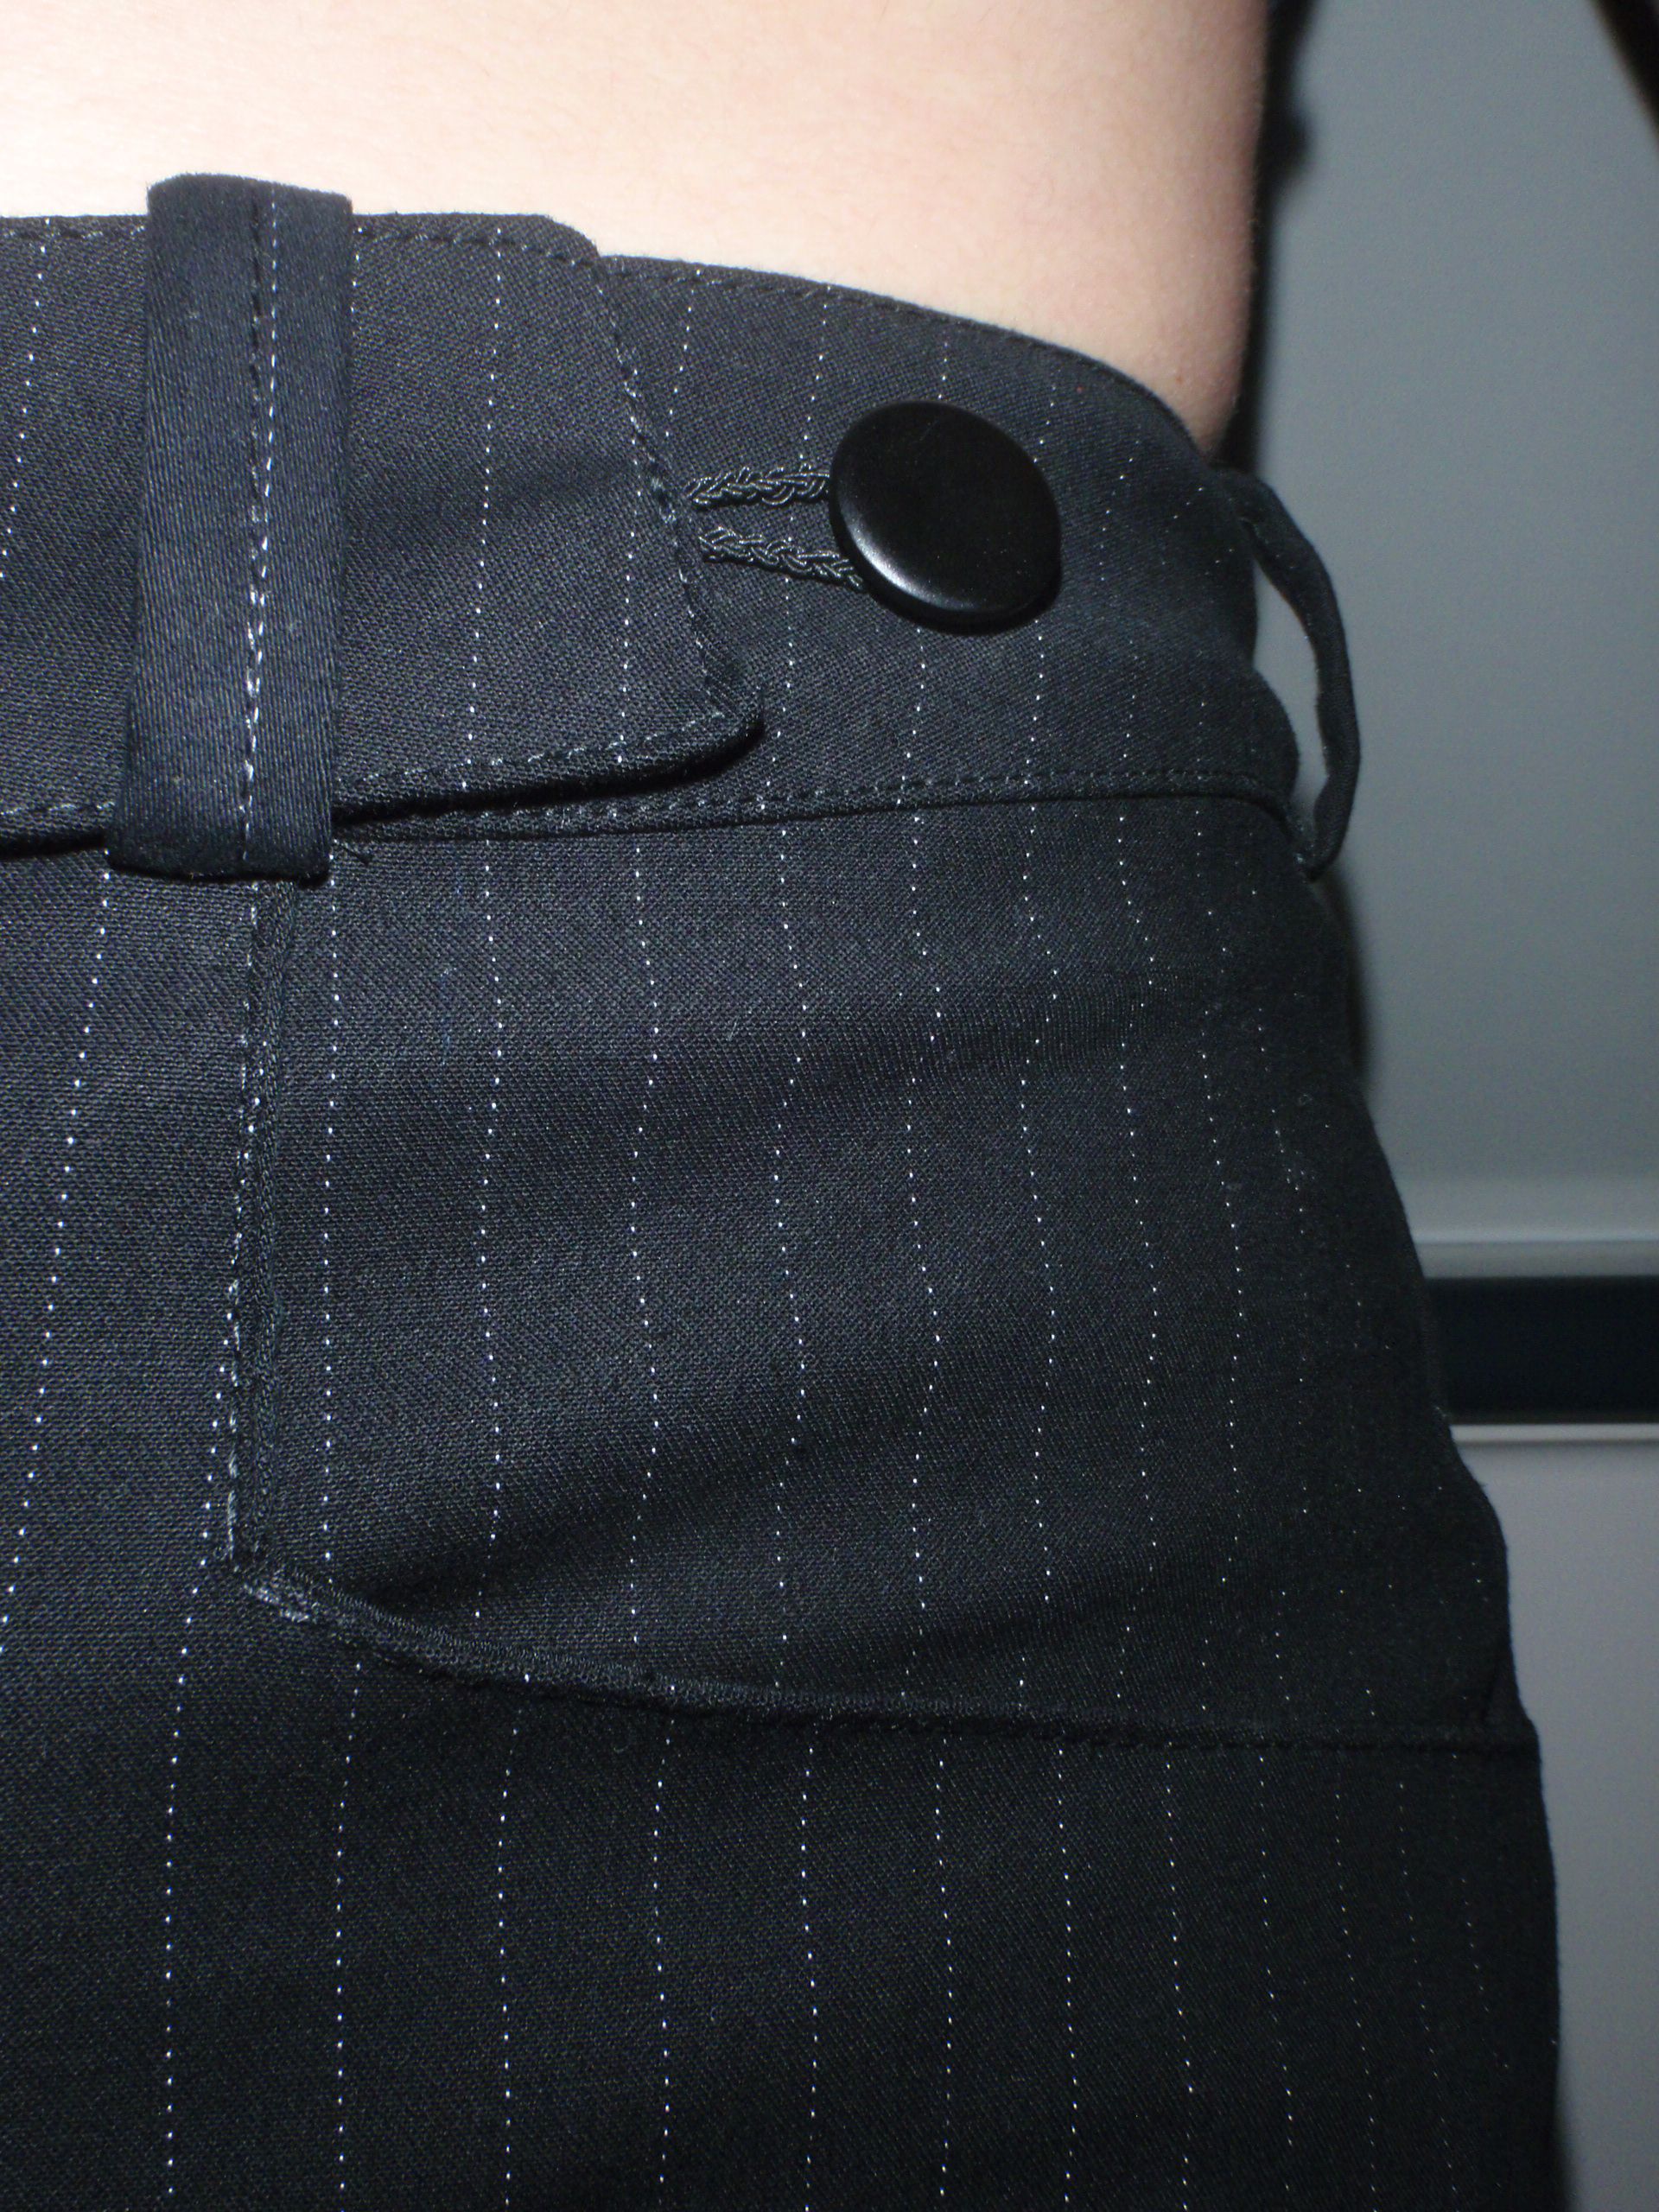
Live and learn people, live and learn. I have now learnt that on these pants slanted pockets, like in these pants, stand out a lot and make me look really fat so I changed them to squareish pockets which don’t stand away from the body. Furthermore, I learned that I need more room in the front crotch because the inseams are too close to the front for my liking. I also learned that my ass is strange and needs a lot of taking in at the top, and therefore an extension on the bottom of the waistband. I’ve learned how to make fancy zipper fly thing from this wonderful tutorial, without which it would have looked a million times worse (*takes a sneak peek at her first attempt at pants and groans in disgust). I did some topstitching around the waistband which also makes it look much nicer. I added belt loops somewhat following this tutorial (although not fully because I attached them differently (the fabric was too thick to be backed over like that). I tried using my blind hem foot to make a blind hem, and failed miserably, twice. So I gave up and just double folded over the hem and stitched it. I did use my blind hem foot for the topstitching and the zipper outside (and of course the zipper foot for setting the actual zipper). I braided some elastic and attached it to the waistband to go around a button, because the band was a little to short to accommodate a button after the belt loop. I put in a hook and eye thing for pants for the first time. Also, I matched stripes in the front and back! Sadly the sides were impossible to match/I didn’t think about doing that. I made do with small bits of fabric and cut the back waistband pattern to be able to piece it from scraps of fabric.

All in all I think I learned a lot from this project. Now hopefully the weather will clear up and I’ll be able to wear it outside!

Full Larp Costume

So here it is, in its entirety: my larp costume for the Ravenskeep event on May 17-20 2012. Prepare for a photo-heavy post, people.

First up: the full view (apart from the boots).


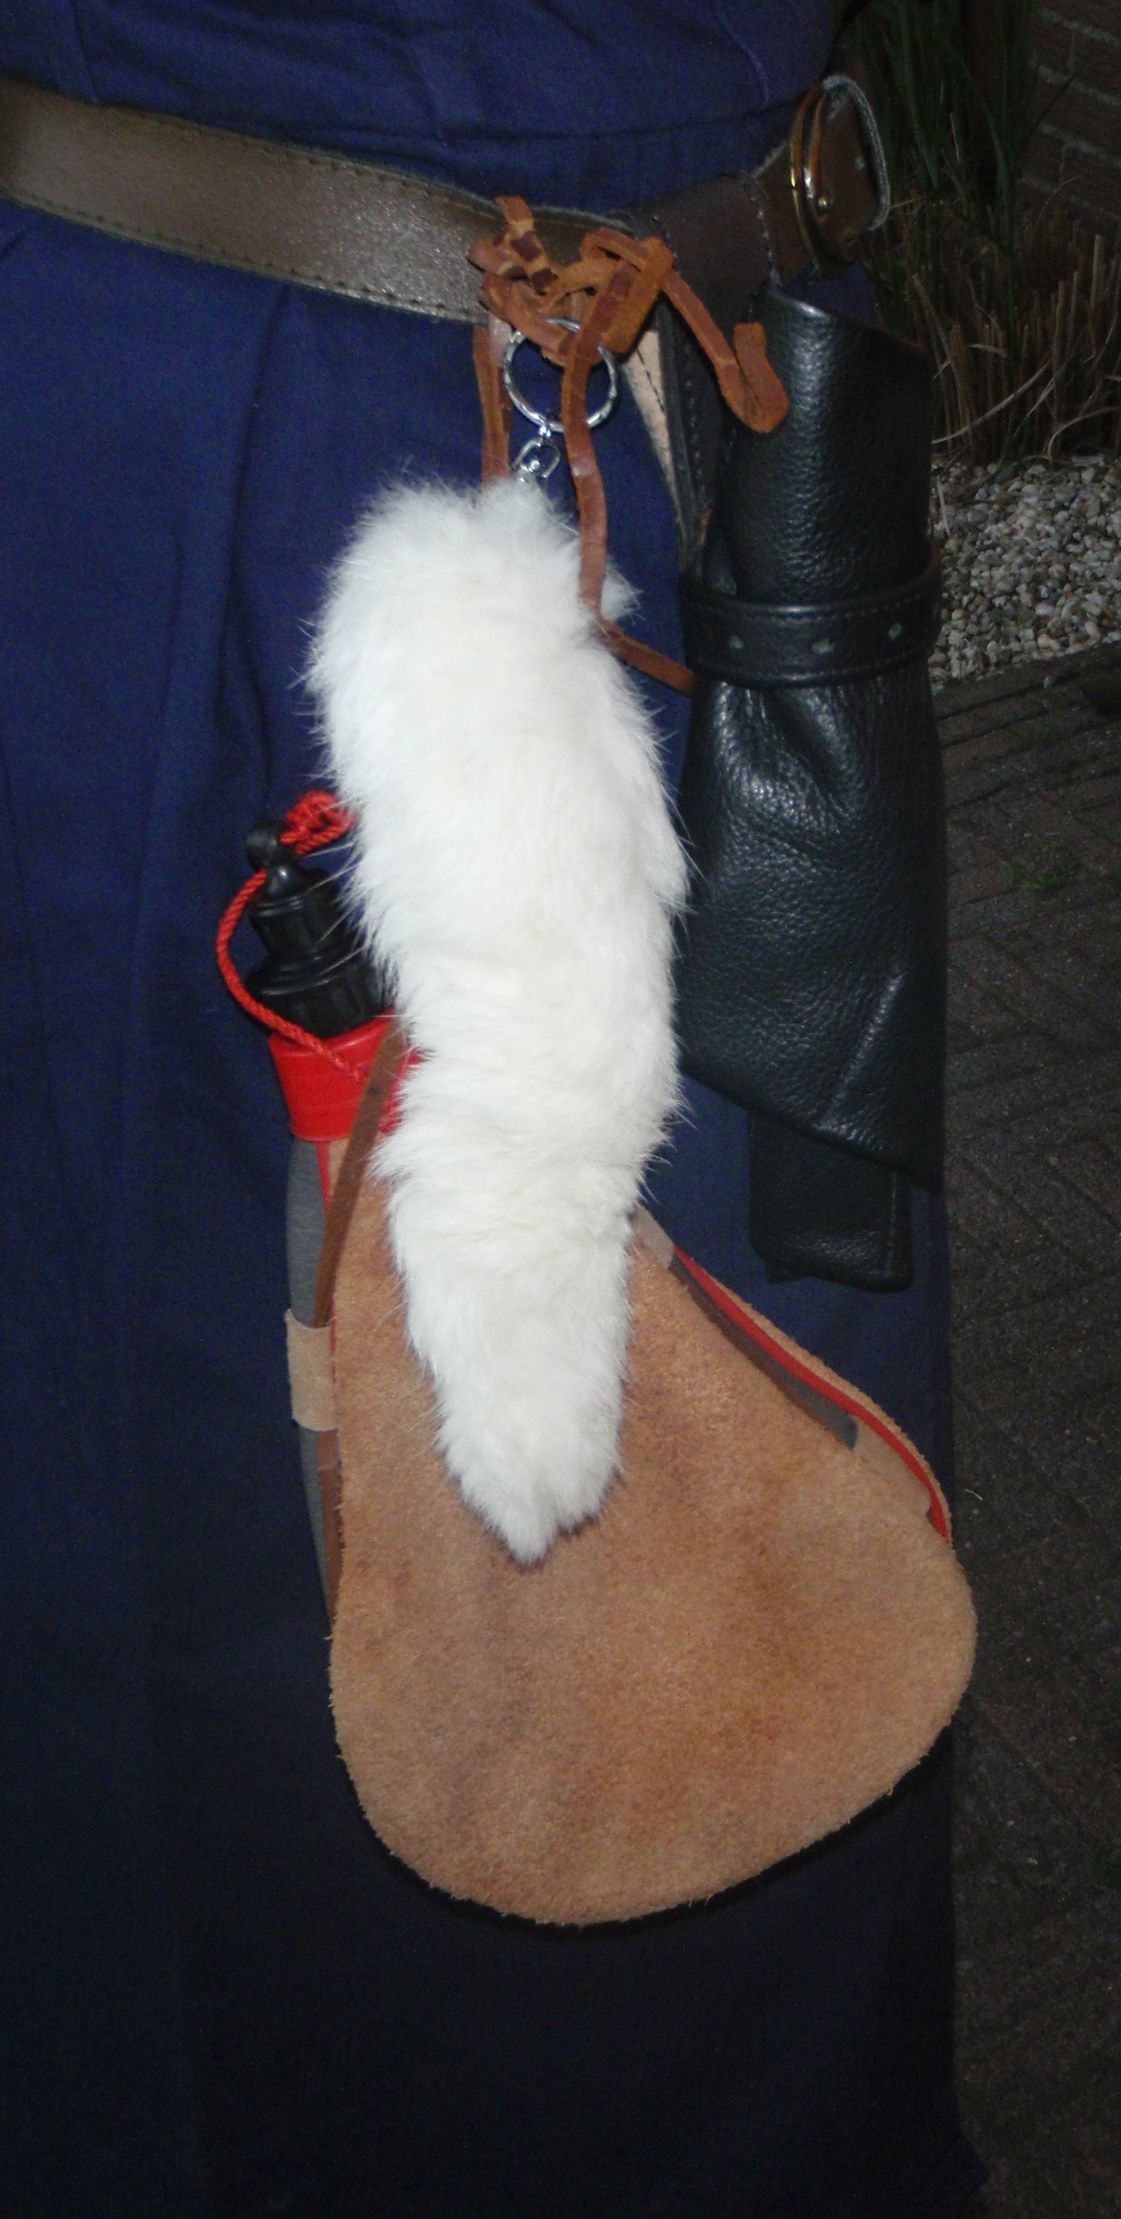
Left the top, in the middle the bottom half, including the usually very heavy brown bag and boots. To the right the side with a water sack and a ‘lock-picking set’.

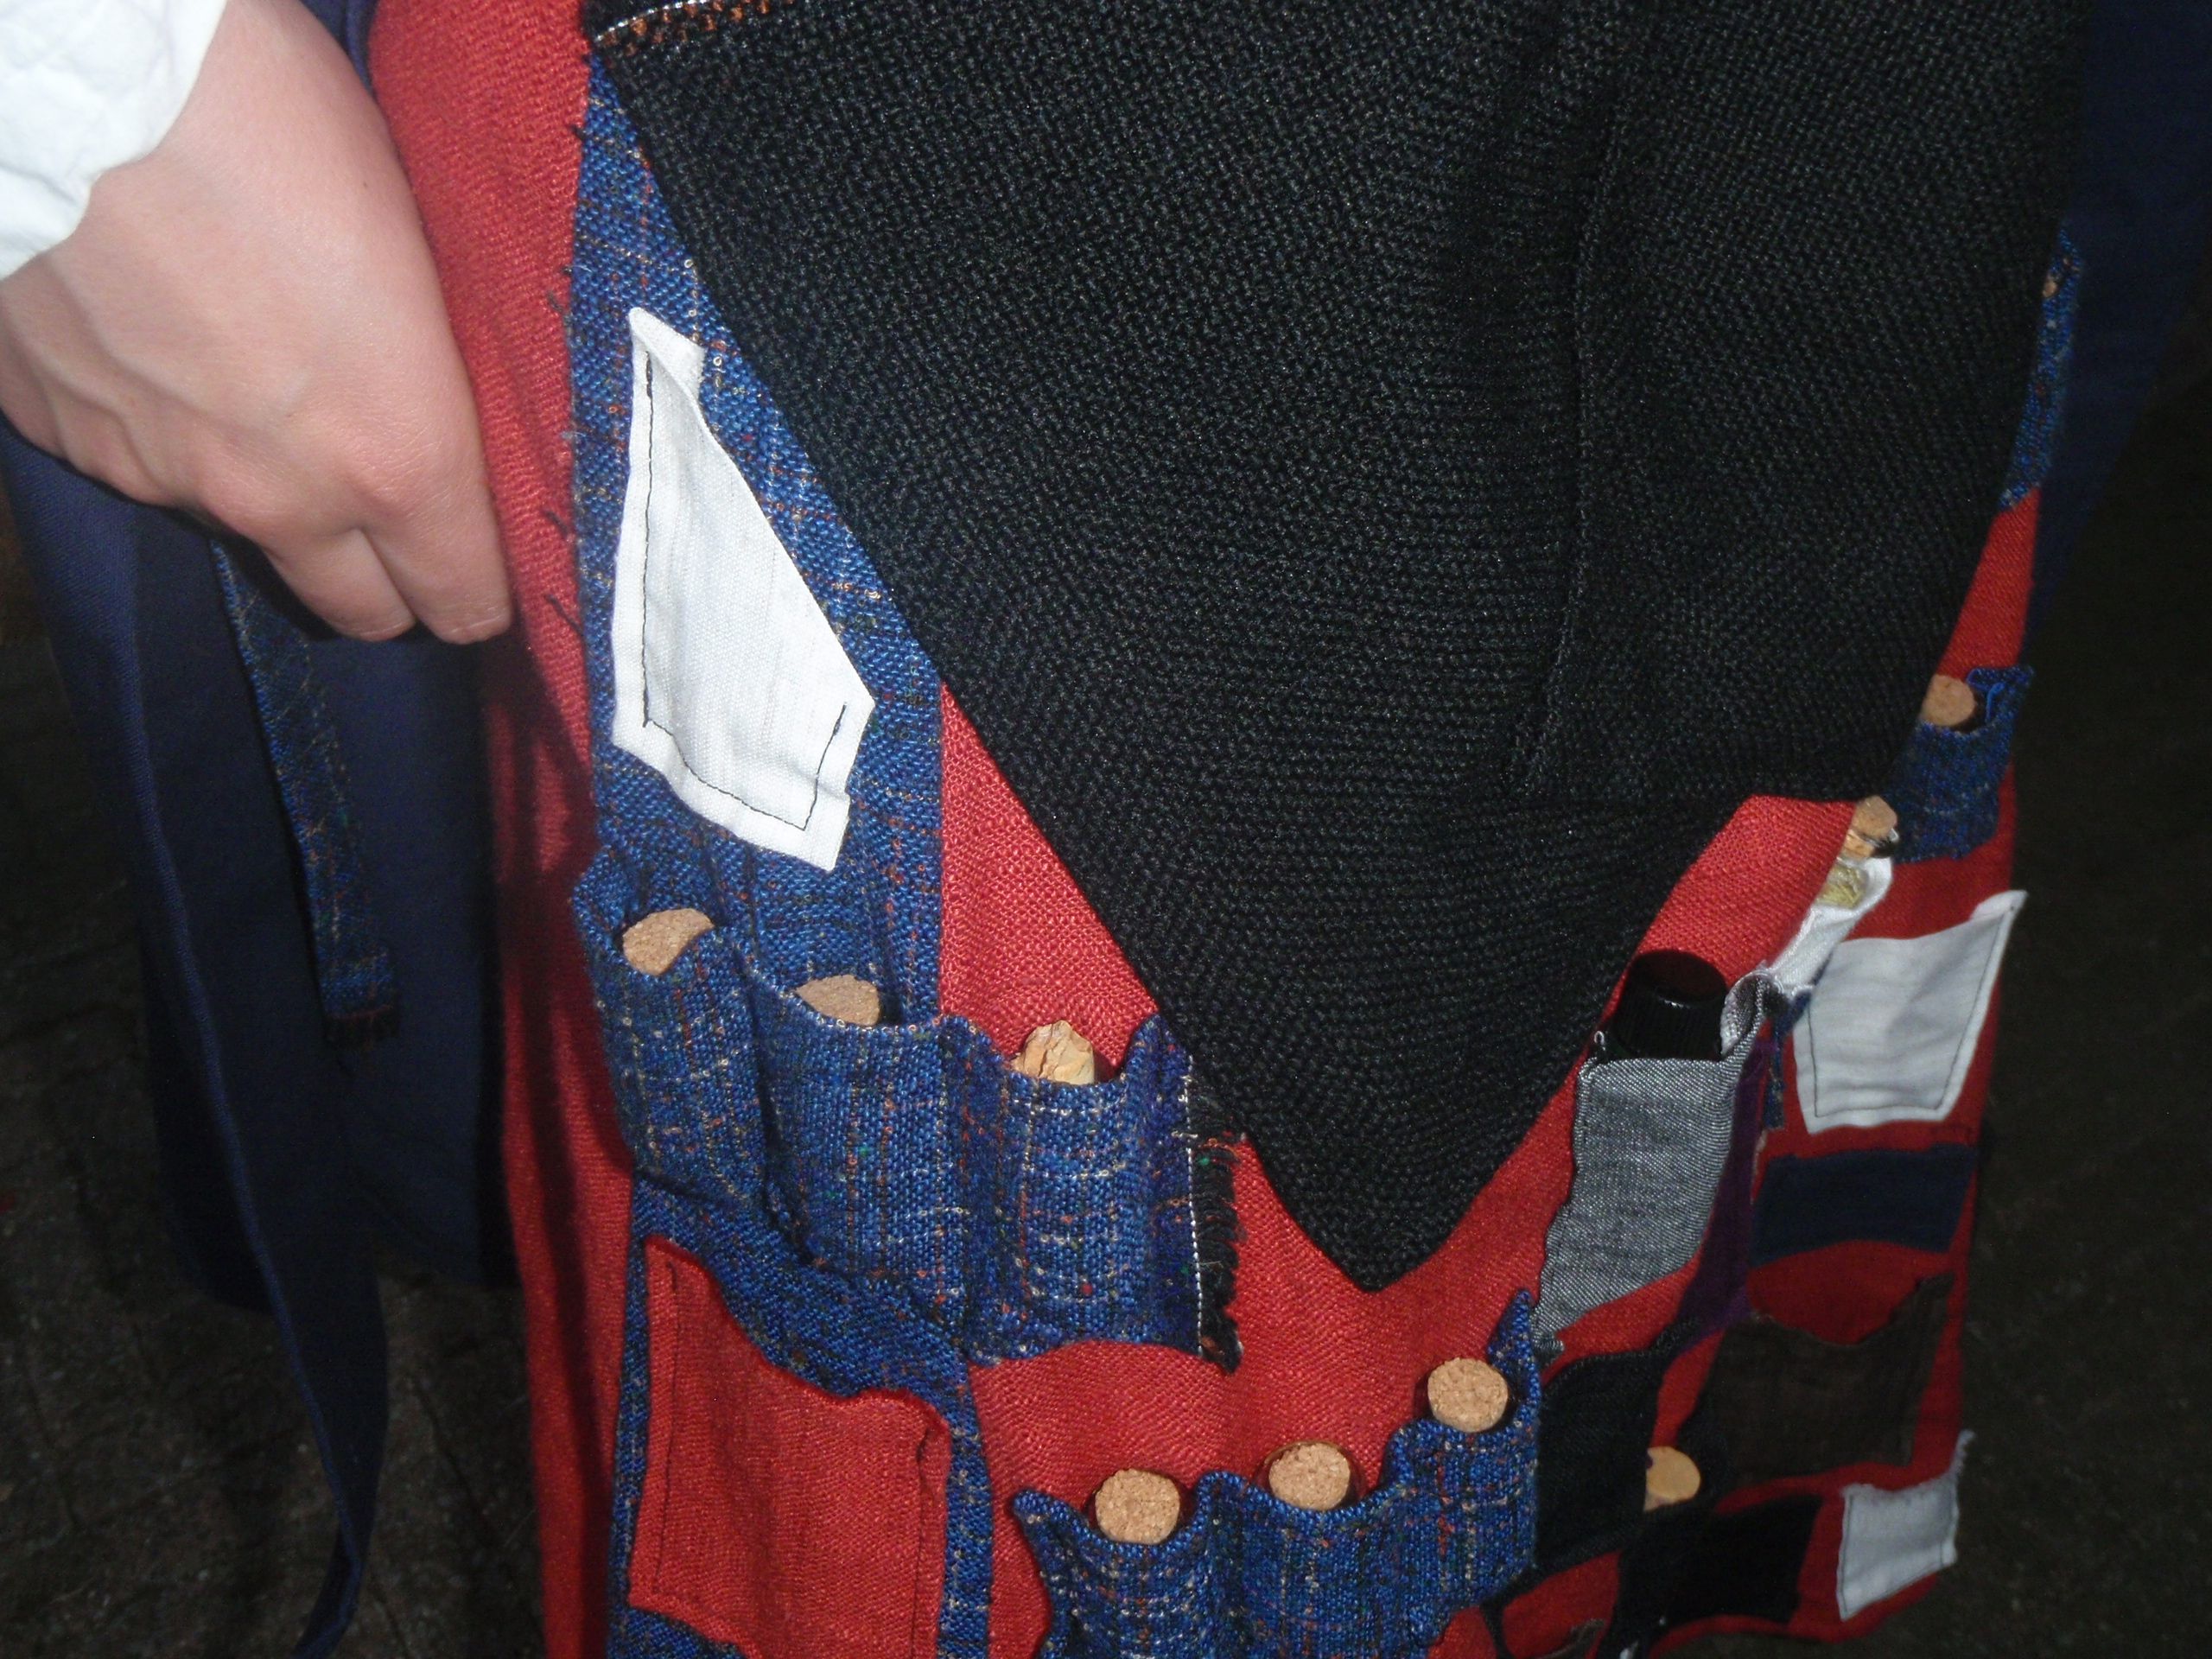
And the pockets from close up, including content:


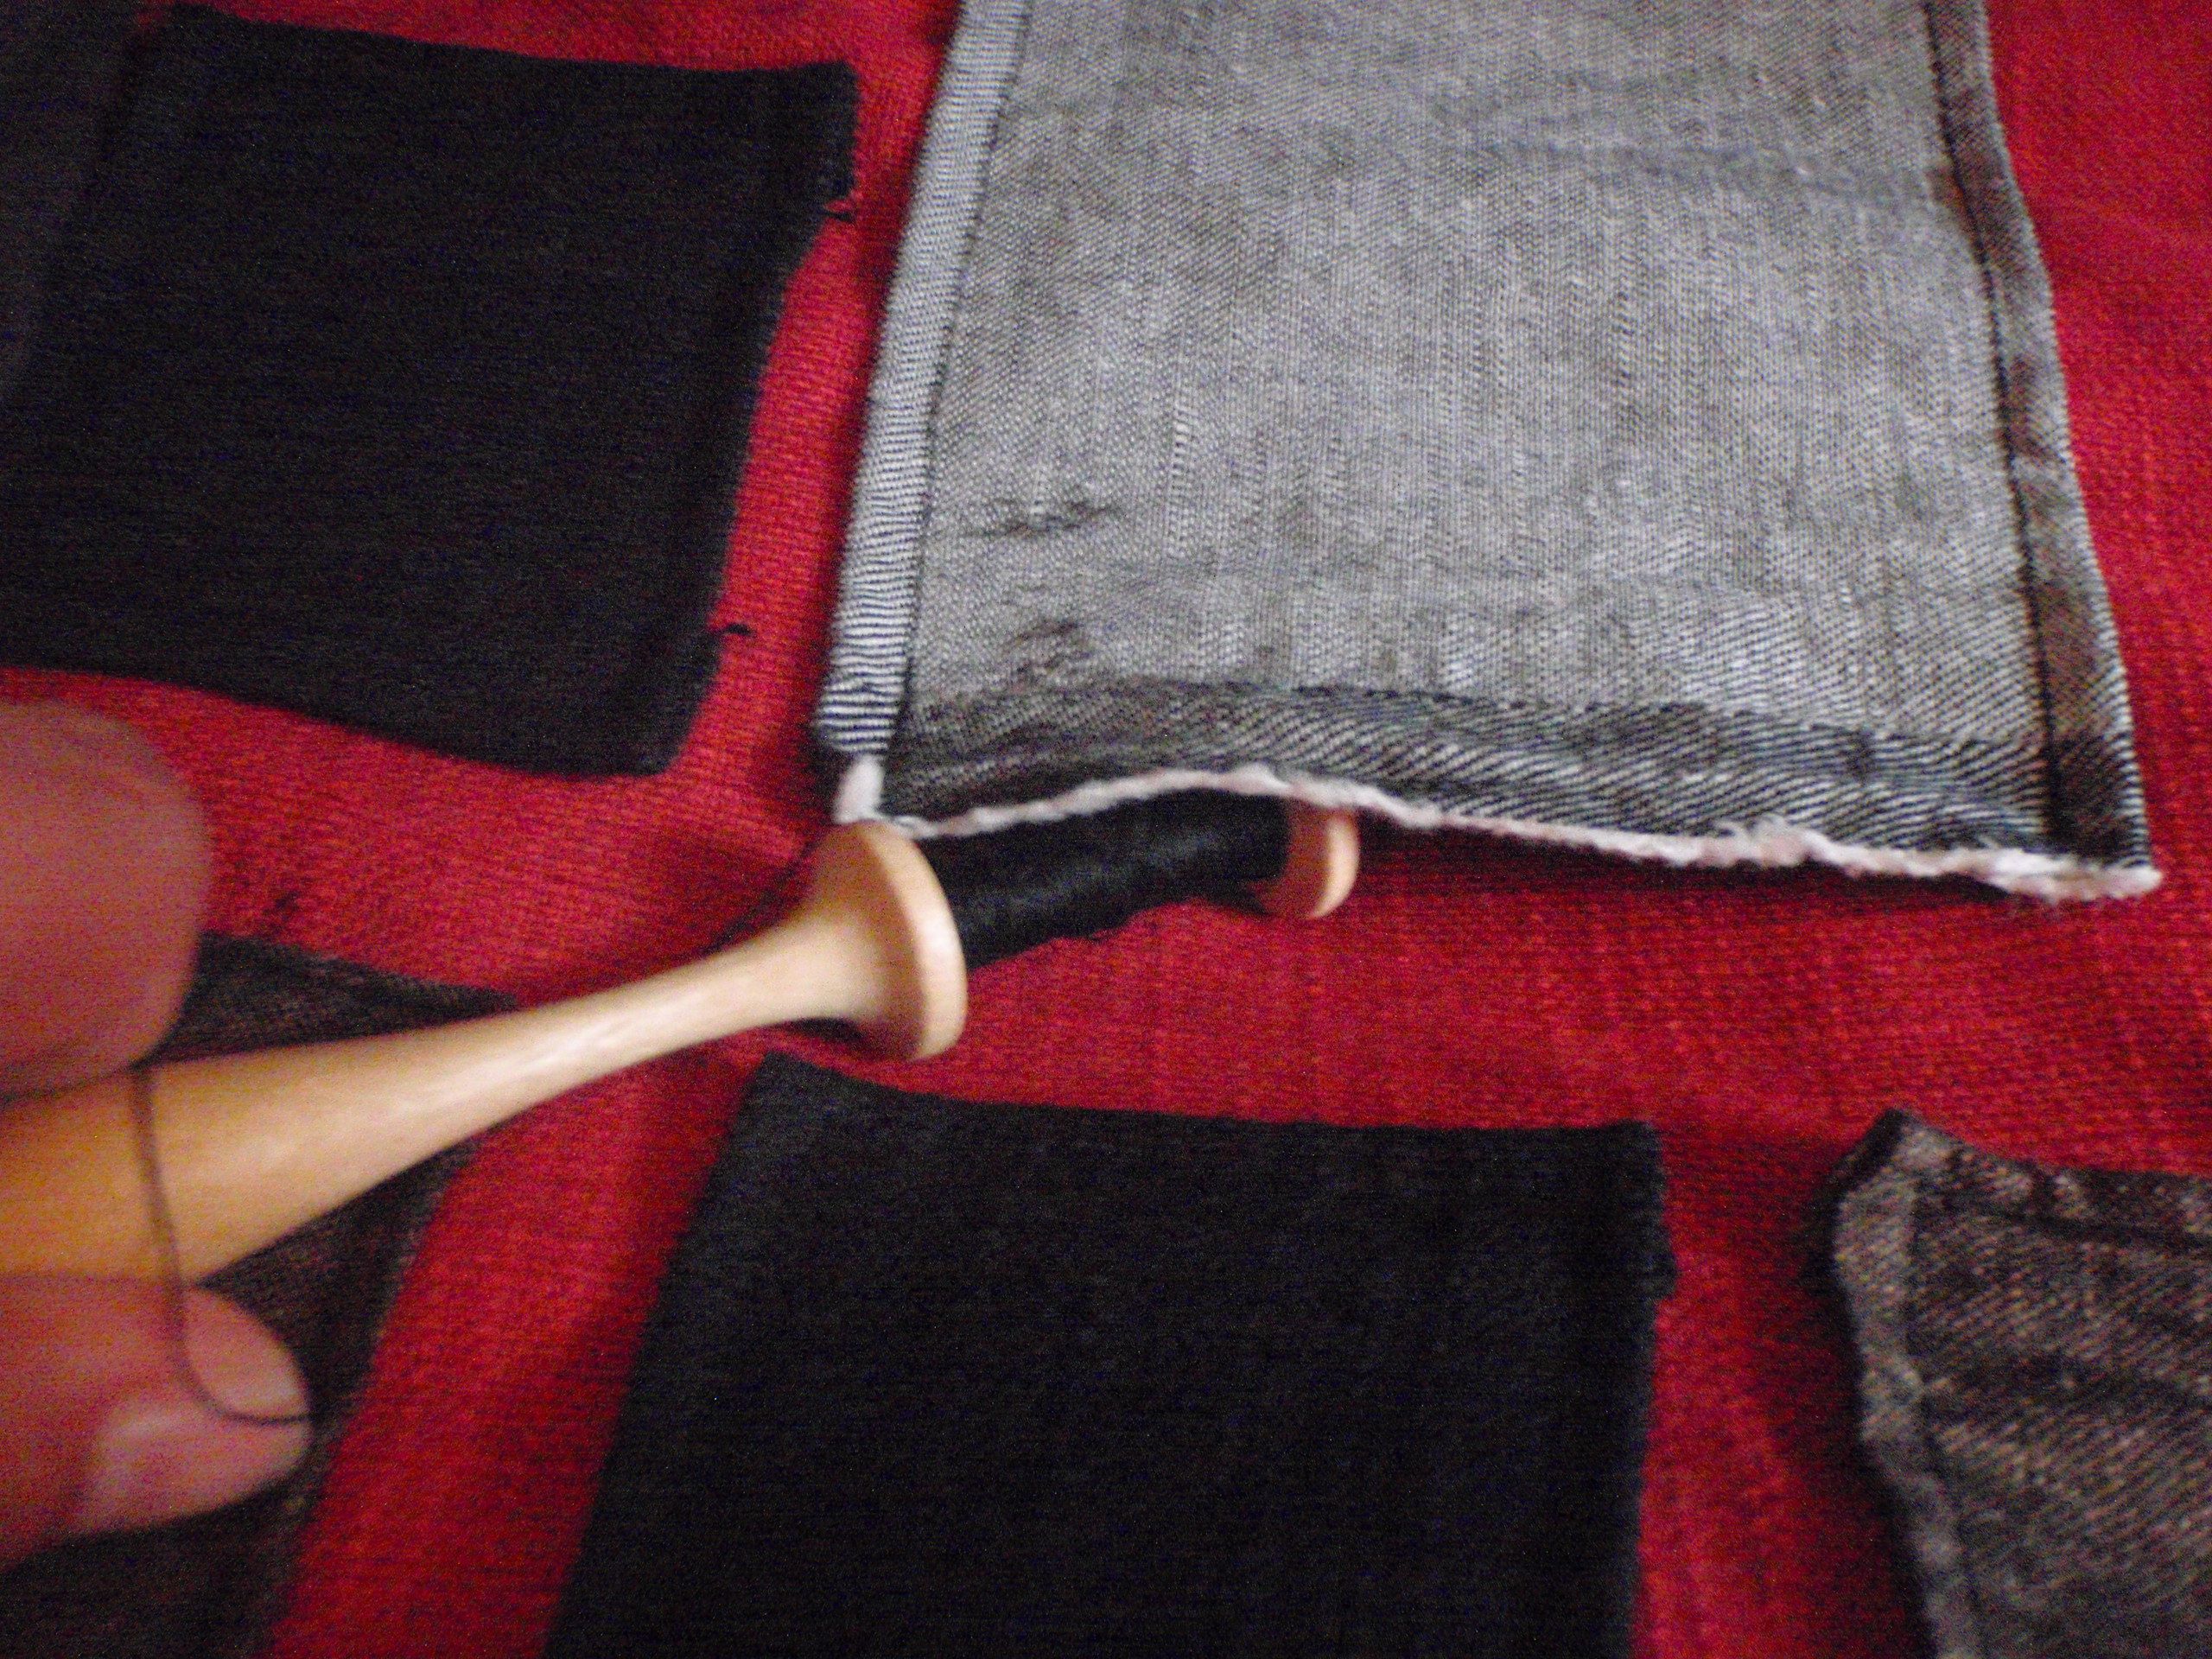
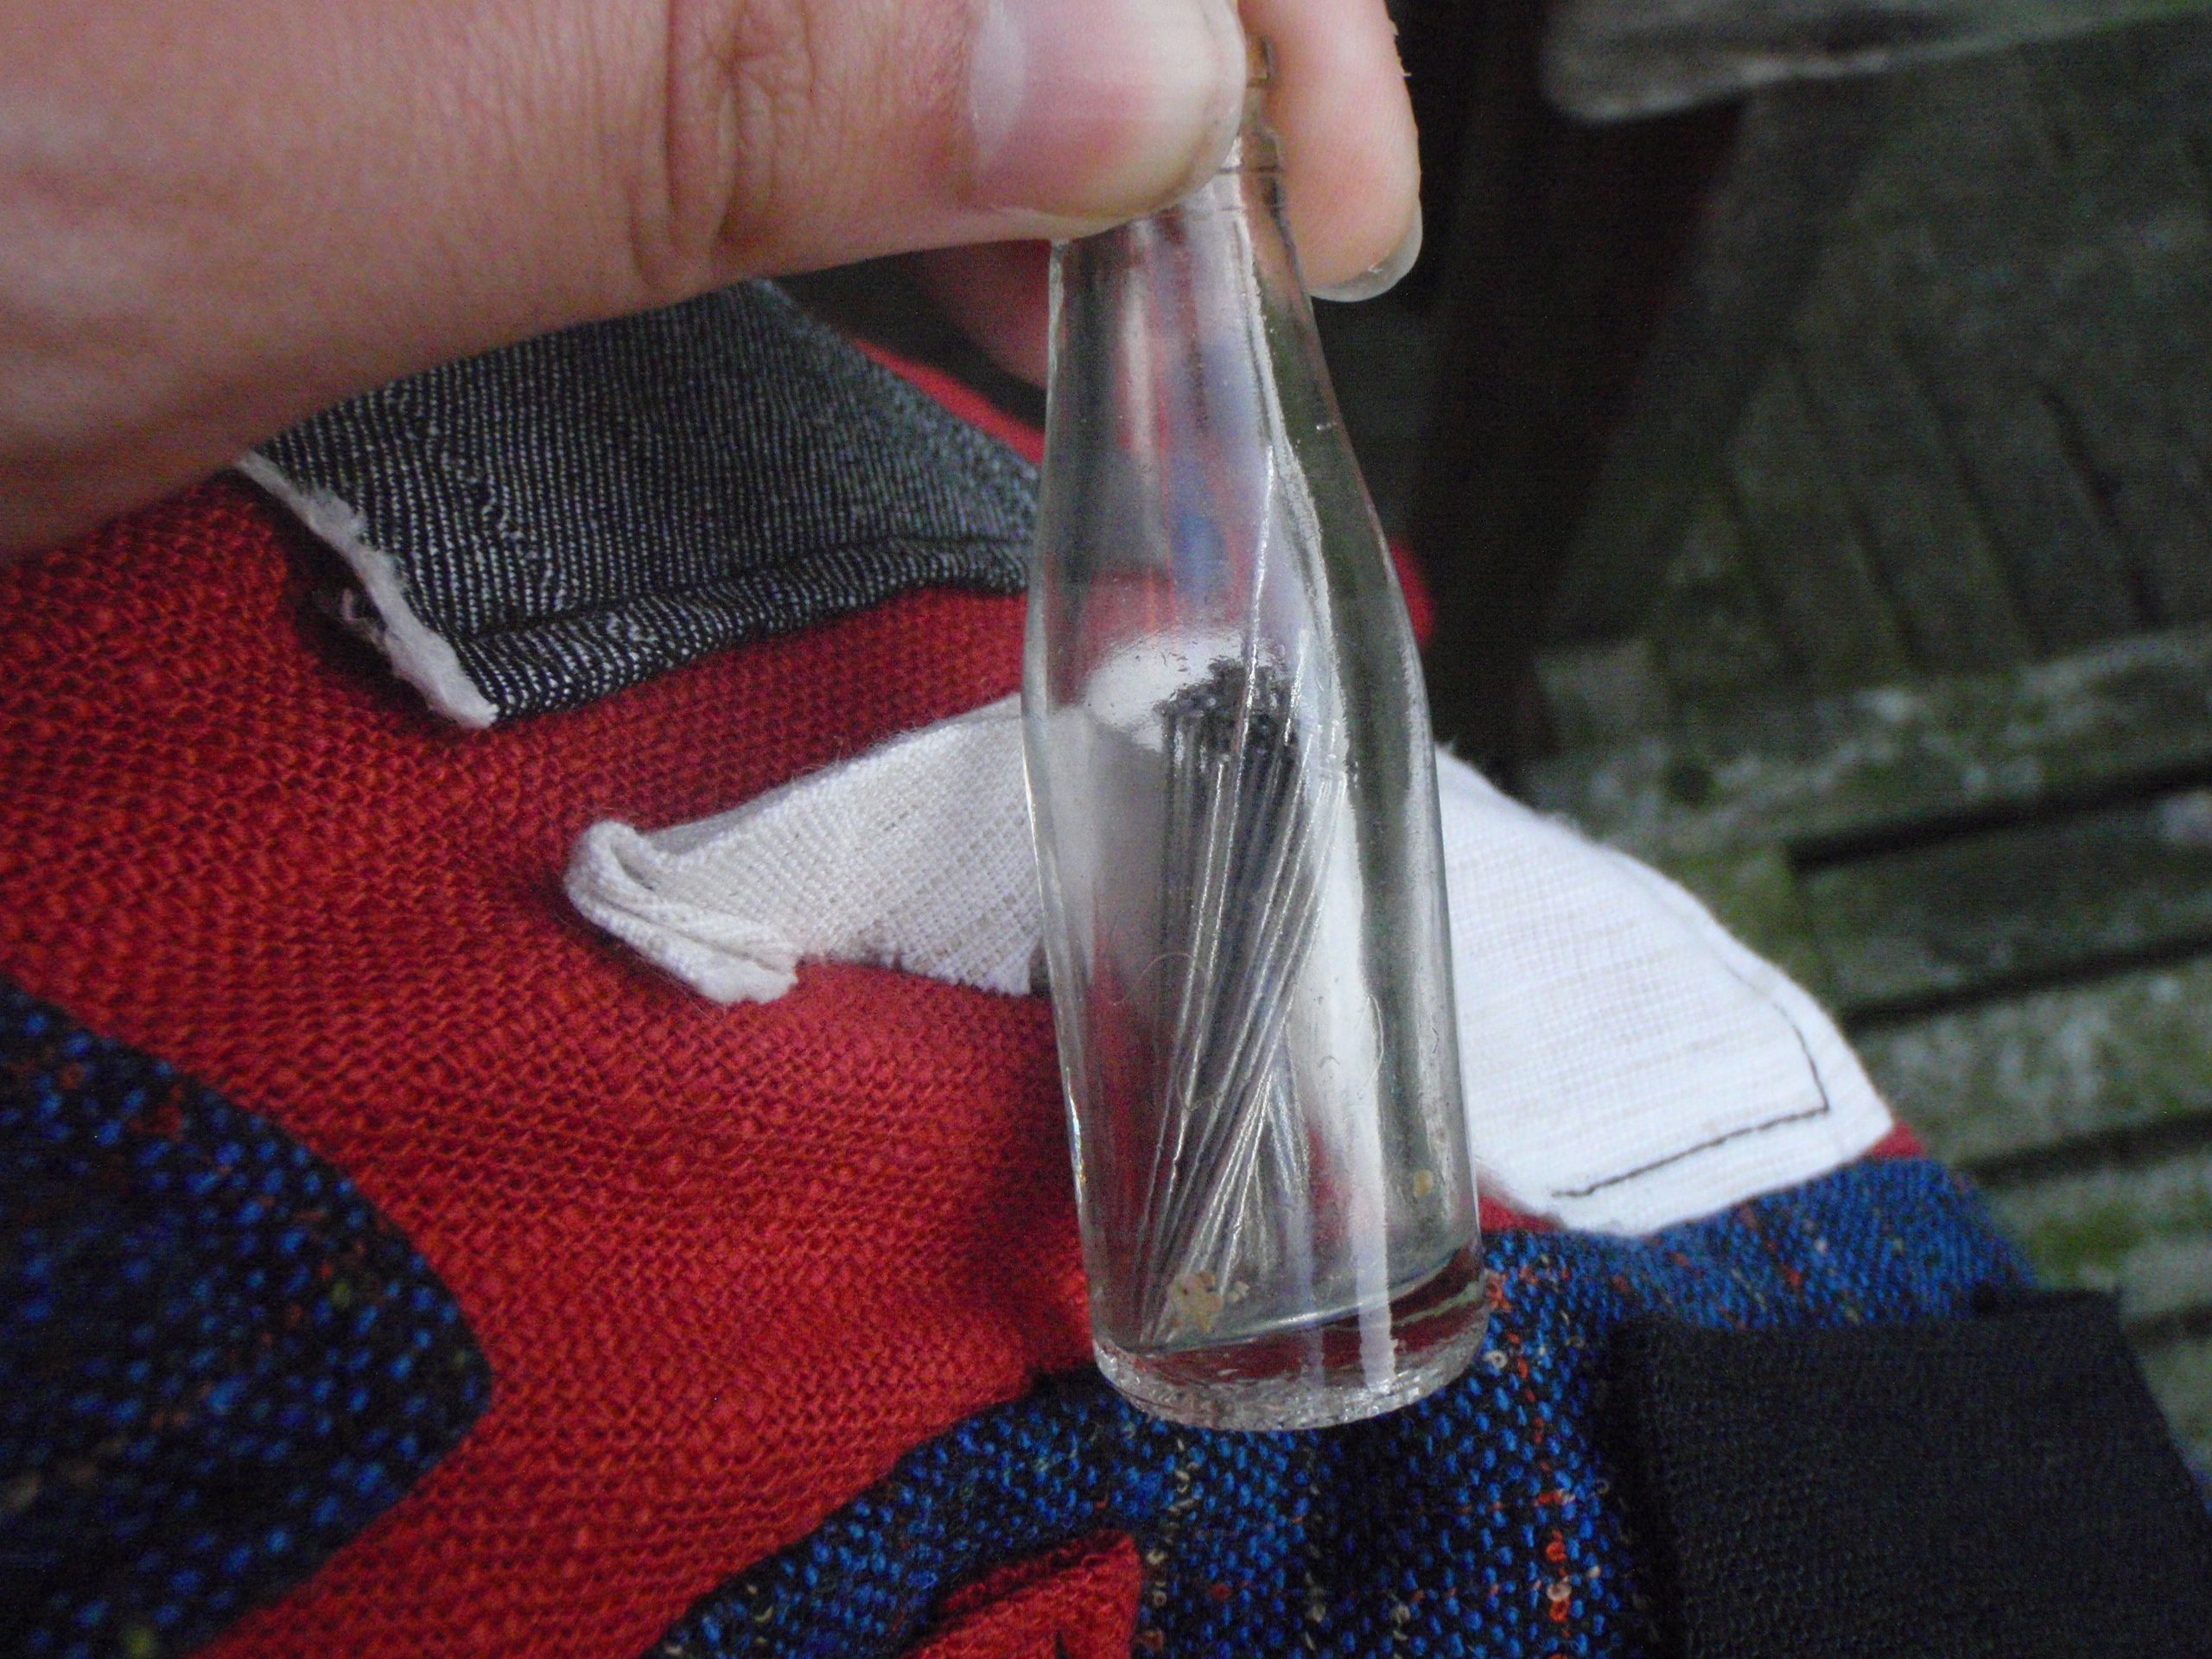
Thread left, pins and needles right.


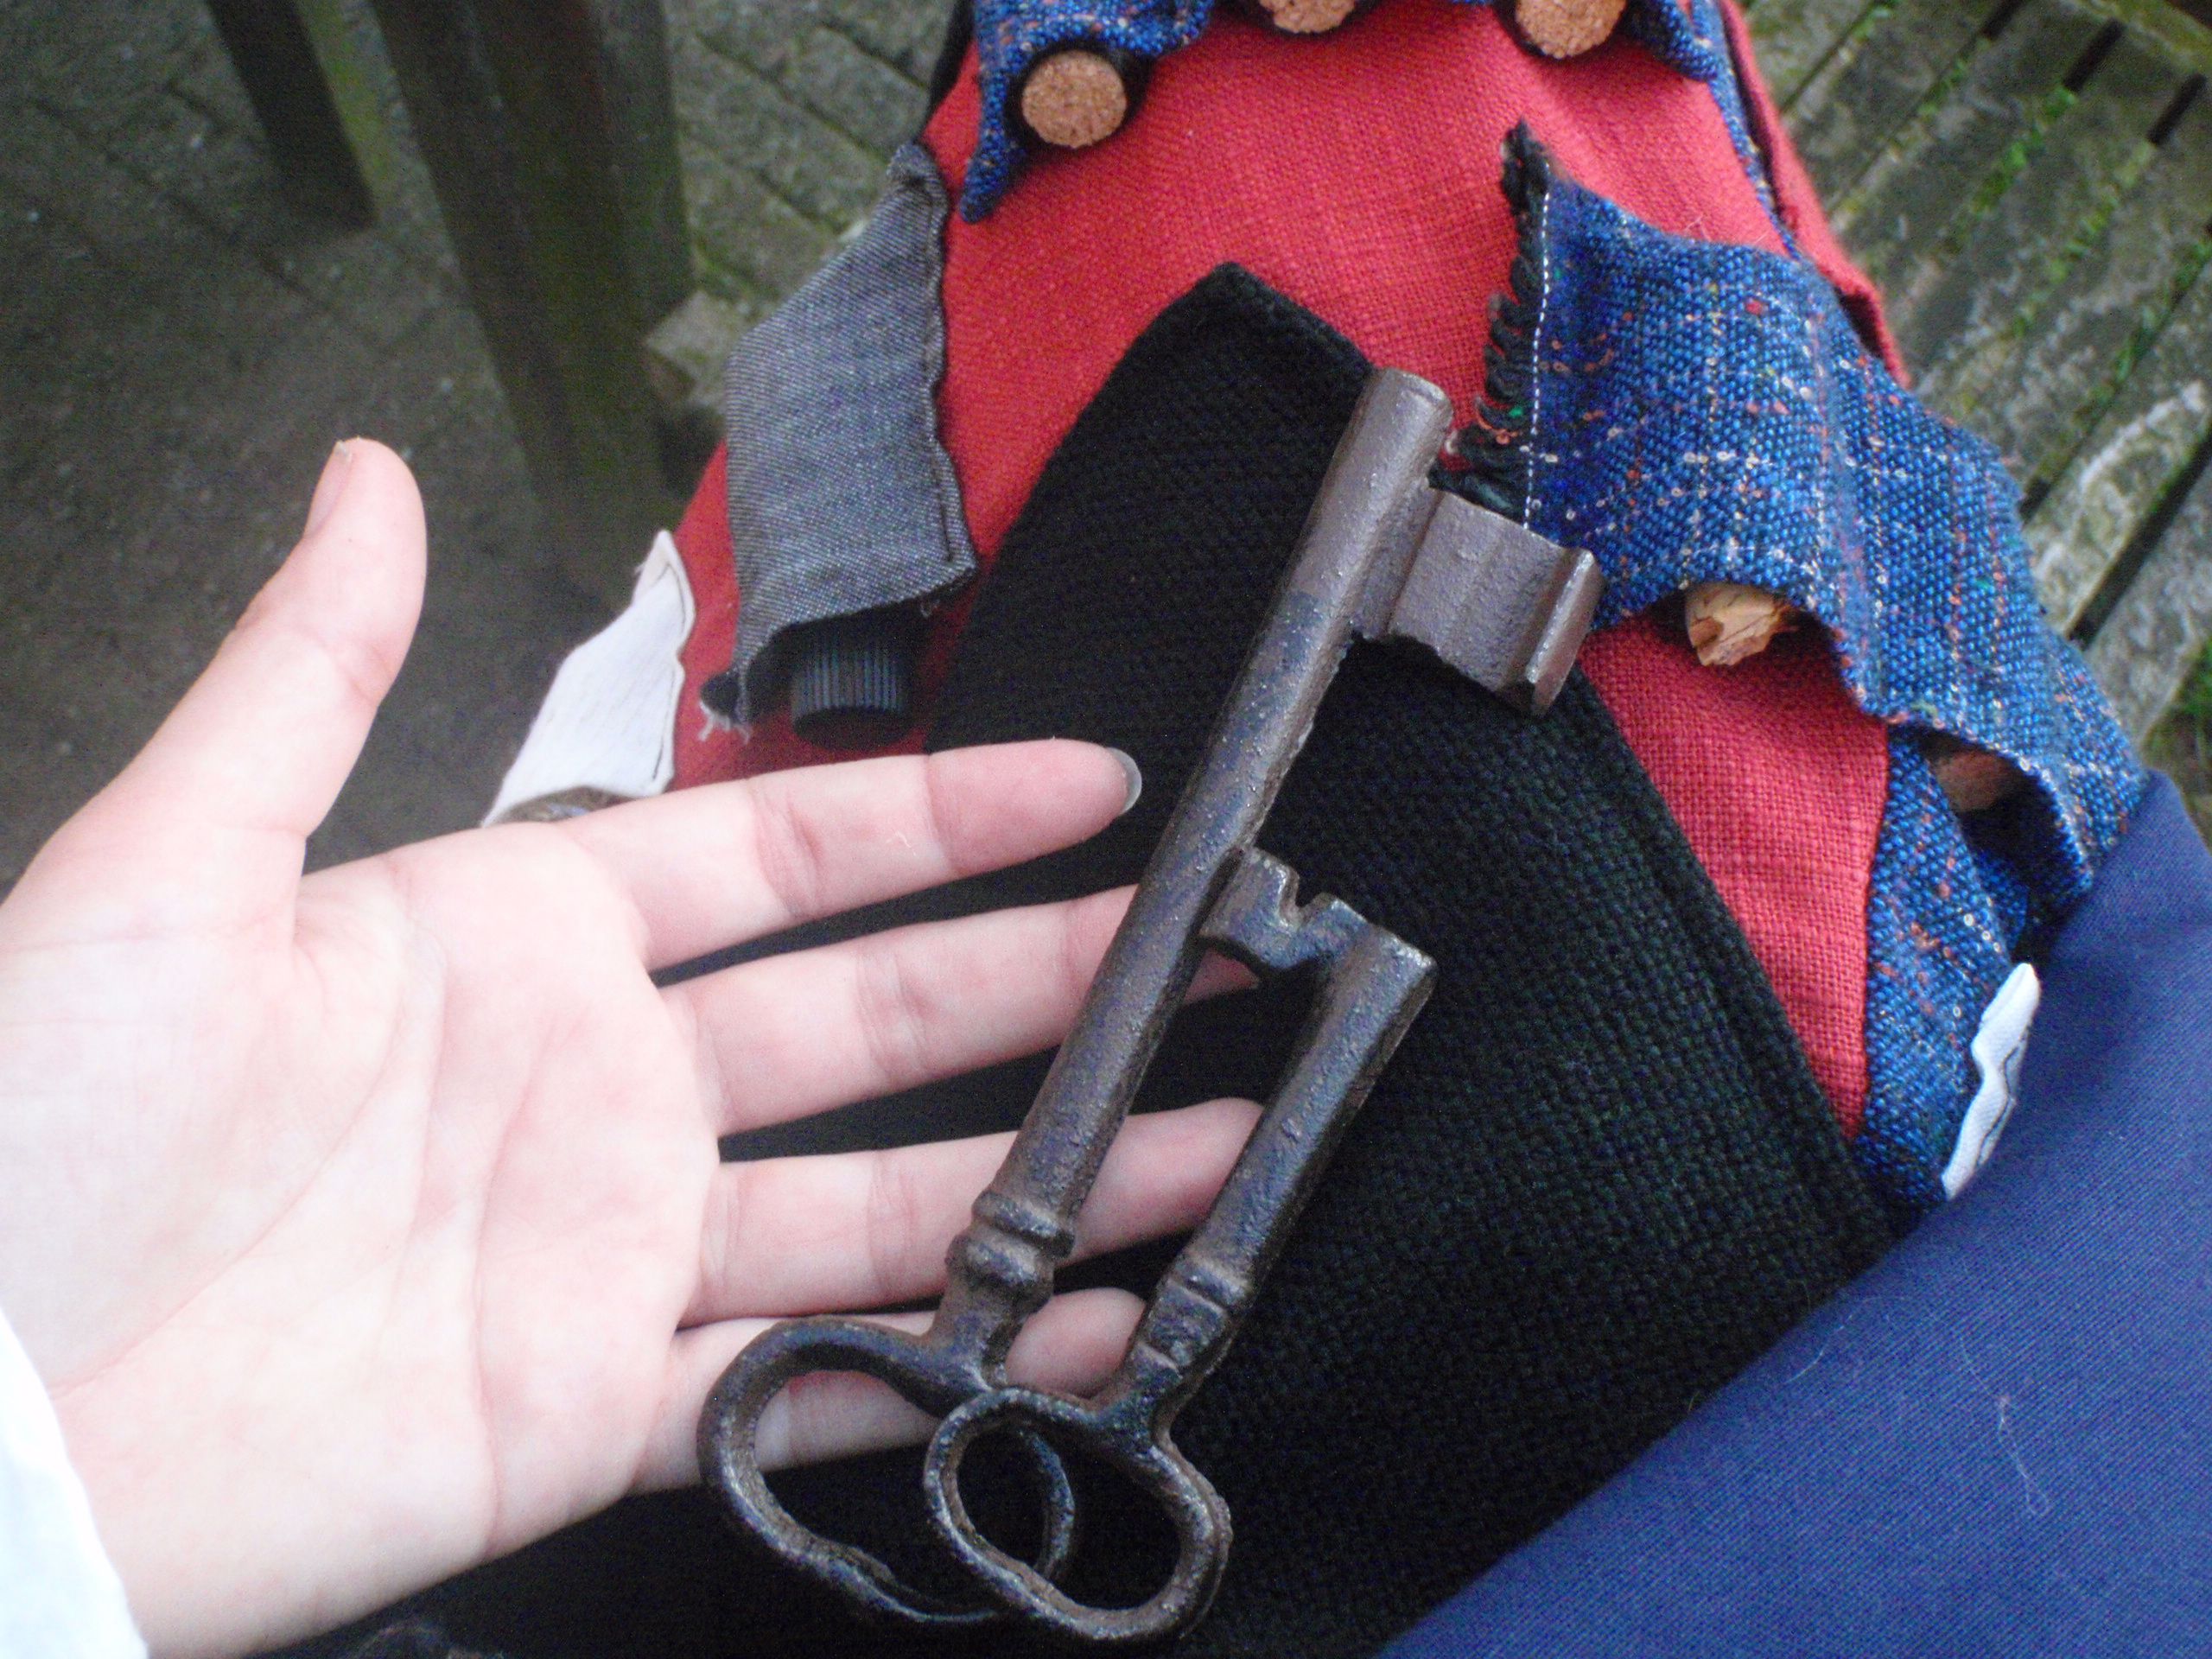
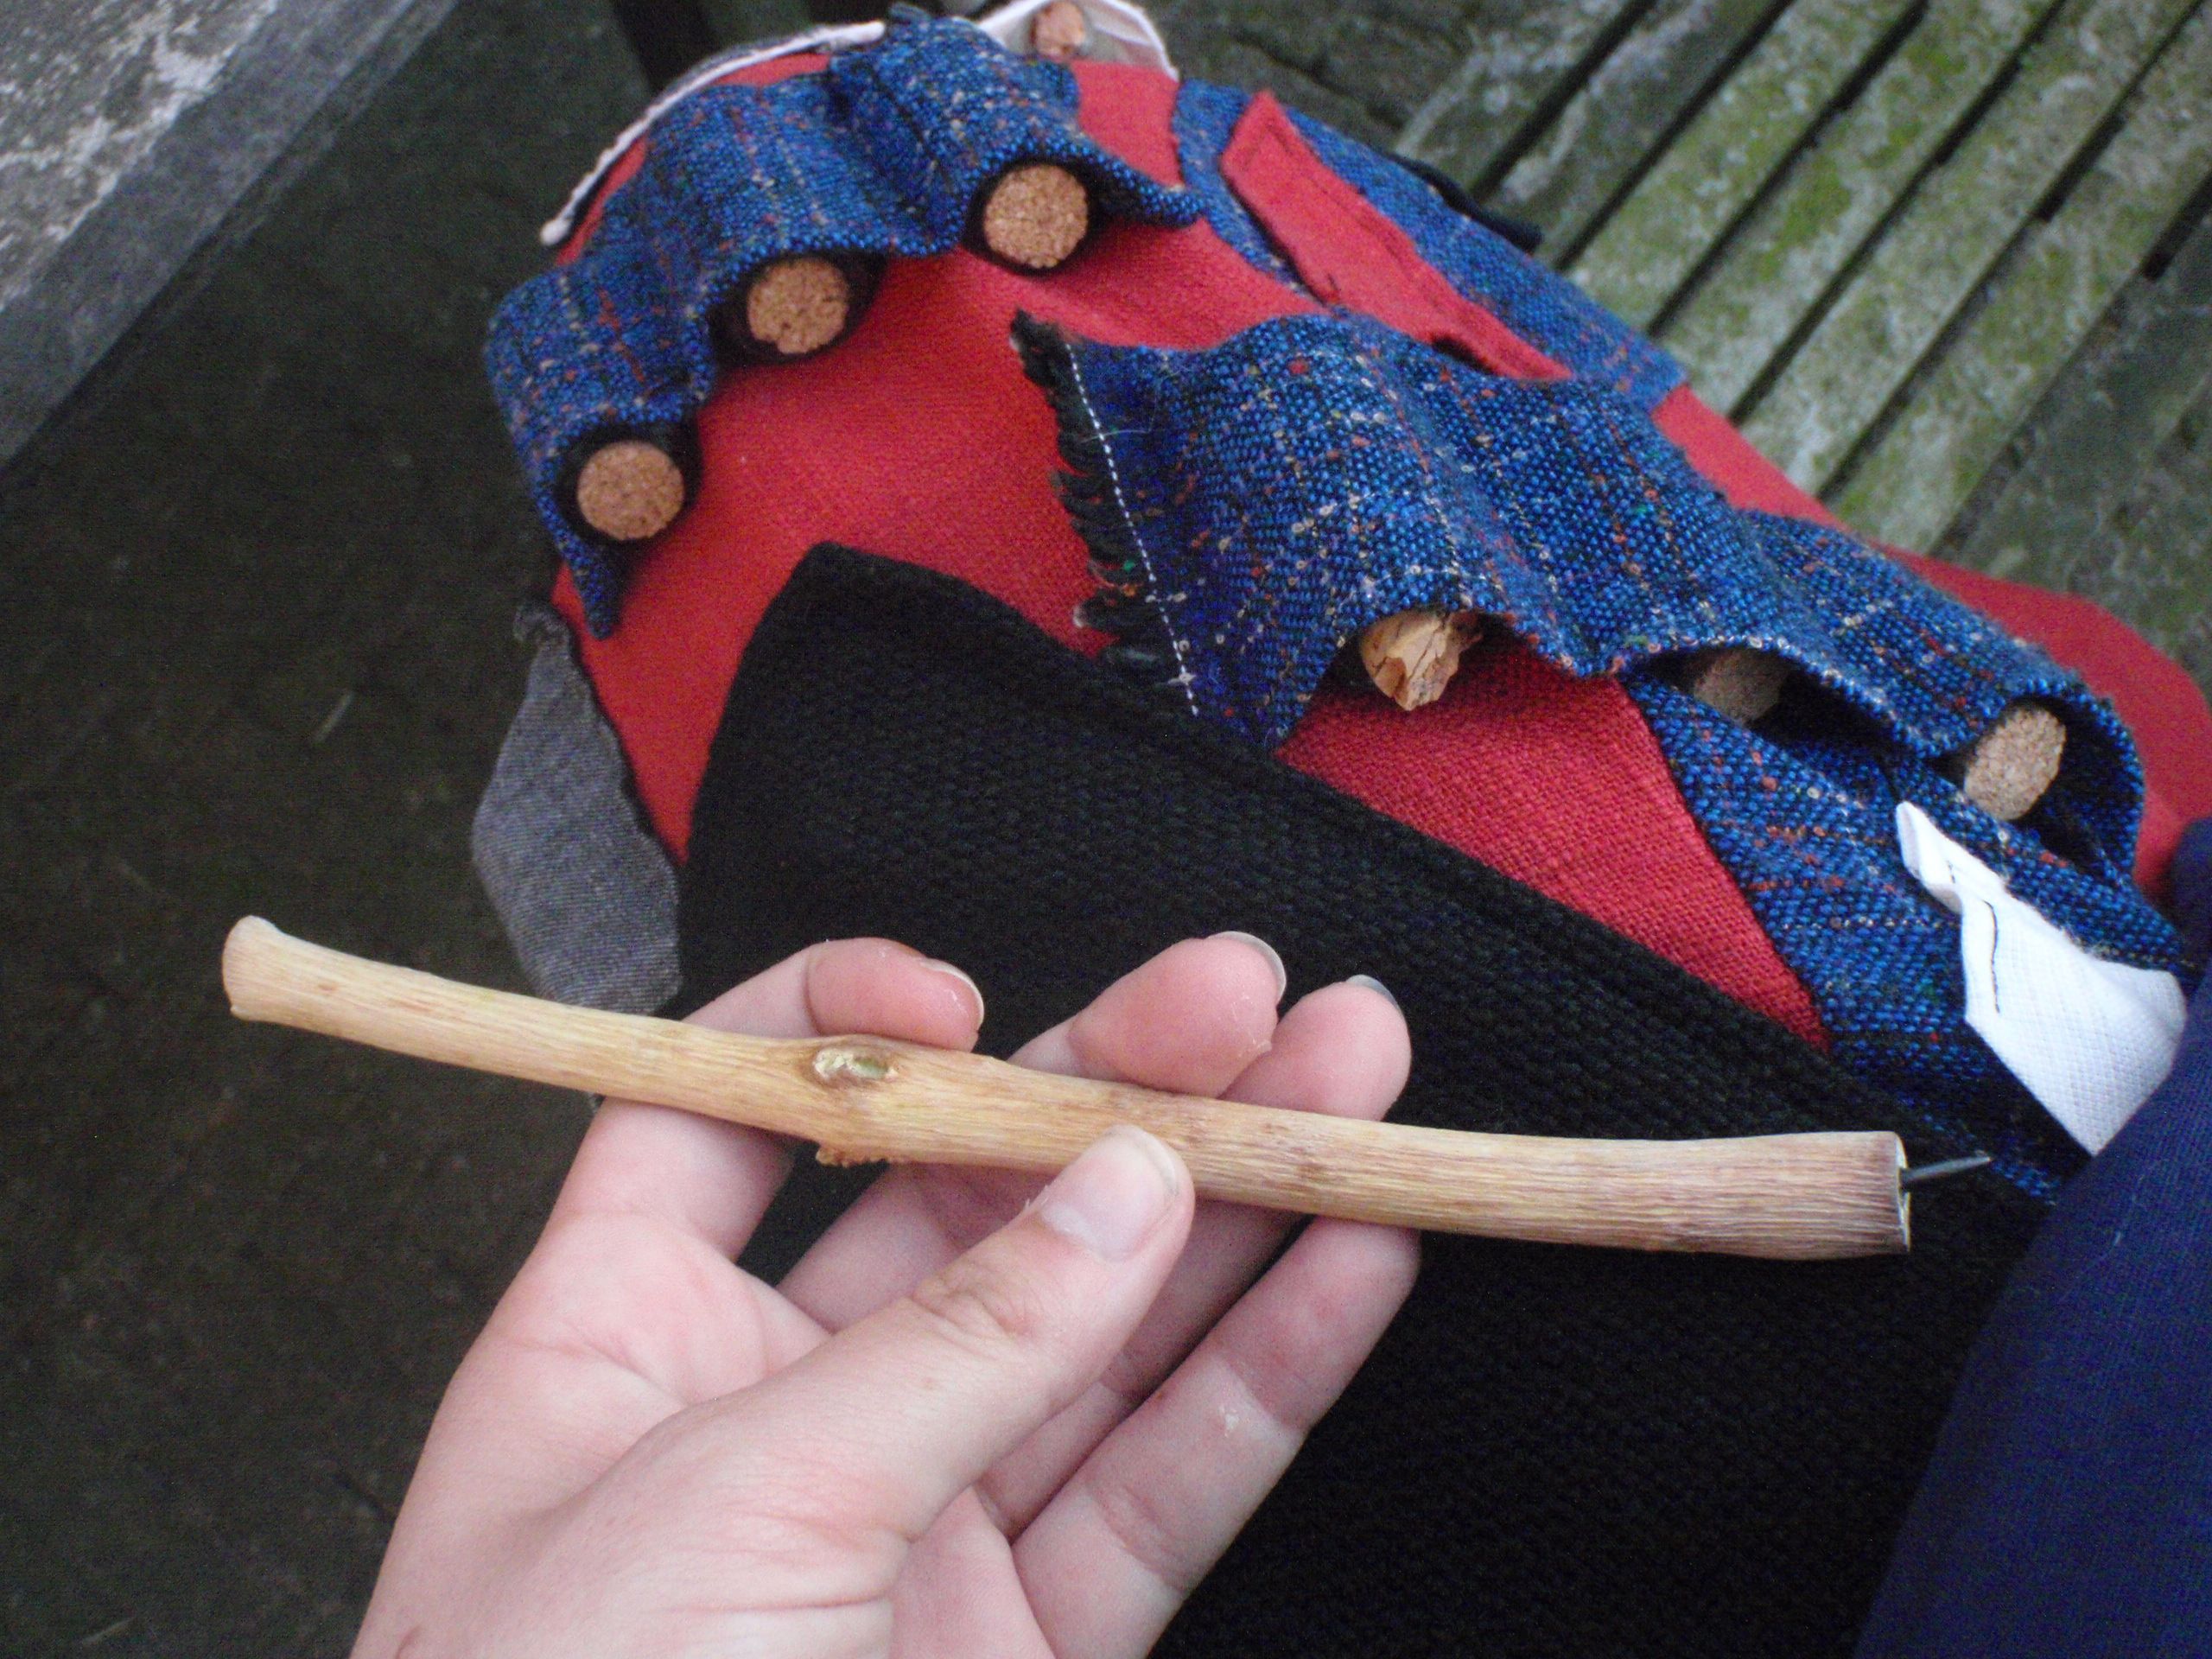
Keys left, home-made pencil right (glue a graphite bit in a stick, really easy, really satisfying).


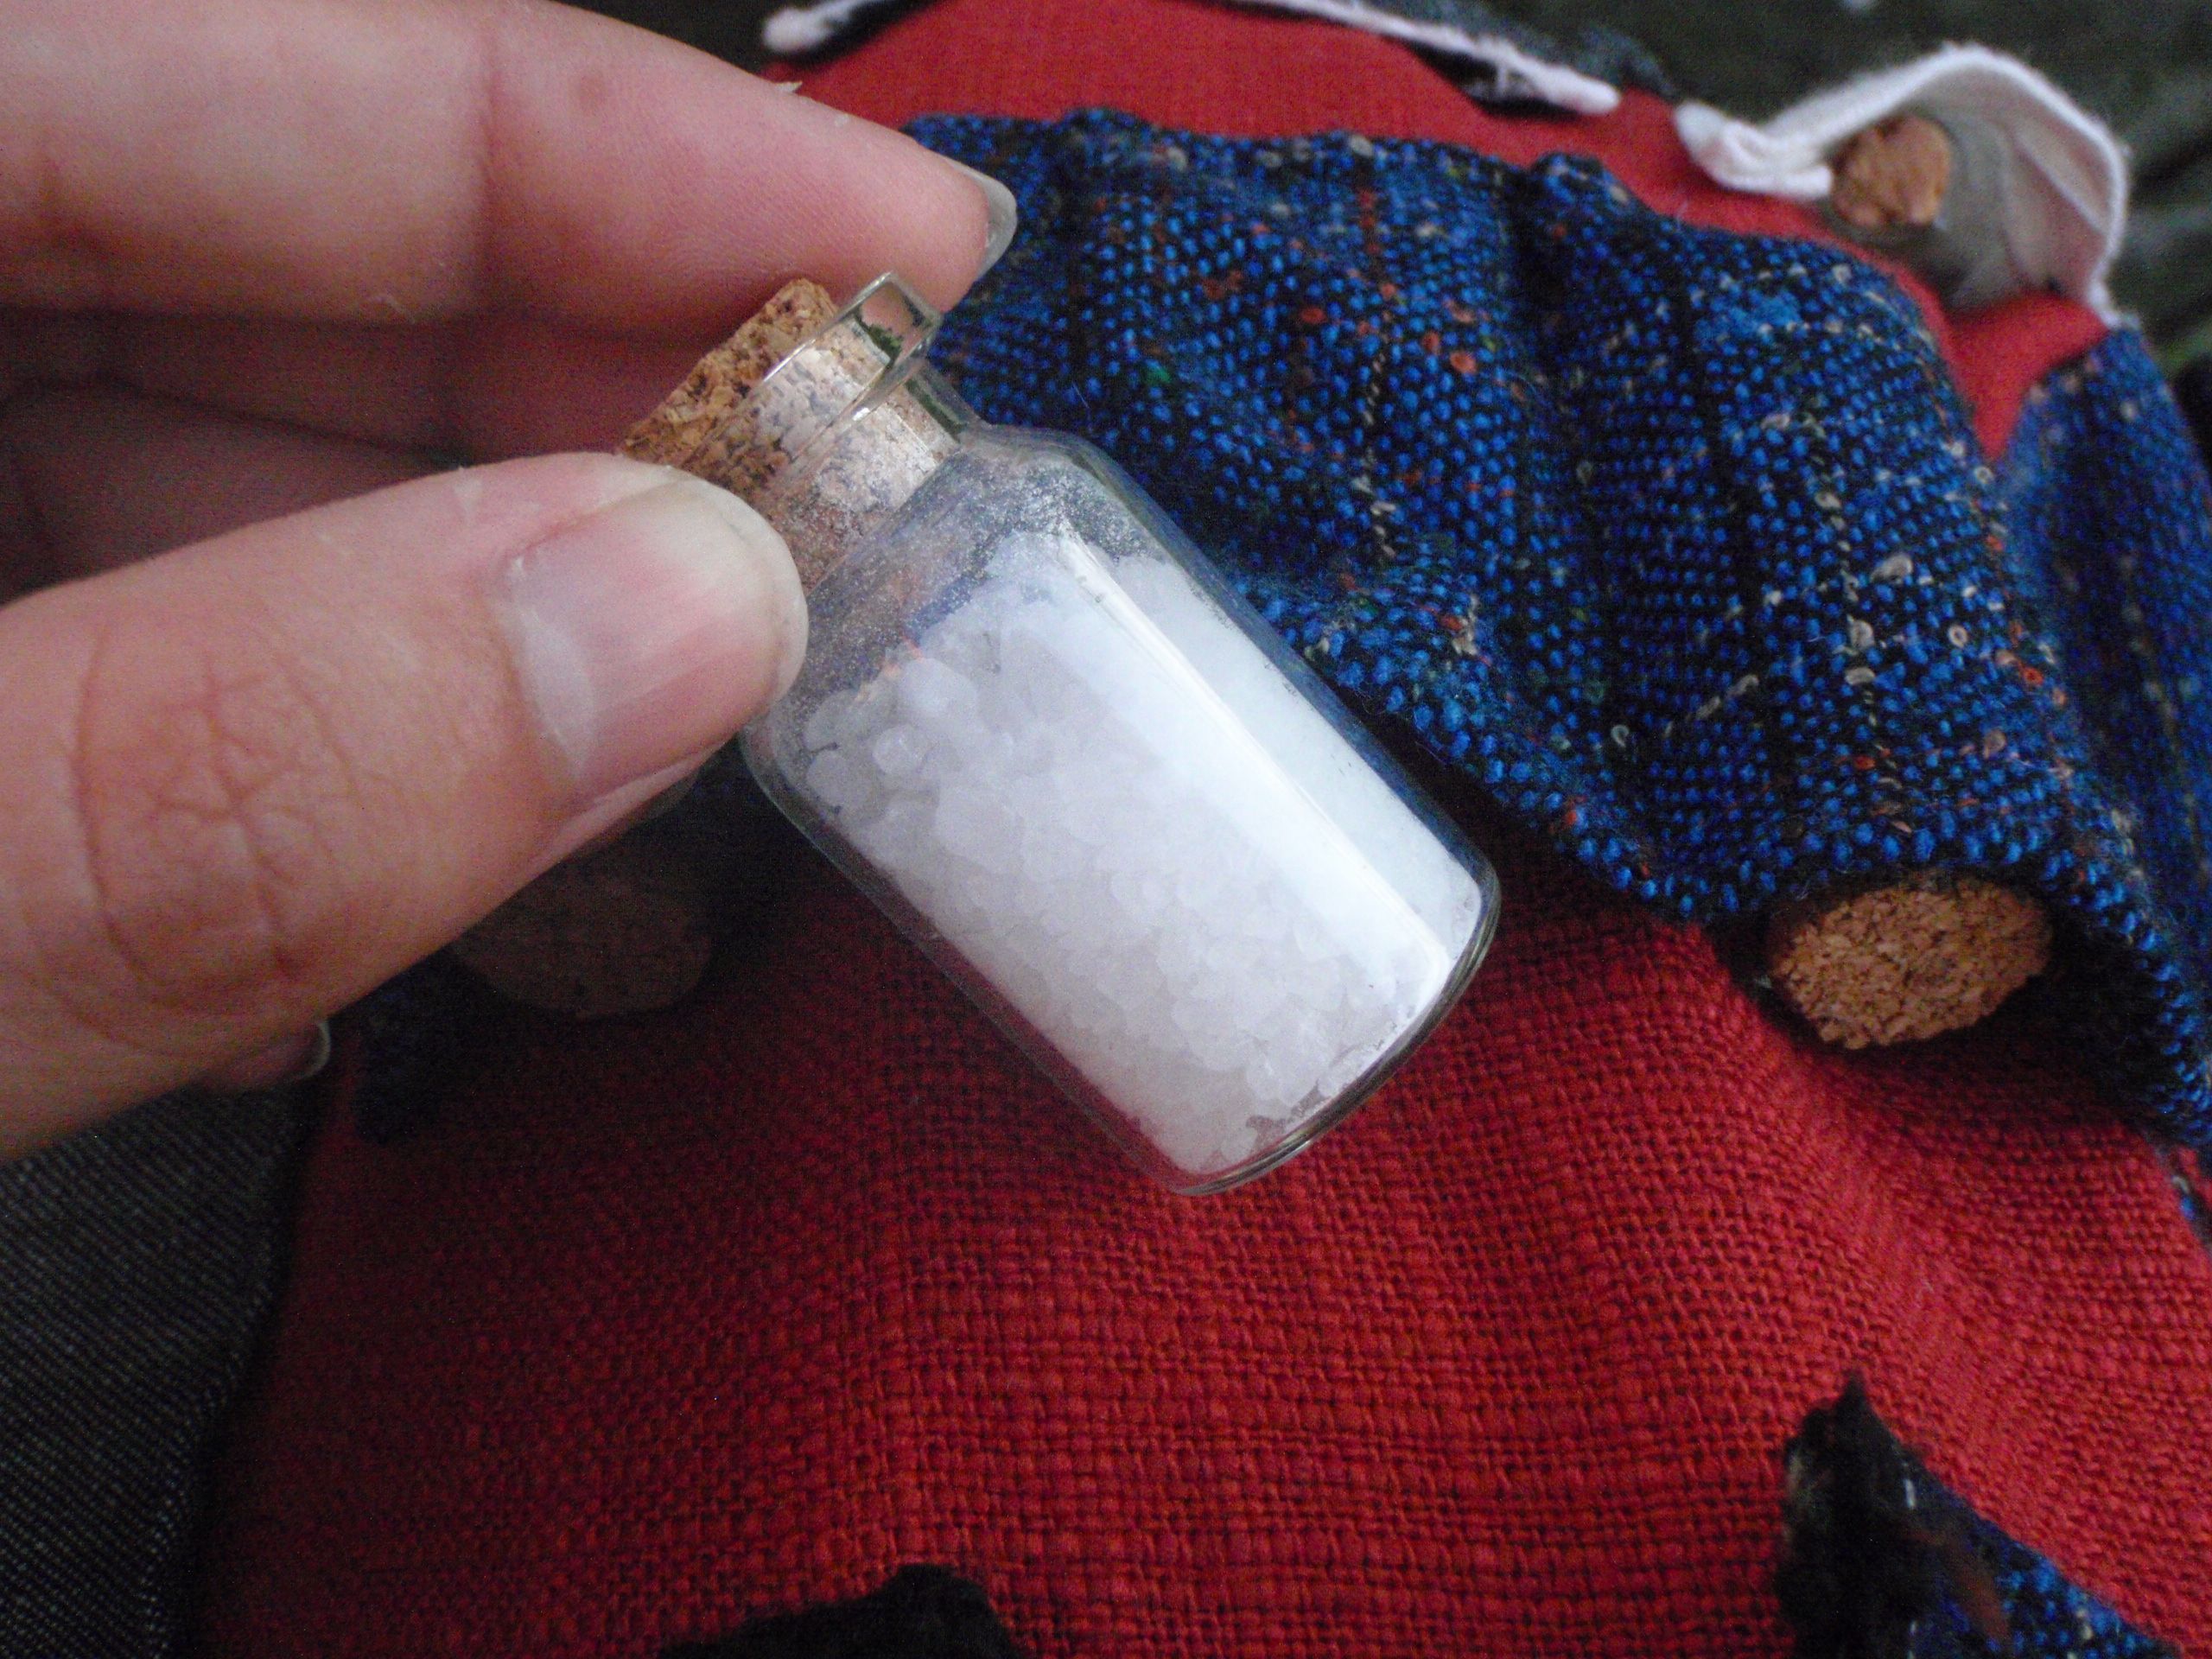
Salt left, and more pockets with more vials with herbs and an ink bottle (with a black cap)

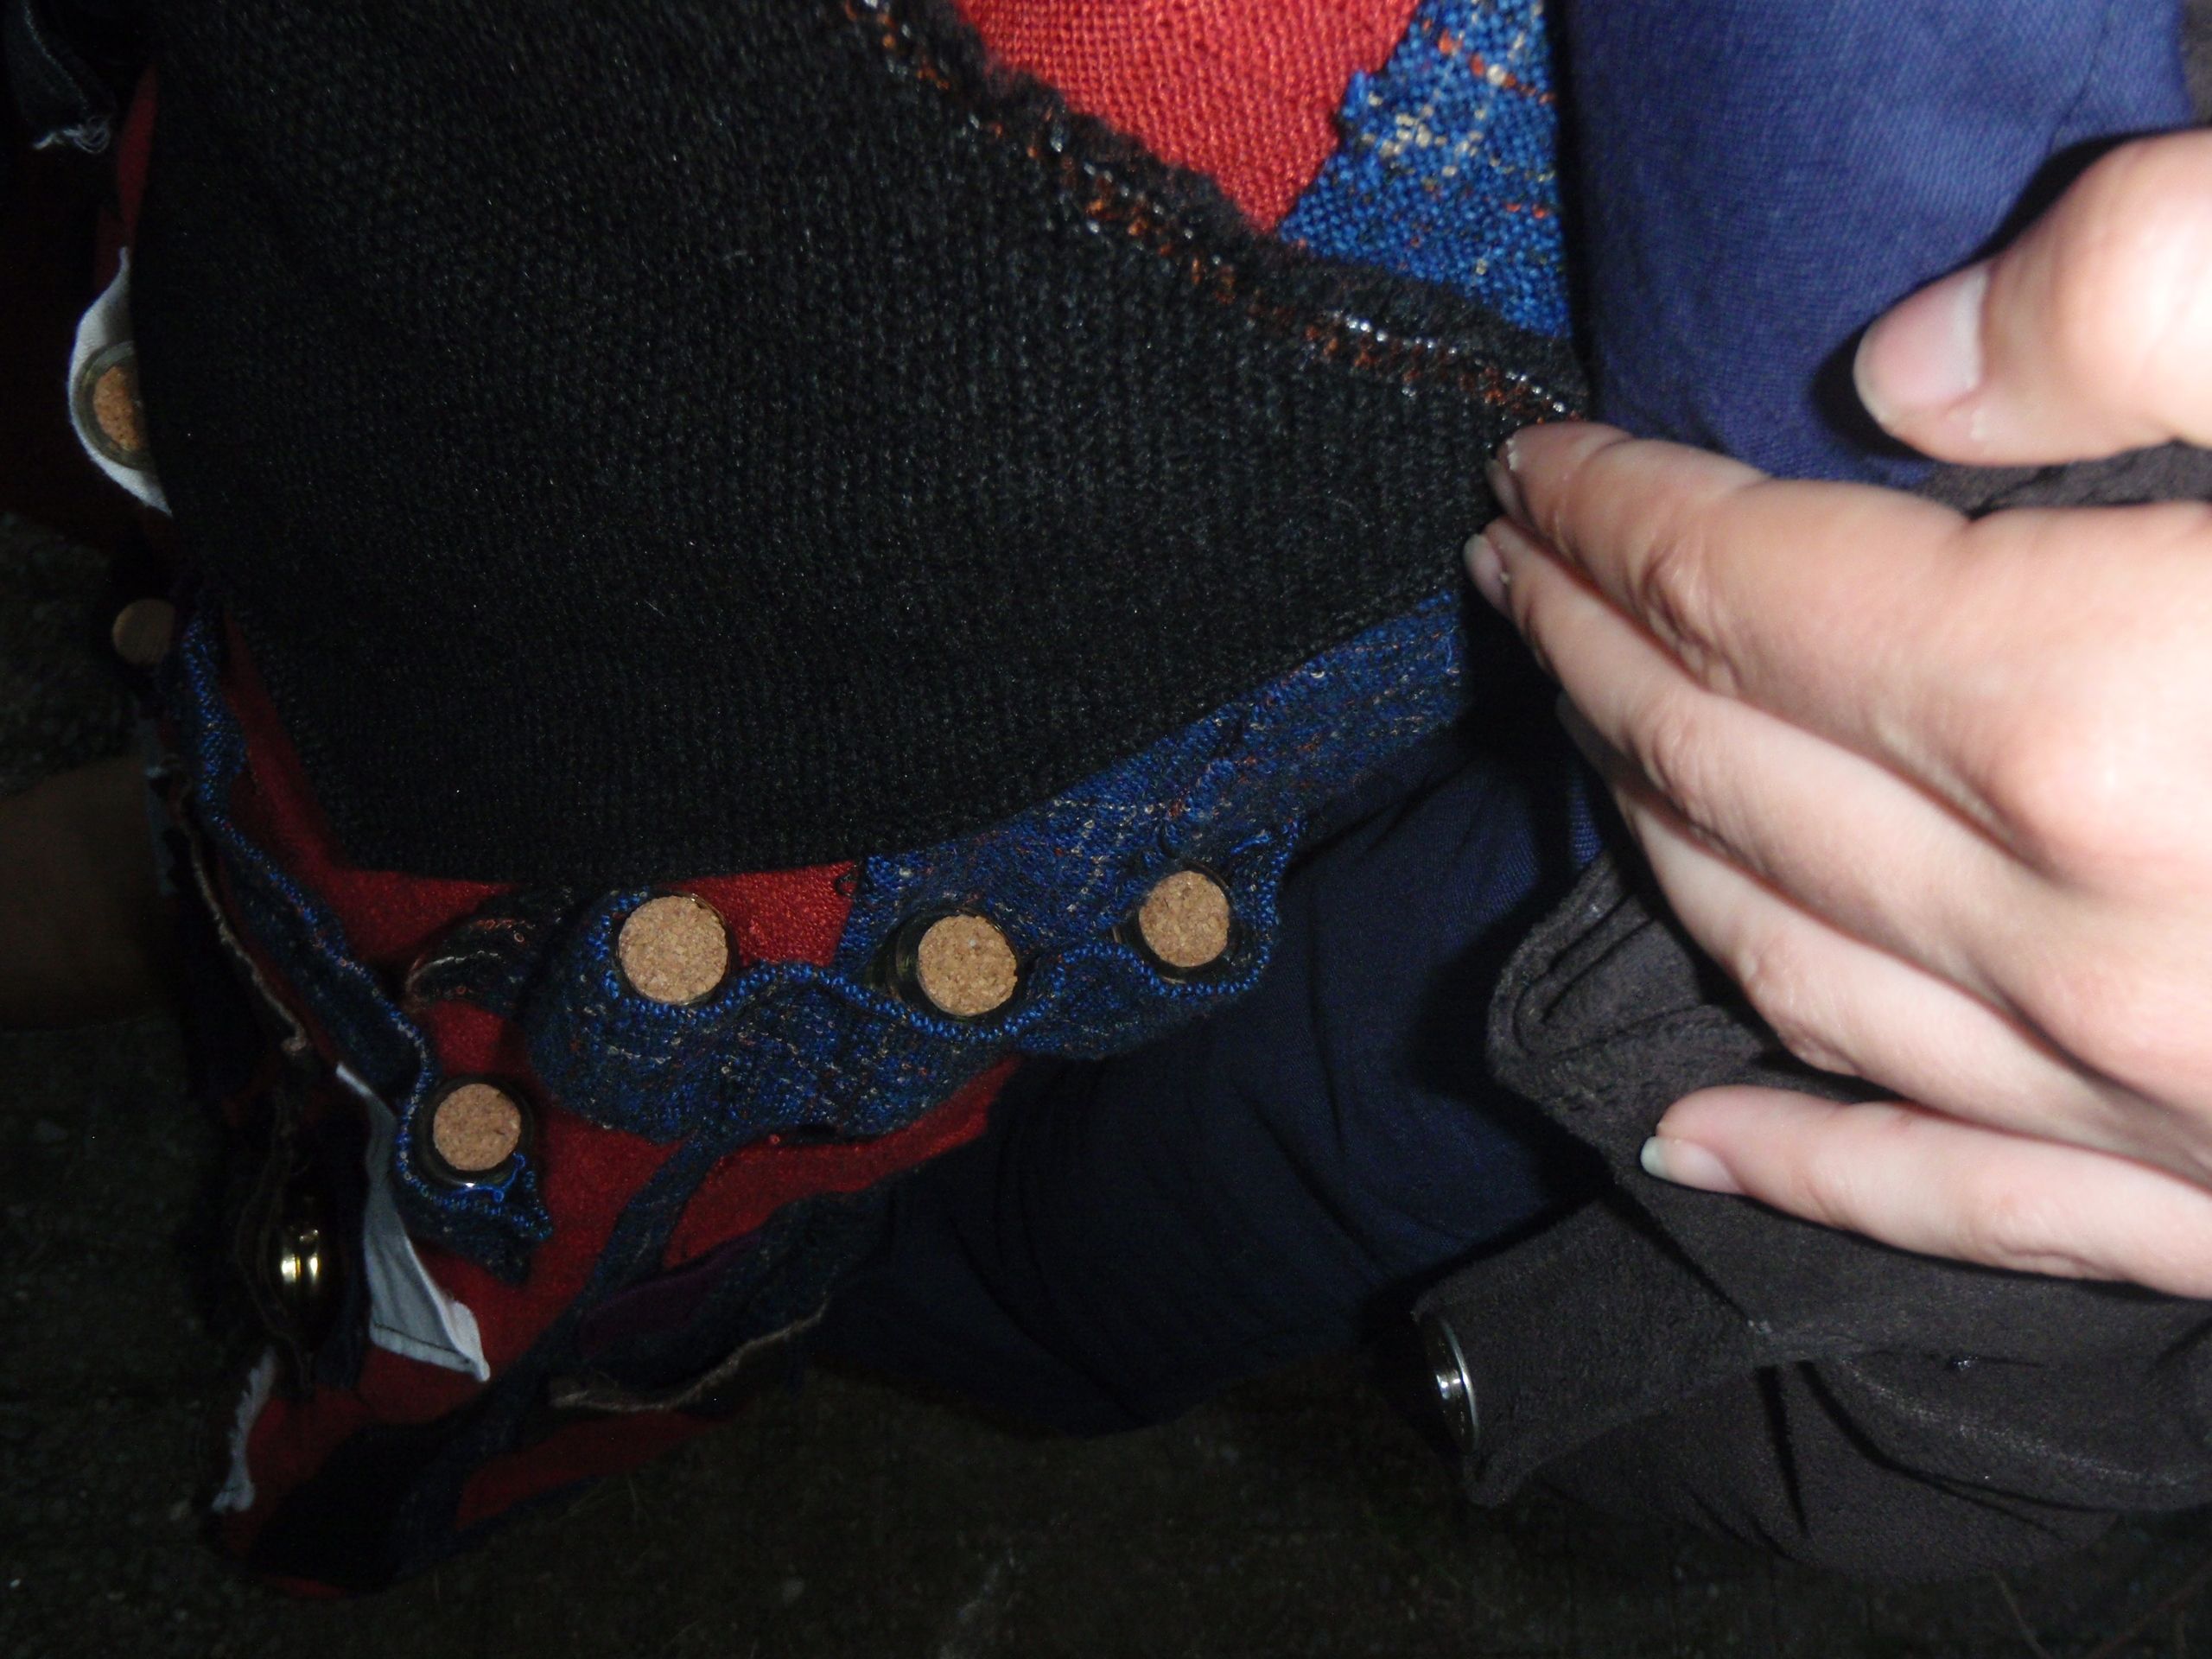
 and even more pockets and vials!

I was really quite happy with the outfit although it did pose some technical difficulties. Sitting down on something low (for example: the ground or tree logs) is very difficult, because stuff might fall out. Running in the skirt is also not advised. However, it did hold up well, and the main issue I had, was with my overfull bag which hang on my hip bones (see also the picture up top), making the bones ache a bit. So I could probably improve the function of the skirt, snaps? perhaps. Overall, I’m happy about that though.

However, I have not made my mind up about the event itself yet. There was enormous chaos in the beginning (Friday night) and on the Saturday I had a scare which kept me out of it for most of the day. Sunday was really nice, because I got a task and figured out something I could do and felt really useful. I like feeling useful!

I’m going to have to see if I go again, of course also in combination with the always difficult part of figuring out the schedule at the university.
I think I might prefer not being the same person for 3 days straight, but that might change once I actually figure out the things I’m supposed to know in the game. (Pretending to have knowledge on the history of the country without knowing anything about the country is really difficult, that’s for sure.)

On to the next project! I’m thinking a t-shirt.
Happy crafting!

Larp Skirt

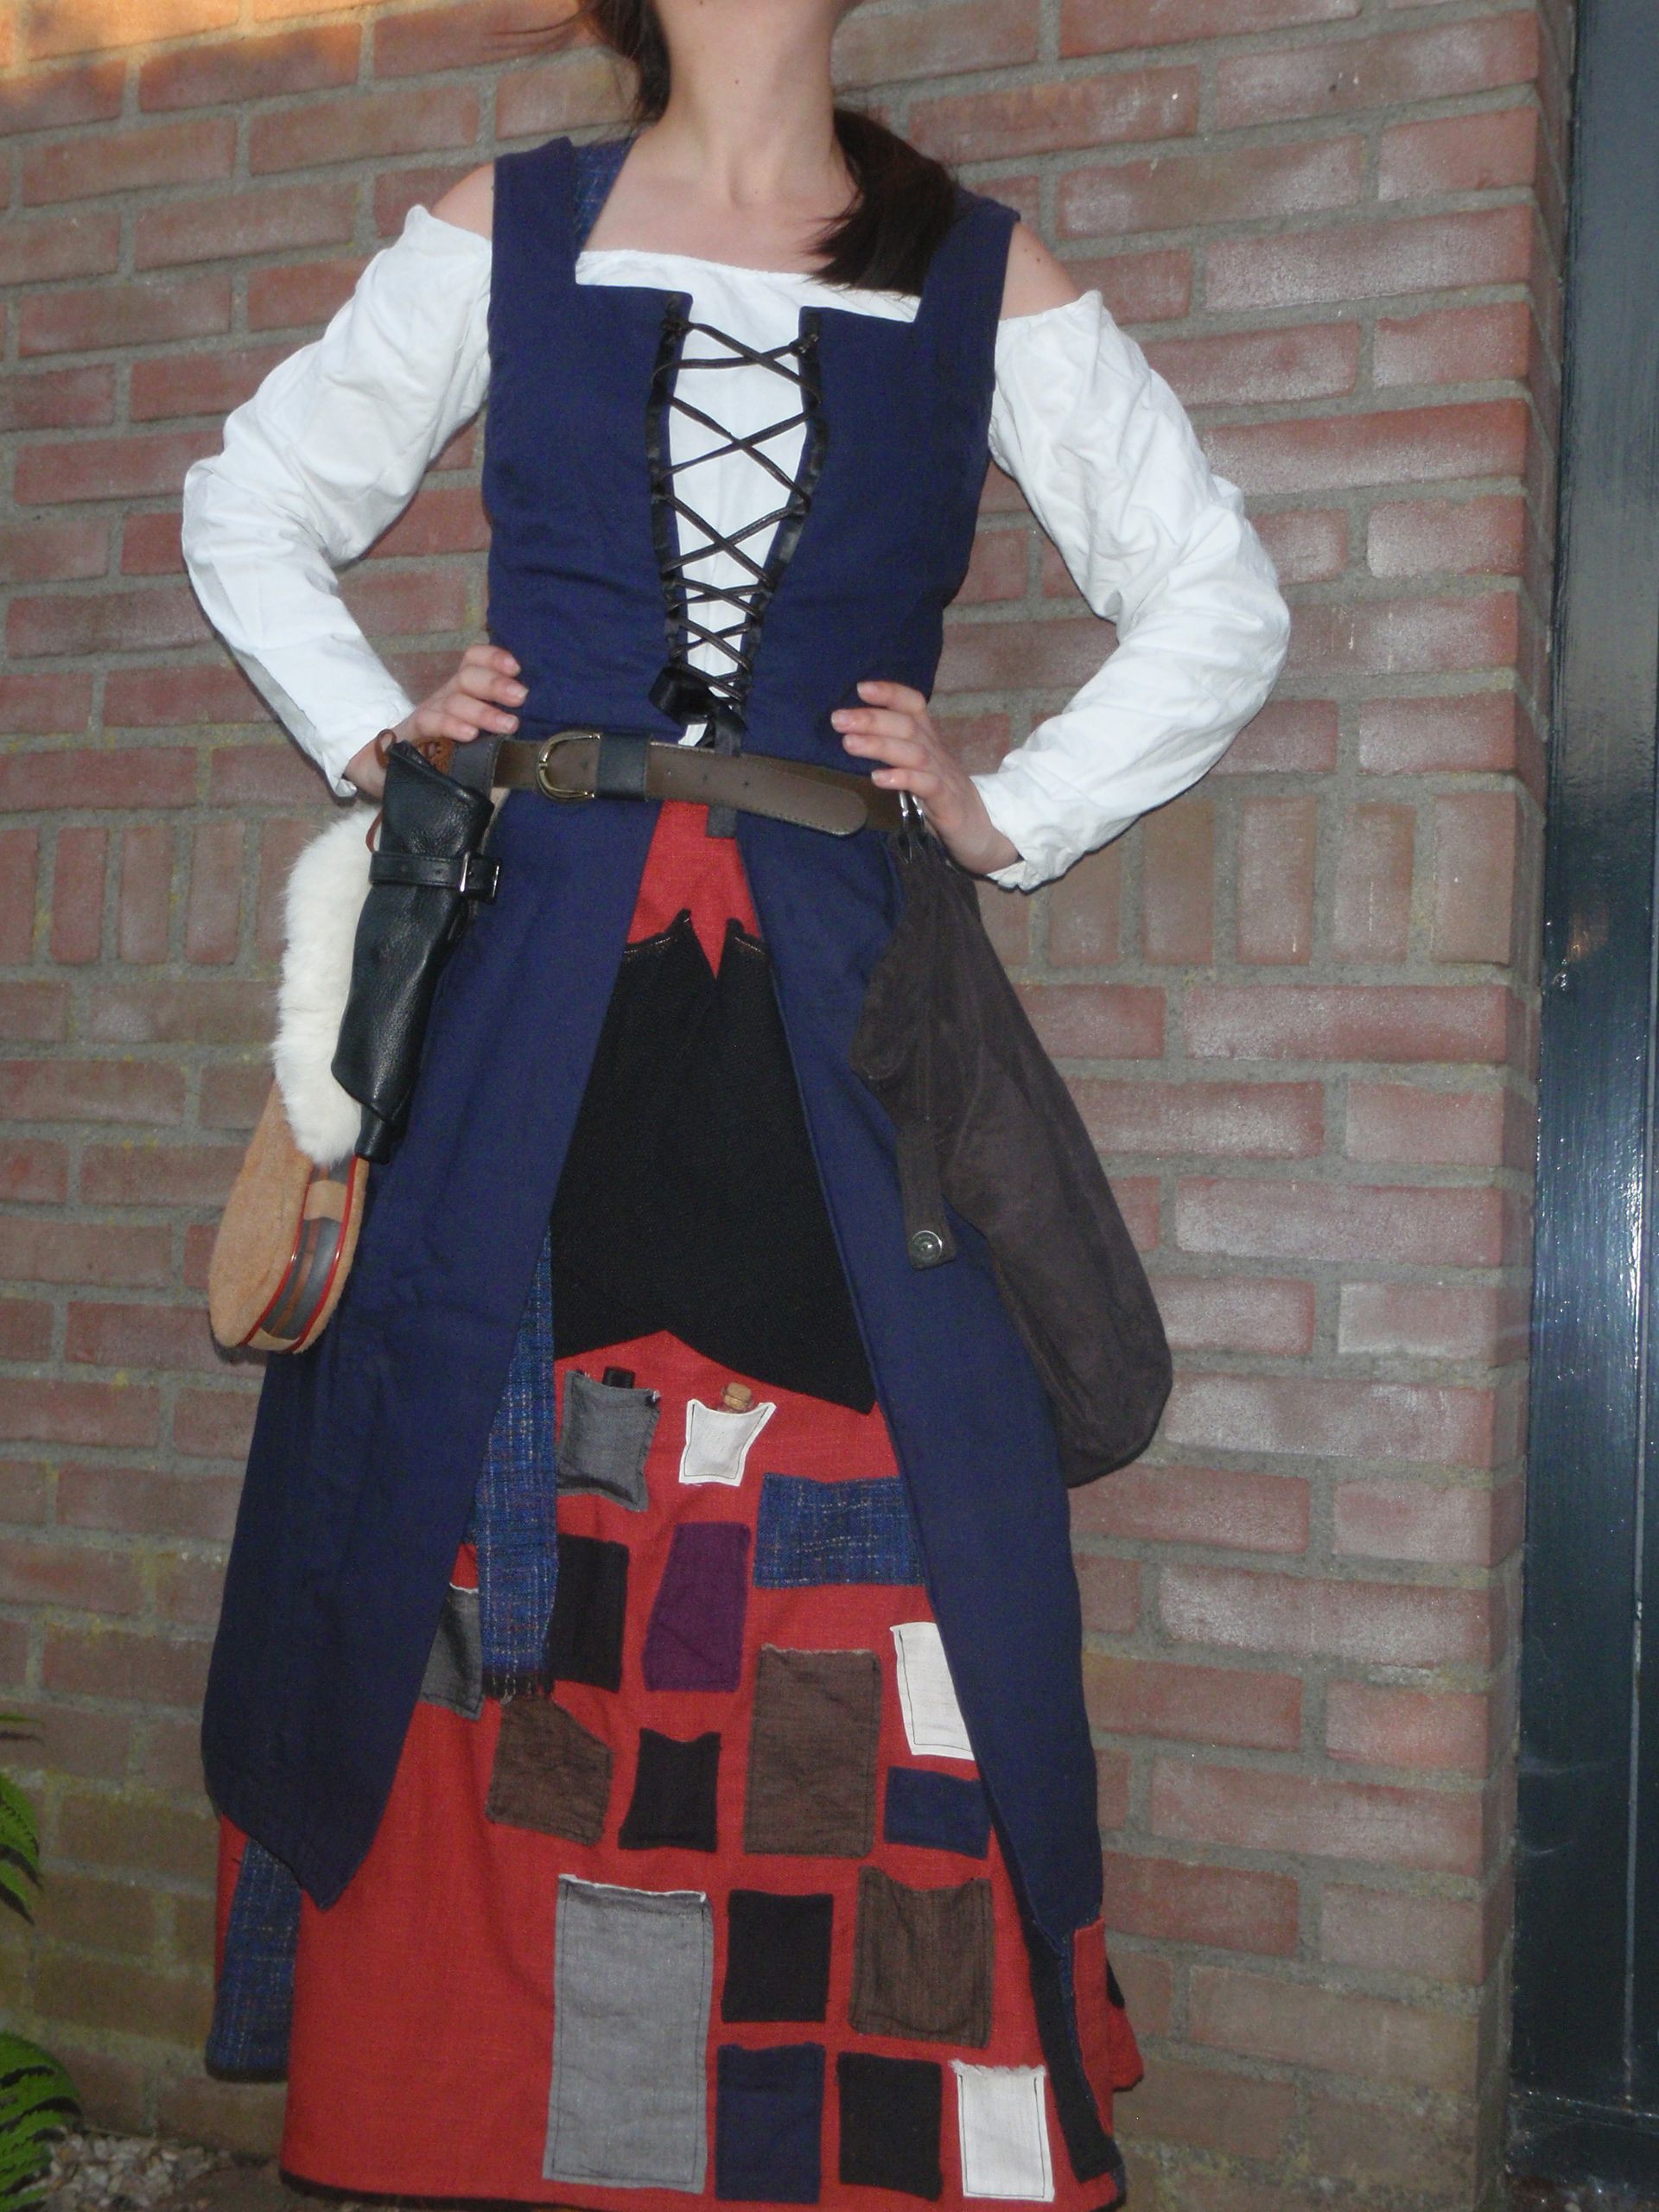
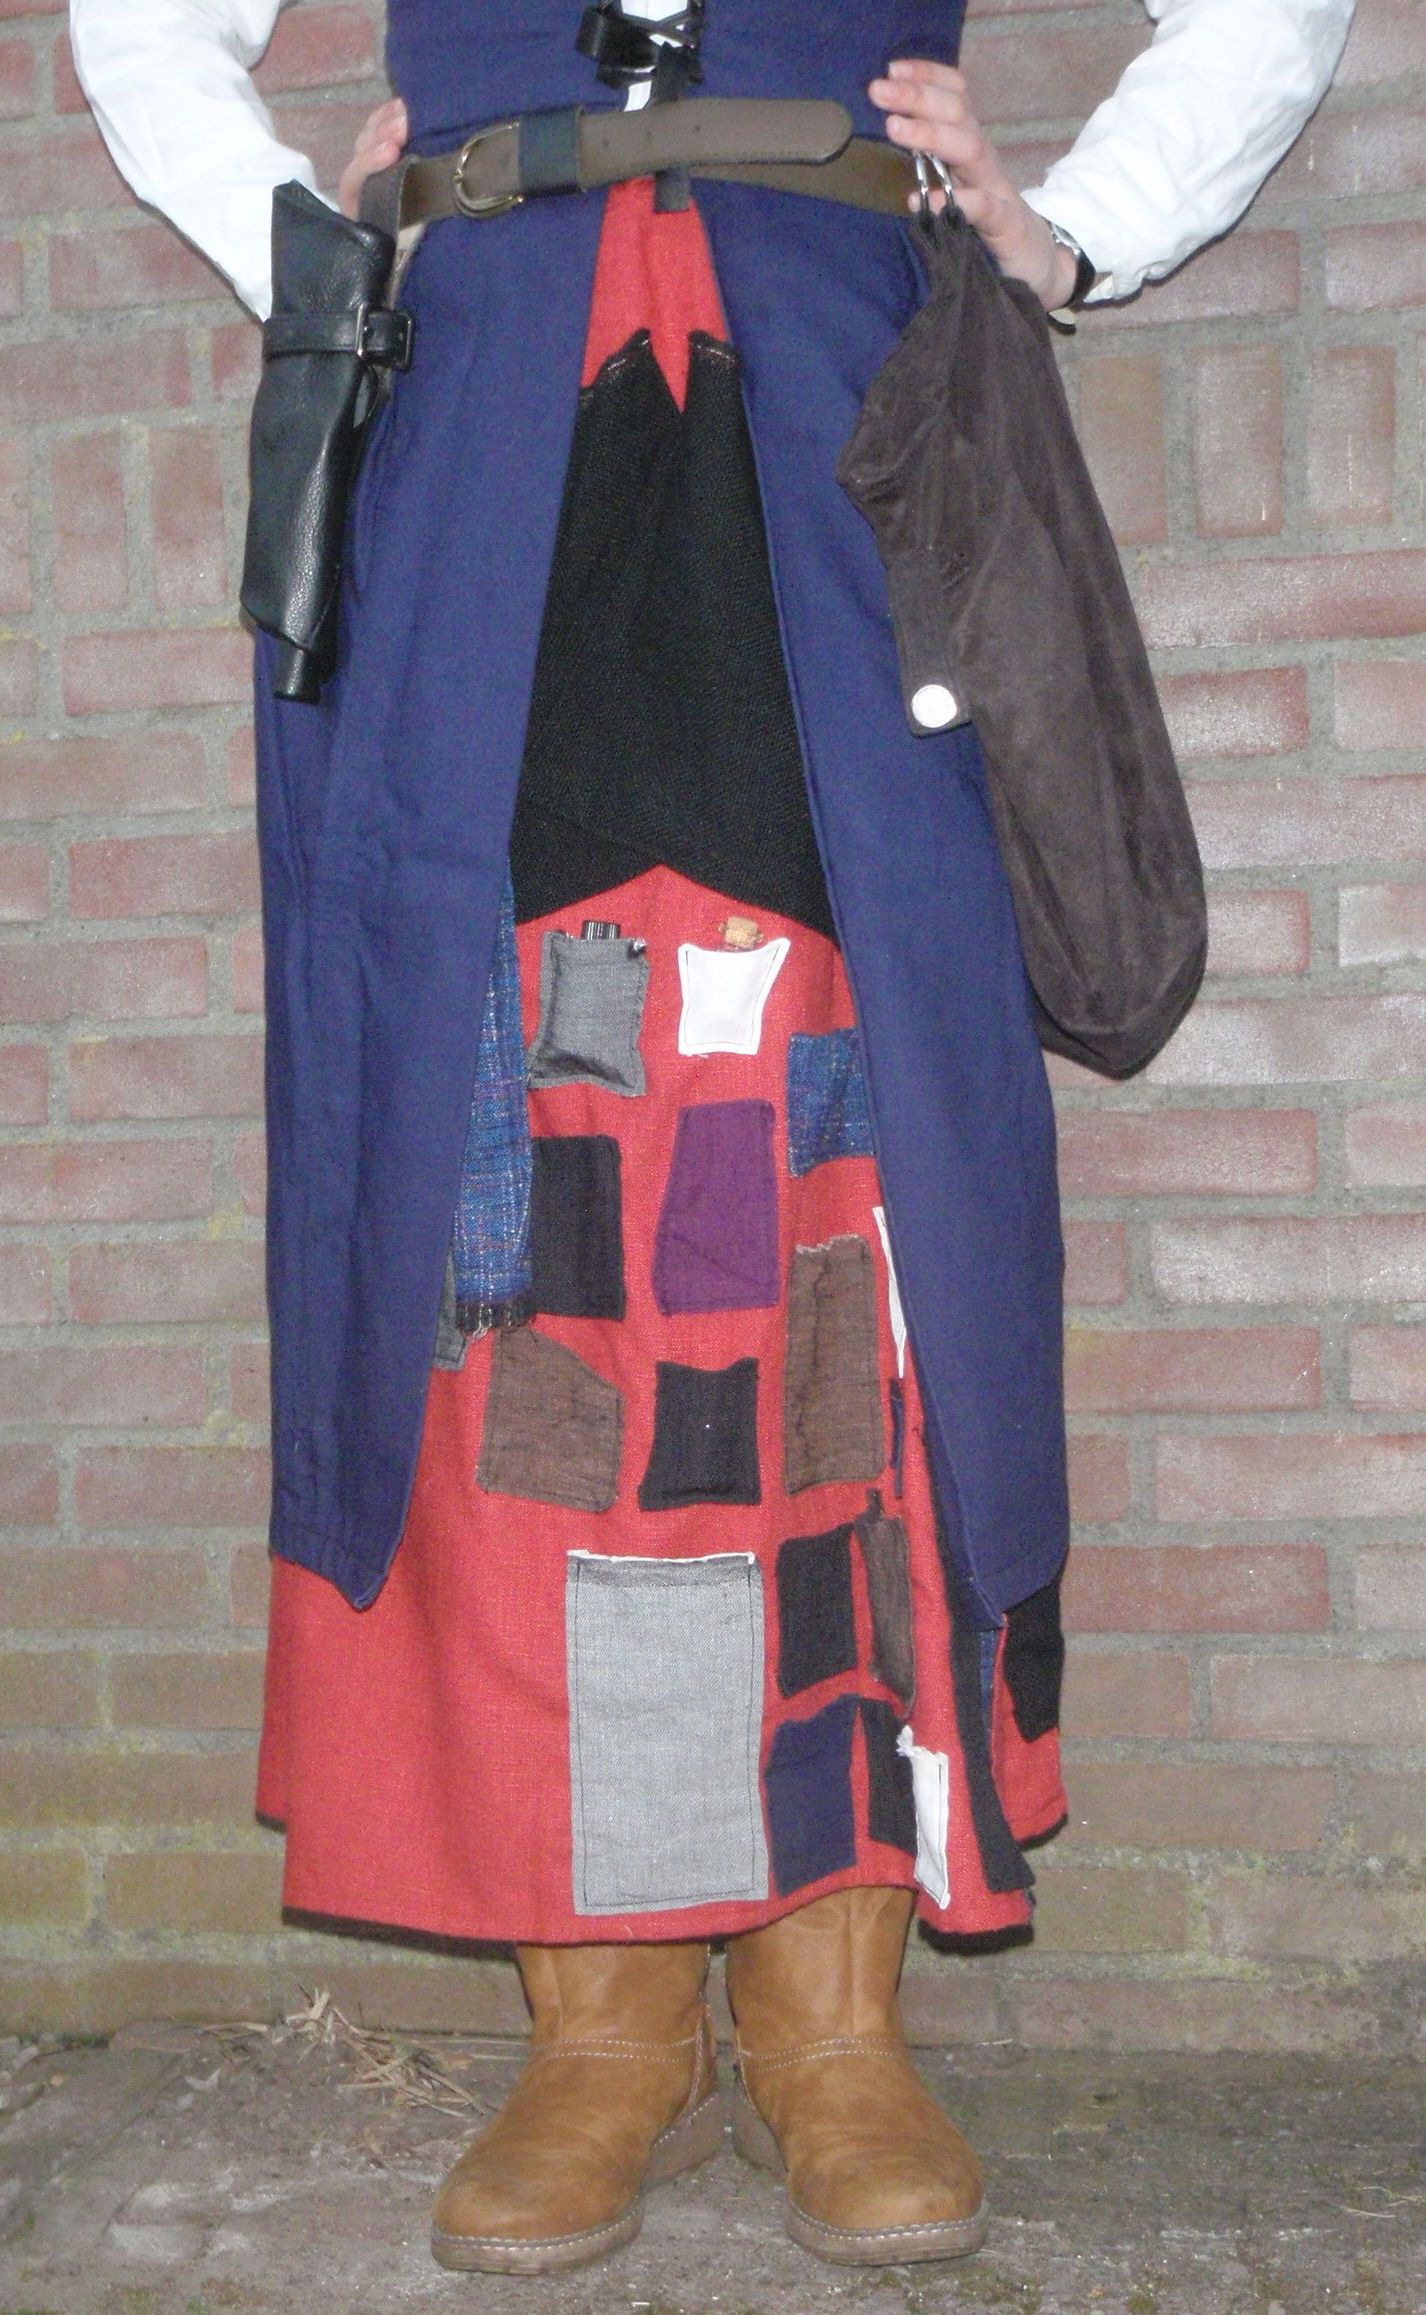
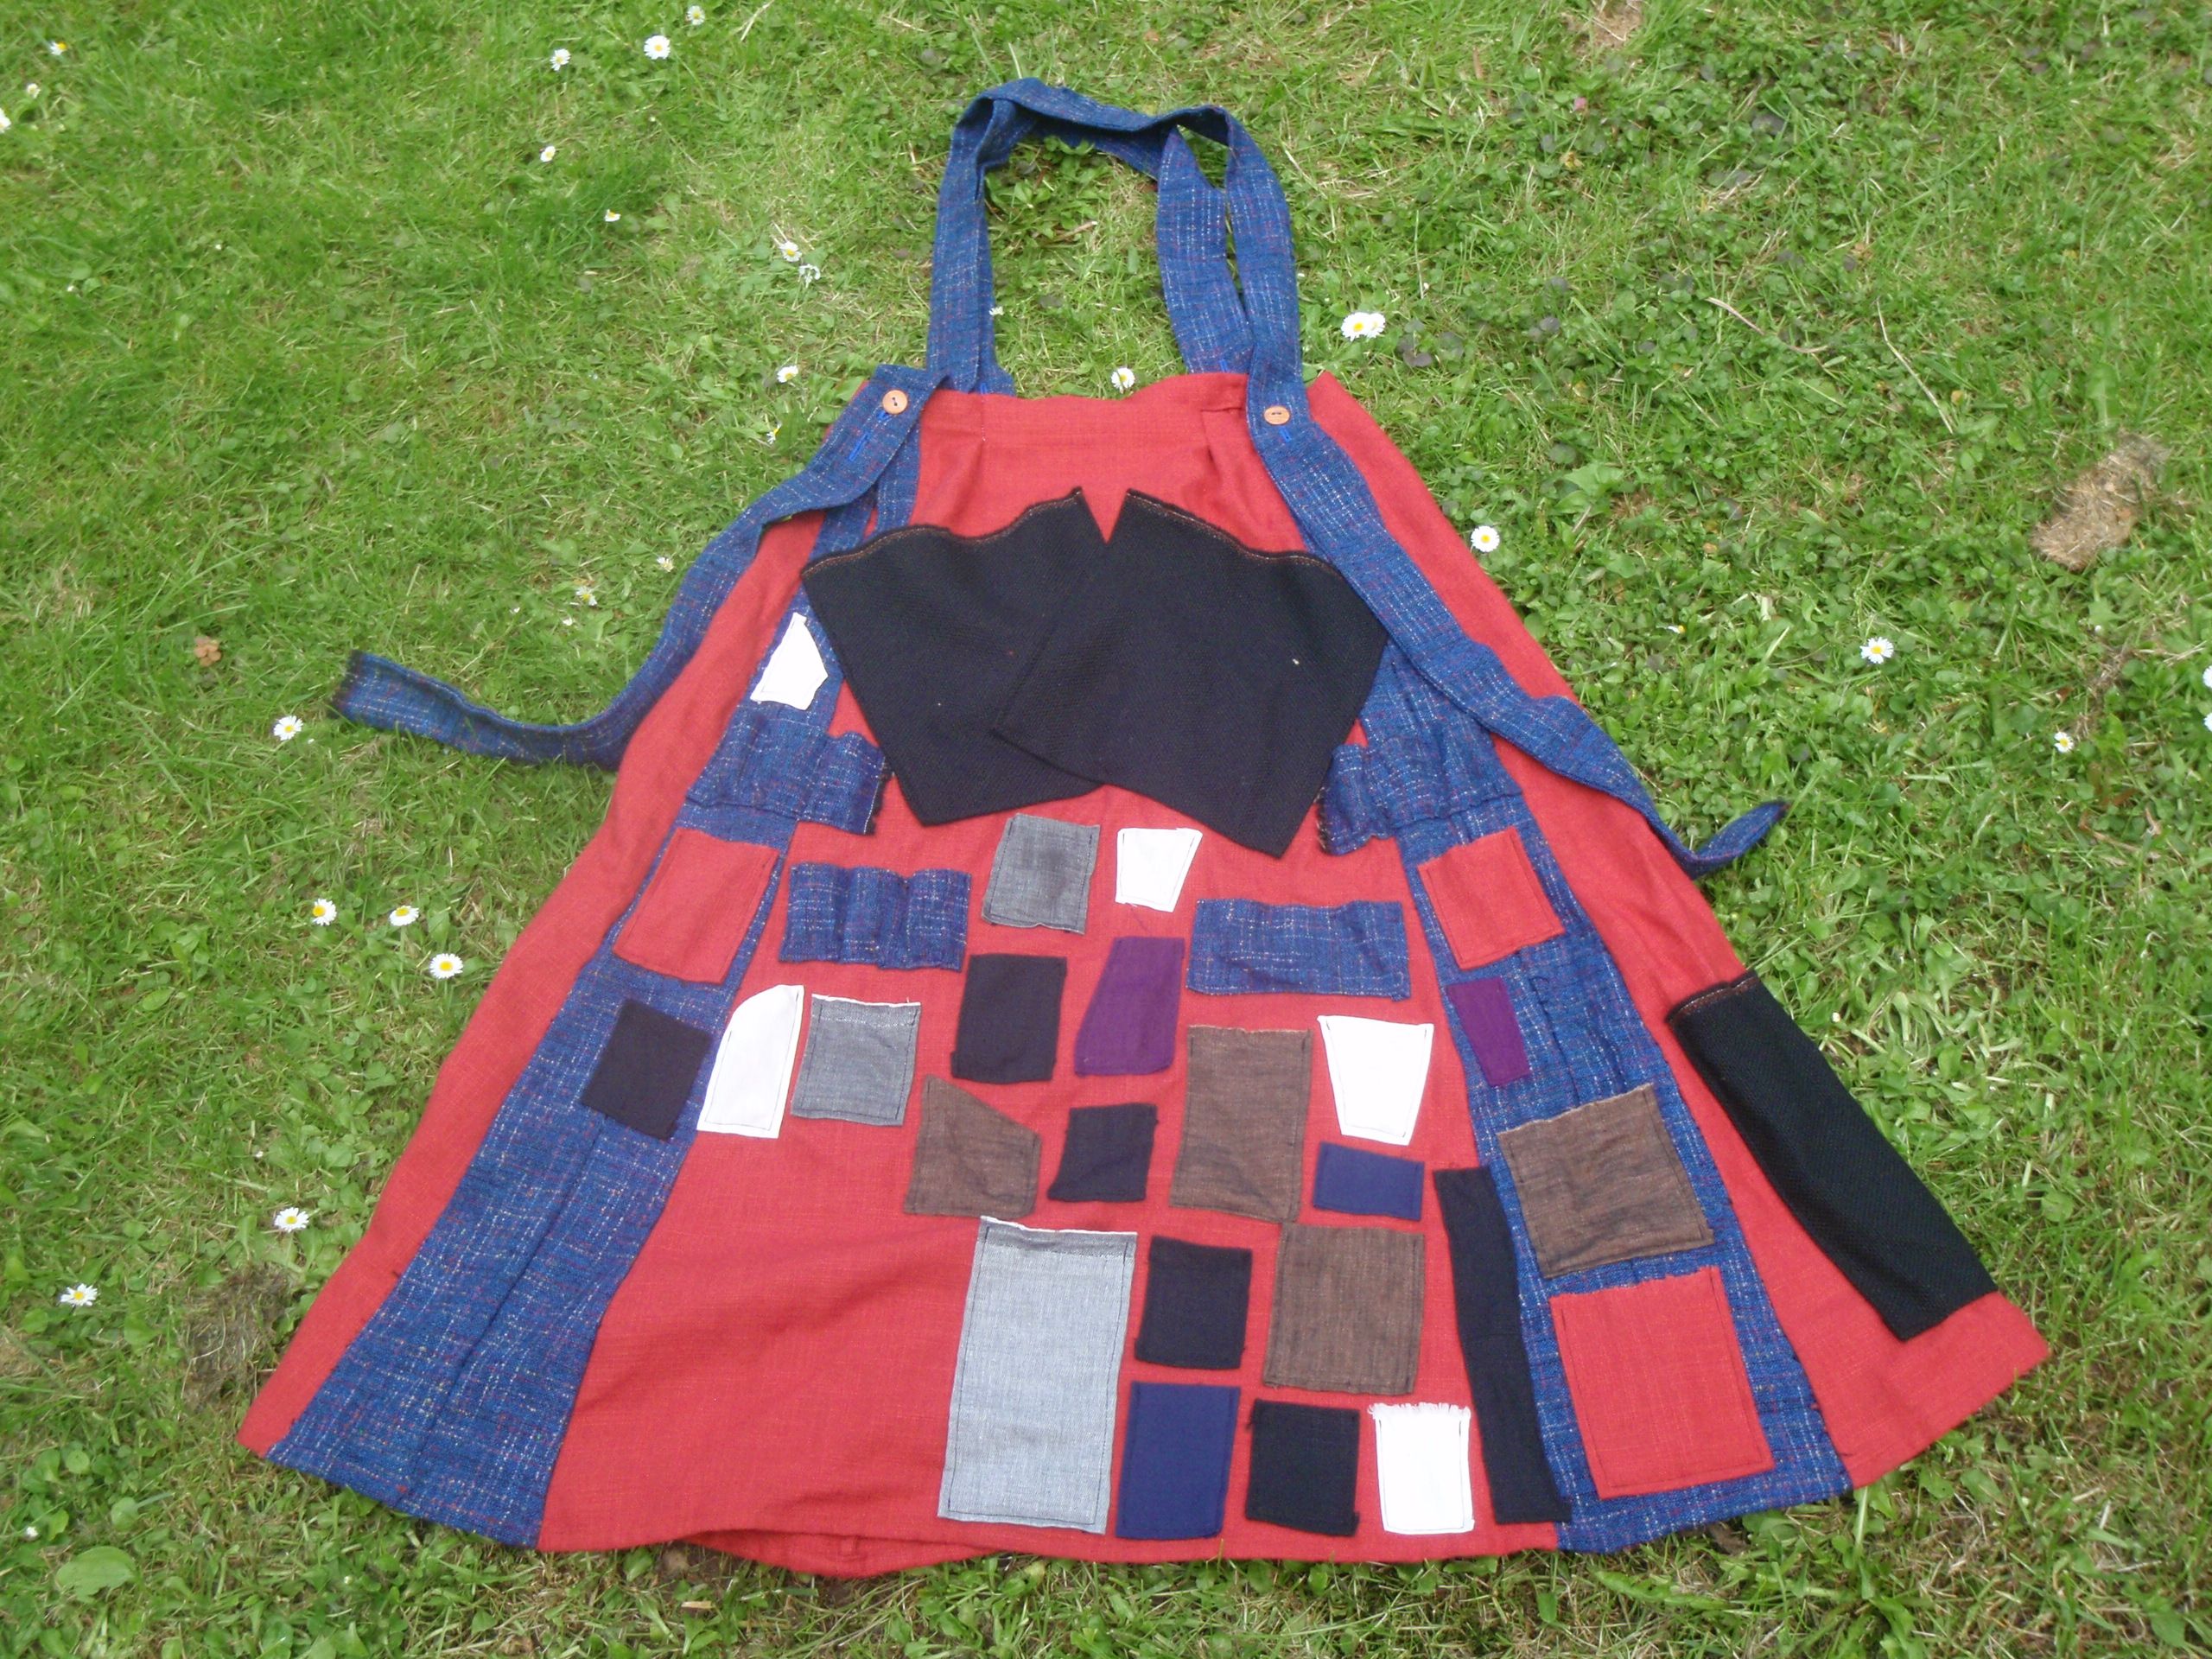
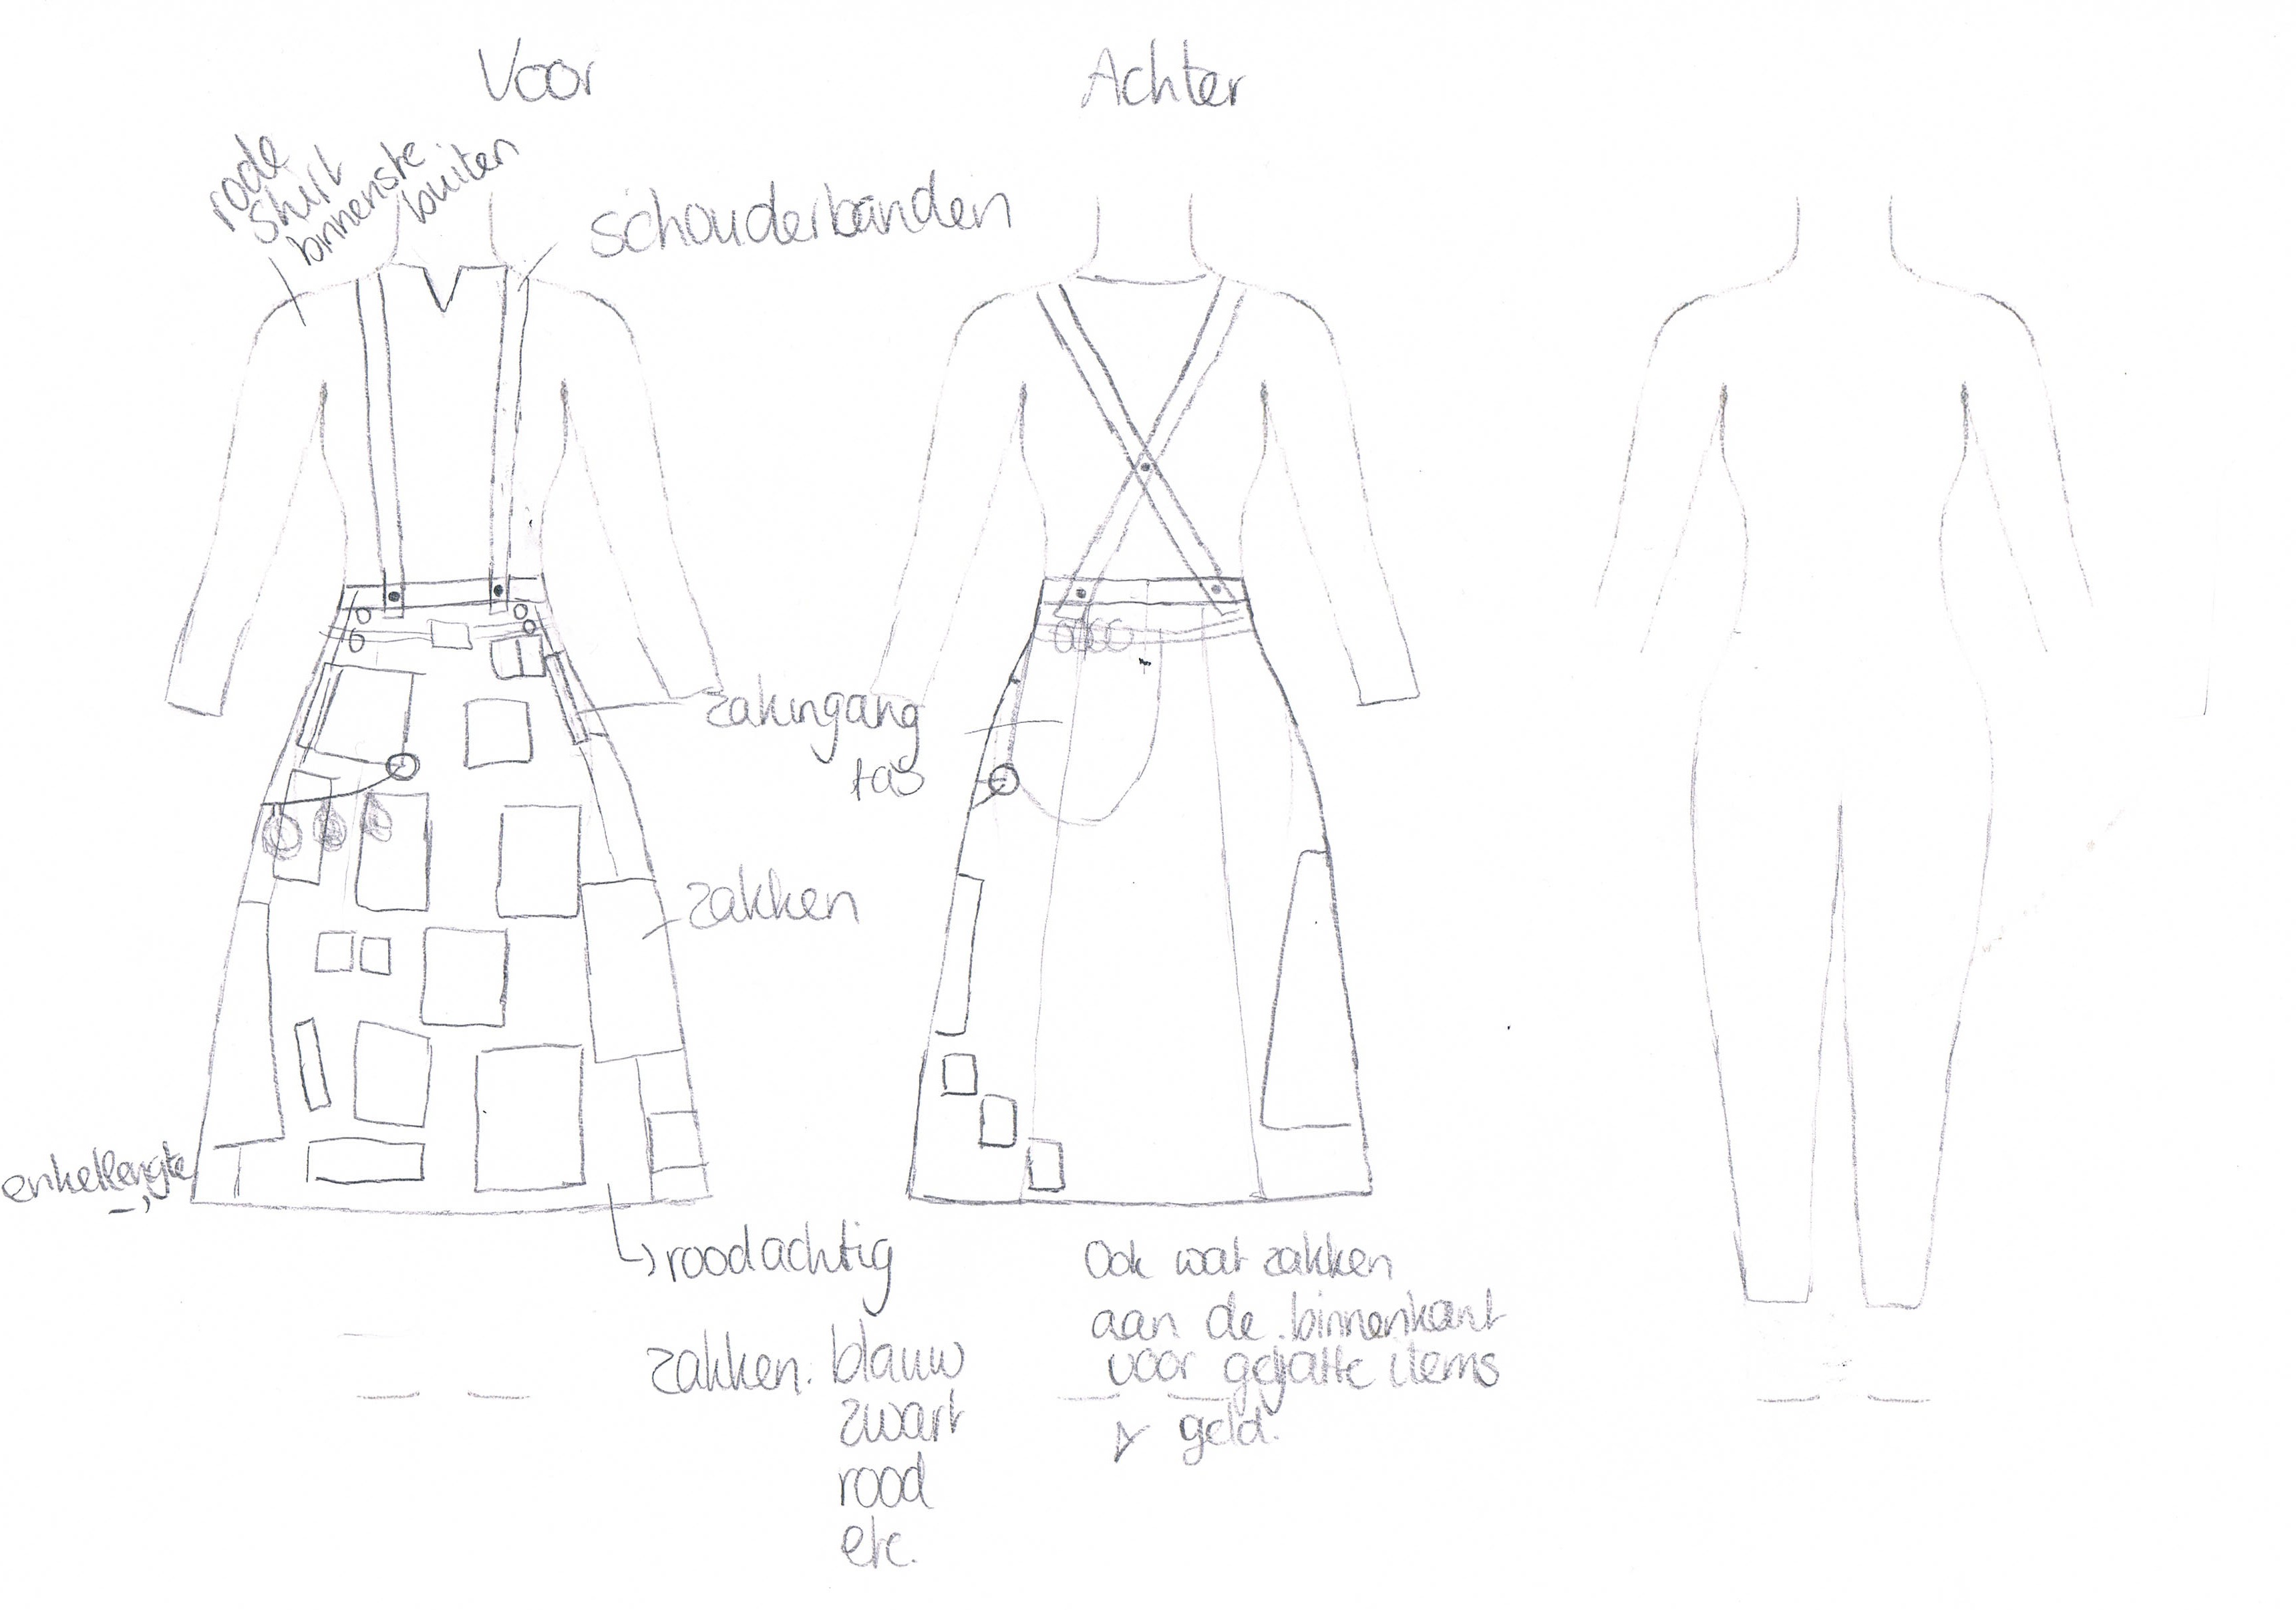
For my bottom half I made a skirt, red with two blue stripes down the front. I also added a gazillion pockets to it. I was playing a character that liked to collect things, preferably shiny things (buttons, coins, helmets..), and had to keep them close.

Eventually I had the skirt finished a couple of hours before I had to leave for the actual event. With all the stuff in the pockets, it would be quite heavy so I added straps to the top to keep it in place, which worked quite well, although they did lengthen a bit over time and I had to open the buttonholes higher up on the straps. There was no pattern for the skirt, just a couple of trapezoid pieces stuck together, I added in the blue because I felt I did not have enough room to move. The blue certainly did help, and I like the pop of additional colour.

Anyway, here is the final result:


Left the real finished product and right the original idea. They do look somewhat similar right?

I just counted the pockets and there are 40 individual pockets to put things in, although there are only 31 pieces of fabric attached. Some bits were divided up into three to hold small vials of herbs and beads.

The left bottom side (right when I’m wearing it) is still empty, that is because I figured that if I would be really bored I could whip out the needles that were in the white pocket that was the most left one still on the red fabric. From the grey pocket in the middle at the bottom of the skirt I could take the thread and from the big black pocket on the back (you can see a bit to the far right) I’d take a piece of fabric and attach it. It turned out that there was no need for stitching more pockets on, but the bits of fabric did help as towels to clean our bloody hands, after an earth quake.

So the skirt, its pockets and their contents proved useful. Tomorrow we will visit the top under layer: the shirt.