1906 Beach Suit

Making a four piece suit from 1906 that only took 3.5 years to complete.

Back in October of 2022, I talked about finishing the blouse of a 1906 Beach Suit pattern I’d bought on Etsy in July of 2021. The pattern has four elements; a blouse, a belt, a skirt and a jacket. I have now managed to complete one of each element!

The original plan was to make the fun leafy blouse and make the rest of the suit in a dark fabric. However, after cutting out all the pieces from the black fabric, it turned out to be a wrong fabric choice. It was too stiff and there were sun marks all over is, so it looked faded in places. In the end, those pieces ended up in the bin because there was no point in continuing. I’d never be happy with the end result. So I pivoted, and found a red fabric in my stash.

It’s a strange, probably quite synthetic material that’s soft on the outside but almost crunchy (?) on the inside. I can’t really explain it. It’s not very thick, but there was enough of it to cut the other pieces of the suit. Based on a picture from April 2023, I had already cut the skirt, jacket and probably most of the belt some time after finishing the blouse.

The skirt was the piece I believe I finished next. I added pockets, because without pockets a skirt is not useful. They are quite large and can hold some stuff. I also wanted to make it somewhat adjustable. The aim was to make it wearable with or without a corset, so I added some extra thread loops to the back for closure. Since it was supposed to be worn with a belt, I figured that could be hidden effectively enough. I think this skirt was finished sometime in April 2023.

The belt however, took another half a year. I wanted it to be stable enough so there is something that I believe might be horsehair in it for stiffening. It’s also got a few bones and it’s almost entirely handsewn, because I kept messing up. As with the skirt, I wanted this to also be adjustable, so I added lacing. And then I decided to make my life a lot harder and added hooks and eyes to allow it to open without having to undo all the laces. My brain took so long to figure out how to get this to work, and it think it mostly does now. A message to a friend indicates that I finished it in September 2023.

That jacket has been hanging, mostly finished over one or the other mannequin in my living room since at least April 2023, if not longer. I had tried sewing the facing in but it puckered like no tomorrow, so I gave up. Earlier this week, I finally got the courage to try again. In two fell swoops with some help from an iron and simple perseverance, I finally finished all the seams and it’s now done!

So that means that all four parts of the beach suit have been completed! It only took 3.5 years… And with the change in fabric, the blouse and the suit don’t really go together anymore. It’s very Christmassy in colours, not in amount of winter warmth. That’s a problem for another day though. The skirt does need a petticoat for wear, because it’s too thin otherwise and doesn’t fall correctly. I think the belt solution works, even if it’s possibly not the prettiest thing you’ve ever seen. I like the big sleeves of the jacket and how it hits. Now it’s just waiting for decent weather and taking it out to the beach!

In any case, happy holidays if you celebrate!

Three-Piece Suit (part 3 – Jacket)

So, it’s been a while, but I finally got myself into gear and finished the jacket for my suit. I’d put on the new front a while back, and I had sewn the lining, but getting the lining in the jacket.. a whole other story. It wasn’t actually hard, took me a couple of hours over two days after I set my mind to it. The scariest thing was to make the buttonholes. I’ve had buttonholes completely fail before and it was the very last step, also one of the more crucial ones. Luckily it all went reasonably well and the button holes function fine.

The introduction to this jacket was written up in Three-Piece Suit (part 0.5 – Failed Jacket). The jacket was based on Burda 5/2009 jacket 102 A, changes included shortening the body length, reducing the length of the arms and making the front pointy. I also added facings to the lower back edge and the sleeves. I reduced the width of the front, because Initially I only wanted one button. In the end I decided to make too, to make the jacket hang nicer. I really like that it has pockets and I included a loop for hanging it on a coat rack, in case that is ever necessary.

I should probably have worn real shoes for the full picture, but I was too lazy. At least the picture shows the full finished suit. It’s done! YAY!!

I’m quite proud of myself for actually finishing the project and finishing it to my liking, mostly. Now, I just need to continue to wear it. For the future, I still have a couple of sweater bodies that need to be sleeved. I have finished knitting a hat, poncho-thing and octopus that I’ll let you know about. My holiday cards have already been made, they just need to be personalized. Next plans include another graduation dress for January and that’s about all I’m sure about.

Three-Piece Suit (part 0.5 – Failed Jacket)

So, for some reason I really wanted to have a three-piece suit. I’m not sure why, but I decided that this was a thing that needed to happen. So I started leafing through the pattern magazines and eventually settled on Burda 5/2009 jacket 102 A.

I’d found the last 4 meters of a bolt of grey stuff with a white running stitch at the front and dot-pattern at the back. I hoped that I would be able to make a three-piece suit out of it. So a jacket, a vest and pants. I cut out the jacket in a table cloth and fit it. I needed to take three cm out of the length above the waist, so I had some fun with paper, scissors and a pencil. I also wanted to have one button at the front, so I took the front in a little. I sewed it all up in the new fabric and it fit well. Then I added the lining and everything went wonky.

The lining was too short, so I tried all kinds of fixes apart from cutting out a longer lining. So I chucked it in the corner and started on the vest. After finishing the vest, it turned out that the vest peeped out from underneath the jacket, sneak peek in the picture. Queue plan B! Ripping out the center front pieces and re-drawing the pattern. Update on that in the future.

Plaid Jacket

At some point in the past I bought a coupon (between 1.5-2.0) meters of some form of loosely woven plaid stuff. I cannot remember fully why I did this, although I do remember thinking that I should make a jacket out of it. – Brainwave! After filling in the tags for this post, I figured out that I used ‘blue-purple’ once before, for the Double Duty dress, so I guess I bought it for that? – Fast forward a few.. months I think, and I finally pulled it out of the hoard to make a short jacket. The plaid is not balanced and attempting to match would be the death of  so I just.. didn’t. I did of course try to mirror the pieces that needed to be cut twice, by choosing the purple line that runs through as the central line.

The pattern I chose was one in Simplicity Naaimode 24 – also known as most of the elements of Simplicity 1325. Very few pieces, unlined and I wanted to test out those bones for the future. I made only one flat pattern change and that was to lengthen the sleeves by 10 cm. I cannot deal with sleeves that are not either full length or short, I need to have control over whether they are halfway up my arms or not. So I cut out the pattern (which took forever) and started sewing. Since the jacket was unlined, I bound some of the seams to make it look somewhat pretty on the insides too, see pictures above.


The instructions were quite helpful this time and I followed them fairly closely. The one other change to the original pattern was that I created a little more of a waist by taking in some of the fabric of the front in the side seams after finishing the remainder of the jacket. When I put it on at the end, I discovered that from the front it looks as though I actually matched the sleeves along the bodice, so happy accidents! Now I only need to convince myself to put it on every now and again.

Riding Jacket

I wanted to make a riding jacket. I just didn’t really know how, or whether I had the skills, or what fabric to use, among other things. So I did what I tend to do, collect pictures on a Pinterest board (Blazers in this case) and let the project rot, fester, mature in the back of my mind. One of the pins that sparked my interest was this Nanette Lepore Sherlock Coat. I’m not entirely sure whether riding jackets have been a relatively recent dream of mine, or whether it’s been there for ages, but it was time to do something with it.

The relative success of the graduation dress meant that I used the same pattern again, but with some alterations, effectively none of the pieces stayed the same:

  • The bodice pattern pieces were printed out off scale (accidentally), so a size larger was cut and the bodice was lengthened by a centimeter.
  • The shoulders were made square and thereby shortened the center front.
  • The center front was split, broadened and curved with a longer front edge.
  • The sleeve pieces were lengthened to full length and got an elbow dart following this tutorial from A Challenging Sew.
  • The collar was drafted following this tutorial from Em Makes Patterns.
  • The shirt/peplum pieces were drafted.
  • An attempt was made to pattern match the pinstripes in the fabric.
  • The lining had a vent added at the neckline.
  • Hanging loop added at the back.
  • Facings were drafted for the sleeves ends and a bias strip for the bottom.

Perhaps more things changed, but this was a multiple month project and I have terrible memory. The fabric was wool-esque (not sure of the actual content), dark blue with light blue and grey pinstripes. The sleeve lining was some bright blue lining stuff I also used for my dark blue winter coat. From that previous experience I knew that that fabric was really shifty, and my overlocker was still in the naughty corner for not working so I got myself a new toy! I bought a walking foot; oh my, the improvements in my sewing are staggering! The remainder of the lining was some dark with blue triangle fabric that also produced a failed shirt before.

Everything was sewn together and I didn’t have to do too much editing to the fit. The design is not completely the same as the original inspiration, as I hated that back and was more into this type of thing. I did want to keep the option of closing the front, like this. I used some buttons I had in my stash for some time now. Domed military jacket inspired buttons that worked really well and attached nicely. I also added a button to the inside right to close the front. I am quite happy with the finishing, I think it looks quite nice on the inside too.

I did my best to do stripe matching where possible, and I’m quite proud of how well that worked. I wore it for Easter this year, and while I was afraid that the sleeves would be too tight, I didn’t have any troubles on the day. There are three ways of wearing the jacket: open, with hook & eye closed and completely closed. The longer back-end does take a little bit of getting used to, but I feel really happy when wearing it.

I proclaim it a successful project!

A Leopard Earns His Band?

A friend of me asked me the other day if I wanted to help him make a jiu jitsu outfit for a stuffed toy. His friend was going to have a jiu jitsu exam not so long after and he wanted to give him a present in case he successfully completed the exam. His idea was to make a jacket for a stuffed animal with a brown belt.

First, he figured out what the favorite animal was that he needed to buy in a stuffed toy version. This turned out to be a leopard. A leopard was found, bought and delivered to his home and then he brought it to me. We (me..) decided that he was going to sew the entire jacket himself. He didn’t have much experience using a sewing machine but it all went very well.

First we started drafting a pattern for the top. It was basically me with a measuring tape, a bit of tracing paper and no fear. I looked at the way the creature itself was put together and figured out a way to make a pattern with 4 pieces. It was all stuck together with painters’ tape (one of my favourite sewing notions) and tried on the toy. It actually worked really well first time around, I only had to change the fronts a little. The leopard was not symmetrical so the pattern pieces for the front were a little different, but that made it fit fairly well.

I instructed my friend to pin the pieces on the fabric we chose and add a seam allowance of around a cm, he wanted to draw it in so he got some chalk. Then cutting it out, which went fine. Lunch! We did some practices on the sewing machine and all went well. This was followed by the most difficult part: figuring out which bits have to be sewn together. Right and wrong took some getting used to, but in the end (with some direction) it was all sewn together. Then came pressing and finishing. I cut the selvedge from a bit of brown fabric and considered the belt to be done.

Last pressing stage done, and the leopard could be dressed. We both couldn’t get over how well it worked. He also did all of it himself! This is the result:

Leopard Leopard

So, I had a fun day with a good friend, we made a present that was appreciated, I made a pattern and my friend learned to sew! All in all I think that’s a good score for a single day. What do you think?

Jacket

I finished a previously long-time unfinished project! The shell of this little jacket has been done for months and months. I don’t even remember how long really. However, a friend of mine was on holiday this week, and he has threatened to come by and chuck all my unfinished projects away. So I figured I’d take the time and use it to finish something. Less for him to throw away, right?

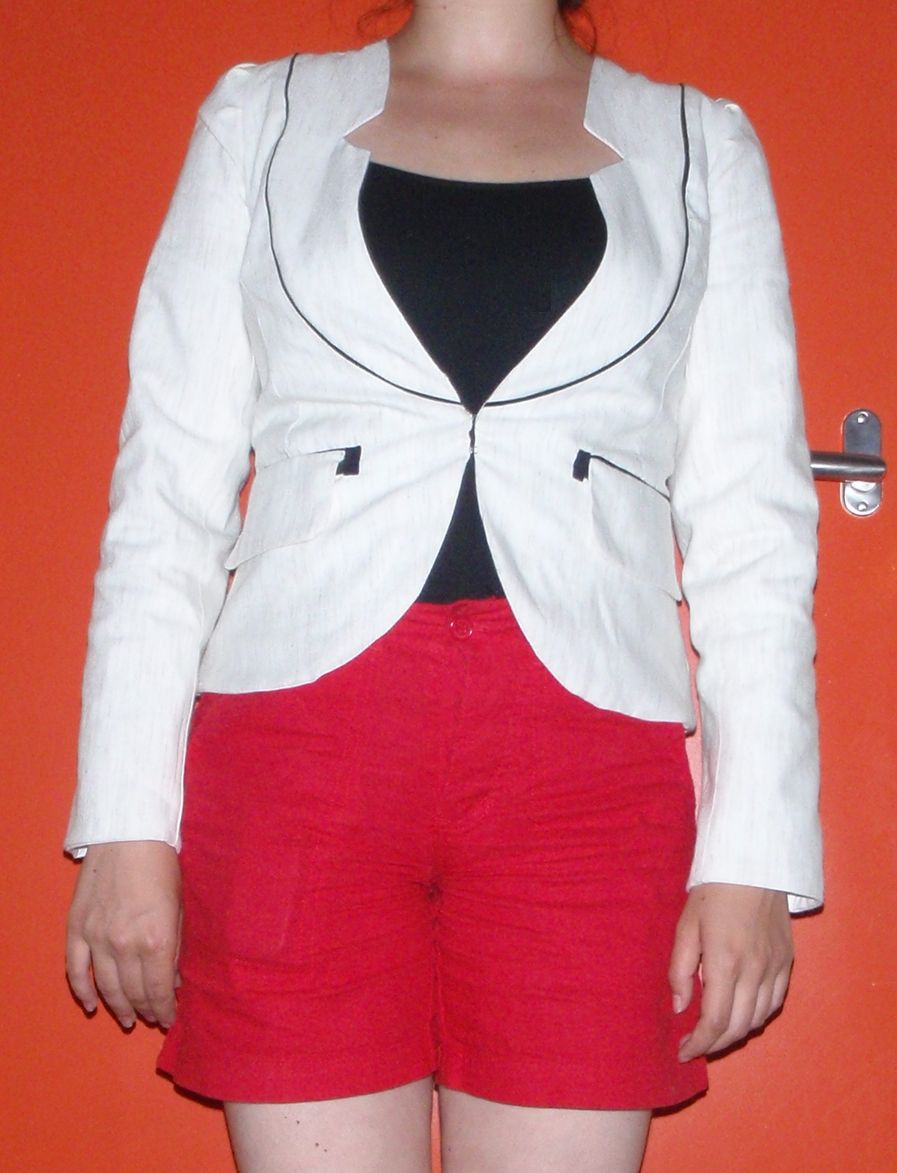
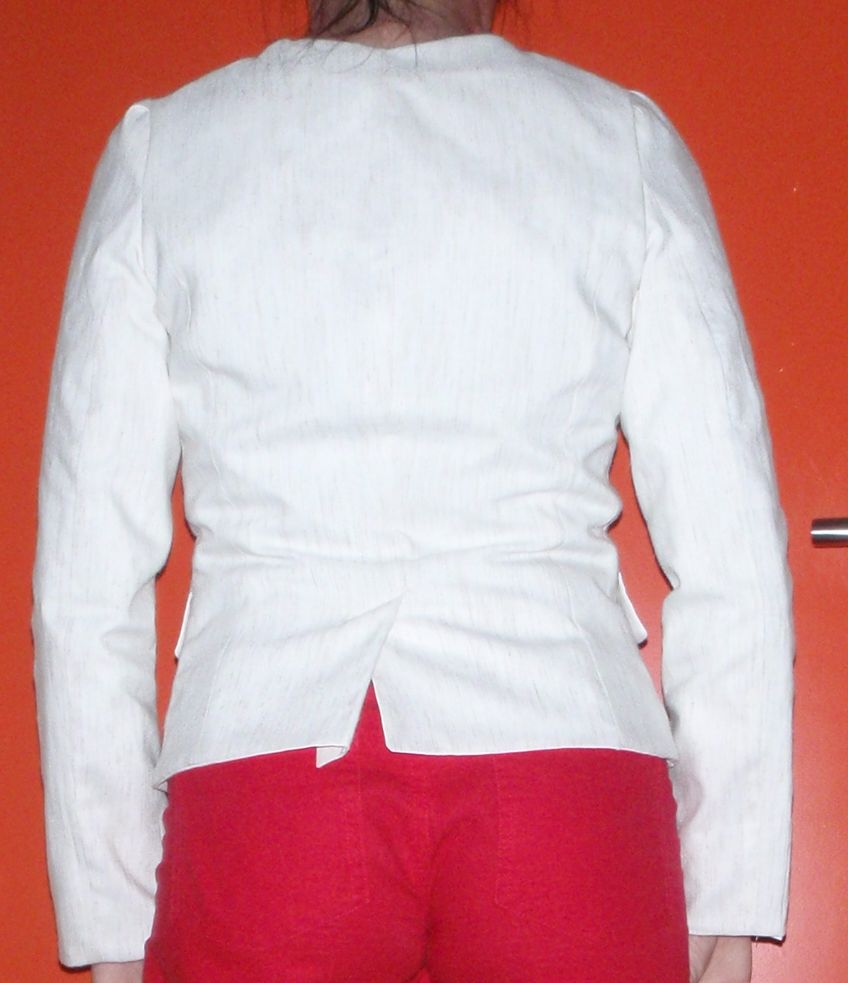
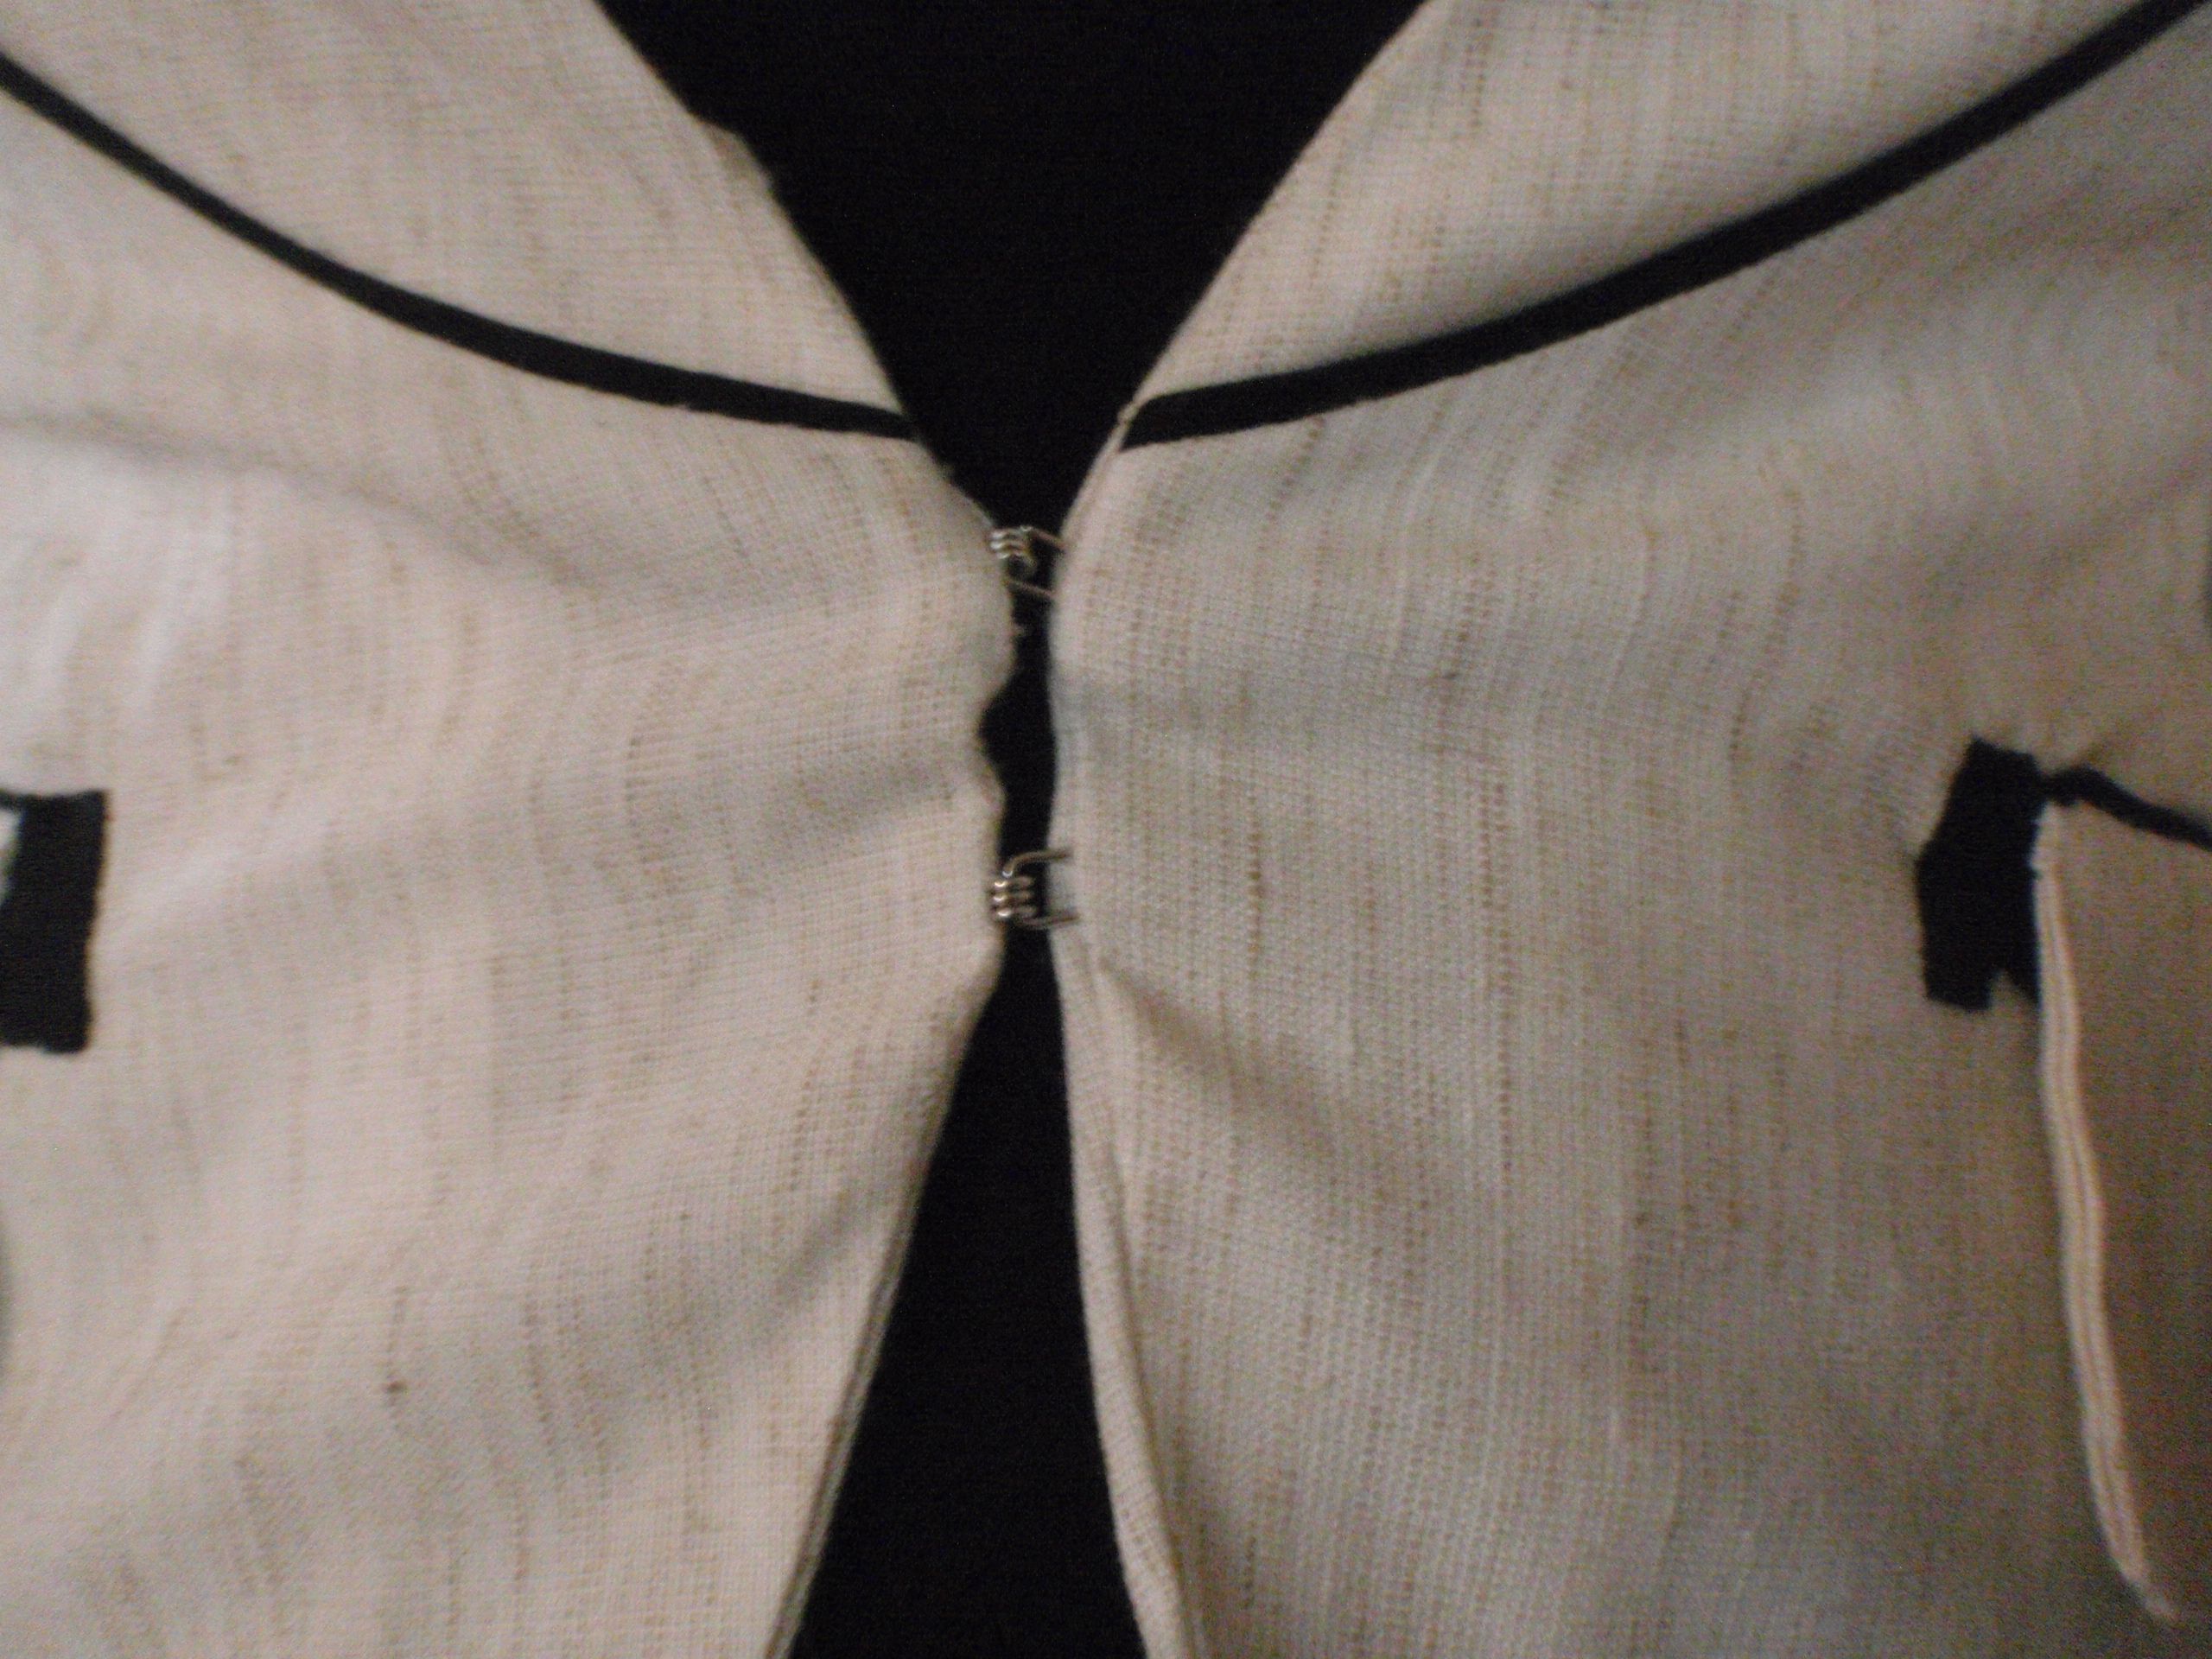
I did exactly that, not perfectly in time (he got back yesterday morning and I stitched the last stitch 1.5 hours ago), but it is finished now. I got the pattern from the Dutch magazine Knipmode. I heavily modified the original pattern because it seemed that they had anticipated on me having a 3 times as large bust as I do. However, the lines have turned out approximately as they had in their description. Although I did choose a hook&eye closure in the front, instead of a button.

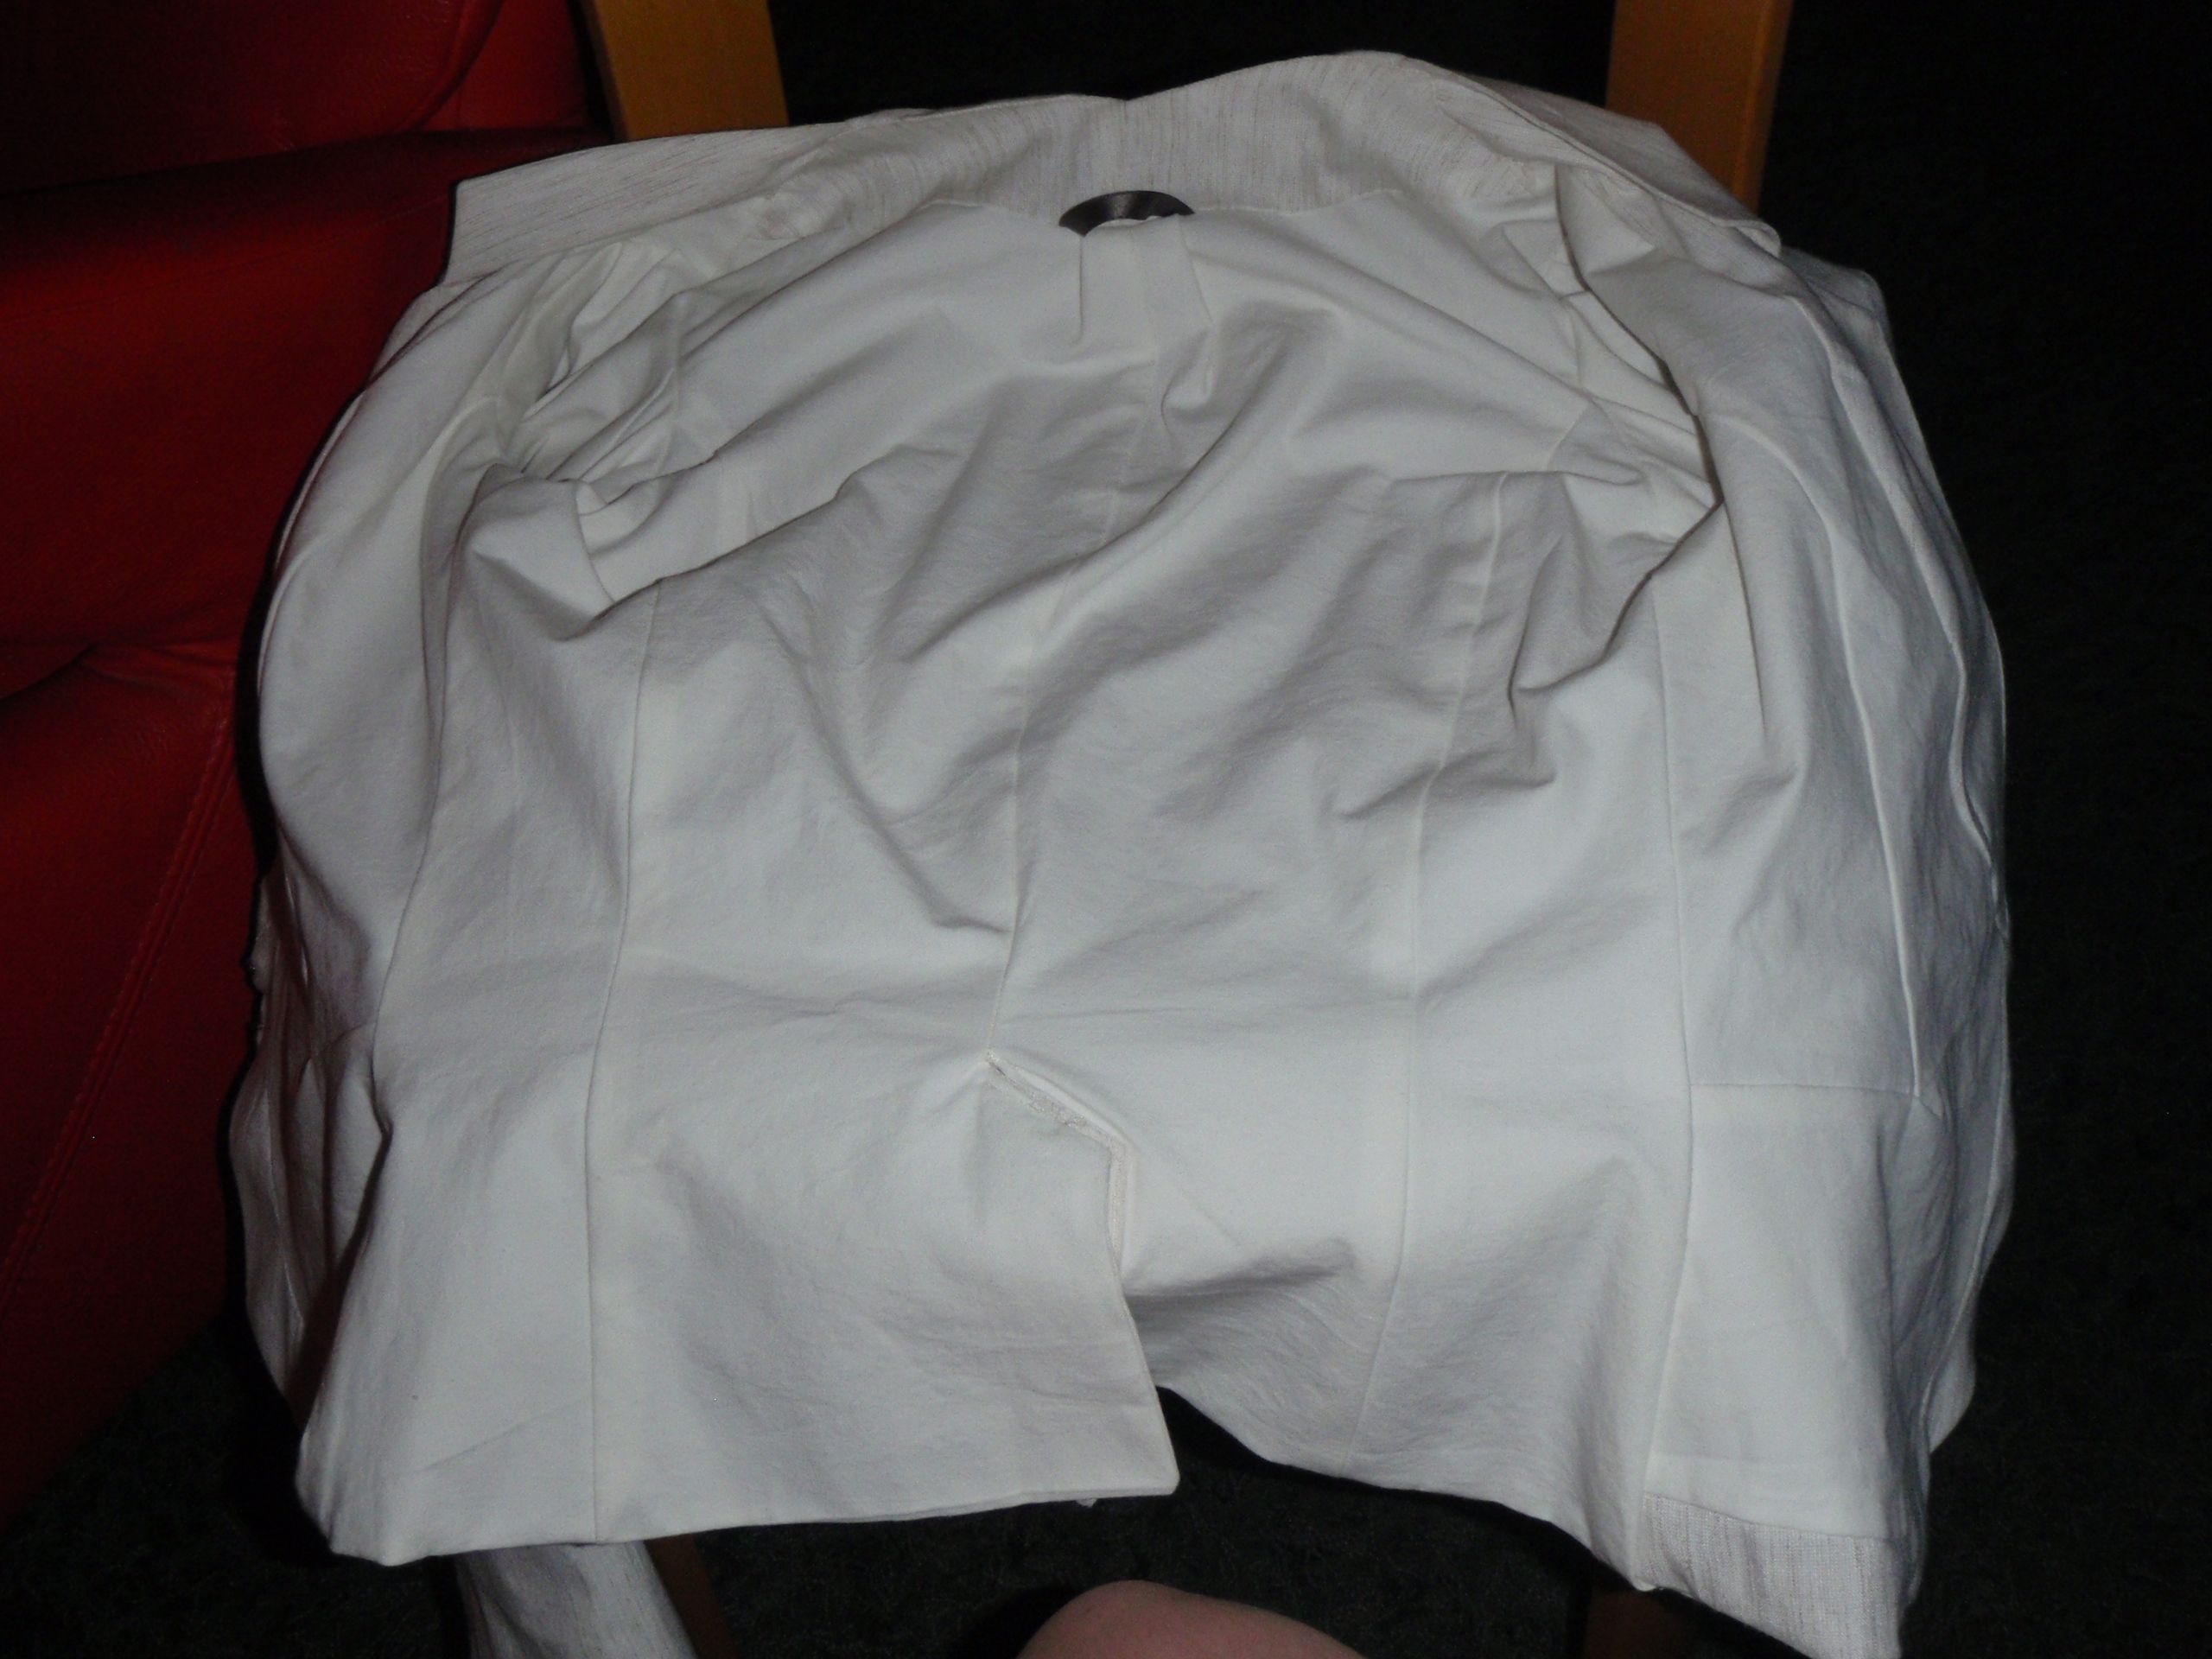
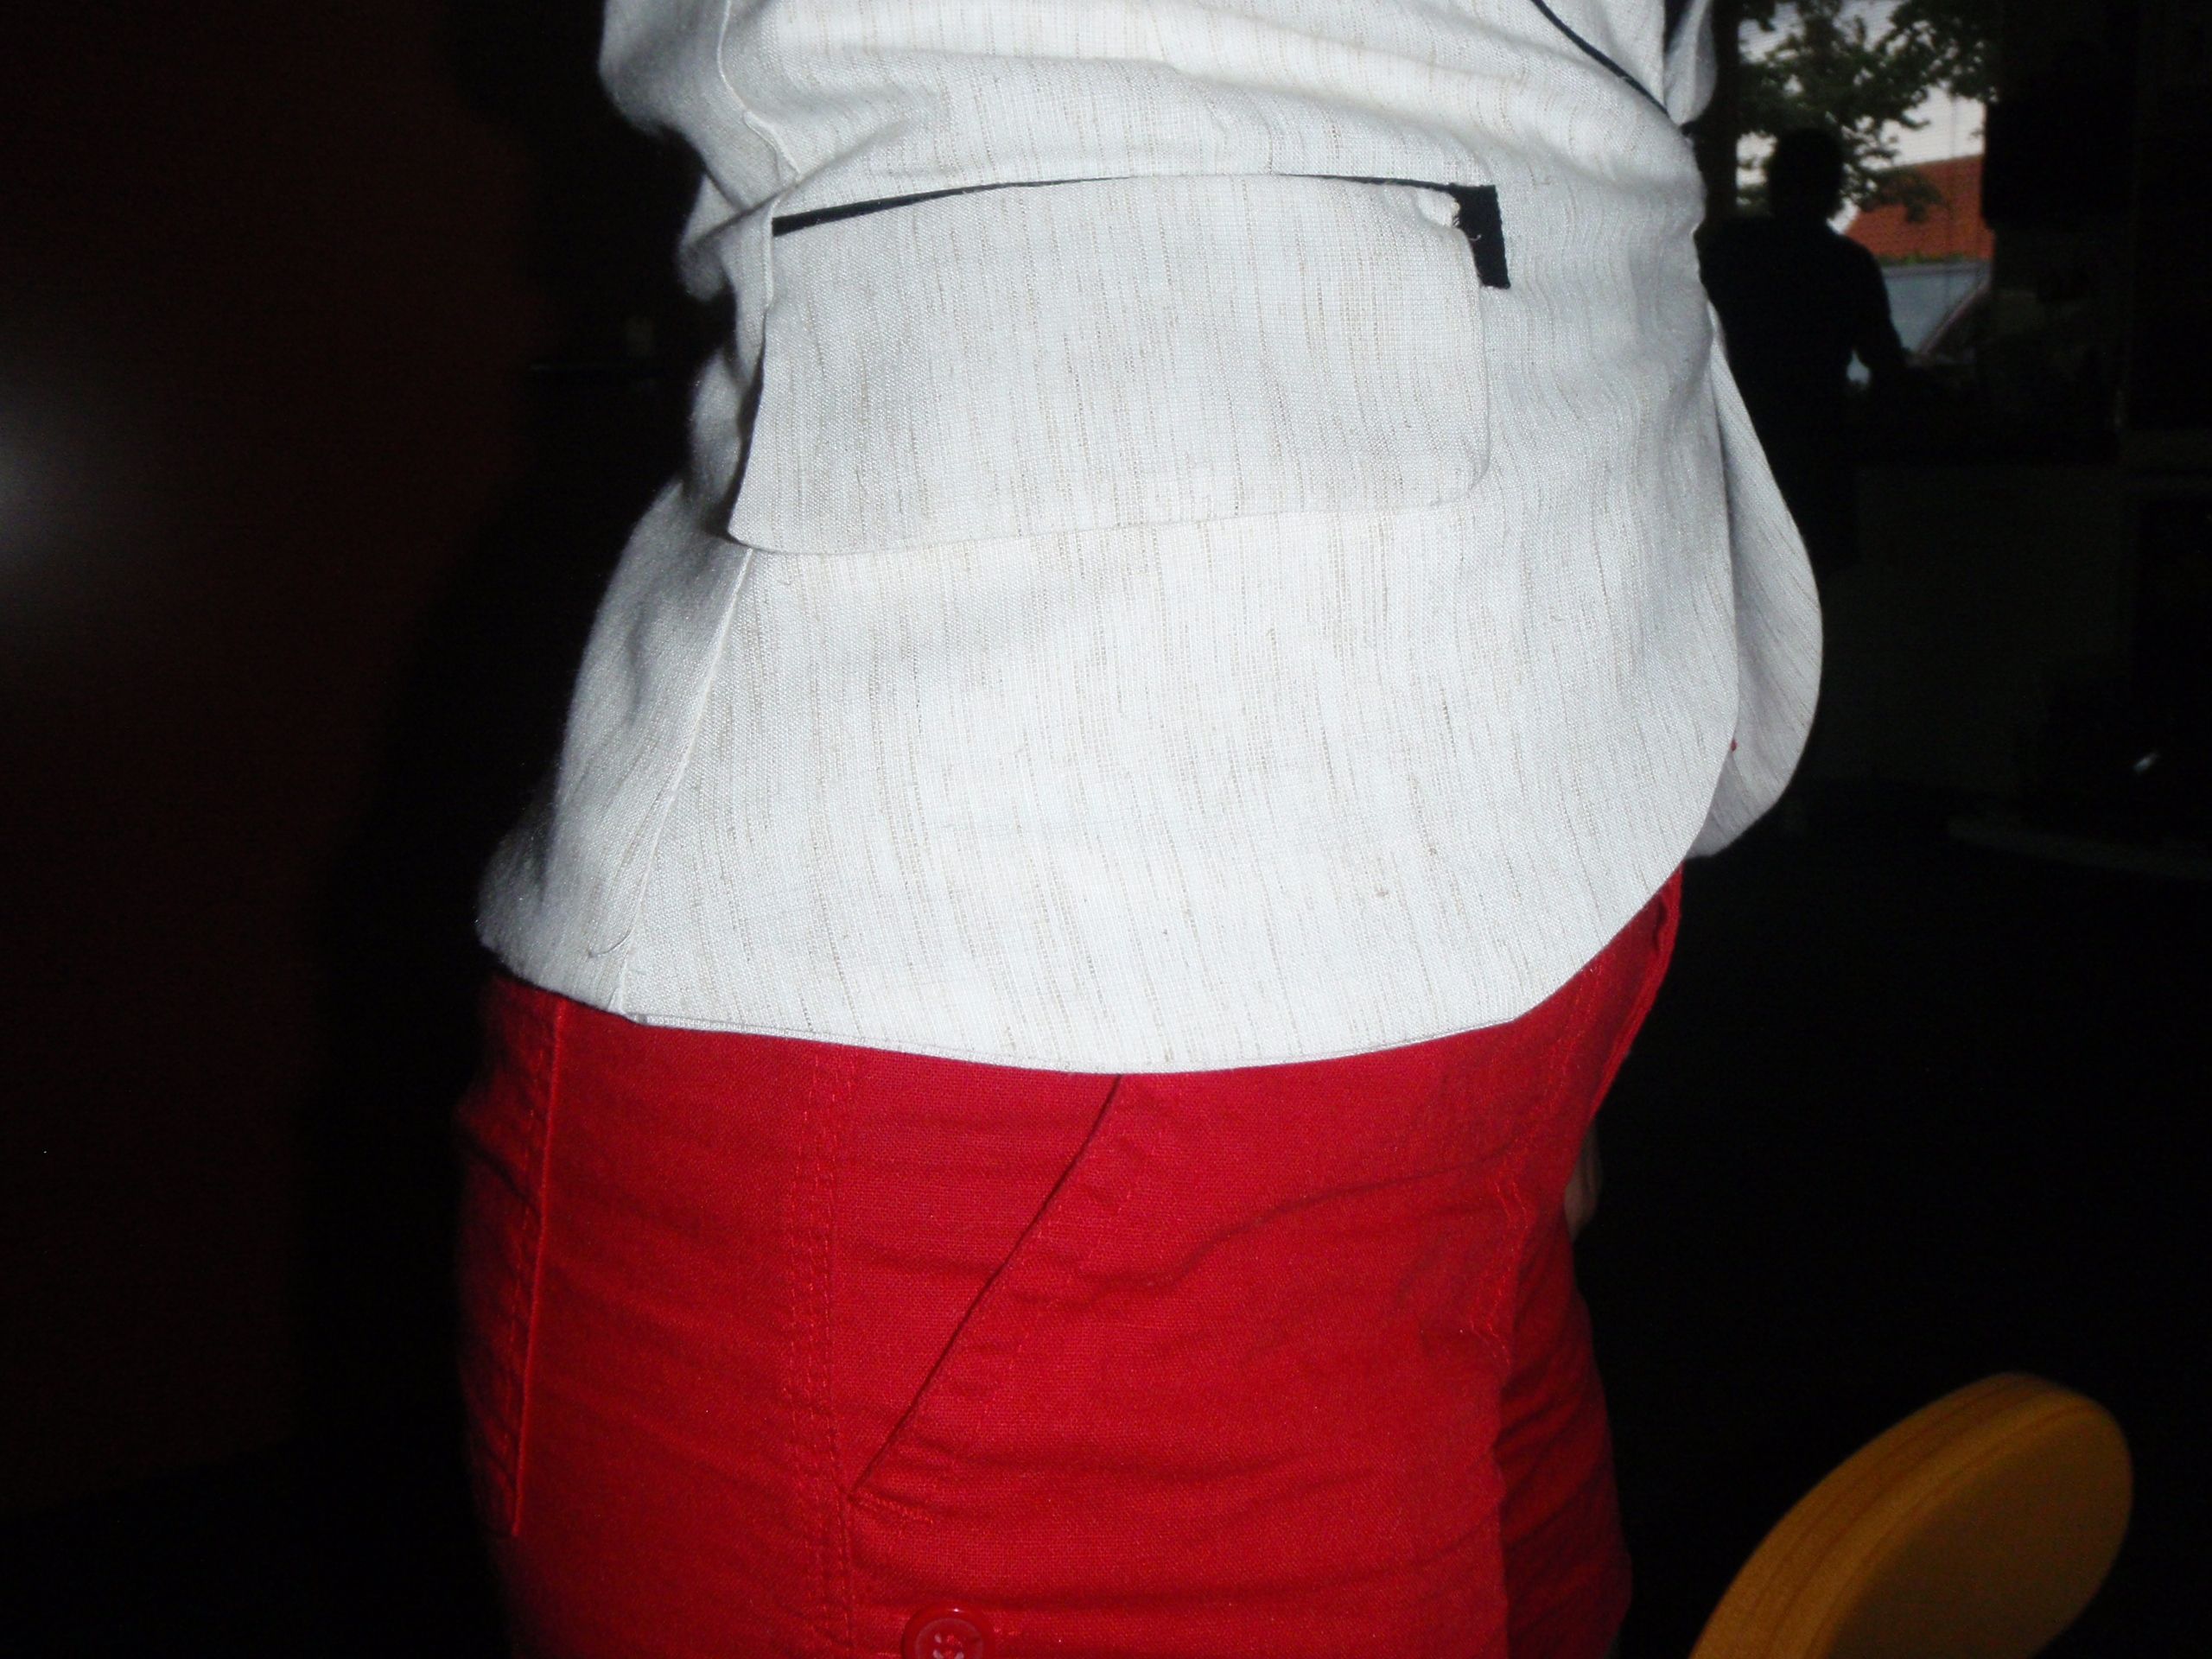
So, here it is, front, back, lining and some details: pocket (functional!), neckline stitching and closure:


That is it, my finished jacket. I still have some of the shell fabric left, so expect a skirt soon(-ish, or well possibly at some point, in the future), which will make it part of a fully fledged suit (like outfit).

But for now, it will occupy a place in my closet to function as another garment for my top half. This will increase the me-made jackets by 100% (I now have 2), that can be worn to school. I have also made some progress on the knitting, and will continue with that now.