Nine non-functional kiwi buttons on a fun yellow and white gingham top.
After working on the Ochre Overalls and using the yellow and white gingham fabric as a lining for the straps, it seemed like a great idea to make a coordinating top. So I looked around and found the Kleinia Blouse by Mood Fabrics. As usual with Mood patterns, there are some sparse instructions and the decisions that are made are very strange.
In this one for example, they want you to sew the yoke and bottom together but there is no shaping whatsoever along that seam, so I just cut it in one piece and sewed a fake seam. It was ridiculously big too. I worn it for an afternoon and then cut it down by several centimeters on each side. It was also extremely long.
I do not understand how they wanted me to add buttons along the back when they barely included enough space to do so. Since the top neckline is very wide, I luckily didn’t need a working button placket. So I sewed it all down and added the buttons. There are little kiwi birds on them, and I love them very much. Even if they dig in to my back if I wear a backpack for a full day. I might make it again, but then reduce the height of the yoke and make it a lot smaller from the get go.
Making a four piece suit from 1906 that only took 3.5 years to complete.
Back in October of 2022, I talked about finishing the blouse of a 1906 Beach Suit pattern I’d bought on Etsy in July of 2021. The pattern has four elements; a blouse, a belt, a skirt and a jacket. I have now managed to complete one of each element!
The original plan was to make the fun leafy blouse and make the rest of the suit in a dark fabric. However, after cutting out all the pieces from the black fabric, it turned out to be a wrong fabric choice. It was too stiff and there were sun marks all over is, so it looked faded in places. In the end, those pieces ended up in the bin because there was no point in continuing. I’d never be happy with the end result. So I pivoted, and found a red fabric in my stash.
It’s a strange, probably quite synthetic material that’s soft on the outside but almost crunchy (?) on the inside. I can’t really explain it. It’s not very thick, but there was enough of it to cut the other pieces of the suit. Based on a picture from April 2023, I had already cut the skirt, jacket and probably most of the belt some time after finishing the blouse.
The skirt was the piece I believe I finished next. I added pockets, because without pockets a skirt is not useful. They are quite large and can hold some stuff. I also wanted to make it somewhat adjustable. The aim was to make it wearable with or without a corset, so I added some extra thread loops to the back for closure. Since it was supposed to be worn with a belt, I figured that could be hidden effectively enough. I think this skirt was finished sometime in April 2023.
The belt however, took another half a year. I wanted it to be stable enough so there is something that I believe might be horsehair in it for stiffening. It’s also got a few bones and it’s almost entirely handsewn, because I kept messing up. As with the skirt, I wanted this to also be adjustable, so I added lacing. And then I decided to make my life a lot harder and added hooks and eyes to allow it to open without having to undo all the laces. My brain took so long to figure out how to get this to work, and it think it mostly does now. A message to a friend indicates that I finished it in September 2023.
That jacket has been hanging, mostly finished over one or the other mannequin in my living room since at least April 2023, if not longer. I had tried sewing the facing in but it puckered like no tomorrow, so I gave up. Earlier this week, I finally got the courage to try again. In two fell swoops with some help from an iron and simple perseverance, I finally finished all the seams and it’s now done!
So that means that all four parts of the beach suit have been completed! It only took 3.5 years… And with the change in fabric, the blouse and the suit don’t really go together anymore. It’s very Christmassy in colours, not in amount of winter warmth. That’s a problem for another day though. The skirt does need a petticoat for wear, because it’s too thin otherwise and doesn’t fall correctly. I think the belt solution works, even if it’s possibly not the prettiest thing you’ve ever seen. I like the big sleeves of the jacket and how it hits. Now it’s just waiting for decent weather and taking it out to the beach!
I’ve been looking for a long sleeve button up pattern for ages. Then one day, someone posted a picture of their just completed button up shirt on a Facebook group I’m in. The pattern was the Julia hemdbluse from Pattydoo. Pros: long sleeves, only 3 euro, I’ve worked with her patterns before for my coat and a sweater, has video instructions. Cons: German, basically shaping through the body. The pros weighed up against the cons and I purchased the pattern. As for the fabric, is was in my hoard from when I was preparing to make the dress form and bought a bunch of fabrics. It’s a white cotton with yellow and black triangles.
Front
Sleeve strap
Back
This seemed to be a perfect fabric for this project. It was stable, crisp and would be able to hold poppers without difficulty. I was going poppers all the way, since there were too many buttonholes for my liking otherwise. The pattern has roll-up loops included so I decided to make those. This was also the first time in my life I actually used the ‘burrito-method’ of shirt making, so I’m very happy to scratch that off my to-sew list. I only deviated from the pattern at one point, and that was to add a smaller size popper to the collar stand. I chose a yellow one from my baby-poppers set for a little bit of contrast and because the normal size looked simply too big on the tiny stand.
Burrito in the middle with sleeves on the side
Pop(per) of colour!
In conclusion, the pattern went together wonderfully. The video guide is super helpful and I definitely know two German word combinations now (umbügeln – pressing and knappkantig absteppen – topstitching). I don’t like the body shape and length of the pattern, so I will probably substitute the Simplicity 2255 modified body shape for a future project. I also already know what fabric I will use for that project, since it has been in my stash for .. a long time now. We’ll see when I’ll get around to it.
Part of the Edwardian plan was a plain shirtwaist. This back-buttoning blouse is the result of the plan.
The Edwardian Endeavour is still going on. I’m not aiming for true historical accuracy and am slowly making all of the parts of the full outfit. This means that I also required some clothing to cover the top half of me. Off to the google I went and eventually discovered the Beatrix Shirt Waist Pattern from Sense & Sensibility Patterns. I purchased it, got to work on the printing and started with some white fabric. I chose to make a size 14, back closing, front gathered, long-sleeved shirtwaist. Fiddling with the front top edge took about 15 centuries, because I originally wanted to pleat it to this example. However, I couldn’t get it to work without having to recut the pattern, so I decided to leave that until next time. Took it in along the side seams and shoulders and figure that I should make a size 12 next time.
Front
Side
Back
I looked at my stash of buttons and decided on a small yellowish button. Added two along the bottom edge of the sleeves and 18 along the back. I had 20 in total so that worked out perfectly well. The buttonholes are all hand-worked, which took absolutely forever, as you can imagine.
All the buttons (outside)
Insides
Front gathers
Sleeve ends
Next to the buttons there are two straps to tie the blouse in front, allowing some blousing to happen over the skirt. I actually really like it. I did place the straps about 2 centimeters further down than the pattern indicated. The pattern seems to work pretty well, it has lots of options, of which I’ve only tried this one. I do expect to make another version of this – front closing this time. Reason being that back closing means that I need to do an actual workout when trying to put it on. I need to undo four buttons to get it over my head and then trying to do them up slightly out of reach while wearing a corset and other associated layers is difficult!
The things left for this outfit include making a corset cover and a hat (maybe), however next up, a cycling skirt!
This blouse is literally ‘Made with Love’ if you read across the letters. Based on a heavily modified Simplicity pattern, it wears and coordinates wonderfully.
I’d found this fabric on the fabric market (pre-pandemic) and thought it was wonderful. It’s got letters on it! Only after quite a while of puzzling with my pattern layout did I figure out that it actually says Made With Love if you look across the rows.
Now the first attempt at using this fabric is lingering in the Corner of Shame. I originally chose the free button down jacket from Bootstrap Fashion to make a long sleeved blouse. However, I couldn’t get it to fit at all, so I chucked it i the CoS. The leftover bits of original fabric were used to create something out of little. I used my tried and true short sleeve blouse pattern (also used here and here and here). This is a heavily modified version of Simplicity 2255.
It worked well. The fabric coordinates with a lot of my clothing, even if I may become a bit of a walking pattern clash. In all honesty, I think I like being non-standard in my clothing choices, so this isn’t something negative to me. Hopefully I’ll be able to find a long sleeve blouse pattern that does fit me…
I think this blue and black polka dot fabric actually came from the market in Rotterdam. I’ve since used it in two different projects. The first finished one was the Pussycat Bow Blouse from VeraVenus.com. This was supposed to be a darted kimono sleeve blouse with a tie to create a pussycat bow. I printed the pattern, taped it together and used it to cut my fabric. I didn’t take pattern matching into account, so the dots are not completely aligned across the front. I debated for a while whether I cared and decided not to.
Due to fabric shortage, I had to cut the tie from 4 bits of fabric instead of one or two. I don’t think it’s very noticeable though. The other deviation I made was to close the darts a lot further than the pattern indicated to create a more fitted silhouette. It’s still quite loose in the body, but the tie is generally a little tight, so it’s a fascinating piece to wear. I’m still trying to figure out what other clothes it goes with. I do hope I can get it into general rotation soon.
So I have been sewing quite a lot and then not posting about the exploits. That’s going to change again. This time, I’m going to tell you about more blouses. During the Great Utrecht Fabric Haul of 2019 (first described here), I got two more fabrics that were destined to become popper-tops. As per the original, the pattern is Simplicity Naaimode 9, model 59 (aka Simplicity 2255), but with smaller armholes and thinner sleeves.
I started with a white fabric with little bits of coloured lines on them. I sewed it up pretty quickly and added white poppers. However, the first time I wore it, everything itched, so I’m afraid this one is ending up in the goodwill pile.
The second one was the same exact pattern now in a yellow plaid fabric. At the market I’d spotted a completely white line about 20-30 cm in from the cut edge, so I negotiated and got that 30 cm + 1 meter for the price of one meter. I cut the shirt from the non-fault bit of the fabric. It’s very stable so that was nice. I have been wearing this one a little. Yellow is one of my favourite colours, so that helps.
The yellow plaid was also used for two other things. A handkerchief and a baby slobber scarf. I can’t remember ever using a fabric handkerchief in my life, but since we were invited for a family reunion and asked to bring a handkerchief, I thought I’d quickly sew one up. This one is cut over the fault line because, who cares. The spit scarf was the same as the ones here. Even using the same backing, since I’d cut out 8 more at some point in the past.
All in all I still have some of the yellow left, so I’m not sure yet what it will be. I’ll think of something eventually!
A year ago, I added a piece of light coloured fabric with grey leaf-ish things and little deer, birds, squirrels and foxes to the stash. On the hunt for a project, I re-discovered this fabric and decided to finally make (at least part of it) into a top of some sort.
Enter Simplicity 9, model 59 minus ruffle. This pattern came in size 38-40 at the smallest. In general, that tends to be too big. However, I hoped it would work anyway without resizing the pattern beforehand – spoiler alert: dumb choice.
In order to get it to fit, I made a 2 cm pleat at the back, ending at the small of my back. The shoulders were lowered 1.5 cm. I redrew the neckline at the front and back to correspond to the original size. So in total I probably managed to shave of more than 8 cm or so. I now like the fit a lot better. The fabric does crease like crazy and I don’t like ironing, so this is why you see it in all its wrinkly glory.
The fabric is super cute though and those five buttons also came from the stash. The original pattern had more buttons, but I was not going to let such a good match in buttons go to waste, so five it was. The button bands might have a little to much interfacing for the thickness of the fabric, but all in all, it wears well and it’s very cute. So far, so good!
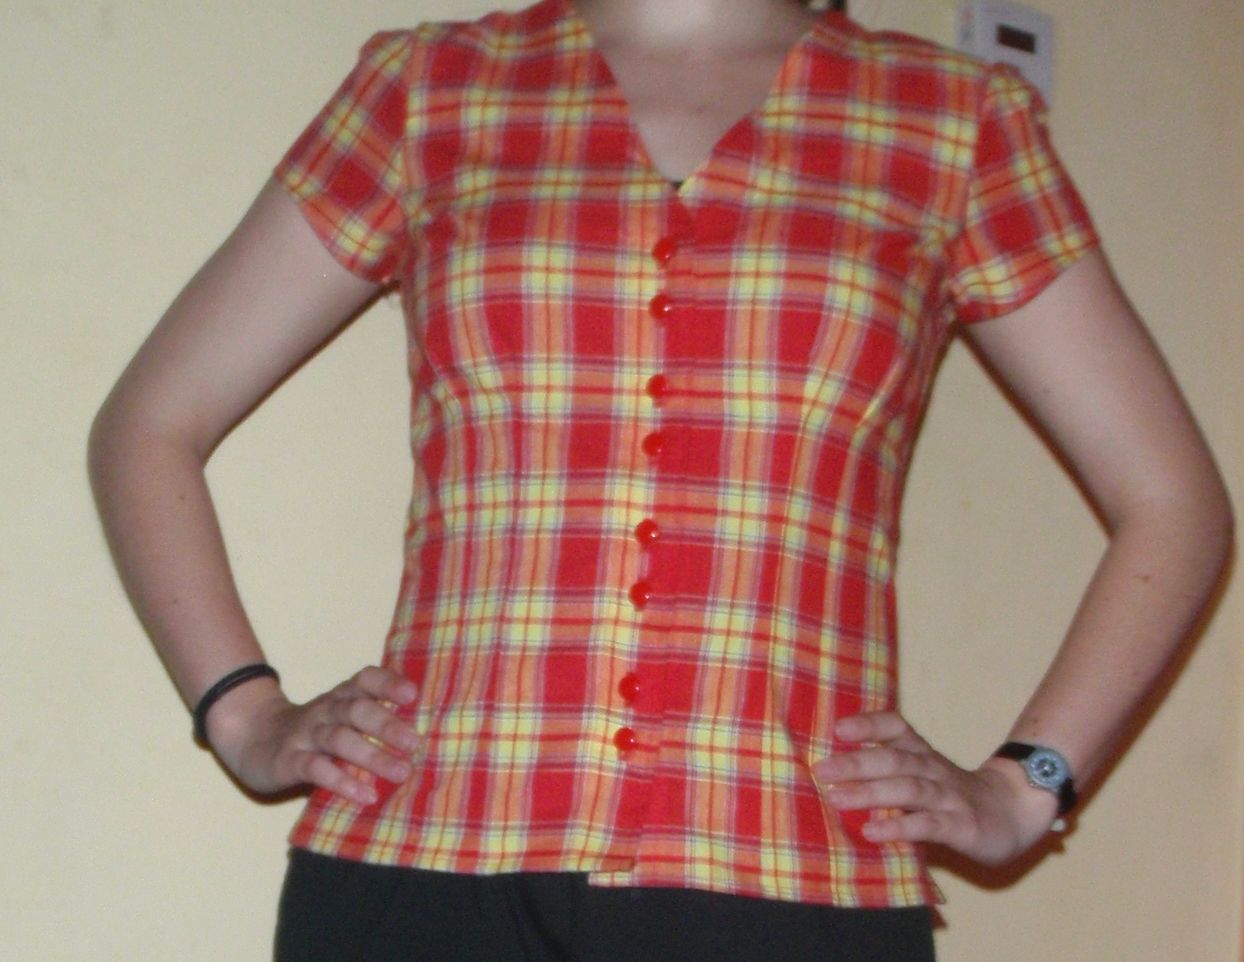
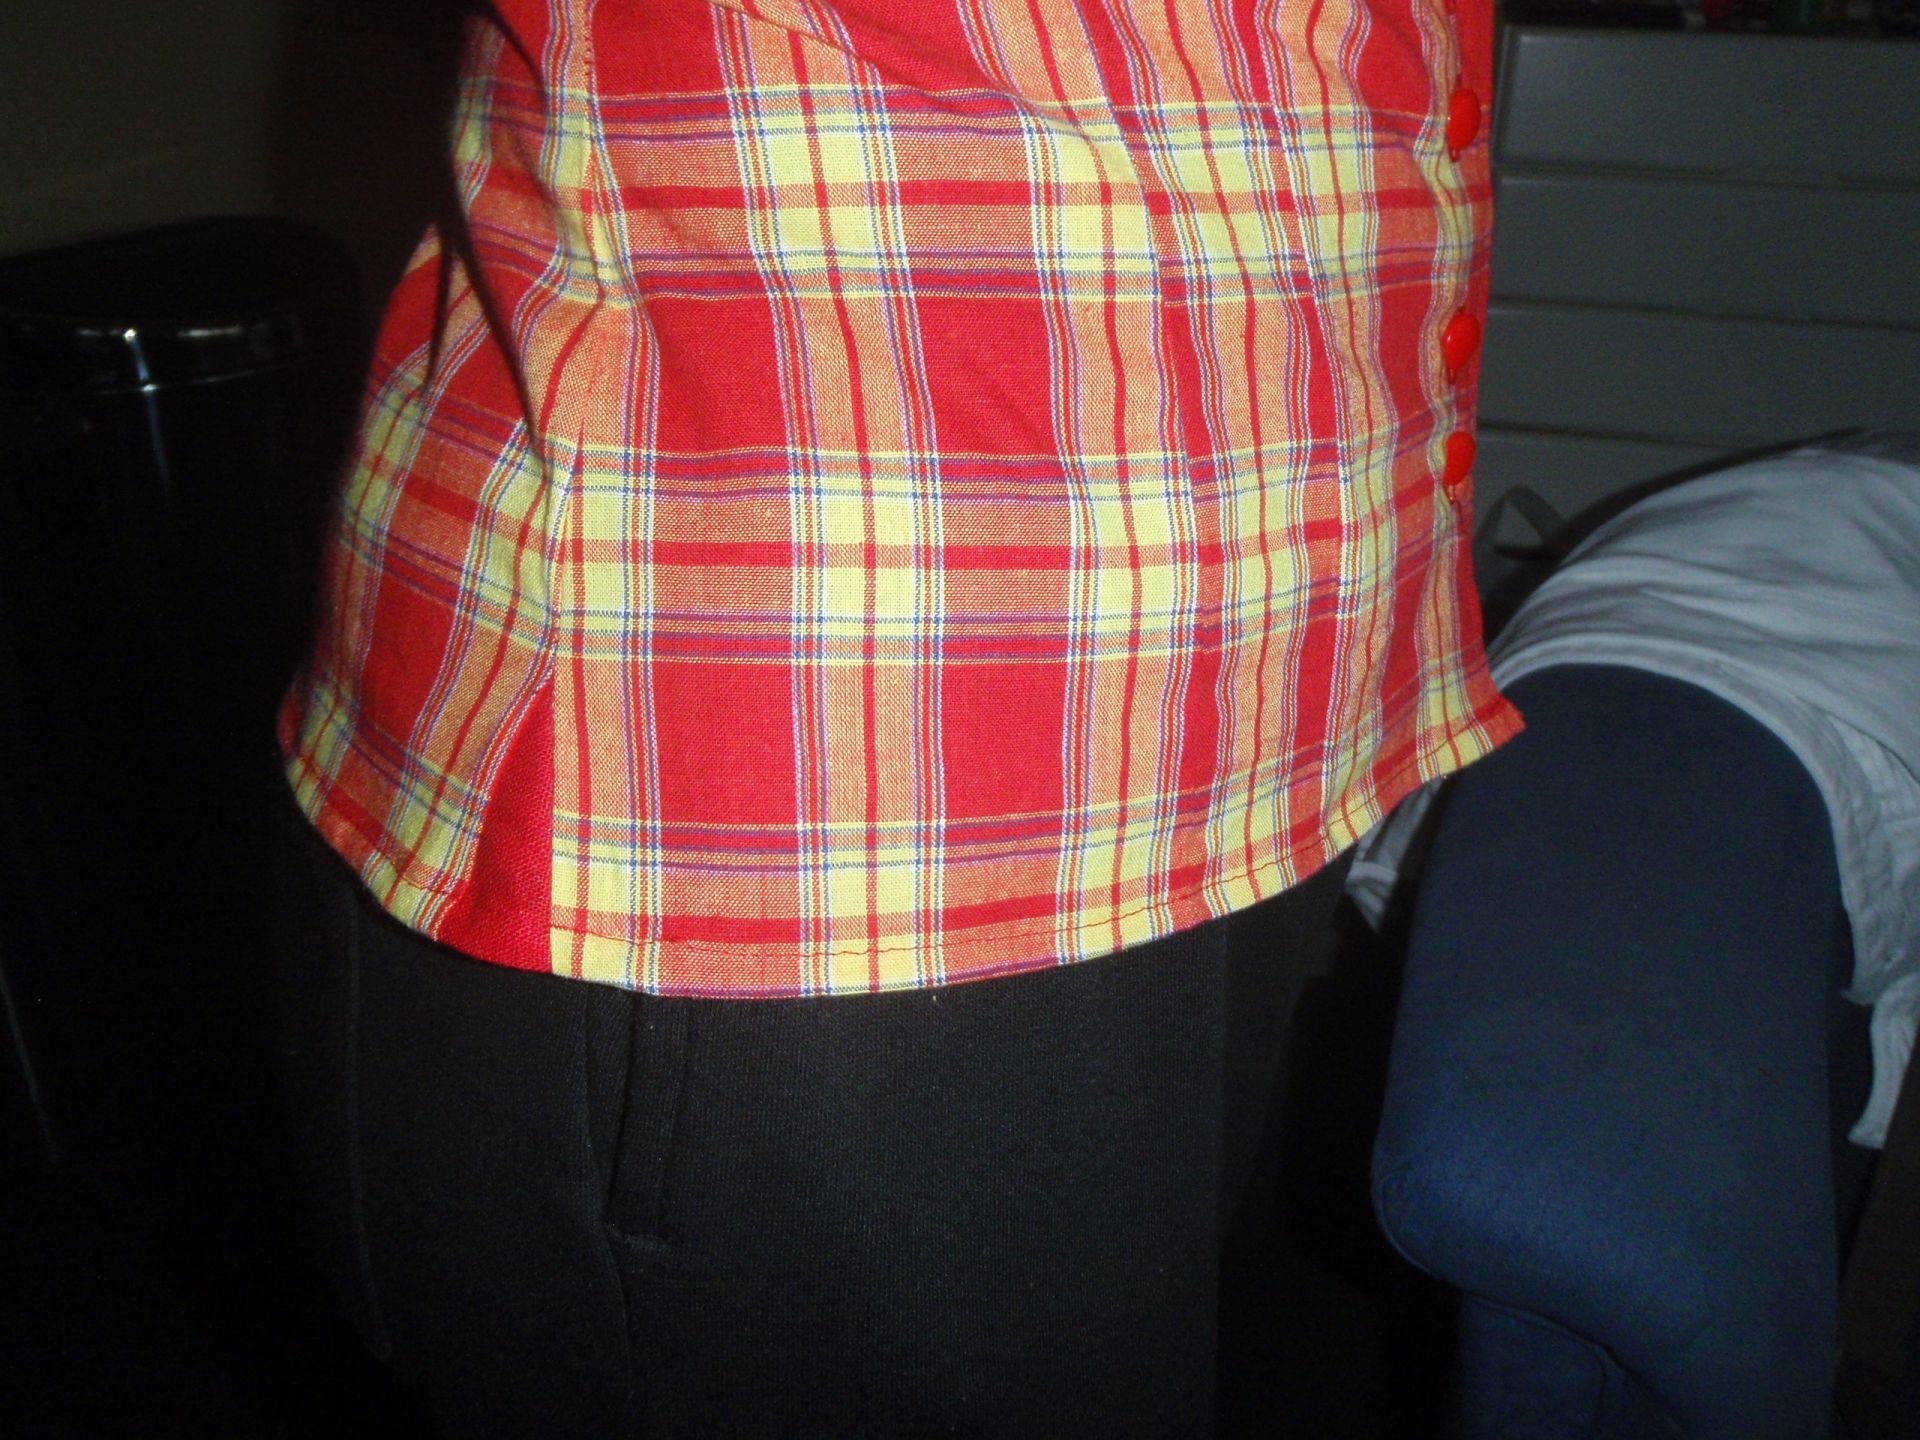
It’s been quite a while since I’ve posted anything. I’ve been working on three things actually, but it took me forever to complete one of them. The first one that is finished is a red and yellow plaid blouse. It’s based on the vintage simplicity pattern 1236, the same as the cook blouse (here). It took it in on all sides, lengthened all the darts, changed the button placement, took the cap sleeves from Simplicity 2473 and made it a little longer. I also added in side extensions at the bottom, as those I saw in my fathers shirt. So here is the finished product:
Left is the blouse front, with the plaid as matched as I could, I think it looks quite good. Also I changed the button placement to 4x 2 buttons closer together, I like it, although it is easy to skip one when buttoning up. On the right is the side extension, a red piece of linen I found in the stash.
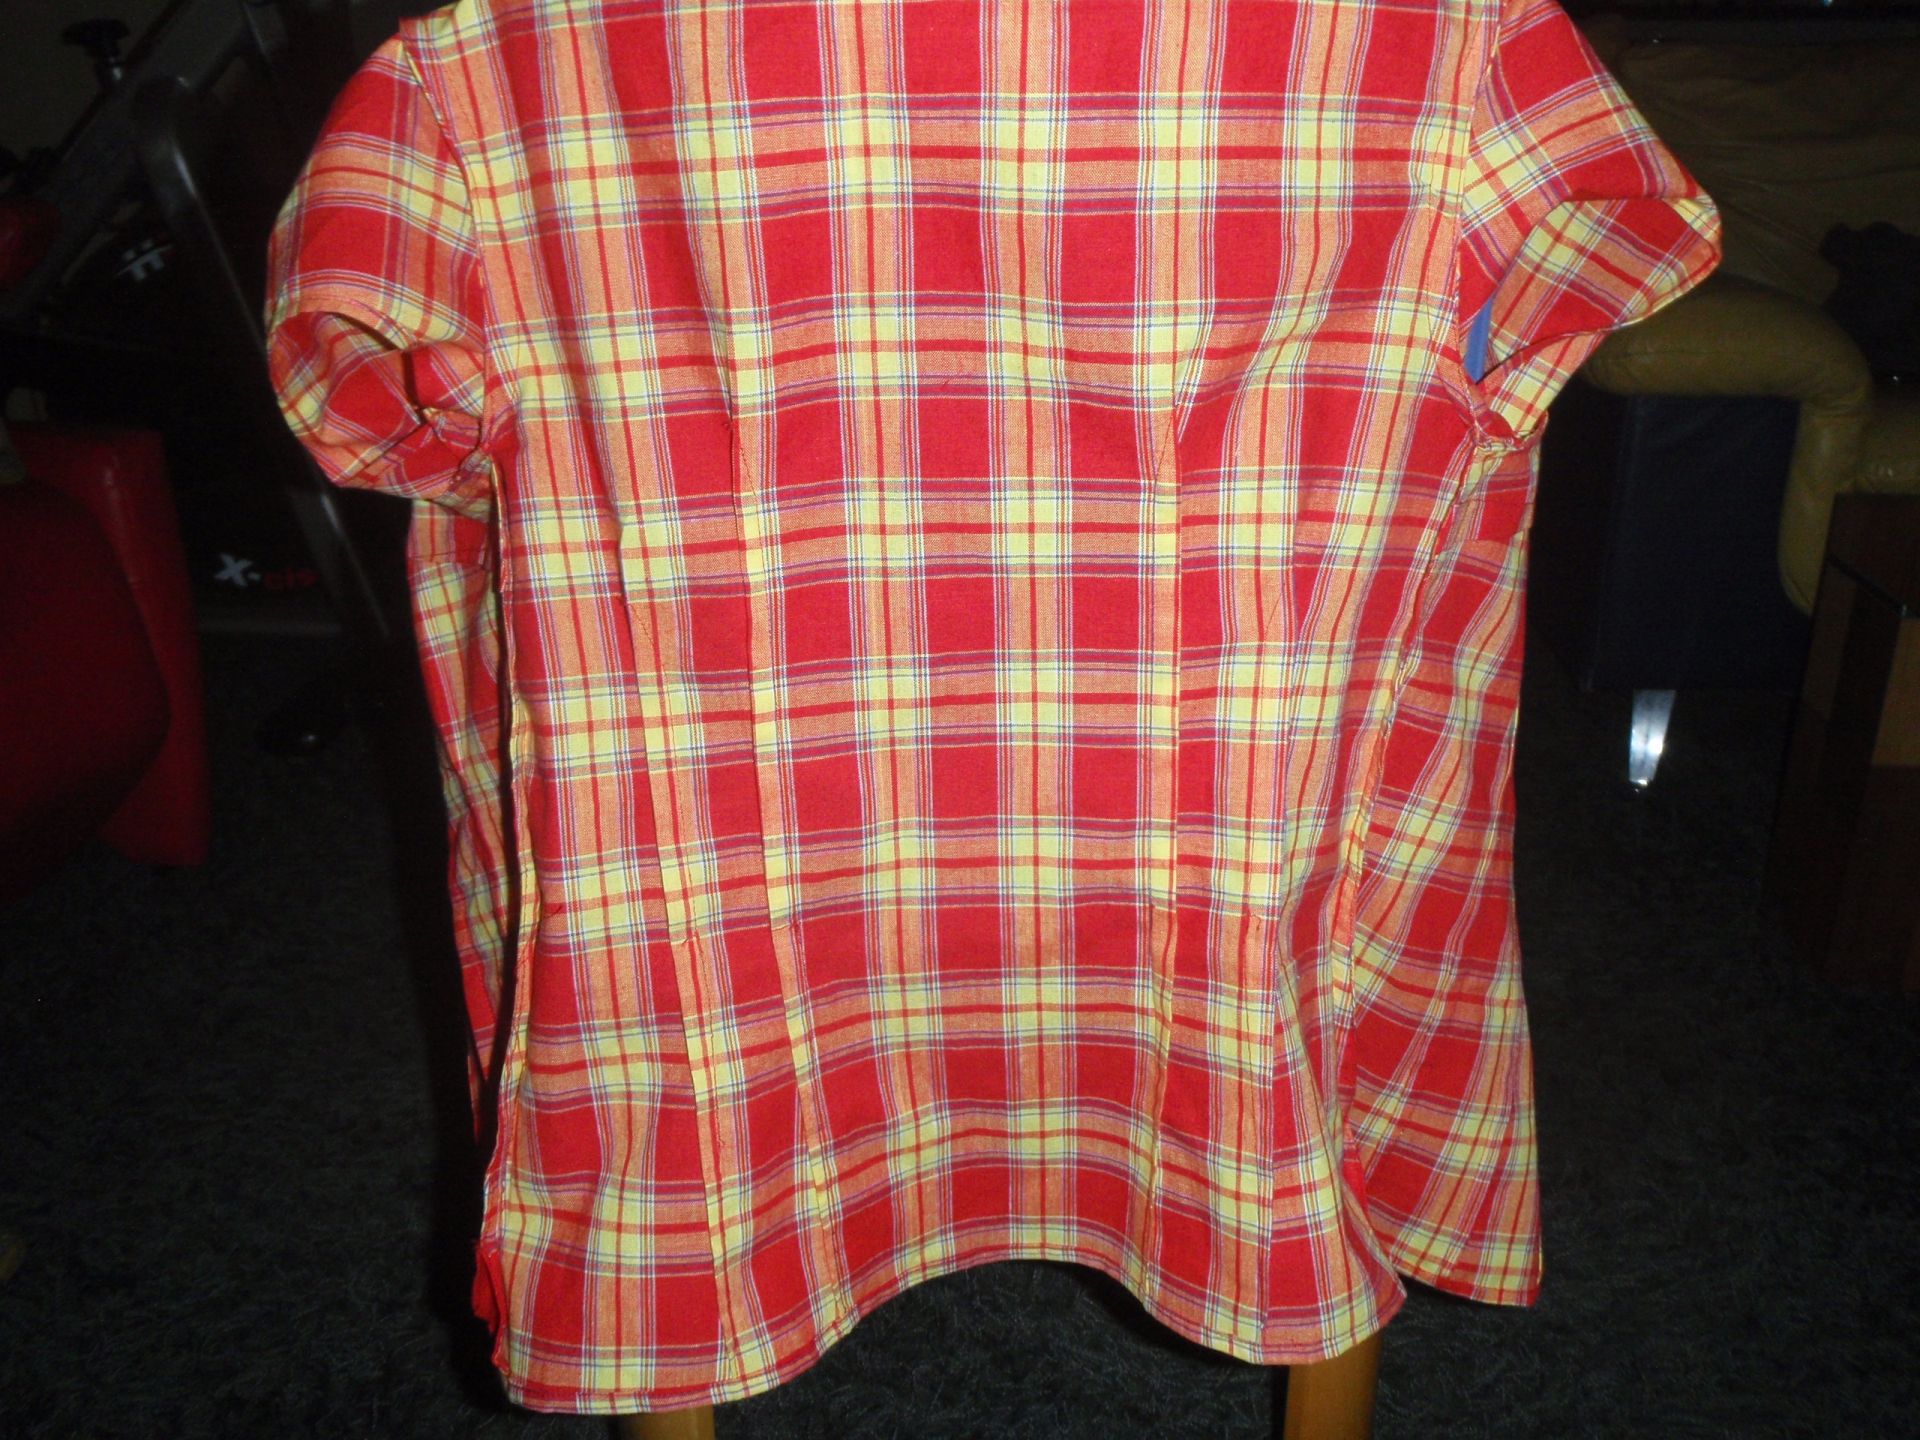
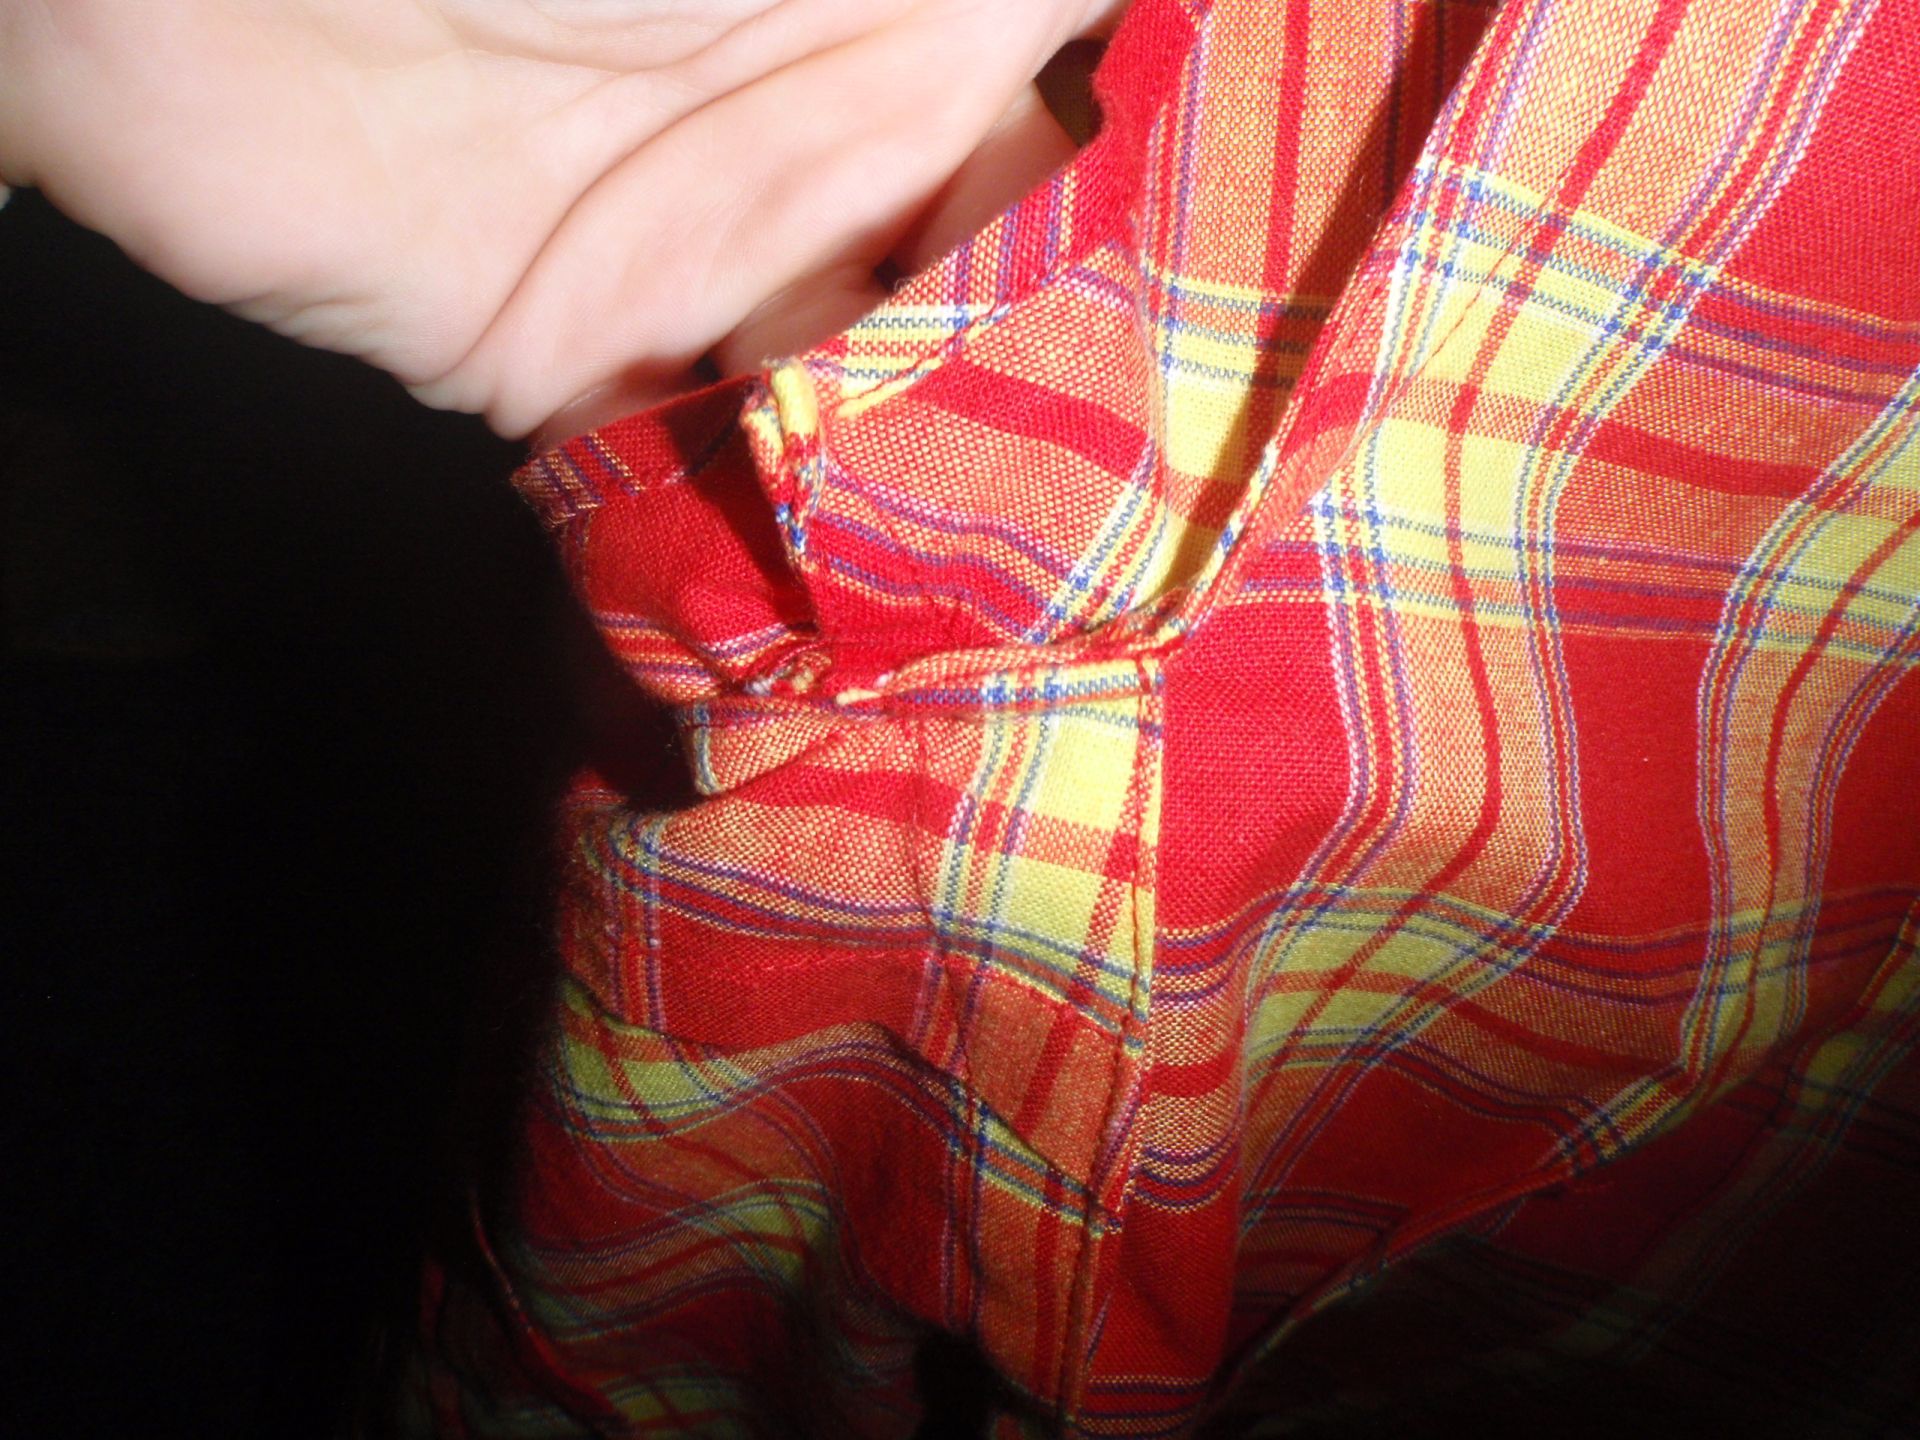
I also fully finished it on the inside, so no shedding hopefully. Here you can sort of see it.
So I also have a blue shirt to finish, and a red sweater that needs bound edges. So hopefully I’ll be creative enough to finish that soon!
So I finally took a picture. Today I got people telling me I looked like a cook in this blouse. I don’t really care because I think it’s nice and I liked making it. I’m proud that it worked so that’s good, I assume.
Well here it is:
Vintage Blouse
Excuse all the wrinkles, the second button from the top is actually white/pinkish, the rest is all dark.
I worked a bit on my mothers skirt this week. So now I have most of it in one piece. Just need to put a zipper in it (the most horrible part of all), hem it and make sure it fits. Wish me luck on that.
I’m going to enjoy my blouse out in the wild now.
Active filters:
Category
Tag
Post Type
·
No results found. Try a different search.
No results match these filters. Try clearing some, or searching for something else.
No results match these filters. Try clearing some, or searching for something else.