Antique Dress Form Cover

Making my new antique dress from a new skin.

Recently, I bought an antique dress form on ‘Marktplaats’. It took me a month to pick it up as it was literally across the country, but by the start of October I managed to get it home. It did take a few hours in public transport with the unexpected train replacing bus service in the middle, but we got there in the end. I really love it, it’s got such a nice shape! However, as the dress form is quite old, not all of the fabric has survived the century or so it has been in existence. Therefore, I decided to make her a new cover.

All the seamlines were drawn out on tissue paper while making sure the grainlines made some sense. Then those seven pattern pieces (neck, upper front, lower front, center back, side back and lower back) were transferred onto some cotton that has been in the hoard for a little bit. I made sure to put in the seamlines and sewed the cover together. It fit pretty decently first time around, which did surprise me a little. I did have to take in a number of the seams, but nothing was horrendously off. The only bit that was quite difficult was the center front at the armhole area, which wasn’t too strange because it had two darts in it and getting those to work wasn’t trivial.

The new cover is a lot lighter in colour than the original, but I think it worked pretty well. I’m quite proud that I managed to get the seam lines to work and the cover to fit quite nicely. While I’m not even close to her measurements – that waist is seriously tiny – she does fit my clothes somehow. So now I have an Edwardian lady in my living room hanging out with her pet dragon.

Test version

During the last month of my thesis, I was also working on a dress. My mom found some old bedsheets and I grabbed them to act as a form of muslin type stuff, to test out clothes. I’ve had a vintage pattern (Simplicity 1076) in my drawer for a while now. The measurements on it were smaller than mine, so I figured I’d make it out of said bedsheets and test it out. I traced the 2 pattern pieces from the top and added a little width to the sides. Yes, bad method, I know, slash and spread and stuff – but I tissue fit the front and the darts seemed to hit at the right place. So I just added some more to the side seams.

For some reason the front skirt pieces still matched the front bodice pieces, so I cut those out as they were. I thought it would be the same for the back pieces, however, I was sadly mistaken. In order to not have to recut, I just let out the pleats a bit, and then it fit. I did my first actual blind zipper with my (relatively) new blind zip foot. Absolutely fantastic, very easy, very clean, very nice.

Got the dress on me, it was see through as hell. (What do you expect with million times washed bedsheets girl.) So I grabbed myself another bed thing and made a lining. The lining was much more stable then the toplayer so it really helps to give it some structure. Stitched it all together.. it was too big in the bodice. I felt like a fat little blob because it gave me no shape at all. In went those side seams, which looked better. Still had a huge amount of pooling at the lower back. What’s a girl to do. Take in more!! This time I took in the back darts. It really helped a lot. Got rid of the pooling and gave me a waist. I’m loving it now.

After all this chitchat, I hope you would like to see the dress. Here it is:

Front Back Insides

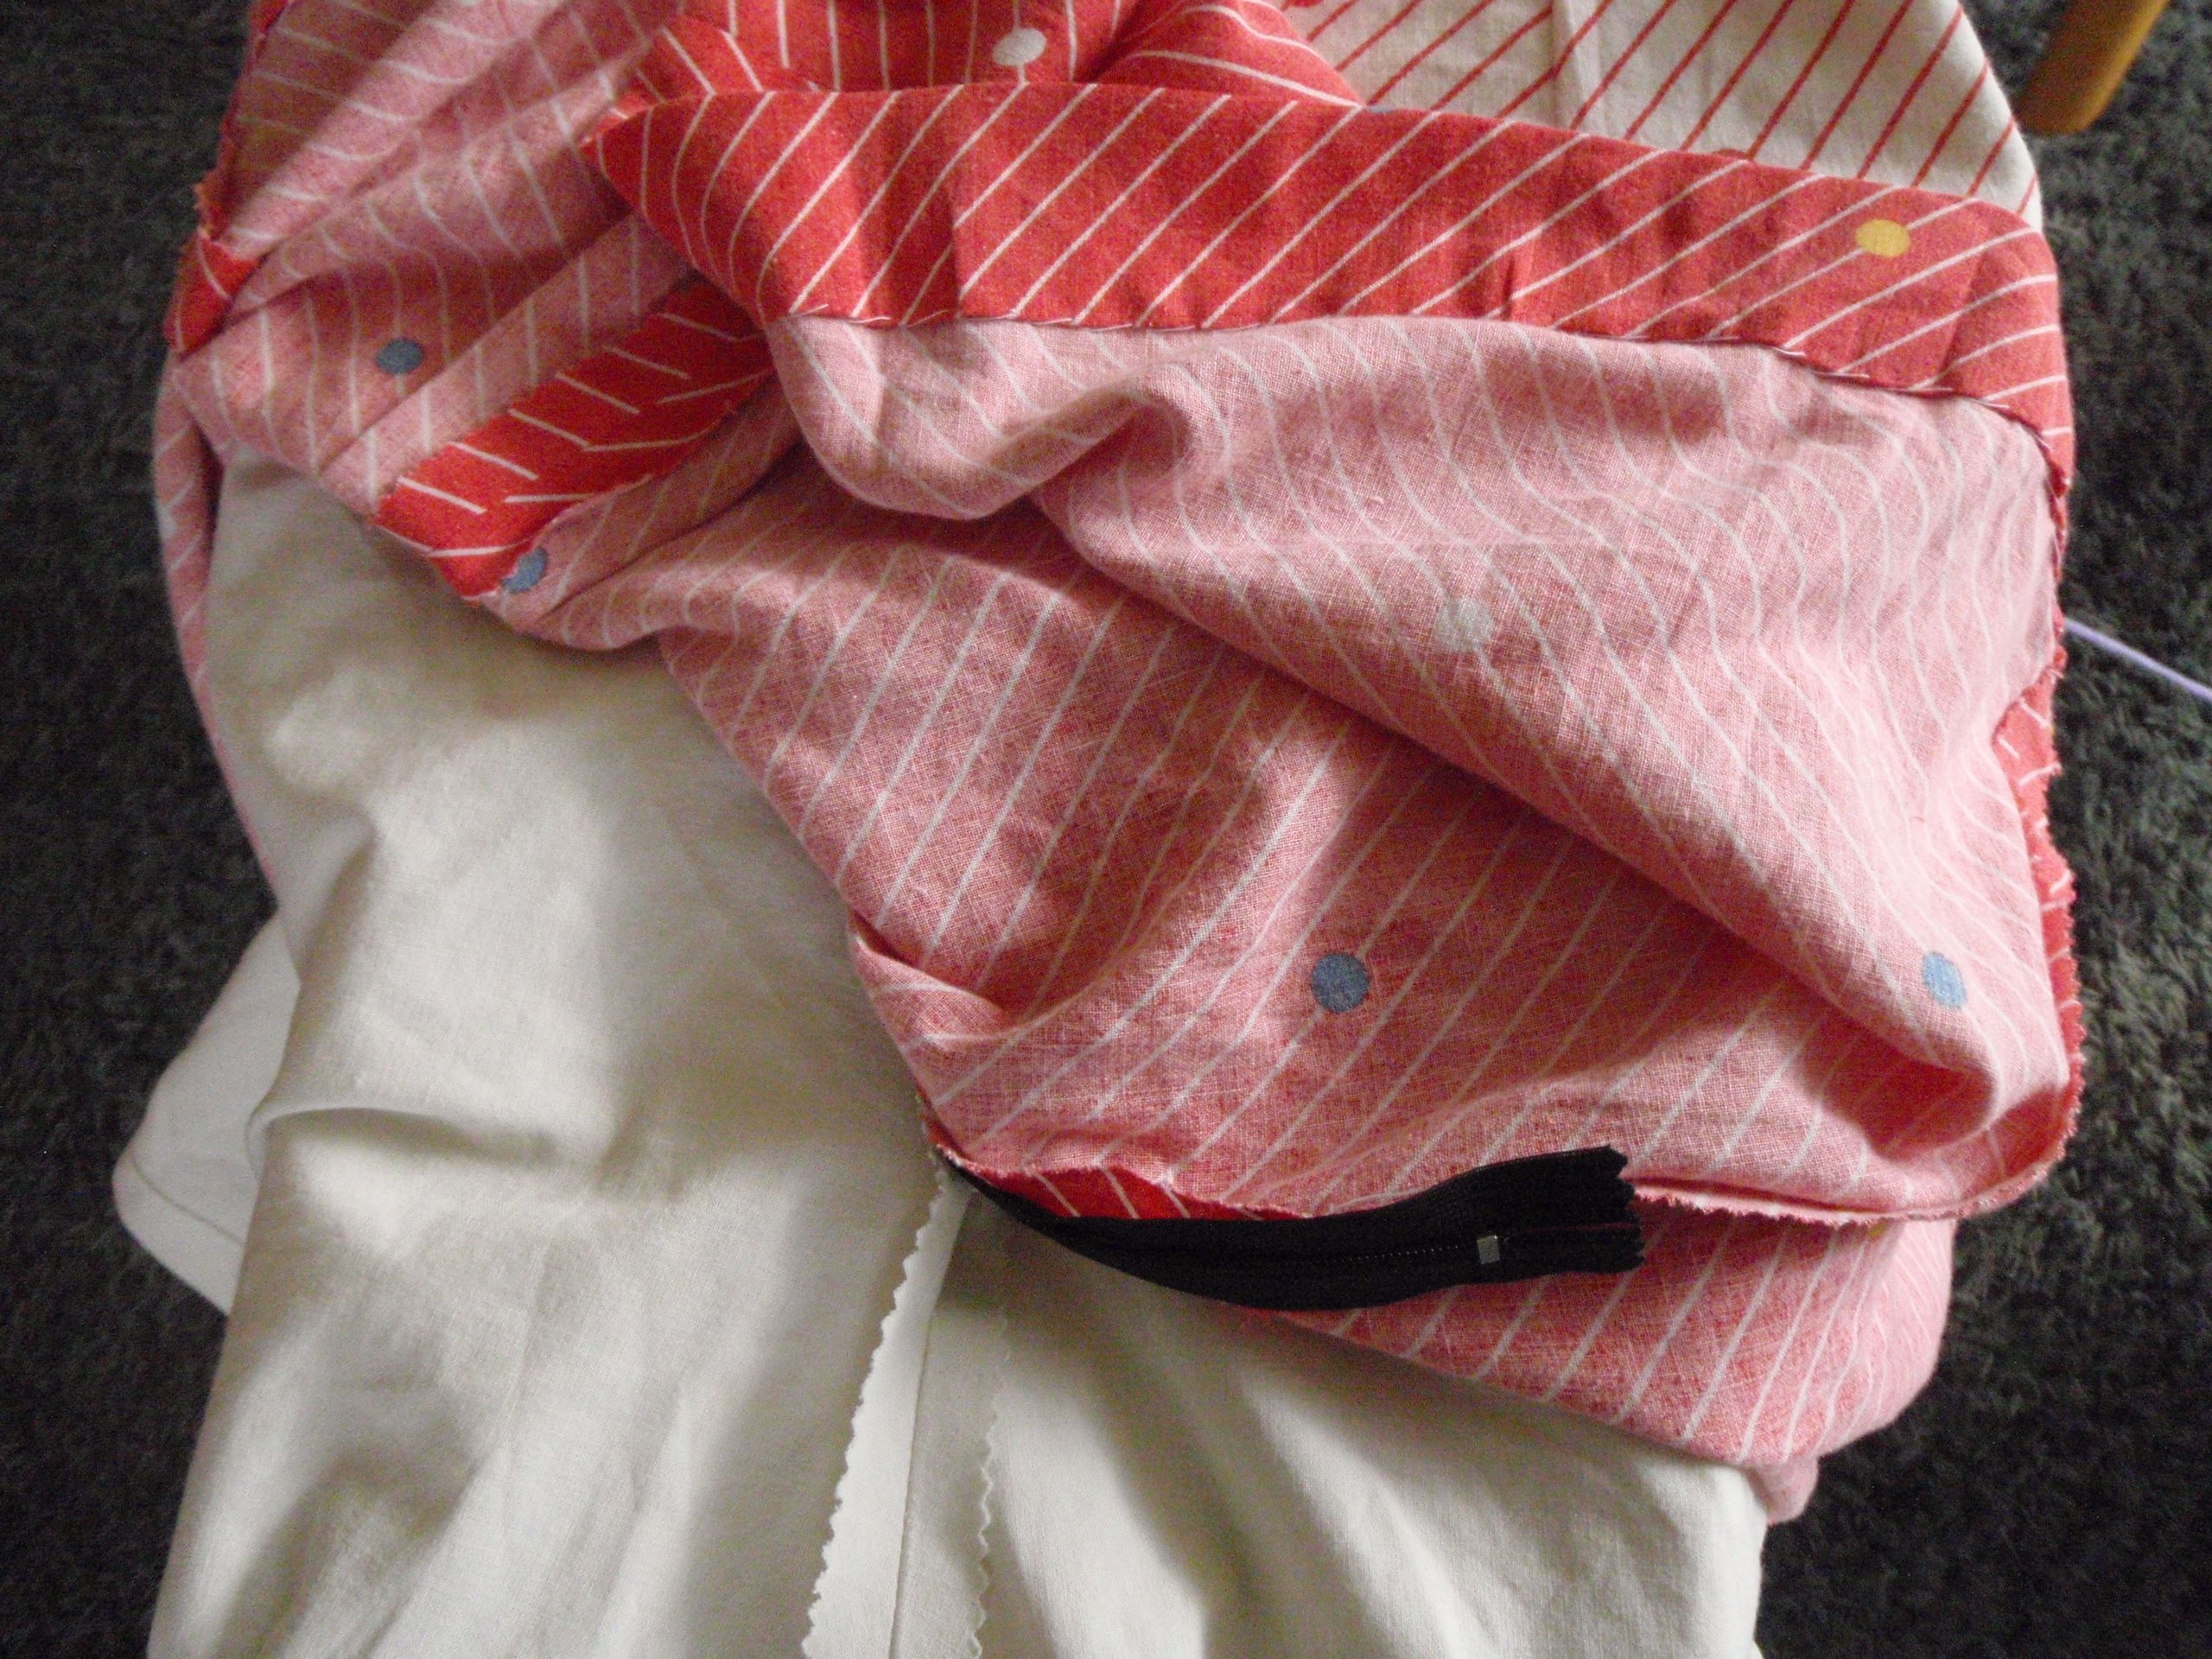
Front, back and inside view. For the insides I chose to pink all the seams (first time for everything right) and do a deep hem on both layers, mainly to make it fall right. I even hand sewed the hem, white thread and taking a stitch in the white stripes on the skirt. It’s completely invisible.

Oh.. where is that zipper  Full lining

Left is the back, with no obvious zipperage if you ask me, and right the full lining, nice and white, no more underwear on show.

So this dress now gives me a shape, it twirls, and it makes me happy. Even though it was meant as practice, I might now actually wear it. Moreover, I adapted my tracings such that making it again will be much quicker (hopefully) and I can make it in something that is.. age appropriate?

At least I enjoyed myself, and I’m proud for finishing something. At last.

Blouse

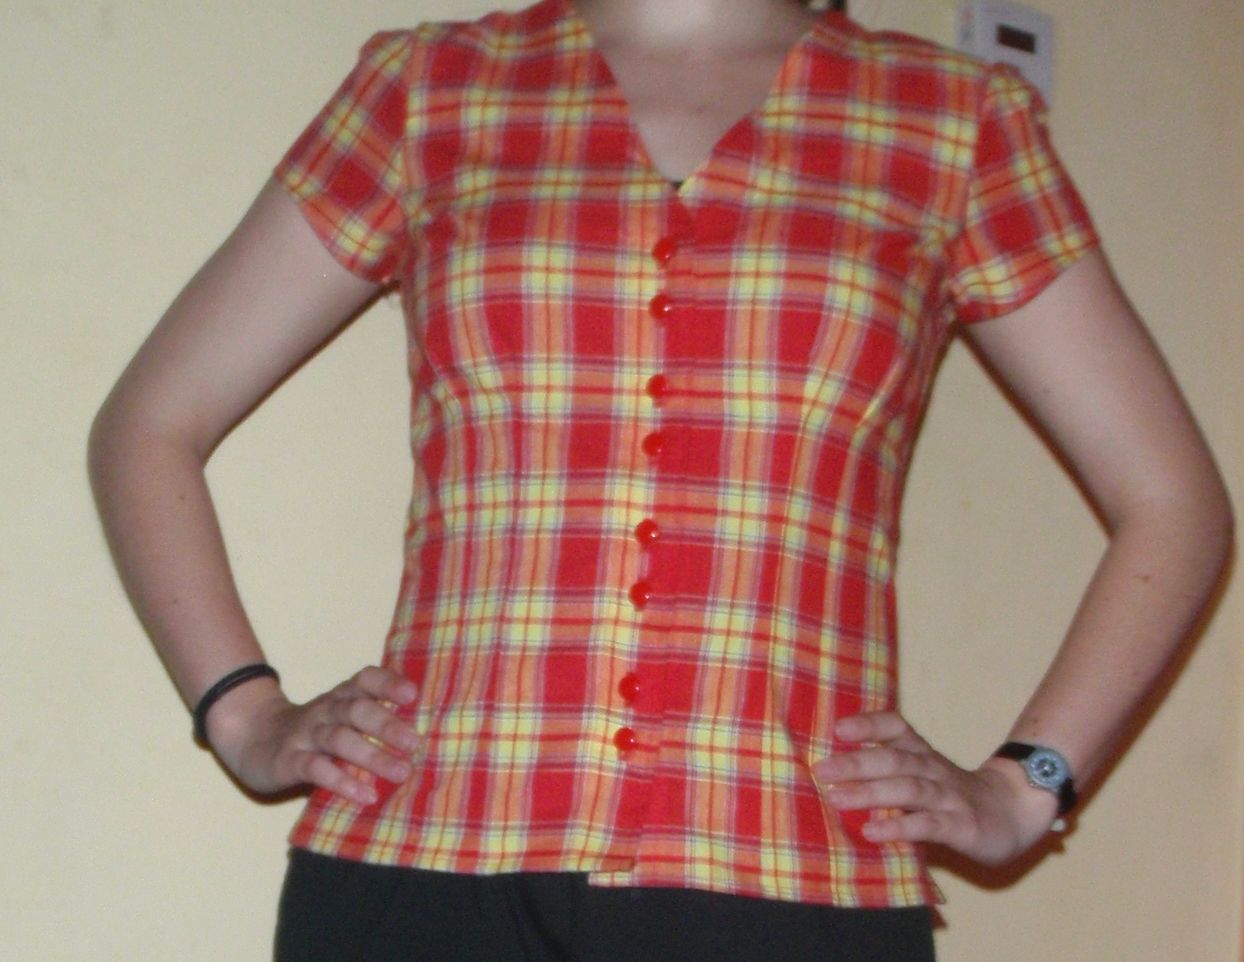
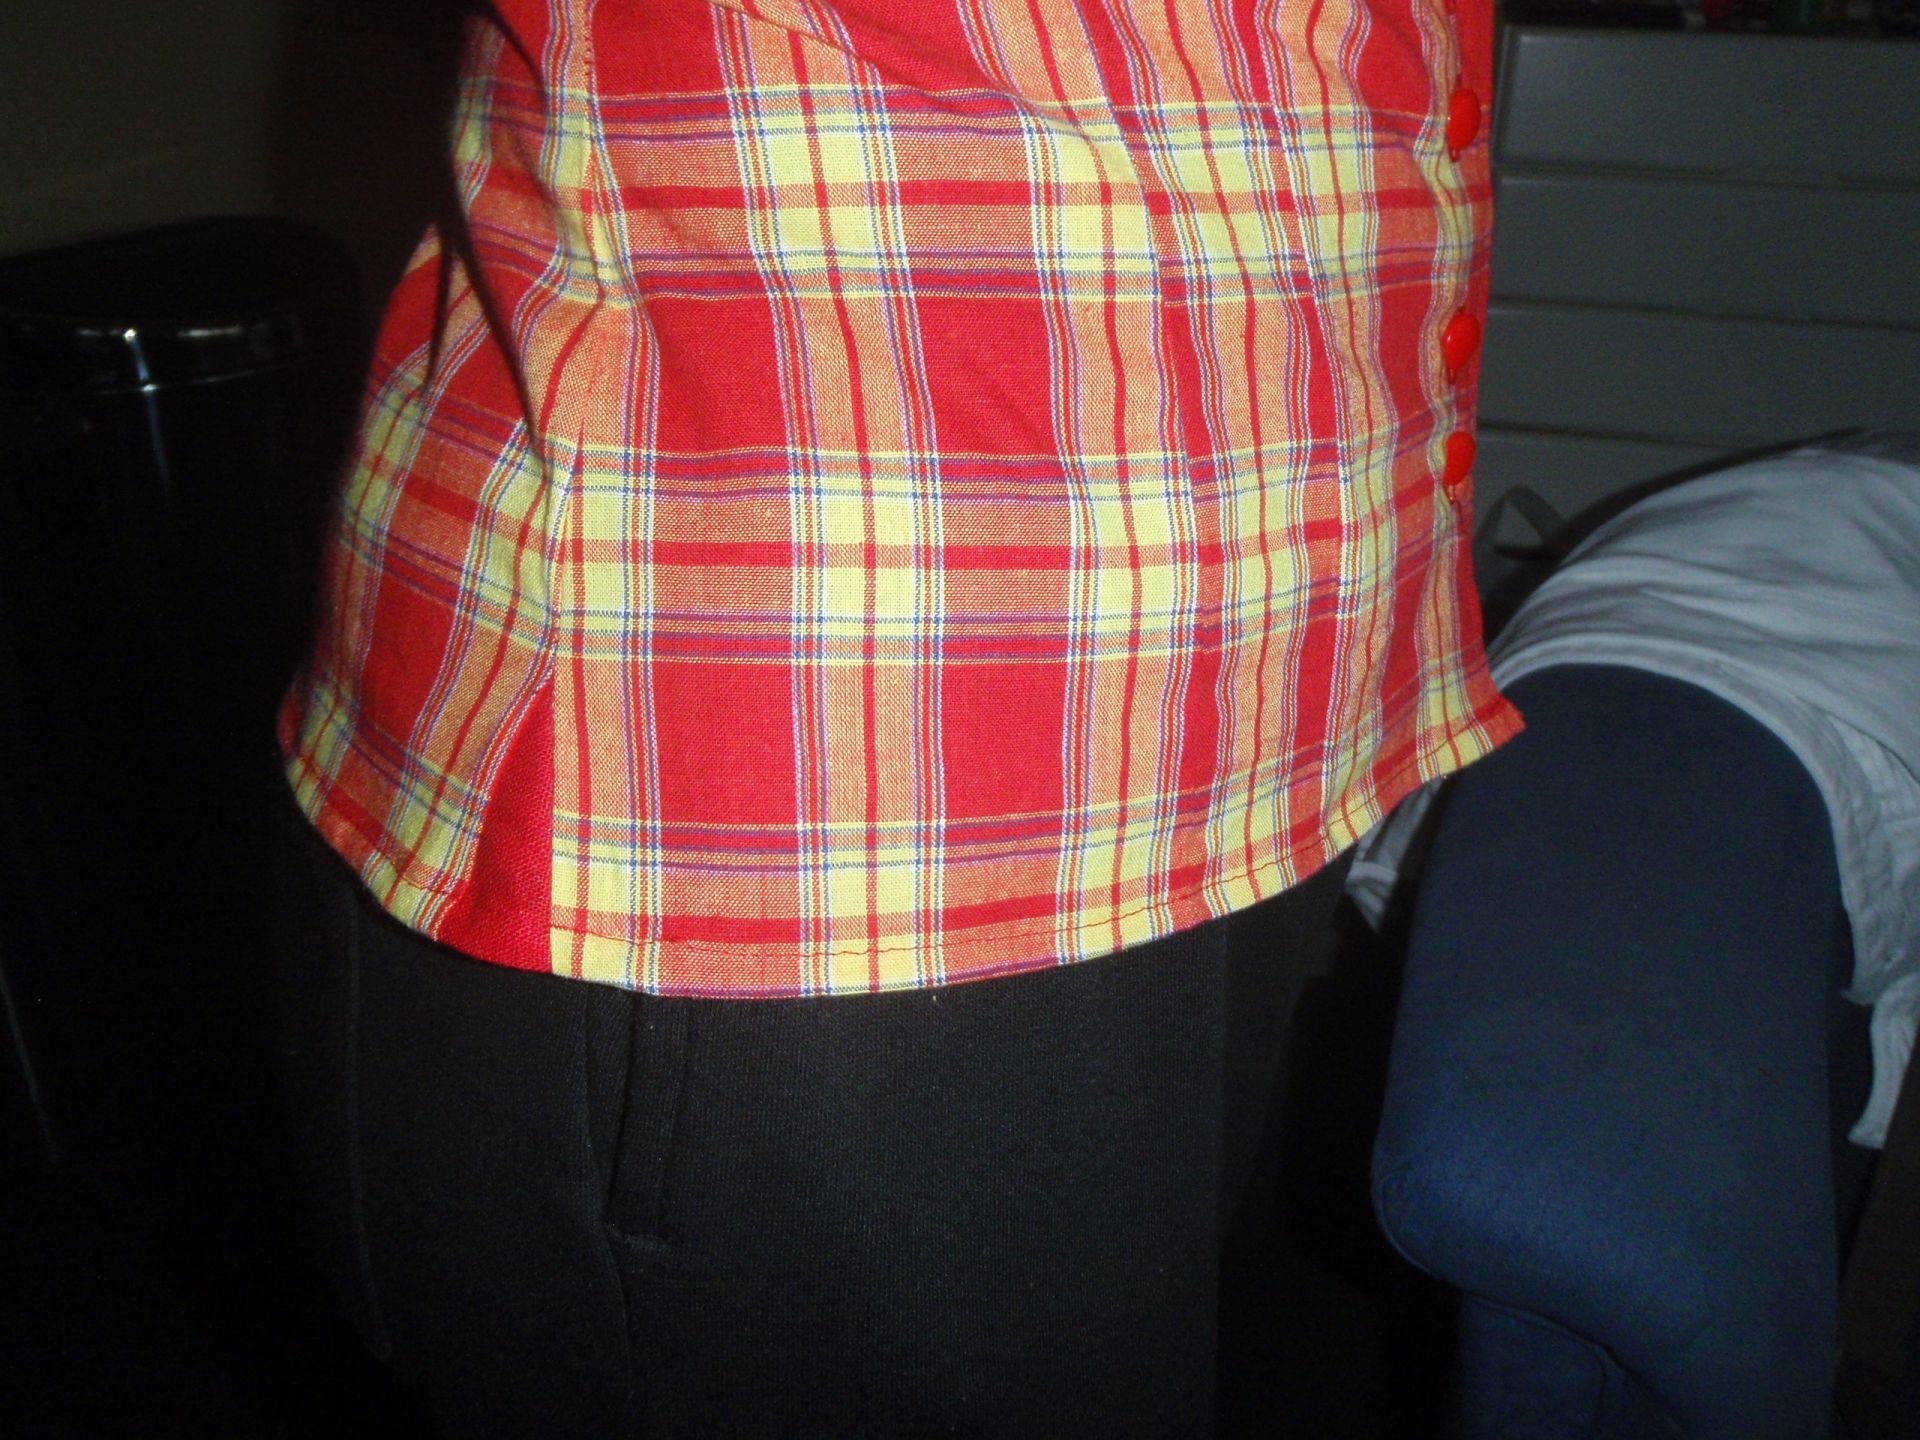
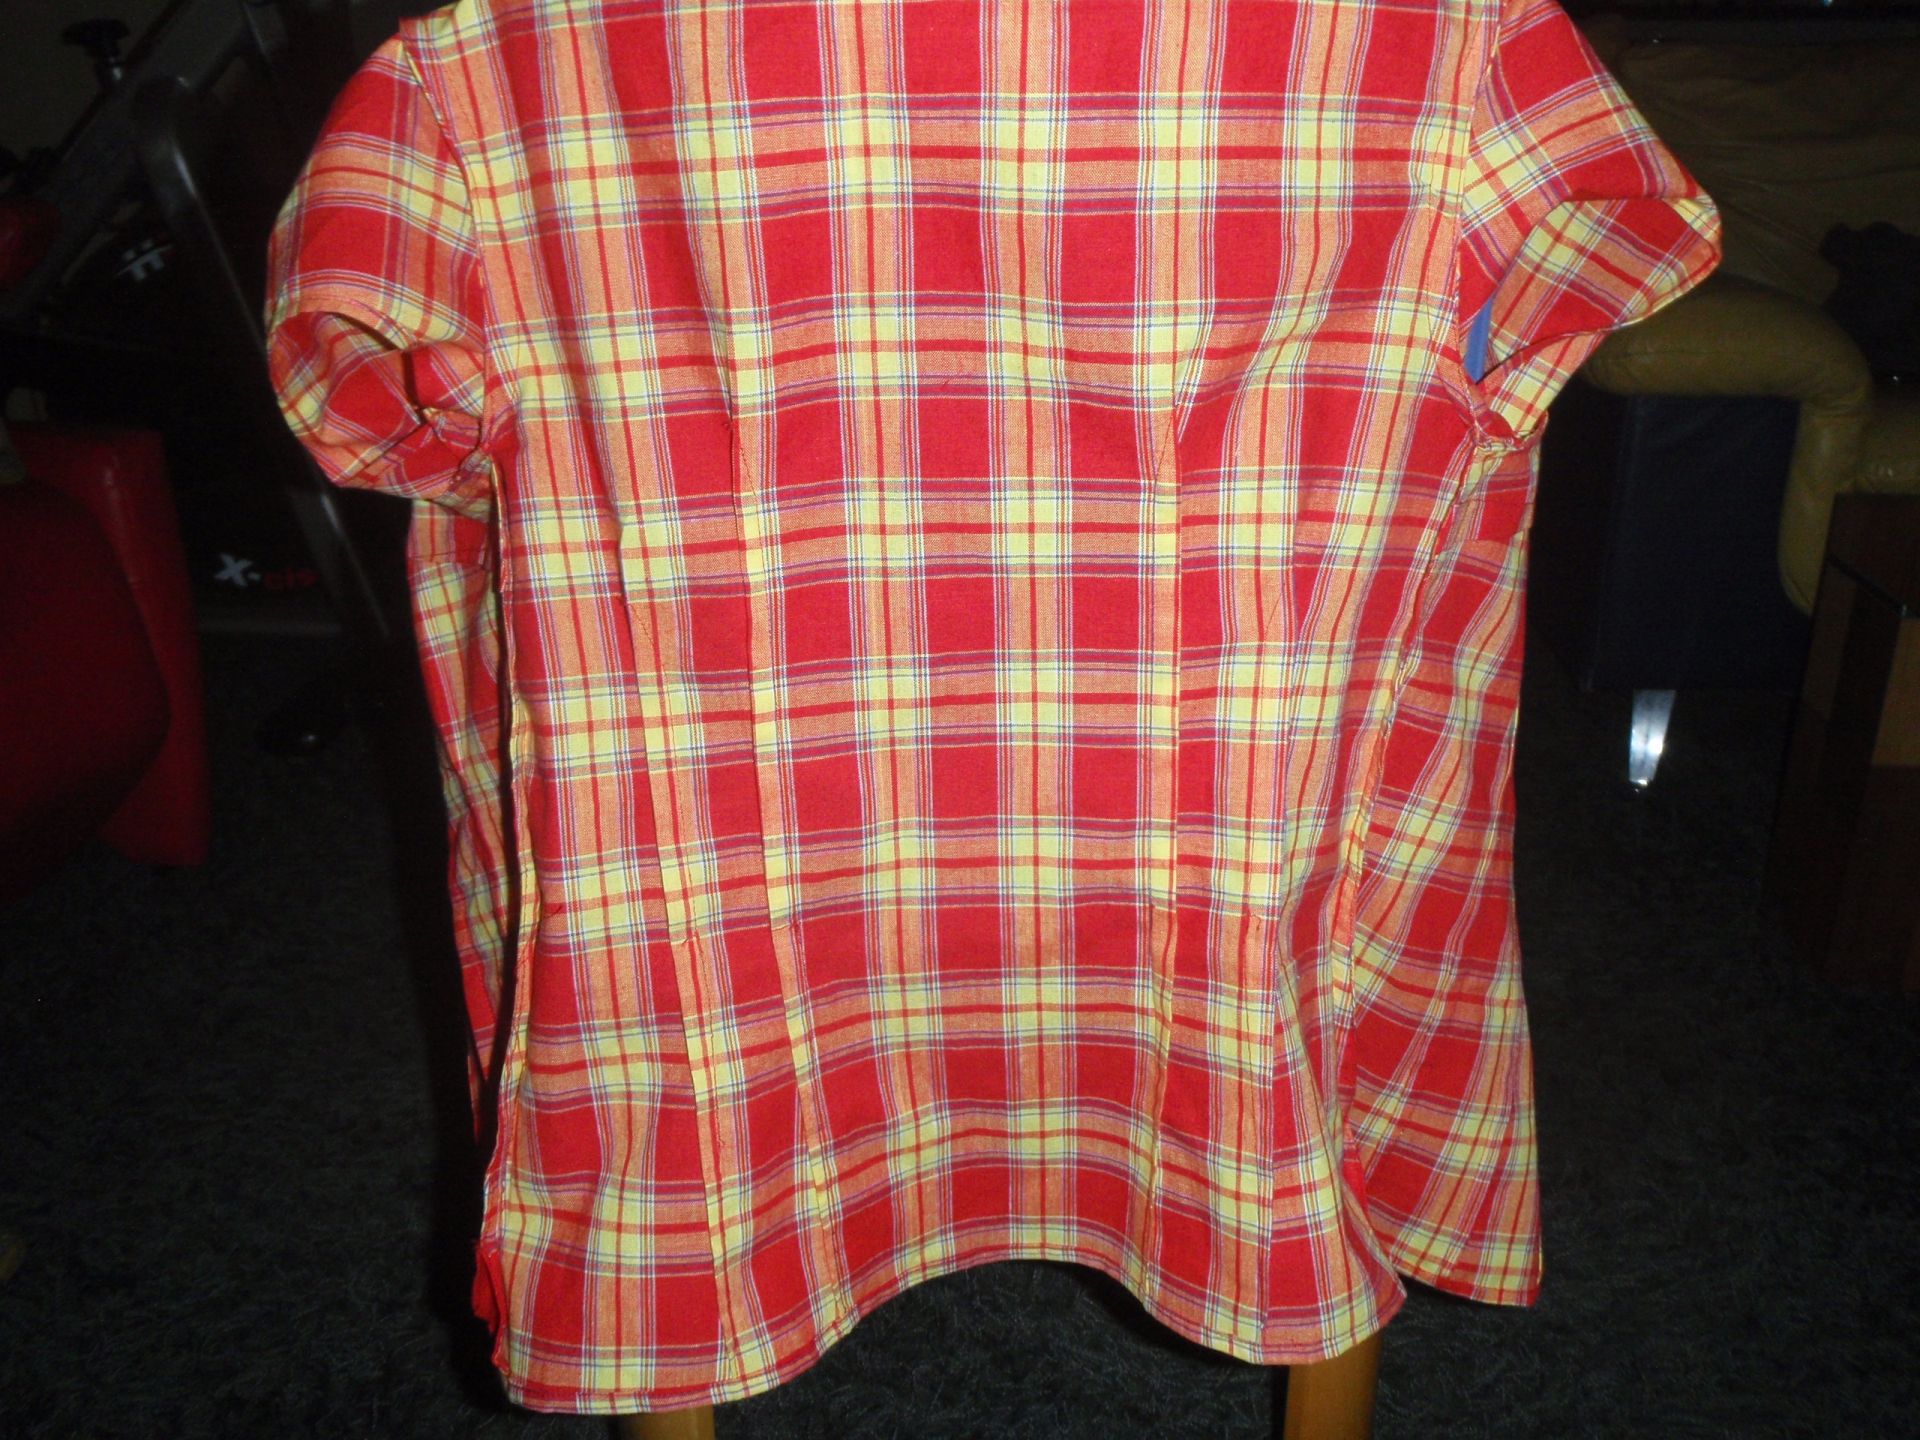
It’s been quite a while since I’ve posted anything. I’ve been working on three things actually, but it took me forever to complete one of them. The first one that is finished is a red and yellow plaid blouse. It’s based on the vintage simplicity pattern 1236, the same as the cook blouse (here). It took it in on all sides, lengthened all the darts, changed the button placement, took the cap sleeves from Simplicity 2473 and made it a little longer. I also added in side extensions at the bottom, as those I saw in my fathers shirt. So here is the finished product:


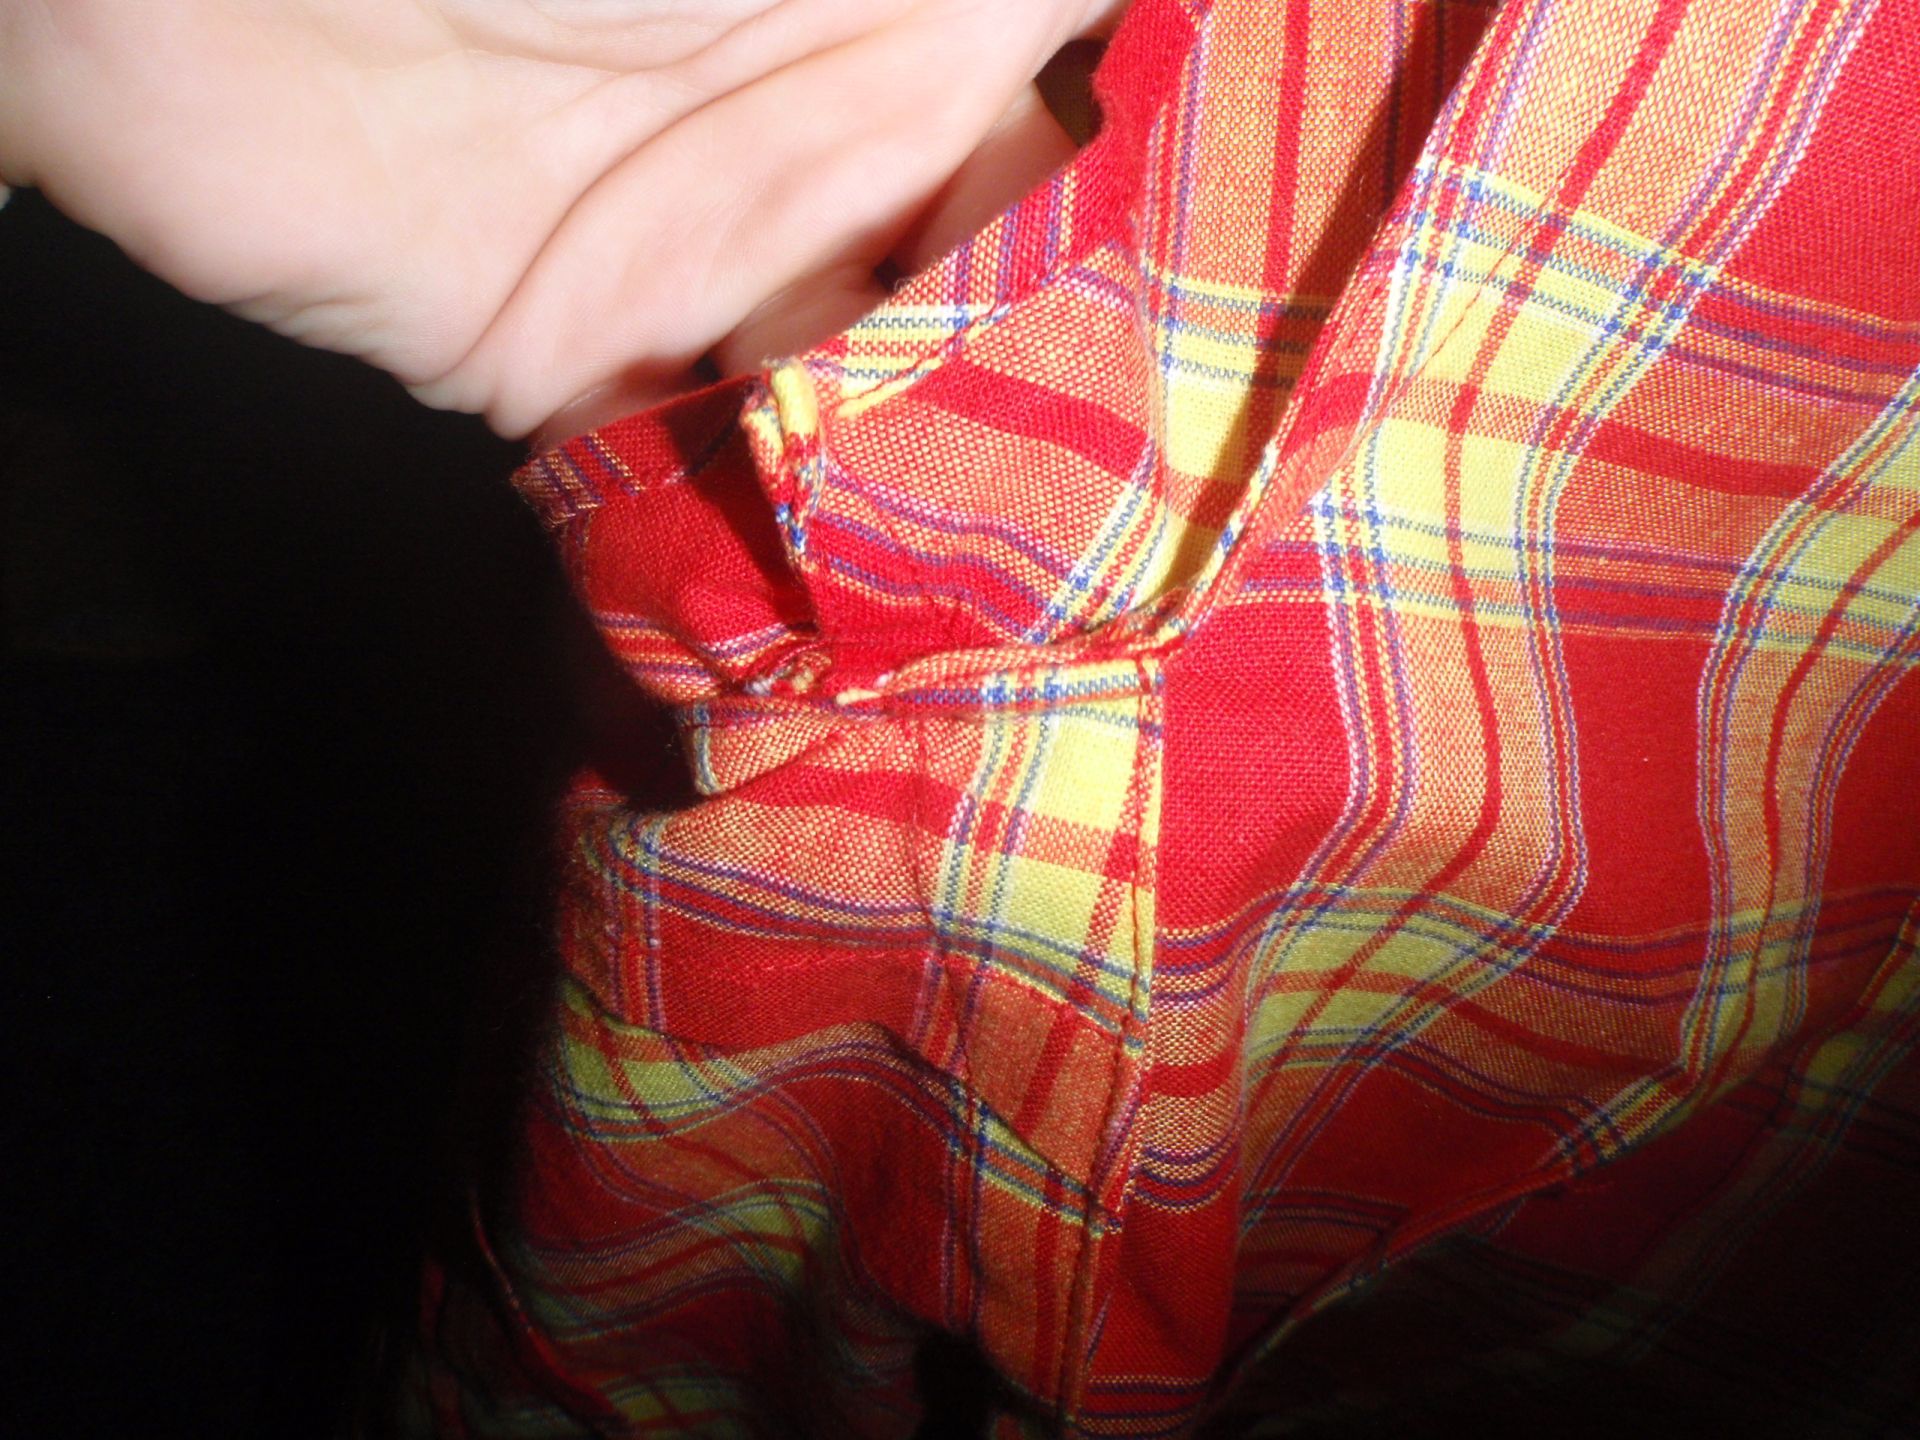
Left is the blouse front, with the plaid as matched as I could, I think it looks quite good. Also I changed the button placement to 4x 2 buttons closer together, I like it, although it is easy to skip one when buttoning up. On the right is the side extension, a red piece of linen I found in the stash.

I also fully finished it on the inside, so no shedding hopefully. Here you can sort of see it.


So I also have a blue shirt to finish, and a red sweater that needs bound edges. So hopefully I’ll be creative enough to finish that soon!


FINISHED!!!

Yaaaay!!! It’s finally done.
I have succeeded in knitting a cardigan! *dances around all happy *

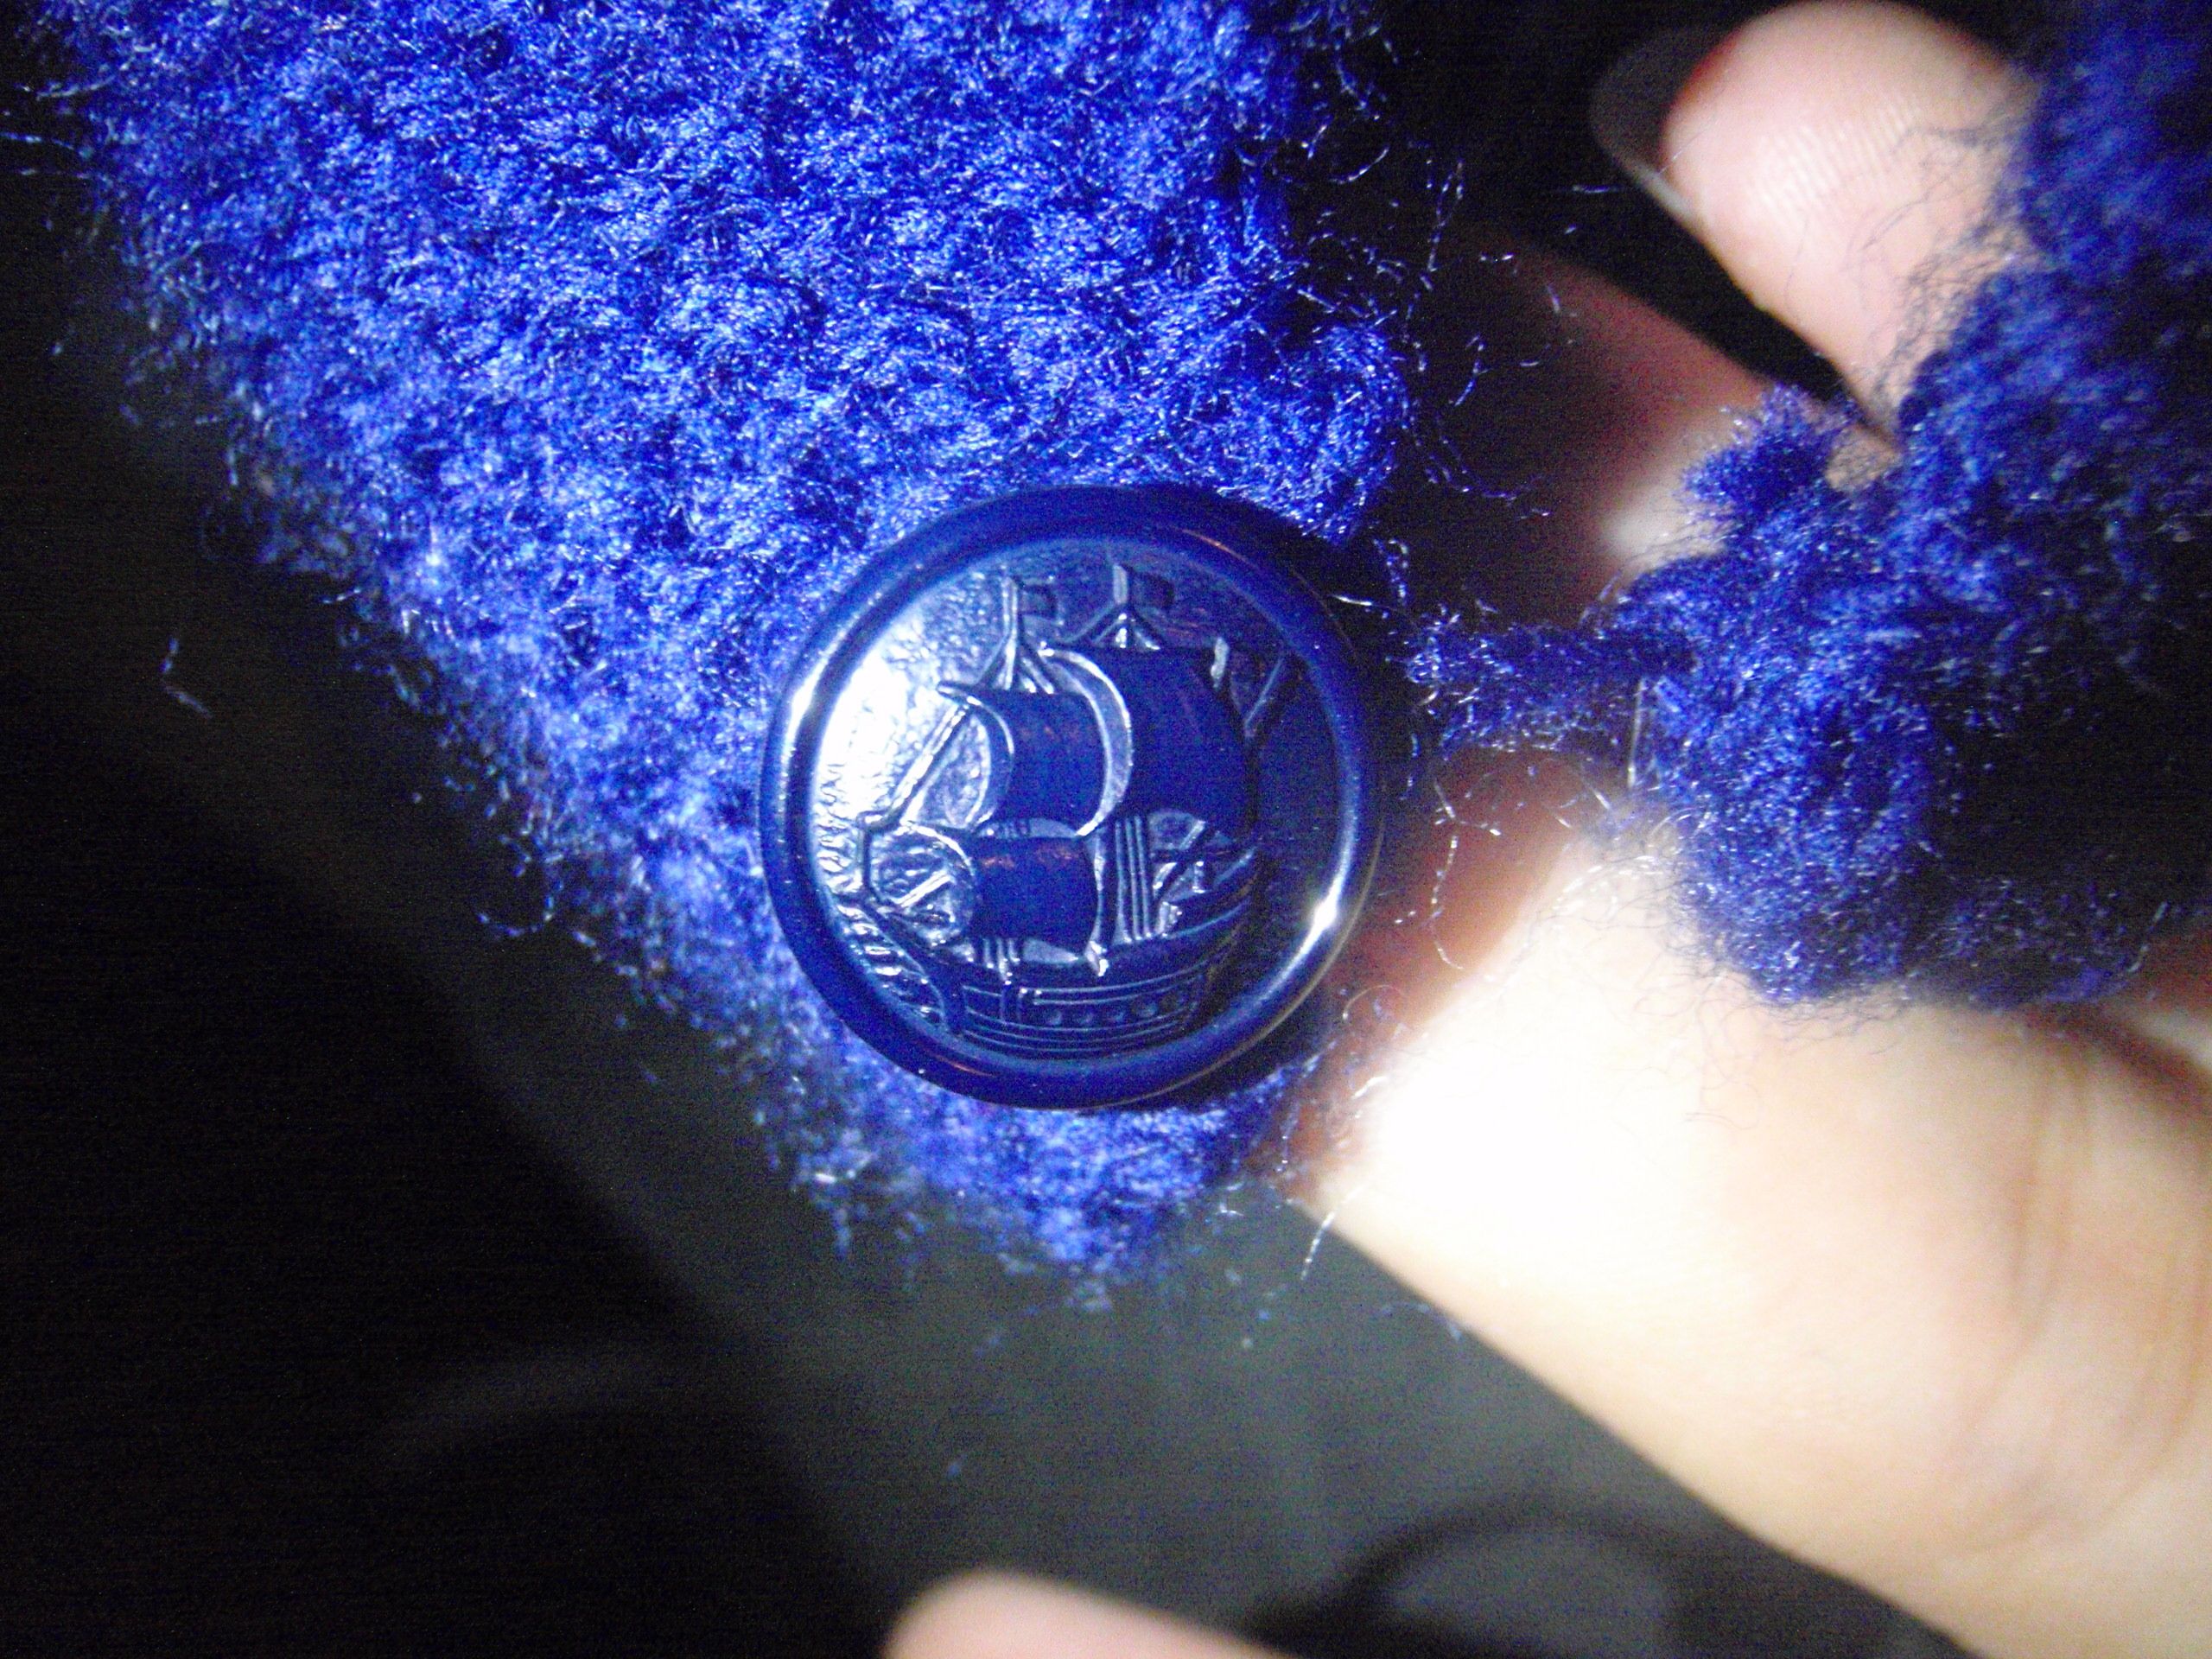
You might not recall when I started this whole project. Neither did I, but I looked it up on the blog and the first mention was here. That’s September people. It’s now May, it basically took me 8 months to finish something that other people can do in days. I know this because my mum knit herself a sweater in the time it took from my due date to my birth (approximately 18 days), 22 years ago. I was in a kind of thrift shop today where I found really nice buttons with sailing ships on them. My mum doesn’t like them very much, but I’ve really fallen for them.

Here’s the button:

Button

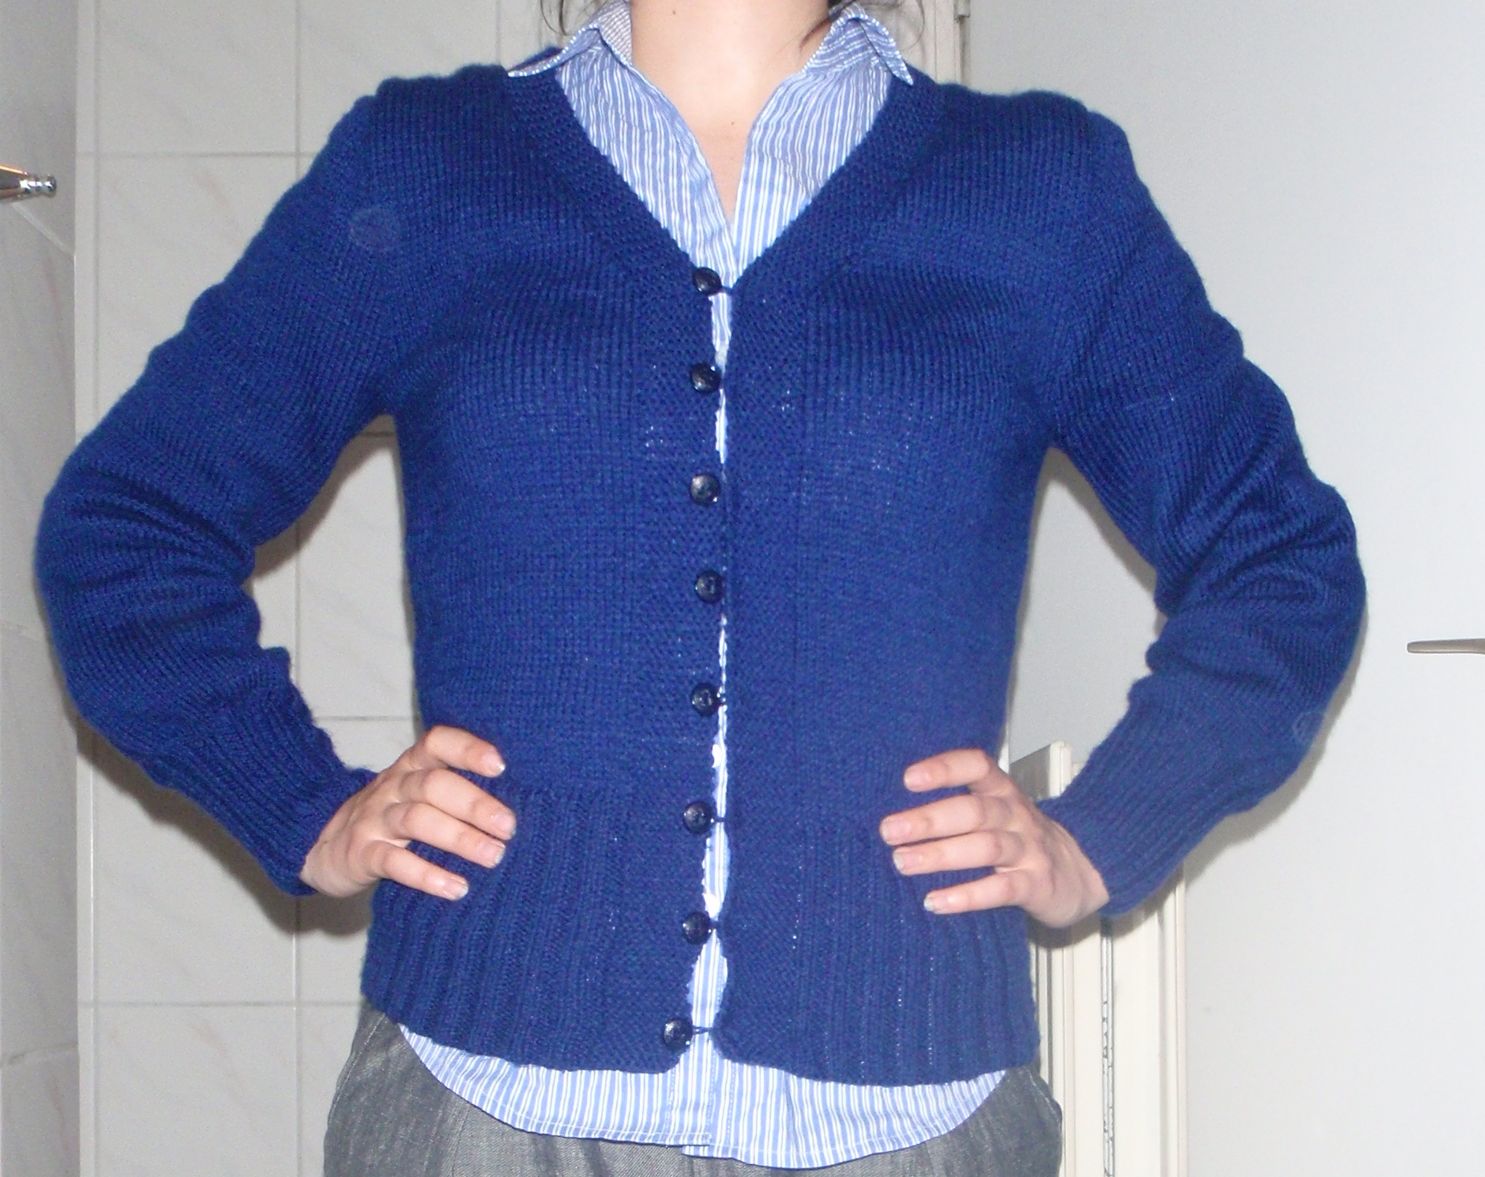
It’s a lot darker in real life as you’ll see from the next picture.. The finished cardigan!

Cardigan

Yes this picture was taken in the bathroom. It was eleven at night when I took it and that’s the only room with actual bright light.

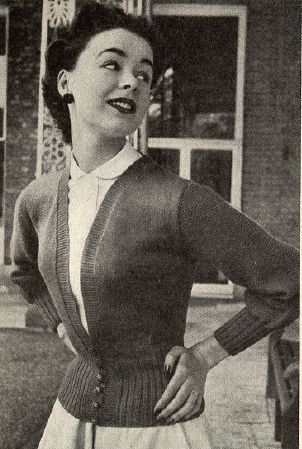
You might notice that it does not very much resemble the actual pattern it was based on, which is this one:

Pattern

This is because there was much too much space under the arms and it wasn’t even close to fitted. Furthermore, I felt uncomfortable with it being open so low (and it looked weird) and the arms are a lot longer than on the picture. The pictured length makes my skin crawl as it is both too short and too long for what I like. Thus with my changes I have now one finished cardigan!
(I’m so proud of myself for sticking with it even after all this time, go me!)

I don’t think I’m going to start another humongous knitting project soon, but this sure was a learning experience and at least I got a nice blue cardigan as bonus.


Knitting (cont.)

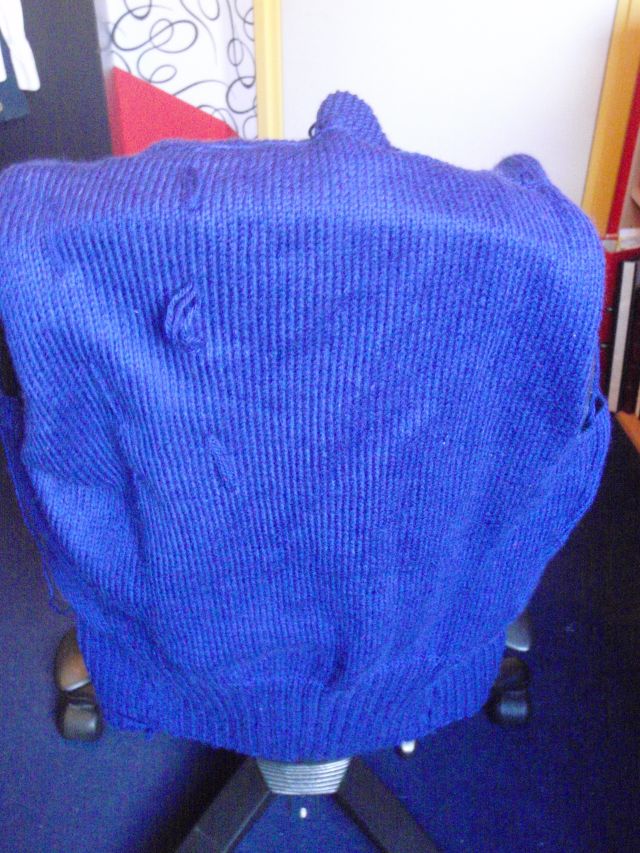
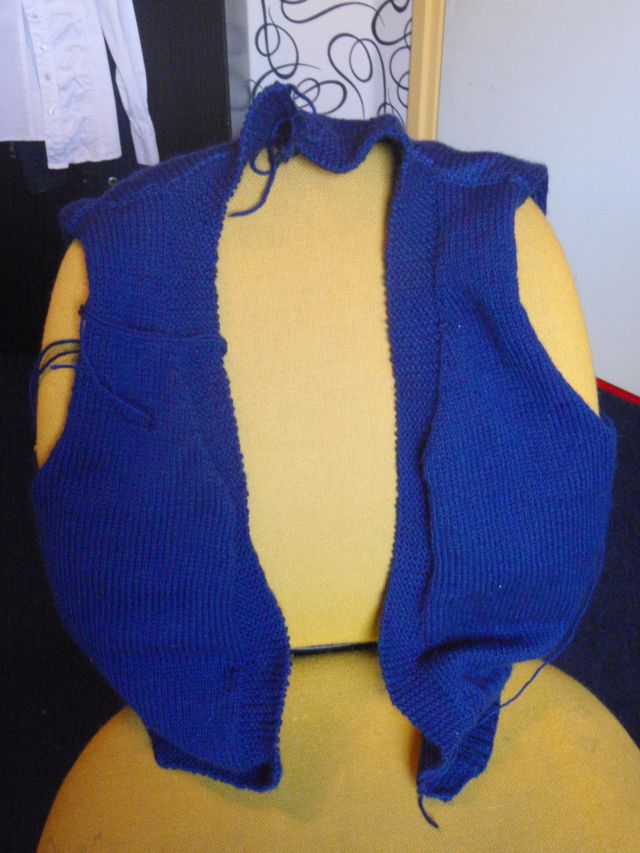
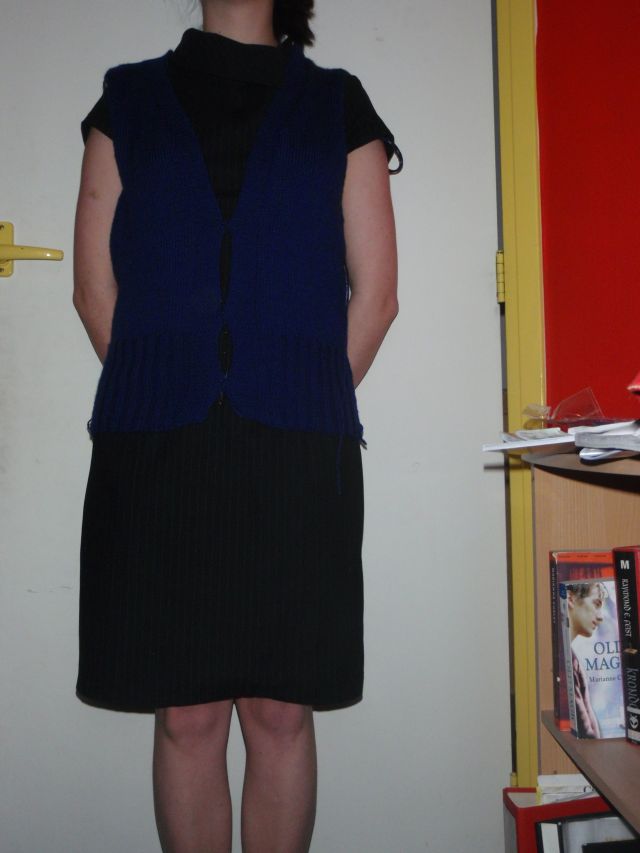
More knitting has been going on. I’m really starting to see progress! I now have the two fronts and the back finished. Although I’ve been laughed at for making such small ribbing sections I can now prove everyone wrong. IT DOES FIT AROUND ME!!!

I know this because I put the body together, just to see if it would work, and it does. *does a little dance* Ok, it might at present look like a creepy blue sack with armholes that curl in on themselves, but I don’t care, I have knitted a body and I did it within 2 years, actually maybe even within 1 year! I’ve now started on one of the sleeves and have knitted about 3.5 inches of ribbing (this pattern measures things in inches. I’m so used to cm that I have difficulty guesstimating how far along I am in inches. So I’m very happy to have some trusty cm on one side/ inch on the other side – tape measures, they sure help a lot), maybe this cardigan will be done before the end of the world in December.

Anyways, I took some pictures to show, disregard the hair pins keeping the thing closed on the last picture (quick solution), the threads hanging off on all sides (I’m afraid to cut them yet) and it really is a very nice dark blue, which does not really come out very well in these pictures.

Back Front Closed


Knitting

Remember I once told you about a sweater I was knitting? There has actually been some progress in the last weeks. I’ve been going to school by train, as usual, and normally I read a book. When we were on holiday in France, my brother had the Harry Potter books on his mp3-player read aloud by Stephen Fry (!!!). When I came back, I figured that would be a brilliant idea, so I found them and put them on mine too. However, when listening to a book, it is difficult to do something else… except knitting! It’s so repetitive and simple that I can listen and knit at the same time! So now I’ve not only finished the back of the cardigan, also the left front bit is finished and I’m partly through the ribbing on the bottom on the right bit. It going very slow, but relatively steady, and maybe I can wear my cardigan in 2012!

I have had people look at me funny whilst I was knitting in the train. One old man was staring at me and saying to another man: woah, you don’t see that often anymore. And generally people look a bit confused when I pull out my needles and start knitting. This might also be due to my very strange technique of holding the needles, but I’ll just ignore that for now. I still really like the dark blue colour.

Inspiration There, Energy Gone

I have so many ideas for fun things, and I haven’t finished any these past couple of weeks. It’s starting to be depressing. I started a purple pant suit, and gave up not very long after I started it. I think the pant bit is reasonably ok (although it sort of itches), but I cannot seem to figure out how to do the top bit. So I gave up. Giving up has been very easy. I’m just not feeling it, at all. And I don’t know why exactly. So that is annoying me too.

I also started on the dress from the vintage pattern. Completely messed up the instructions as usual (didn’t read them carefully) but eventually that worked out fine. Except.. I don’t have big enough boobs, or my waist is not small enough, I don’t know yet. And since I don’t have a dress form, I need to fit on myself, and with nobody around to help me I just don’t get around doing it. I just don’t feel like it at all.

I’ve even stopped baking things, there’s nobody here to eat them so why would I. They’d just go to waste. However, I did do some creative things over the past weeks. I tried to draw the same picture as a person from deviantart (phobs) in his -lady in the shawl- drawing. Here it is:

Lady in the Shawl

I know the head isn’t right, but I quite like the rest (ok I got fed up with the skirt wrinkles, so I just doodled). I cannot draw from inspiration, I can only draw from example. This is one of them, I don’t do it regularly but since my failure to do creative things at the moment is mostly concerning sewing, I thought drawing might be a good alternative.

Maybe I’ll try a little simple skirt in a minute. Just to get my ‘finish it’-mood back on again.

Blouse

So I finally took a picture. Today I got people telling me I looked like a cook in this blouse. I don’t really care because I think it’s nice and I liked making it. I’m proud that it worked so that’s good, I assume.

Well here it is:

Vintage Blouse
Vintage Blouse

Excuse all the wrinkles, the second button from the top is actually white/pinkish, the rest is all dark.

I worked a bit on my mothers skirt this week. So now I have most of it in one piece. Just need to put a zipper in it (the most horrible part of all), hem it and make sure it fits. Wish me luck on that.

I’m going to enjoy my blouse out in the wild now.

Vintage Pattern Blouse

So I started this project of making a blouse from a vintage pattern (Simplicity 1236) in a white linen ages ago. But at a certain moment I was so confused by the instructions that I sort of gave up, put it in a drawer and looked back at it once in a while.

Simplicity 1236
Simplicity 1236

But yesterday I finally had to courage and enthusiasm to try it again. And this time, after again carefully reading the instructions I finally figured out what they wanted with the collar. As you can probably (hopefully) see on the picture though, the bust area of the blouse is supposed to be really baggy, which personally I thought looked really terrible. So I took the darts up about 10 cm or so, so now it’s rather more fitted and I like it much more. I took some buttons that I got somewhere and put those on, and I think the effect is rather nice. The wonderful button making foot and options of my sewing machine were also used gratefully. I even closed of all raw seams, so I’m quite proud of myself.
I’ll show the result later when I feel like taking pictures, and have actually ironed the thing. Anyways, I’m proud of myself for finally finishing it. Only a few more unfinished projects to go.

And I think I’m going to start on one that has been in my head for a while, because I finally figured out a way to make it work. I’ll keep you posted.

Creativity ruled today, I hope to see more of that.