Gingham Kiwi Kleinia Blouse

Nine non-functional kiwi buttons on a fun yellow and white gingham top.

After working on the Ochre Overalls and using the yellow and white gingham fabric as a lining for the straps, it seemed like a great idea to make a coordinating top. So I looked around and found the Kleinia Blouse by Mood Fabrics. As usual with Mood patterns, there are some sparse instructions and the decisions that are made are very strange.

In this one for example, they want you to sew the yoke and bottom together but there is no shaping whatsoever along that seam, so I just cut it in one piece and sewed a fake seam. It was ridiculously big too. I worn it for an afternoon and then cut it down by several centimeters on each side. It was also extremely long.

I do not understand how they wanted me to add buttons along the back when they barely included enough space to do so. Since the top neckline is very wide, I luckily didn’t need a working button placket. So I sewed it all down and added the buttons. There are little kiwi birds on them, and I love them very much. Even if they dig in to my back if I wear a backpack for a full day. I might make it again, but then reduce the height of the yoke and make it a lot smaller from the get go.

Kiwi Presents

So what do you do when you seen an invite for a colourful party on your colleagues desk? You probably don’t offer to make a kiwi necktie. Well, I did, quite a while ago, but only recently did I manage to get my butt of the chair and get to work!

OLYMPUS DIGITAL CAMERA

Remember when I made my green pants? If you don’t, or have never seen it before, check the goodness out here! These pants have a belt/sash type thing made from a kiwi fabric, on the bias. While cutting out the sash,  I didn’t pay enough attention to how many pieces I needed. This meant that I have had the fabric for another sash in my stash, cut out and all, since August 2013. I’d just found the bit back again when I made the offer.

Then I postponed, and postponed and postponed.. Then I couldn’t find the fabric anymore. Then I found it again, and, vaguely remembering something about the party being in May, set out to create it.

You may know that we Dutchies celebrate the birth of our reigning monarch each year. This year this was on April 27 and I’d made arrangements to be with my parents that weekend. I brought along my sewing stuff and got to work. I started by finding a tutorial (this one) and simply cutting the sash ends to be straight angles. I fused interfacing to the thing and followed the tutorial by adding lining bits and sewing those on. Then I folded the sides to the middle, it turned out that the ‘thin’ end was too thick, so I thinned it somewhat. I sewed it all by hand and once the tie was tie shaped, I added a label that said handmade for you.

OLYMPUS DIGITAL CAMERA


Cute, right! It also holds the tie end, when the tie is knotted. The bottom lining piece is another kiwi, which I find a nice touch!

OLYMPUS DIGITAL CAMERA

My colleague was really quite happy with it, or so it seemed. He also got a lot of compliments from random people, which he found very interesting. He’s head of the financial department, so he’s a real permanent suit and tie kinda guy. Anyway, here is his smiley face!

Kiwi tie

Kiwi!

So, my mother’s birthday was a while ago and we had a party!
The theme was colours, so everyone was expected to wear something in a fun colour. I assigned myself green, so I could wear my green pants, with a kiwi sash (see below for kiwi sash).

Kiwi sash

I was planning on wearing a black top with a cowl/drape front bit. So, I figured I had to make something nice to go over the top of it. Otherwise black is black and that is, apparently, boring. I started thinking and made the choice to make a green bead necklace. However, it wouldn’t only be green beads, I also wanted to make kiwi beads. I got out my fimo clay and started the work.

Green beads were easy, just roll green clay into beads and stick a pin through it to form the hole. (Admittedly they sat on the living room table for about 3 days before I punched the holes, since I was distracted at some point.)
For the kiwi beads I looked at the matching sash for the green pants (and clearly missed the light middle part). I started with a small green roll, then added really thin alternating green and black rolls to the outside. Another layer of green and black tiny rolls was added. Then a layer of green and a layer of darker green was added to the outside. I mixed some random bits I had left over and they made brown (which leftovers always seem to do). I rolled out the brown very thinly and added it around the roll. I rolled out the now quite fat roll to tighten the cane and make it a bit smaller.

Kiwi bead

I made green-ish beads as a base bead that I could stick three kiwi slices on. I did that a couple of times, until I thought I had enough of the kiwi sliced beads. I still had about 15 cm of kiwi-cane left. So I decided to chop of about 1 cm bits and round out one of the sides. This would form half a kiwi (like the one above). I poked holes through those too, and chucked all of it in the oven. They cooled down and I got extremely frustrated with the wire I chose. It is metal ish and quite thin, but it holds knots very well. I also likes to tangle and fall of the ‘wireholder(?)’. So I yelled at it, but in the end it cooperated and I made myself a necklace. This is it.

Necklace Necklace

The shorted wire holds green beads, the longest the half kiwis and the middle is the sliced kiwis. I like it, and have worn it since the party!

Really Green Pants

Since I’ve had a lot of bad experiences with pants/jeans I figured that for this next pattern, I’d better try it out first. I decided to use the same fabric I used for my frog pouch (here).

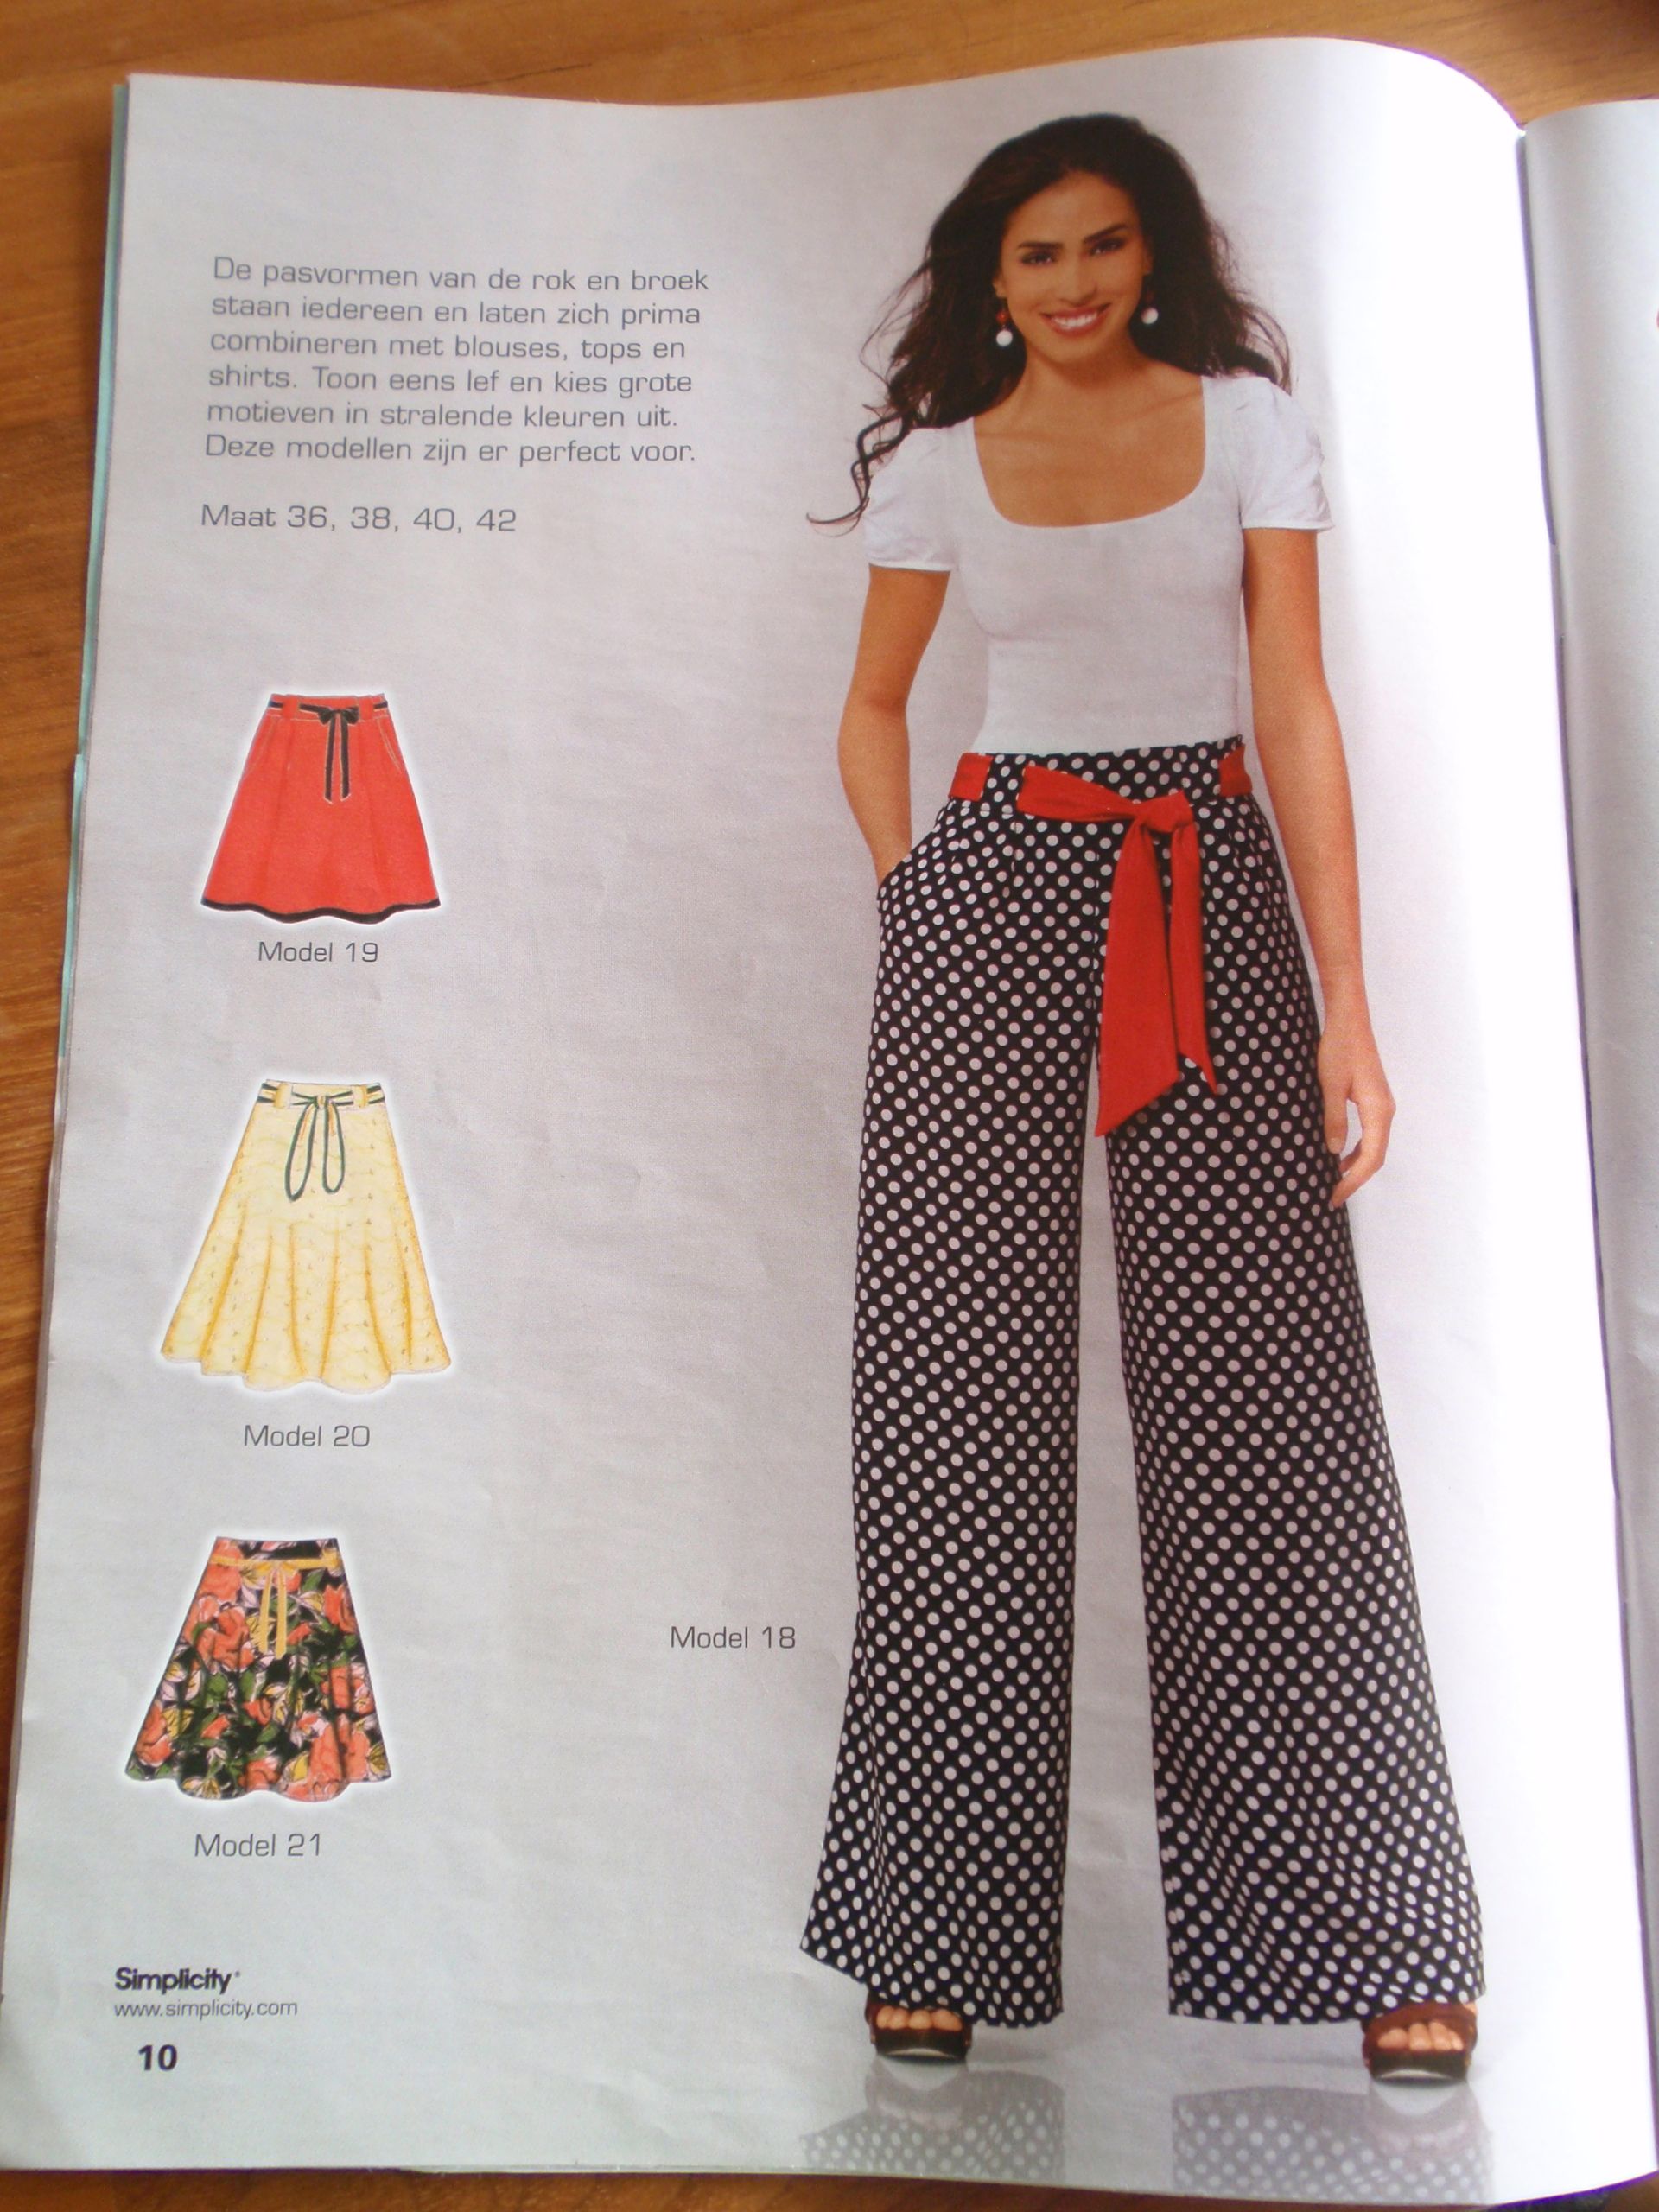
It’s a pattern from the simplicity pattern magazine, I’m guessing that it also comes out as an individual pattern, but this is the picture:

Pattern

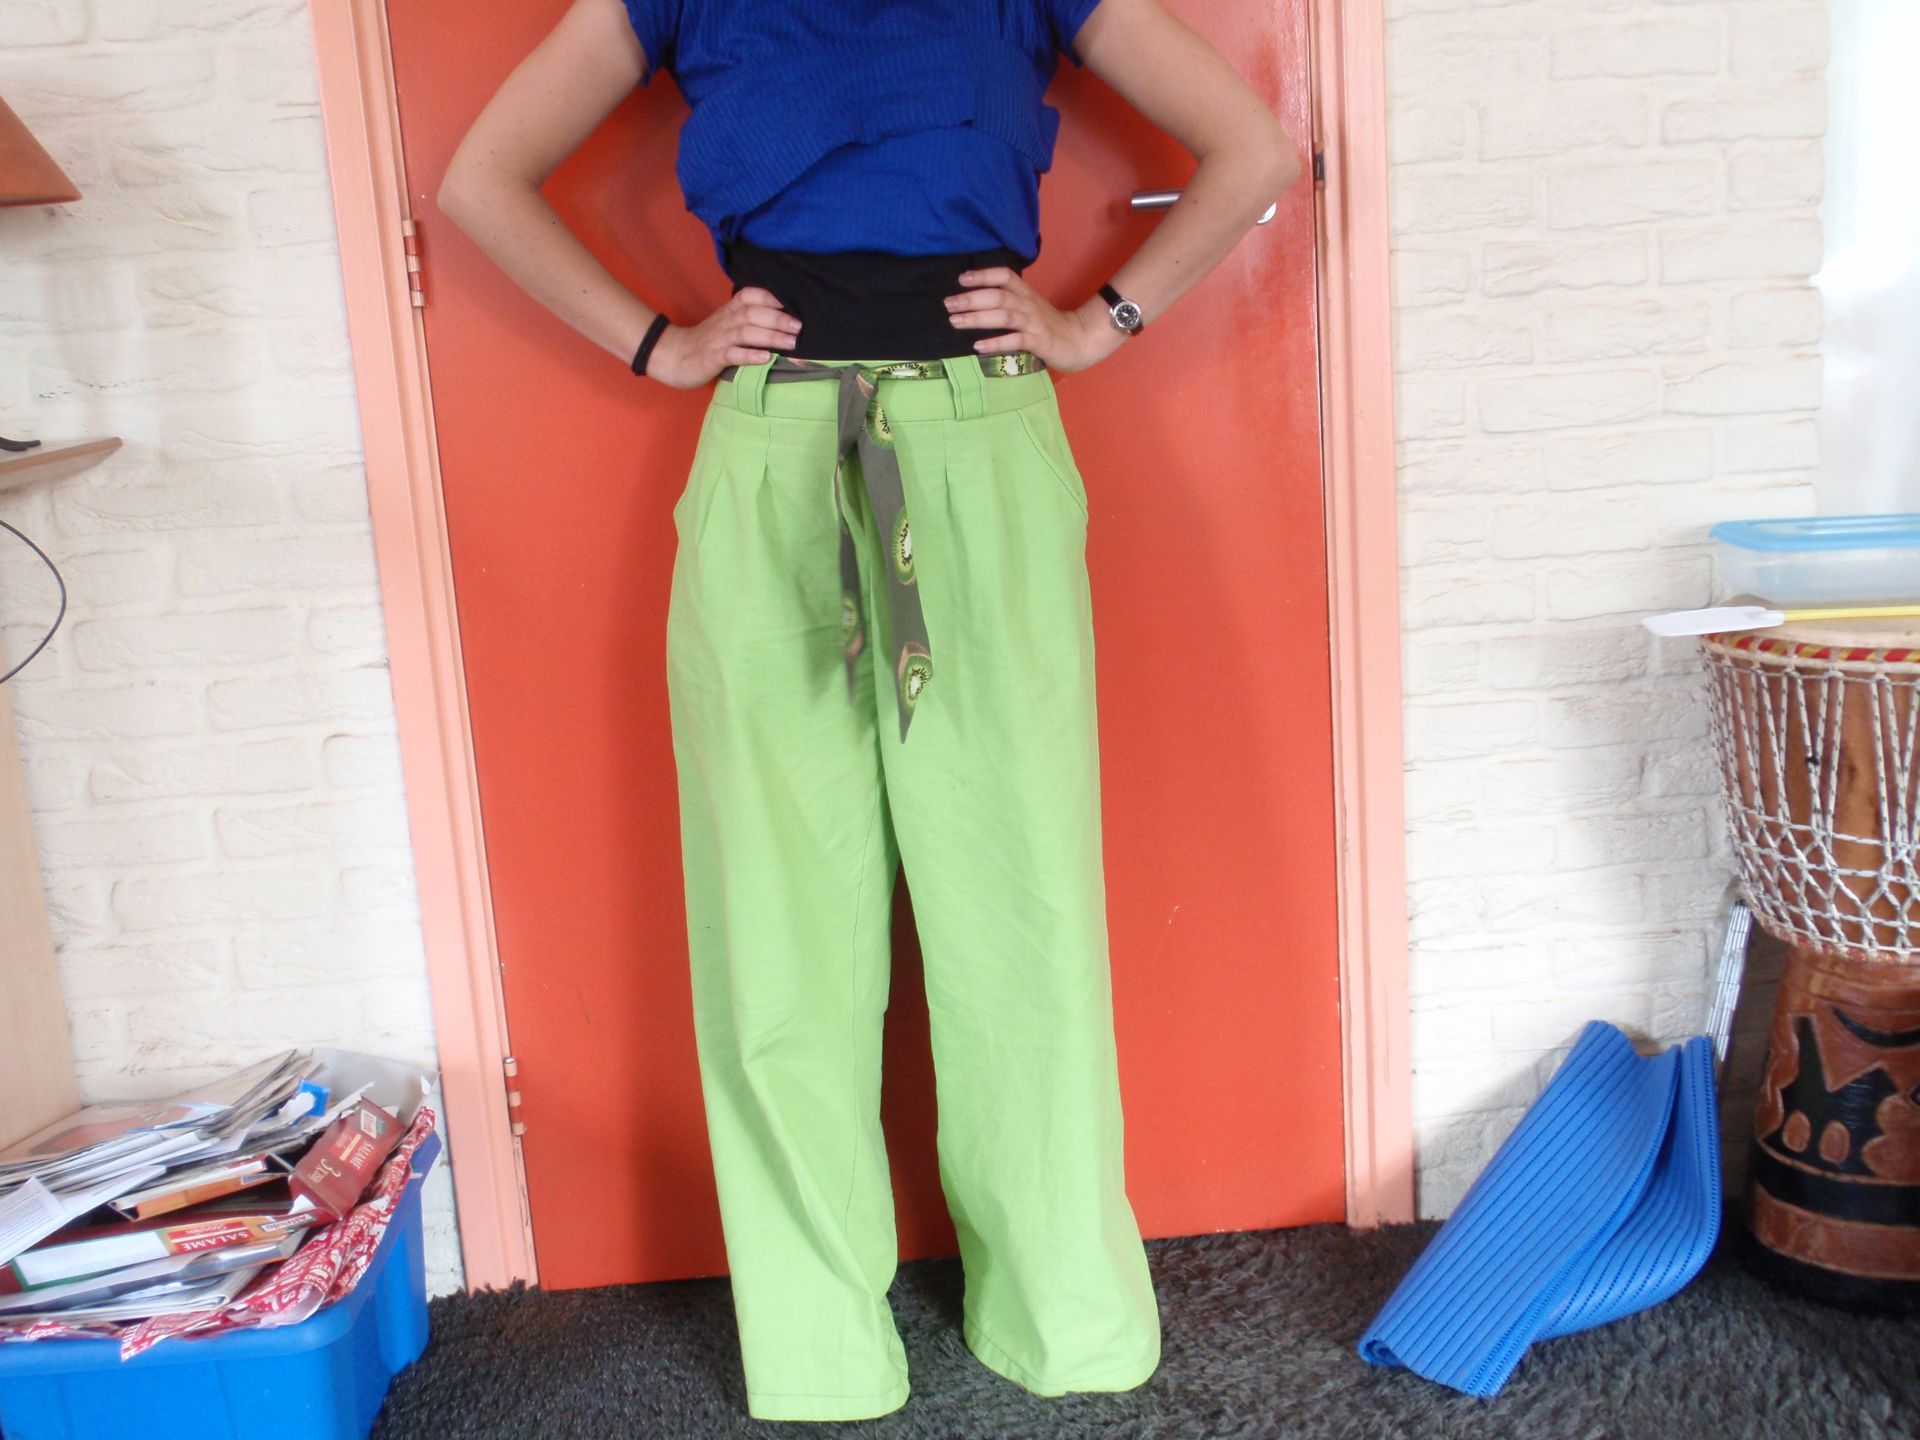
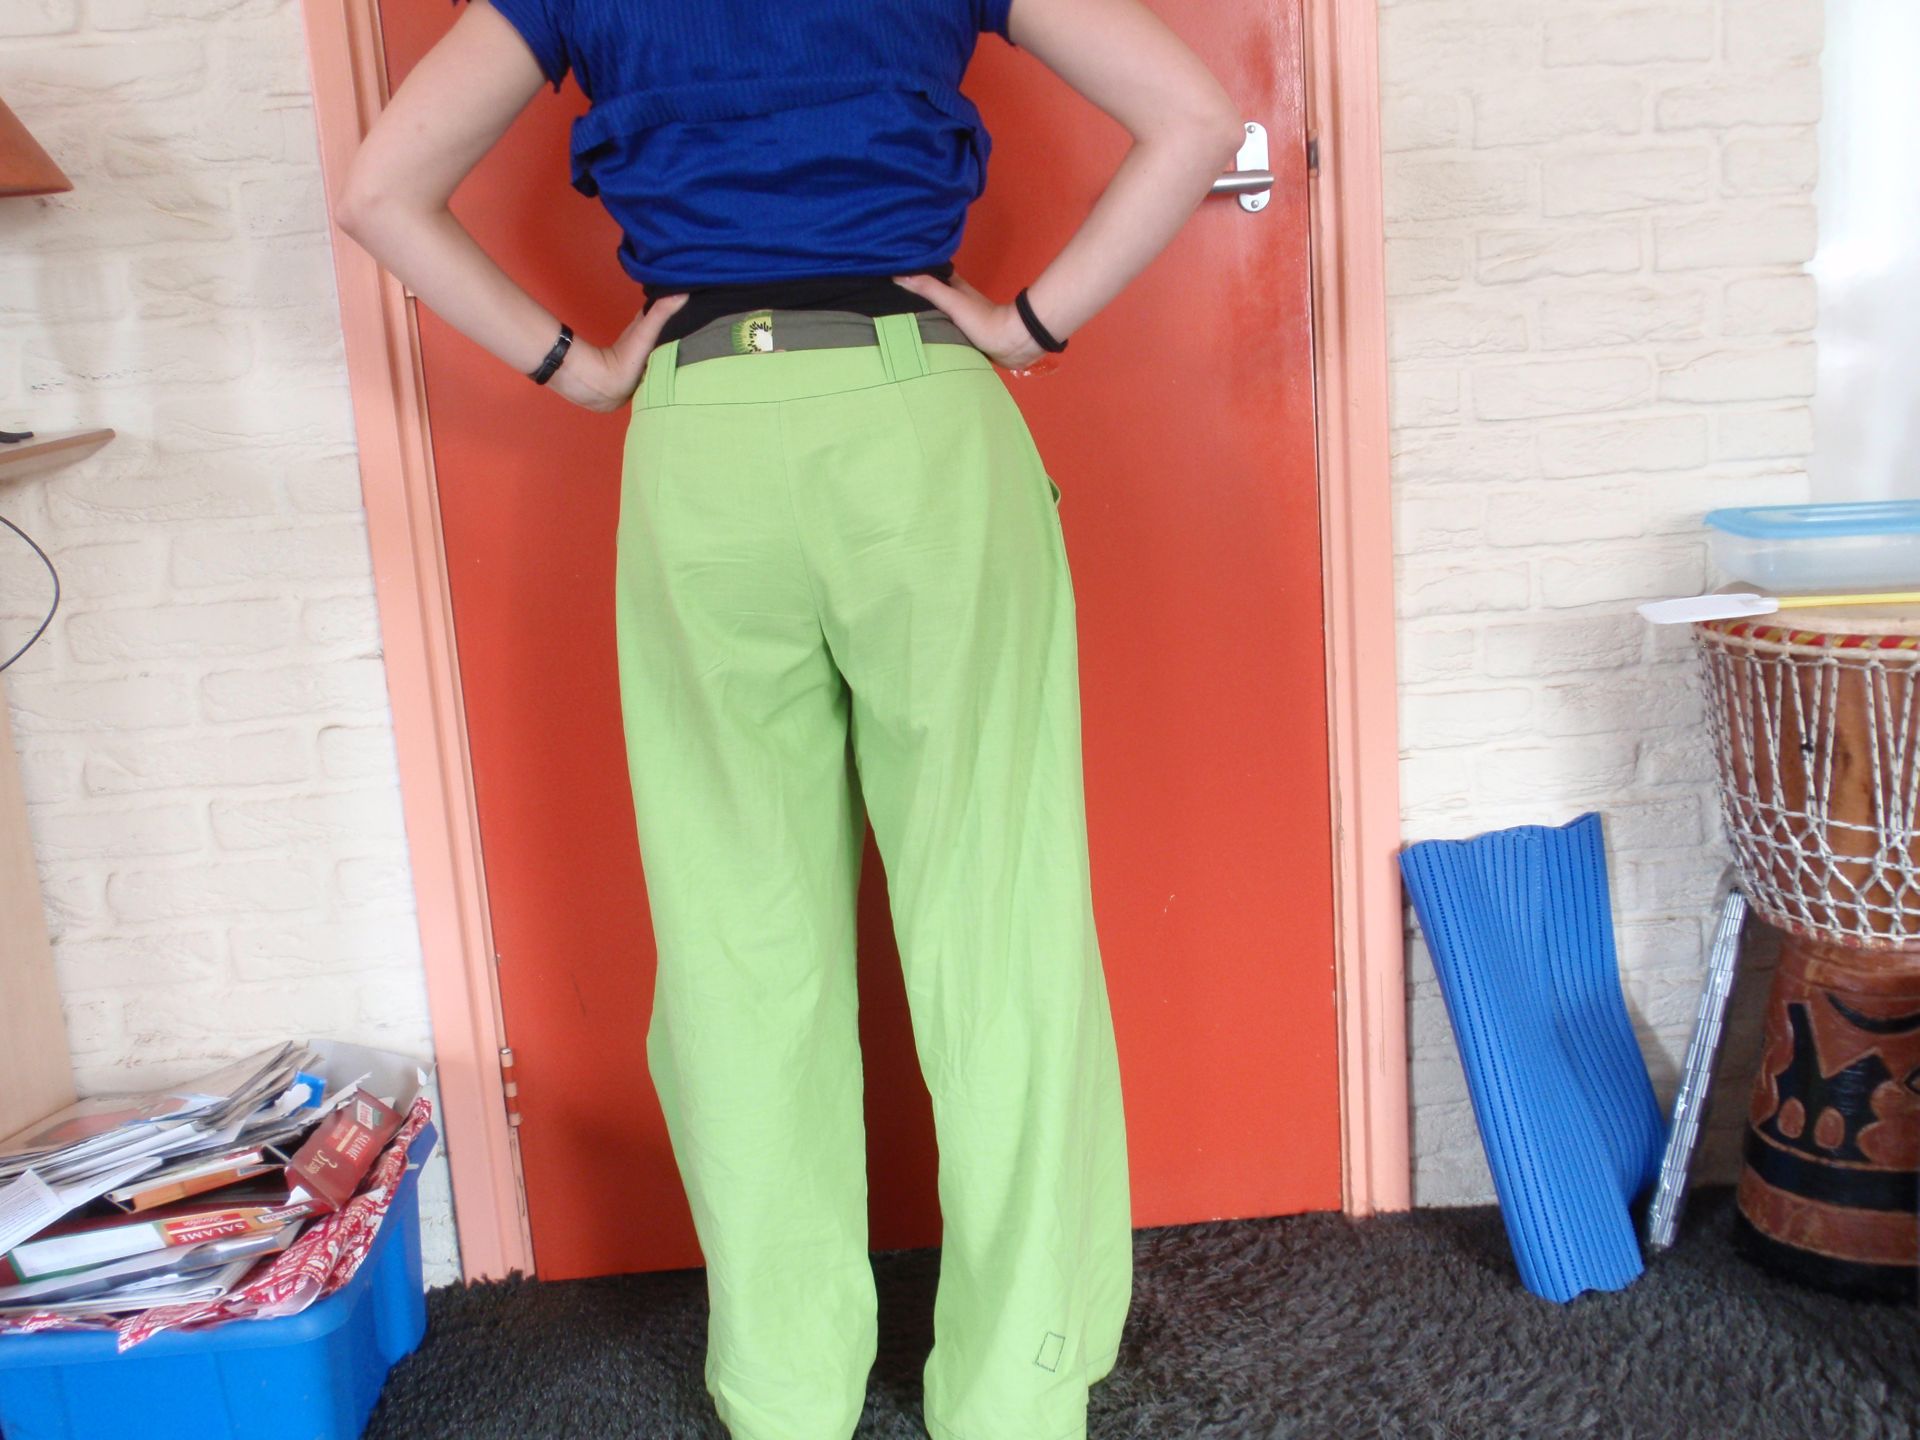
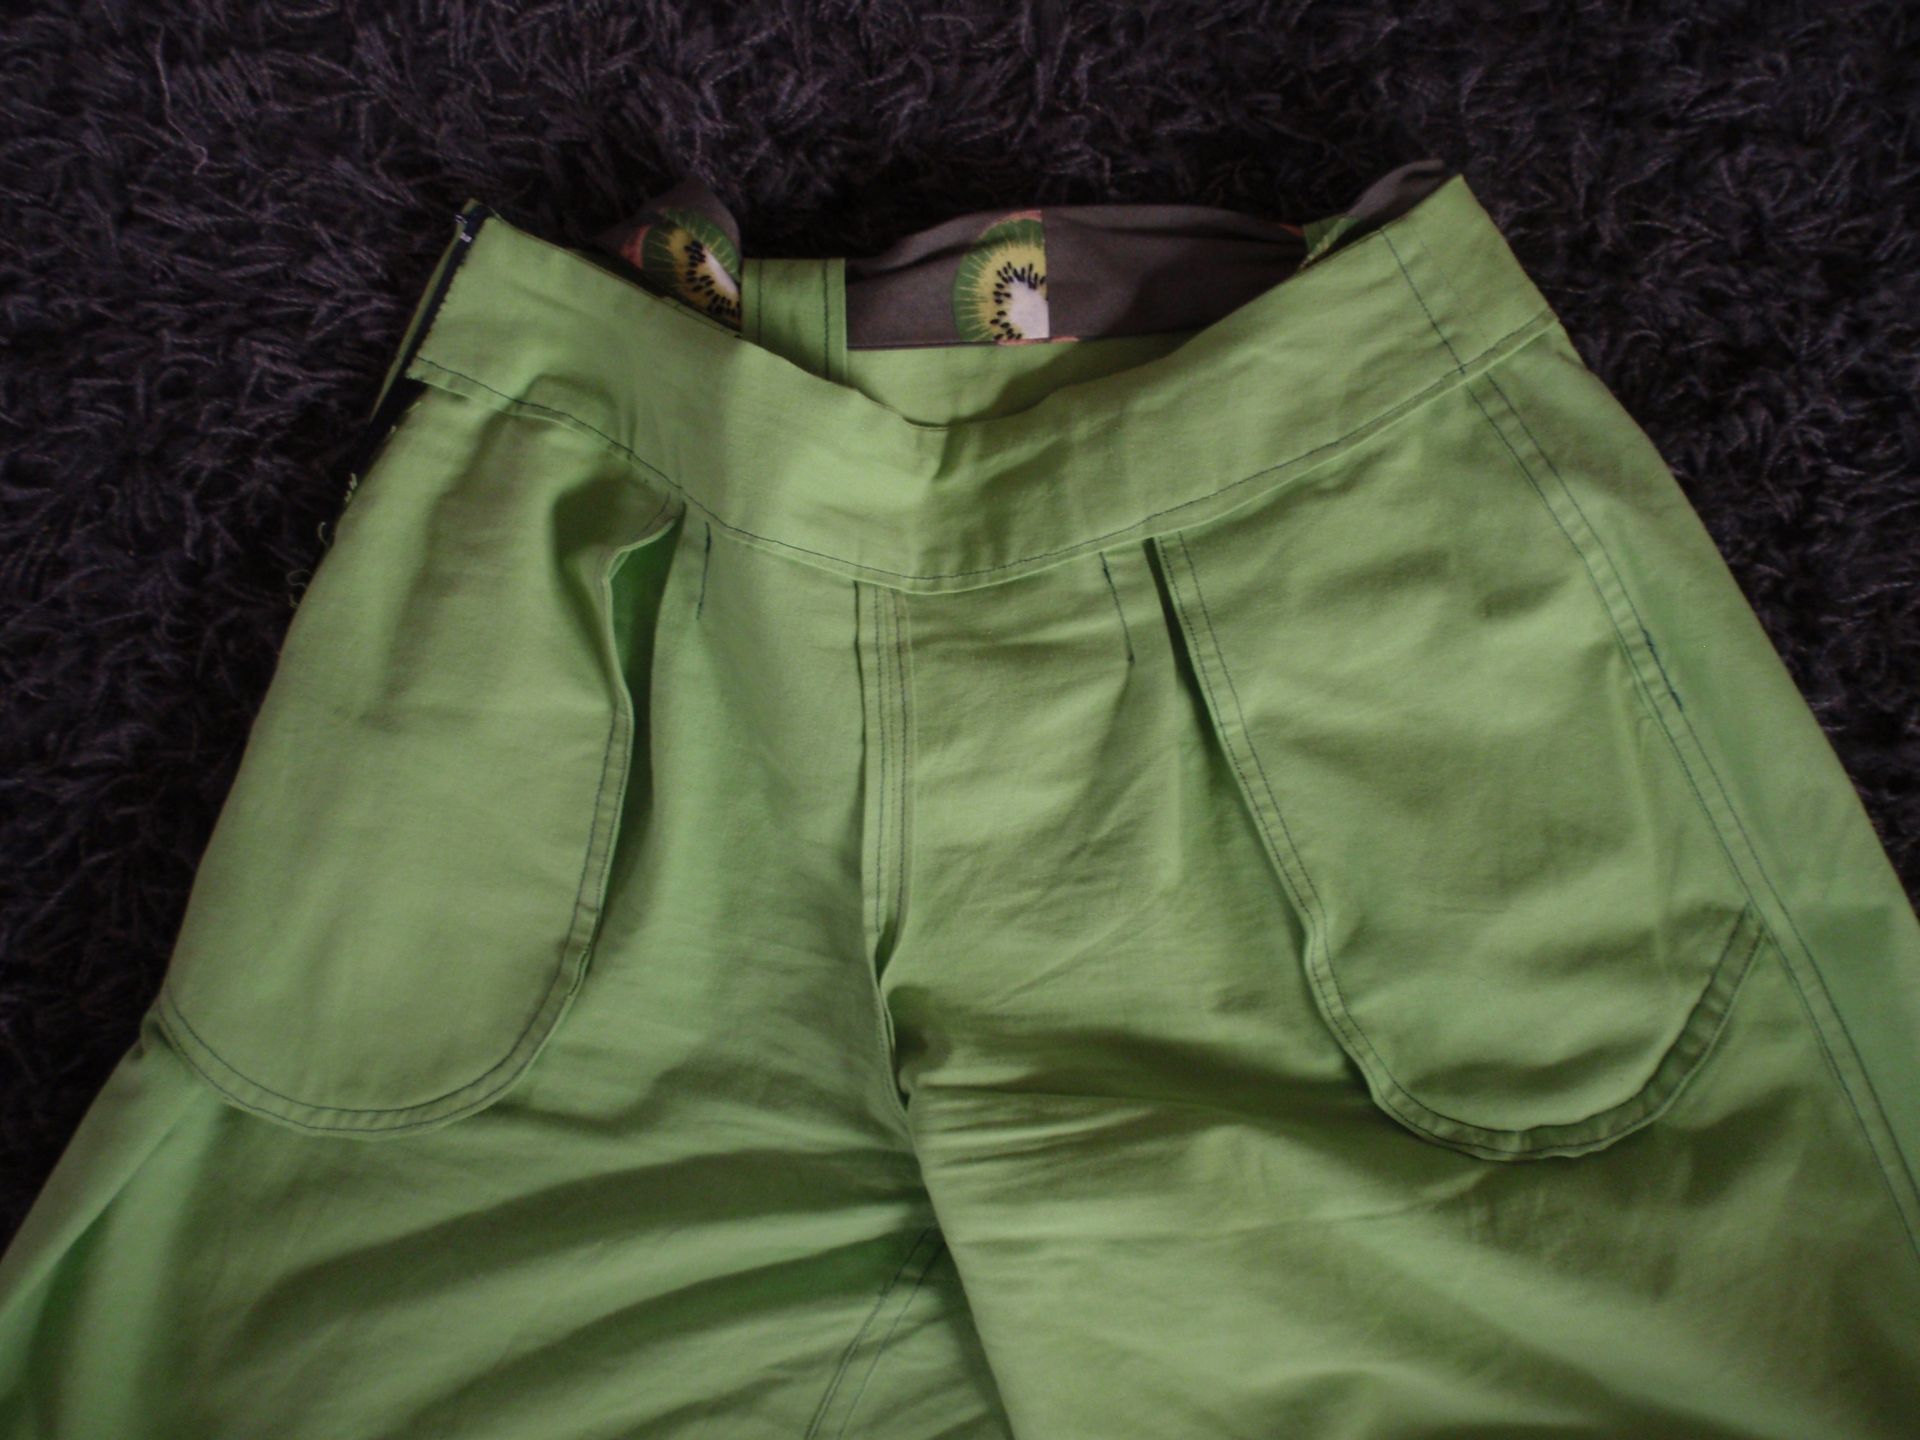
I really like these pants. They are really comfortable, not too difficult to make and I only made two alterations. The first was to sew the waistband on 2 cm below the original seam line, this raised the crotch and made it look a lot neater. Next to that I angled the back waistband so it would hug my back better. This meant that I sewed the front to the back waistband on an angle, and thereby also had to cut of a little of the back leg panels at the top, but that wasn’t too difficult either. Now, the final product!

OLYMPUS DIGITAL CAMERA Back

Excuse the mess.
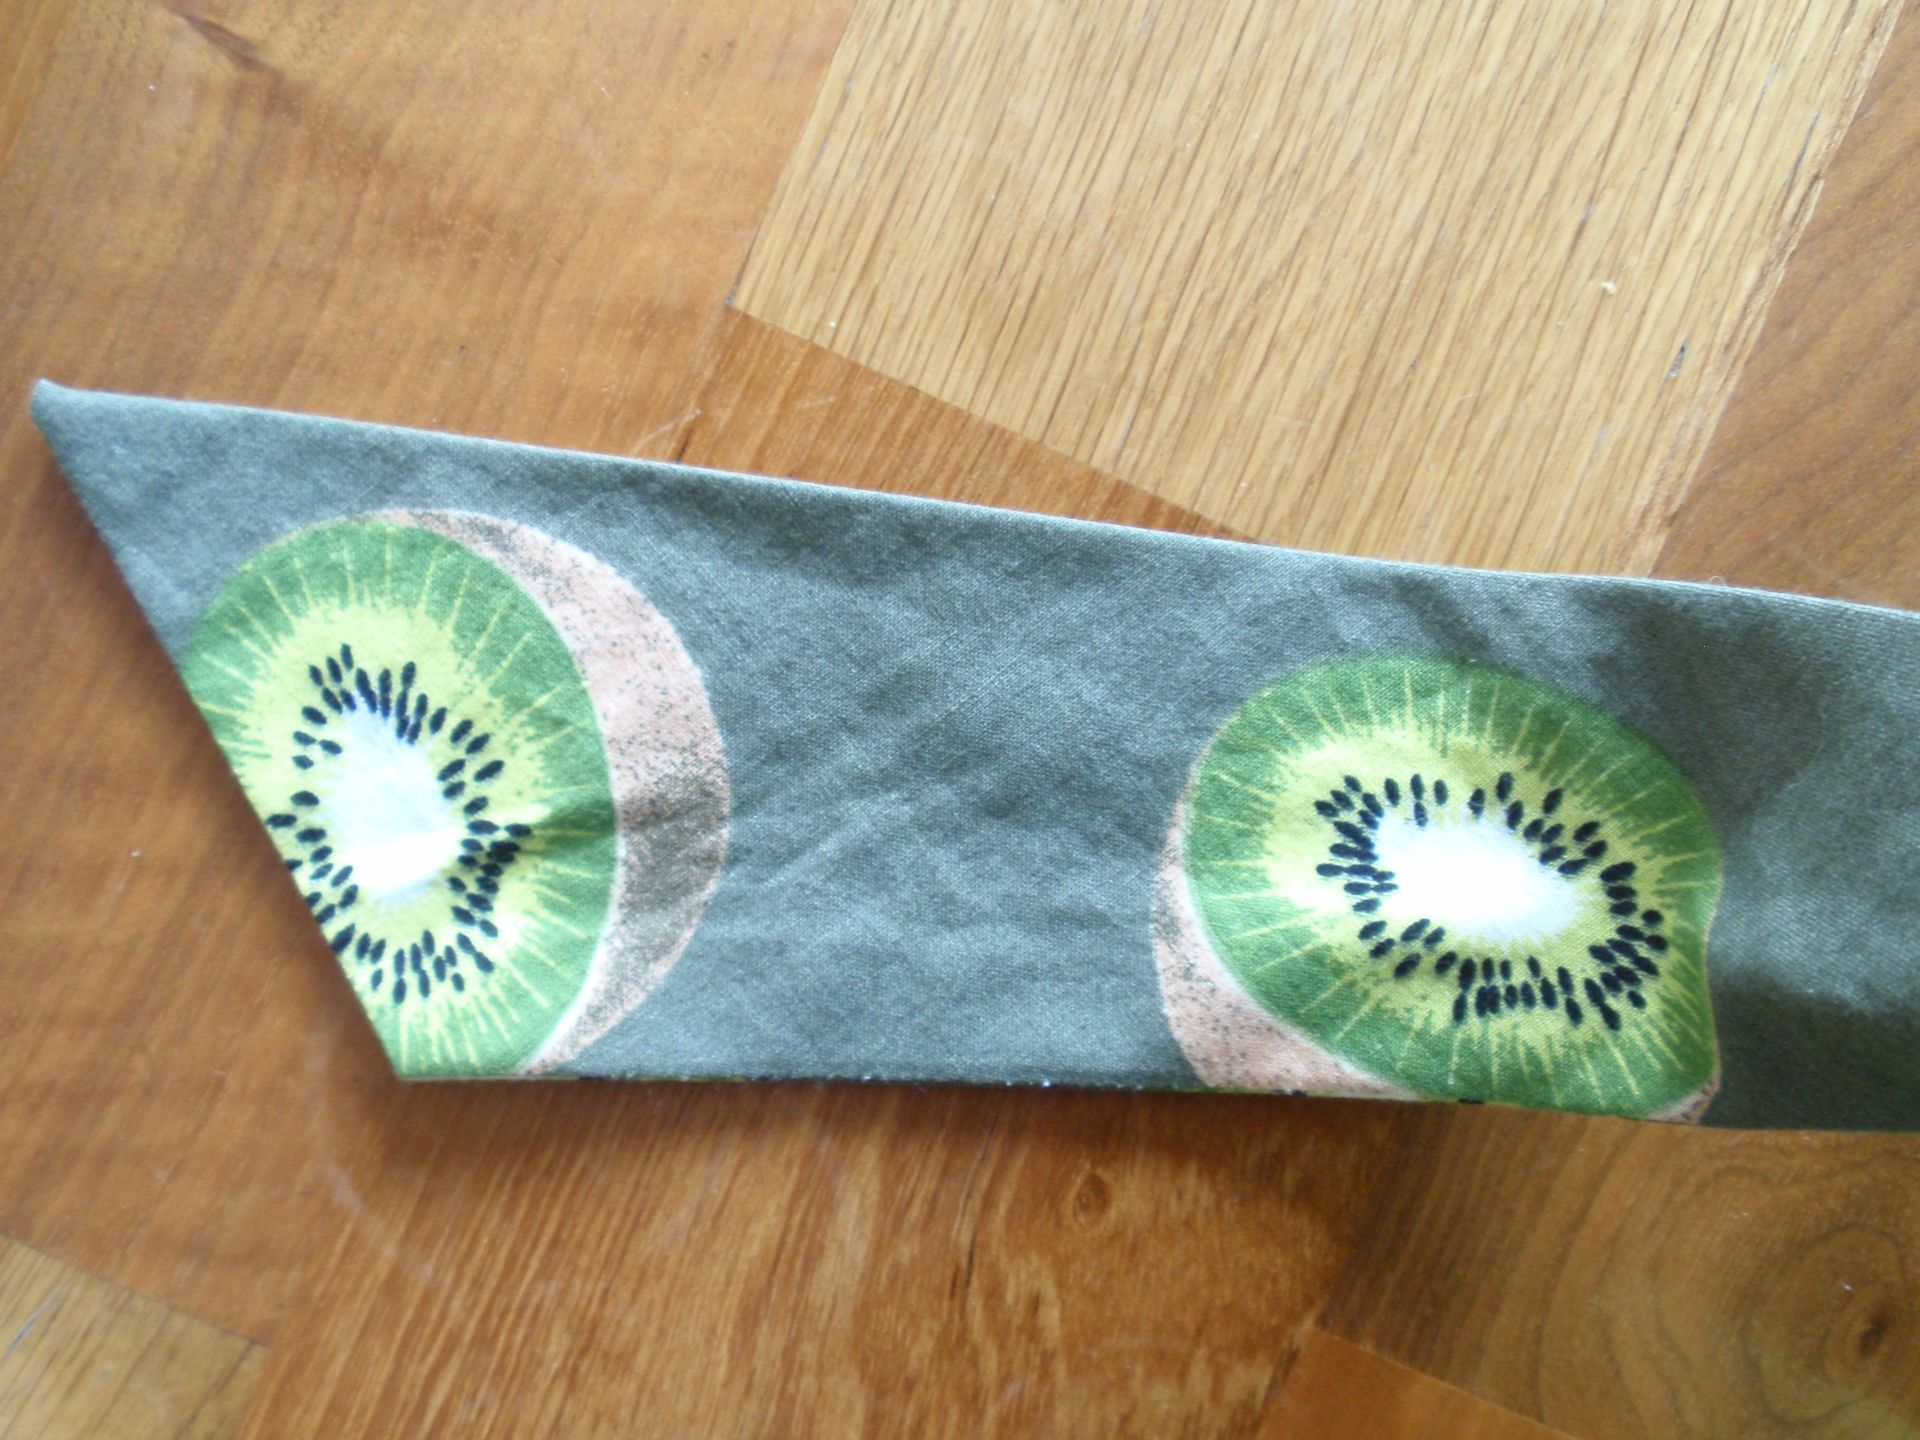
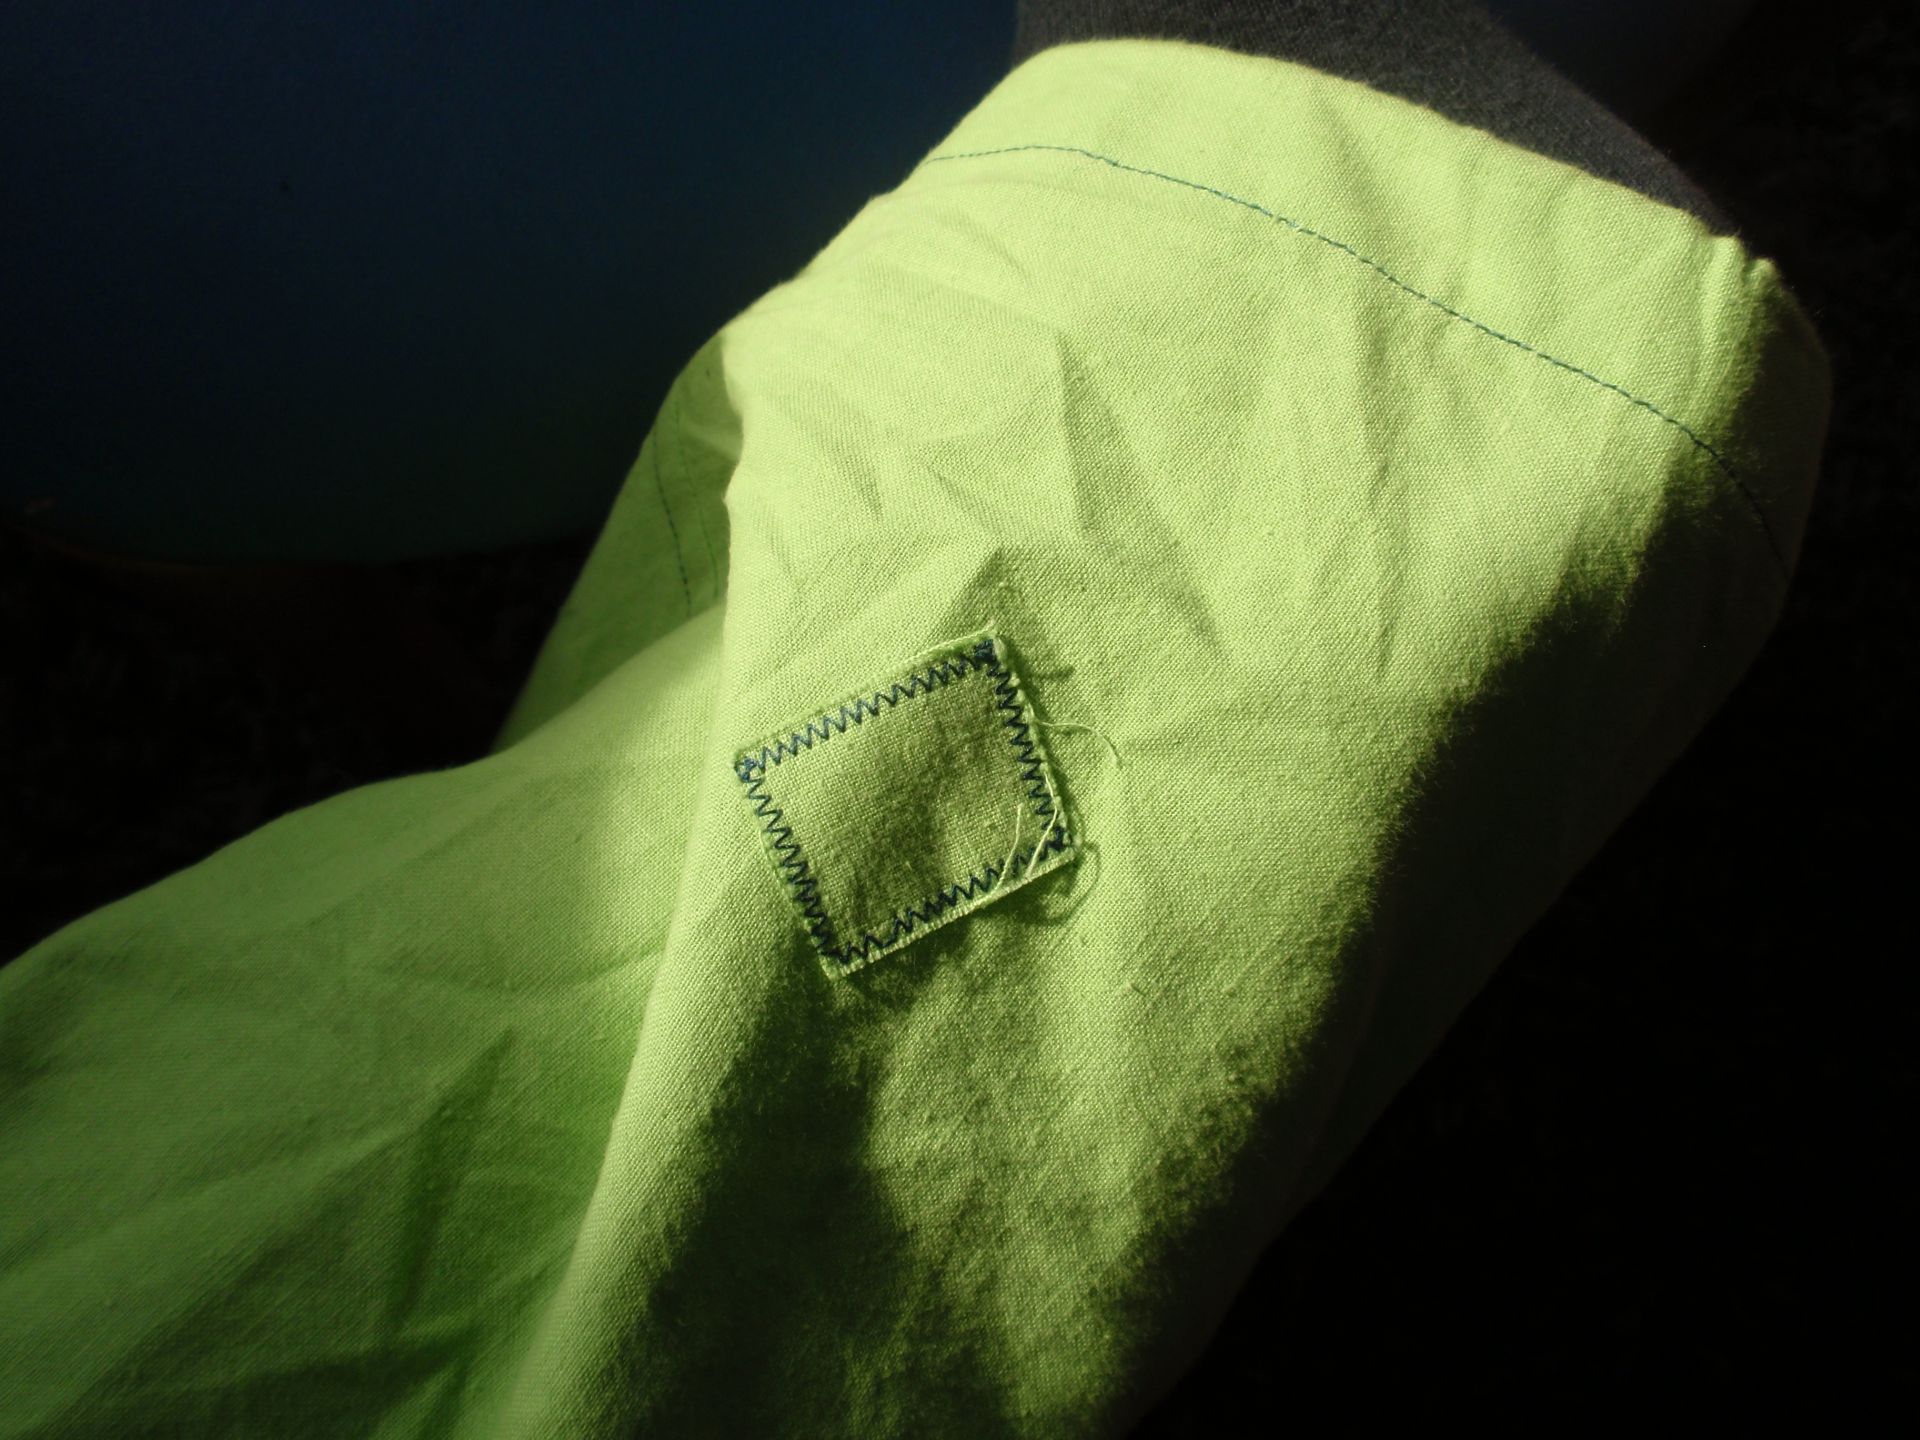
Here are some details, though. On the left, a close up of the sash. It’s a kiwi fabric, which I though would match perfectly with the green in the pants. I feel it does. Next to that is the patch that I had to add to the right leg, because apparently there was a hole in my fabric before I started cutting, and I missed it completely. Now it’s a ‘design feature’ (and I love it!).

Sash Patch

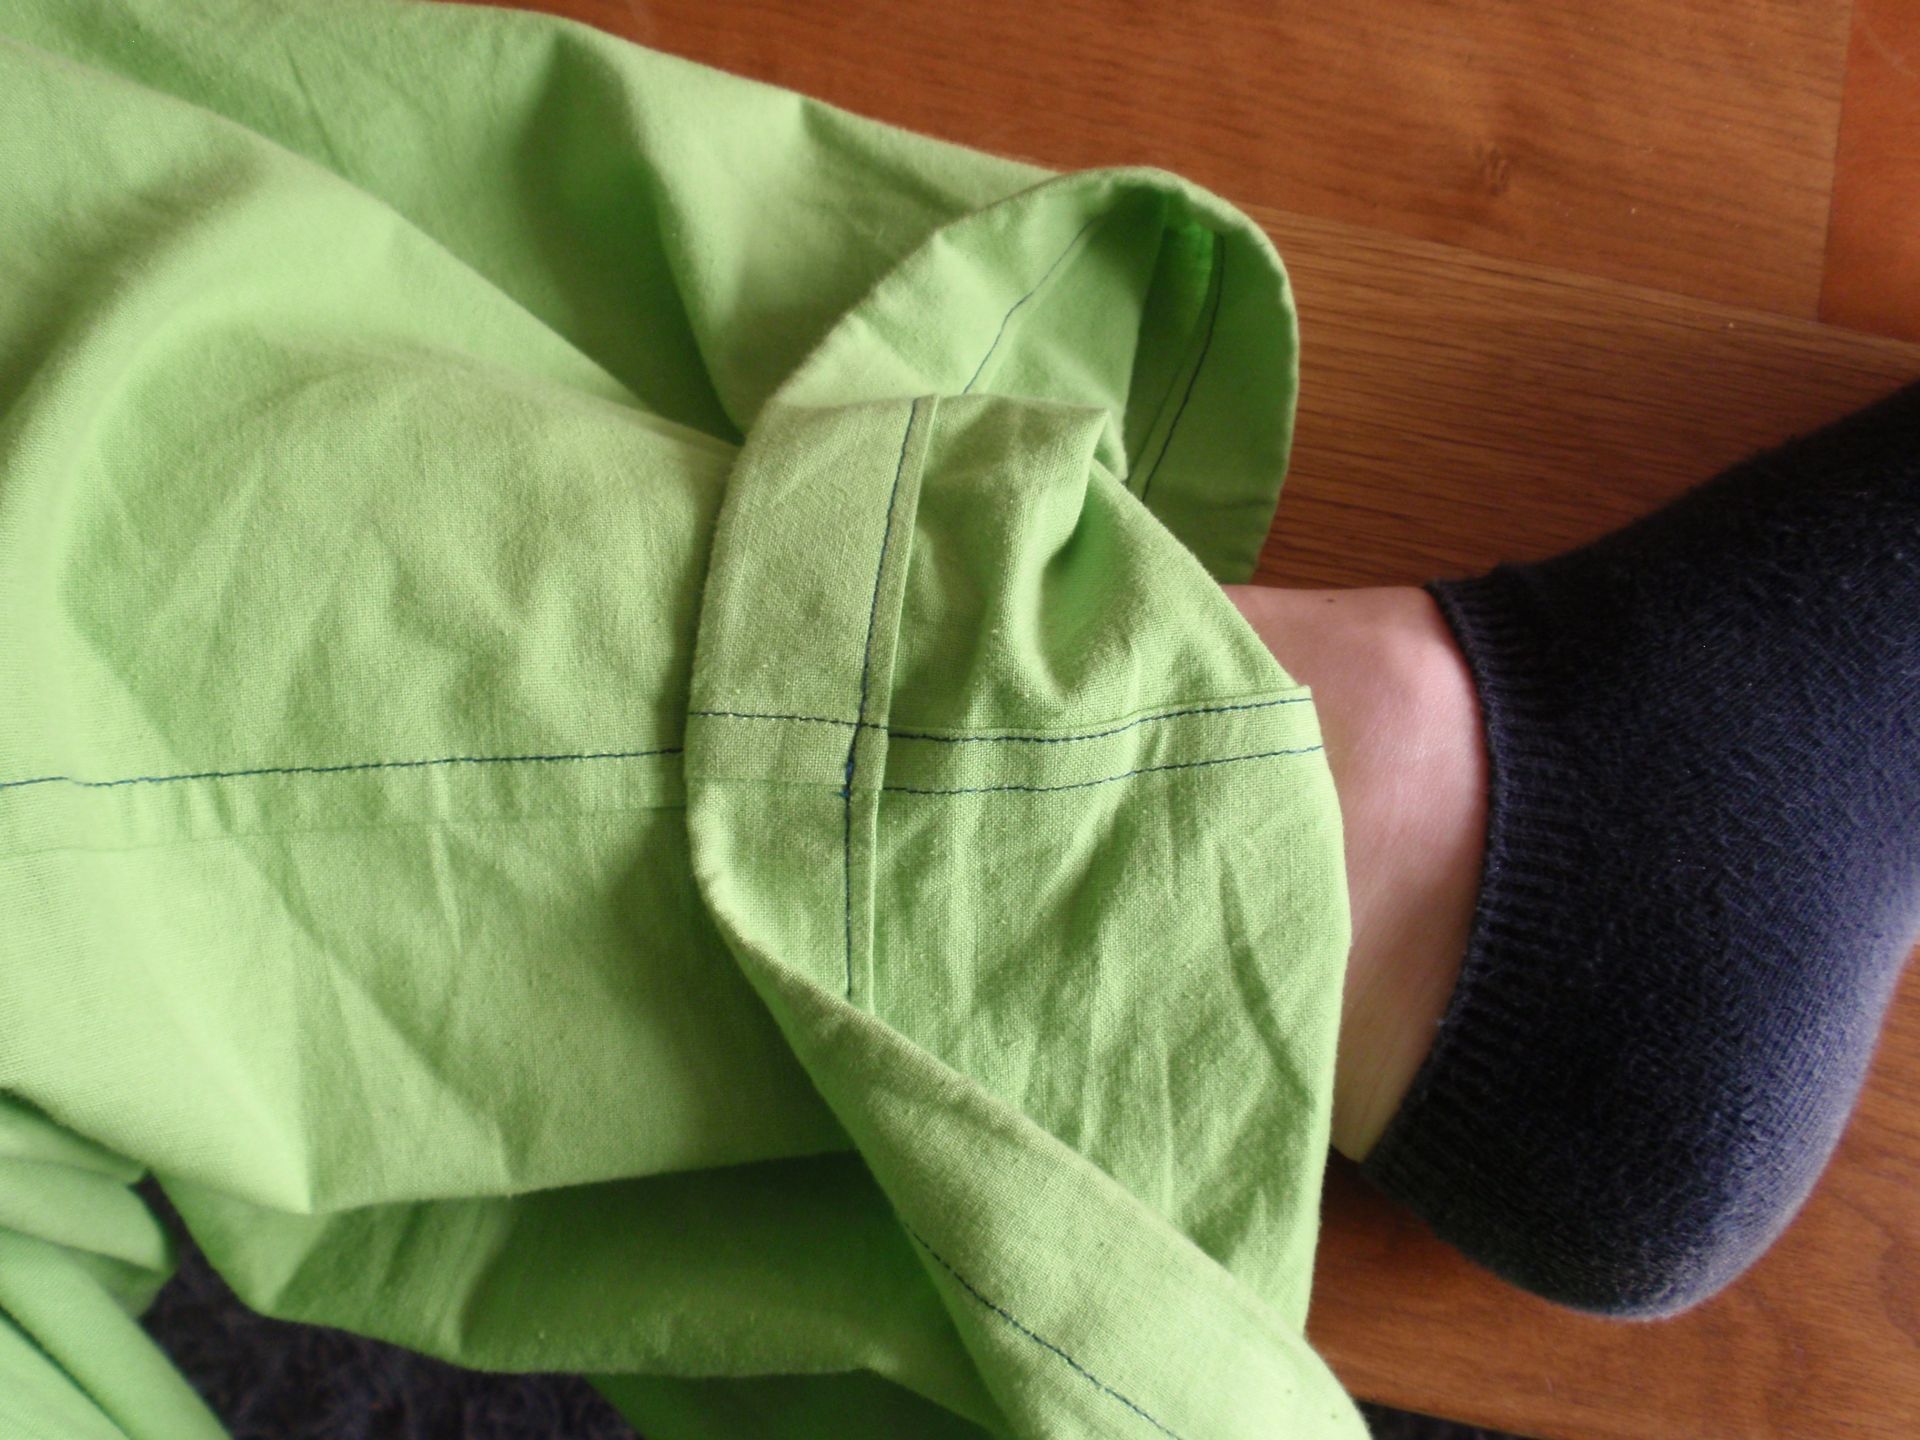
As I said before, the insides are completely finished, both legs are flat felled and I enclosed all the other seams with their counterparts.

Insides 1 Insides 2

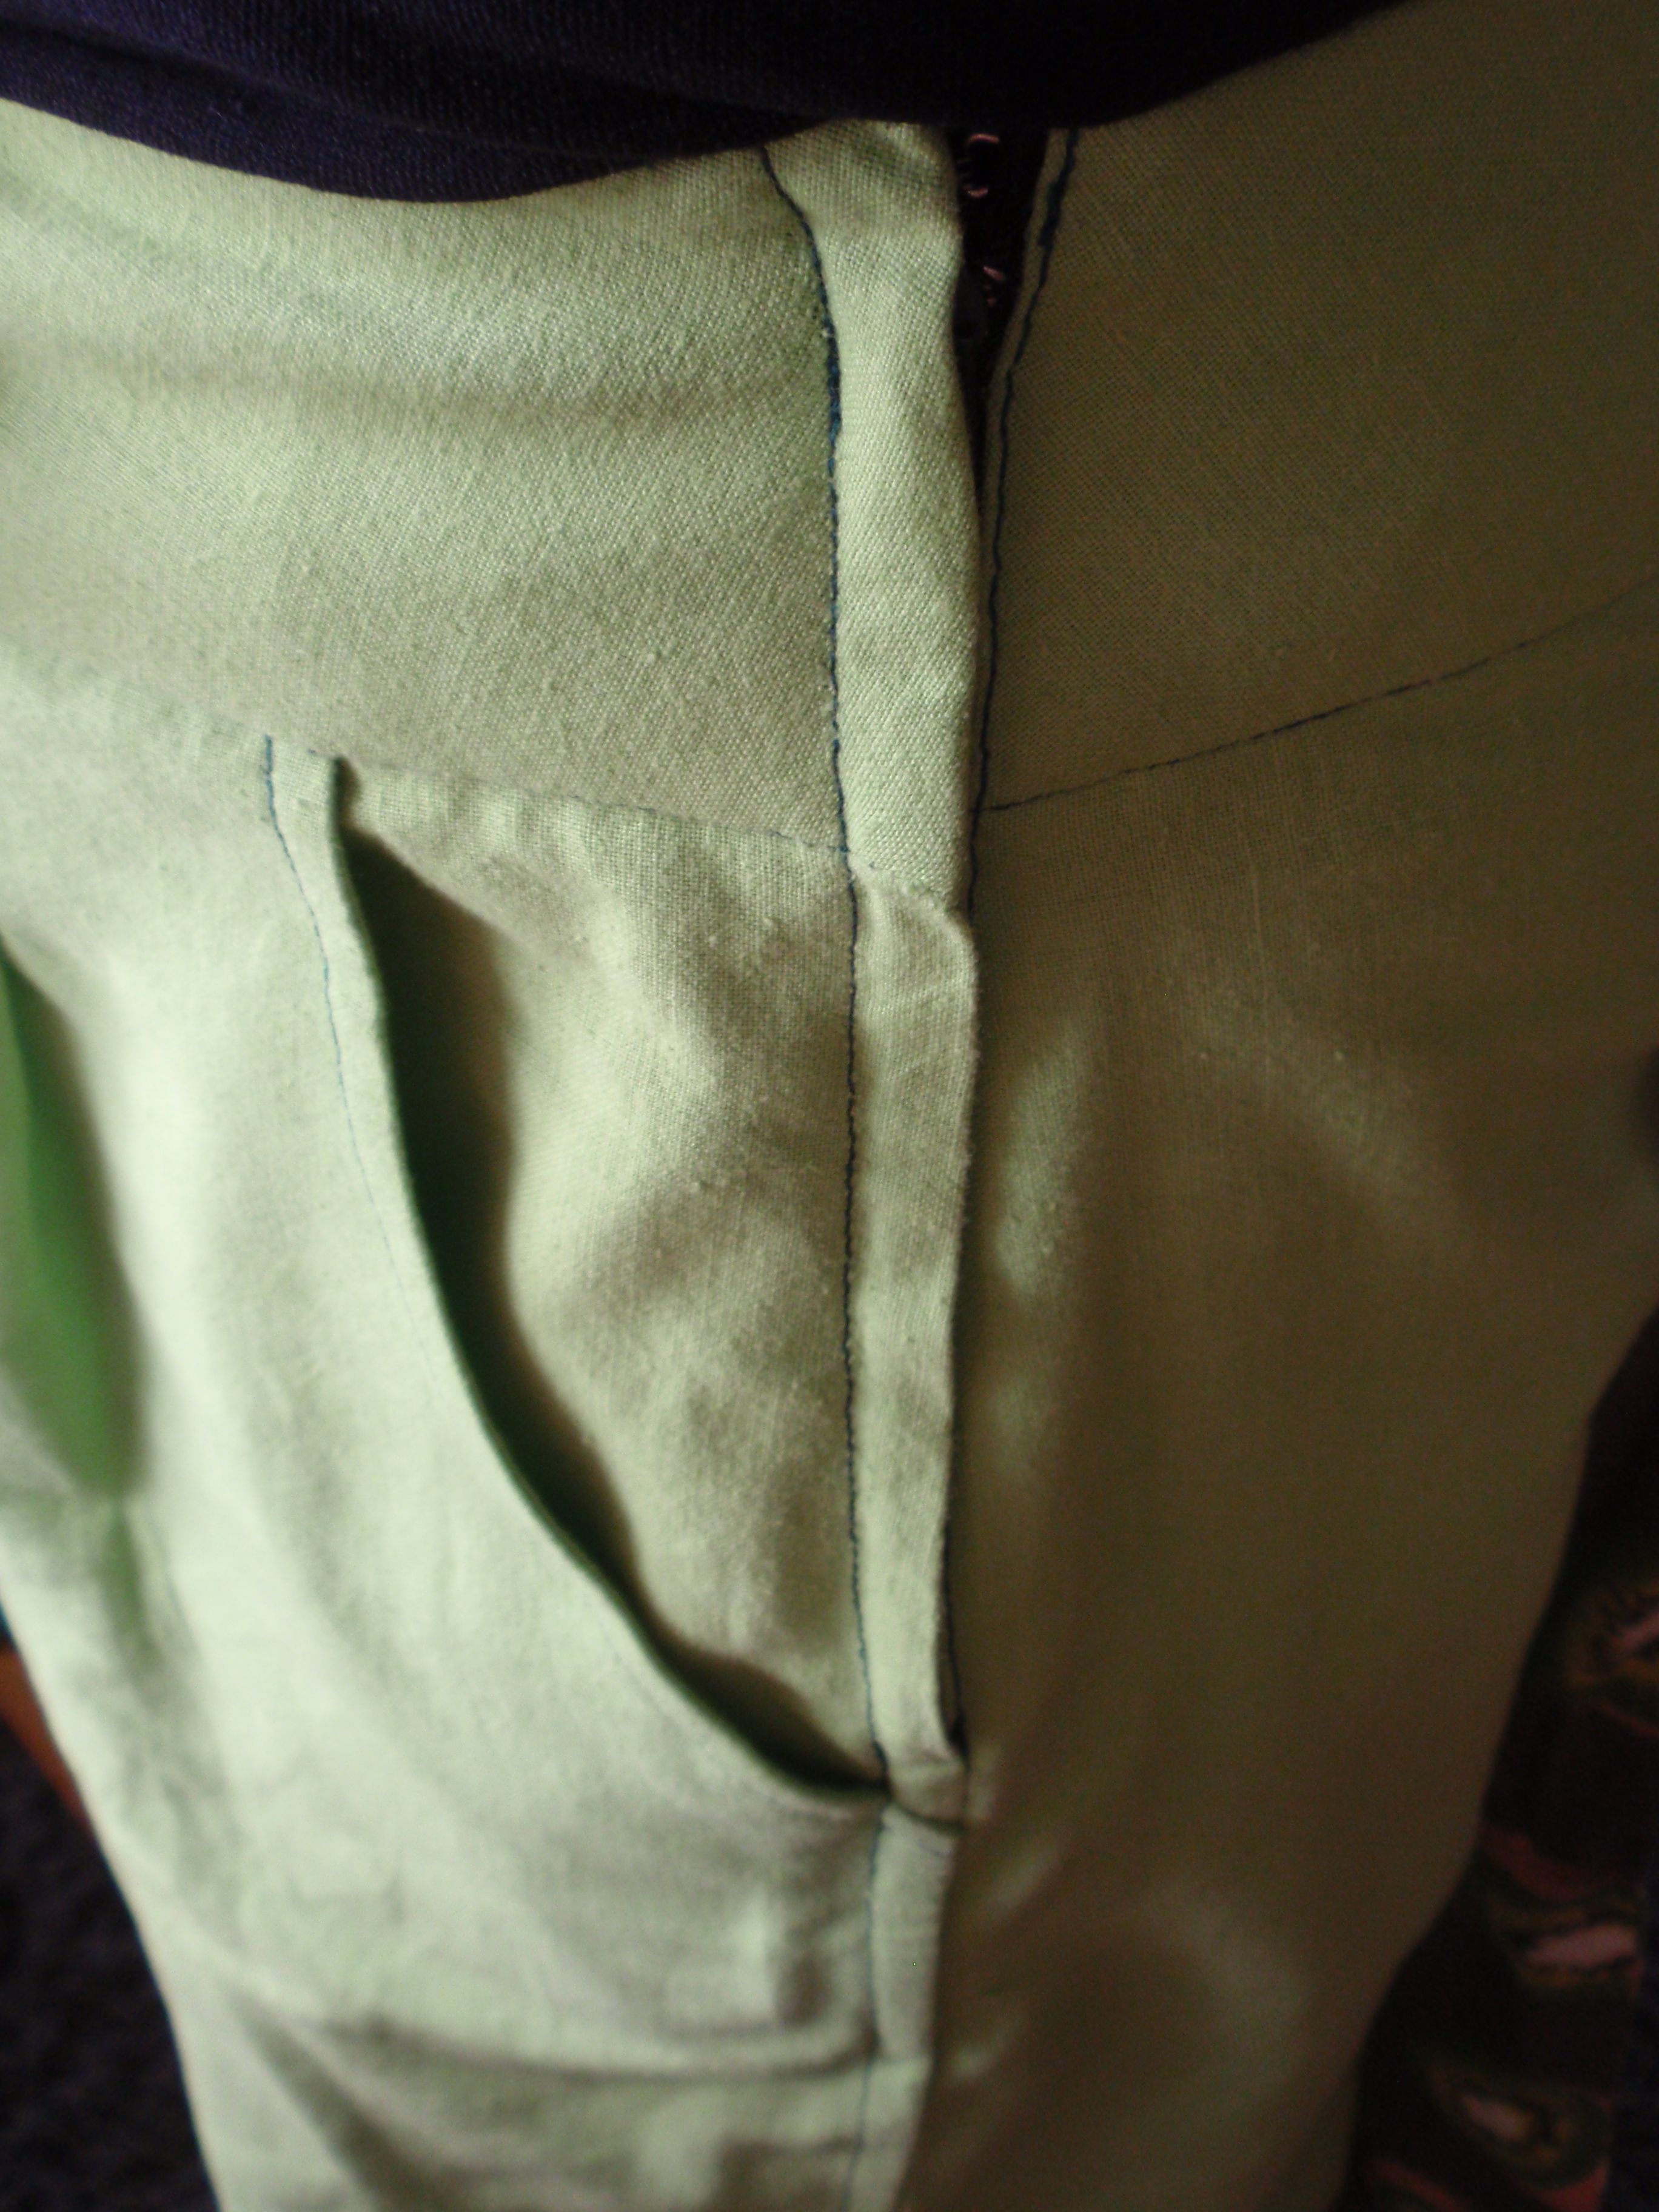
Lastly, the zip. I’m quite proud of this zip, it’s a side zip, which I’ve never done on pants before, but will in the future.

Zipper

I’ve been wearing it for two days now, so excuse the wrinkles, but it’s really comfortable. I love the colour and it makes me feel happy. I guess that’s much more important than what other people think. So even if grass green isn’t your colour, I’ve decided that it is mine!

I’m also still working on the brown dress, hoping to finish that tonight!