Clothes Pin Bag

Updating the clothes pin bag with skateboarders.

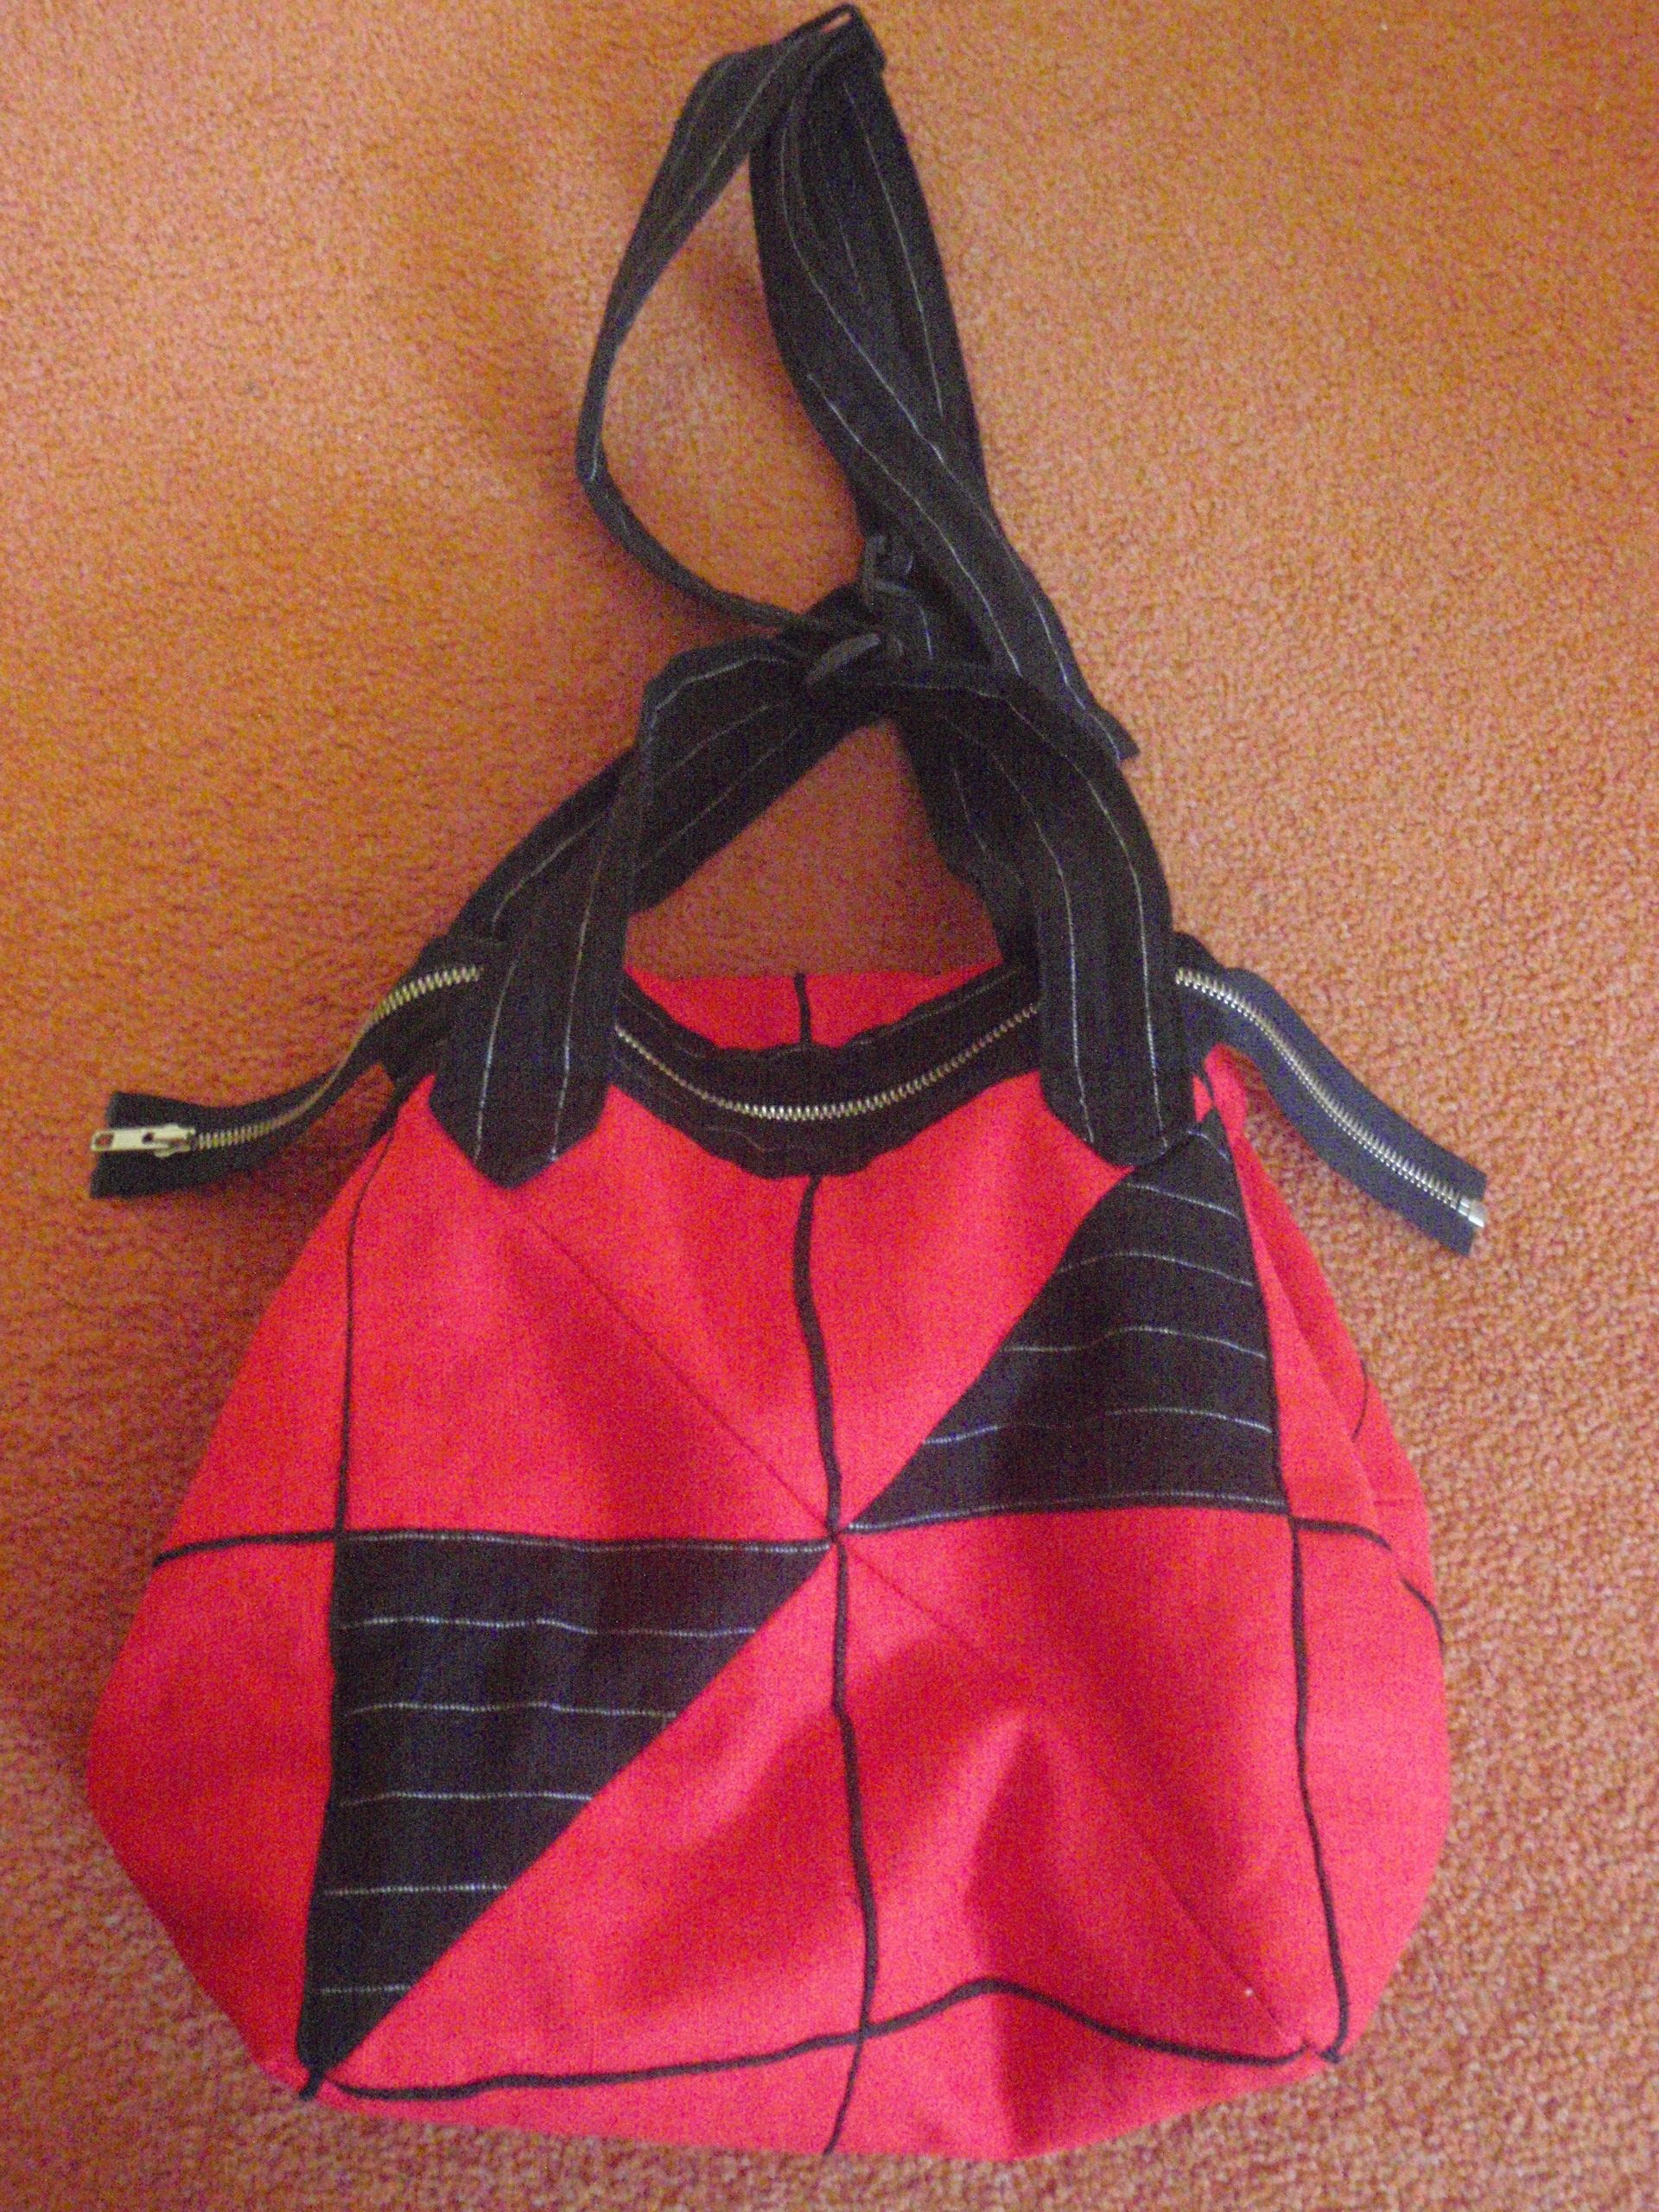
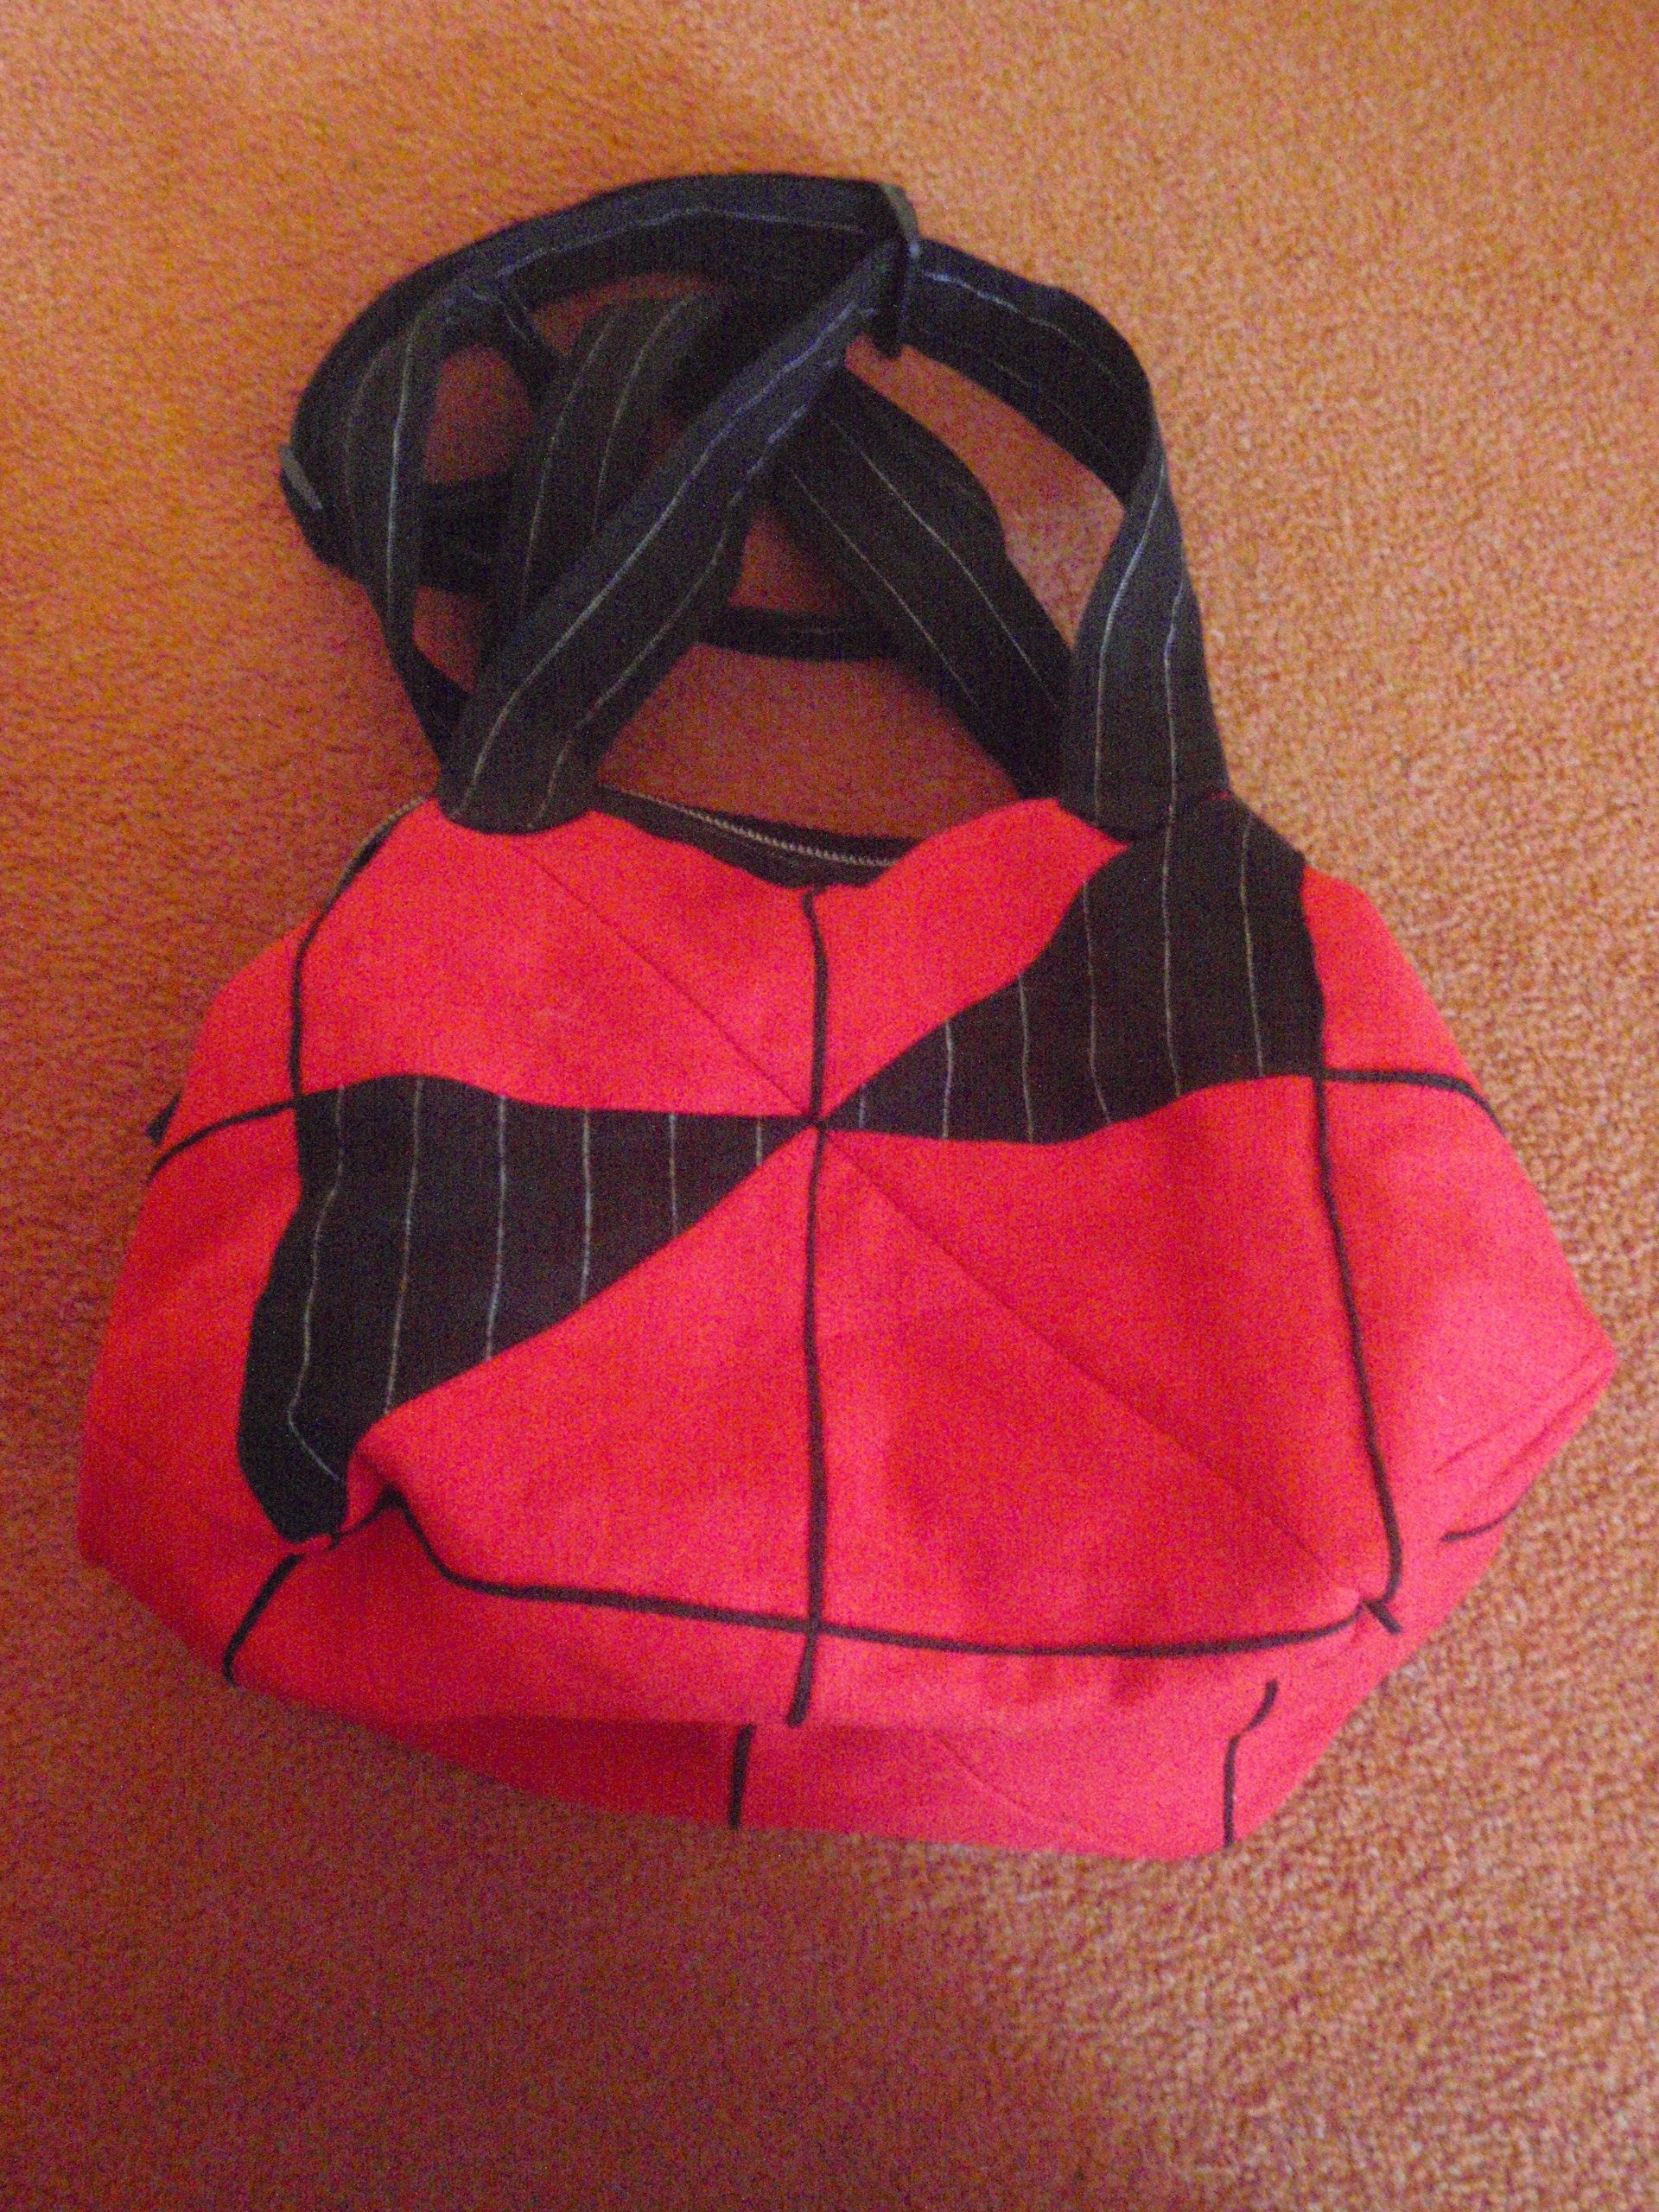
My previous clothes pin bag was sadly becoming more and more difficult to access with the opening raveling slowly away. Since I do need to keep those pegs somewhere, I set out to make a new bag. I’d pinned and saved the pattern in October of 2021, not specifically for this purpose but because I thought it might come in useful at some point. It’s the Best Nest Organizer Basket by Nancy’s Notions and I followed the YouTube tutorial for it. I did make the front just a little bit higher so it could hold more and added a longer strap.

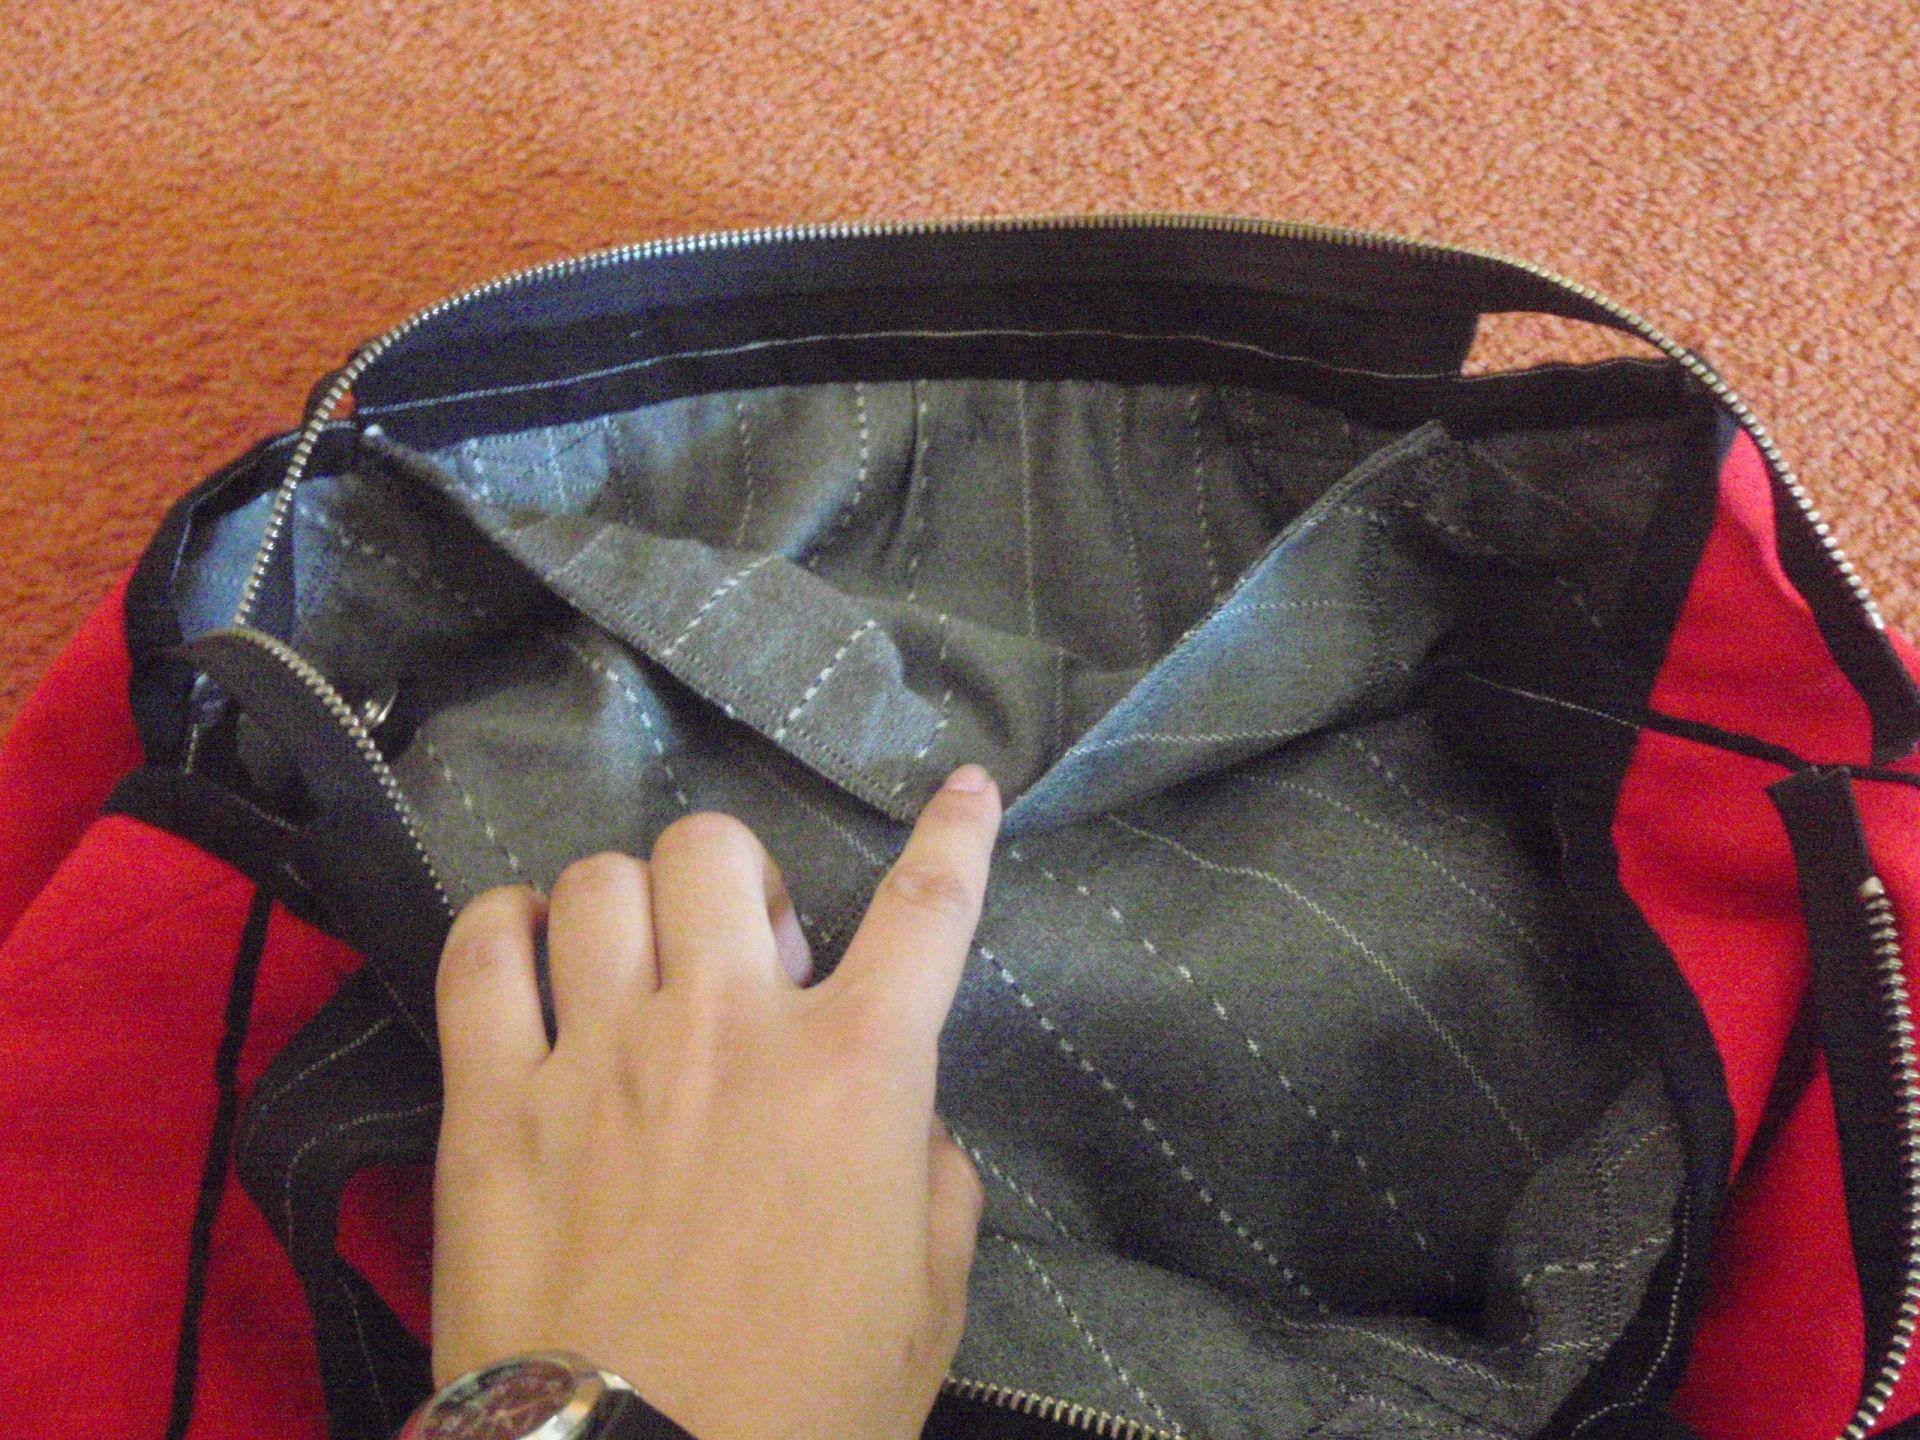
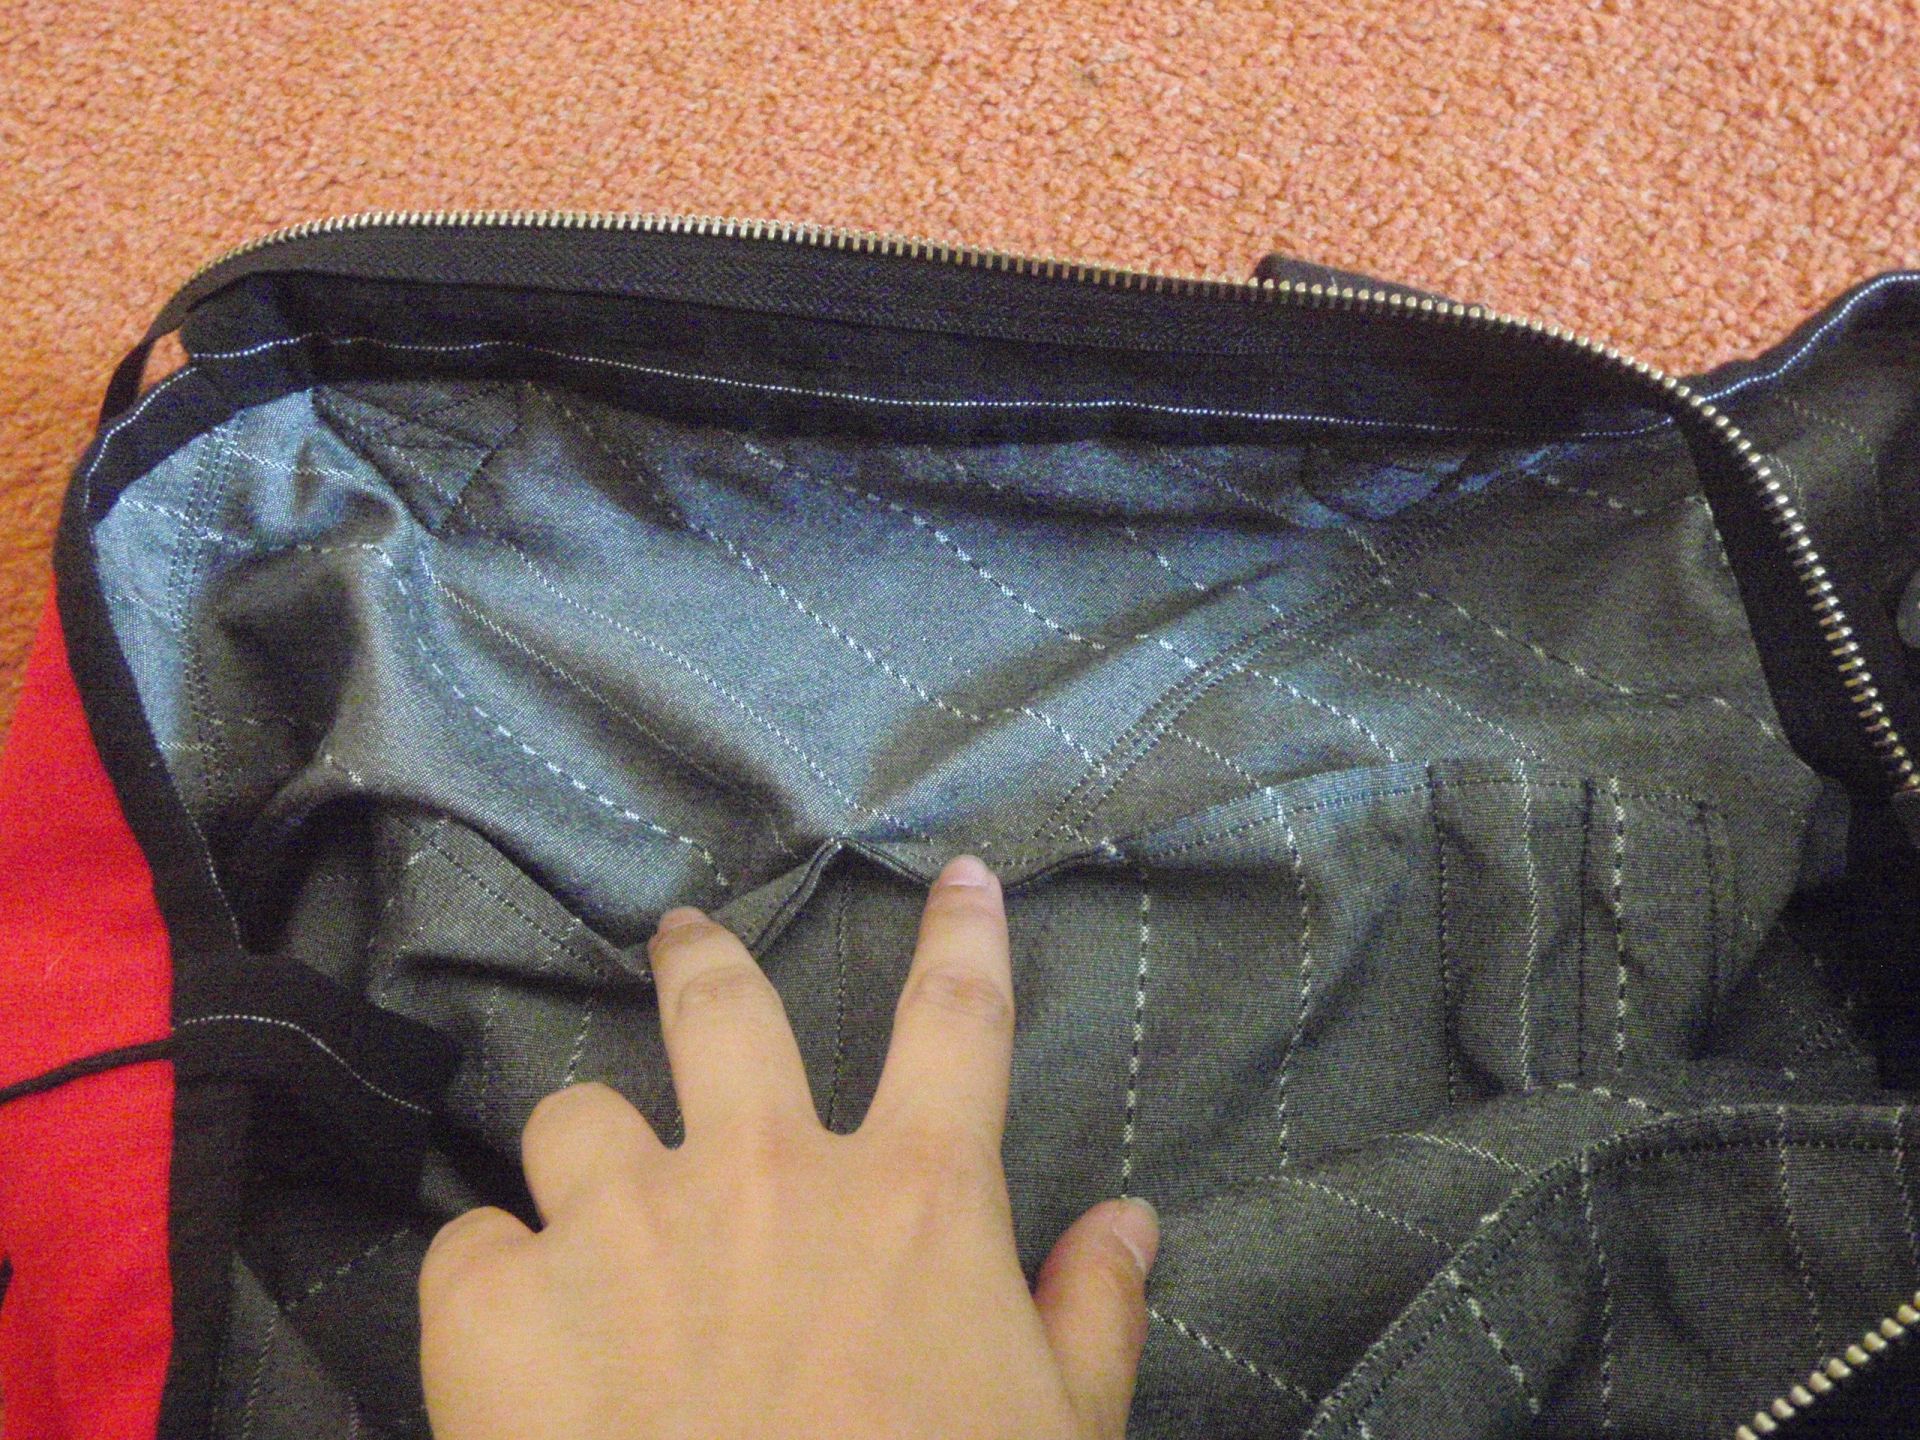
The fabric was some leftover red linen-y stuff for the outside, thin batting in the middle and for the binding and lining a cotton with skateboarders and rope jumpers. I’d initially intended the cotton to be a shirt, but I wasn’t actually sure I would ever wear it, so I think this is a much better use of it. I mostly followed the instructions although my quilting was probably a lot less dense that they would’ve intended. Reason for that was that the timing on the treadle is enormously off and it’s in repair, so the electric machine was used. That machine’s bed is different, so quilting isn’t as easy. The thread was a contrasting yellow that matched the little skateboarders. It also made me play thread chicken, and I won, twice.

It came together quite easily, although I still thoroughly hate making bias tape. The cutting and measuring and marking and pressing and all that jazz is just not up my street. It does look better with this matching bias tape though, so I’m happy I persevered. I also played bias tape chicken and sort of won. There are some parts of the long strap that don’t have a double layer of bias tape, but there isn’t a soul that’s going to spot that, so I’m more than happy with it. I think this thing is really quite cute and it should perform its job. We’ll see in just about 8 years whether it will have held up as well as the previous one did!

Desert Play Mat

My best attempt at a desert mat for play time.

Little humans slowly grow up, and one I know had a birthday in January. As usual, I wanted to make a thing. I’d decided on a play mat of some sort, preferably with a road grid on it, so that cars could race along. After weeks of scouring the fabric shops online for a fabric that had good, wide roads on it, I decided that it was impossible. So I went back to one of the fabric shops I’ve frequented the last few months that sells coupons (shorter lengths of pre-cut fabrics that are generally leftovers) because I’d been in love with a cactus printed linen for the longest time. There were some other fabrics that really tickled my fancy. A geometric pattern on some ochre cotton, smaller cacti on ochre, dinosaurs with umbrellas etc. (I may have developed an ochre obsession at one point).

The playmat was going to have both of the cactus prints, one for the ‘front’ and one for the ‘back’. There was also some dark blue cotton that I bought for the drawstring casing. You see, I found this Toy Bag & Play Mat tutorial by Fabric Mill, which I decided to almost entirely disregard, but I liked the standing edge on the drawstring casing a lot. I did want a contrasting one so that it was clear where the edge was.

Once the fabrics arrived in my house and were laundered, I set out to make a play mat/bag. I cut out the largest circle possible from both of the fabrics. Then layered them with some quilt batting and sewed lines every 10 cm in a grid pattern to keep the fabrics together. This was quite the ordeal but I did manage to make the entire thing in a day, so I guess it wasn’t too awful. After that, it was trimmed to size, the edge sewn and zigzagged down. Then the casing was added, this was the most annoying part of the entire project. I cut it 7.5 cm wide as per the instructions, which was not wide enough for my version because my seam allowance was larger. So I ended up cutting more strips and attaching them, having to unpick at least 8 sections because I sewed over folds in the first strip. Very frustrating. Once it was finally all attached correctly, it was sewed down and then the edge was closed. I didn’t have a cord, but the last bit of the project: ‘adding a cord and sewing a closure’ was only a few minute job so I’m counting it as a one day project.

Oven Mitts

Making some dinosaur oven mitts to replace the old raggedy ones.

During the big supply haul of 2021, I also bought a meter of something they called ‘Non-Woven Arachne’, some sort of interlining for oven gloves. Not because I’m particularly convinced I can make oven mitts better or cheaper than any store, but because I wanted to be able to fully choose the fabric for them. I’d recently acquired some dinosaur printed cotton with details in the same colour as my kitchen wall, which seemed the perfect combination. Also, dinosaurs in top hats.. who can say no?!

As for the mitts, the plan was to have a lining, a layer of the interlining and then the cotton on the outside. Quilt those together, cut out the mitt shape and sew it into the final shape. After making a quilt sandwich with only one layer of interlining, I was a bit scared that it wouldn’t be enough heat protection, so I tried again with two layers. I’d traced around one of my old mitts and added some seam allowance and cut those pieces out of my sandwich. Sewed them together, including a hanging loop, then zigzagged the edges, bound the bottom edge and decided this order of operations was not ideal. Trying to wrestle several layers of quilted oven glove under the machine to bind the bottom edge is not pleasant.

So for the second mitt, I decided to use some of the scraps of the first mitt and cut out a second layer of interlining for the finger and thumb part of the mitt. I zigzagged the edges of the interlining and the sandwich, then quilted the extra part on top. I sewed it down along the ‘mid-hand’ edge too. I put in the hanging loop, bound the two bottom edges separately (much easier) and then sewed the two parts together. This is the order of operations that seemed to be much smoother and easier to handle. All in all, I hope these will serve a good long time as I recently had to retire some of my gloves for either being a bit too burnt or for accidentally getting a lot of dye on them.. Those are no longer anywhere close to food safe. I also still have more of the interlining and the cotton, so I can make more if they turn out to work well.

Mega Rainbow Quilt

This enormous rainbow quilt was a collaborative project with my mum, pops of colour all the way!

What do you do when your mother asks you if you are willing to make her a quilt? You say yes and ask ‘how big’.

And then I asked what style and colours and patterns and what is it that you want exactly and at least 20 more questions. And then she says: “Big. I’ll leave the rest up to you.” Oof, interesting prospect that was. So I set out to buy a bunch of 10x10cm fabric squares. I figured that would give me a nice starting point. Of course I couldn’t make any decisions by myself, so once my squares arrived, I set off for the parental house with two boxes of fabric and forced her to make some decisions with me. We ended up planning out and pinning together 16 rows of 20 squares in a sort of diagonal rainbow pattern.

Then I took the whole load of pinned squares back to Zeeland and got to work. First sewing together all the rows and then adding the columns together. I managed to fit my walking foot under the antique machine, which made life so much easier. Because the quilt was so big, I had to move the table to the middle of my living room to be able to get all the fabric under it. After finishing all the columns and rows, we had to decide on the border. Since we liked the vibrant blue of the sheet we used to position the original squares on, I got some of the fabric I’ve been using for masks and used that for the border.

For the back and eventually the binding we chose some different blue stuff from the internet. I wanted the quilt to be warm(-ish) so I first tried two centimeter thick batting, but that was an absolute horror and I would never have been able to get it under the machine. So I chose some batting that was a centimeter thick. I quilted approximately in the ditch from left to right. There was so much fabric to maneuver that I sometimes missed the ditch and decided that ‘rustic’ would do. Then I added six rows of ‘rustic’ stripes along the sides for some extra.. flair? Then hours and hours of hand-sewing the binding on. (Yay for YouTube!)

And FINISHED! The entire thing is ~2.00 x 1.65 meters. I had to move quite a lot of my furniture and plants around several times to be able to even lay out the backing, batting and top. I then shifted everything further around when I went to take the finished photos. While the repetitiveness was sometimes frustrating, the fact that I managed to finish and gift it in time for Christmas was amazing. My aim was to have it all done by the end of December, but I astonished myself by getting it finished on the 9th and gifting on the 19th.

As a mini reminder of who did this labour of love, I sewed a piece of ribbon with a lovely sentiment to the bottom embroidered with my name. Right now, this quilt lives on a couch and brightens up the place and that’s absolutely lovely.

Rainbow Quilt

A second crib quilt, this one in a sort of abstract rainbow pattern.

After finishing the first quilt, I set out to make a second one quite quickly. At one point, I’d bought a stack of 10x10cm quilt squares online and decided to put them to use. Starting in a corner with dark squares, I worked my way up diagonally to create a rainbow of sorts. While it was still on the floor, I set out to place the squares in such a way that the ‘fun’ ones were not too close together, and that there were enough of them. I filled up other rows with dotted or floral designed squares that had come along too.

After I decided I was happy with the placement, I pinned the squares in a straight row together to form one long snake and then sewed the first to the second square for all the rows. Setting the stitch length to 2 or so on the treadle and just machining along. Once all the rows were completed, I pressed the seams to one side for the entire row, then pressing the seams for the next row to the other side. Pinned the rows together and treadled merrily along. For the border I chose a nice and neutral grey triangles fabric.

To quilt it, I chose to keep it simple. I found a bunch of bobbins with leftover threads in the main colours of my diagonal rainbow design and used those for quilting. Each diagonal is stitched with white in the actual bobbin and a vaguely matching thread in the top. You probably can’t see it in the pictures, but I thought it was a nice touch. The binding is the yellow whale stuff that backed the previous quilt. I still had a little bit leftover and thought it would be a good contrast. Also, whales. I like this one, it’s so fun and colourful!

I just hope it holds up, but we’ll see whether it does in the future I guess.

Nautical Box Quilt

This time it’s a small quilt with animal appliques!

With an impending addition to the family of friends of mine, I needed gifts. I asked them what they wouldn’t mind receiving that I could make and they said a box quilt. So I set to work on the planning stages, while making a lot of other things too. I have no self-control I guess.

I’d acquired a bunch of nautical themed fabrics ages ago, when I was online shopping for my cute animals quilt. I figured nautical would fit because my friend was already creating a whale toy at the time. So I set off to find a pattern on the internet. Eventually I came across the ‘Babe in the Woods quilt, 42 x 50″, free pattern at Maywood Studio‘, and decided that I liked it a lot. To fit the theme, I replaced the three animals with more aquatic versions from shutterstock, where I amended the whale to be a little cuter. I got some suplemental fabrics from the local market and set to work.

The pattern was first scaled a little further down to create an end format of around 100x80cm. Apart from that I followed the pattern pretty exactly. The appliques were made with a sticky cotton that was stitched down. Not sure that was the right choice because it does look a little Jack Skellington. I sewed the whole thing together on the treadle. For the back, I chose a yellow whale-fabric because whales. It was a little thin though, so I fused some of the same cotton that formed the animals to the back.

The edging was one of the squares from the quilt pattern, I just happened to choose a fabric with tiny stripes. This turned out to be very handy because that meant I could achieve a very constant distance between my stitches without having to pay much attention. Now, when it was finished, I was afraid that it would be a little dark and not to their taste. Soon up, the other one I made..

Chicken in a Stick Bush

OLYMPUS DIGITAL CAMERA

What do you do when a friend asks you over for a craft night (admittedly a while ago)?

Well, of course you decide to make a new chicken out of the bits of quilting fabric you bought when going quilt shopping with said friend and another friend. Then you decide to stuff your fresh new chicken in the vase of sticks you have in the corner of your room. No? Is that not the usual course of action? A well, it was my plan and I executed it. The chicken hasn’t fallen out of his bush yet, and it’s been in there for weeks…

I made a similar chicken as I did here, but I made all the bits twice as big, which means the complete chicken is quite a bit bigger. I used a few of the fabrics I bought in the quilt haul, and sorted them by dark and light.

OLYMPUS DIGITAL CAMERA OLYMPUS DIGITAL CAMERA

I mirrored the bits when sewing together to make sure that he was identical on both sides. You can see, among others the ivy, the winter leaves, the zebra, the blue leaves, the red sticks, the green/yellow abstract, the leopard and the brids&christmas fabrics. The bottom is the red pears with butterflies, of which I managed to put one butterfly nicely on its butt.

OLYMPUS DIGITAL CAMERA OLYMPUS DIGITAL CAMERA

I got the yellow buttons during another crafting day with those girls and I eventually finished it, didn’t know what to do with it and therefore stuck it between the sticks I keep in a vase. I like it.

Current projects involve pinstriped shorts, green knit sweater, bed quilt and an assortment of others. I hope to have something finished soon, but you never know with me…
Let’s just all stay creative, in which ever way we choose.

Cluck Cluck

What do you get when you put three exited girls in a quilt shop? MAYHEM!!

I went to this quilt shop a while ago with two friends. One of them and myself found a large wicker basket (a meter high) filled with small pieces of quilt fabric with a note attached that turning it over was allowed. So after we went around the shop and saw a myriad of nice designs on the walls, we turned over the basket. We touched, looked at and judged all of them and all of us took a few of the scraps home with us.

One of the designs I saw was a log cabin chicken. Log cabin is a type of arrangement of strips of fabric that forms a square eventually. The chicken is two of these log cabin ‘blocks’ sewn together to form a chicken. I knew I wanted to make one, but I also knew that I didn’t really want to put it out in my house somewhere. Then after a miserable Tuesday where it felt like everything went wrong, I knew what to make the chicken for. That Tuesday was the day I forgot my key in the house and the people who have a spare were both gone. Clearly I needed someone else to have my key and I figured I had to make a key chain. I used some of the scraps from a ‘foot of the bed quilt’ I’m currently making for the chicken.

It’s all hand sewn and the beak and head thing are felt. I think it’s cute.

Chick other side Chick side

I saw some examples on the internet that had a tail attached, which I thought was really cute so I added one too. I had to look up how to sew the chicken together because I couldn’t remember it from the top of my head. Luckily patterns for things like this are abundant.

Chick back

Red Bag

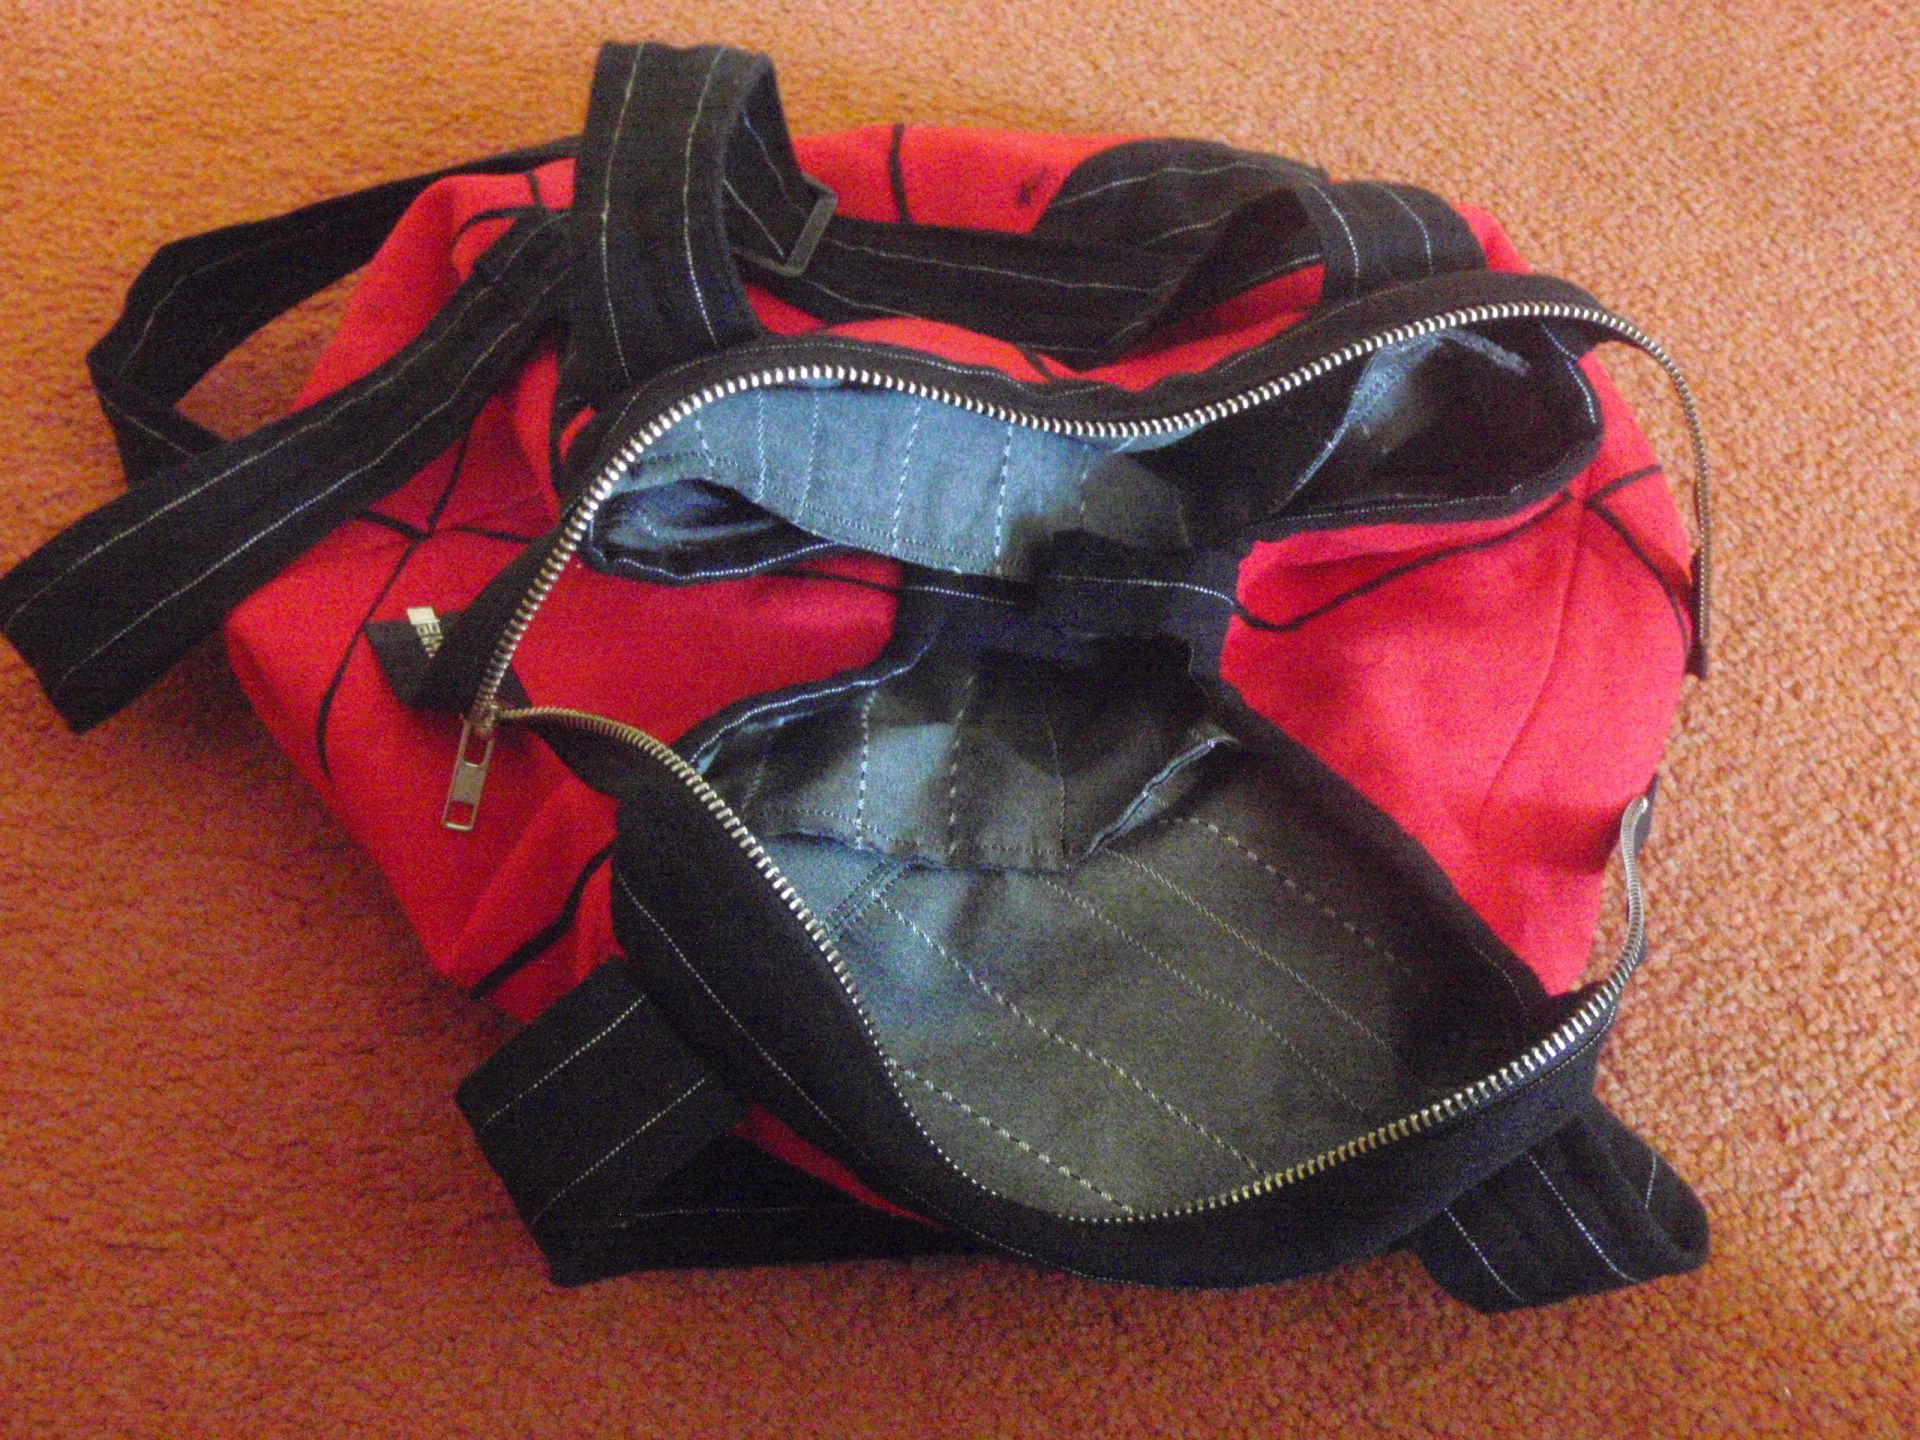
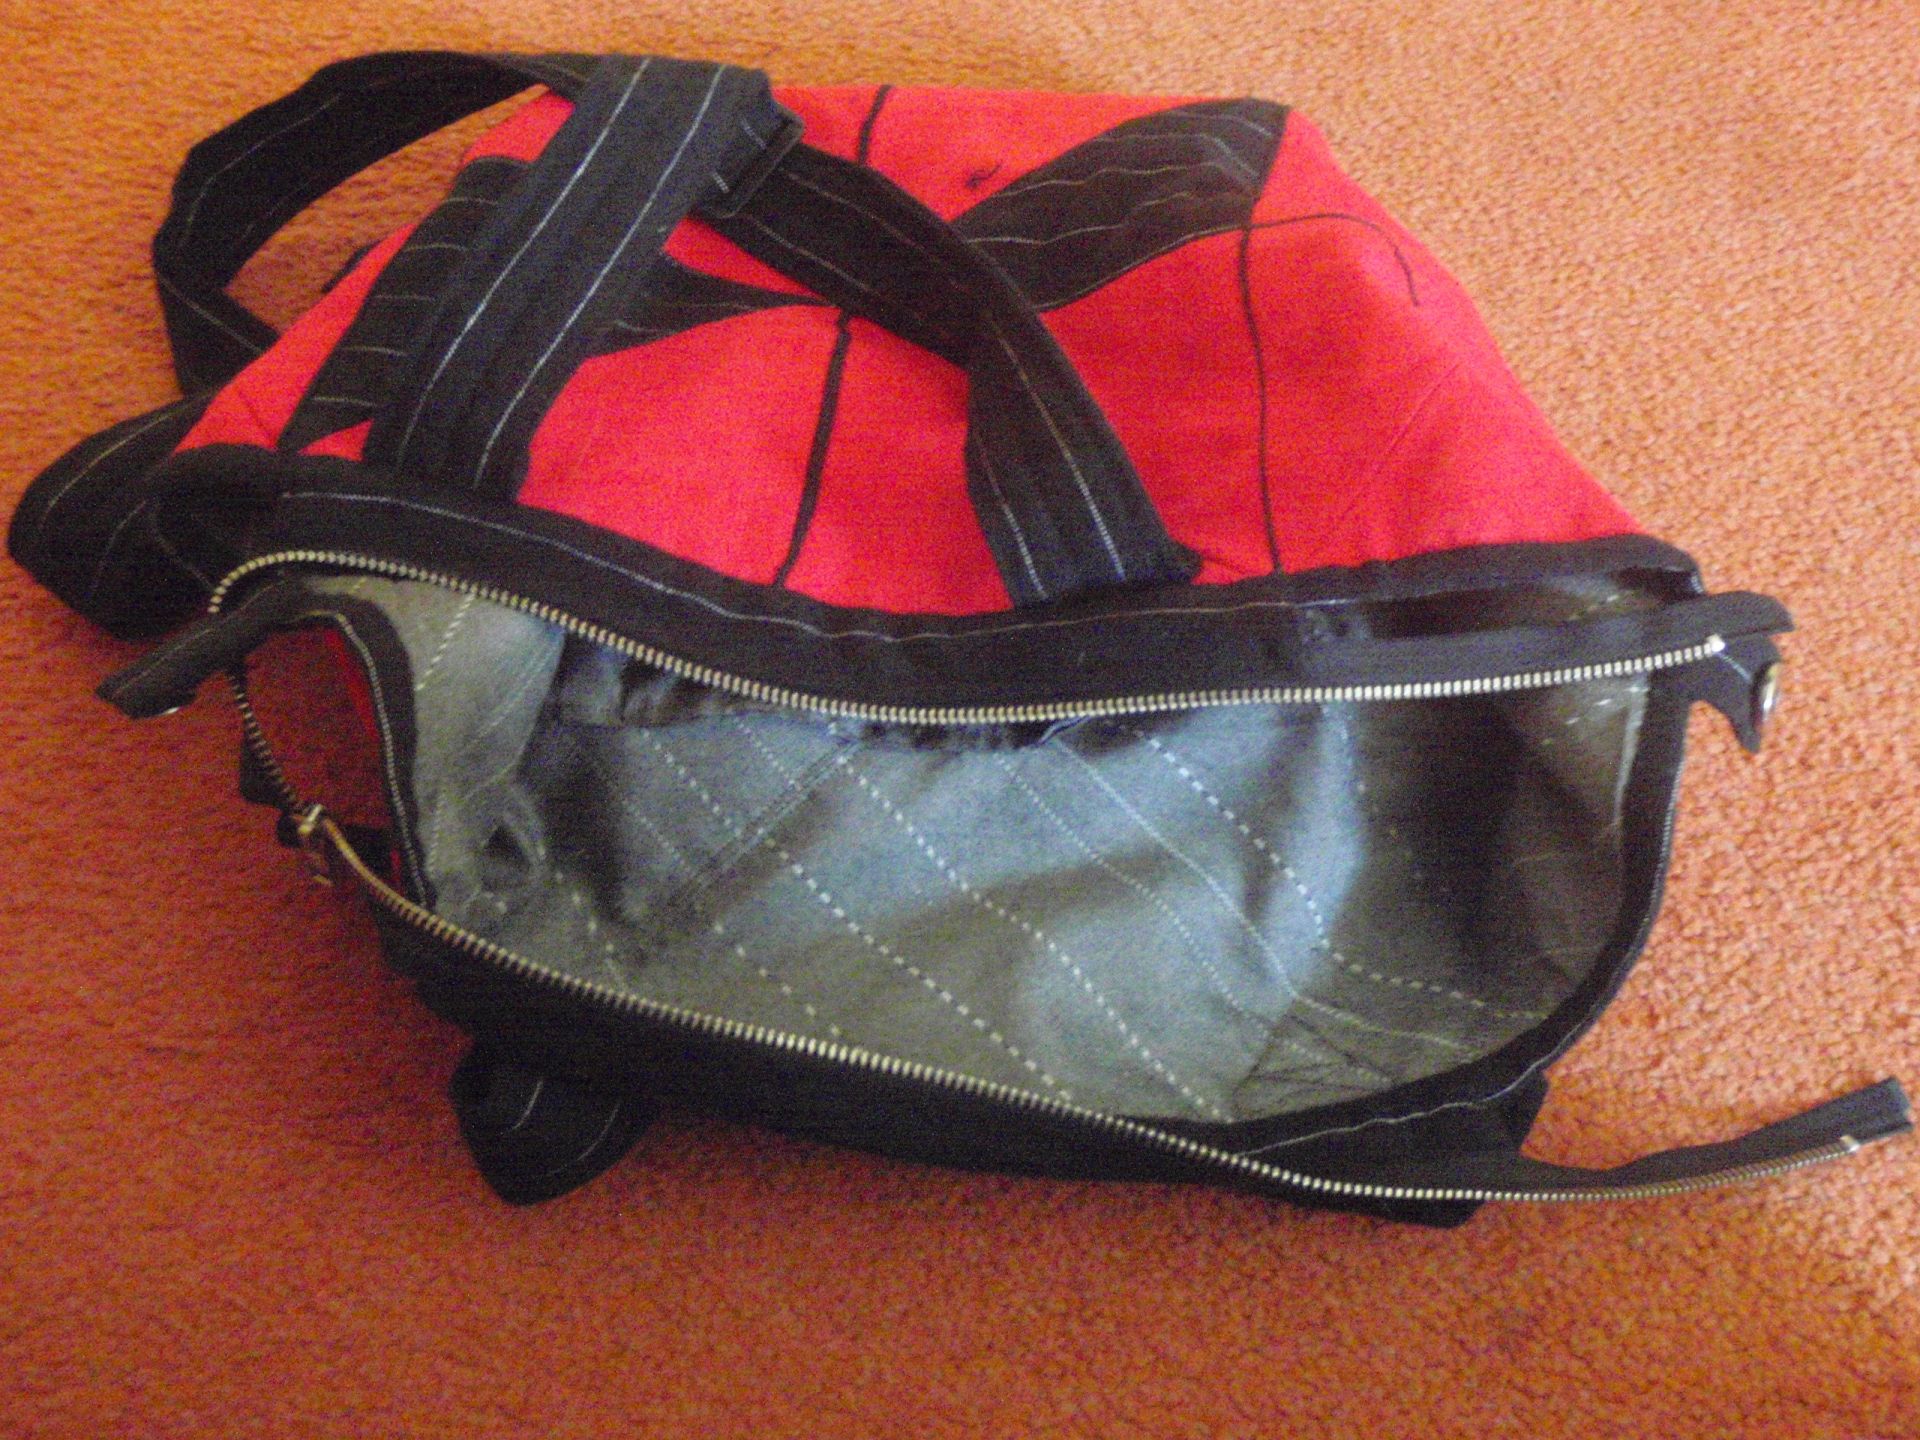
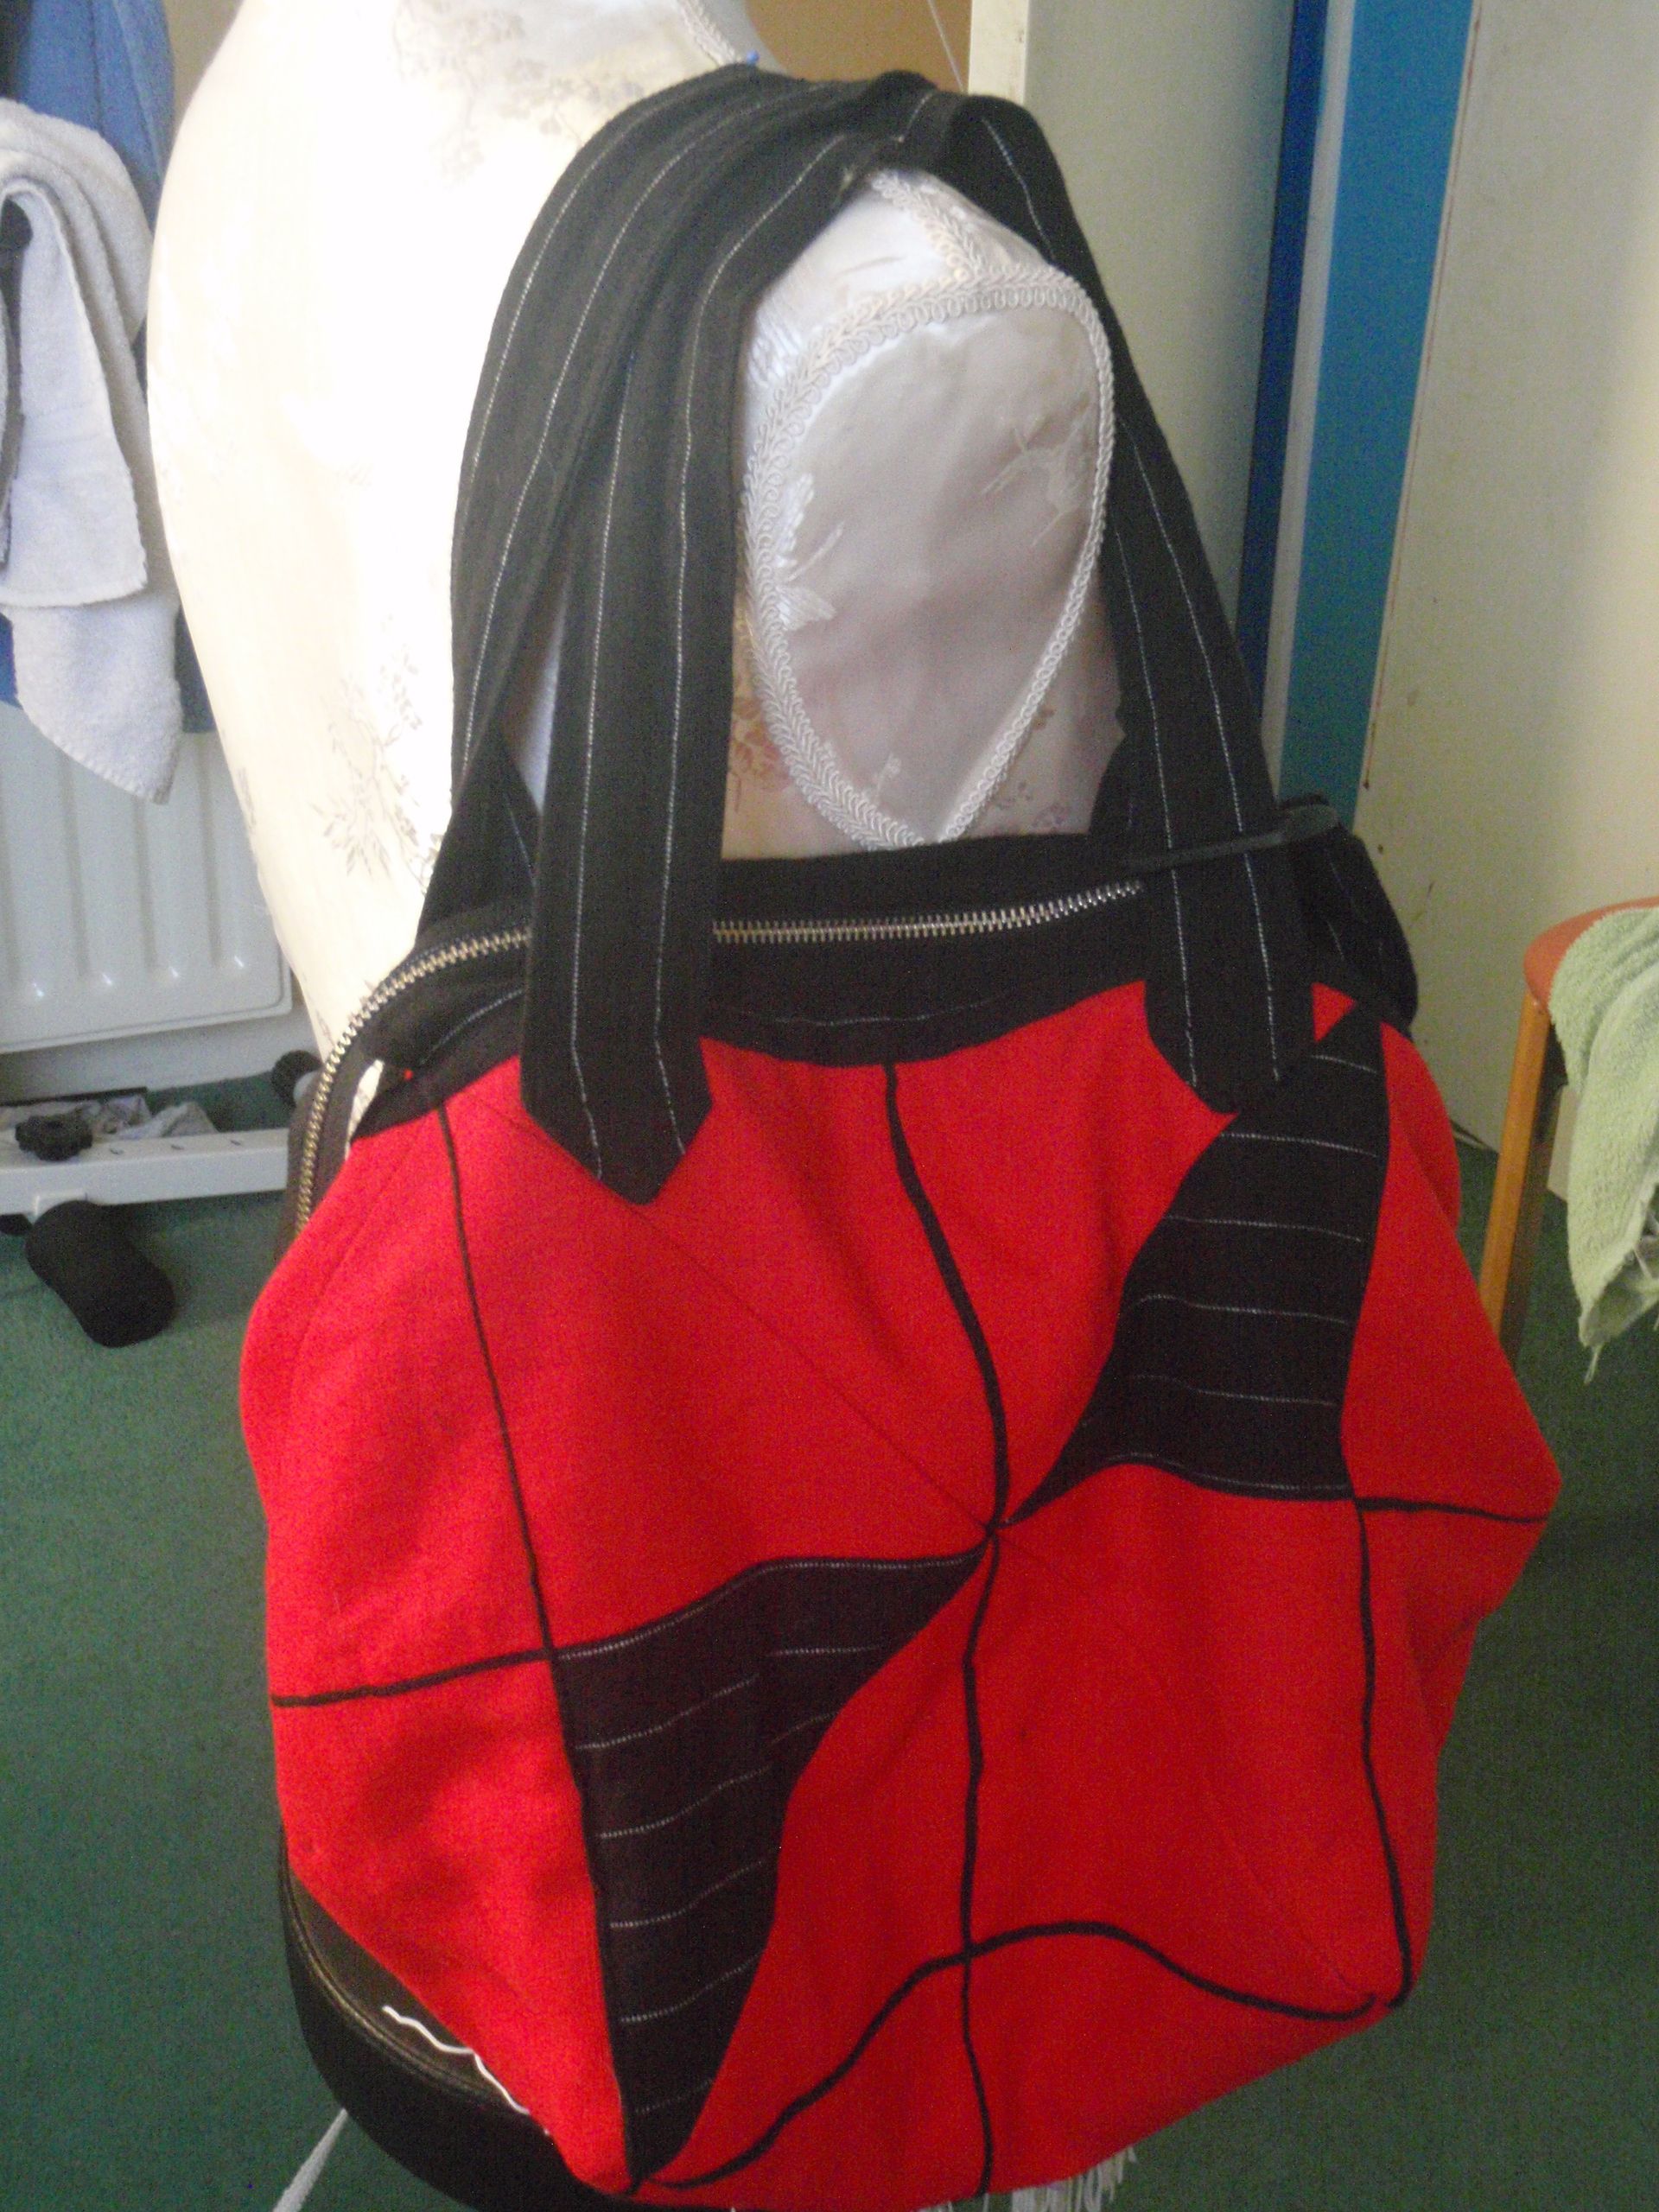
Last time I posted, I hoped I could post about the red bag being finished. I am very proud of myself for actually doing that. Today I finished the red bag. Now, you might wonder what ‘the red bag’ is. When I decided to start quilting I went to the library to get a book. I came home with two, of which one was “Japanse quiltstyle” (or “Easy Japanese quilt style” – by Julia Davis and Anne Muxworthy (here)). I really liked the bag on the front (here) but I couldn’t find enough different fabrics to make a fun multi-coloured patchwork bag. Then, a light bulb turned on in my head. I could do it in one colour I really liked and do with piping!

I searched my stash for a fabric and located a red linen stuff that I really love the colour of. I always think that red and black go very well together so I found a black pinstripe fabric that had 2 cm apart pinstripes. This meant that I could cut on the lines and they would make nice even piping (if I had sewn straight). I cut out 18 squares of red and 2 of black. Only 9 fit the width of the red stuff and  I figured, variety isn’t bad right, so I took two other squares.

I made some paper models to figure out how the bag was put together. They have you make a windmill shape that sort of twists around such that the diagonal of a square forms the top. It was difficult to picture in my head, so I decided to model it. I sewed everything together and added a couple of touches from my own. Here is the finished product.

Front Back

The tie strings on the side were omitted. I did add a half-lining that was waterproof. I also added some pockets on the inside. One big one on the one side, and 2 smaller ones and 2 pen slots on the other side.

Big pocket Small pocket

I also added a magnetic button closure to close the bag on the inside, and an overly long (design element) zipper as top closure.

Inner closure Inside

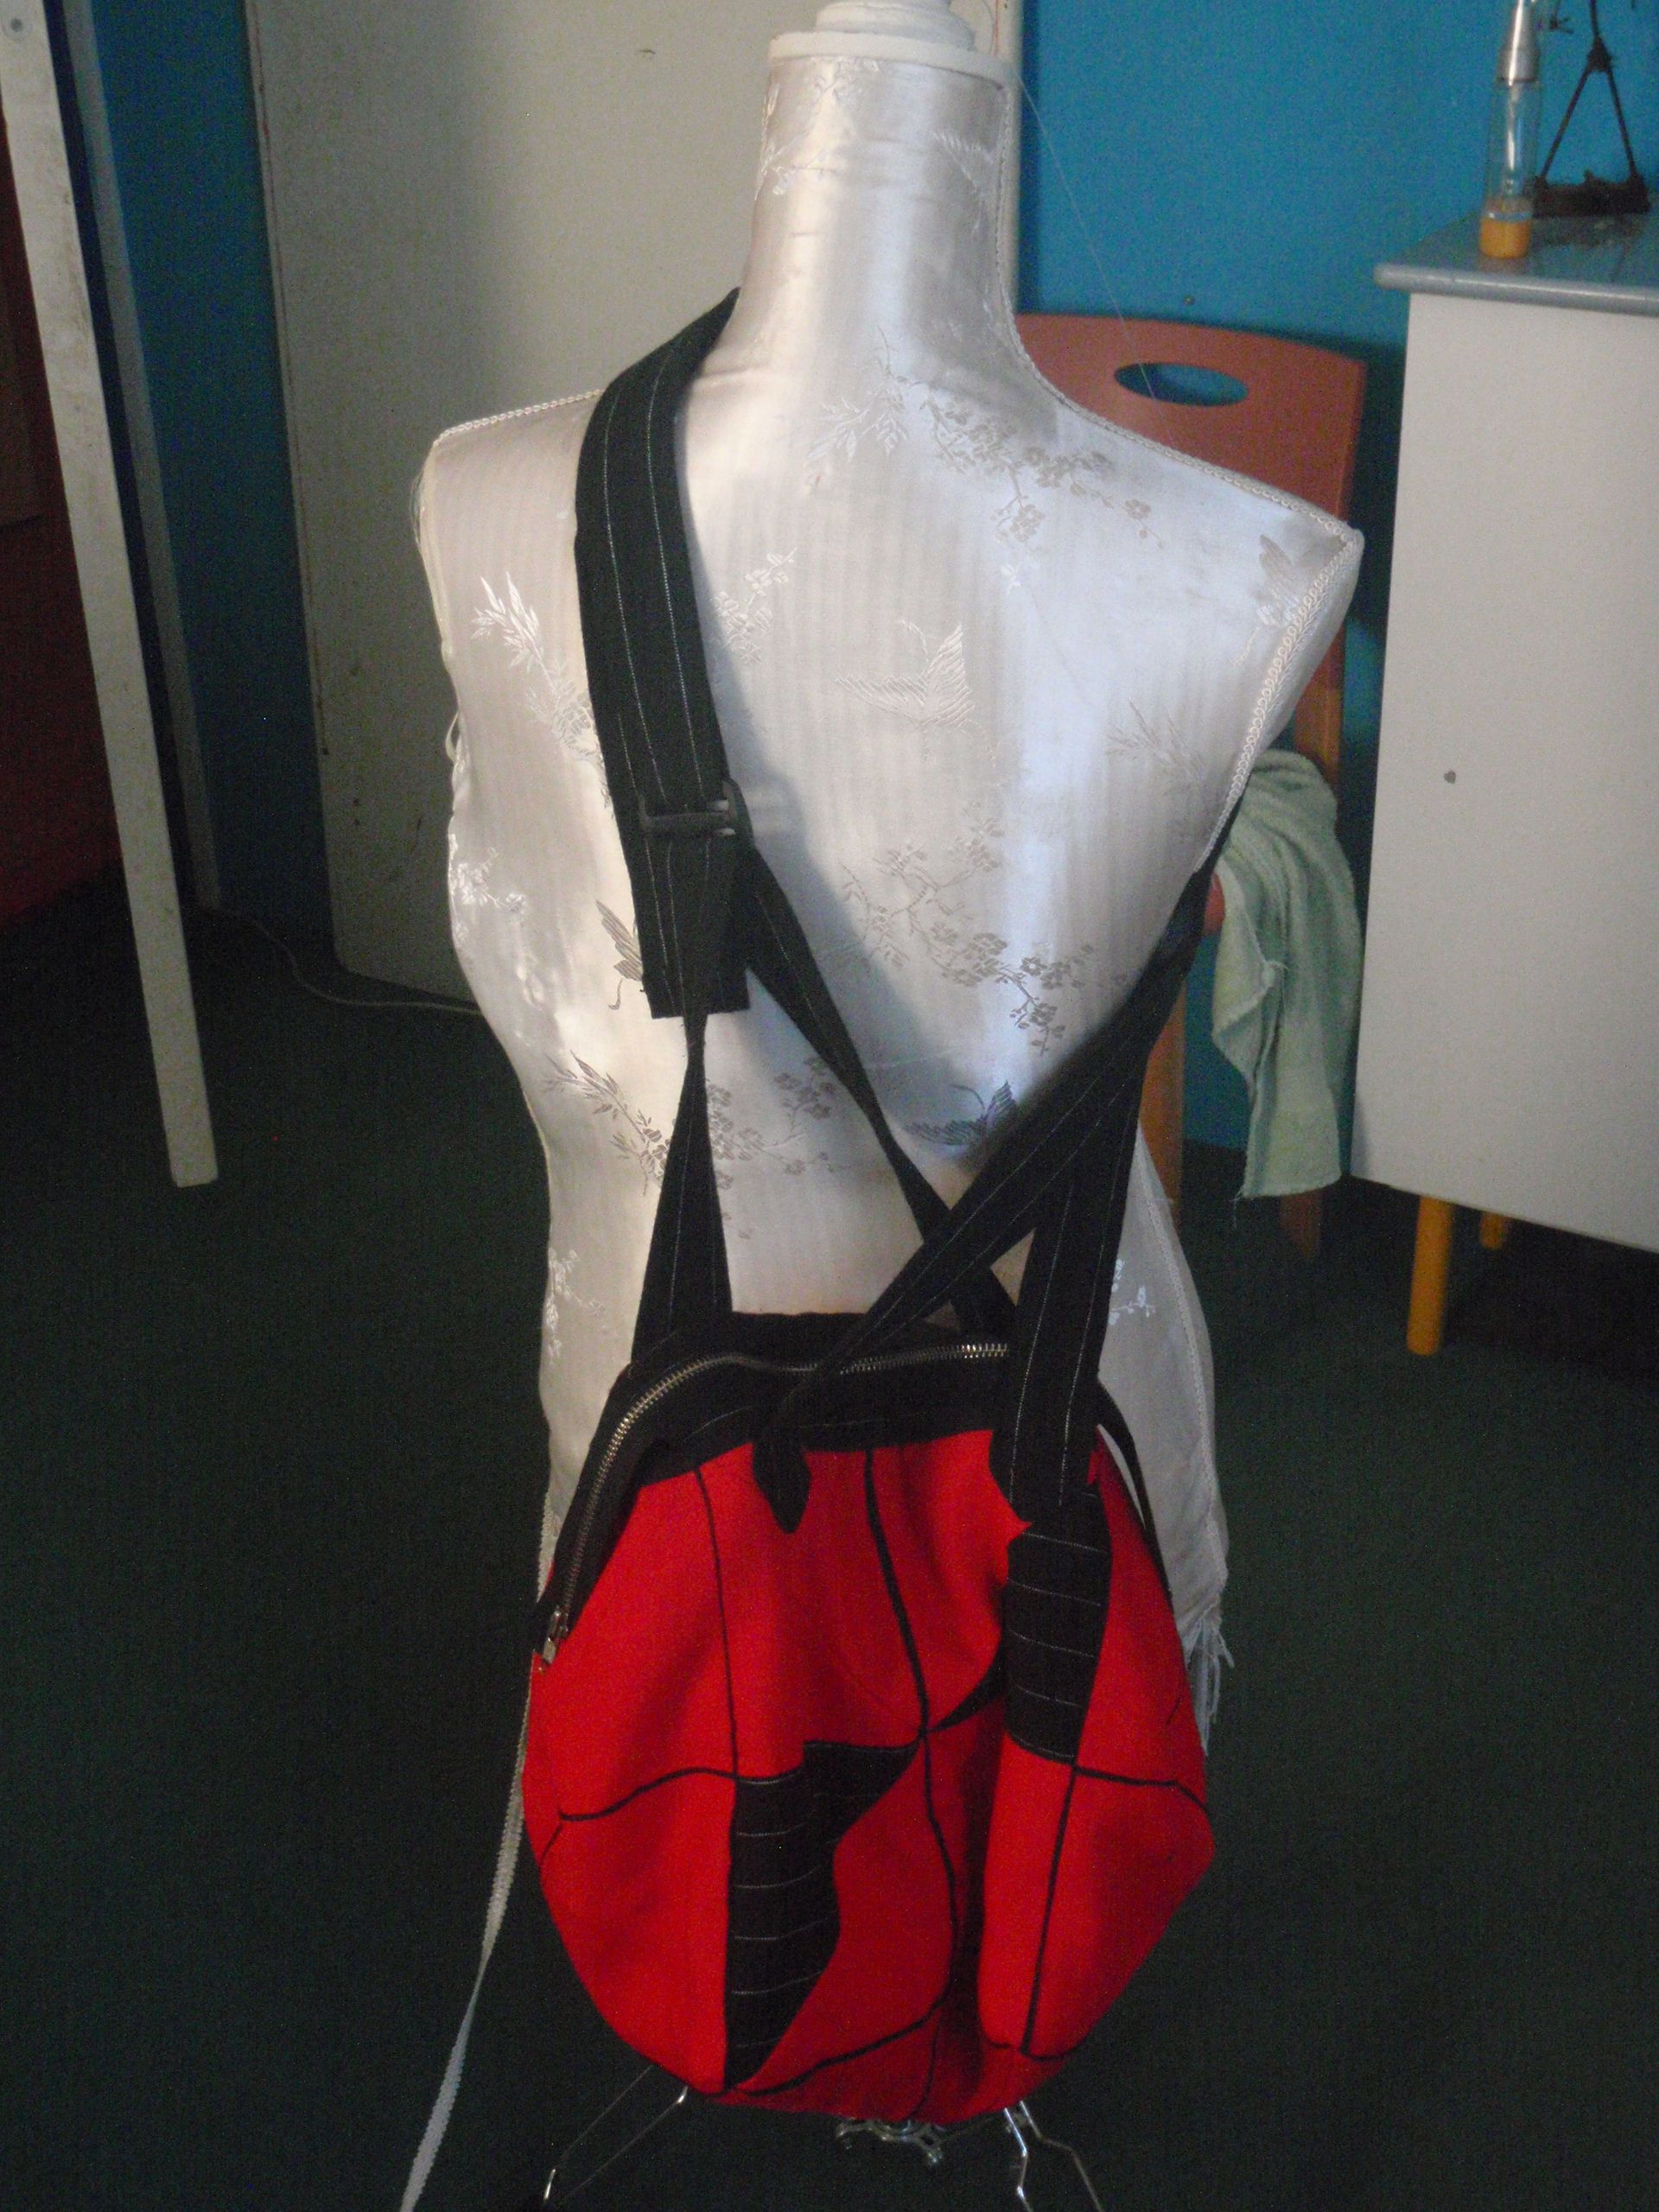
I also added the option of a long strap next to the short straps. If I want to wear the short strap, I can shift the longer strap to the side and then inside. Then I can use the short straps on their own. However, I have found that short straps then to slide from my shoulders, so I like a long strap. This is a (semi-broken) mannequin wearing it.

Wearing Wearing

I hope to actually be able to use it too, to see if it works nicely. I’ll see how that turns out. Now I should continue with the large quilt, since this project is finished!


New Project

I am officially going to graduate on the 31st of July. That doesn’t mean that I get my diploma then, but I will be allowed to put MSc. behind my name. I find this fairly exiting. I handed in my thesis on the 3rd of July, got my grade on the 4th of July and have had holiday since then. I haven’t done much in the way of job hunting. In combination with some other struggles it’s to difficult to even try.

So, when I went to the market on the Friday before last, I found myself a new hobby. The fabric guy had a table of 3 euro/m fabrics. Including some that screamed quilting to me. I invested in a yard each of 4 different fabrics. Three fabrics were the same print in a different colourway (scooters, motorbikes and gears), and the last was another print (farm animals). I looked through the library the following day for some intriguing patterns and eventually decided on one based on a pillow case.

The plan is the following:

quiltFabrics

The colours in the picture correspond roughly to the colours of the fabrics I chose. I have since finished making the brown/grey/dark blocks and I now have to cut the red strips and attach them. It’s going to be big, this thing. The brown bits are 10×10 cm cut, so ~8.6 by 8.6 cm sewn. The strips are 4 cm cut and 2.6 cm sewn. I hope it’s going to look nice. However, I don’t know yet. Below are the blocks that I’ve done.

Blocks Attempt at end product

This is my first attempt at quilting/patchwork. I enjoy doing it, although I do think it would be really nice to have a rotary cutter. I’ve now been hand cutting with scissors and marking each individual bit. That certainly took a while.

I might embroider some of the central animals in the brown panels with yellow and blue thread to break it up a bit. I’ll have to see how that looks though. I’ve also been following the Craftsy class on pant fitting, in hopes of finally producing good pants. I’ve started the muslin. I hope I get some good pants now… Enjoy the summer (or winter, or other season)!