Sir Octopus

The pattern designer from the previous knit gift had a sale on buying three patterns at the same time. So that is what I did, next to GOGEE, I also got a pattern for Dandy Sir Cephalopod and Bonbon. DSC is an octopus with a top hat and a monocle, I had to have it. Bonbon is a cute little rabbit, it will probably see my needles fairly soon.

On to DSC, I used the same yarn as for the GOGEE and got to work. First you knit the eight tentacles, which you finish with a three needle decrease. Once all eight tentacles are knit, you start the body, at some point, the tentacles are three needle decreased onto the existing body. This is a really easy join that only leaves you with eight tails to weave in (YAY!). The remainder of the body is then knit up, eyes are added a moustache is sewn on and then the head is closed up. Before finishing, a length of yarn is glued around one eye for the monocle. The pattern is wonderful and easy to follow. I really enjoyed knitting him.

The most difficult part came with the moustache. I didn’t have a moustache button available. It was Sunday, he had to be completed by Monday and all shops in the vicinity were closed. I had no choice but to bust out my trusted fimo clay. The (metaphorical) cobwebs were wiped from the pasta machine and it was put to work. I drew a moustache on some paper and traced it on my flattened fimo clay. Holes were punched and the clay was baked. I also decided that none of the safety eyes I had in the stash were large enough (see above, he just looks silly with tiny eyes). So with the remaining moustache clay, I made some half domes that I squashed onto smaller safety eyes. These cover-eyes were also baked and then glued to the smaller eyes. I learned again that I cannot be trusted with superglue since I got some on my finger.. again.

Once the eyes and moustache were added, I closed him up and knit the top hat. Since the octopus itself was quite .. busy in his colour scheme, he needed a neutral hat. So I got out some grey and got to work with that. When he was finished he couldn’t really stand on his tentacles, but if you perch him just right on a cup, he looks ever more wonderful. He’s currently living in the office on the desk of the birthday girl, so I still get to see him. She’s still deciding on his name, but it’ll definitely start with Sir.

Baby Phoenix

For another friend I made a mini phoenix. He wanted a phoenix at some point, so I started collecting phoenix pictures on a pinterest board. I don’t think this was the thing he was expecting, but that’s fine, right? This bird was inspired by this baby Articuno by Ganjamira.

Anyway, I knit the start of a monster chunk  by Rebecca Danger (free pattern here) without the feet from a yellow fuzzy yarn. Before finishing the top of the chunk, I stuck feathers up its bottom and sewed them down. Then I added some feet made from red pipe cleaners. I cut some wings from orange felt and coloured the edges with a red fabric pen. Then I made a fimo head based on that Articuno.

To make the head, I used a toy eye on which I built the head, and then I stuck two toy eyes in for well, eyes.. I baked it in the oven, which may have glazed over its actual eyes a little. It was then attached to the bird. The bird was then stuffed and the hole closed. I quite like this critter. Look at his face! I’m not sure if it is fully in proportion, but at least it was nice to make.

Gifts – 1

With school over, I’m now (still) enjoying holiday and searching for jobs every now and again. However, I also found that there are a lot of things you can do during holiday that involve getting out of my house. Since I’ve made so many (house-warming) gifts in the past weeks, I figured I’d dedicate multiple blog posts to that. Let’s start at the beginning.

The first gift was meant as a house-warming type gift. I made three cocktail stick hedgehogs/porcupines for three different friends. The first friend just moved with her boyfriend to a new house. As I’d visited her before but that had been unexpected I didn’t have a gift at the time, and I wanted to give one. The second friend also just moved with her boyfriend to a new house, as I’d be visiting the house and them I figured I wanted to bring a little gift. The third friend was celebrating his birthday, and he likes cooking, so I hoped he’d like it (yes, this was all in the same week, I was busy).

I hope you are curious to find out what cocktail stick hedgehogs are, since I’ve got pictures here.

Hedgehog! With sticks

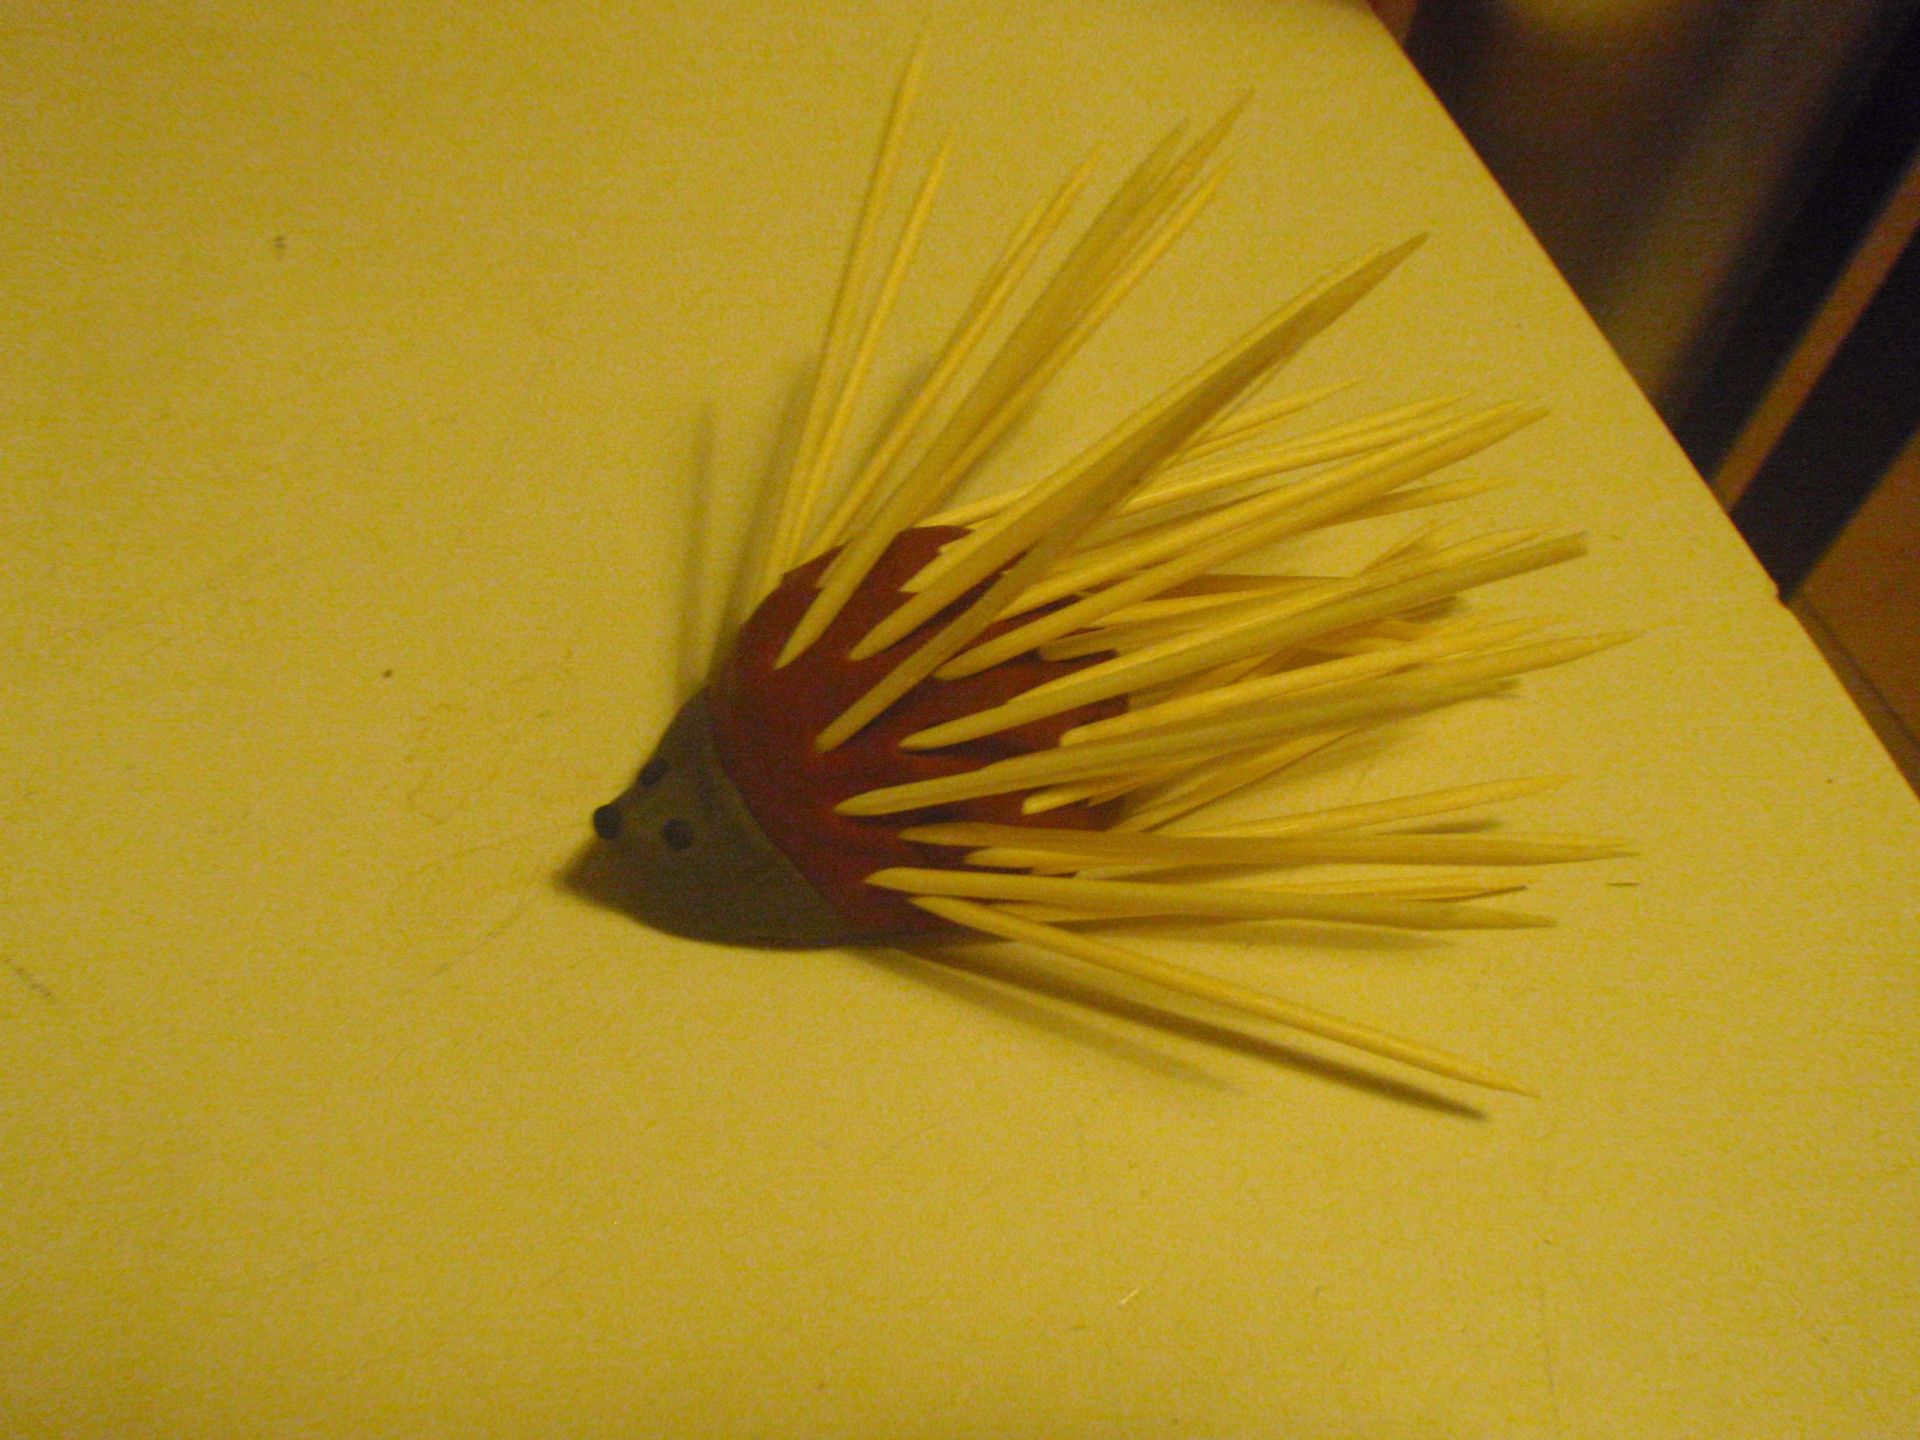
I made three different coloured ones, because I was using my left-over fimo clay. There is an aluminium base in, and it is covered by two different colours of fimo clay that were put through a pasta machine repeatedly. After I’d finished the covering, I googled hedgehog (to get them the distinctive hedgehog face shape) which involved making a little nose that pointed upwards. I added a black nose and eyes and pricked them with a stick. They were baked and were then ready to serve as cocktail stick holders.

Fully sticked 

This is one of them fully stocked with sticks. I personally think that they are super cute. If the recipients don’t fancy them, they can always throw them out.

So this was part 1. Stay tuned for the next instalment.