Knitting Tiger, Hidden Dinosaur

Some people experience the growing up stages in a different manner than would seem regular. I have not yet exited the ‘why’-phase that toddlers usually go through. I also entered the dinosaurs phase a lot later in life that one would deem appropriate, i.e. last year or so. It all started with that ‘knitting dinosaurs’ book. I knit a dinosaur, knit another dinosaur, and another, and some more.. I took some courses on dinosaurs on Coursera (an online platform with Massive Open Online Courses (MOOCs) on different topics). Collected the local supermarket ‘dinosaur stickers’ (still missing 89 by the way) and browsed ravelry on ‘dinosaur’.

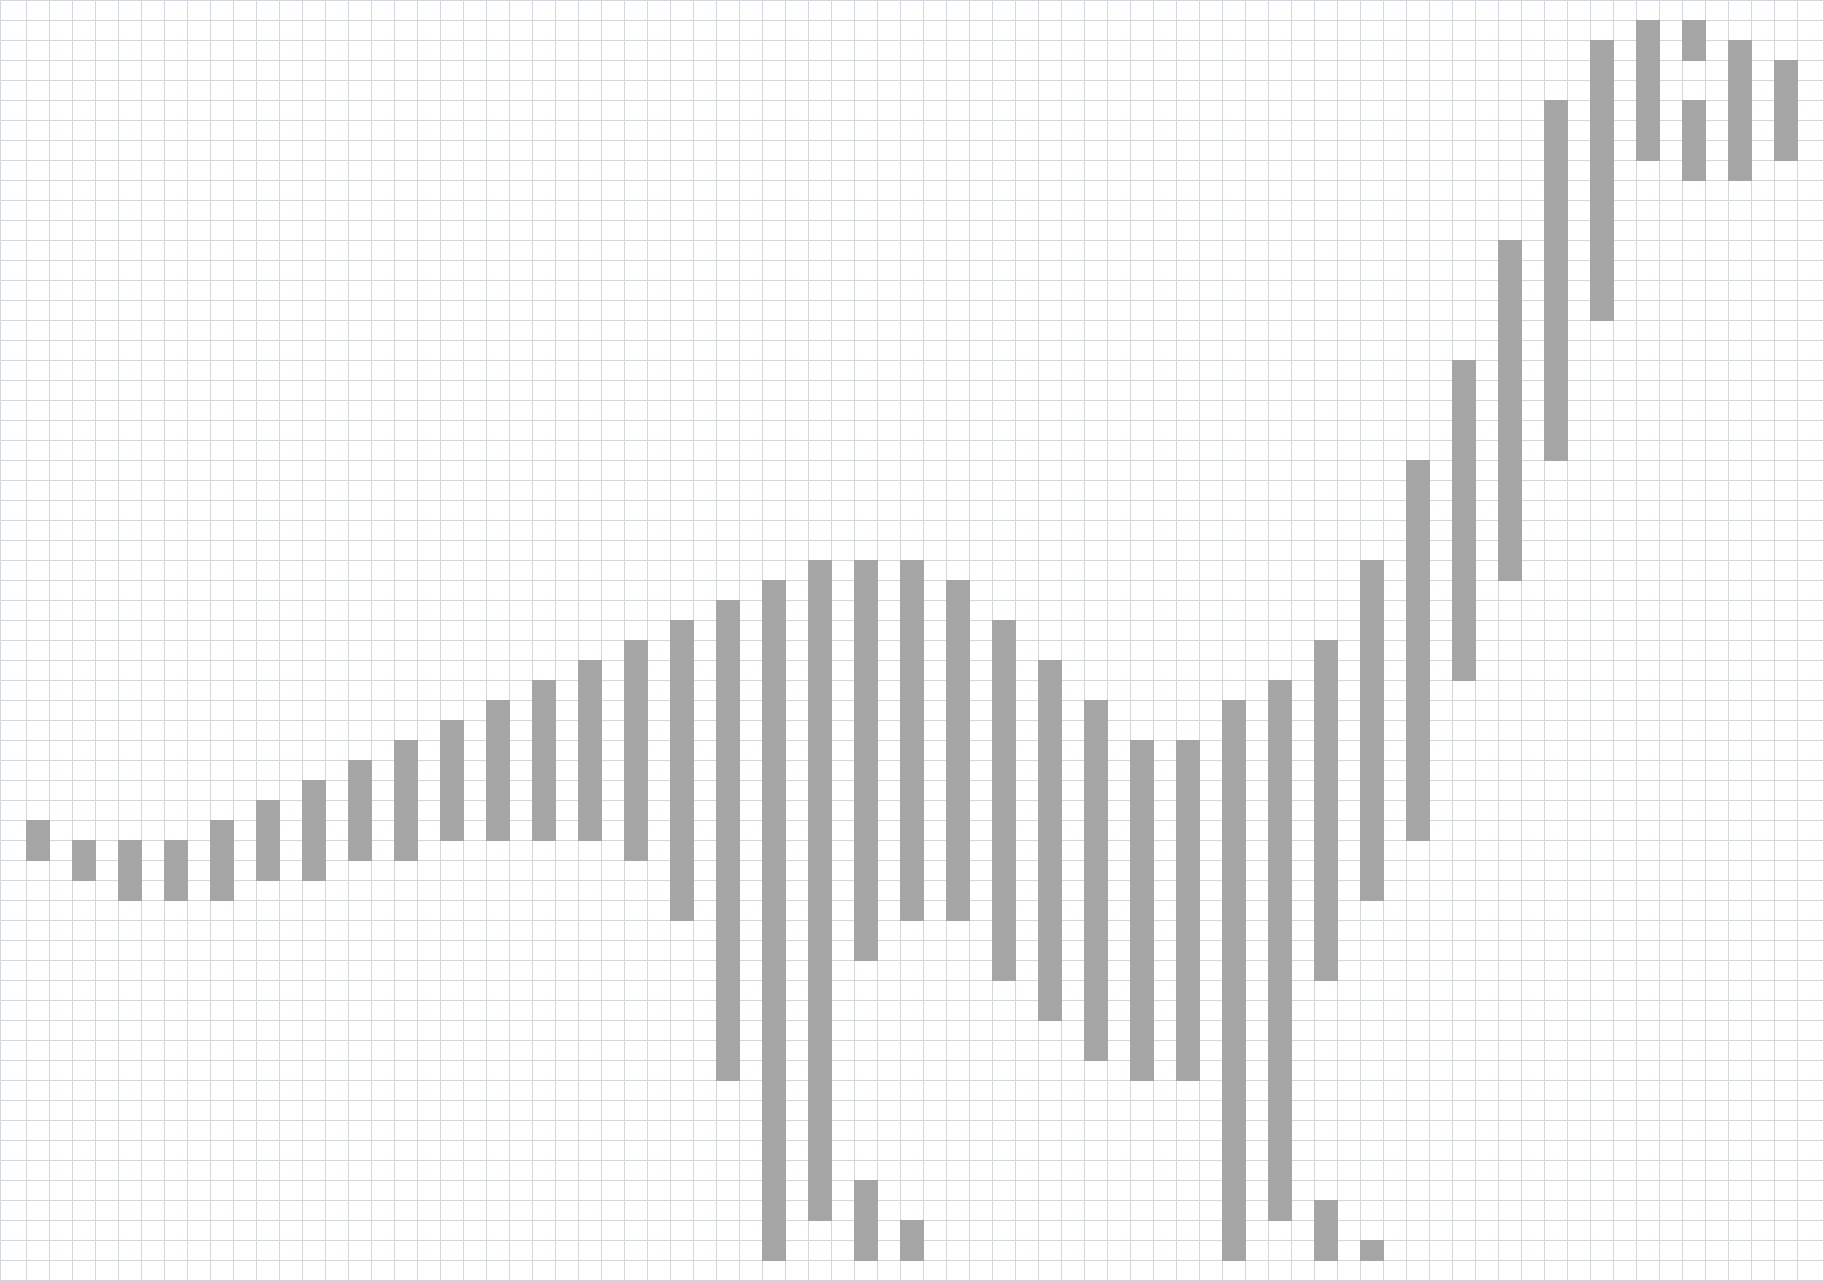
Now, I never figured I would be able to wear something with a dinosaur to the office. So when I found the Dinosaur Illusion Sweater, I was both ecstatic and scared. Ecstatic because I’d found a way to wear a dinosaur, legitimately! Scared because it’s for kids age or sized 4 (I’m not sure), now, I can wear children’s sizes sometimes, but even I’m not that small. I’d have to resize it and since it is knitted from side to side you have to do it right immediately. Moreover, sticking to gauge seems to be difficult for me. However, I knit a test swatch and got to work with the calculator. This was my pattern eventually.
Dinosaur

The technique is called illusion knitting. What this means, is that ridges and troughs are knit in the main and contrast colour. To create the picture, the main colour ridge becomes a trough and the contrast colour trough becomes a ridge, such that from the side, the picture appears. From the front it just looks like strips, but from the side, the above dinosaur appears.

The original sweater has sleeves with footprints on it, but after finishing the body, I wasn’t interested in sleeves anymore. After a couple of weeks of resting, I decided that it would be a spencer. I three needle bound of the sleeves on the outside with blue yarn. I quite like that detail. It was knit from one ball of blue and one ball of grey yarn, below you can see what was left over. 

Left overs Side

Above is the side view too. What you may notice is that under certain angles you can see the dinosaur in the stripes, if you look at the back picture, you can see that the tail appears more clearly when it curves around my body. The same in the side view and when you look at the front view, you can sort of see the outline of the dinosaur. It’s impossible to take pictures of this by yourself, so this is what you get.

Front Back

I’ve worn it twice now, and it’s been enjoyable. Up to many more wears!

Allosaurus Awesome

Summer of 2015 saw the start of a dinosaur. During the winter, the dinosaur bits lived in a box. In the spring, the completed dinosaur finally saw the light of day.

Allosaurus

This is the Allosaurus from the Knitting Dinosaurs book and on ravelry. I found some yarn in the stash that was green and red and figured it would make a good Allosaurus. It’s very similar to the one in the book apart from red vs. pink and no teeth, but I like that. The arms, legs and head can all be posed. He is a little smaller than I thought he would be when I started.

Allosaurus Allosaurus

His eyebrows also make him seem a little angry, but that’s part of his face and what makes him an Allosaur (left) and not a T-Rex (right).

Allosaurus-Images Tyrannosaurus-Rex-Images

There are a few more dinosaurs in the book that I like, so you may see more knitted extinct beasts roam around these parts in the future.

For now one last Allosaurus picture and then onto the next finished critter.

Allosaurus

Leather Revanche (and Dinosaur!)

Remember the first watch from my Watching the Watches post? If you don’t remember that doesn’t matter, just know that it was a new concept but somewhat of a failure, unfortunately. So I needed to make something that would allow the pointy concept that I had to work. During the end of a day-long workshop I doodled part of the design. A few days after my return from the workshop I managed to copy the bottom part such that I had a continuous and symmetrical design. It took a few more days for it to be executed, but I finally have a pointy watchband that actually works!

Design and front Design and back

You can see the design on the right. I stuck that on my leather and just cut the paper and leather at the same time. This worked remarkably well actually. I reused the buckle from an older attempt where I used smaller rivets, which made my skin turn green, not a useful band as such. I hammered in the rivet, punched a hole in the strap and called it a day.

Top Bottom

The defining element was only added 20 minutes ago during an attempt at cleaning up my room. I’d finally pulled the ‘I give up’-box out of its corner to clear away the contents. The ‘I give up’-box is used to hold all the little bits and bobs that take to long to clear away to their rightful place when in a hurry. If at some point I feel that I need to clear up and quickly, the ‘I give up’-box appears and stuff that needs to be moved from whatever space it is currently occupying gets put inside and the whole box goes in a corner – Instant Neat! It was time for sorting out the box and I found a dinosaur earring. Now, without holes in your ears, dinosaur earrings don’t really have much use. However, a dinosaur on a watch, that is the ultimate awesome. For evidence, see below!

Dinosaur

Tadaah! Dinosaur! I also accidentally made the watch band completely skip the protruding wrist bone which makes it wear nicely. So happy accidents all around!

Now, let’s try to finish those pesky jeans and the sweater I started almost 2 weeks ago for which there is only one more skein and about 15-20 cm of ribbing to go!

Baby Dinosaurs

Some time ago, we did a one day table-top session in our larp. At some point I got the knitted Allosaur I was (am, it’s been thrown in a corner) working on out to show. I also had the book, Knitting Dinosaurs, with me. I then got a request for a Triceratops. Now, I didn’t feel like knitting the full size Triceratops, as that one is large! However, the book also has a pattern for Troodons, very small dinosaurs. I figured I could improv the additional features around a Troodon base and have them done quickly. That’s exactly what I did.

First, a Triceratops (purple and red). The defining elements were its four equally long legs, its collar and the horns. The legs were created by simply making four back legs and attaching those. The collar was improvised from the Triceratops pattern in the book, but smaller. It’s a little big, but who cares! The horns were short icords attached to the head, because a Triceratops without horns would just be a Cera, right!

Triceratops Triceratops

Triceratops

The second was a Parasaurolophus (white and red), which completely the normal Troodon with the addition of one horn on its head. There was some shaping involved and the person who received this Dinosaur thought it was a duck at first, when it was upside down.

Parasaurolophus Parasaurolophus

Parasaurolophus

The last was a Tyrannosaur Rex (green). It’s a Troodon body, Troodon back legs and shortened Troodon front legs. I made a little ridge along its back to make it stand out a little. I also added the teeth to make it more intimidating and T-Rex-y. I don’t know if that worked.

T-Rex T-Rex

T-Rex

All dinosaurs have safety eyes with white felt behind them to mimic real-ish eyes, see the last picture for all the dinosaurs for a close-up of their faces. Their legs are attached in such a way that they can still move. That’s why the dinosaurs can both sit and stand. This was a successful project and I still have two Troodon bodies lying around that can still become dinosaurs!

All

Purple Pterodactyl!

From the same book that produced the Plesiosaur, now comes the Pterodactyl!

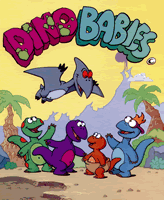
It all started from the plesiosaur and when I showed it and the book around. One of my friends seemed to like it and really liked the pterodactyl that’s also in the book. I told her I’d make her one. She requested the colour scheme from the Dinobabies pterodactyl, Dak. He is purple/pinkish with a white belly. I got some yarn for my birthday that was a pretty good  to pictures I found of Dak.

Dak

I knit mostly according to the pattern, although I did make some changes to make it look more like Dak. The instructions were followed for the legs, although black toes were knit. It was also according to instructions for the tummy, but guestimated where to start adding white to create the belly. I followed the instructions for the head (including errata), but decided not to change colour. I didn’t make the arms, although he did get strips of knitting along his wings to simulate arms. There are black fingers following the pattern for the arms. For the wings, I didn’t want him to have trapezoid wings, so I followed the pattern to where the fingers are, then I increased a stitch along the top in every row and decreased a stitch in the bottom every other row. This gave the wings more shape. He does have more of a tail than Dak, but less than the original. Last but not least, he’s got a neck! This was completely improvised.

Side Front

Here you can see the knit-in belly and the toes, also visible are his arms. I added red buttons for the eyes. I really do think that the colour matches quite well.

Back Side

These two really show the shaping on the wings (there is some!), and his little tail on the left. The right picture shows the neck, which he has, and that you can still move his legs around to suit the occasion. I think my friend liked him, so I’m proud.

I really like the book. I also started another one right after finishing Dak. That one is an Allosaur. I also made some small ones, where I took the body and legs from the book but improvised the defining features. You’ll probably see those around here too at some point.

Knitted Plesiosaur!

Last Christmas I got the book “Gebreide Dino’s” by Tina Barrett (“Knitted Dinosaurs”).
The patterns are quite fun, although they do not always resemble the original dinosaur that much. For some reason I decided I wanted to knit something fun last Saturday, so I decided to grab the book from my shelf and choose the one I liked the most. That turned out to be the plesiosaur. Now, I like the idea of the book, but either my version is crappily translated, or the patterns don’t match the pictures that well. I documented my problems on ravelry, here. But I’ll also state somethings here.

My dinosaur is 50 cm long from head to tail, the pattern indicated that it should be about 27 cm. However, I did make some changes that influenced its length and I think my translation caused some problems. From other people’s versions, I’m fairly certain that some part of the in- and decreases for the back are supposed to be in every row, but my pattern didn’t say that. I also wanted it’s head to be a little longer, so I added twenty rows to the neck. I also wanted it to have a more pointed tail, so I added some rows between the decreases there. Below a picture of me with Plessy, for scale.

Scale

Some of the bits have been in contact with sand. On Sunday I decided I wanted to knit the light green back fins in another location. So I put on my rollerskates and skated to the beach, where I proceeded to get some weird looks, but finished the back fins. I did modify the back fins a little. The picture with the pattern shows that the back fins are much smaller than the front fins. However, following the pattern the back fins would just be 2 rows shorter, without any other changes. I decided that would not do and knit the back fins until (non-existing in my pattern) row 13.

Back Belly

The instructions wanted me to add sequins to the back, but sequins and I are not friends. I decided so cross stitch some spots on his back with the belly yarn. I like this effect.

View a Front

So while the instructions also state to sew the body first and attach the flippers afterwards after they’d been stuffed. This seemed like a stupid idea to me, so I attached the flippers to the body first and then sewed all around the outside. This worked really well, and I think it looks a little better.

Looking up

I chose to stitch the eye-whites on as my fabric glue wouldn’t stick very well. I also used safety eyes, not buttons. I think it has the cutest face. I did want it to have a slightly more upward pointing neck, so I added some stitches in the neck to pull it together. If I put a glass under it as I did above, it almost looks like Nessy. As I’ve now finished my first dinosaur, it’s on to the second. The friend who gifted me the book is in love with the pterodactyl, and I just happen to have the perfect yarn already! But last and most certainly not least, that face!

That face!