Teacup Holster

Finally getting that unnecessary project of the table does make me feel good.

Ever had that thing where you watched a video on YouTube of someone doing a project and then you decided that you also needed to do that project? This happens to me quite frequently and it generally ends up with me just collecting the materials and then either not starting or not finishing said project. In this case, the materials for this Teacup holster have been laying around my house for a good few months since this Rachel Maksy Teacup Holster video sparked my interest.

Last week, I finally got around to both starting and finishing it. I looked up some more examples on Pinterest and started to make a design. I got so fascinated by it that I completely lost track of time and went to bed way to late, but ey, suffer for the craft or something? In any case, with my paper model ready to go, I set out the next evening to cut the shapes from leather. At some point in the past I’d bought a bag of scrap leather from a purse maker in town and I used those bits.

The main design included a bag to carry stuff in, a holster for the teacup that would actually cover its bottom, belt loops and a teaspoon holding section. I wanted to make sure that I could loosen the different straps so I used different closure methods. Some screws for the saucer strap and belt loops and a ‘mirrored’ swing hook on the front. I was counting my swing hooks and found that I had 11 and one was the wrong way? It seemed fine to use that one for this project. It hangs a little more than I would have liked, but that might be due to the suppleness of the leather and that the saucer holder is maybe a little too big?

All of it is hand sewn and I managed to bend and break a few needles in the process. I don’t think my fingers approved of this project, but it is finished! I don’t know if I will ever use this thing. However, finally managing to put that cup and saucer that have been on my dining table since January away feels good! On to the next impractical project!

Graduation in Red

For last week’s graduation ceremony, I tried something new. I’d found a picture on Pinterest, links below, that I really liked. So I set out to recreate it. I didn’t want to use grey plaid from my hoard, so I chose something completely different. A red fabric with specks of different colours, including some light blue.

So, I set out to create something resembling the pictures. Since I knew that the top and sleeves needed to fit and the rest could be loose, I chose to use the top of the bodice up to the armholes and heavily altered sleeves of the Garden Party dress. Then I just extended the side seams out to create a giant tent shape. I added some pockets, because a dress without pockets is just a torture device, and cut out light blue leather strips. The fabric itched, so I added a brown lining for the sleeves up to the waist. The lining was the original Garden Party bodice, but now with the darts sewn as shallow pleats.

Once the dress was sewn up, I needed to get the leather strips on. In some long forgotten days, I apparently purchased 10 ‘book screws'(?), that seemed to work quite nice. I used a series of needles and knitting needles to make holes in the dress big enough for the screw to go through and then added the leather strips on. The pleats on the arms are not sewn down at all, and the ones on the waist are only tacked on the front. To make it easier to get in and out of, I found some leather laces to thread through the zipper. And that was that!

I did get some compliments on the day, so that was nice. I do want to wash it, but I’m not sure how the leather and screws will hold up, so we’ll see how that went in about an hour..

Leather Thimble

A while ago, I discovered the YouTube channel of Bernadette Banner, a lady who sews all kinds of things. She tends to focus on historical clothing that she sews completely by hand, where appropriate. It doesn’t cease to amaze me that I’m able to watch minutes upon minutes of her hand sewing and chatting along, while doing it myself generally drives me nuts. Perhaps it is the way she speaks that just is completely enchanting.

Anyway, she published a video where she answers questions and sews a leather thimble. This had me very interested since I’ve never been able to figure out how to use a thimble to hand sew. It seemed to me that a leather thimble (essentially a little cover over your finger) would be easier to manipulate than a metal one. So I go out my stash of leather leftovers and got to work. It was pretty easy once I figured out how big the pieces needed to be.

I’ve been using the first version (lighter brown) for the past month or so on a English paper pieced hexagon quilt top. The one issue was that it was a little too small, and since the seam is along the middle, I sometimes did hit my finger through the seam. Then I found that you can also buy leather thimbles where the top is a lot smaller than the bottom, so the seam is on top of the finger. So I got back to work and cut out a new one. This one hasn’t been road tested yet, but if it doesn’t work, I still have a stash of leather bits to make a new one. For now though, at the very least partial success!

Sweater with Leather

So I discovered that I apparently never posted by sweater with leather that I had mentioned during some MMM post this year. It’s a sweater with an asymmetric zipper that is based on sweaters like in these pins (one and two). I’d wanted something like it for a while, but I think I was scared to cut into it. I believe I based it on the garden party dress top, but it was February when I finished it, so I cannot remember much.

I do know that I got the zipper from my stash where it had been for years. I think I improvised the hood from looking at other pins, but I’m not sure again. I did add some leather bits to give it some more almost nautical look? There’s a bit on the hem, there are triangles at the zipper openings, there’s a bit on the zipper pull and I wrapped some around the hood-cord-ends. I’ve worn it a lot, it’s very comfortable and since its grey, it’ll go with anything. Here’s some action shots from where I wore it at a roller derby game.

That’s all there is too say about it really, since I don’t remember much. However, this way I can link to it if I need to, or when I want to rediscover the pins etc. So I guess you guys are the victims of my memory yet again.

A Cat, an Elephant and a Llama

My front door has been replaced with a new one. This one has a lock that will hopefully allow me to actually lock the front door in the winter (fingers crossed!). In order to celebrate that event, I needed to get some new keys for the new lock. Then I had to distribute those keys to people who have a spare key of mine. Since a key by itself is just boring, I played around with some leather and created some critters to hang on the keyrings, at the start of October.

First got some pinterest inspiration and based my animals on these: cat, elephant, llama. So the finished products don’t necessarily look like the inspirations, but I guess that’s fine. For the llama, I didn’t stitch the sides together because my leather was too thick. For the cats, I added a tail and a ribbon loop. So now the cats have a nose and a butthole at the same time. The elephant is very similar but the stitching is closer together. Anyway, here they are!

I like them, and I might make a few more of these things, because I enjoy playing around with knives, leather, hammers and rivets.

Leather Haul and Arm Bits

I made things! A while ago though, but I was too lazy to post them. First up, a bracelet, effectively copied from this pin I found on Pinterest. There happened to be a piece of leather in my large leather haul* that was the perfect dimensions, all I needed to do was ‘square off’ the thick end to get the right shape. Then I added some slits and a hole and Bob was my uncle.

 Wrap Wrap

Wrap

Next, I also made another watch band. This time with some weird-looking faux snake? from the haul. I like the hole detail in the band that shows the secondary band. I also used a closure which I got from eBay. I like how those work. I may need to get some more rivets as the ones I’ve been using have been reduced to 2 sets.

Watch Watch

Watch

And third, I made a cuff, partially inspired by this and this pin. It again holds a watch, and I was very pleasantly surprised that I managed to work out how to make the watch interchangeable by using snaps. Setting the snaps was nerve-racking, what if they were crooked and I messed the whole thing up?! Luckily that didn’t happen and it all worked out decently. This one also has normal holes and ‘riveted holes?’, there is a word for this, but I forgot, for decoration.

 The mess IMG_20160703_193312414

For now, I’m happy with this, although I don’t really like wearing in summer. It’s a little hot… no surprises there really. I do plan on making another one, this one in such a way that the buckles sit in the middle of my underarm, not on the side of the cuff. I also think it would benefit from three sets of straps. For that design to work though, I need to think a little more.

*Now, this all came about after I walked by a store in my town where they happened to sell bags of leather offcuts from their bag making process. Only 12.5 euro per bag, and there was a lot of content. If you ignore the bag (and other mess) in the foreground, all the leather in the back was what came out of the bag. With lots of different colours and thicknesses. So I played around, and created the three things above.

Phone July 2016 067

Somehow I’ve managed to use my right underarm too much, to the point where it now aches when I type, knit, use my mouse or sit still. So I’m not knitting, which is annoying as I want to finish the Stegosaurus I just started. For now, rest and hopefully recovery. I hope you can stay creative!

Leather Revanche (and Dinosaur!)

Remember the first watch from my Watching the Watches post? If you don’t remember that doesn’t matter, just know that it was a new concept but somewhat of a failure, unfortunately. So I needed to make something that would allow the pointy concept that I had to work. During the end of a day-long workshop I doodled part of the design. A few days after my return from the workshop I managed to copy the bottom part such that I had a continuous and symmetrical design. It took a few more days for it to be executed, but I finally have a pointy watchband that actually works!

Design and front Design and back

You can see the design on the right. I stuck that on my leather and just cut the paper and leather at the same time. This worked remarkably well actually. I reused the buckle from an older attempt where I used smaller rivets, which made my skin turn green, not a useful band as such. I hammered in the rivet, punched a hole in the strap and called it a day.

Top Bottom

The defining element was only added 20 minutes ago during an attempt at cleaning up my room. I’d finally pulled the ‘I give up’-box out of its corner to clear away the contents. The ‘I give up’-box is used to hold all the little bits and bobs that take to long to clear away to their rightful place when in a hurry. If at some point I feel that I need to clear up and quickly, the ‘I give up’-box appears and stuff that needs to be moved from whatever space it is currently occupying gets put inside and the whole box goes in a corner – Instant Neat! It was time for sorting out the box and I found a dinosaur earring. Now, without holes in your ears, dinosaur earrings don’t really have much use. However, a dinosaur on a watch, that is the ultimate awesome. For evidence, see below!

Dinosaur

Tadaah! Dinosaur! I also accidentally made the watch band completely skip the protruding wrist bone which makes it wear nicely. So happy accidents all around!

Now, let’s try to finish those pesky jeans and the sweater I started almost 2 weeks ago for which there is only one more skein and about 15-20 cm of ribbing to go!

Watching the Watches

You may recall my first self-made watch-band (here), which has been in constant rotation since first assembly. I did change out the watch face at some point for one with clearer numbers on it. Now, what I found out was that watches that have non-movable supports, in the picture below the one on the strap and the middle and bottom one on the right side, fit perfectly fine in this. They don’t slide around and stay put. However, the watches on the left, weren’t so keen. They would move and therefore I never really put them in this band.

Watches

Thus, a new strap started to take shape in my mind. It is an alternative design, with the opening at the top of the wrist instead of at the bottom. I know this sounds weird, but the pictures make it make sense, hopefully. The buckle is attached to approximate middle of the band, then goes through a loop attached with a rivet on one side, then on goes the watch face, you put it on the wrist and pull the strap trough the riveted loop on the other side and through the buckle to close.

Open front Open back

The reason why I’m liking the idea and not the execution so much anymore is because I dropped the watch face every second time I put the watch on. Also, because of the heaviness, I ended up with the watch on the underside of my wrist more often than not. I want to have my watch on top. Left, the watch as it was when I’d just made it, and right after wearing it for a week or more. You can see the points splaying more, and that, and the stretching of the thin strap was most likely what kept pulling the watch down.

Front begin Top end

Below you can also see the bottom buckle and the side view.

Back Side

I do like the idea with the single rivet loops and I’m planning on making a band that opens like normal at the bottom, but does have pointy bits on the front. I wanted to make the new one today, but I got distracted by new ideas. What if I didn’t use loops or rivets to make the watches interchangeable but created built-in loops in the band itself?!

Looping

I created a sort of wave-ish design with pointy bits around the watch face on cardboard. Added slits for the thin strap to pass though and copied it all onto leather. Simply cutting it out, and riveting the buckle on, and done it was!

Front Back

Apparently there were two different types of leather in the bag of offcuts that I bought last time. I quite like the look of the back, although the front is similar colours. I’m going to have to wear it more to be sure, but I think that the movable support will stay put in this design.

Front Other loop

So that’s it, two new watch bands. My fingers hurt from cutting the leather so I’m going to postpone making the improved version of the top band. That way I can also test if the bottom version actually works to my liking.

Next up, a knitted gift.

Changing Times

Sometimes you find something online that you really really like. You wonder if you should buy it or not. So you ask the seller the question that’s haunting you, but receive no reply. What do you guys do?

I decided to create something that would give me a similar vibe, but from scratch. This was my inspiration picture:

Dawanda shop "My old Watch", click the picture for the listing
DaWanda shop “My old Watch”, click the picture for the listing

I really liked this item. The leaves, the thickness of the belt, the vintage-y look, but there was one potential snag. How would it close? The reason this is important for me, is that the last time I bought a watch online, the band was both too long and almost too short at the same time. It was one of those studded wrap watches that wind around your wrist three times. Well, with three times I had so much band left over that it was still studded, so no holes yet. So I decided to have holes added at the end and then I could wear it, but wrapped four times. Depending on the day, this can be just that little bit too tight. So if the watch didn’t have the possibility of having extra holes made to fit my chicken wrists, it wouldn’t work for me.

In the end I purchased six separate watch faces from another DaWanda shop. I bought some leather, a clasp and rivets from a local haberdashery shop. I wanted to be able to change the watch faces depending on my fancy of that day, this would mean that the face wouldn’t be attached completely.

I ended up cutting a 14 cm by 2.5 cm strip of leather and rounding of the edges. Second bit was a ~20 cm by 0.8 cm strip of leather.
I made a hole in the thin strip to thread the clasp through, the leather was then doubled at one end. I made a hole in the double end and another in the thicker strip and riveted them together. I then added supports using a rivet on either side under which the thin strip could pass to keep the watch face in place. I added the watch face for that day and attached a small oak leave pendant using a jump ring. This is the result:

Watch Watch

On the left, you can just about see the supports  for the thin strip to pass under. Because of the design of this specific watch face, these supports are adequate to keep the face in place. For the next iteration of this design I will place the supports closer to the actual watch face. You can just about see the rivet underneath the end on the right picture. To get an even better idea, you can see it laid out below, with the alternative watch faces. The top right one doesn’t fit in this design, so I’ll have to think of another method for that one.

Watches

I think I found a new hobby. I like cutting out leather with sharp tools and using my hammer to whack things. Now I just await the new smaller rivets that are coming my way and create a similar design to this. Maybe I’ll use the wrong side of the leather for some added contrast or such. I might also round of the support edges to make it a little cuter. Use a different colour leather. Add another pendant.. So many possibilities!

Pouch

I made a pouch for the Larp thing I’m going too. I now have two pouches and am still working on the complete outfit. I have the base of the skirt done, I have a shirt to wear with it. Now just the pockets and the over’coat’.

However, this is the pouch:

Pouch Pouch

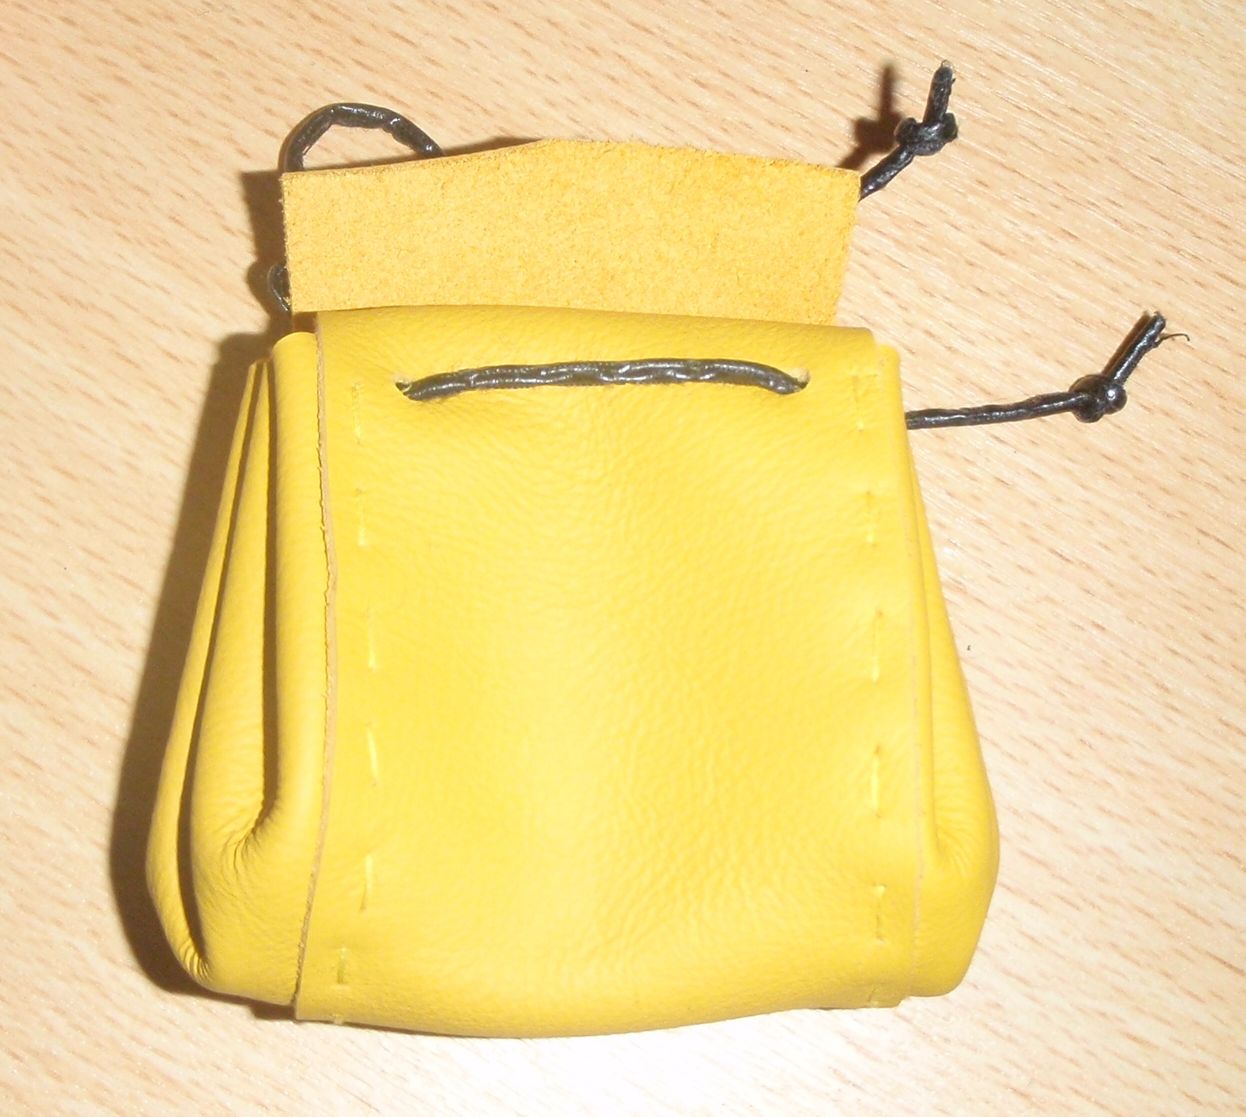
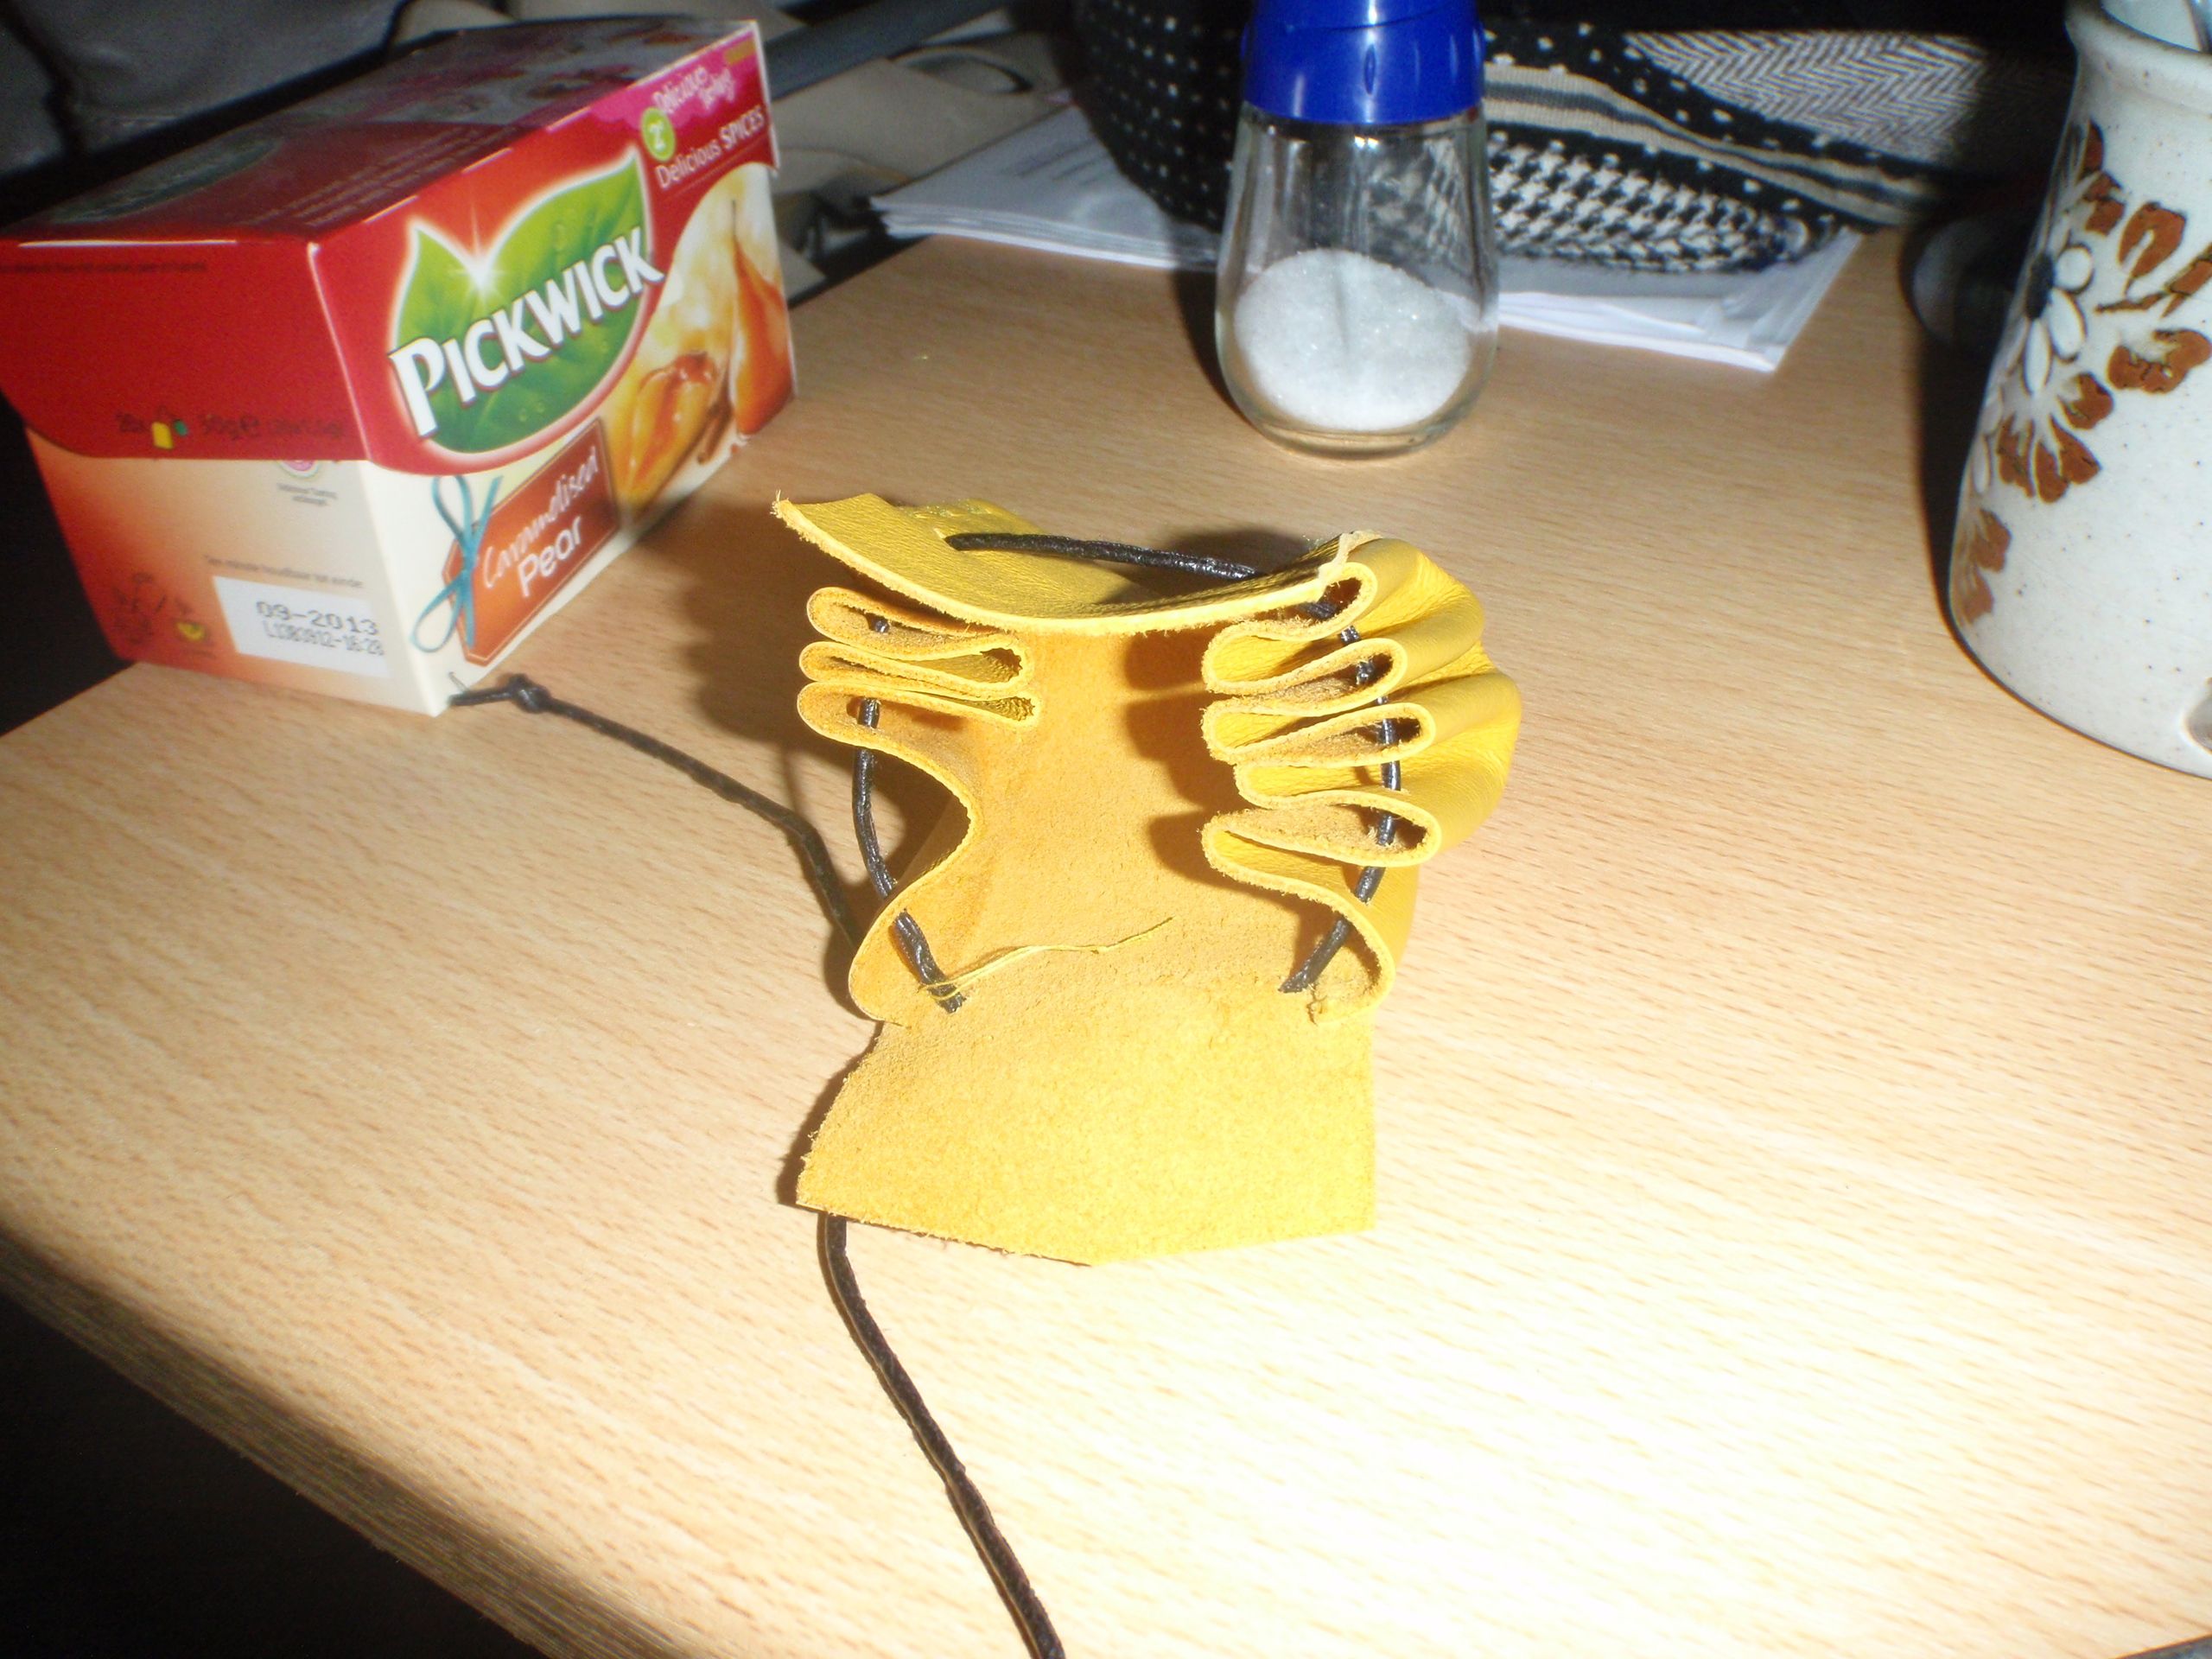
Closed and open. I hope it will be useful. It was a nice and simple project involving some leather, a pencil, a hole maker, needle + thread and a push pin (for making the thread holes). Real easy and real satisfying.