Mr. Frog

Victorian vibes with frogs, ghosts, cats and candles.

In the ‘big haul of small cross stitch patterns’, I also found this cute Family Portrait. It’s an almost Victorian looking frog in a top hat with a little cat looking in on the left, a big ghost looking in on the right and a tiny frog in a little frame in the back.

It was a lot of fun to see all the little bits appearing while working on it. I also liked the full coverage of this project. The cream from the shirt was the last colour that was working, so I could already envision what the end result would look like.

I now have seven bits of embroidery on the wall. The vibes of this one are a bit different from the others, but I think it still works together. I hope that another small thing will fit on the right string, so I’m working on that at the moment!

ProjectFamily Portrait
Authornathnolu
TypePattern only
Search wordsfrog; ghost; black cat; striped wallpaper; top hat
LocationDrive
#stitches1575
Purchased09-01-2026
Date started19-01-2029
Date finished21-01-2026

Doggy Bag

Adding some embroidery to a double handle tote bag.

I was browsing Etsy (always a bad idea for the bank account) and found a bunch of super cool cross stitch patterns. This galaxy animal paw from OhMyStitchesShop spoke to me. My brother’s partner is graduating as a vet and they own dogs, so I thought this would be fun for her. There are so many stitches in this, I highly underestimated how much time 5552 stitches would take, even in eight different colours.

I started with the big pad and finished it fully apart from the little stars. I did a part of those in white, before I decided that I wanted to use glow in the dark thread for those, to be extra appropriate. So I took the white out and went on to stitch the small pads and then added the glow in the dark.

To make this a useful(ish) gift, I decided on making the embroidery the front pocket of a tote bag. I stitched some white cotton to the back of the embroidery and attached that to the purple fabric that I used for my Edwardian skirt. Since I am short and I know how annoying it is to have bags drag on the floor, I added a double handle. On the inside are short straps, and there are long ones for over the shoulder too. If I ever make myself a tote, I’m totally doing this again.

The project was finished and mailed. I hope she gets some use out of it and I had a lot of fun making it. And have thus since learnt that I prefer my projects either smaller, or coming in bite sized pieces, more on that later!

All The Ornaments

What do a Sprout, Cat, Dog, Snow Baby, Chicken and Bunny have in common? No clues…? They are all ornaments I crafted for my family when we celebrated Christmas this year. I’ll explain the idea behind them below but first.. They’ve all been put into my tiny tree, so I present the evolution of Christmas Tree!

It all started with an evening browsing Ravelry, as I’m wont to do. There, I found a very cute little sprout. As you may or may not know, sprouts seem to feature heavily in English Christmas dinners. My dad likes them quite a bit. I hate them a lot. Hence, I decided that I would make him a sprout, so that the real deal wouldn’t have to enter my home. So I set out knitting and made the sprout. I added a hanging loop and popped him in the Christmas tree. (Pattern Brussels Sprouts by Amanda Berry).

If you make one gift, you have to make one for everyone, so second came the girlfriend of my youngest brother. She has rabbits; easy choice, therefore, was to make a tiny bunny. So I set out to complete a purple rabbit. Also added a hanging loop and put it in the tree. (Pattern Catnip Bunny by Selina Kyle).

For my mother, I chose to do a snowbaby. It’s got a red hat and purple scarf to symbolize the red hat society and not giving an iota about clashing clothes. The snowbaby also has a hanging loop and no snowball and its hat is a little shorter. (Pattern Snow Baby Ornaments by Mary Beth Koskie)

My eldest brother has a whole range of pets, but I wasn’t going to knit an ant so I decided on a tiny chicken. I did add a tail and a hanging loop. (Pattern Tiny Chickens by Anna Hrachovec)

The partner of my eldest brother has a snowy white cat named after a certain snowy Disney Princess. Therefore I set out to create that little creature. The cat is not allowed to go out, so the chickens don’t get threatened, but in a tree they can be together at last! (Pattern Tiny Parlor Cat by Sara Elizabeth Kellner)

My youngest brother and his girlfriend recently got a dog, and since I could do the rabbit for her, he got the puppy. While their dog is not a Scottie, that was the pattern that I chose since it seemed the right sort of size. I attempted to emulate the colouring of their dog, it failed but I tried? (Pattern Tiny Scottie Dog by Sue Stratford)

I also gave the puppy a ball and the cat a little knit whale to play with. So everyone got a thing! I’m contributing to trees all over the country..

A Cat, an Elephant and a Llama

My front door has been replaced with a new one. This one has a lock that will hopefully allow me to actually lock the front door in the winter (fingers crossed!). In order to celebrate that event, I needed to get some new keys for the new lock. Then I had to distribute those keys to people who have a spare key of mine. Since a key by itself is just boring, I played around with some leather and created some critters to hang on the keyrings, at the start of October.

First got some pinterest inspiration and based my animals on these: cat, elephant, llama. So the finished products don’t necessarily look like the inspirations, but I guess that’s fine. For the llama, I didn’t stitch the sides together because my leather was too thick. For the cats, I added a tail and a ribbon loop. So now the cats have a nose and a butthole at the same time. The elephant is very similar but the stitching is closer together. Anyway, here they are!

I like them, and I might make a few more of these things, because I enjoy playing around with knives, leather, hammers and rivets.

Tantalus Scarf & MMM ’18

I seem to have been quite productive in the past few weeks and have managed to churn out four finished projects and one knit sweater that only needs half a sleeve and a hem. So prepare for the onslaught of posts in the coming few days.

To start. the most boring one: another circle scarf. This one has cats and birds. So it is a in a Tantalus state, never catching the bird and never getting truly away from the cat. As usual, these types of scarves are quite a quick little project, so after finishing this I actually started to go through all my pattern magazines in search of tops and pants. I made notes, copied patterns onto pattern paper and then called it a day.

I’ve also decided to participate in Me-Made-May ’18 again.

While I may have forgotten that May started yesterday, I did actually wear something me-made. Namely the straight sports-skort, which definitely fits into the ‘keep & wear’ pile. Today it was the eighties revival sweater with polka-dot scarf, also keep & wear. Only 29 more days with potentially a lot more non-pants items since I tend to not wear the dresses and skirts nearly as much.

Origami Cats

I have a number of thin fabrics that were originally bought to make into circle scarves and shirts. I seem to have so many scarves at the moment that that is no longer necessary. However, there is no such thing as too many shirts. I finally grabbed one of my numerous ‘white print on dark blue background’ fabrics and cut into it. This one was the origami cats print. (I also have birds, more birds, triangles, cyclists and possibly more – too much stash)

The original dress for the wedding had a waterfall neckline based on the Eva dress pattern from Your Style Rocks (I made the dress before for a graduation). Since I evil-cornered the original dress, but I liked the neckline, I decided to re-make the pattern into a shirt. I cut it out from the origami cats print, it’s only two pieces so that was pretty quick. I had some order of construction issues, but figured it out in the end. I finished it in an evening. I still need to wear it, but I wanted to wash it first as I spray-starched it quite excessively during construction to limit the shiftiness. I think it will work out well.

And here is the finished shirt. I like the cats and I hope the shirt will behave as well as the cyclist shirt.

Summer Shirts

I seem to have cultivated a preference for thin fabrics with prints on them in the past while. I found I had four pieces of thin fabric next to the cycle stuff (here). So in two nights/days of frantic cutting and sewing I created three additional shirts following the pattern from the cycle top. All these tops now have different necklines and hem treatments, one also has ‘shorter’ sleeves due to fabric shortage. Moreover, during this fascinating time, I discovered the handiness of spray starch for creating self made bias tape, which is used in many of the shirts. 

The first is the dotted one. It’s white with small light grey dots. Four dots (that are printed pretty well on the bias) is the perfect width of neck-edge bias tape. This one has a scoop neck and a high-low hem. It’s all French seams again, but this iteration had the unfortunate luck to be the one where I forgot to trim the French seams before the second stitching, so some threads come out the side seam. I’ve decided that I don’t care enough to redo everything. You can see from the pictures that it’s quite sheer, which is why it is a good thing that I always wear a tank top under my clothes.

Front Back

The second one was made from a narrow fabric with paint splatters. I had already made a scarf out of this in the past, so one of the edges already had a rolled hem. I figured, why not use this. This shirt has slightly less wide sleeves and the hem is shorter and straight. The neckline is straight at the bottom and then comes up at angles to connect to the rounded back. I can’t really explain it, the pictures lower down in the post should show the difference clearly.

Paint front Paint back

Last but not least, the cat fabric. This fabric has little cats all over it, I think it’s cute. This one has a v-neck and a hem that is long on both the front and the back, but shorter at the sides. The fabric is not printed on grain, which made it difficult to get the neck to look ‘right’.

Cats front Cats back

Now, as these shirts were all made shortly after each other, I could still picture them all together. Below you can clearly see the differences in necklines and hem treatments (if you look carefully).I liked making these, and I’ve found that I also like wearing them, which is a plus as I have four now.

Necklines Hems

One shirt only requires about half of the cuts of fabric that I have. This means that there is room for some other things that could be made from these fabrics. I’m curious to see what I will come up with…

Changes, Again and Socks

Changes, not the things I like most in my life. Some happened, I needed to deal with them. I did, mostly.

Now, you may think that something bad happened, but that was not the case. On the first of May 2014 I started my new job at my old University. This involved a move and the leaving behind of my old life, both living at my parents and when I used to live here before. It’s difficult for me to come to terms with the fact that I’m not a student here anymore. I’m in some ways further removed from the school than when I was attending it, and in other ways closer than ever before. New stuff scares me and I’ve been busy adjusting to my new life.

House emptyHouse full

While I may not have been active at my own blog so much, I have been making some things. I made a bird to put on a key chain, but I have since given away said key chain without taking a picture, so that was stupid.
One of my friends and coworkers (friend first) had her birthday and I decided, the day before that I wanted to knit her a recordersockthing. She had her recorder in a regular sock and I decided it could use an update.

Not long before I had bought a book on knitting and had knit slippers (next time, my dears, next time). I also remembered that there was a pouch for glasses with a cat on it in the book. I was supposed to be taking care of her cat for a week when she was on holiday so I thought it appropriate to knit the cat.

The pattern stated that I was supposed to sort of weave in thread over the knitted base to form the cat picture. I decided to completely ignore that and learn myself some colour work. So I did, and I think it turned out quite well! I was going to make it a spitting image of their cat, but knitting it took a bit longer than anticipated so I didn’t have time to add the tiger stripes. This is the front and back:

Cat front Cat back

The insides are on the left. On the right you see a close up of the little cat button I’d scored at some point in my life and was precisely big enough for the hole I’d made and it had another cat. Double win, right? *cough*

Insides Inside

Honestly, I think it’s not bad for a night’s work. I do hope that non of you own the same book, because I’m worse than a pre-schooler at counting and managed to lose an entire.. column? A vertical row, so my cat is a little different from the original, but it still looks like a cat. In my eyes at least. Now we’ll see how it’ll hold up to real life…

Also, hang on for next time when I’ll show the fantastic ‘8 squares slippers’ I’ve made from that same knitting book.

Easter!

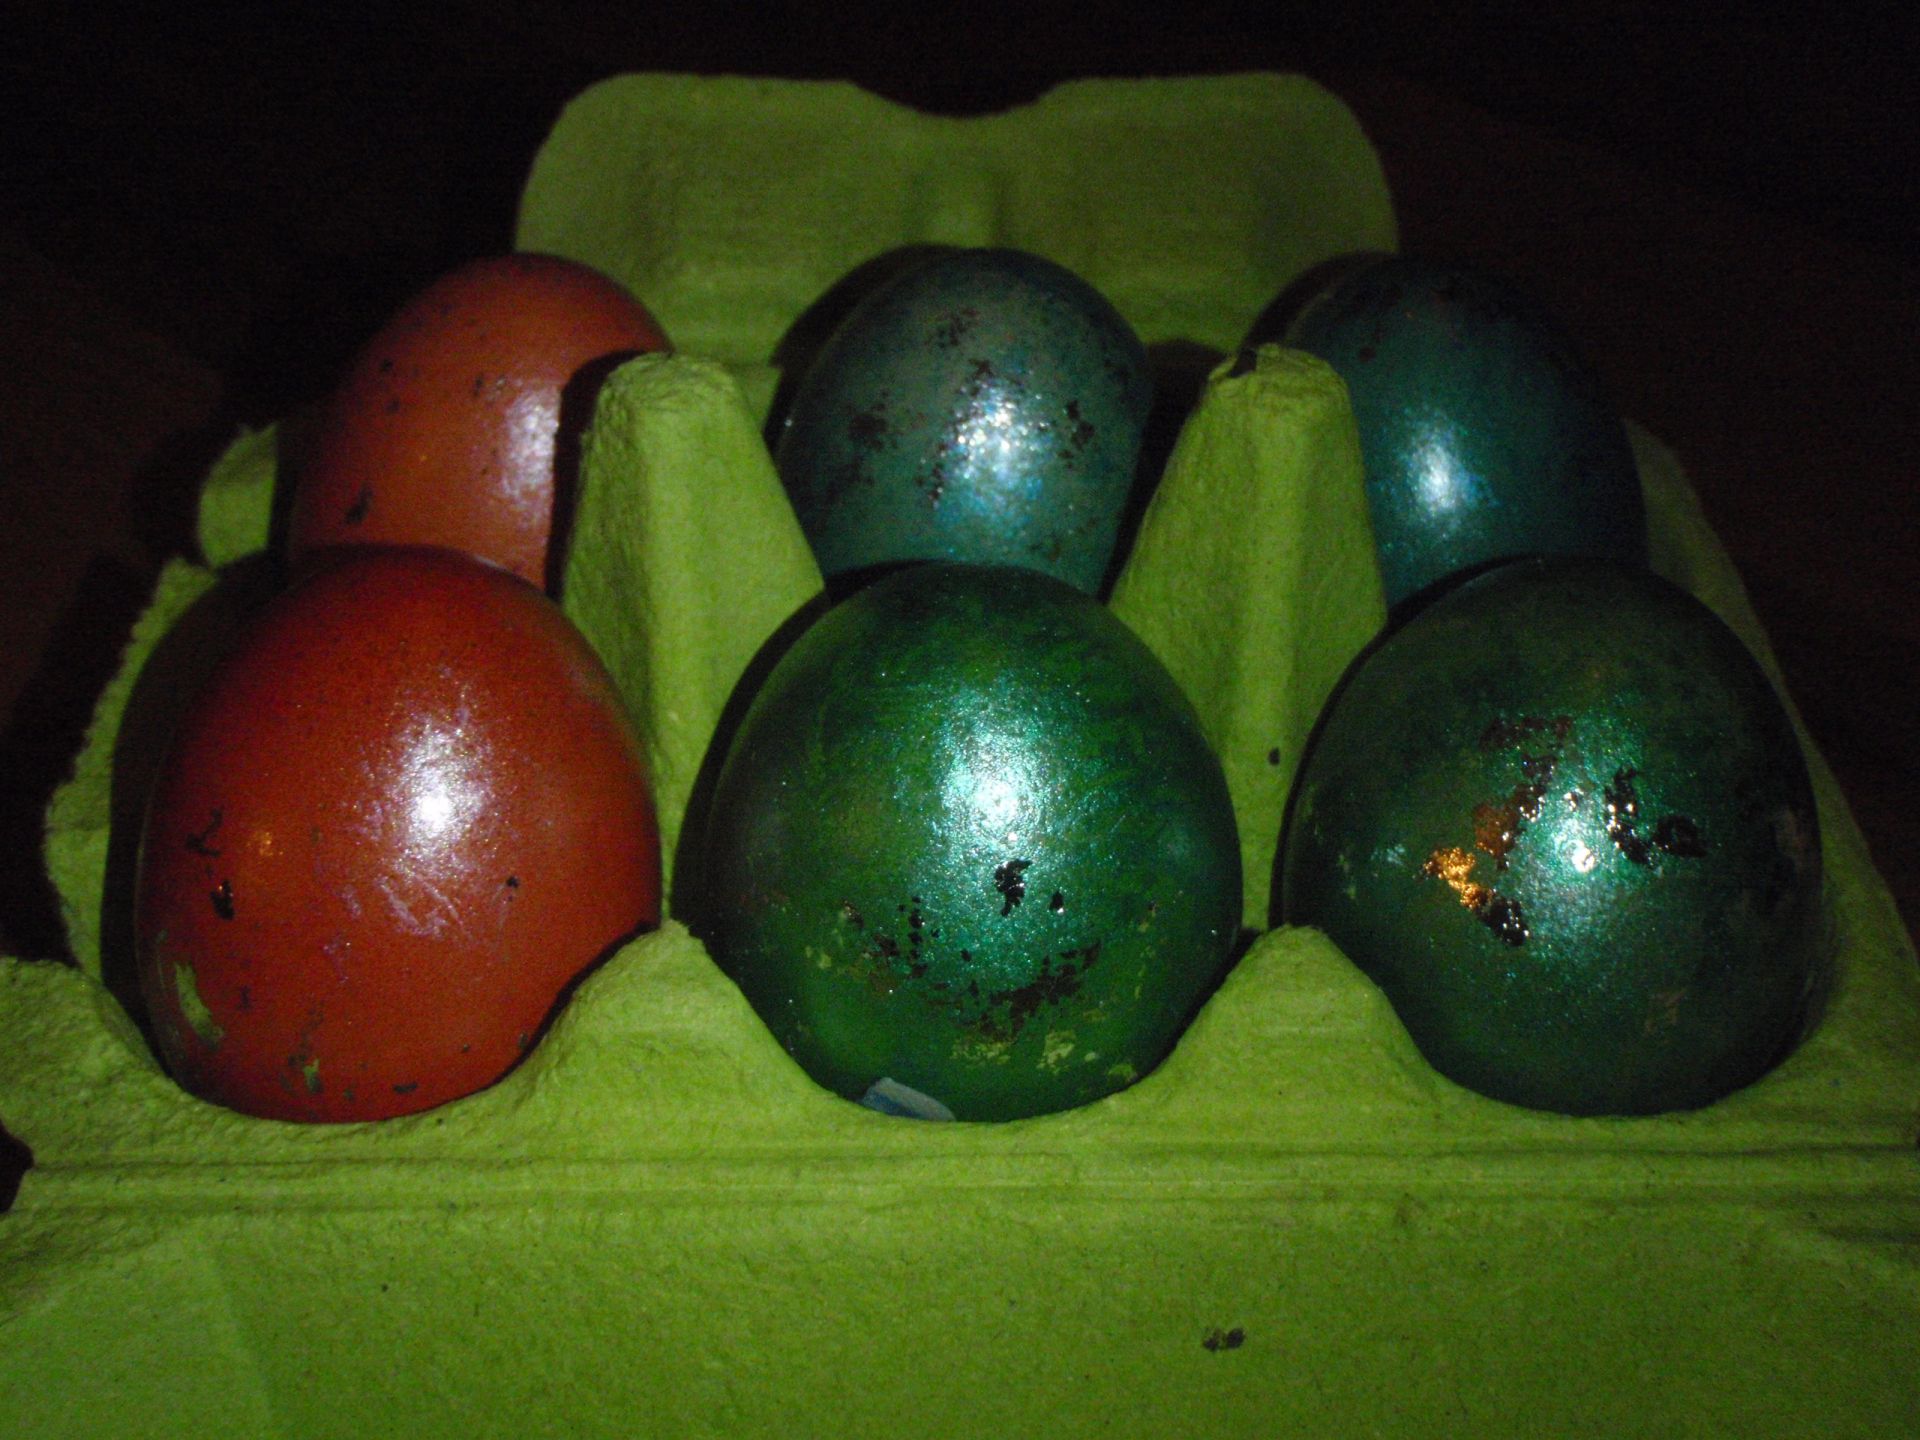
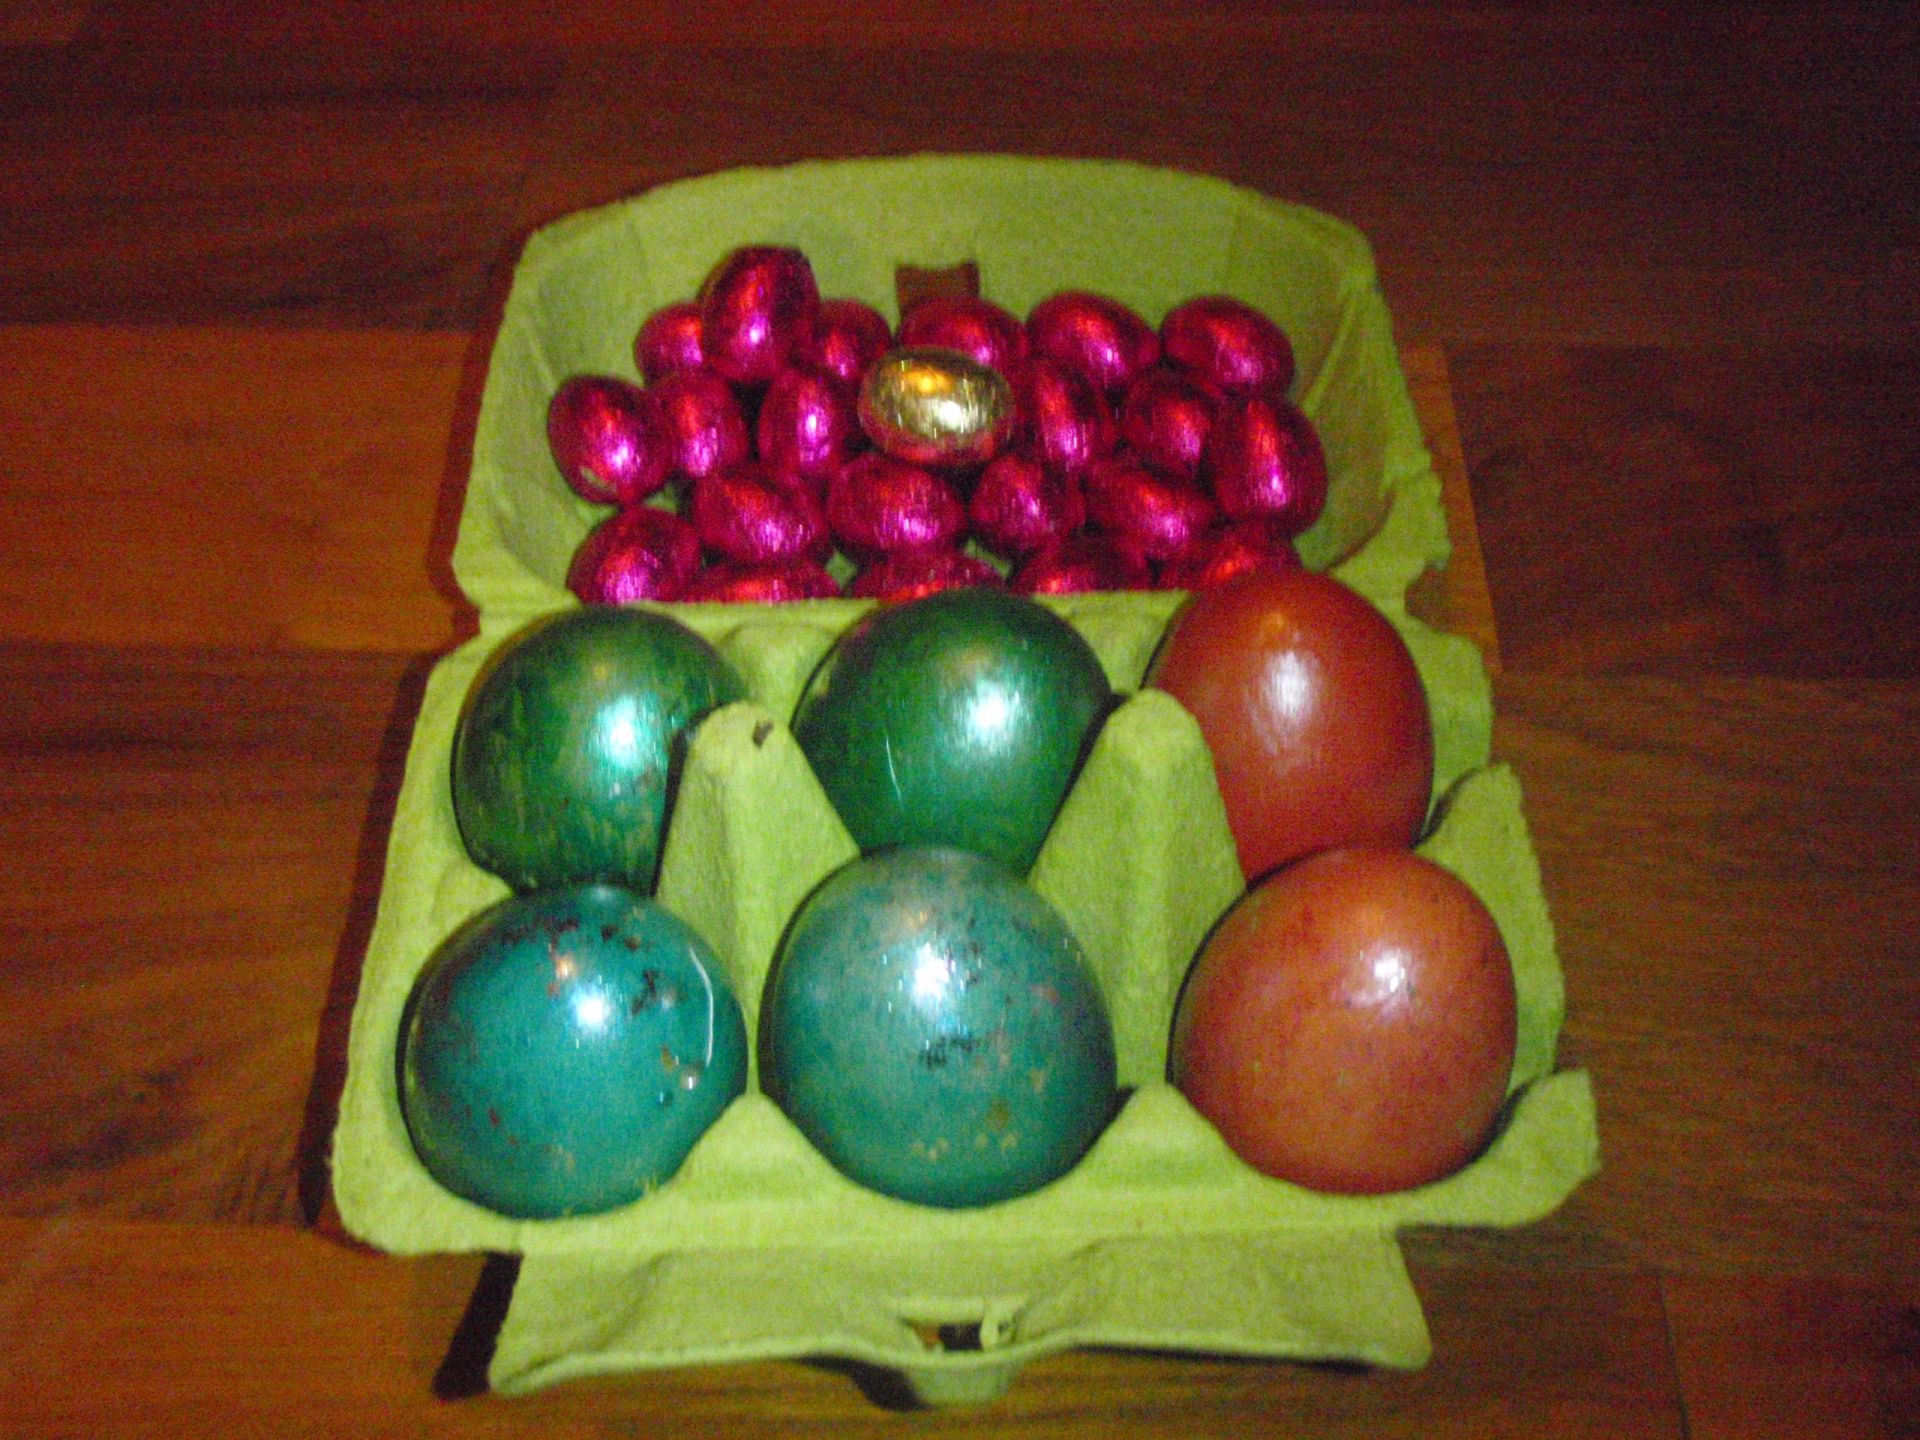
So it’s easter again, which means, of course, easter eggs! This involves painting (for the tradition, see here)!

Well, this year it’s all going to go a little differently from the last gazillion years. For one, my parents are still on holiday and I have to pick them up around 10:30, so it’s not going to be early Sunday morning. For two (is that a legal expression?), I had to babysit the whole of Saturday, from 12 to 22, so it left me very little time for painting. For three (I’m going to say it is), I found a ‘make your easter egg shiny and stuff’ paint set in the supermarket and of course wanted to use.

The plan was as follows, or actually, there was an a plan and a b plan. The a plan was wait until you get home again and paint some eggs. The b plan was hope that the babysit child wants to paint some eggs too, and do it there. Plan b was successful! When we went to my house to walk my dog, we also brought back some eggs and egg painting things. The process was weird. Boil eggs, drip strange shiny sticky paint on a glove and rub the (hot) egg in it. Then apply silver shiny stuff and hope it sticks, which it often doesn’t. However, we had fun throughout and that’s what counts. Since we are only with three tomorrow, I only boiled and ‘painted’ six eggs. I hope it will be enough. Here they are.

Eggs Eggs

Eggs Cat

You may also be surprised by the last picture. Meet Pluis, Pluis’ face doesn’t look like that, but he moved before my shutter had closed again. Pluis has been living in my house for a couple of months now, but a couple of nights ago it was the first time I determined that all those sewingbloggers-with-cats are right. Cats seem to prefer work area for laying on. This case it was an enormous pattern piece for a dress I’m working on. He also decided to try to lay on my crumply plastic bag with pattern pieces and pattern magazines in it. Stinking cat, but cute, oh so cute, I tend to forgive him almost anything. I’m a bad cat parent. Maybe you’ll see more of Pluis in the future. Who knows, I’ve got enough creativity left in me, I hope!