Backpack (intermediate 3)

After almost finishing the outside of the backpack, I decided to work a little more on the inside of the backpack. I had made the lining first, but found out that it didn’t really fit that well inside so I had to redo some bits.

The lining started out like this: all pockets and a flat bit of fabric. Some markings are present from my first attempt at creating the shape. I did the exact same thing, but made it a little smaller. I forgot to take turn of the cloth into account.

Flat lining

After re-measuring and re-sewing the lining I had a square bag. I reinforced the bottom such that it would hopefully stand up straight. You can see how it looks from the inside on the right.

Lining Inside lining

While having the lining almost ready was great, I couldn’t actually put it in yet. I still needed to add the closing loop to the outside of the backpack, and maybe some more pockets. I would like to have that nicely finished and then drop the lining in, so it’s invisible from the inside. So onto the pocket making!


Backpack (intermediate 2)

I’ve been diligently working on the backpack for a while now. Before starting the embroidery (results here) I managed to close the straps, by attaching the front to the back with an overcast stitch, where I attempted to keep the stitches straight and not angled. After finishing the embroidery I overcast the flap pieces together. Before starting the embroidery I had already made a welt type hole in the front for the closure that I am going to make (I just found out I made it in the wrong direction, not very clever of me, but this way will probably work too). So now I have straps and a flap. If you look closely you can see the stitches.

Backpack back Backpack strap

The straps are connected to the bottom with ribbon. Therefore, they can be tied and retied if the backpack needs to be adjusted. I don’t know yet if this will actually work, but hopefully I’ll see during the April 11-13 road test. Below you see the backpack with the straps attached.

Backpack straps

The straps were based of a backpack that I really like the straps of. So I just copied them and cut them out in the skai leather. Then I cut them in something resembling fake suede. The fake suede was stitched (by machine) right sides together to a piece of flannel and a bit of batting was put inside such that the straps would be comfortable. It was then turned inside out and overcast to the skai bits. I think it turned out quite well.

Now on the the last couple of steps.

Backpack (intermediate 1)

I’ve been working on my backpack since I previously mentioned it (here). I sadly did not finish it by the time I wanted to use it for a Larp special, which was the 15th of March. However, during that special something happened that made me rethink the pack a little, more on that later. The day of and on the way to the special I had been working furiously on the bag. I managed to get the straps on, although the fronts were not sewn to the backs yet. I added the flap in its two parts (front and back). I sort of sewed the lining in. It clearly was not finished yet.

During the special, I found out that they wanted me to become a priest (I did not want that, but they made me anyway). So I figured I’ll embroider a raven (the symbol of the god I was to be a priest of) on the flap. Luckily I had not yet closed the front and back of the flap, so I could easily embroider something on the back. I did a quick Google search, found a magnificent picture and decided that this was so much for personal use that I could use it. On the left you see the original, click it for the link to the source. On the right is my embroidery.

raven_eyes_by_sauceoftheboot-d4lgnq7OLYMPUS DIGITAL CAMERA

Sometime before starting this piece I read a blog post about filling in embroidery using long and short stitches (here), to be able to create directional embroidery. It’s not as clear but I know I’ve used it and I think it works a lot better than stitching willy nilly, which I used to do before.

So on with the rest of the bag. I’m getting there!! The new deadline is the 11th of April. I hope I’ll manage.

Backpack beginnings

As you might now, I wander around a larp field sometimes in a skirt with a lot of pockets (here). Since I also stuff those pockets, at the end of an event my hips are usually not very happy with me. The skirt is heavy and difficult to manoeuver in. So I figured I’d make myself a larp backpack, ages ago. I started well, creating a pinterest board with inspiration for a backpack. Some of the pins are shown below. (Click the picture for the link.)

Backpack

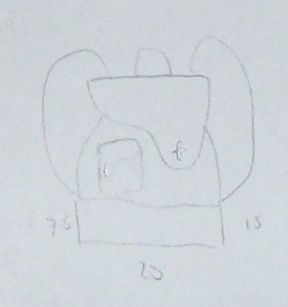
That’s were my plans ended. However, Friday, after I had a meeting with my orthodontist (I hate my teeth), my plans were put back in motion. This is because I went to the thrift store where I found some nice blueish/blackish fake leather and strong light linnenish fabric. I spent the night drawing my new backpack, which will be a combination between the top left pin, the top right pin and the bottom right pin. See the design below (with the ‘pattern’ sketched out to scale). It’s a bit vague, but the light here is crap and the drawing is little. It might not end up like the sketch though, we’ll see.

Backpack Plans

Now the reason  I wanted the backpack was to be able to not overfill the pockets on my skirt. However, I figured that if I would just dump everything into the backpack, I’d never find anything again. Since I do this in real life, I have experienced searching through backpacks, but it’s not very practical, to say the least. So the light fabric was to be the lining of the pack, with a multitude of pockets again. Strips of were added to make pockets with a fold, so that they could be opened up to hold vials and such without distorting the lining shape. Other pockets were flat. I will add some more to the side that’s only got the one line of vial holders.

Lining

Well that’s where I’ve ended now. I’m planning to have it finished by Saturday but the real deadline for it is somewhere in May, so I’d better make that. I am now seriously hoping that the fake leather stuff will cooperate, I’m afraid that that will be the most difficult part.

More Grey, Now a Francis

The reason why I’ve not been sewing as much, is that I’ve been knitting. I’ve been knitting a top down raglan sweater from a pattern with cables and a cowl. The weirdest thing is that I didn’t even lose interest for that long. I finished it within the season! One month and a half it took me to knit myself a pullover (more details on ravelry here). I’m so proud! It’s knit fully in the round. It’s actually quite warm also, with contrasting cuffs (seed stitch). I’m a little afraid of washing it, so I hope it doesn’t shrink massively. Here it is:

OLYMPUS DIGITAL CAMERA Back

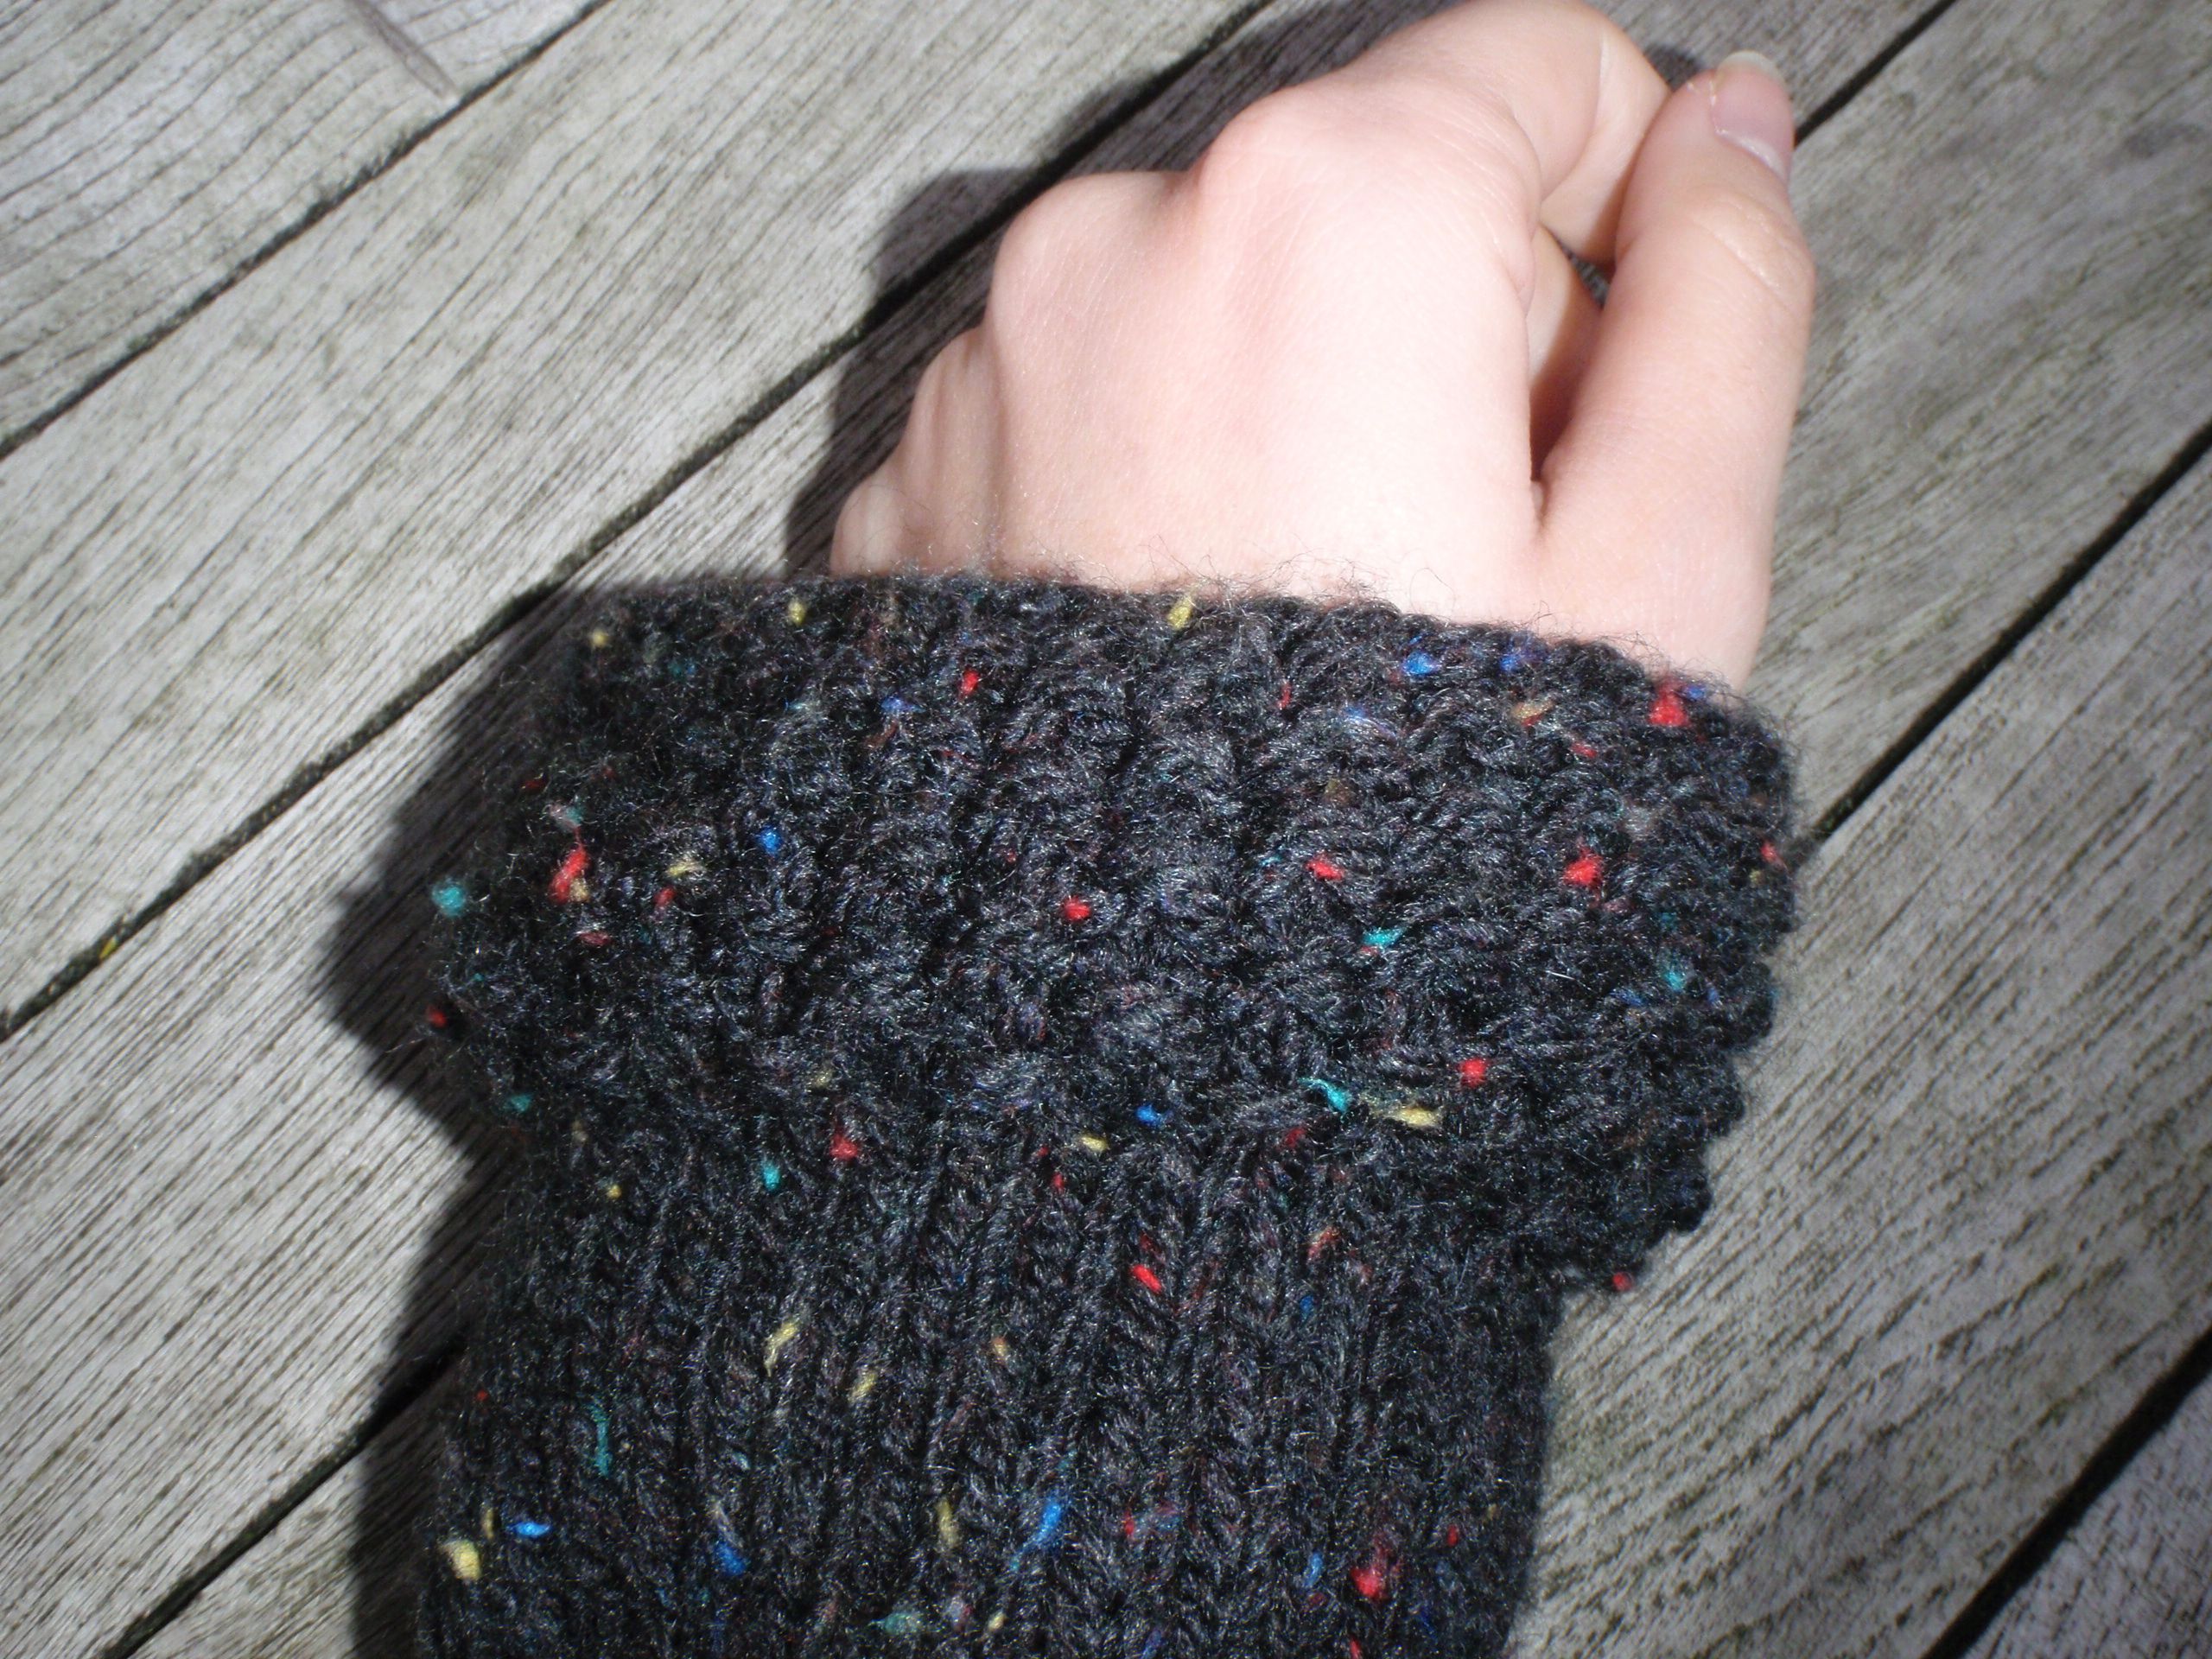
The ends are all finished with seed stitch, so that’s the cuffs, hem and cowl. My collar is a bit different from the pattern, probably because I didn’t switch to smaller needles. I still like the way it looks though. In contrast to the pattern I attached the bottom edge (not the hem) of the seed stitch band to the neck opening at the front, and partly at the back. The pattern stated to mattress stitch (?) the hem of the seed stitch bit to the neck.

Cuff Collar

Lastly, I chose to do some cables on the front. This was mainly because I’d be bored out of my brain with just knitting stockinette for forever after. I cabled using 4 stitches in all cables, but the centre one was split down the middle to form larger v’s and the side ones are mirrored to each other.

Front

I hope to get a lot of wear out of this sweater. I’m wearing it while writing this and I’m quite warm and toasty, which is wonderful in wintertime.

Hat!

Or, according to the pattern, Vintage Allure Beret. Meet my latest finished (important note, I have many more unfinished) knitting project.

Hat on head

It’s a free pattern that can be found here. It’s a beret that features 8 cables and it is knit in the round using mostly purl stitches. I really liked knitting it, since it’s a fairly fast project you can see it coming to completion. I also really liked the colour red that I used. I think I’ll probably make it again, but then I’ll purl the decreases instead of knitting them, so they hopefully blend in a bit more, I now have 16 ridges. You can look at my project on Ravelry here. Also, this is the hat when it’s flat.


Hat


I’ve worn it already and it is really nice. I used to pins to keep it connected to my head (hard winds that day) and it held up perfectly. I also think the red and my hair are a nice combination. Now, I’ll continue with my sweater, that will hopefully be finished this winter…

Pouches and Globes

Yes, pouches and globes are an odd combination. In this case they do not even remotely belong together, apart from the fact that they were made in (approximately) the same month. The pouch is boring, the globe maybe less? So read on below the pouch pics if you want to know about a home assembled globe.

I made an additional little pouch for those necessities that you want in your bag at all times, but you’d rather have together than floating around separately. This involved cutting a square, serging the edges where the zipper would go, sewing in said zipper and serging the remaining edges. This was a 15 minute project at best, but it saved my sanity. This is the, super sexy of course, since I used a scrap of my Mondriaan fabric, result:

Pouch back Pouch front

So, on to the cool stuff. Globes. I love them, especially old yellow ones. I don’t own any really old ones, or really any fancy ones, but I plan on having a nice wooden library room with a book-case with a ladder and my (to be assembled) collection of yellow globes. This is of course a long-term plan. My current collection is a sky globe that turns in all directions, a yellow normal globe which also turns in many directions, a magnetic puzzle globe, a glass etched little globe ball an a globe key chain. It’s not much but I like it. I have, however, managed to add some additional elements. Two new/old paper globes.

The other day I discovered this website, which houses a collection of paper automata and more. It also had the makings of several globes which you can assemble and construct at home. My first attempt was difficult since I didn’t have the right glue, so it’s wonky. This is it from three angles:

Original ball 1 Original ball 2 Original ball 3 Globe collection

Today, I tried again, using a stickier glue. However, it still gaps where the hemispheres are stuck together, I will find a solution soon. The bottom right picture is the entire collection, hanging left is my most recent ball, while the first attempt is at the right. I will make more paper ones, once I figure out how to make them look nicer and find the right paper and glue (Paper Pino also has bigger versions!! E.g. here, here and here).

I shall collect more!

Ducks part 2

So, here are the details of the duck’n’lizard skirt. I scoured the web comic looking for nice pictures of the duck and lizard that I could crop and enlarge to be the same size (250 pixels either wide or high). I found quite a lot of them, and subsequently printed them out on tissue paper. I cut them out, and taped them to a strip of white fabric. Then I embroidered them.

Took a while, but I managed to get them all done. Here are the strips in full, with my feet for scale (and because I couldn’t not take a picture of my feet).

Ducks full

Here are the ducks and lizards in a bit more detail, oh and a stuffed rabbit. I think they are wonderful! When I wear the skirt, it doesn’t seem too childish, so that’s good! I really like it! Ducks forever! 

Ducks 1 Ducks 2 Ducks 3 Ducks 4

So thanks Dave for making such a fantastic web comic! I’ll enjoy the ducks!

Ducks Part 1

Ducks, funny creatures those. I’m reading a web comic called Sheldon (http://www.sheldoncomics.com/), which is awesome and is about a billionaire boy who invented (or something) a talking duck and who also has a lizard type thing. Anyways, I really like the style of art and the creatures are so funny. So I wanted to used them in a something. It took me quite a while to think of said something, but I figured something out.

I first e-mailed the author to see if I could use his drawings, and he said:
“For personal stuff, of course! Just nothing that can be sold, etc.
Thanks for asking!
Dave”

I may have squealed when I actually got an e-mail back. He’s like.. famous (in my head), even if it may have been an assistant or something, but probably not. Anyways, I do not intent to sell it. “What is .. it?” you may be asking. It is a skirt with a duck/lizard border. I first embroidered the ducks and lizards, which you will see in a later post in more detail. Then I sewed the bands onto black linen, of which the entire piece was used and therefore determined exactly what I could make (length and width wise).

I chose to make a skirt, with 5 pleats in the front and 5 in the back, in-seam pockets, a side seam zipper and a loop on the side for keys. It is two rectangles of approximately equal size, that were pleated to make it fit my .. below the waist. It’s built up from just rectangles. The top is finished with some of the biastape I made from the same fabric. The first two pictures are the front and back, it’s black, photographed in the bathroom, the detail is .. crap at best. Trust me when I say it looks really nice in real life, ok?

skirt Skirt 

Then we get to the pocket with the zipper next to it. Luckily the zipper and pockets are hidden in the pleats. So you can’t really see them. I like that, a lot. On the right is the loop on which I can hang my keys. The only annoying part is that it is on the left, when I usually have them on my right. Therefore, I don’t know if it’ll see much use, but at least I thought of it?

Pockets Loop 

Last but not least, the insides, nicely finished with a lining. I gathered the lining instead of pleating it. I think it probably works.

Lining

I’m very curious to find out how it ends up after a wash cycle. The reason being that I used some sort of starch on it, to make it shift less. Hopefully it will not fall to flat, but we’ll see. Tomorrow, I’ll show the details of the ducks and lizards. Hopefully!

Play Dice With The Universe

Ok, maybe not with the universe, but I like the quote, even if it is most likely not what was actually said. (Something Einstein, blabla).

Anyways, back on topic. I have a friend. She plays DnD (Dungeons and Dragons, for those not in the know). It was her birthday not too long ago. I wanted to make her something to give as a present. Now, for some reason that I don’t really remember, I was searching the internet for weird-numbered-sided-dice a bit before. In DnD the most common dice are d4 (4 sides), d6 (6 sides), d10 (10 sides) and d20 (go guess how many sides that one has..). For some reason I google image searched a d14, because I wanted to know if they existed. I found out they did, and I found a picture of a d14 laid out flat! After a while I put 1 and 1 together and decided to make a d14 shaped dice box for my friend.

I got out the felt I had conveniently bought a bit before, used the garden wire I had bought for my Christmas cards (which will be explained after Christmas (or after I’ve sent all of them)), and sewed the thing together. This is the layout (click on it for link):

14 sided dice

This is the final product. The elastic is to keep it closed when there is something in it, like dice, or little clothespins to form a Christmas card line with a bit of ribbon.

ClosedOpenOpenBottom

Next up, ducks!