Productivity!

Friday at quarter past eleven, my vacation started. And so did a productive streak that continued until a couple of hours ago. The second semester of university finished on Friday after handing in the last assignment. I decided I wanted to make something. I found a free t shirt pattern on ‘3 Hours Past the Edge of the World’ and decided I wanted to sew a knit for the first time. There was this piece of light be knitted stuff (very see through) in my stash, and since I did not care much for it, I figured I could use it to test the pattern.

Here is the result:
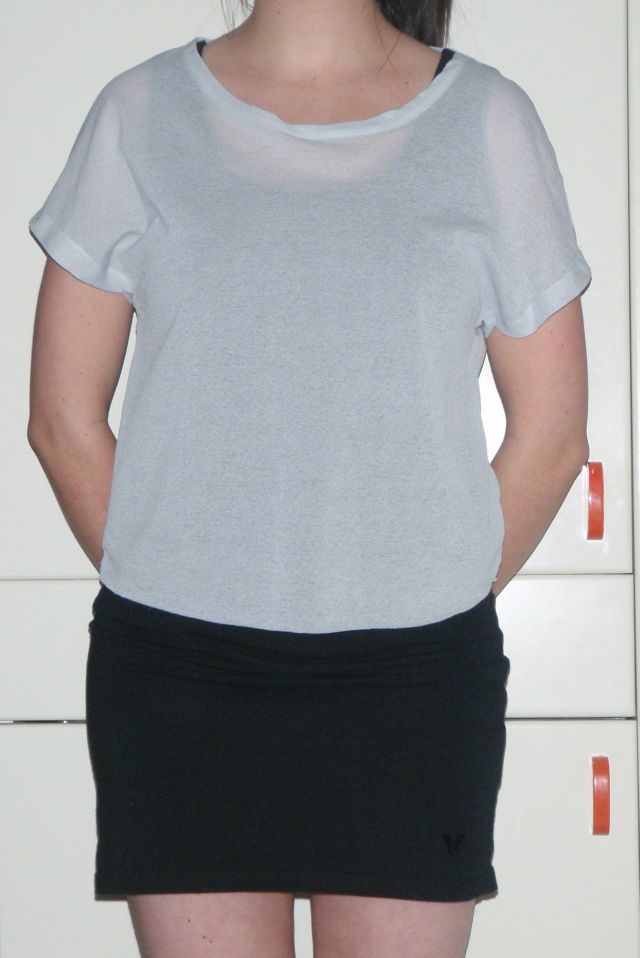
Changes for next time? Yes, add length, find a less see through fabric, tighten it a bunch and cut the neckband in one piece (this is recommended, but I has scrap pieces that just fit the front and the back).  I felt the sleeves were also to wide, but I also had a wrong fabric for the pattern I think. Ah well, it was good practice, and I enjoyed myself. Although I doubt I’ll wear it often as it is so short.

So I printed and taped the pattern together, cut the fabric and sewed the left shoulder seam on Friday, and finished the shirt on Saturday, which I was pretty excited about. The productivity streak continued. I designed a pouch for my mp3-player to replace the enormous not fitting one I made before the holiday in France. Then I put it together using scraps from a coat project. It looks a bit weird but I think it should do the trick.

Here it is:


Lastly I decided to tackle my box of UFPs, I have this long black almost floor length dress (because I didn’t have enough fabric it’s about a cm of the floor without shoes), with a grey bust bit, that has never been finished. I ripped out the zipper, because it was too small, and am trying to get it to fit me better, which is difficult with the zipper being on my back and me not actually being able to see it. So I’ve left that be for now.  It will be tackled soon (I hope). (I tried to take a picture, but it was just wrinkles:)

The weird white looking bit on the right is the attachment of the grey fabric. I’m debating attaching long grey ties to make a bow in the back.. once I figure out how to get it to zip up nicely of course.  The quest continues for the perfect back.

Long Time No See

Yes I know, I’ve not been here for a while. I have no excuses. Well one, my sewing machine broke in December (which is quite the problem), so no sewing related things. I have made some things since the last time I’ve posted. A mp3-player pouch, it’s awful, ugly and crude but I needed one soon and my machine had just broke, and it works, so that’s fine. I’ll update it when I’ve gotten my machine fixed.

I’ve started a skirt that just needs hemming and buttonholes, (it’s almost all done by hand since my machine broke..), however, this was the beginning of January, and I’ve since done nothing to the skirt.

I did make a present for a friend, which was a pouch, this time with a flame embroidery. The pouch from all sides:


The last picture might look weird to you.. white things with dots and stripes on them? They are a couple of pebbles I got from our front garden. I painted dots and stripes on them and put them in the pouch with an instruction leaflet. When playing you can use them as runes or play games with them like Pigs. It is not very useful, but I thought it was fun. He seemed to like it, so I’m happy. I’m going to attempt to write more here, to make me do other things than watch television.

Presents

I have a birthday party tomorrow. However, I was faced with a problem. What could I possibly give as a present? I had no ideas, so eventually I decided to make something. Next question: what would I make? Something easy but nice looking, the answer was, so I decided to make another ear bud pouch (previous one). I found a nice blue fabric in my stash that I’d used for a pencil skirt (and still had 3 meters left after that). Which looked quite nice, and I had a zipper which was quite close. So I used those, here it is:

Front pouch Back pouch

One adjustment I made compared to the previous one was that I added a ‘pocket’ on the back of the pouch, so you can put a coin in there for a shopping cart or something like that.

So the other bit of the gift has 2 parts. If I show them to you, can you guess what they make together?

Well here they are anyways:

Ribbon Pins

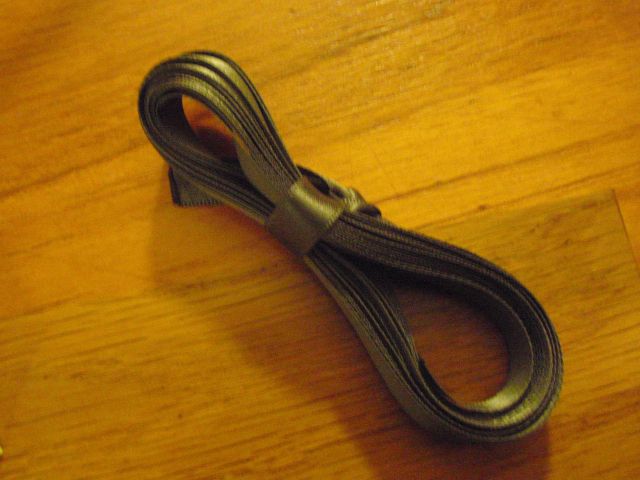
Left is a ribbon (oh, what a surprise ; )) and right is a set of tiny clothes pins that I’ve glued a funky bit of ribbon too.
Did you guess?

The answer is: A Christmas Card Hanging Line! (Or birthday cards, Easter cards, whatever cards you may get). Tadaa!

Finished present

With two cards, I really like the left card. In the Netherlands children come around each year selling so called kinderpostzegels, or children’s stamps. The proceeds go to a charity to help children. One year they had kinderpostzegels that were designed by Dick Bruna, the writer of Miffy (or Nijntje, in Dutch). They also sell cards that are designed by the same person, and the left is a walrus of Dick Bruna, I still have a soft spot for Nijntje related things, that’s why I like it so much.

Well off to bed soon, so I can be cheerful and happy at the party tomorrow! I hope she likes them!

Sashes Everywhere!

Sashes

My parents are in a samba-band, which I think I’ve mentioned before. Their colours are blue and yellow. During performances they wear a blue shirt with white pants. On the back of the shirt the logo is printed in yellow. They do have a yellow coat for cold times, but in summer the shirt is enough. Now it was suggested by one of the members that they could all wear yellow sashes to show more yellow. So my mum asked me if I felt like doing that. I (stupidly) said yes. So yesterday my mum and me went fabric shopping, which was fun, and regular shopping, also fun. The night was spent, together with another samba player, making 20 sashes. I have figured out that I’m never ever going to make curtains. Sewing long stretches of fabric is boring. Especially 3 times per sash…

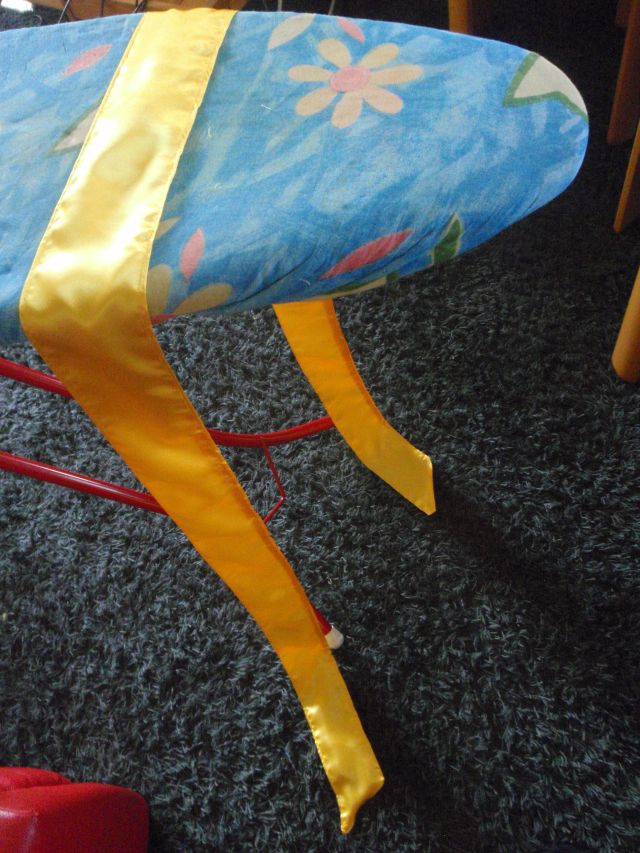
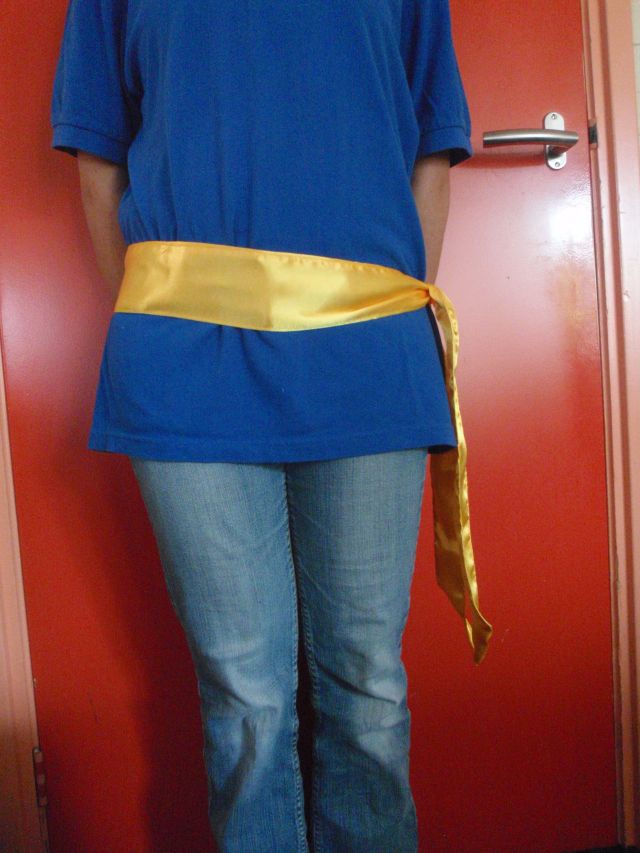
And they were long, I did 8 of 2 meters, 8 of 2,40 (which is really really really boringly long) and 4 of 1,80. First I sewed a bit into a tube with a pointy end, then gave it to my mum who turned it inside out and ironed it. Then I’d get it back and sewed all around it (so 2 pointy bits and 2 very very long bits). And voilà, a sash. After I finished the first 8 and half finished the second 8 my machine decided that I was stupid and it wasn’t going to do it nicely any more. It wanted some rest, well it was 11 at the time, so I was quite happy with that, apart from the fact it stopped liking me of course. So this morning I finished them. Finishing the last one felt so incredibly nice. It was amazing. Here is what they look like on the ironing board, and on me (while wearing my mums shirt):

Sash Me and sash

Bag Progress

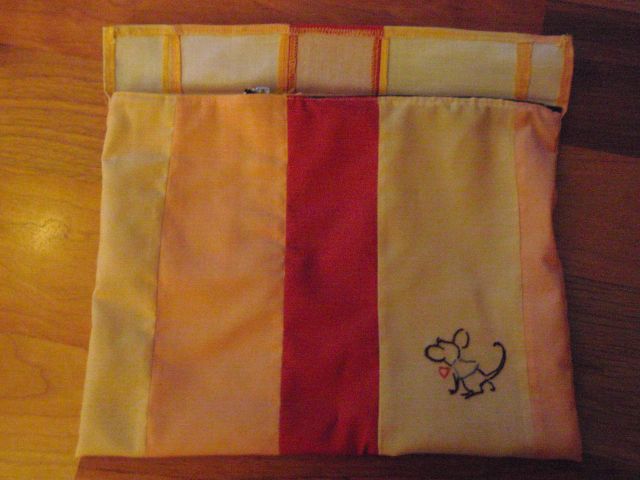
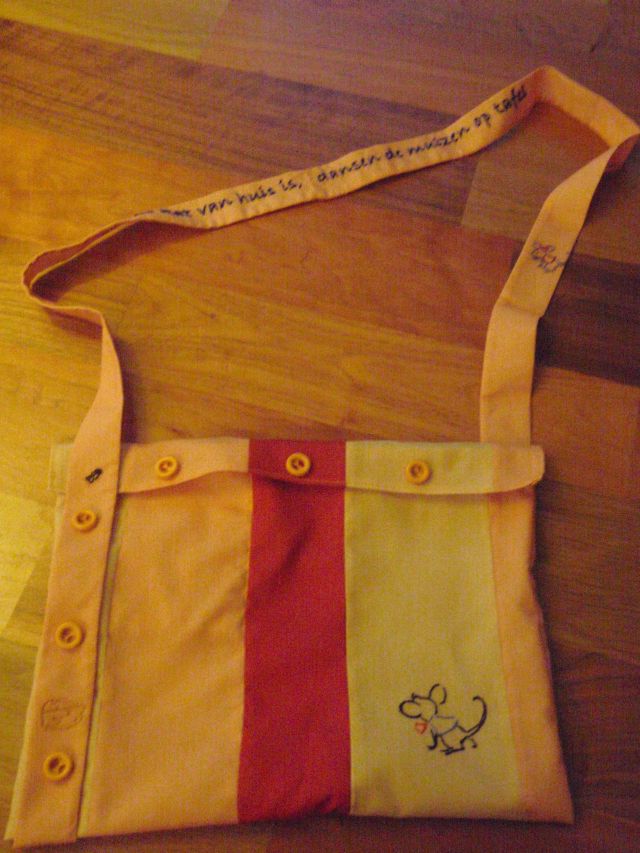
I have been making a little progress on my mouse bag, it’s now bag-shaped (yay!).

Bag

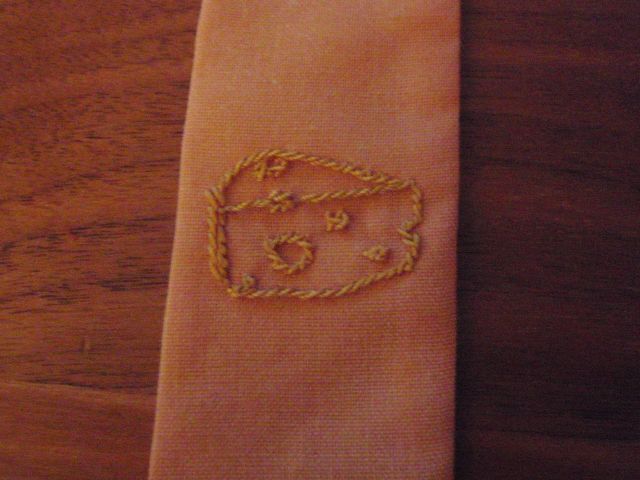
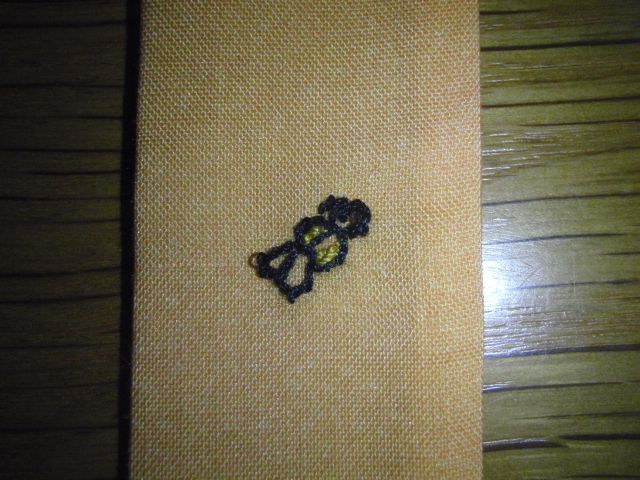
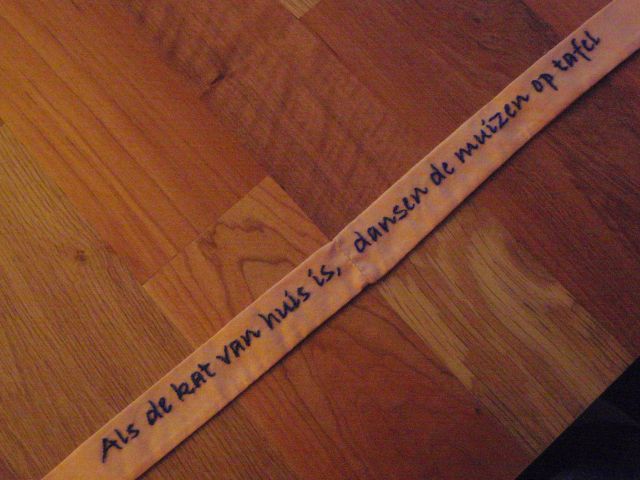
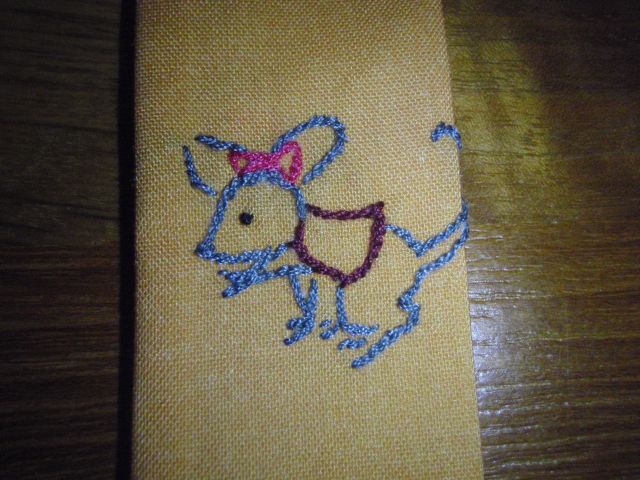
You might be able to see that the zipper does not reach from one end to the other, but from the right to bit over halfway to the left. This is because a) I couldn’t find a long enough zipper, b) was too lazy to go to town and get one and c) thought it was quite handy. You might think, why.. why Luus would you think that that would be handy?? Well the answer to that question is that there’s a little pouch for my mobile phone to the left. And no zipper equals easy access. And room for a snap. So ok, maybe it’s not super handy but I like it. In the meantime I have also worked on the strap, I did some embroidery. Cheese, a bee (don’t ask me why), a Dutch proverb and another mouse. The proverb literally translates as when the cat is away from home, the mice dance on the table. However, there is an English proverb that means approximately the same: when the cat’s away the mice will play. I figured since there were mice on the bag, the proverb would be a nice touch.

Cheese Bee Strap Mouse

It’s still not done, since it needs to close and the strap needs to be attached. I’ve thought of a way to attach the strap, by attaching one end and making the other end movable with buttons. I’m not sure if that will work though, but this is what it would possibly look like.

Potential Bag

I’m wondering if I need to add another bit of fabric to the bottom of the flap (possibly the red, or the yellow (not the orange since the strap is also orange even if the pictures don’t show it very well). Which would mean the buttons would go about 3 cm further down. The left side would be where the strap can be adjusted by buttoning the strap further down or up. So I hope I’ll finish it next week since school starts next week. I’m a tad scared for that. But at least I can impress them with my monster bag (link).

More Bags

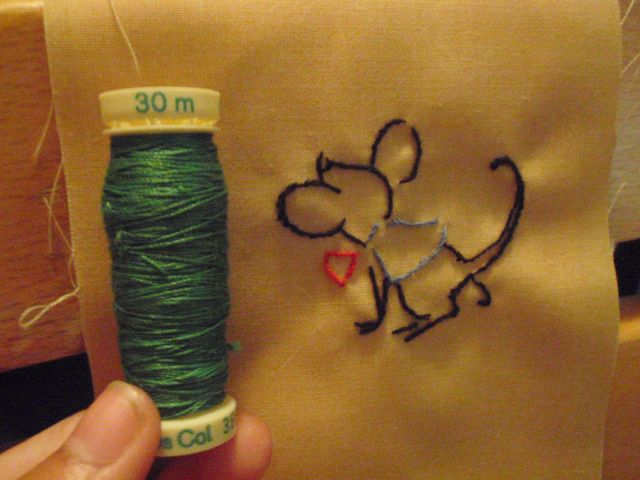
While I was on the subject of bags the previous post. I remembered just now that I have another bag in the process of making. The other day I found a vintage pattern for a sampler in the vintage embroidery patterns Flickr (link). I really like the mouse, the cat, not so much. I had some strips of fabric leftover from previous projects and decided to make them into a bag. I embroidered the mouse on the widest strip I could find, later I plan to attach all the strips together and make them into a bag. But I haven’t gotten that far yet. As of right now they are just strips with a little mouse on one of them. Here’s the mouse:

Mouse  Mouse with reference

Left is the mouse, right is the mouse with a reference length (about 3-4 cm I’d say). I personally thinks it’s really cute and awesome. Now just have to finish the bag. I hope I’ll do that soon.

Monster Bag

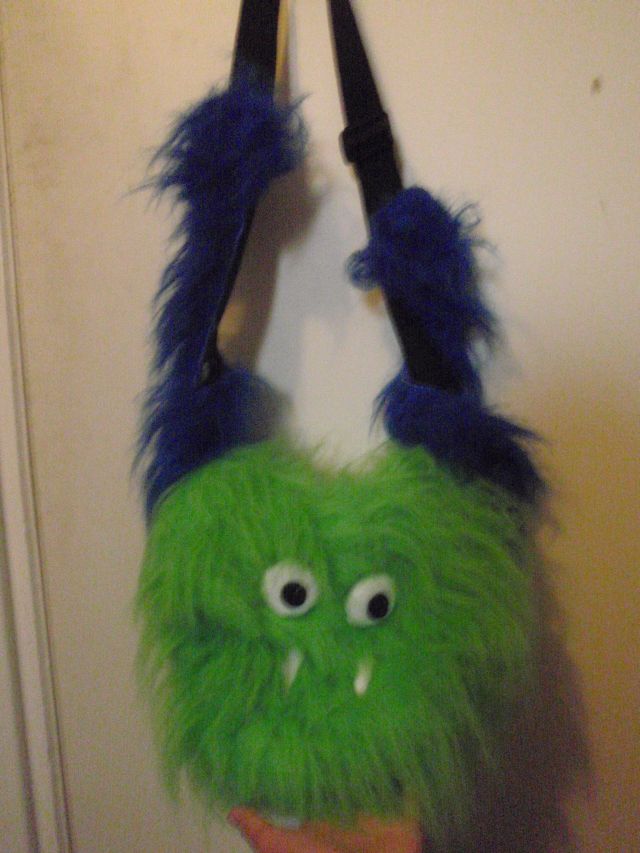
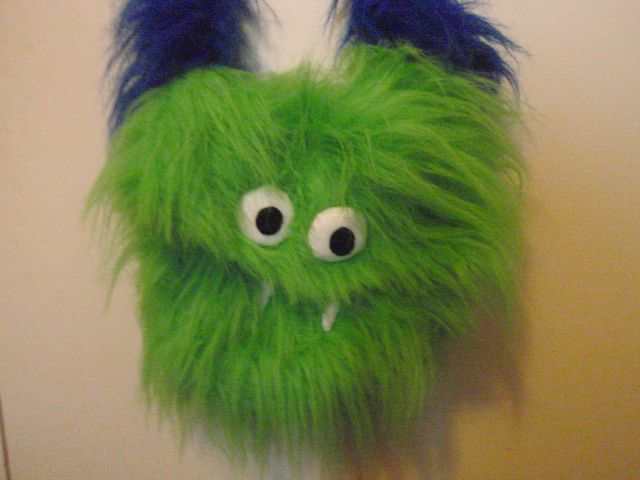
Remember the suits I made for Carnaval? I had some leftover furry fabric, so I decided to make something with it. The result was a bag. It’s reminiscent of the Monsters Inc. monsters. It’s green and furry with big eyes and 2 teeth. I think it’s really cute. My mother things it looks like Cookie monster (maybe she’s colour blind or something). Anyways, here it is. I’m very happy with it as I think it’s extremely cute:

Full Monster Monster close up

Excuse the blurriness of the first picture, I found it hard to hold the bag and move far away from it to get it all on camera. The blue furry bits along the straps are supposed to be its arms. I have some legs lying around, but I’m not sure if I want to add them. Suggestions?

It closes with snaps beneath the eyes, I had to trim it a bit around the bottom snaps because there was too much fur. But it works just fine now, so I’m happy with that. I’m quite fond of my monster bag, now I’ve got to test it on the road to see if it’s not only super cute but also useful.

Wedding Madness!

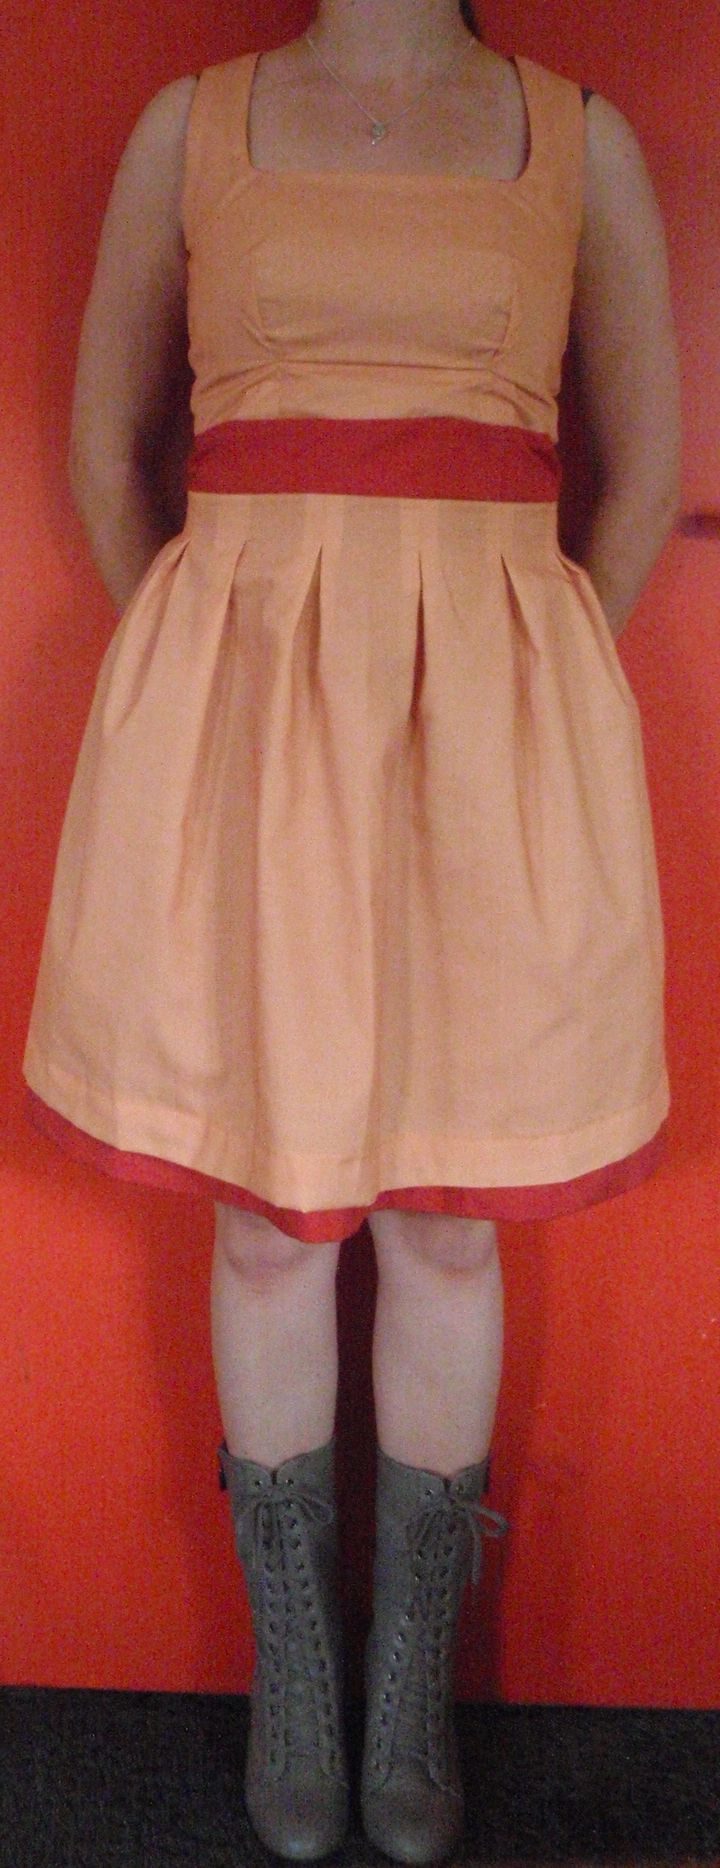
We received an invitation a couple of months ago for a wedding. My cousin was going to marry the mother of his 2 children. So I figured, what a good opportunity to make a dress. I started one, and discarded it quite soon after (it was hideous, and didn’t fit at all). I think the pattern was just screwed up because even the models looked like it didn’t quite fit.

Some time after the first try I was wondering around burdastyle, where I found a really nice dress (link). With a free pattern. So I figured I’d attempt that. Figuring out how the top should fit took some time. And I had to make it in the evenings because I was working that week too. Which was troublesome. After I’d finished the top bit, I had to attach the waistband, which took one or two more evenings, which sounds long, but alone it’s very difficult. And of course zipper troubles, which took forever. In the end I was literally sewing until the minute before we left. I cut of the last bits in the car and arrived splendidly at the party. I had a very nice time and got a lot of compliments, about my hair, appearance and dress. That made me very happy.

Here’s the result of my hard work:

Dress

Useful

I’ve been having issues with plastic shopping bags littering my room. And this morning I created a solution. It’s a simple tube from some scrap fabric (the same as my coat) with two tunnels, top and bottom. Through the bottom one I threaded some elastic and through the top one some ribbon. I can hang the thing on by cupboard using the ribbon, and the elastic ensures that the bags don’t fall out by themselves but that I can easily pull them out. I’m quite happy with it.

So left is the finished version, and right is the ‘action shot’:

Plastic Bags Bag Plastic Bags Bag in Action!

Bow Tie

Yes the title is correct. I made a bow tie tonight. For myself. But not for around my neck, oh noo…

I made a waist bow tie (basically popped an extra bit in the middle so the neck bit would be much longer). It’s just a kind of bow belt sort of thing. Two things I learned during this ‘challenge’: turning something from outsides in to outsides out is boring and annoying, and how to tie a bow tie.

I used the combination of these instructions (here) and this pattern (here).

With the result here:

Waist Bow Tie

Yes that is the same fabric as the top from yesterday. It seems like I might be getting my mojo back (at least for short simple projects). I hope to keep it up.