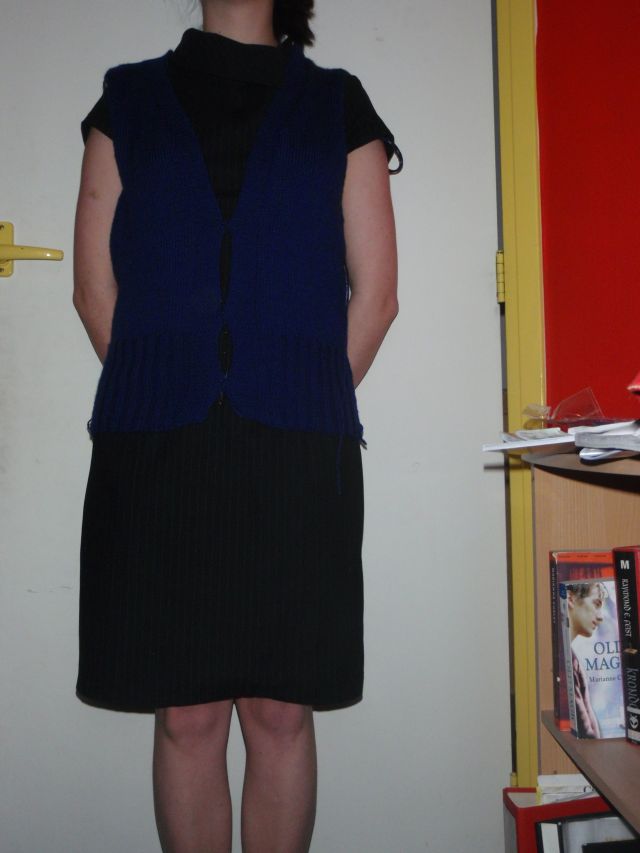
Larp Over Dress

I don’t know if it’s a real word, but the last section of my Larp costume was an over dress. Somewhat coat like, with a lacing closure at the front and no sleeves. The top part was based (partly) on the Franzi vest pattern from Burda style (here). Admittedly, it doesn’t look anything like it any more, but I used the bones and then just cut the bits away that did not correspond with the vision I had.

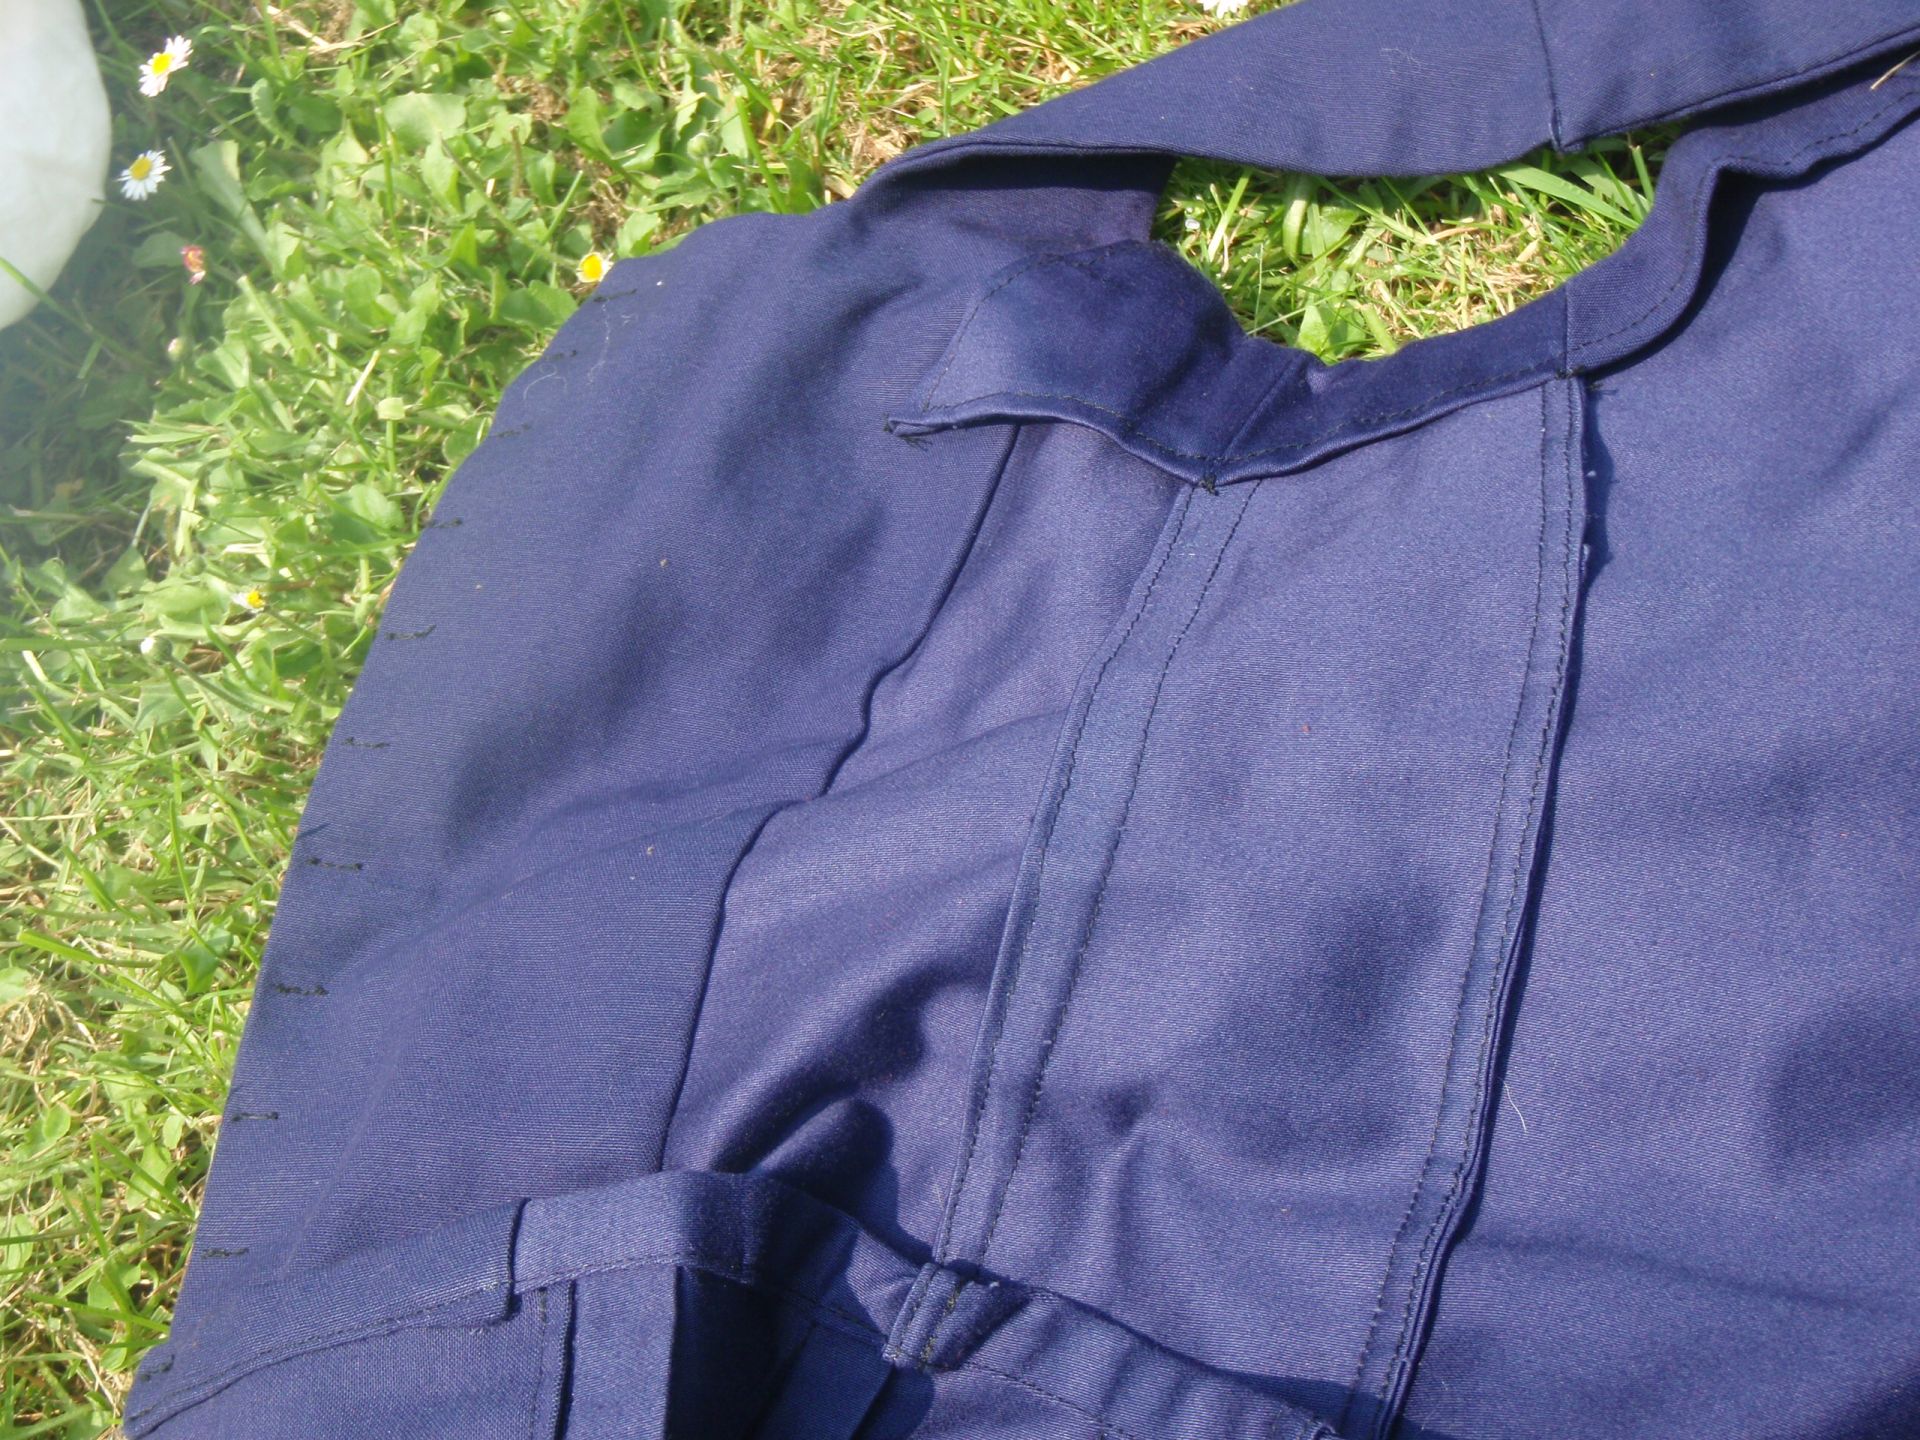
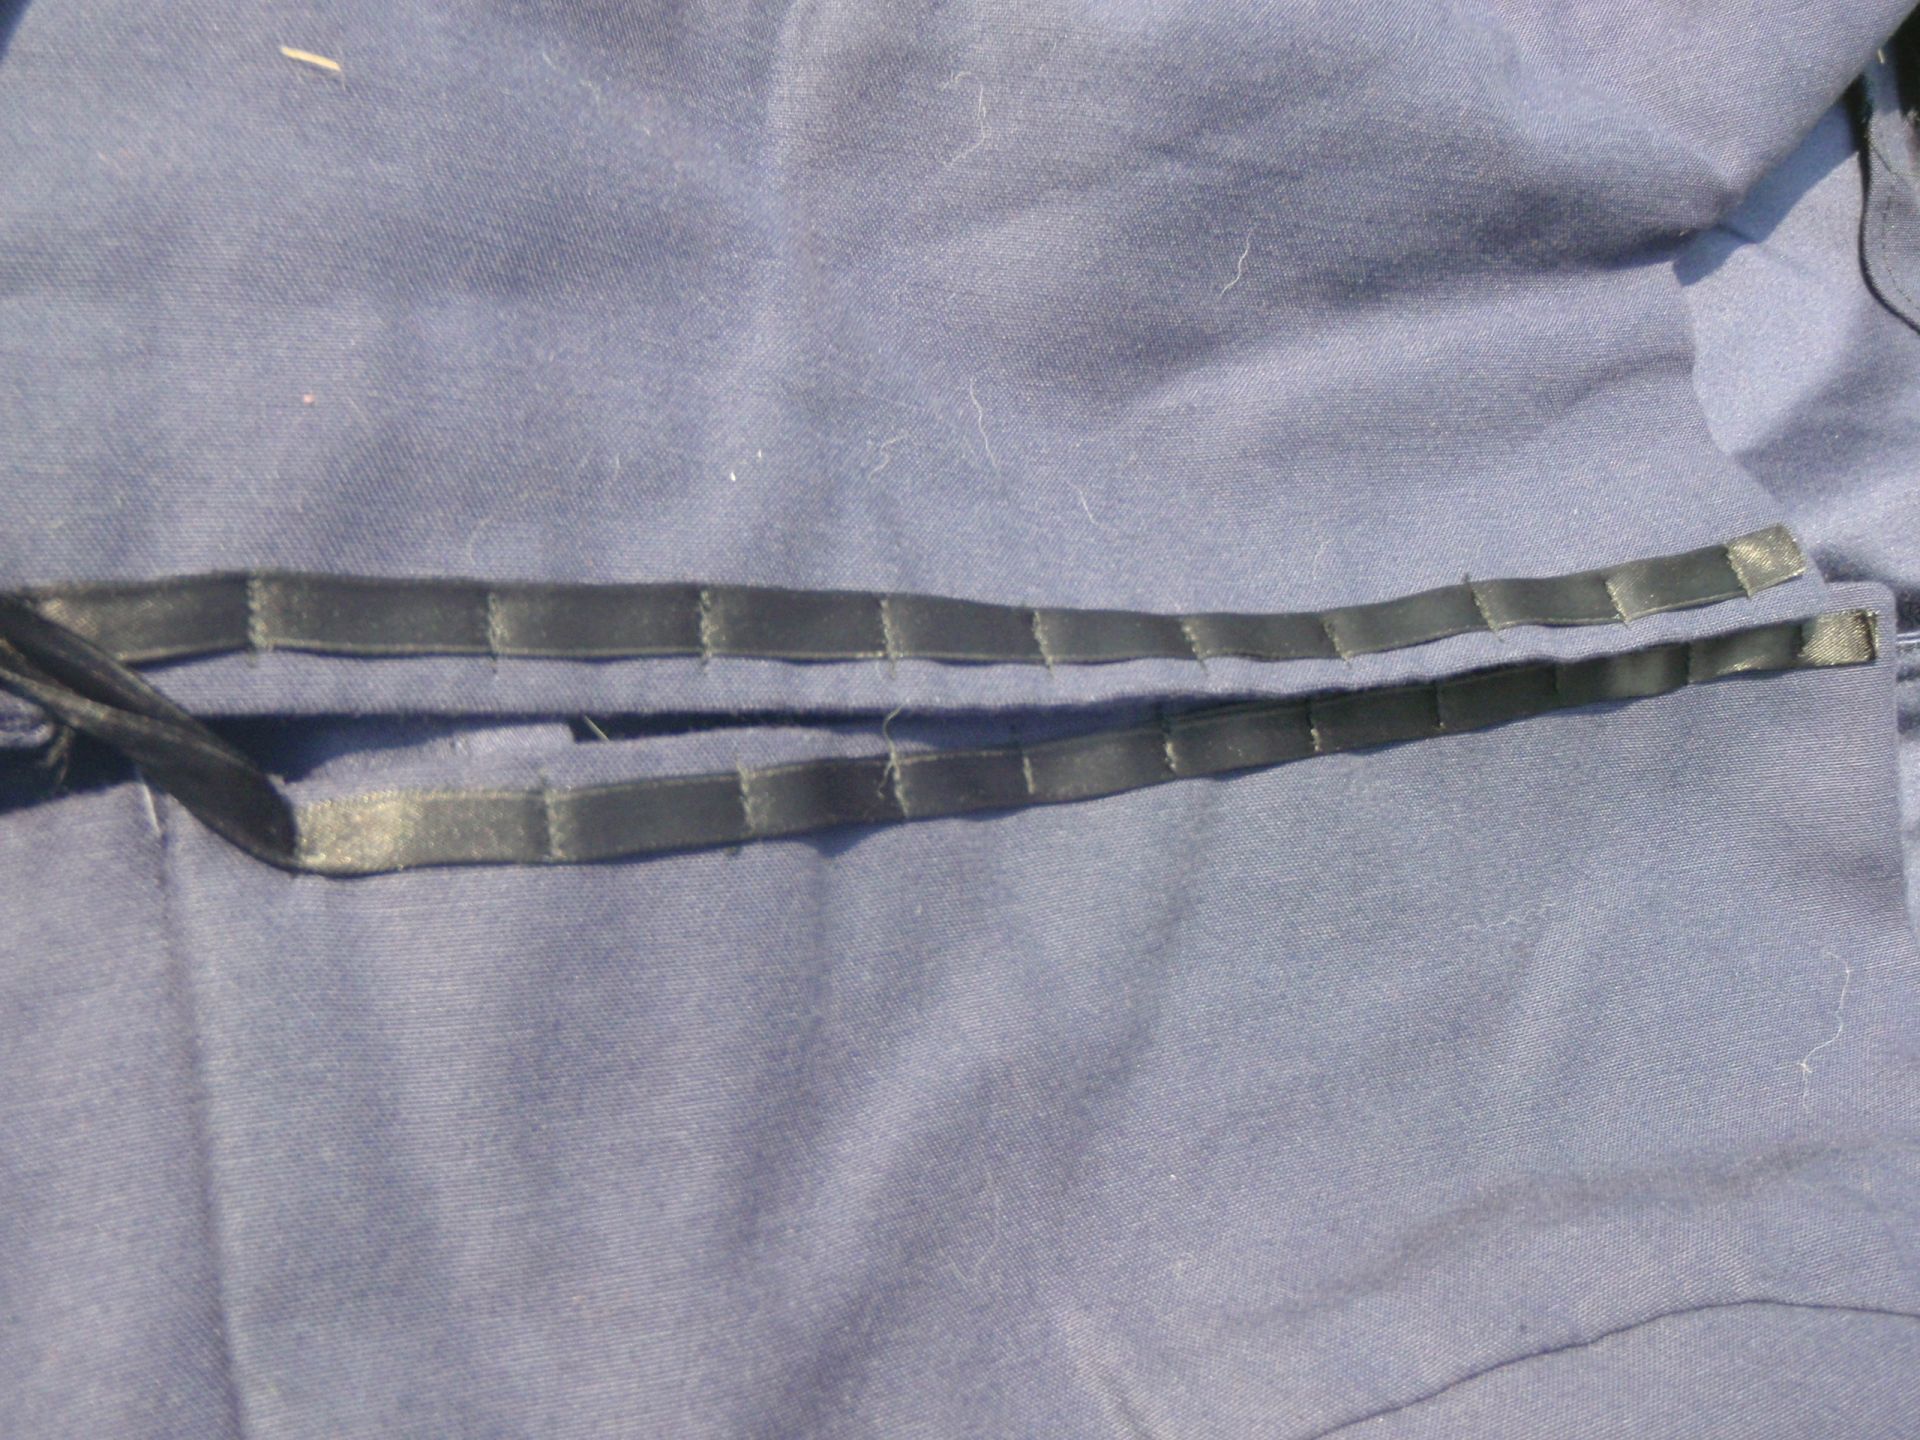
I made the straps thinner, cut the back a bit deeper, trimmed of the bottom so it was straight,  cut a section away from the front to create the square neck and made it too small in front so it would not close (on purpose). Then I added a square section of the curtain (yes, it was made from a curtain) with pleats to the bottom of the vest part. I also drafted my own facings for the top section, and added a ribbon to each front section, sewing it at approximately 1.5 cm intervals so I could thread a string through it and lace it up. There are also two pockets in the front sections of the skirt part, where I just left a bit of the front hem open (more pockets, yay!).

All in all, I’m really satisfied with this piece, it turned out pretty much exactly how I wanted it. It was really comfortable and I didn’t have any problems while wearing it.
So here it is:
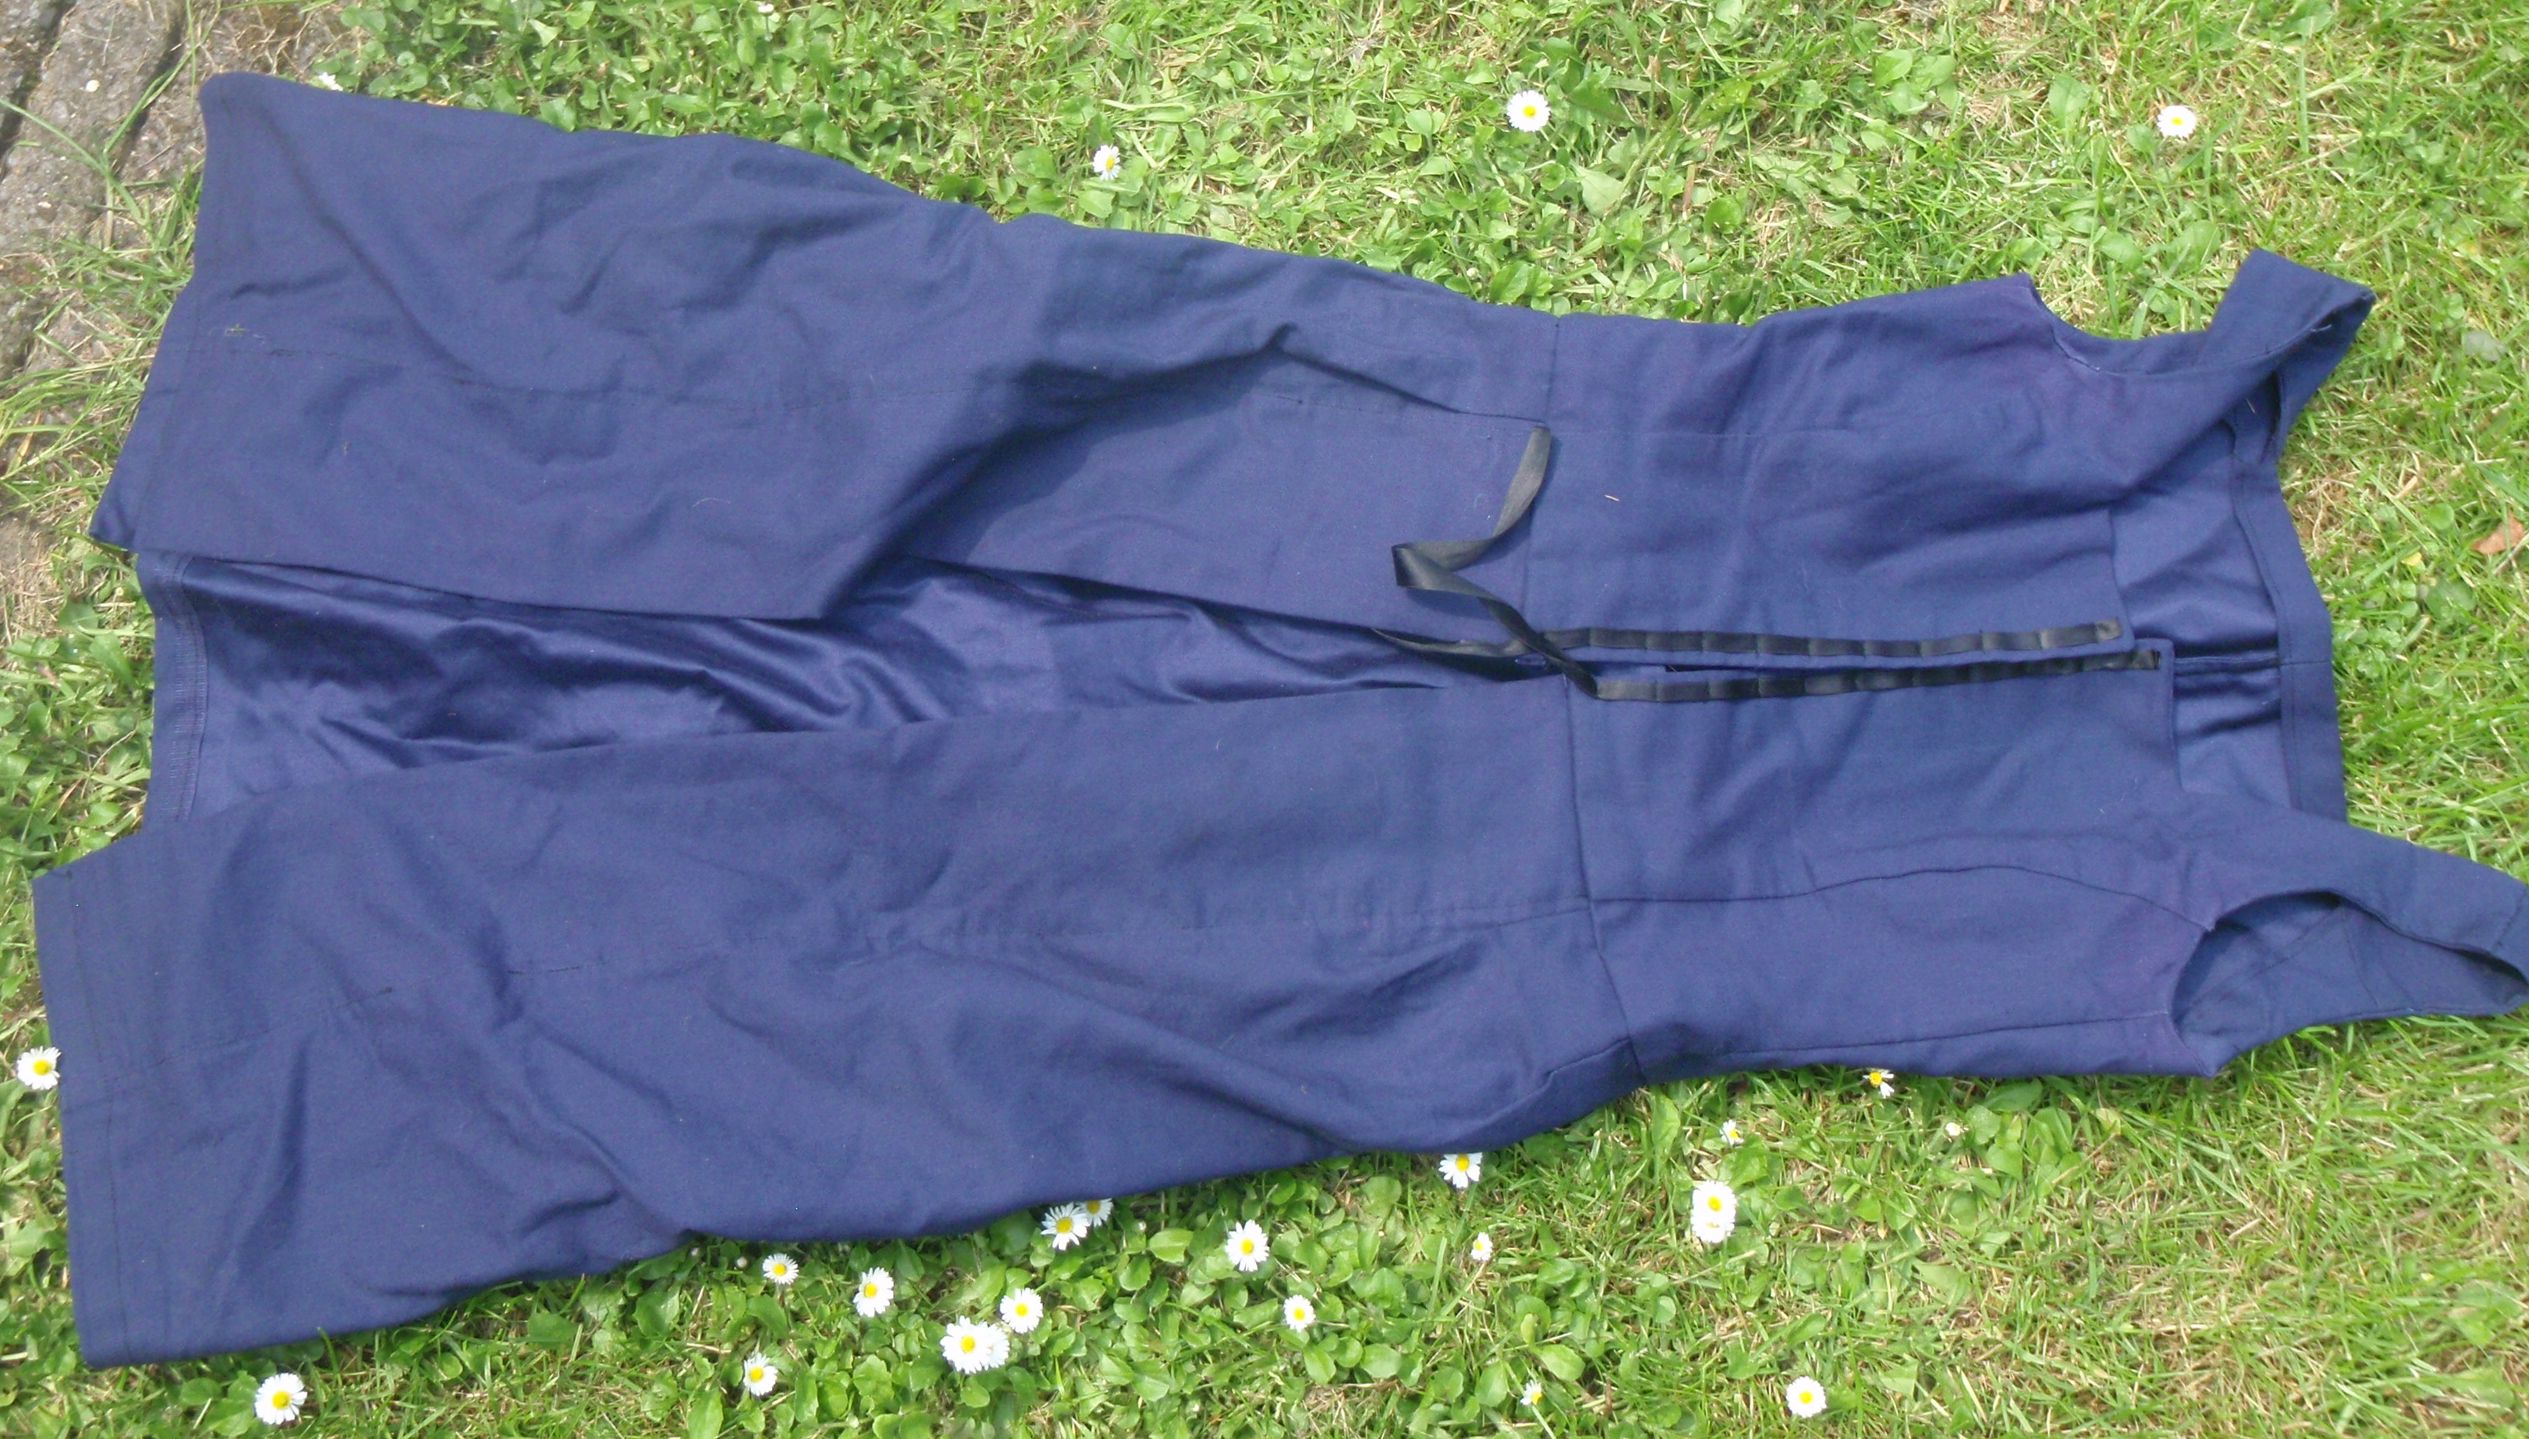
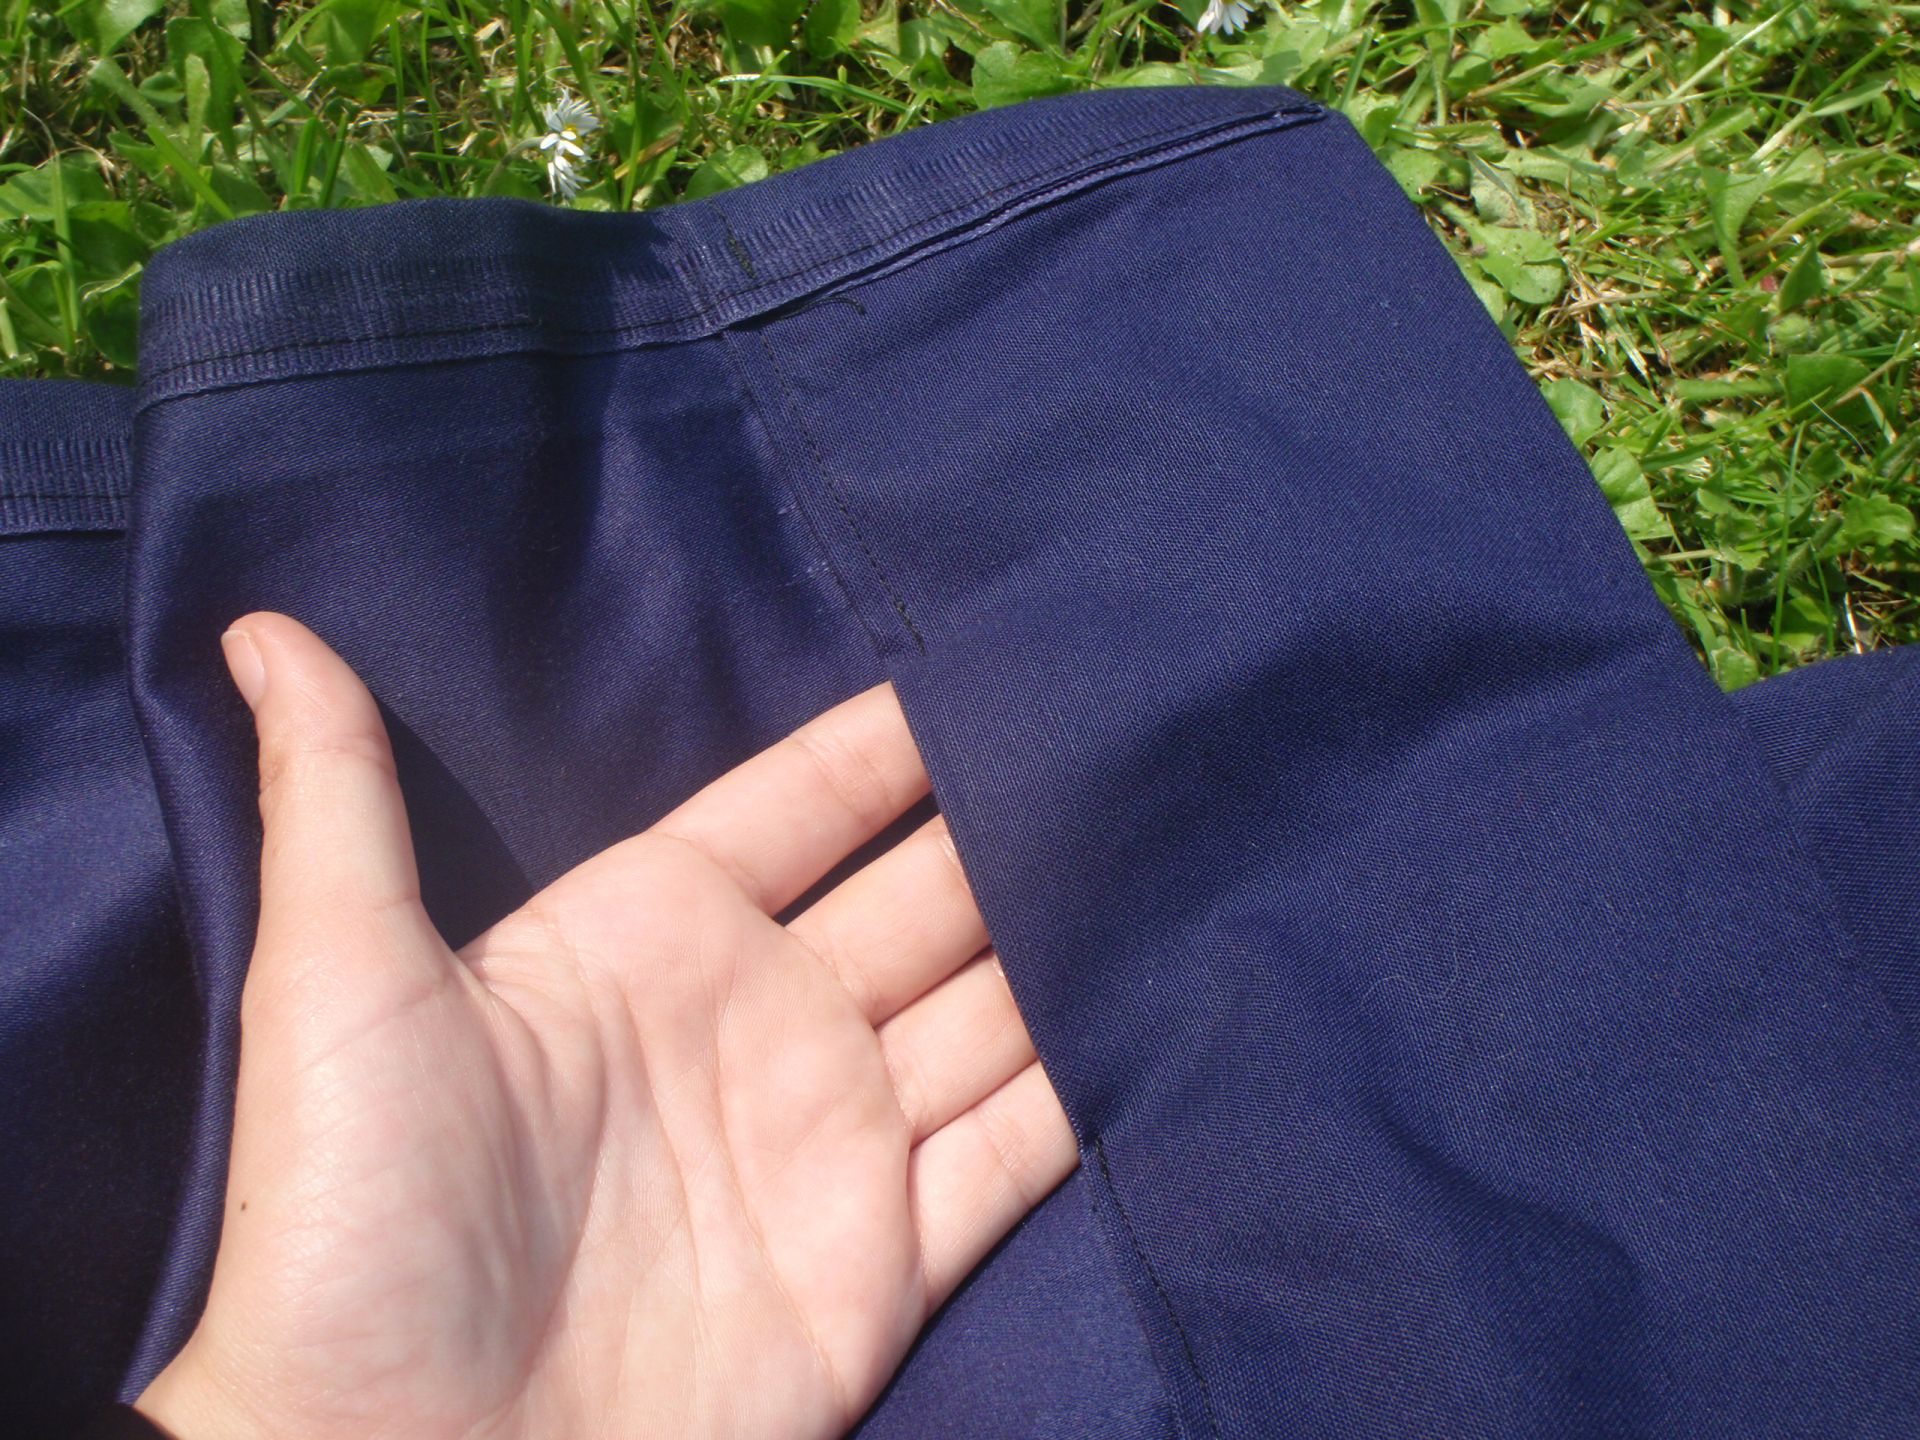


From left to right: the complete overdress; the pocket in the lower left hem, the inside (completely finished) and the closure through which a string or ribbon gets laced. The bottom of the ribbon gets tied together to close the dress at the front before lacing commences. It helps in the process and looks nice in the final product.

Again all wrinkly and stuff, but this will be remedied with a bit of laundry and an iron.

Tomorrow the final part of this series: the complete costume!
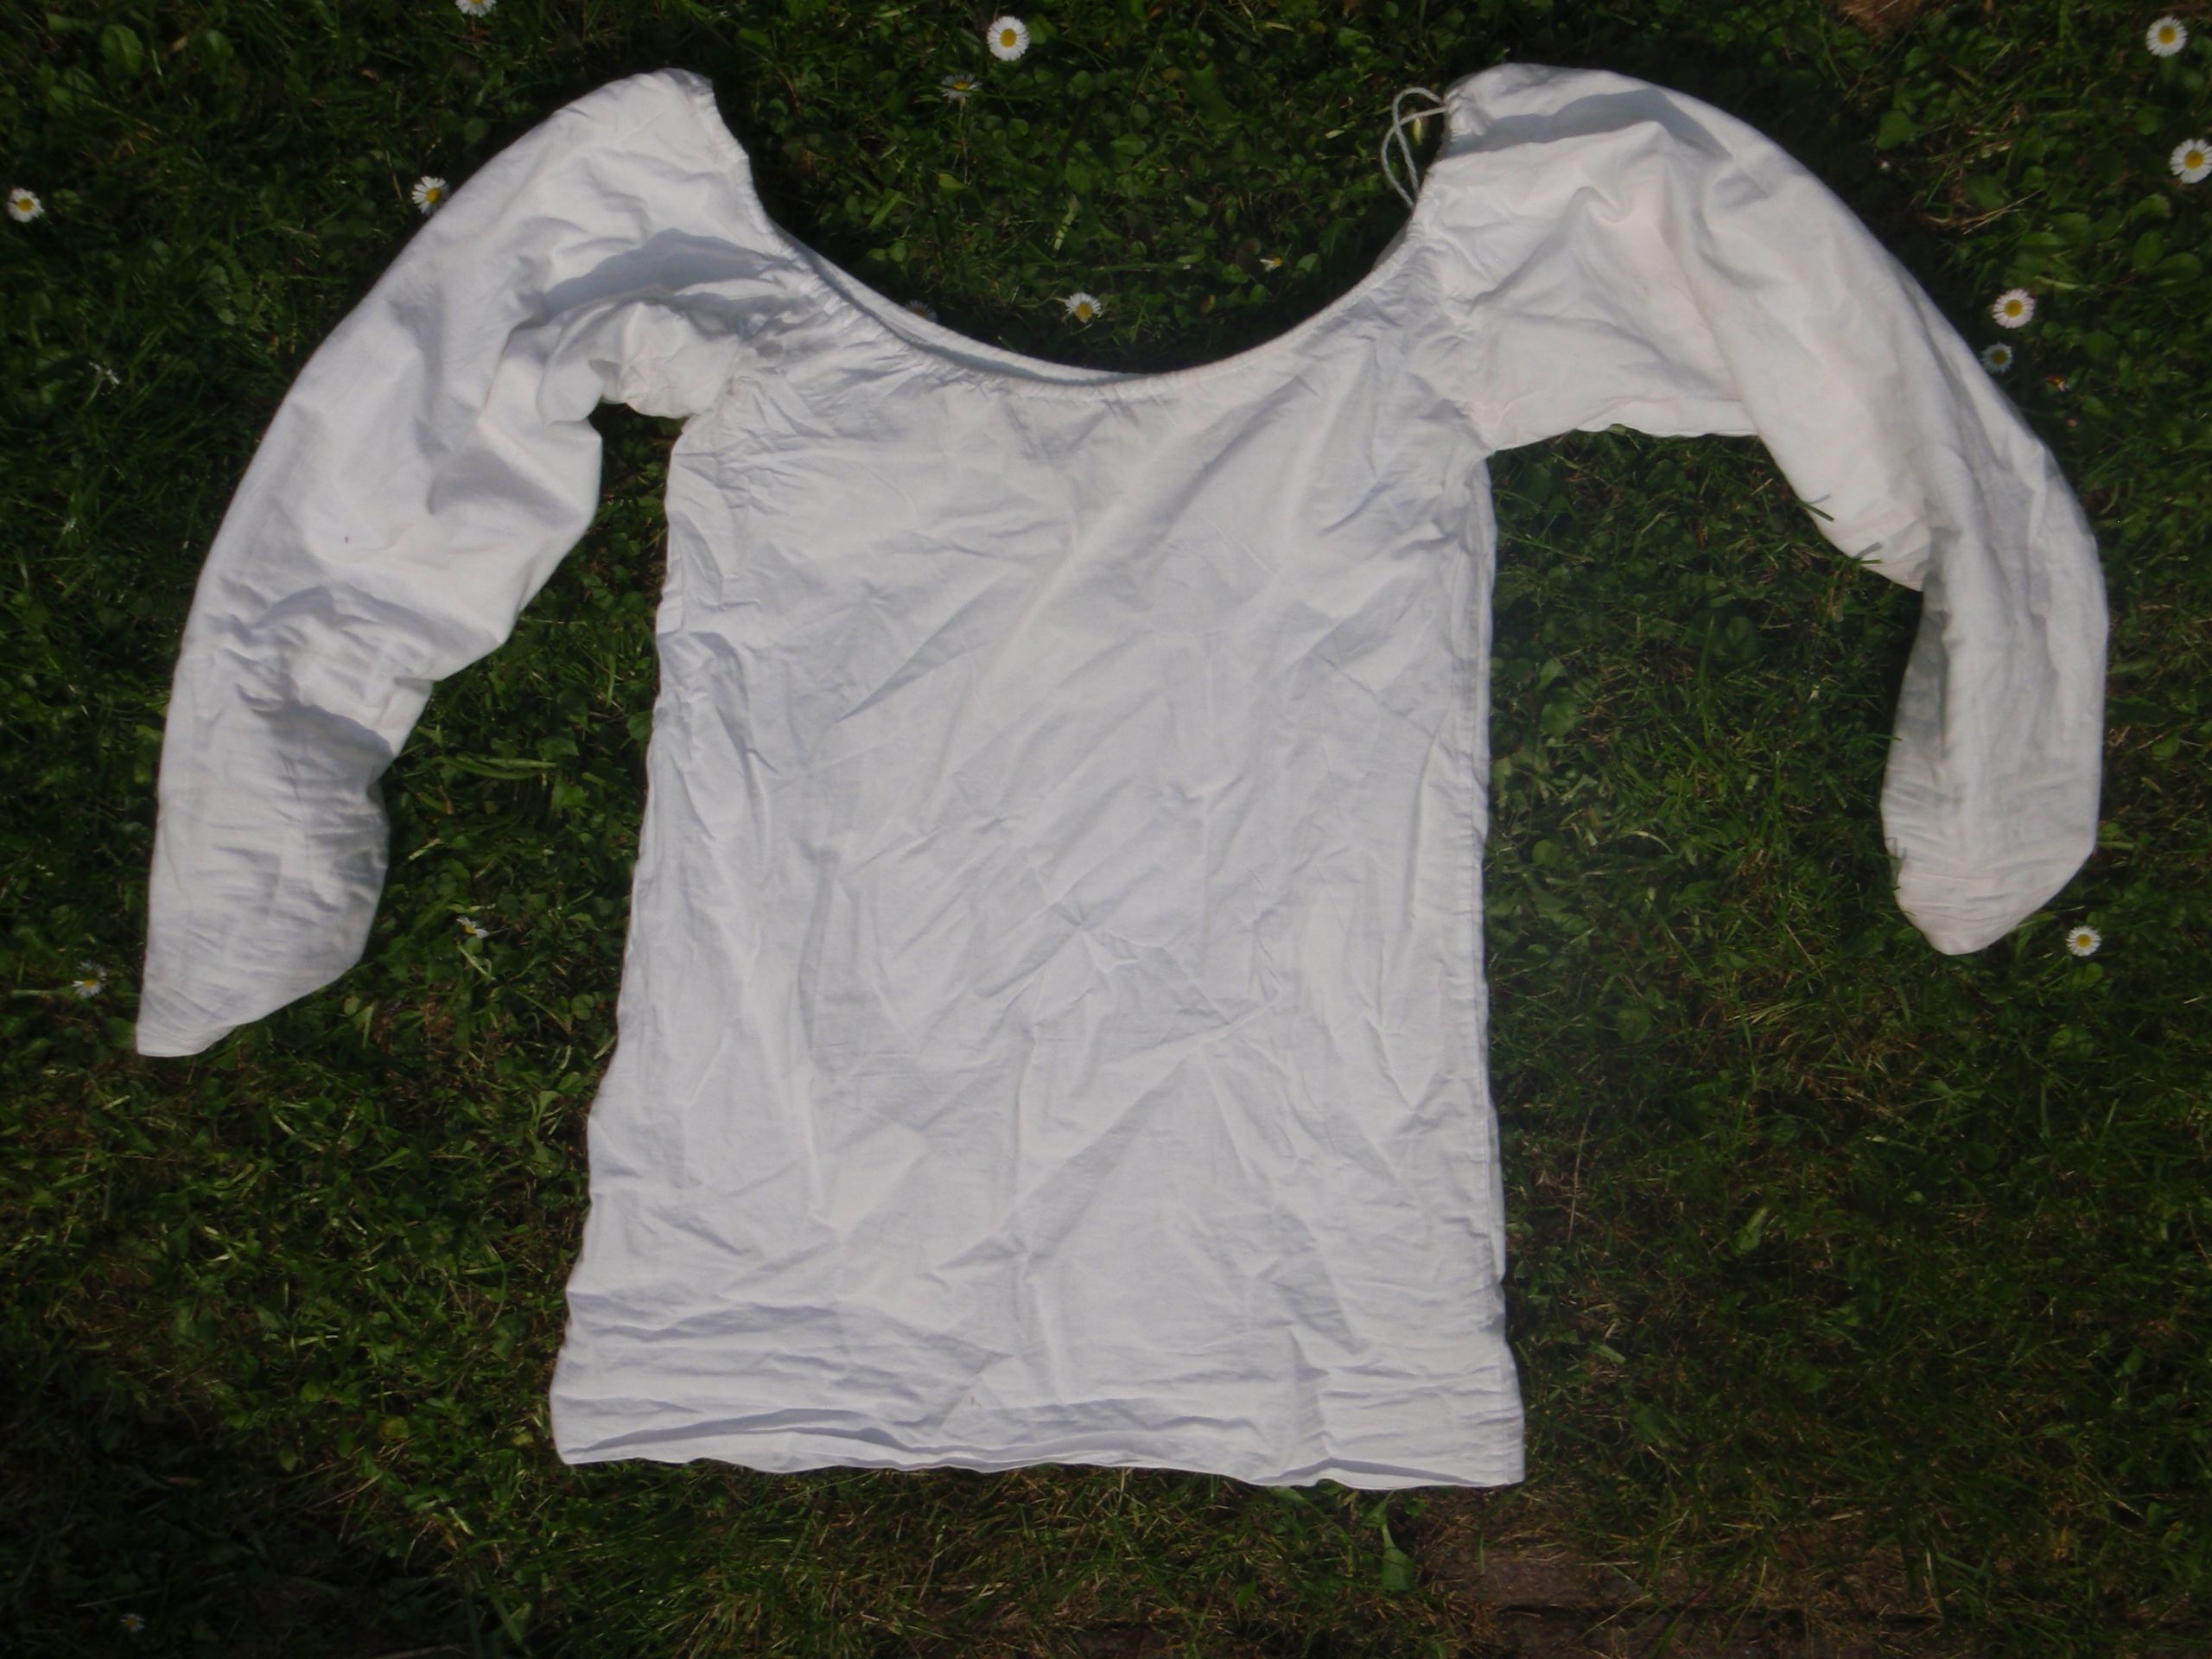
Larp Shirt

It’s possible that you’ve seen the shirt before, I wore it during Carnaval last year. However, I made some small modifications. I added another layer to the sleeves, because I was afraid I would be cold. I think it helped so that was nice. I also chose to loosen the string that ran along the top of the neck opening, so I could wear it below the shoulders.

It’s based on a free pattern from Burda style (here), which  I adapted to have long sleeves (basically just drew the line of the sleeve a lot longer, until it hit my wrist). I normally have a hard time wearing off the shoulder items, because I feel the need for hiking them up. However, the straps on the skirt made it feel as if there was something on my shoulder, so it didn’t bother me at all.

Of course a picture:

It’s quite hard to see the double layer, but if you click the picture, squint and focus on the attachment of the right sleeve to the bodice, you’ll see the bodice is lighter in colour. I know it’s all wrinkly too, that’s because I wore it for an extended period of time, and it hasn’t been in the wash yet. It will be, sometime soon, and then I’ll iron it, and it will (hopefully) look all nice again, this is just an indication of how it looks.

Tomorrow, part three: the over dress.

Larp Skirt

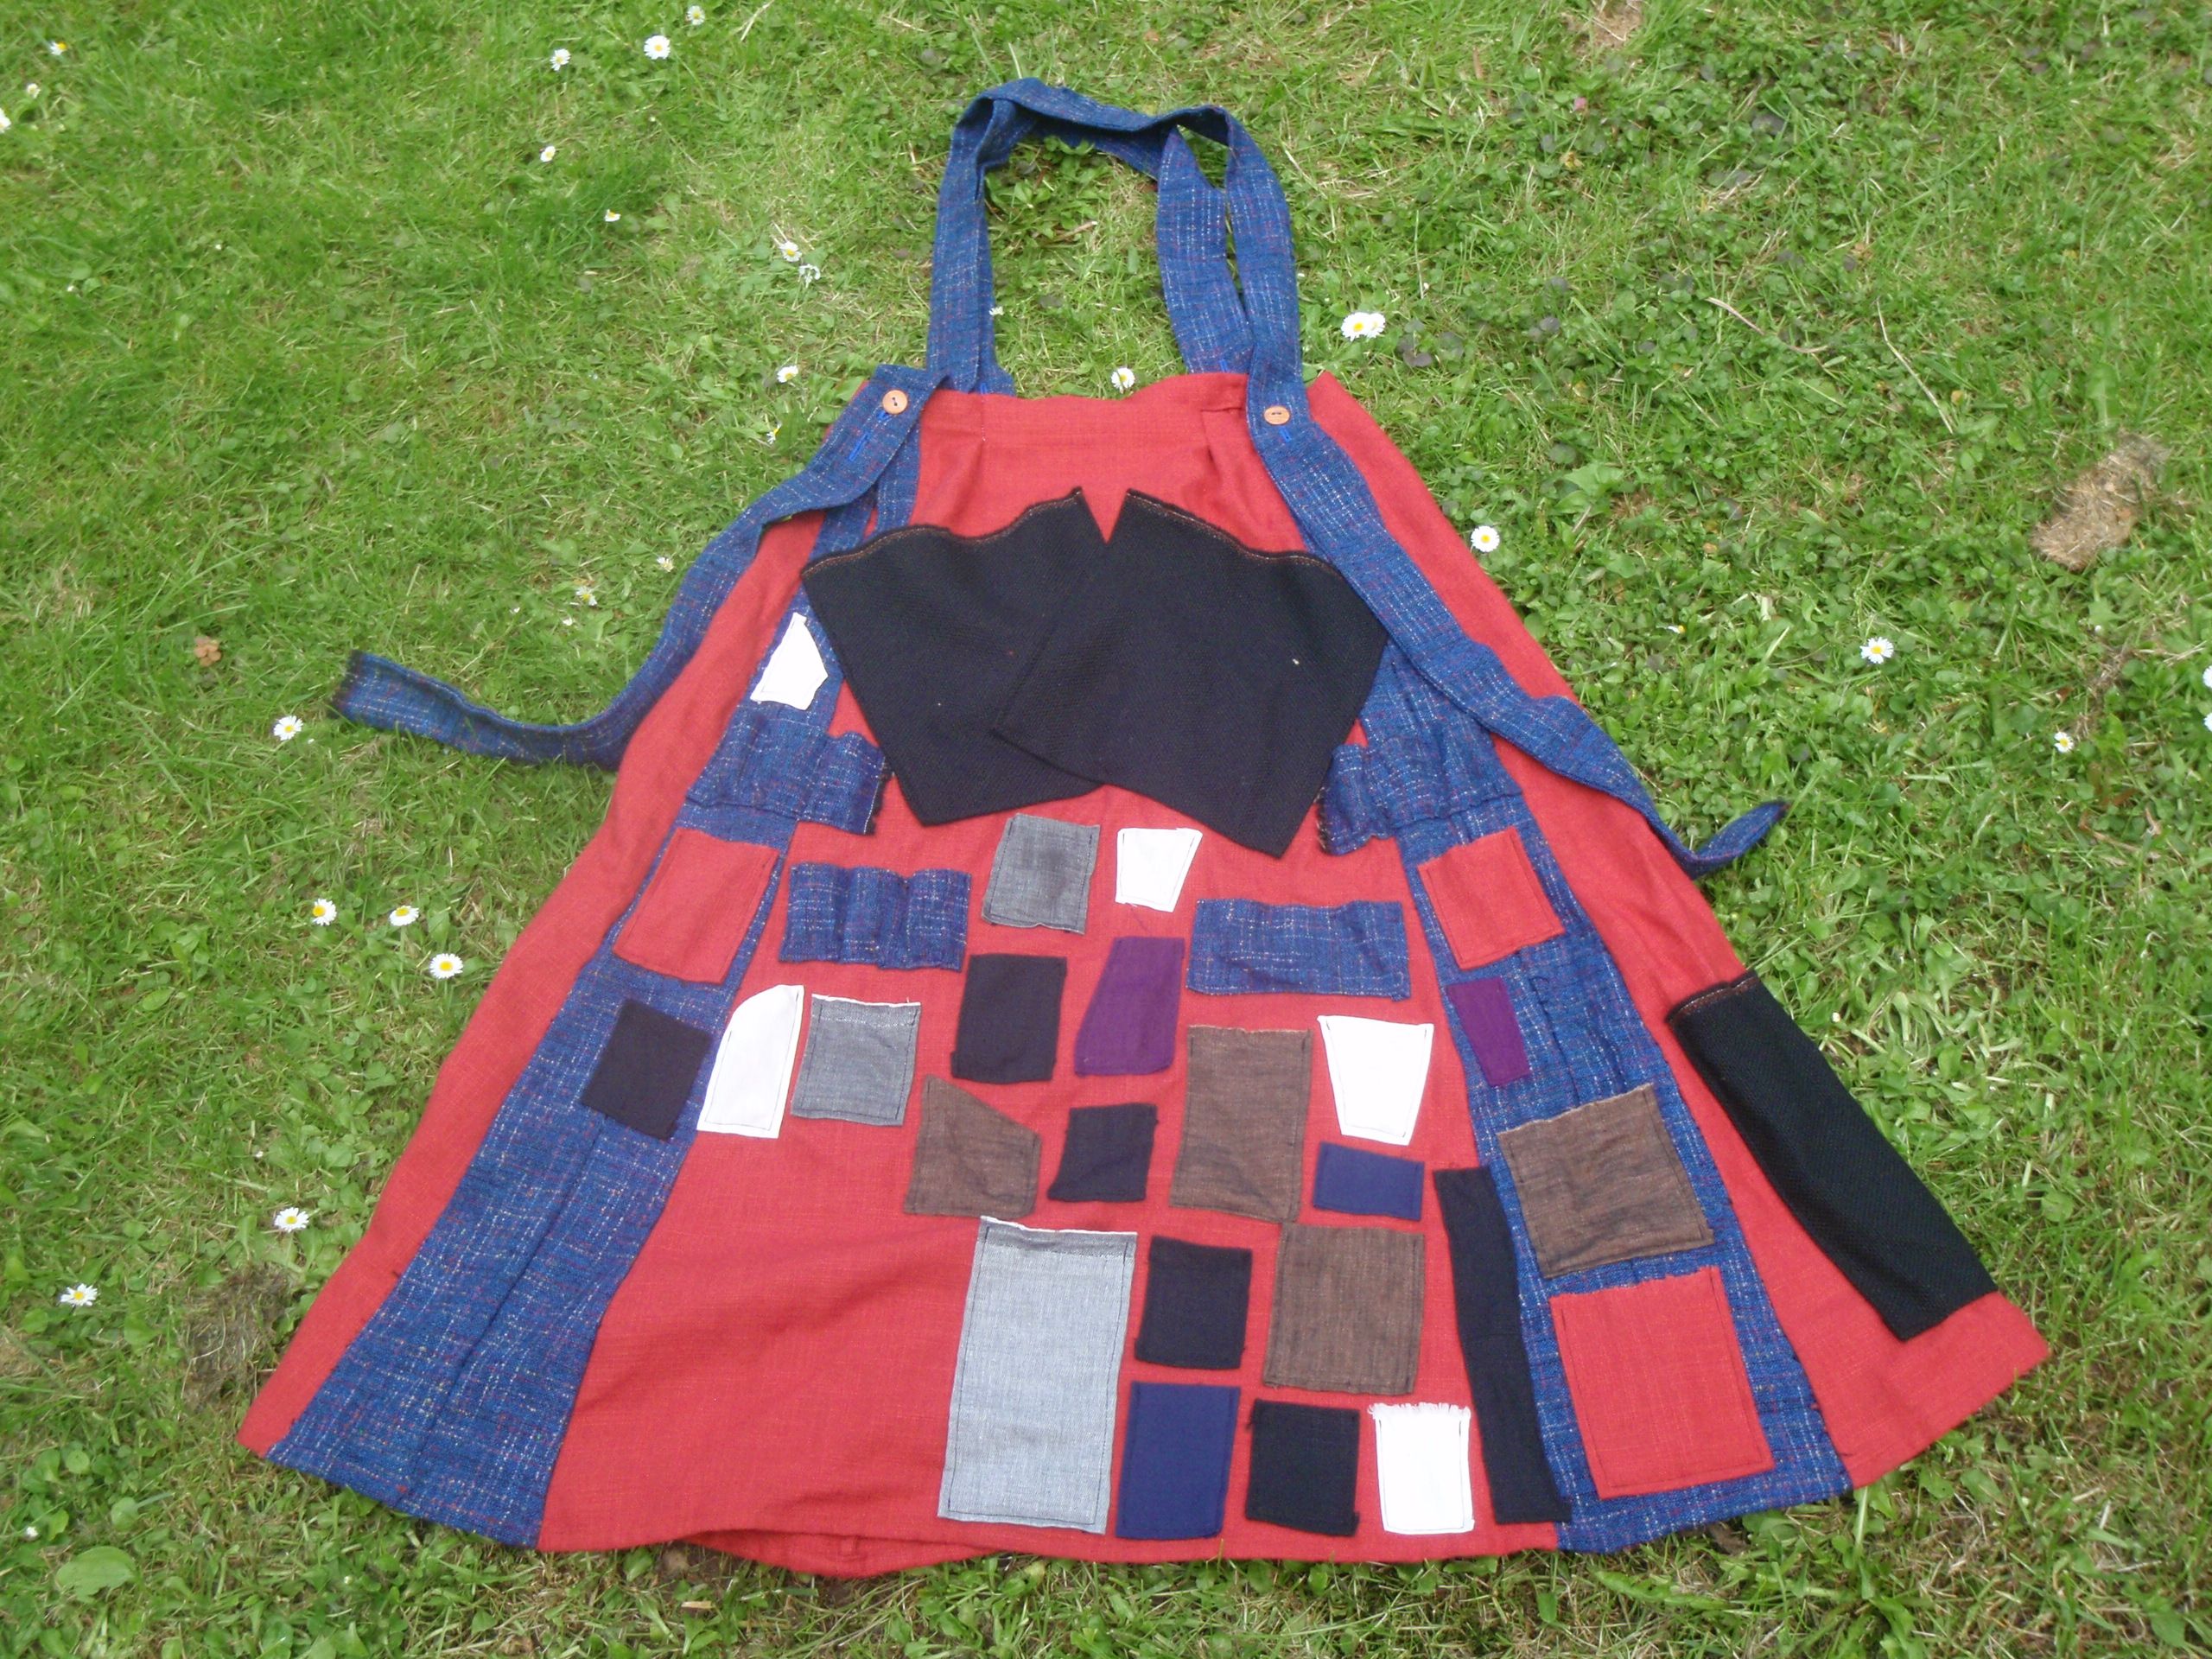
For my bottom half I made a skirt, red with two blue stripes down the front. I also added a gazillion pockets to it. I was playing a character that liked to collect things, preferably shiny things (buttons, coins, helmets..), and had to keep them close.

Eventually I had the skirt finished a couple of hours before I had to leave for the actual event. With all the stuff in the pockets, it would be quite heavy so I added straps to the top to keep it in place, which worked quite well, although they did lengthen a bit over time and I had to open the buttonholes higher up on the straps. There was no pattern for the skirt, just a couple of trapezoid pieces stuck together, I added in the blue because I felt I did not have enough room to move. The blue certainly did help, and I like the pop of additional colour.

Anyway, here is the final result:


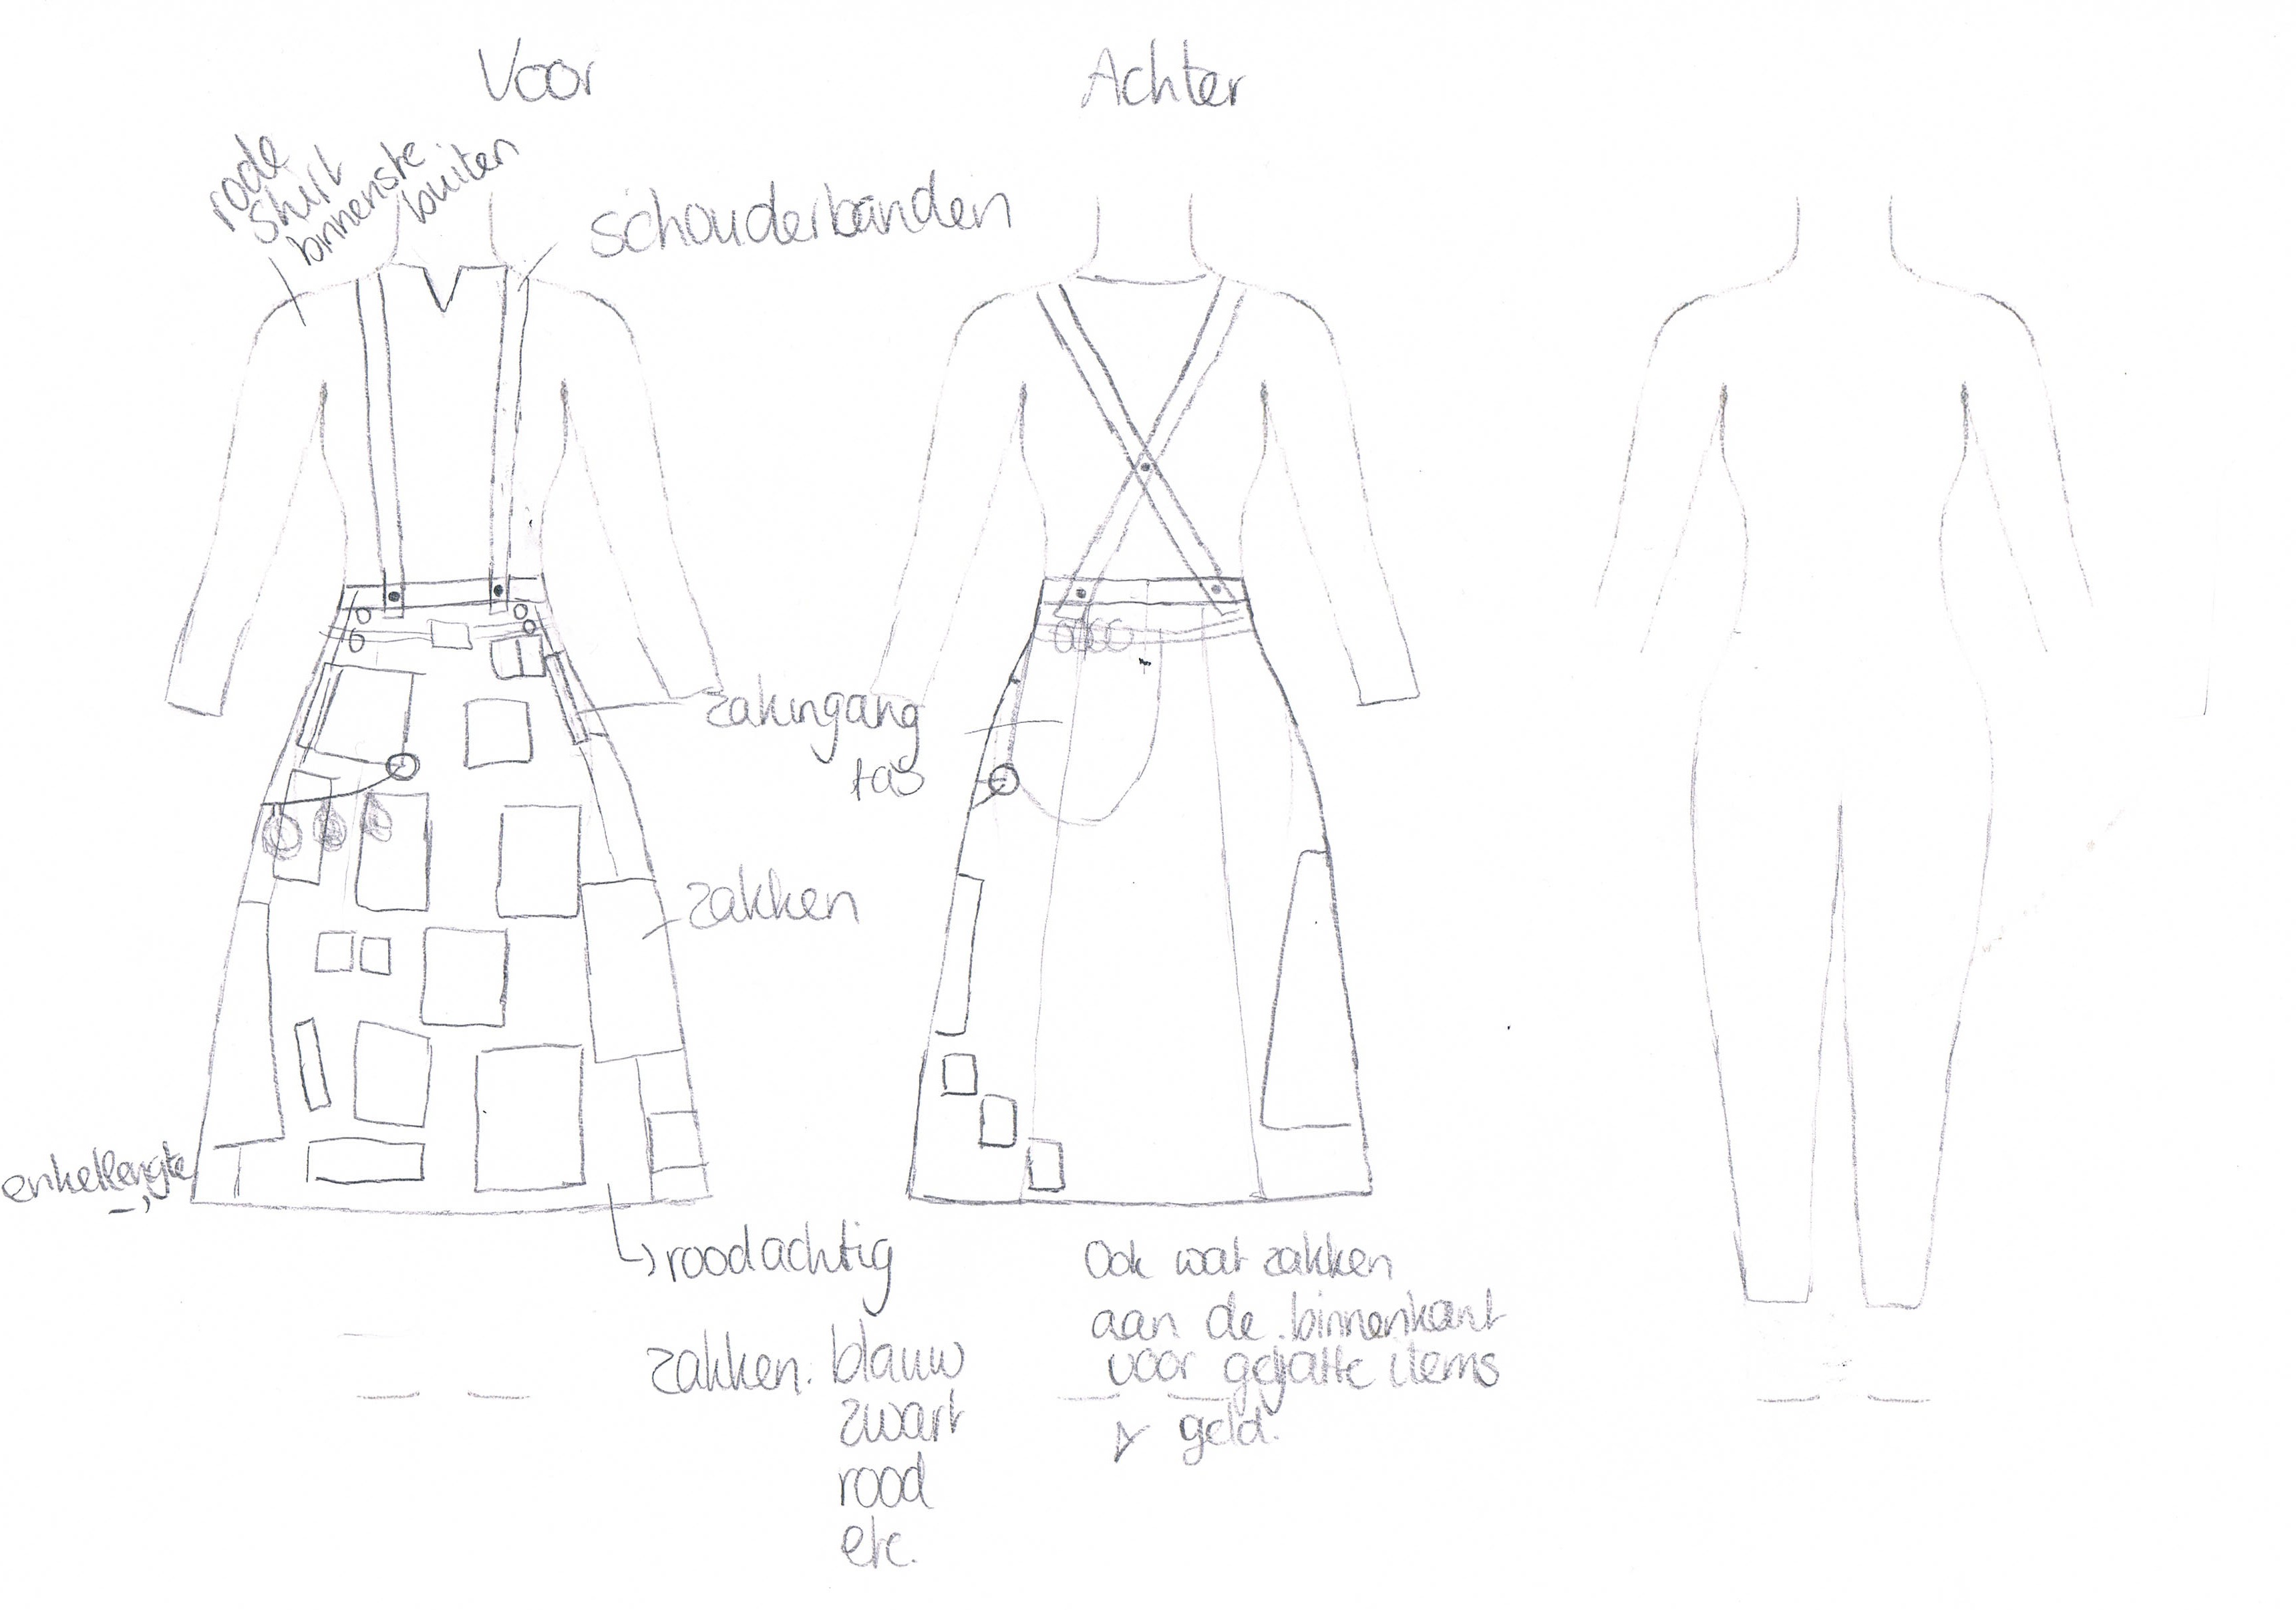
Left the real finished product and right the original idea. They do look somewhat similar right?

I just counted the pockets and there are 40 individual pockets to put things in, although there are only 31 pieces of fabric attached. Some bits were divided up into three to hold small vials of herbs and beads.

The left bottom side (right when I’m wearing it) is still empty, that is because I figured that if I would be really bored I could whip out the needles that were in the white pocket that was the most left one still on the red fabric. From the grey pocket in the middle at the bottom of the skirt I could take the thread and from the big black pocket on the back (you can see a bit to the far right) I’d take a piece of fabric and attach it. It turned out that there was no need for stitching more pockets on, but the bits of fabric did help as towels to clean our bloody hands, after an earth quake.

So the skirt, its pockets and their contents proved useful. Tomorrow we will visit the top under layer: the shirt.


Pouch

I made a pouch for the Larp thing I’m going too. I now have two pouches and am still working on the complete outfit. I have the base of the skirt done, I have a shirt to wear with it. Now just the pockets and the over’coat’.

However, this is the pouch:

Pouch Pouch

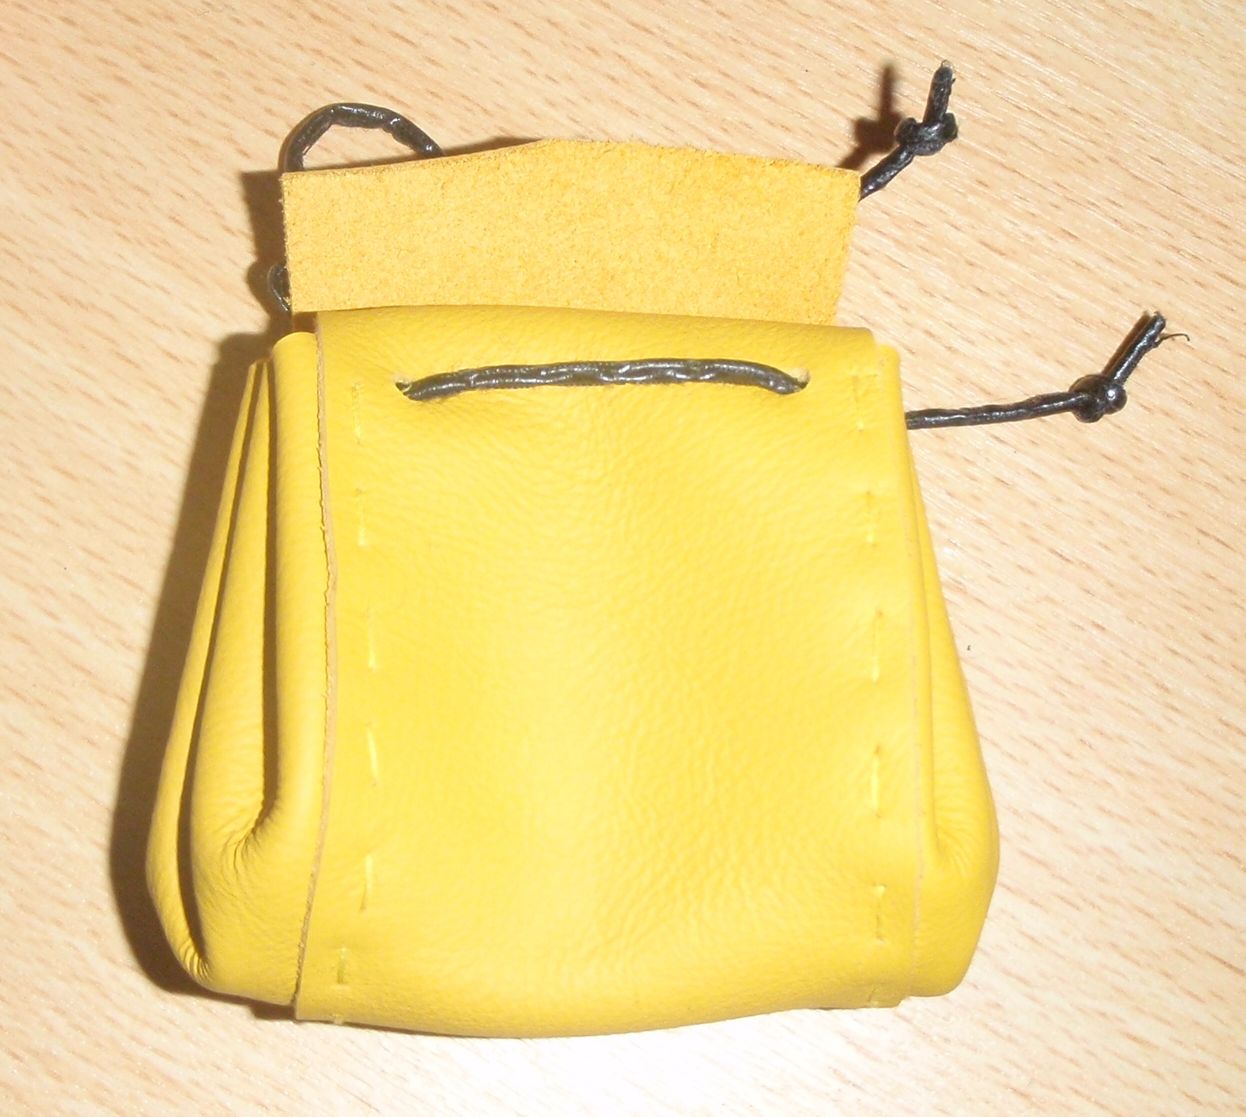
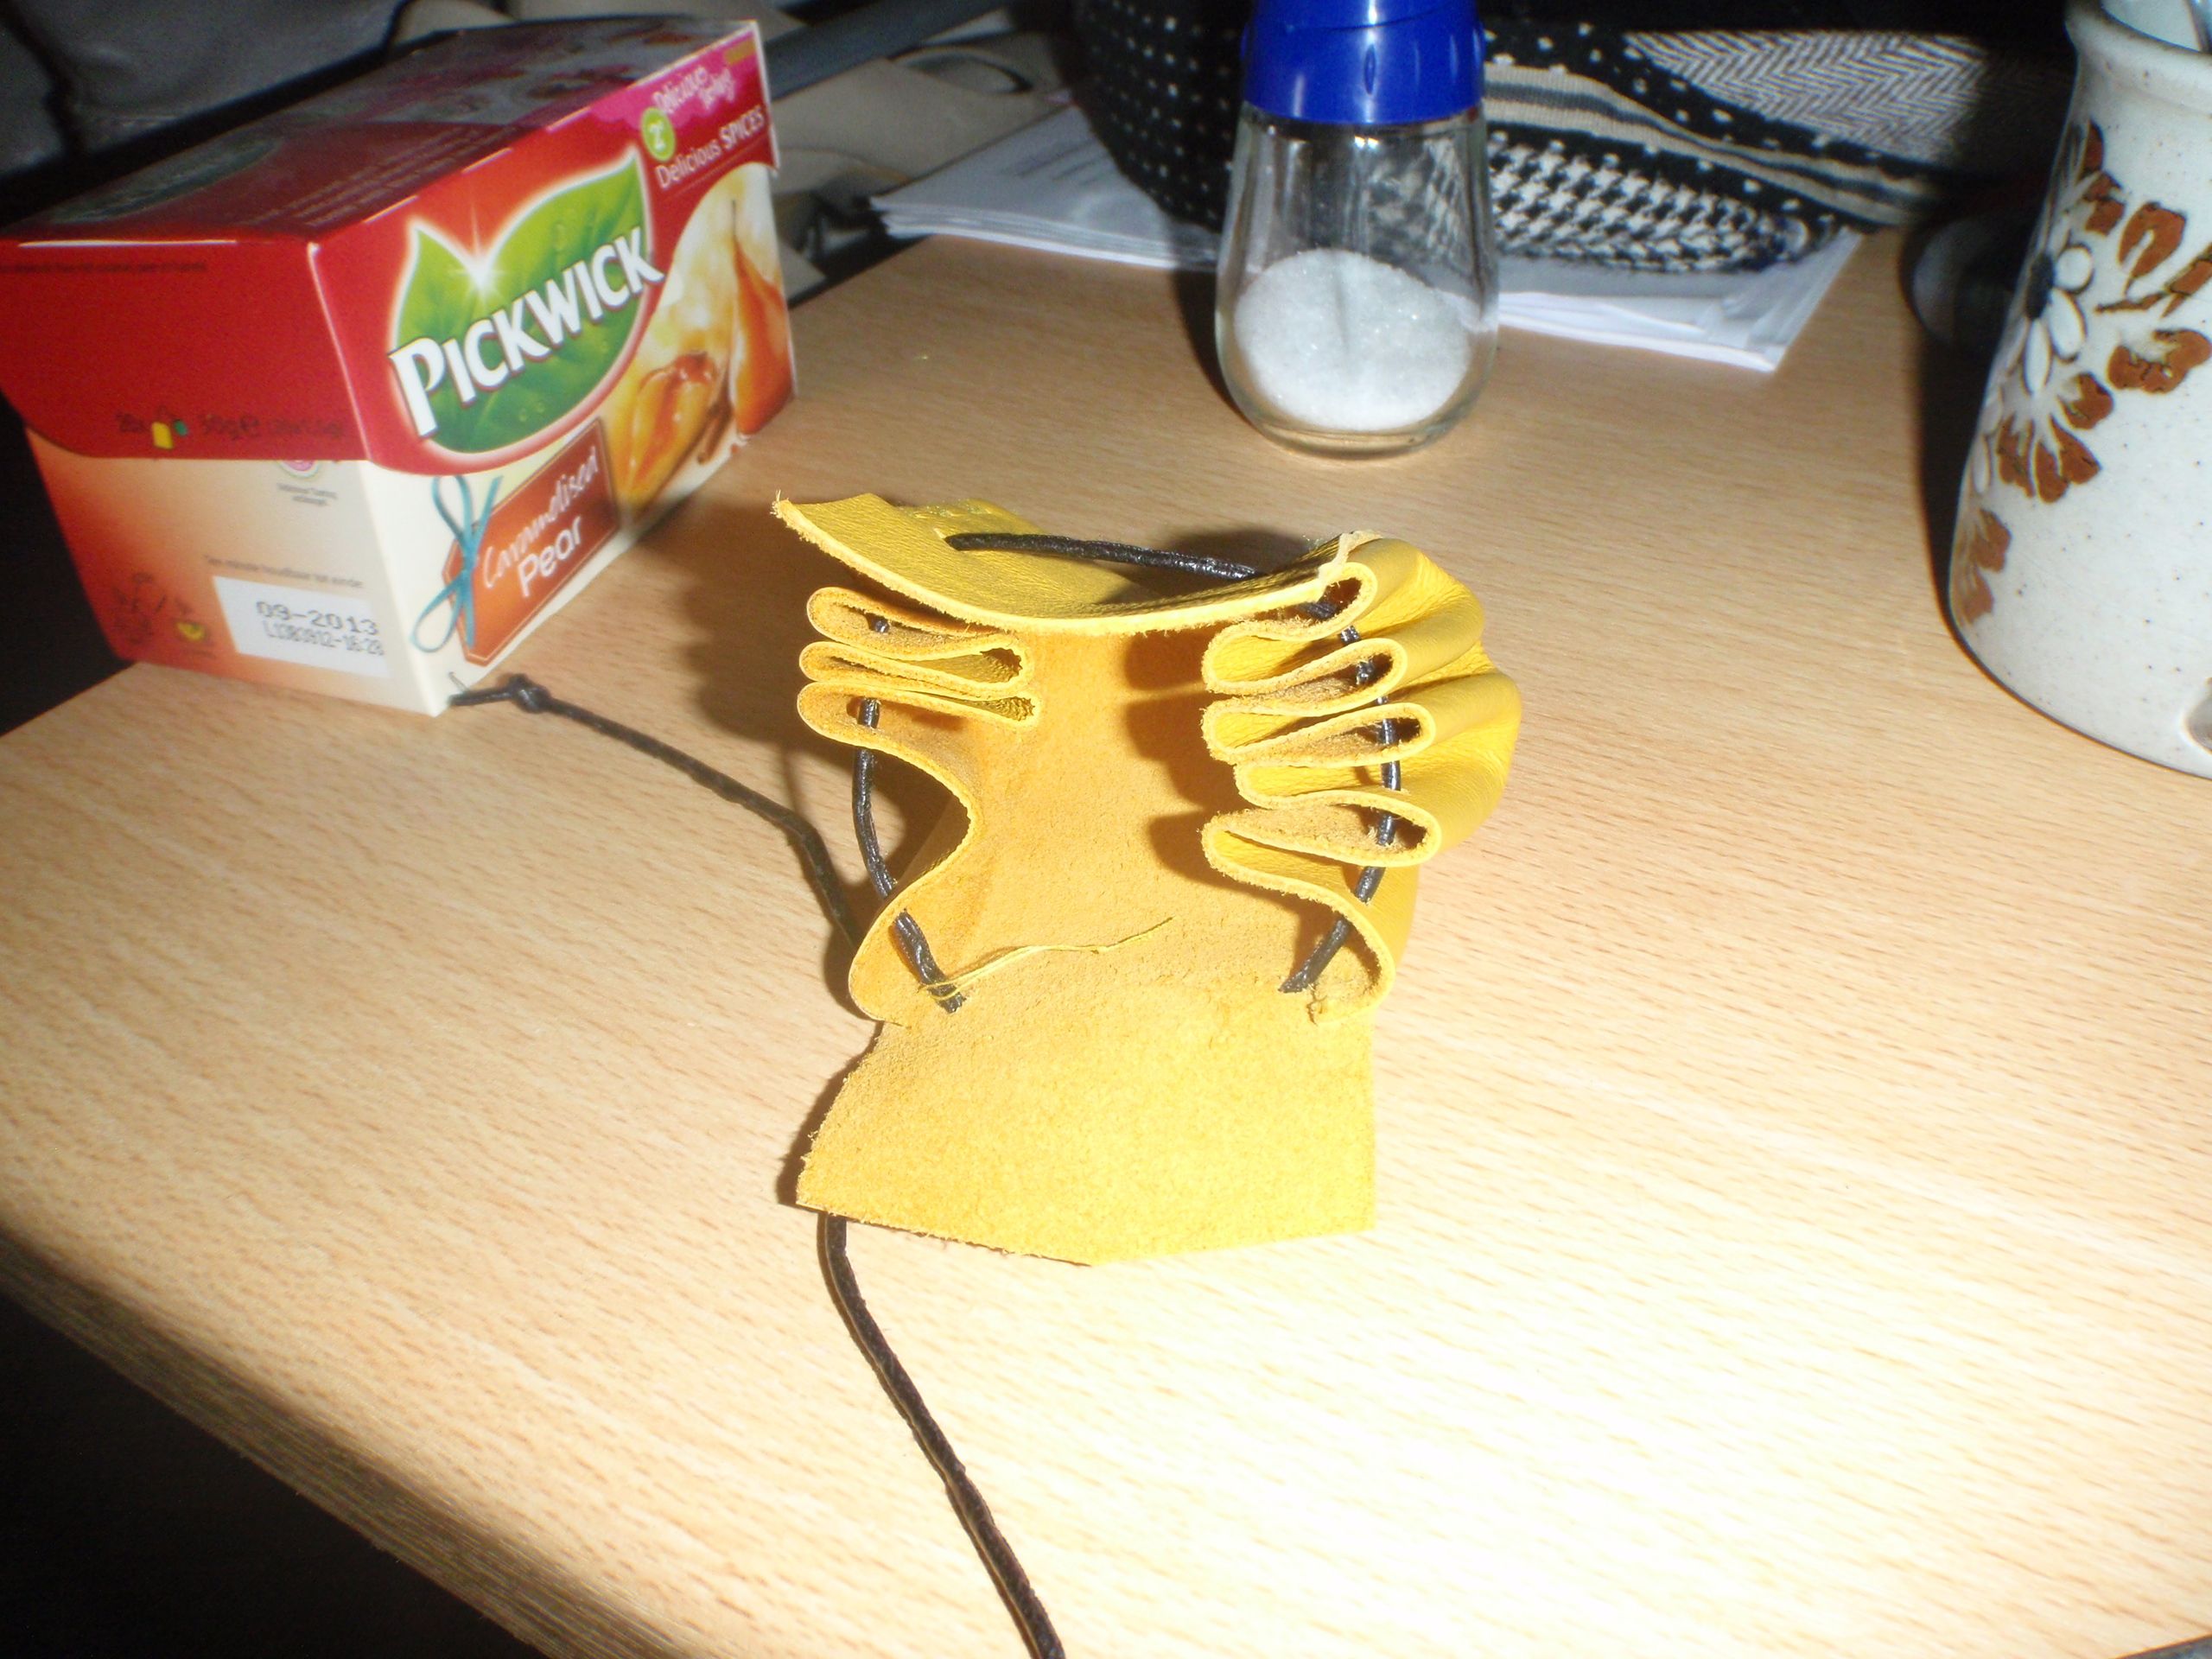
Closed and open. I hope it will be useful. It was a nice and simple project involving some leather, a pencil, a hole maker, needle + thread and a push pin (for making the thread holes). Real easy and real satisfying.


FINISHED!!!

Yaaaay!!! It’s finally done.
I have succeeded in knitting a cardigan! *dances around all happy *

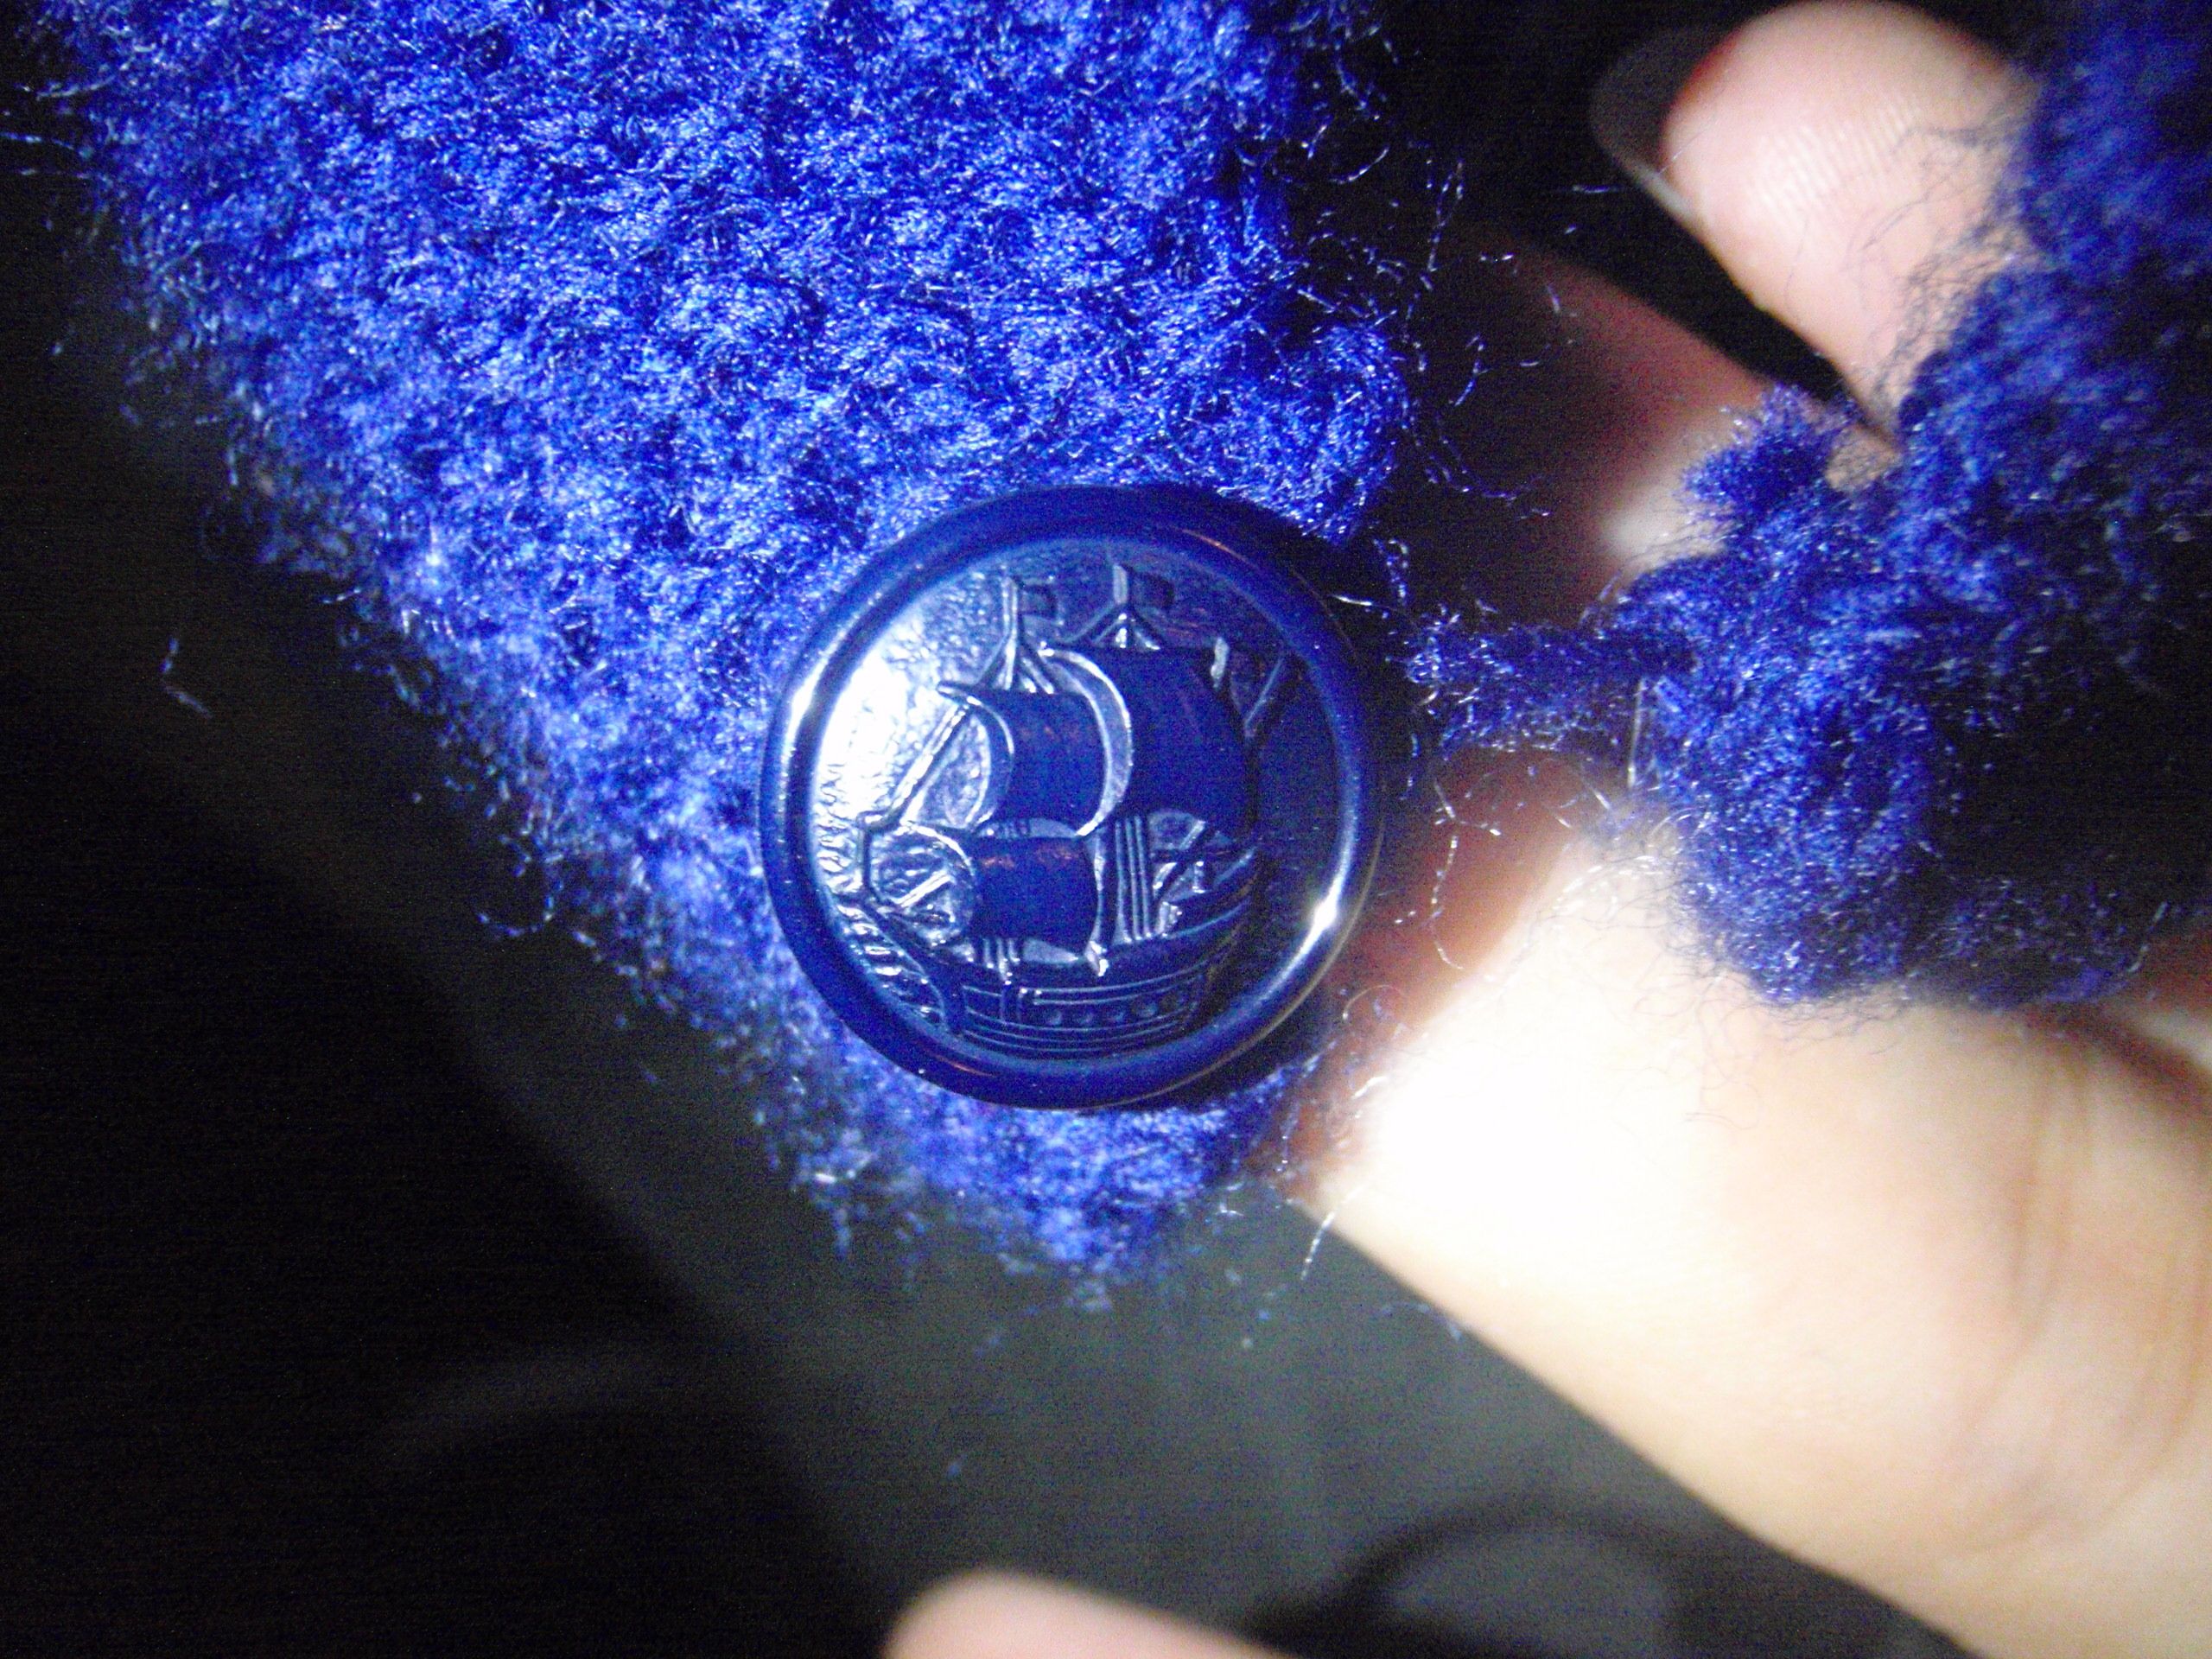
You might not recall when I started this whole project. Neither did I, but I looked it up on the blog and the first mention was here. That’s September people. It’s now May, it basically took me 8 months to finish something that other people can do in days. I know this because my mum knit herself a sweater in the time it took from my due date to my birth (approximately 18 days), 22 years ago. I was in a kind of thrift shop today where I found really nice buttons with sailing ships on them. My mum doesn’t like them very much, but I’ve really fallen for them.

Here’s the button:

Button

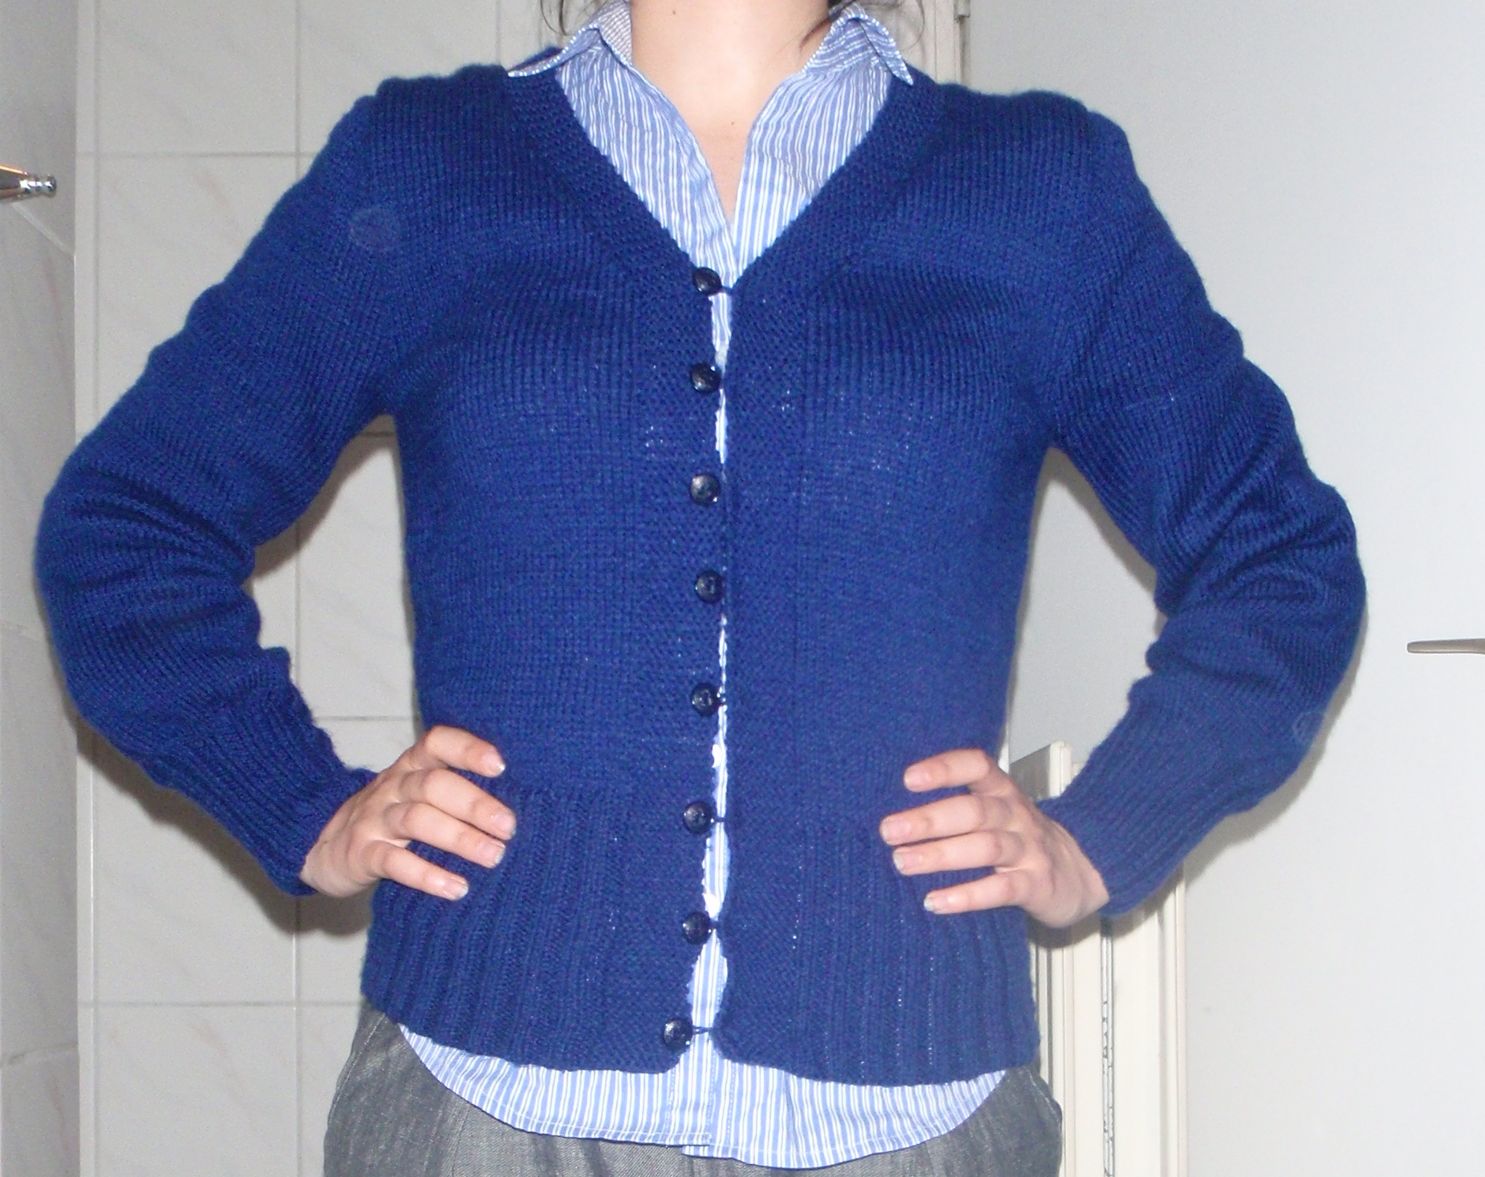
It’s a lot darker in real life as you’ll see from the next picture.. The finished cardigan!

Cardigan

Yes this picture was taken in the bathroom. It was eleven at night when I took it and that’s the only room with actual bright light.

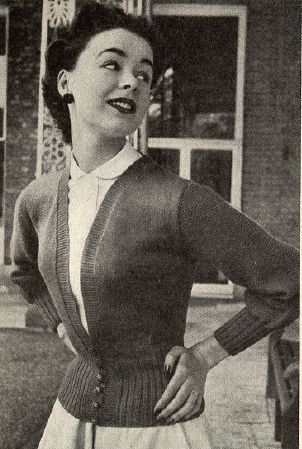
You might notice that it does not very much resemble the actual pattern it was based on, which is this one:

Pattern

This is because there was much too much space under the arms and it wasn’t even close to fitted. Furthermore, I felt uncomfortable with it being open so low (and it looked weird) and the arms are a lot longer than on the picture. The pictured length makes my skin crawl as it is both too short and too long for what I like. Thus with my changes I have now one finished cardigan!
(I’m so proud of myself for sticking with it even after all this time, go me!)

I don’t think I’m going to start another humongous knitting project soon, but this sure was a learning experience and at least I got a nice blue cardigan as bonus.


Queensday

The next village over always celebrates Queensday by also putting down a big tent and having a party in the days before (or after) Queensday. Yesterday me and my mother visited the bingo night, we actually both won something, not enough to cover the costs but it was still fun. Tonight there is a party with music and everything in Tiroler style. So my parents needed outfits. This morning we shopped around the closets to find something which we could see as the Tiroler style stuff we saw on the pictures we googled. I found a dirndl type skirt, my mom a shirt with a tie at the top and I fashioned her an apron from a bit of white fabric.

We made my dad substitute lederhosen by attaching ties to a pair of shorts we found in his cupboard. The amazing thing was that I had pretty much the exact same colour fabric in my stash as his pants were. So that’s what I did today, made silly costumes for my parents.

Result:

Knitting, even further continued..

I’ve finished my first sleeve! And started on the second, I’ve even got proof!

Front Second sleeve

Cool, right. Well it’s cool on my left side, since there is no sleeve there yet. However, I started the second one already, so maybe I’ll really be able to wear this thing this year.

I know the ‘closure’ of this thing is a bit strange.. I just poked a knitting needle through the front so it could close. I also have not finalised the setting of the sleeve yet, I’m not completely happy with how it fits right now, but I’m sure I’ll manage something in the end. I think it’ll also be easier to do in the end.

I’m now at line 19 of the stockinette, there’s 100 to go in the body of the sleeve. Then a lot of lines to get the round shoulder bit, 52 to be exact. Putting it all together, attaching buttons and button loops and it should be finished and I have a new cardigan!

The skirt was another one of the projects, I do actually wear it sometimes. I quite like it with the two zippers, that you won’t be able to see in the picture, but are there.

Sleeves

I’m still busy knitting my way through two sleeves. I haven’t actually started the second one still working on the first. The pattern calls for knitting until the sleeve measures 14 inches and then start casting off stitches to form the sleeve head. However, this would make the sleeves 3/4 length at best. I hate (with a passion) 3/4 sleeves. I always push them up because they are too long to be normal t-shirt sleeves, and too short to pull them down, and then I have cold arms. So I’ve decided to knit for a bit longer, so they just touch my wrists. I hope it will work, and I don’t ruin the thing. There is now so much time in this cardigan that that would be a real shame.

Here is the sleeve.

Sleeve


Knitting (cont.)

More knitting has been going on. I’m really starting to see progress! I now have the two fronts and the back finished. Although I’ve been laughed at for making such small ribbing sections I can now prove everyone wrong. IT DOES FIT AROUND ME!!!

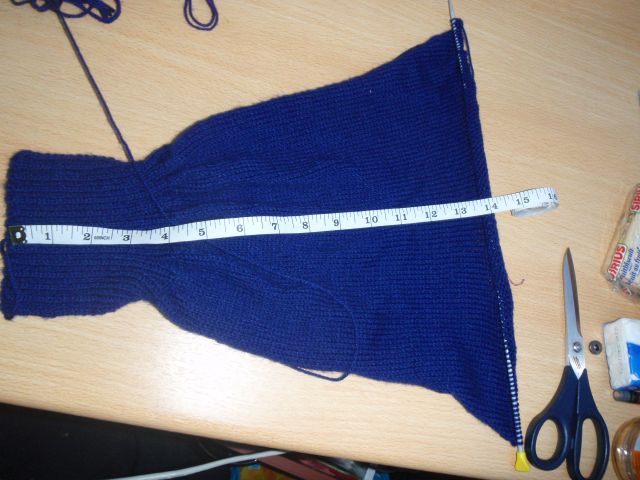
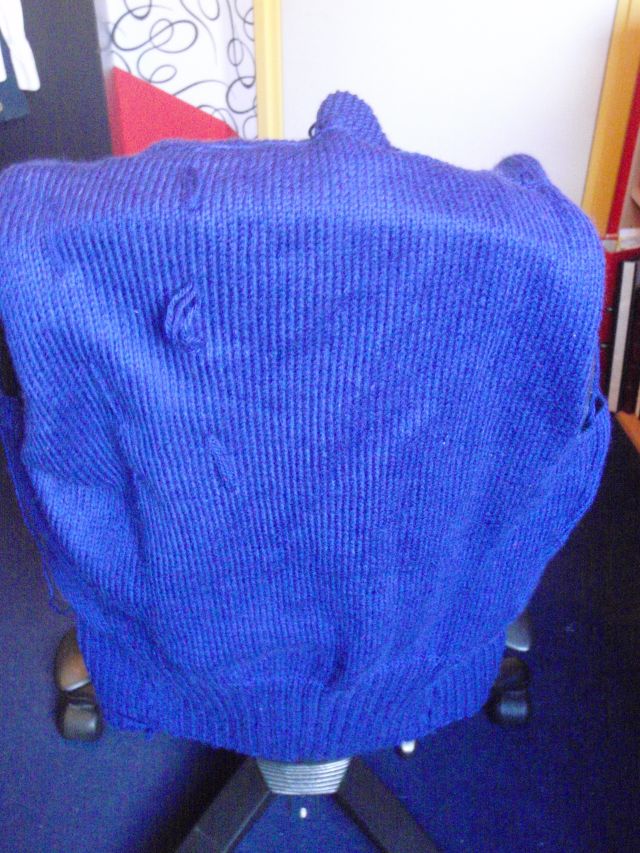
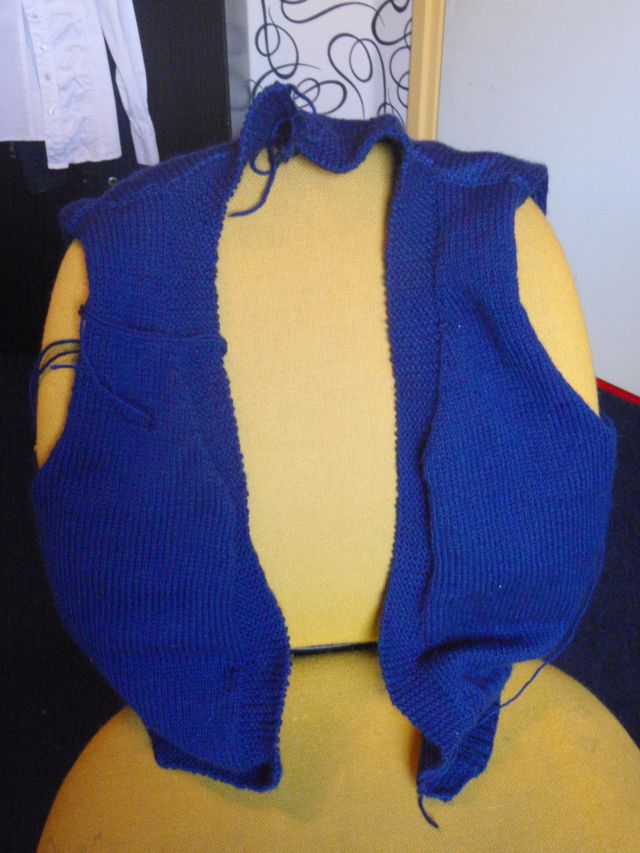
I know this because I put the body together, just to see if it would work, and it does. *does a little dance* Ok, it might at present look like a creepy blue sack with armholes that curl in on themselves, but I don’t care, I have knitted a body and I did it within 2 years, actually maybe even within 1 year! I’ve now started on one of the sleeves and have knitted about 3.5 inches of ribbing (this pattern measures things in inches. I’m so used to cm that I have difficulty guesstimating how far along I am in inches. So I’m very happy to have some trusty cm on one side/ inch on the other side – tape measures, they sure help a lot), maybe this cardigan will be done before the end of the world in December.

Anyways, I took some pictures to show, disregard the hair pins keeping the thing closed on the last picture (quick solution), the threads hanging off on all sides (I’m afraid to cut them yet) and it really is a very nice dark blue, which does not really come out very well in these pictures.

Back Front Closed


Knitting

Remember I once told you about a sweater I was knitting? There has actually been some progress in the last weeks. I’ve been going to school by train, as usual, and normally I read a book. When we were on holiday in France, my brother had the Harry Potter books on his mp3-player read aloud by Stephen Fry (!!!). When I came back, I figured that would be a brilliant idea, so I found them and put them on mine too. However, when listening to a book, it is difficult to do something else… except knitting! It’s so repetitive and simple that I can listen and knit at the same time! So now I’ve not only finished the back of the cardigan, also the left front bit is finished and I’m partly through the ribbing on the bottom on the right bit. It going very slow, but relatively steady, and maybe I can wear my cardigan in 2012!

I have had people look at me funny whilst I was knitting in the train. One old man was staring at me and saying to another man: woah, you don’t see that often anymore. And generally people look a bit confused when I pull out my needles and start knitting. This might also be due to my very strange technique of holding the needles, but I’ll just ignore that for now. I still really like the dark blue colour.