Backpack (intermediate 1)

I’ve been working on my backpack since I previously mentioned it (here). I sadly did not finish it by the time I wanted to use it for a Larp special, which was the 15th of March. However, during that special something happened that made me rethink the pack a little, more on that later. The day of and on the way to the special I had been working furiously on the bag. I managed to get the straps on, although the fronts were not sewn to the backs yet. I added the flap in its two parts (front and back). I sort of sewed the lining in. It clearly was not finished yet.

During the special, I found out that they wanted me to become a priest (I did not want that, but they made me anyway). So I figured I’ll embroider a raven (the symbol of the god I was to be a priest of) on the flap. Luckily I had not yet closed the front and back of the flap, so I could easily embroider something on the back. I did a quick Google search, found a magnificent picture and decided that this was so much for personal use that I could use it. On the left you see the original, click it for the link to the source. On the right is my embroidery.

raven_eyes_by_sauceoftheboot-d4lgnq7OLYMPUS DIGITAL CAMERA

Sometime before starting this piece I read a blog post about filling in embroidery using long and short stitches (here), to be able to create directional embroidery. It’s not as clear but I know I’ve used it and I think it works a lot better than stitching willy nilly, which I used to do before.

So on with the rest of the bag. I’m getting there!! The new deadline is the 11th of April. I hope I’ll manage.

Backpack beginnings

As you might now, I wander around a larp field sometimes in a skirt with a lot of pockets (here). Since I also stuff those pockets, at the end of an event my hips are usually not very happy with me. The skirt is heavy and difficult to manoeuver in. So I figured I’d make myself a larp backpack, ages ago. I started well, creating a pinterest board with inspiration for a backpack. Some of the pins are shown below. (Click the picture for the link.)

Backpack

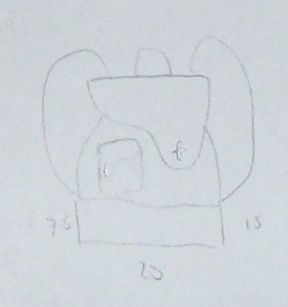
That’s were my plans ended. However, Friday, after I had a meeting with my orthodontist (I hate my teeth), my plans were put back in motion. This is because I went to the thrift store where I found some nice blueish/blackish fake leather and strong light linnenish fabric. I spent the night drawing my new backpack, which will be a combination between the top left pin, the top right pin and the bottom right pin. See the design below (with the ‘pattern’ sketched out to scale). It’s a bit vague, but the light here is crap and the drawing is little. It might not end up like the sketch though, we’ll see.

Backpack Plans

Now the reason  I wanted the backpack was to be able to not overfill the pockets on my skirt. However, I figured that if I would just dump everything into the backpack, I’d never find anything again. Since I do this in real life, I have experienced searching through backpacks, but it’s not very practical, to say the least. So the light fabric was to be the lining of the pack, with a multitude of pockets again. Strips of were added to make pockets with a fold, so that they could be opened up to hold vials and such without distorting the lining shape. Other pockets were flat. I will add some more to the side that’s only got the one line of vial holders.

Lining

Well that’s where I’ve ended now. I’m planning to have it finished by Saturday but the real deadline for it is somewhere in May, so I’d better make that. I am now seriously hoping that the fake leather stuff will cooperate, I’m afraid that that will be the most difficult part.

Larp Top

Hi there, it’s been a while. I have been doing things though. I made a top/bra that could theoretically be used for a larp when it isn’t raining and extremely cold. I made it from a semi-larp approved fabric and it’s fully lined. I did the buttonholes myself. It’s not very special, but I figured I’d show you what I’ve been up to. It was inspired by this, but I was too lazy to do the embroidery I wanted to do. I’m going to make it again some time, but then place the straps closer to the middle, so they (hopefully) don’t slide of as easily.

Front Back


So this is front and back, and below are the fully linedness and handmade eyelets. I enjoy doing eyelets, I find it a nice skill to have.

Fully lined Eyelets

This thing was made from the remnants of that fabric out of which I also managed to get the top for another vintage simplicity dress. I hope that I can finish that soon. It will be a bit nautical, with white on top and navy on bottom, with maybe some navy details on top too. But we’ll see how that goes.

Brown Dress – Now Finished!

Now the reason I finished the Brown Dress today, is that today is the last day of the Sew Weekly Reunion. While I hadn’t officially signed up, since I didn’t think I owned or any of those colours, I think this fits that weird brown colour ‘carafe’. (It’s close enough in my book anyway.)

So I present you my Sew Weekly Reunion piece: The Brown Dress (catchy name, right?)

The Facts
Fabric: Brown linen (? I don’t know my fabric types)
Notions: White and brown thread (does that count?)
Pantone Challenge colors: Carafe
Pattern: I cannot find the original pattern any more, but it was something like this: Medieval dress

With some alterations that I added, such as the neck treatment and the back eyelet panels.
Year: Old.
Time to complete: 5 years, in total maybe 30 hours? It is completely hand sewn.
First worn: For pictures, will be worn in the middle and end of September
Wear again? Yes!
Total Cost: I’m guessing maybe 4 Euro for fabric and thread? (I was really cheap back then, student budget)

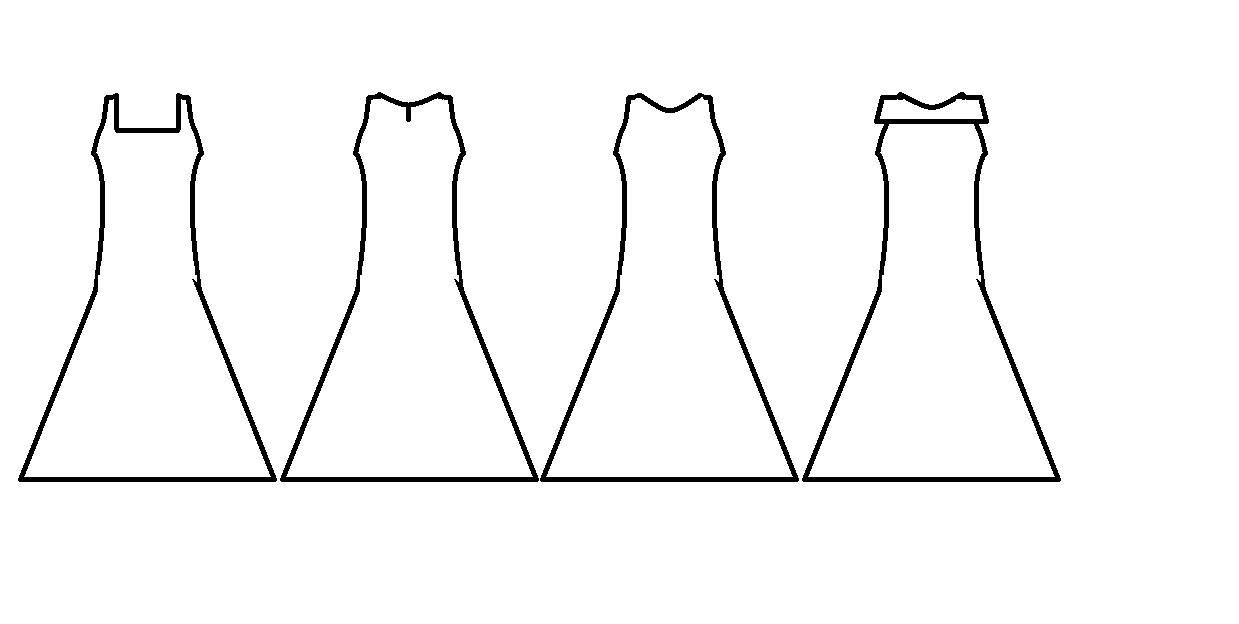
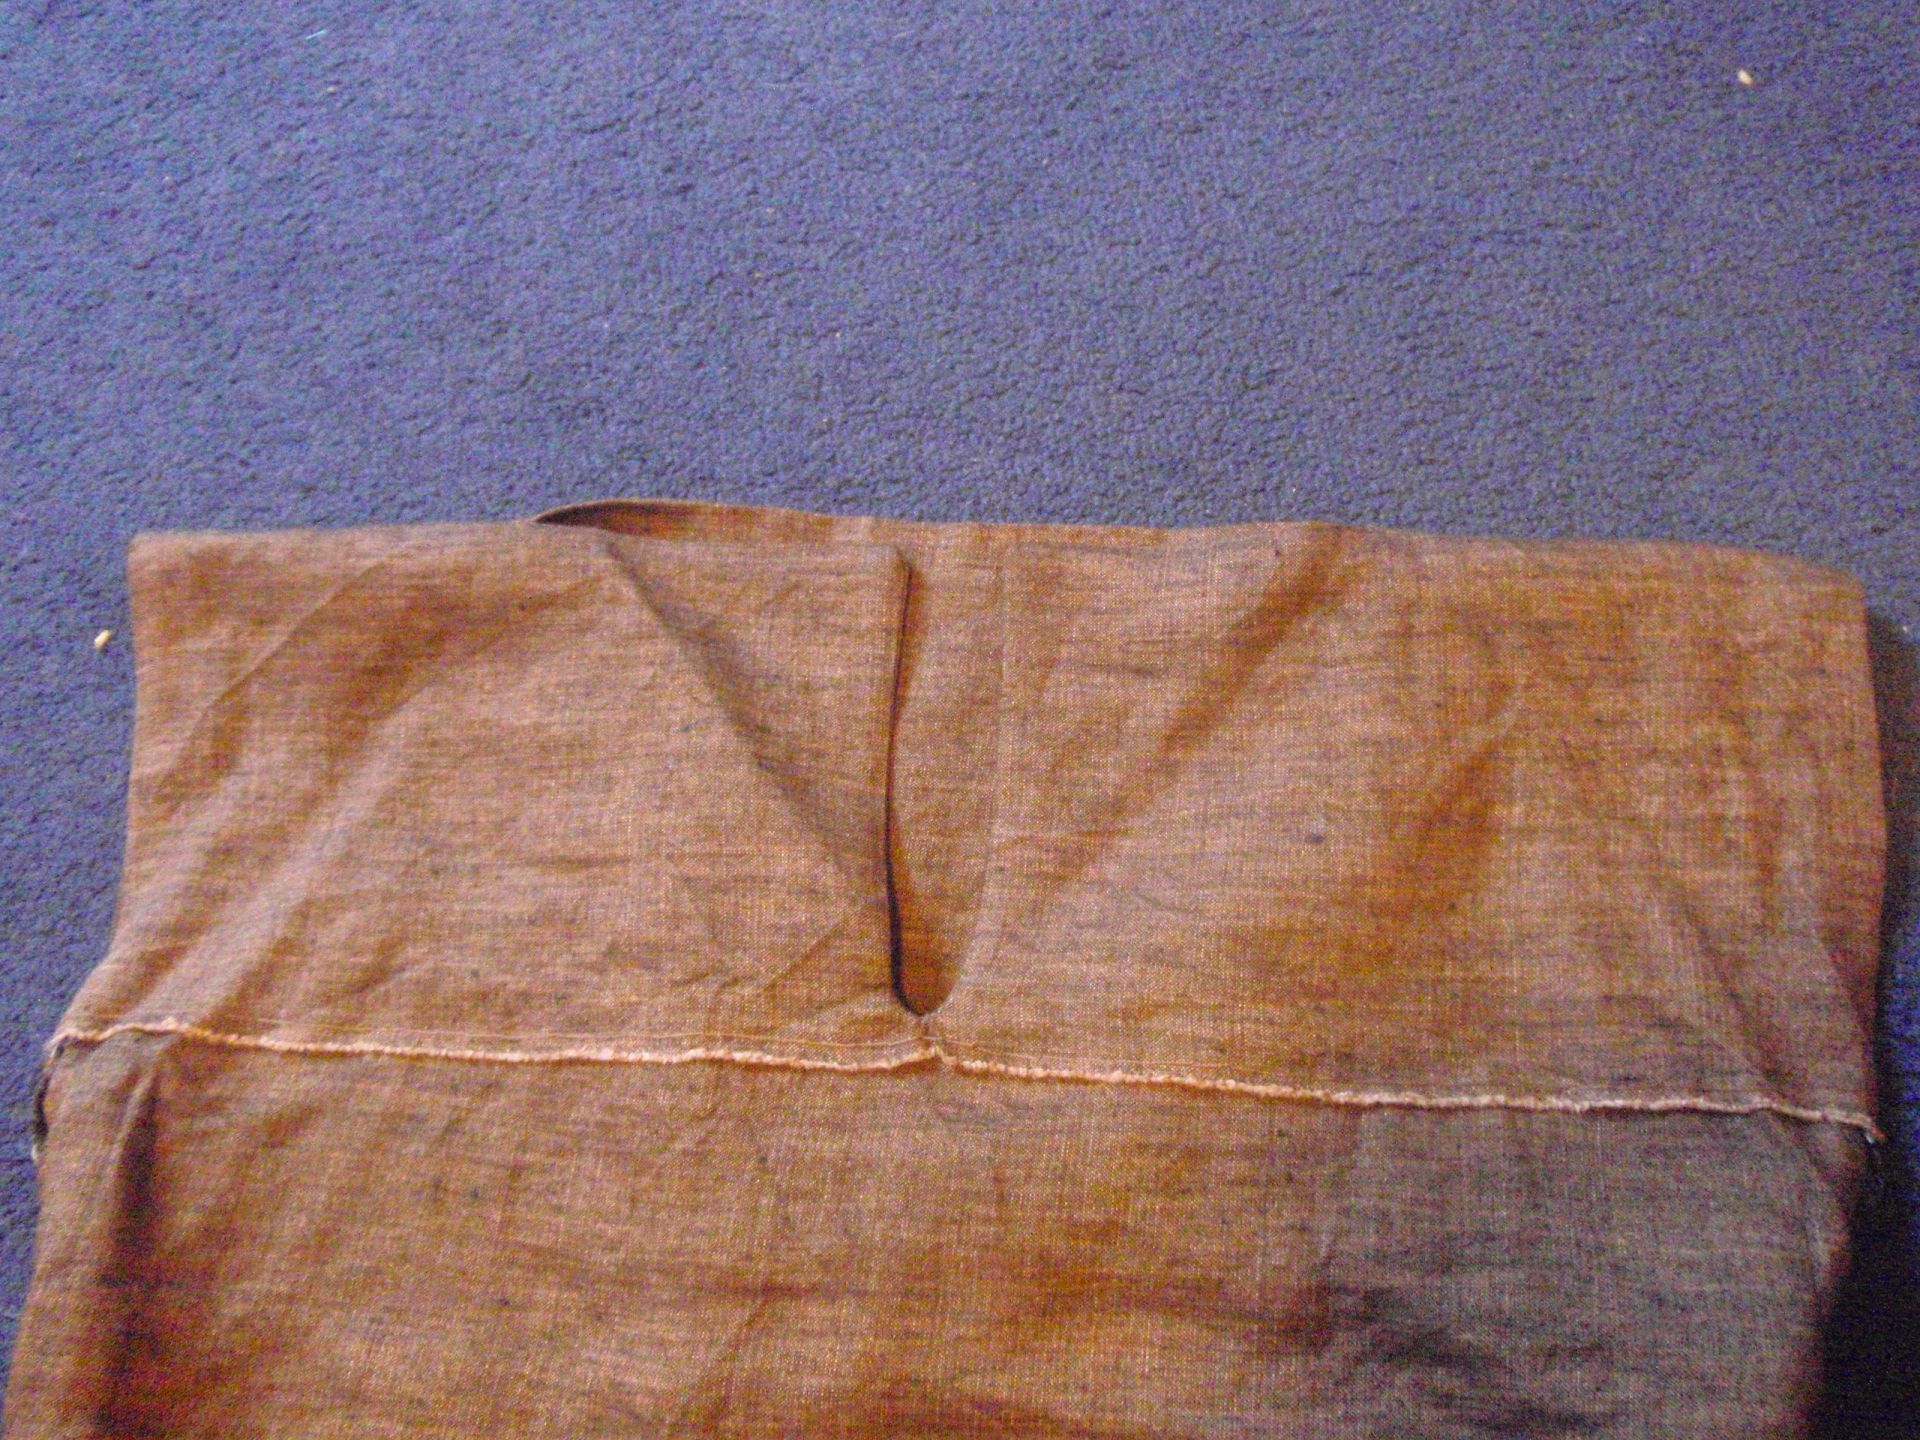
So, I finally decided on a neck treatment for my brown dress (here). I had four different options to choose from and I eventually settled on B (see below). The reason for this is that it’s high, so it’s warm, and a slit is fairly easy to sew if you have 15 odd centimetres of fabric too much at the top of your dress.

tops
(Yes, this is a really quick Paint sketch, gotta love Paint, people!)

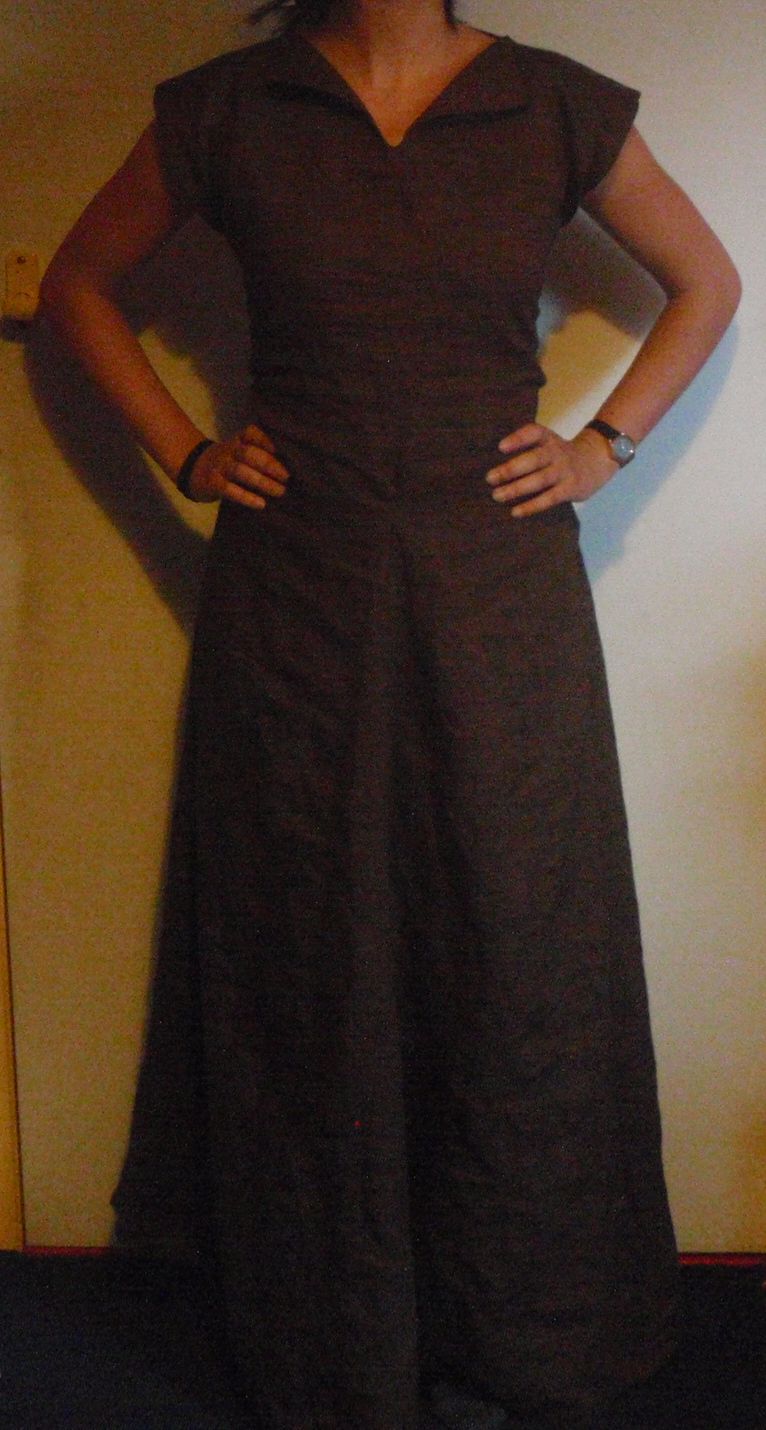
This treatment is also easier to finish as I had an inbuilt facing piece already. Anyway, here is the finished dress!

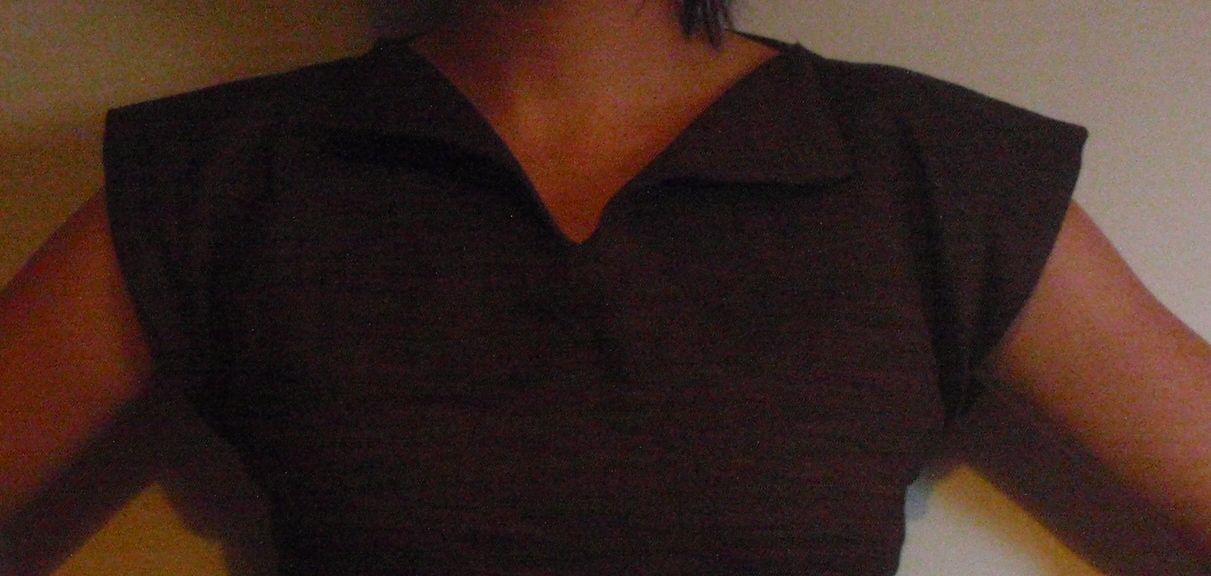
Front Back Top

Front and back go first of course, with a detail of the neck slash opening.

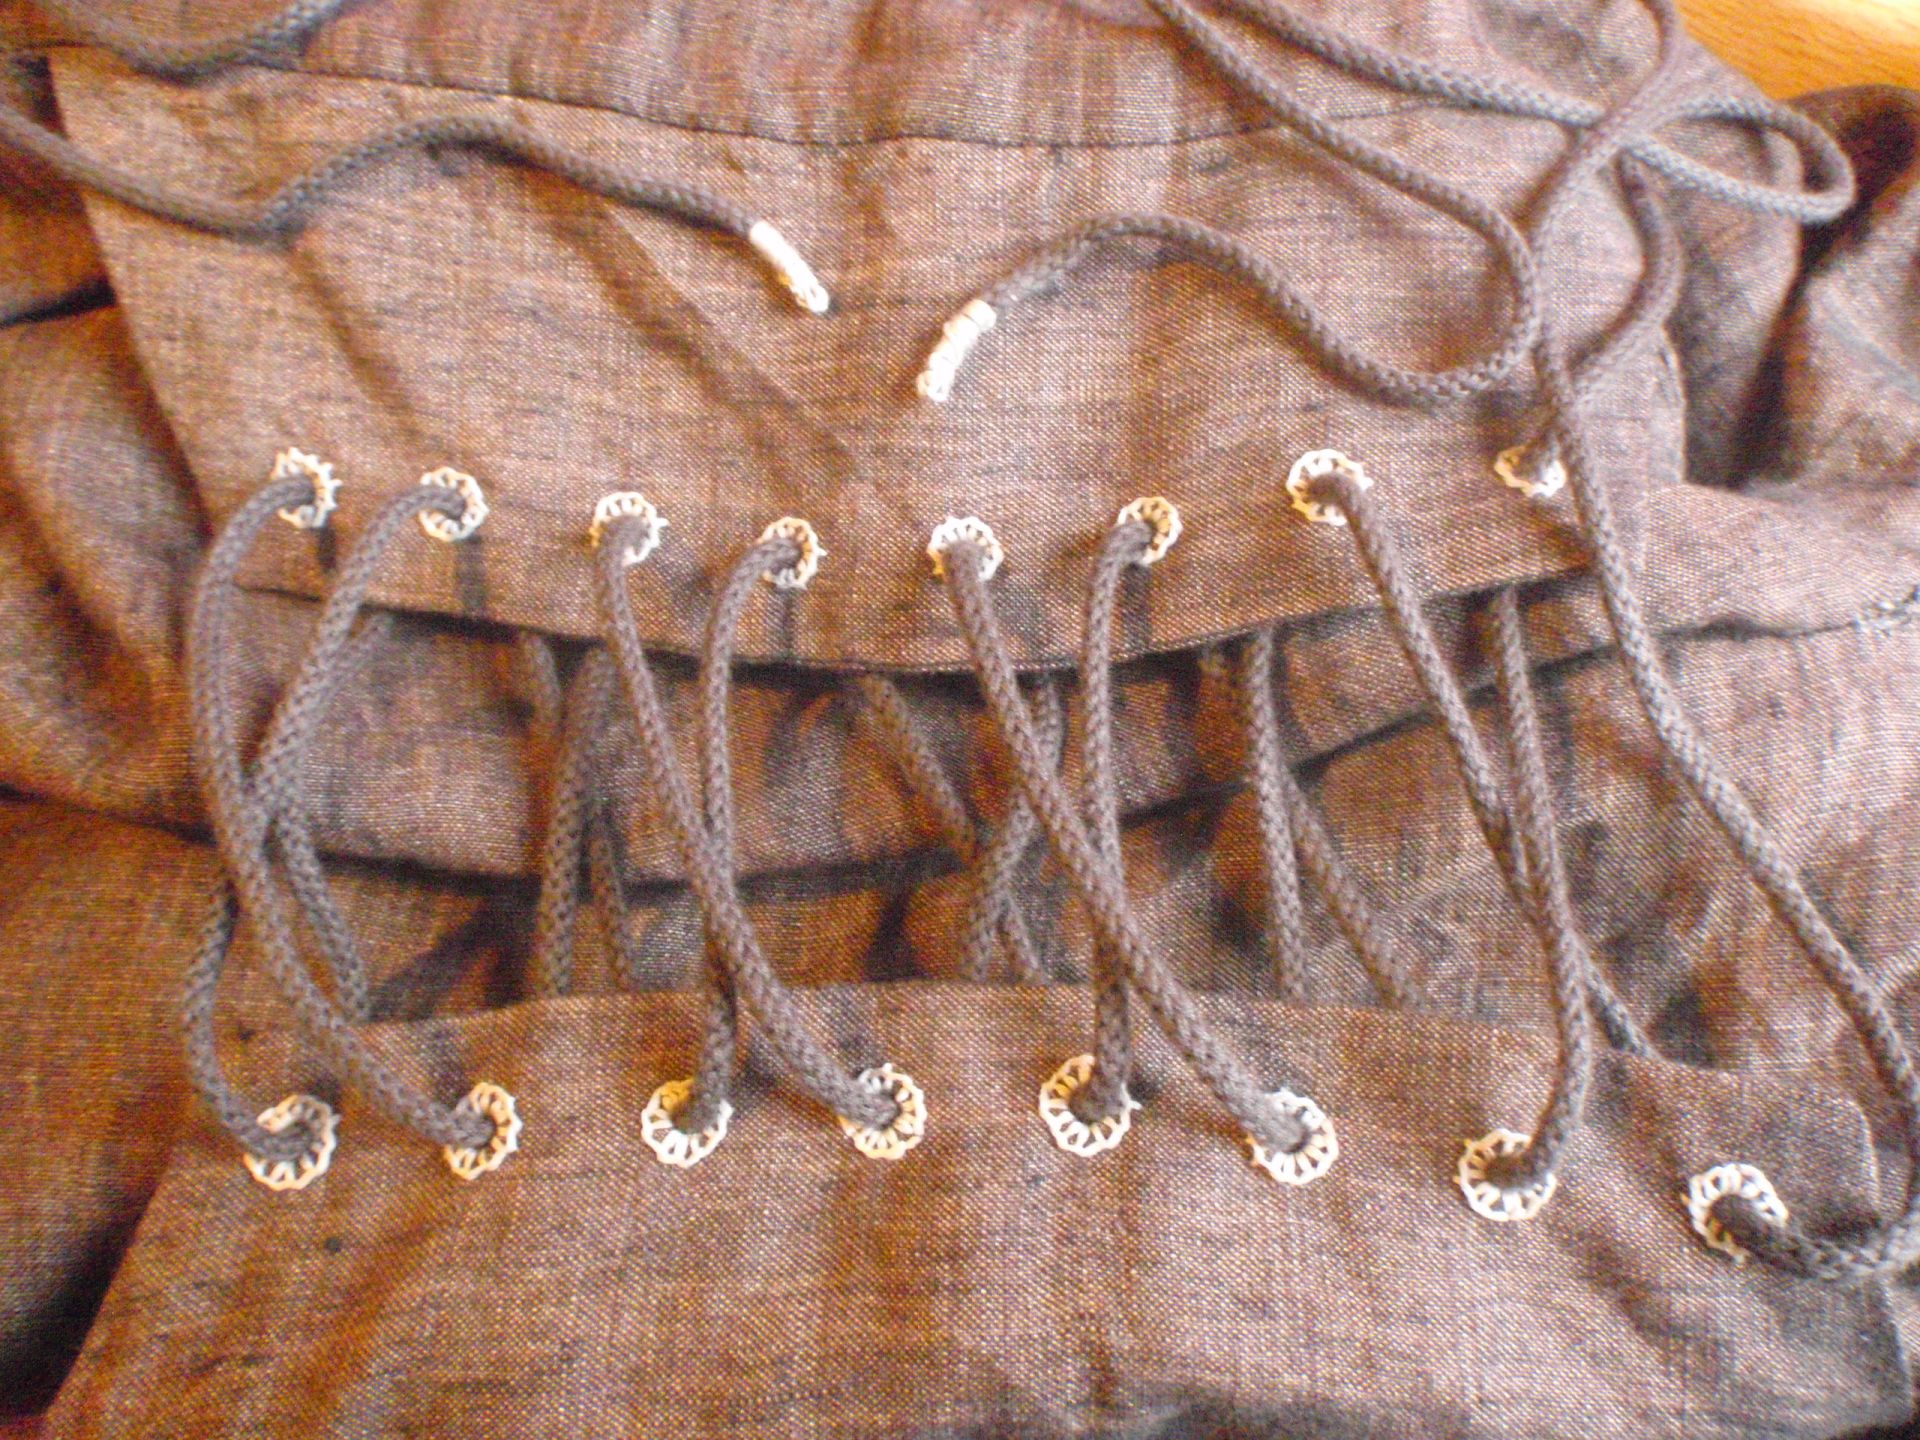
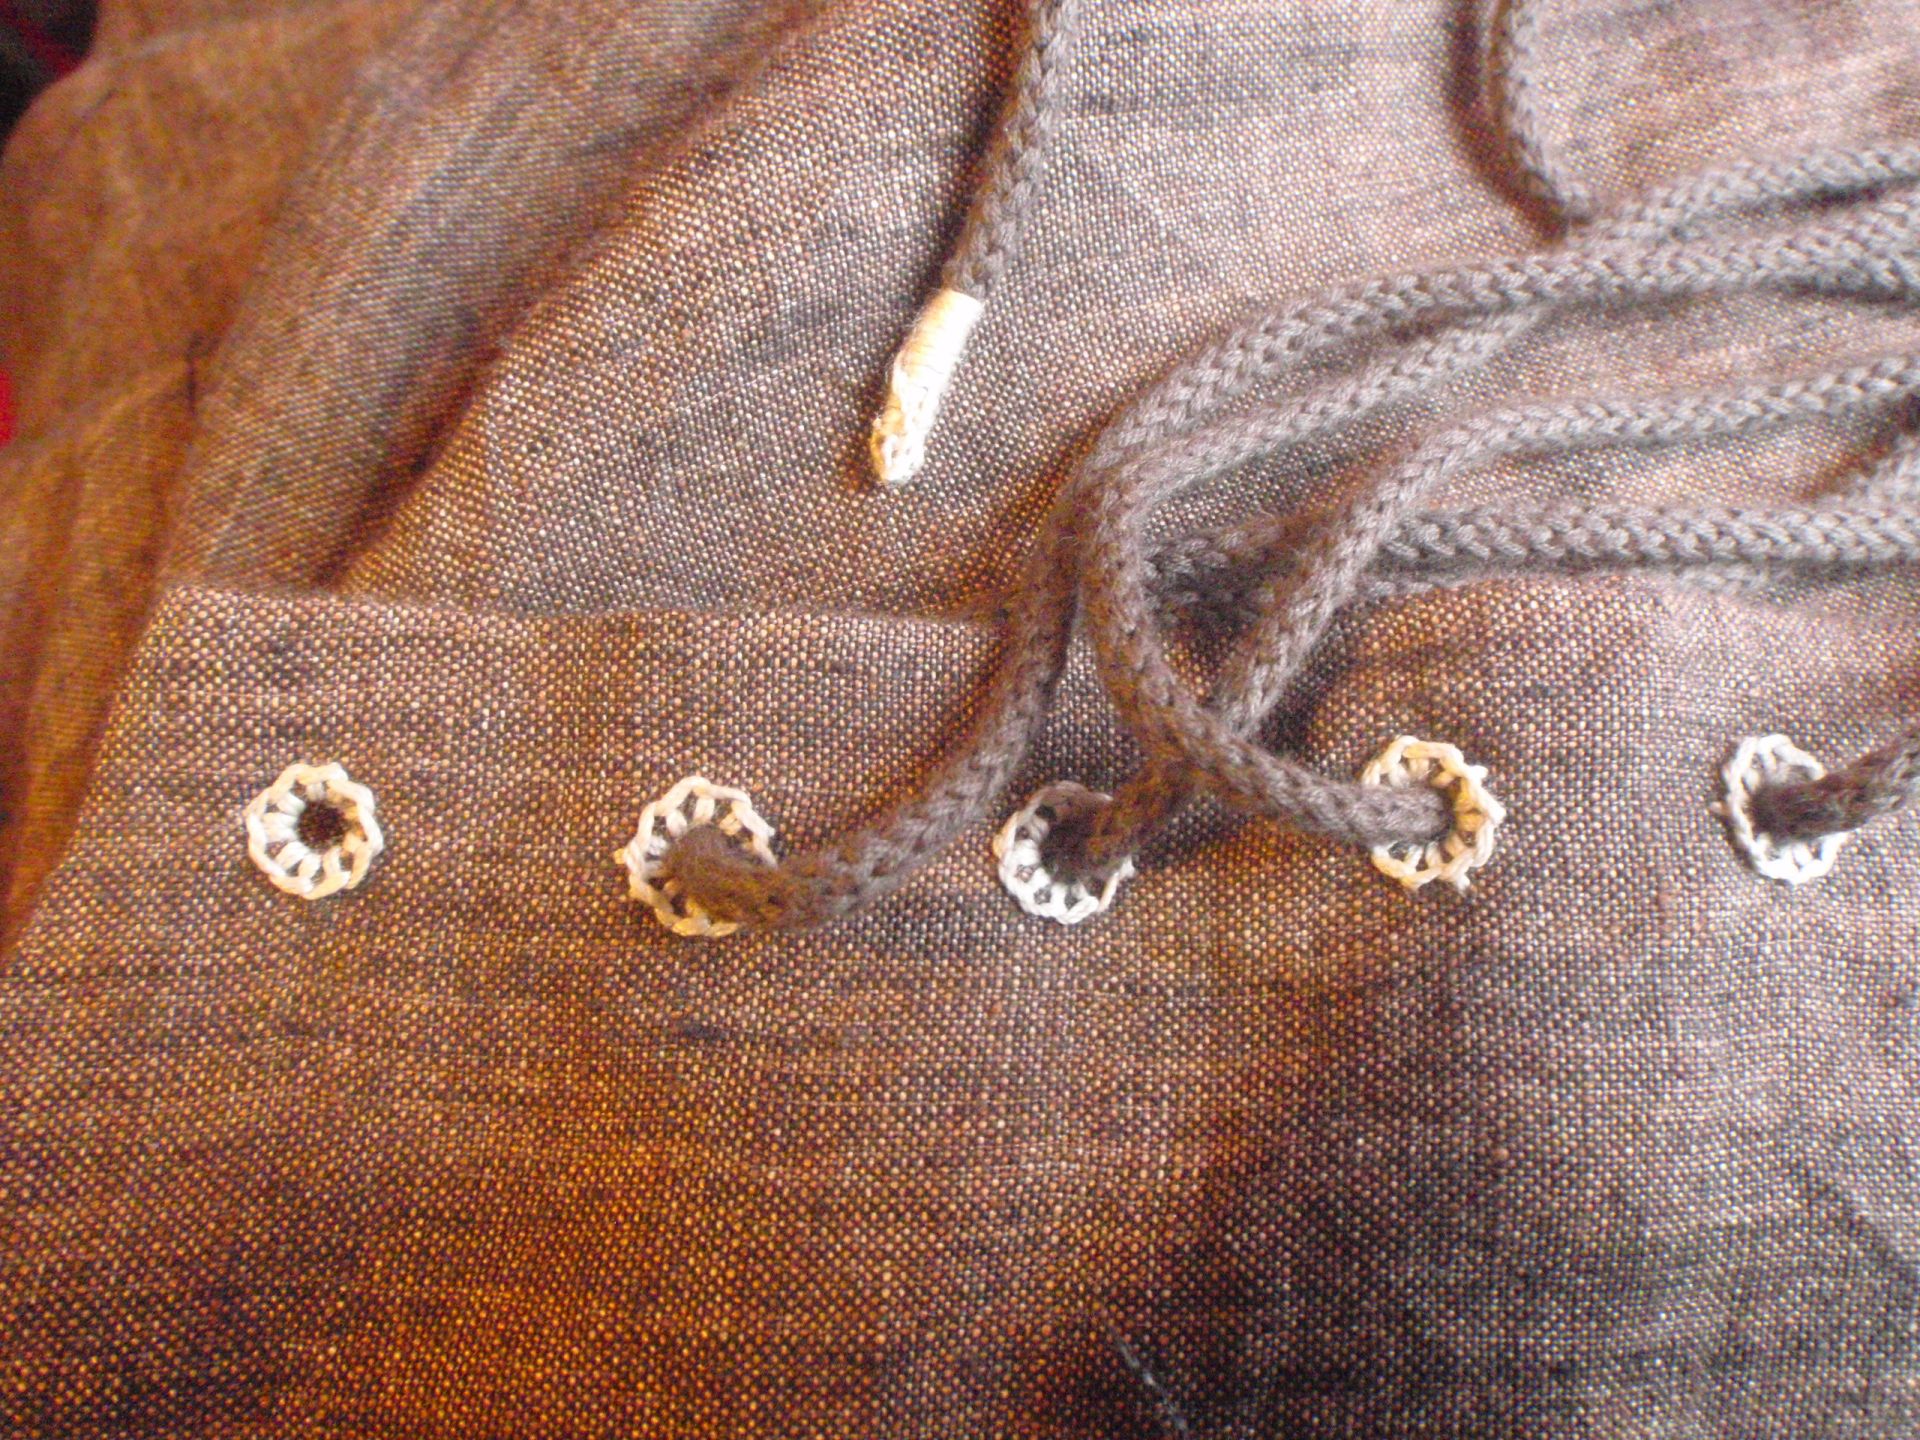
I sewed this thing completely by hand, with only the use of an iron, a metal current meter and a paint brush. Those last two might seem a bit strange, but I had to use an awl for poking the eyelets, and I couldn’t find one. However, the combination of the metal stick and the paint brush to make the hole bigger worked fine. Here is a picture of my eyelets including the ends of the string that I bound so they go through the holes easier.

Eyelets Eyelets

I also want to show you a picture of the insides, first top back and front:

Top front inside Top back inside

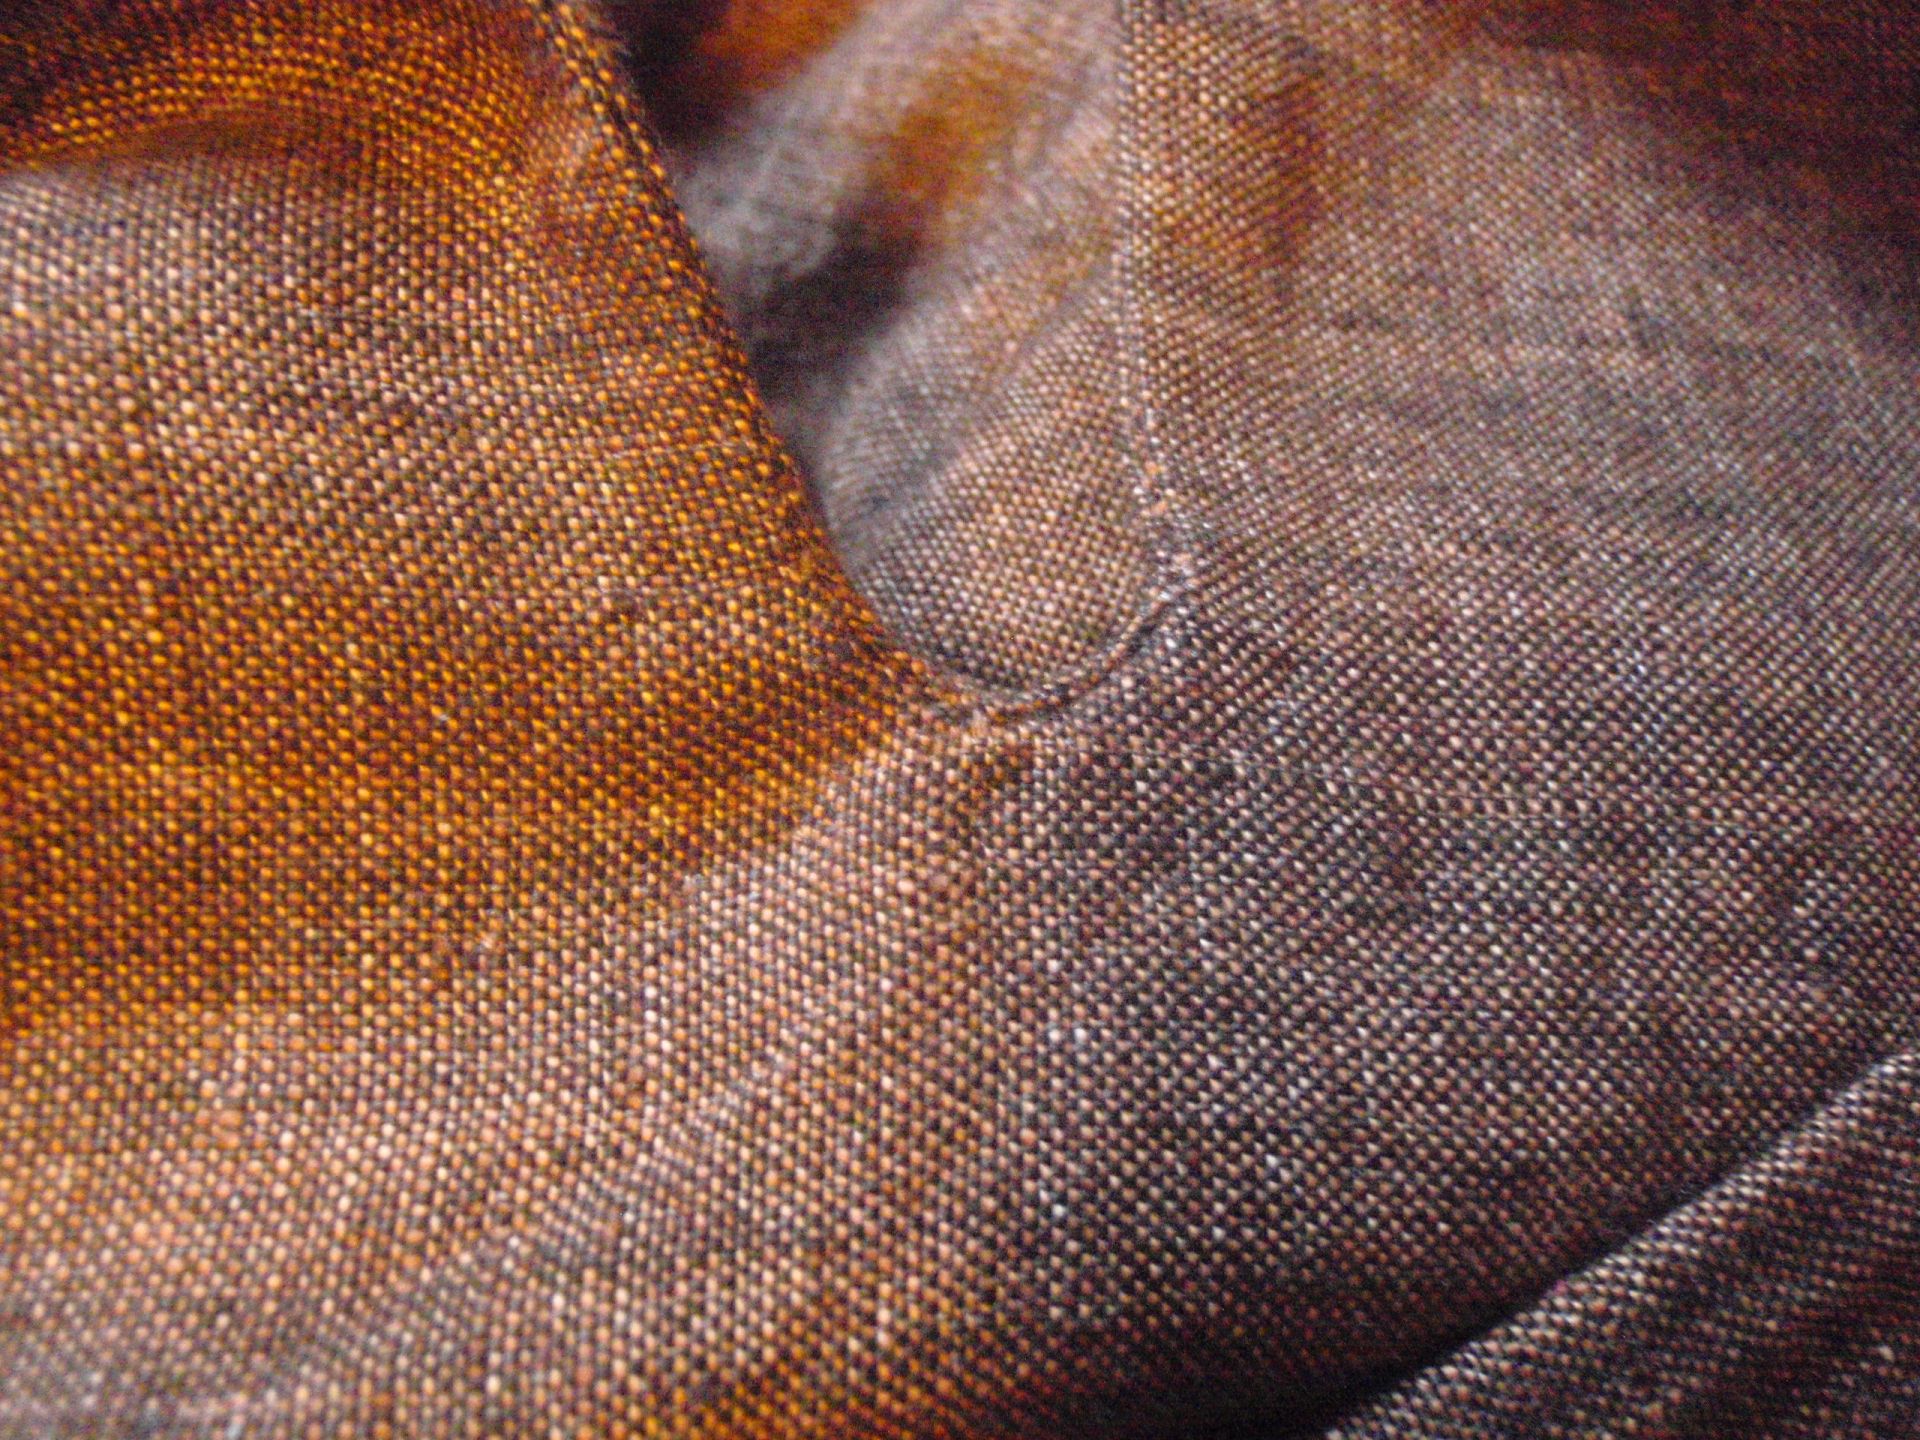
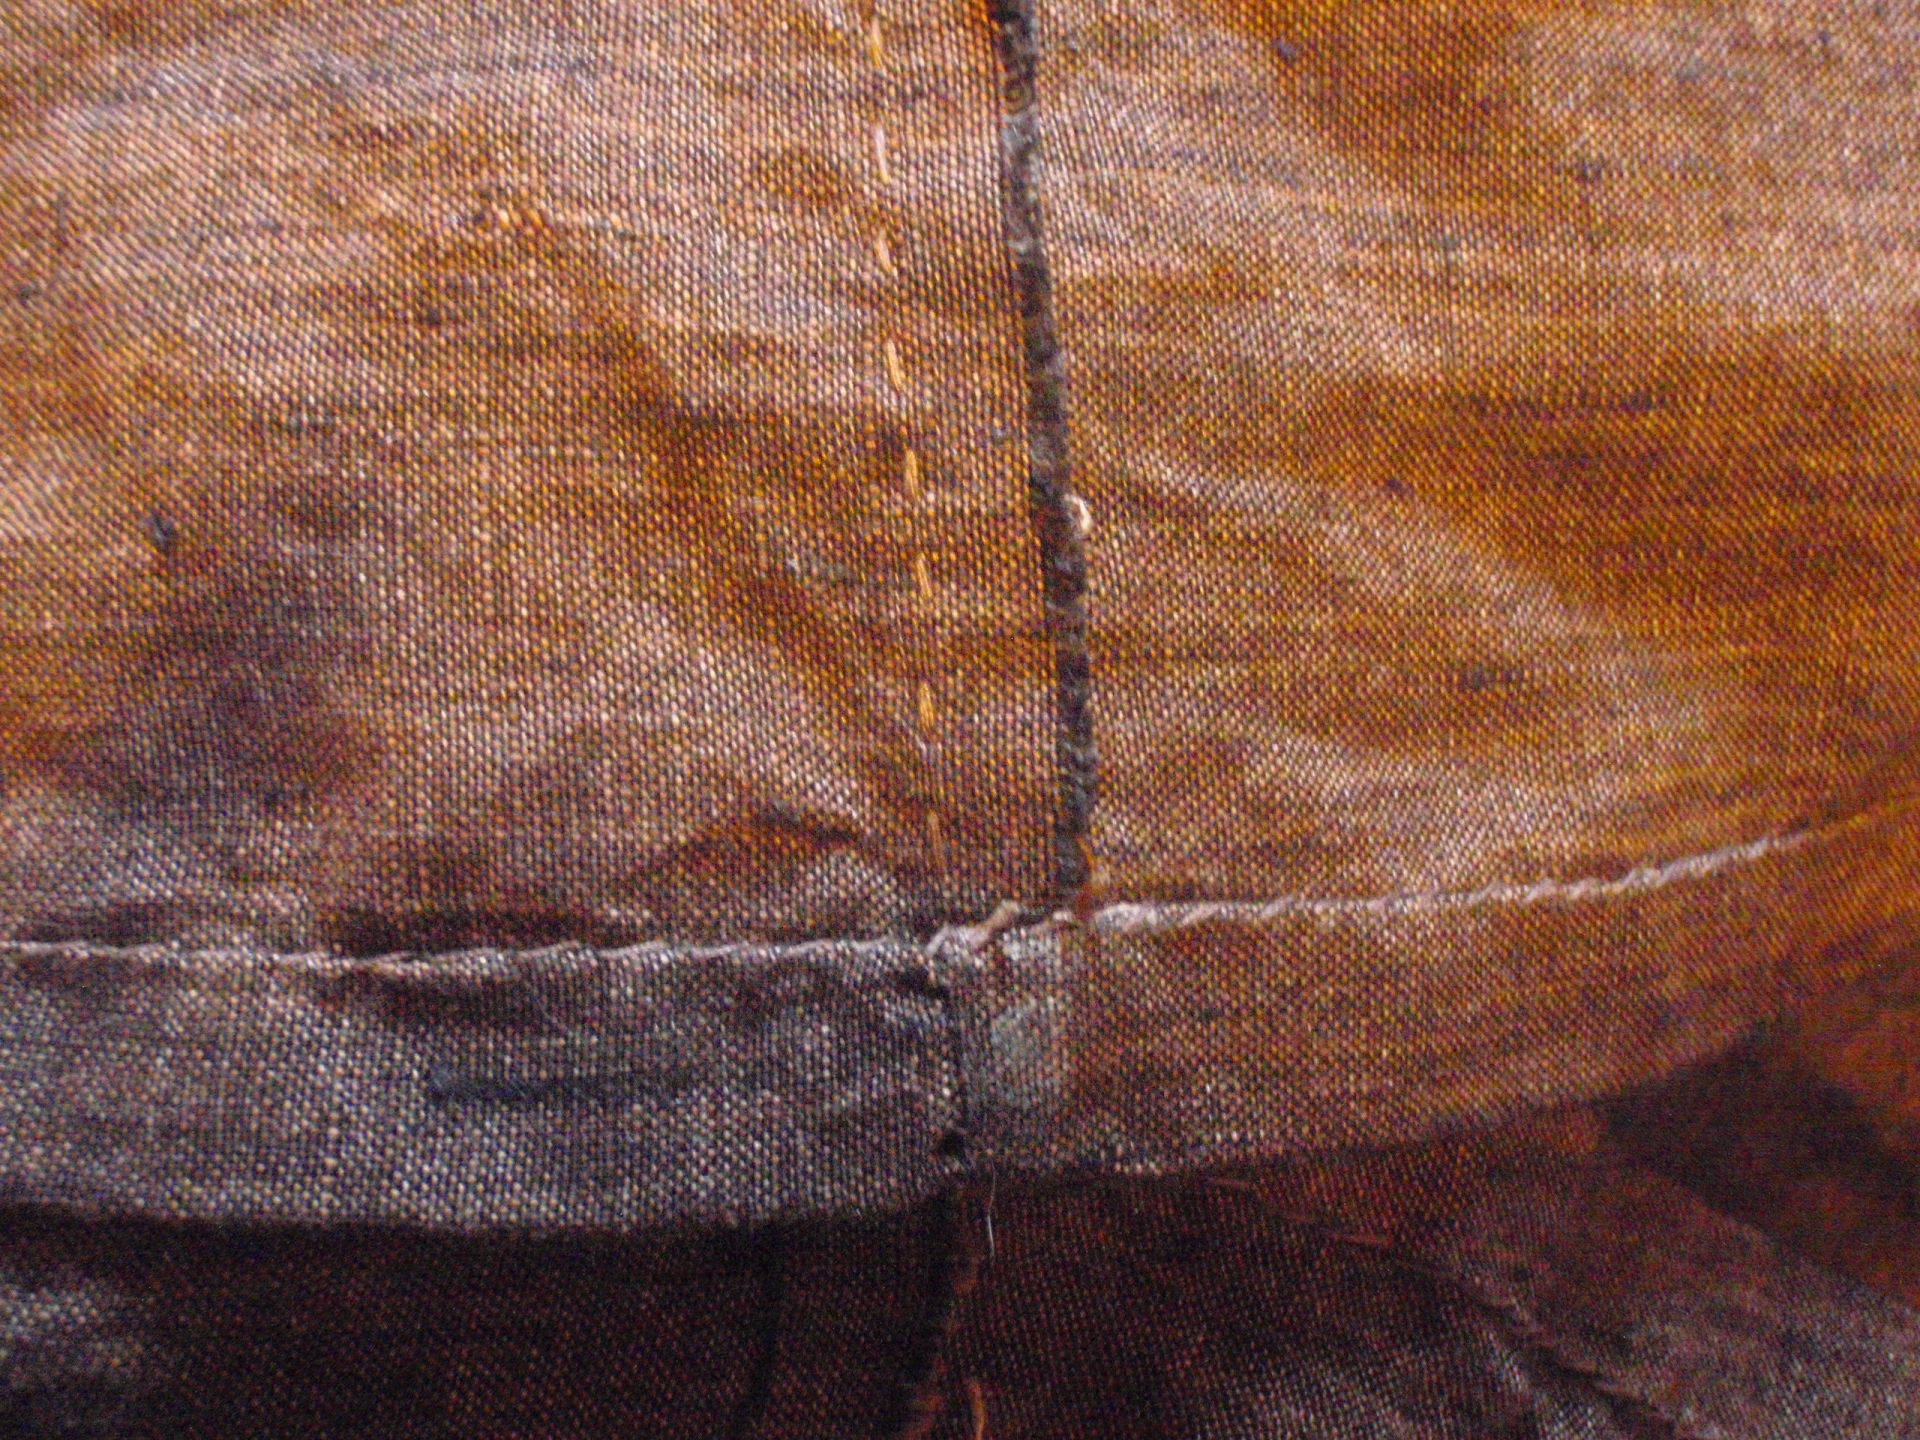
The edges are the selvage of the fabric, so they don’t fray. I did tack them down, but somehow managed to make  those stitches as close to invisible as you can get. I put this down to variegated fabric and matched tread. Below you see the bottom of the slit, clearly the facing had to have been tacked down somewhere there, but I couldn’t find my stitches.

Slit and invisible stitches

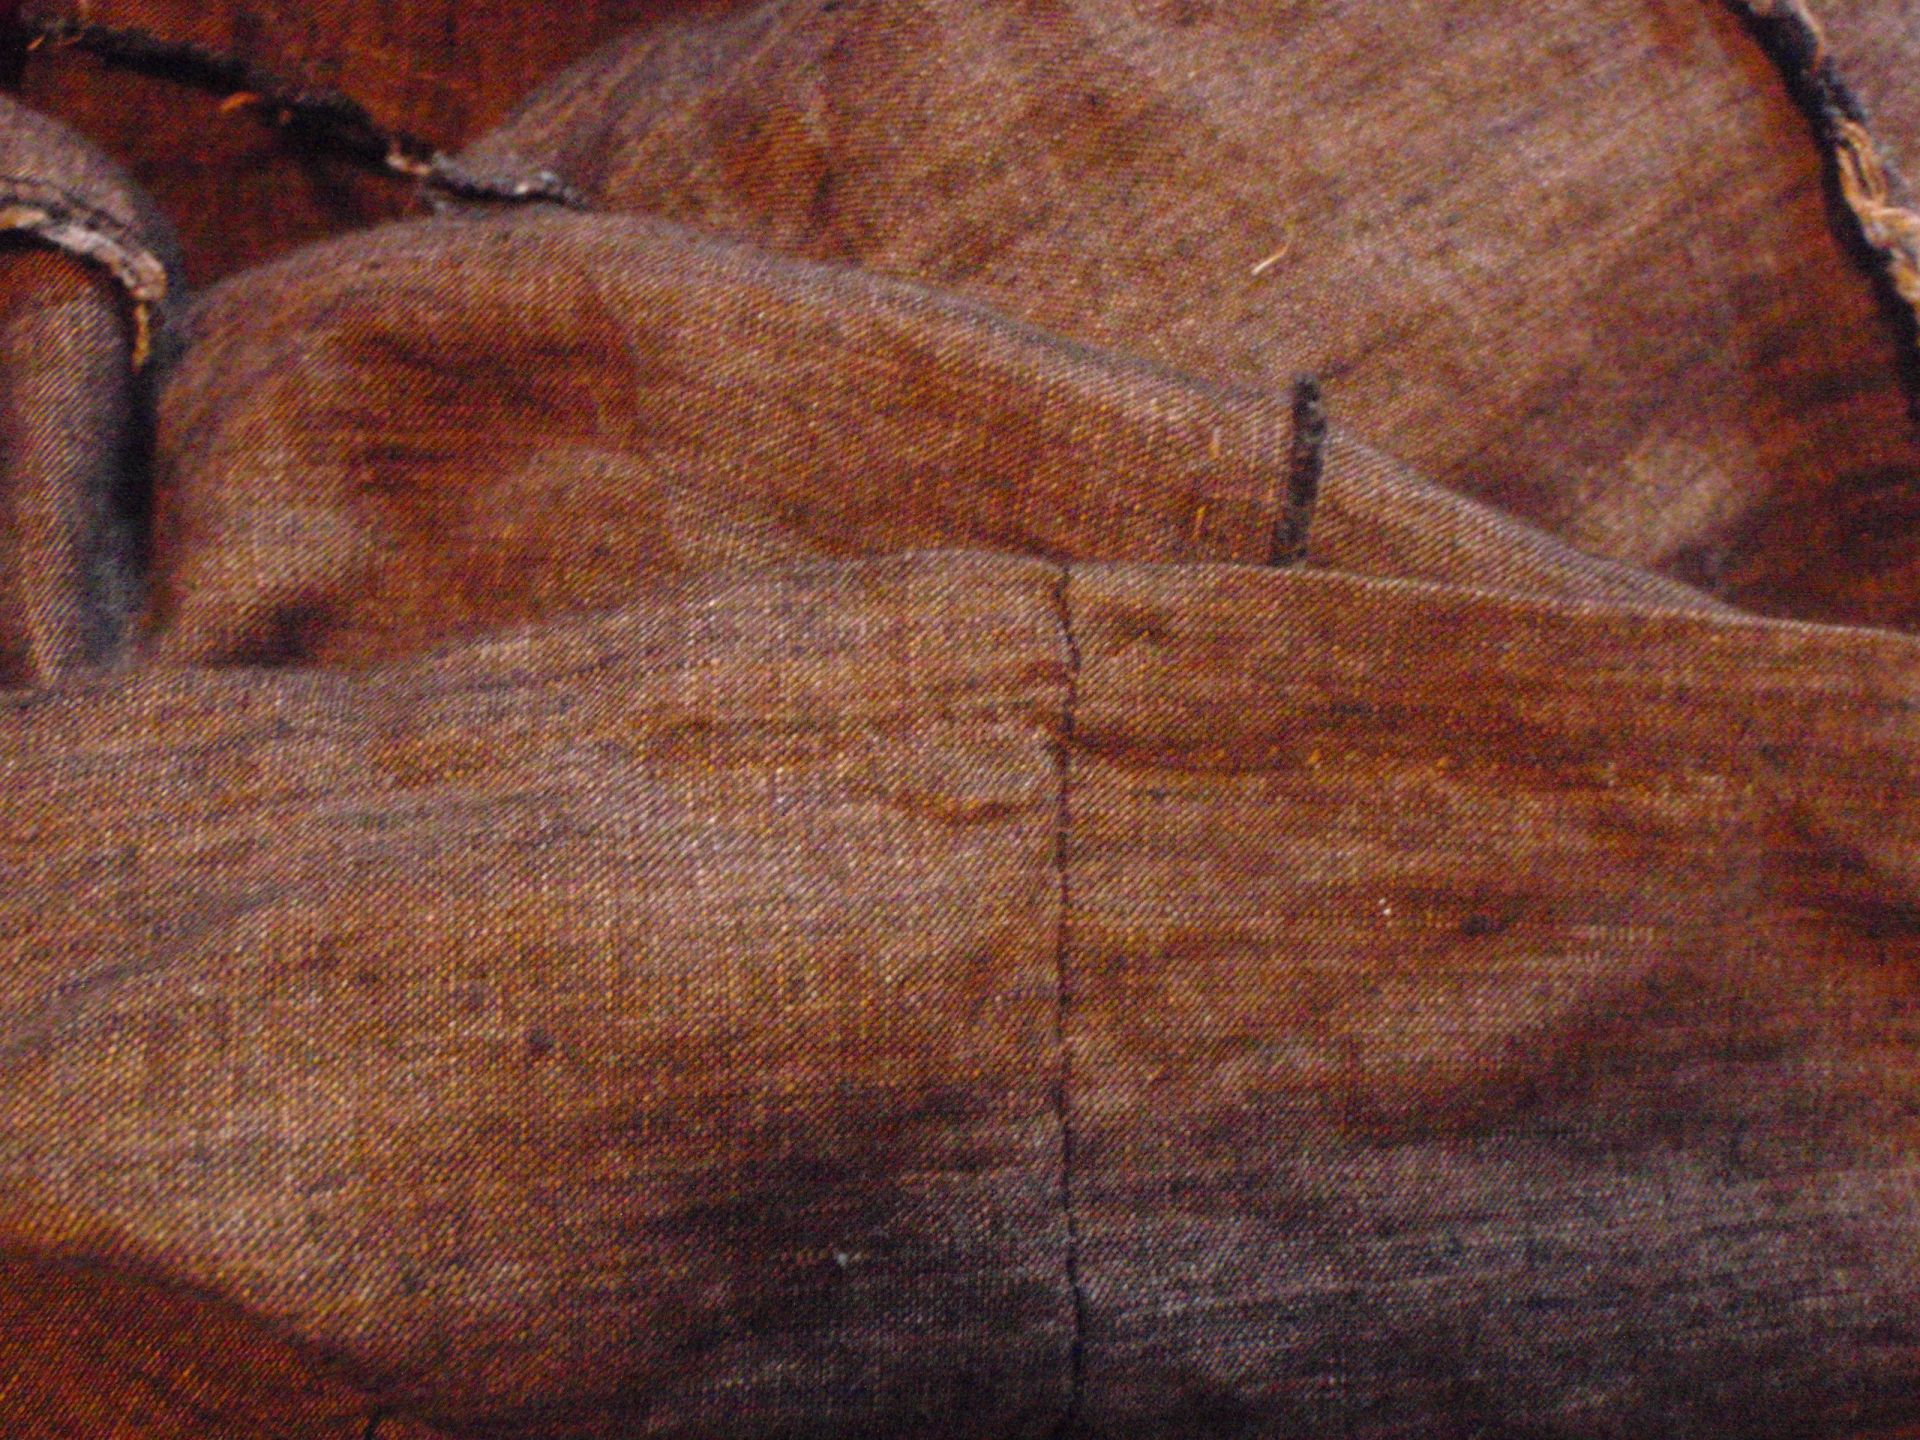
Lastly, the hem. This is also near invisible, which I’m really proud of. Next to it is a shot of a bit of the insides, all painstakingly hand sewn.

Invisible hem Hem


So while it did take quite a while to finish this dress. I’m really happy with it. It fits well, I can dress myself and I have shape (some at least) in it. I’m so glad I managed to find a solution and put this puppy to sleep. Now, I need to finish some other projects!


Brown Dress

After I’d finished the red bag, I wanted a new project. Well, it turned out that ‘new’ is a relative term. The project that I am continuing on is actually my oldest work-in-progress that I’ve saved I think. It’s a brown dress I started 5 years ago. The plan was to completely hand sew a dress that would be larp appropriate. I managed to cut it out and sew in 1.5 of the godets. I basted the other 2.5 so I needed to finish those seams also.

The reason I decided to continue with this project was the fact that I’d found a solution. The problem was that I couldn’t figure out a way to make it fitted without adding a zipper or buttons. The dress is basically straight up and down with 4 triangular bits inserted, so there is no shape. Then I saw a picture were they used two inserts in the side seams which had eyelets in them, and a corset type closure by stringing something through the eyelets.

I found that I had basted a line where I wanted to cut of the bottom to make it straight-ish. I cut of the bottom and use some of the extra’s to make the inserts for the side seams. I also handworked eyelets and now I actually have shape! I have it finished from the boobs down. The problem is the top. I don’t know what to do with it.

Front Back

I had it closed with a shoe lace, so that’ll be a better coordinating piece once I buy it.

Any ideas what to do with the top?

Skirt

The skirt I started here, finally got hemmed on Tuesday. I decided to also redo the top. Gather it a little more. Since last time I messed up my calculations and made it wide enough for my hips and it had to cross over in the back. This made the hem all weird and crooked. So before attempting to actually hem it, I had to unpick the top and do it all again. Luckily it went a little faster than the first time.

Skirt front Skirt back

Front and back respectively. It is a narrow hem, therefore it doesn’t stand out as much as it could do. There is approximately 6 meters of circumference in the hem, so imagine how long it took to hem it.. (pin, iron, sew, iron, iron, cut, iron + pin, sew, iron, iron… I saw each piece way too often).

Skirt

Yes, I pulled my shirt over my sweater, I know, it’s silly, but it keeps up the sweater really quite well. I’m thinking of making button loops at the bottom of the skirt in four places, and 4 buttons on the waistband of this skirt or the potential overdress, so that if I actively plan to go into battle, I can put it up and have less chance of stepping on the hem. I’m not sure yet. I’ll probably just add loops anyway, it won’t harm the hem.

On to the next, the overdress and maybe I’ll make a little light armour out of fake leather, we’ll see.


Costume hood

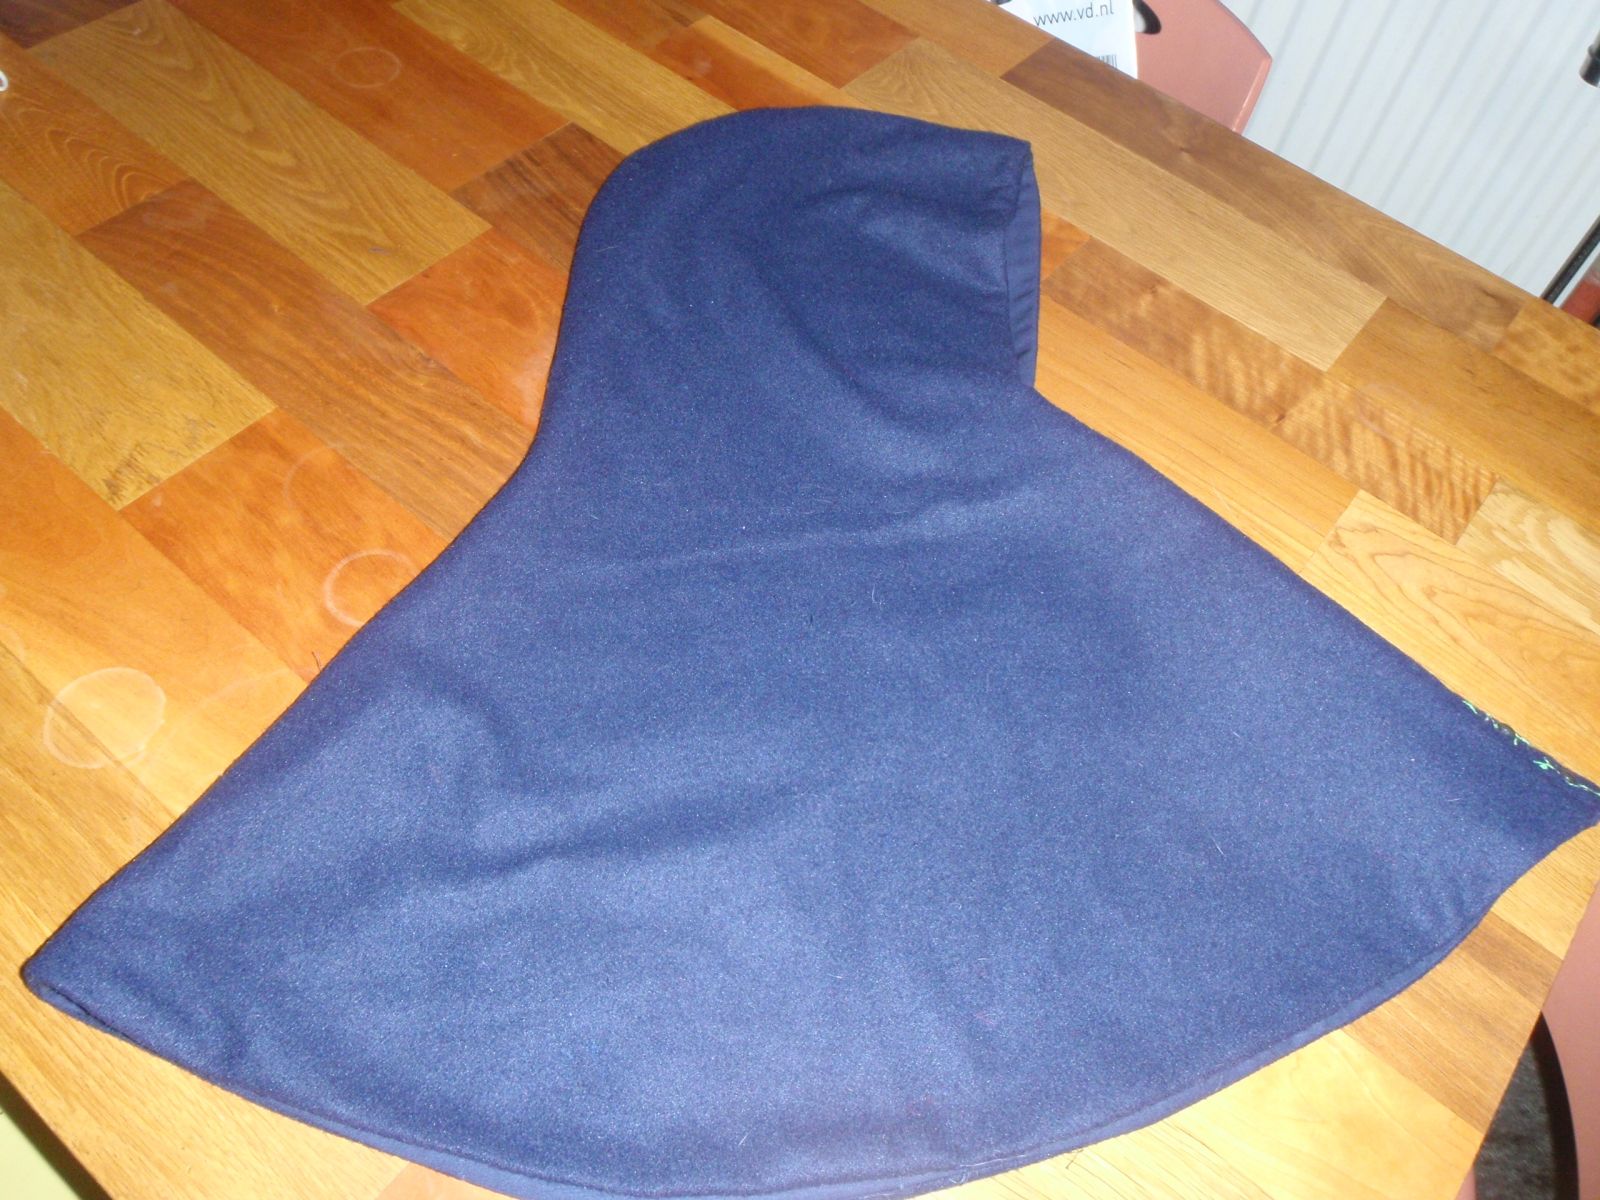
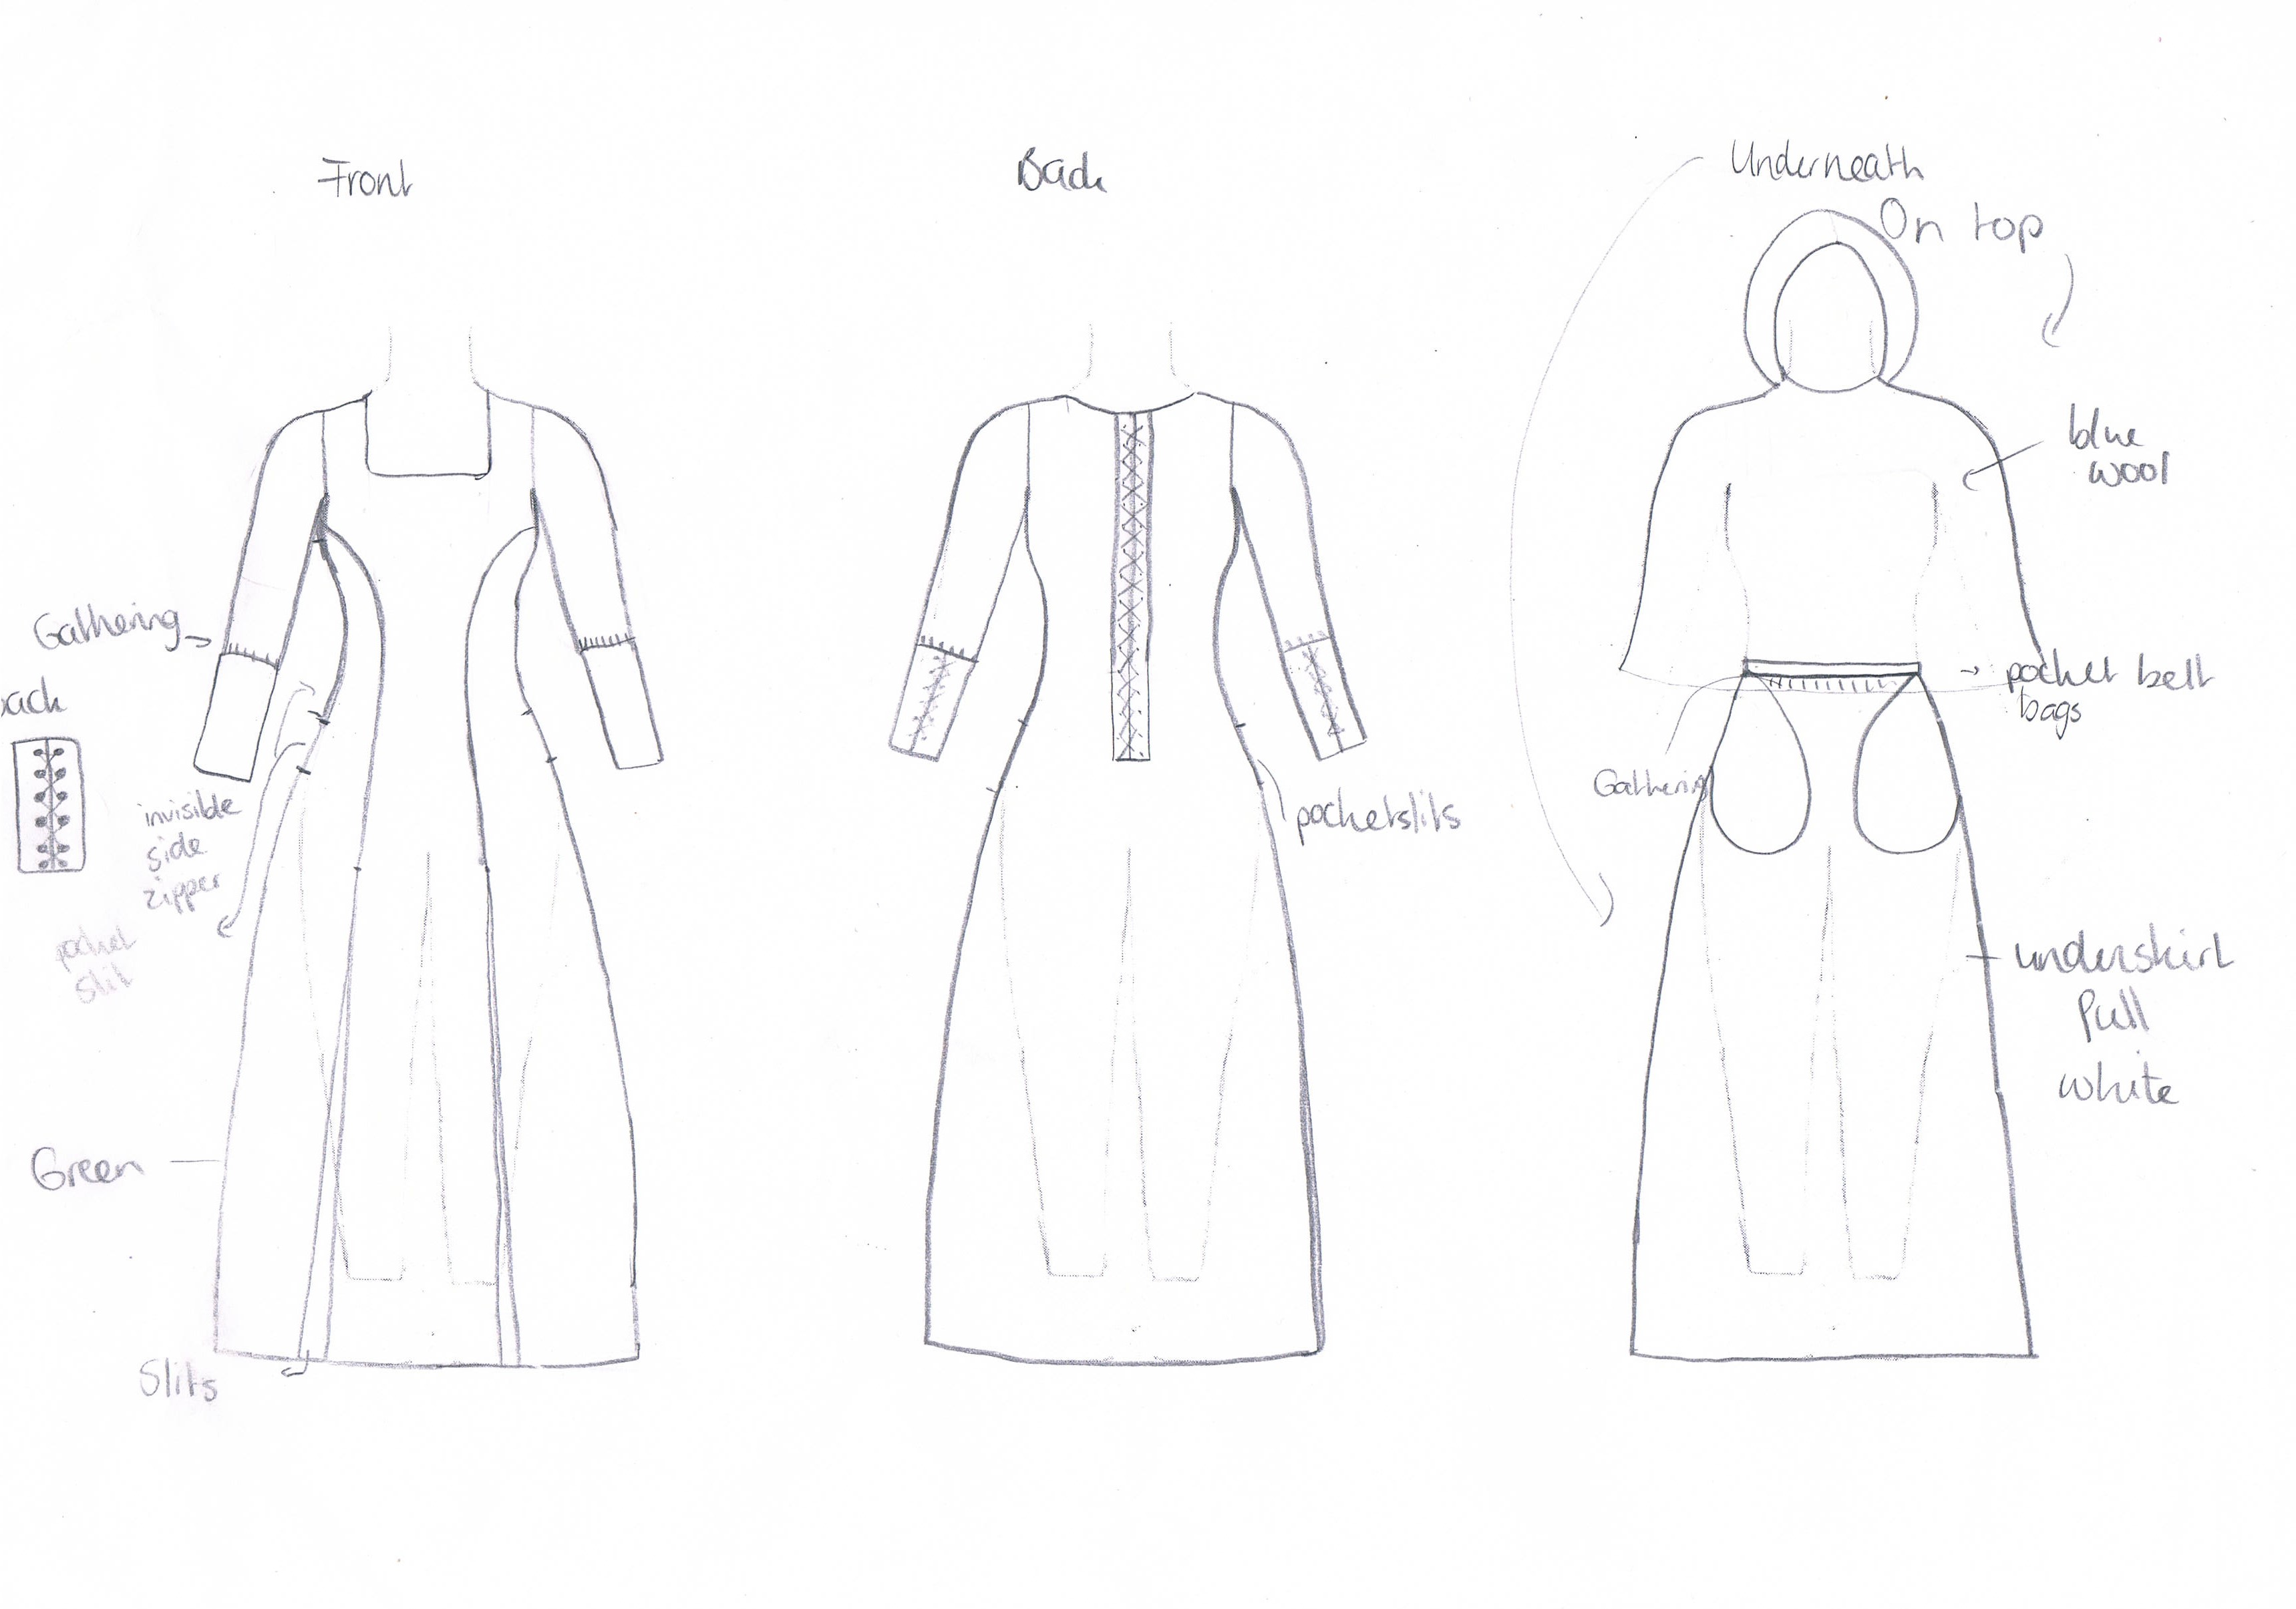
For my new back-up character I wanted to make a costume. I already drew a sketch (here), and started on the skirt (which still does not have a hem by the way). I started the hood the day before yesterday. I had made a hood before out of fleece and drew around it, this made my pattern. I cut it out of the same fabric I used for my coat (which is actually almost finished, just sleeve ends and hems). Found some fabric for lining (the same as I used for the outside of my other costume (here).

Sewed it all up except for the front, since I wanted a button closure. I don’t know if it’s historically correct, and I know my buttons aren’t, but I liked the idea. Then I decided I wanted to add a button band, and wanted some embroidery on it. So I googled and googled and drew and drew and came up with an ivy pattern to connect my buttonholes. It took until late that night to finish it. The next night I sewed on the buttons and the band, and it was finished! Here it is, let me know what you think.

Hood side Hood

The button band is embroidered with ivy leaves. The vines are darker green and the leaves are lighter green. The vines were stem stitched and the leaves back stitched. The buttonholes were done by machine. I’m really happy with it. I like the ivy a lot. I’m starting to wonder if I should embroider it on everything in the costume.

Button band Detail


Productivity, 3.

The other thing I made was a skirt. I already spoke about the larp event we are organising. I quite like to have costumes for that sort of thing, even if I’m not playing myself. However, a month later (beginning of May) there is an event where I will be playing. In case my current character decides to die (or just dies) I would like to have a backup character ready to step back in again.

So while I was at school trying to work on my thesis, I decided to take a break and google for a larp-staff. A piece of equipment I have been wanting to own for years, however, the only ones available are.. well.. ugly. I don’t like them at all. Then, a miracle happened, I founded something I liked! Or at least, liked a lot more than all the other ones out there. It can be found here. Now, the only thing I didn’t like were the metal caps around the bottom. I got a custom order and they will make me one without the caps. It all went fairly smoothly and they are very friendly at Skian Mohr.

Next, I needed a new costume (of course) so I drew one out:

Fighterdress

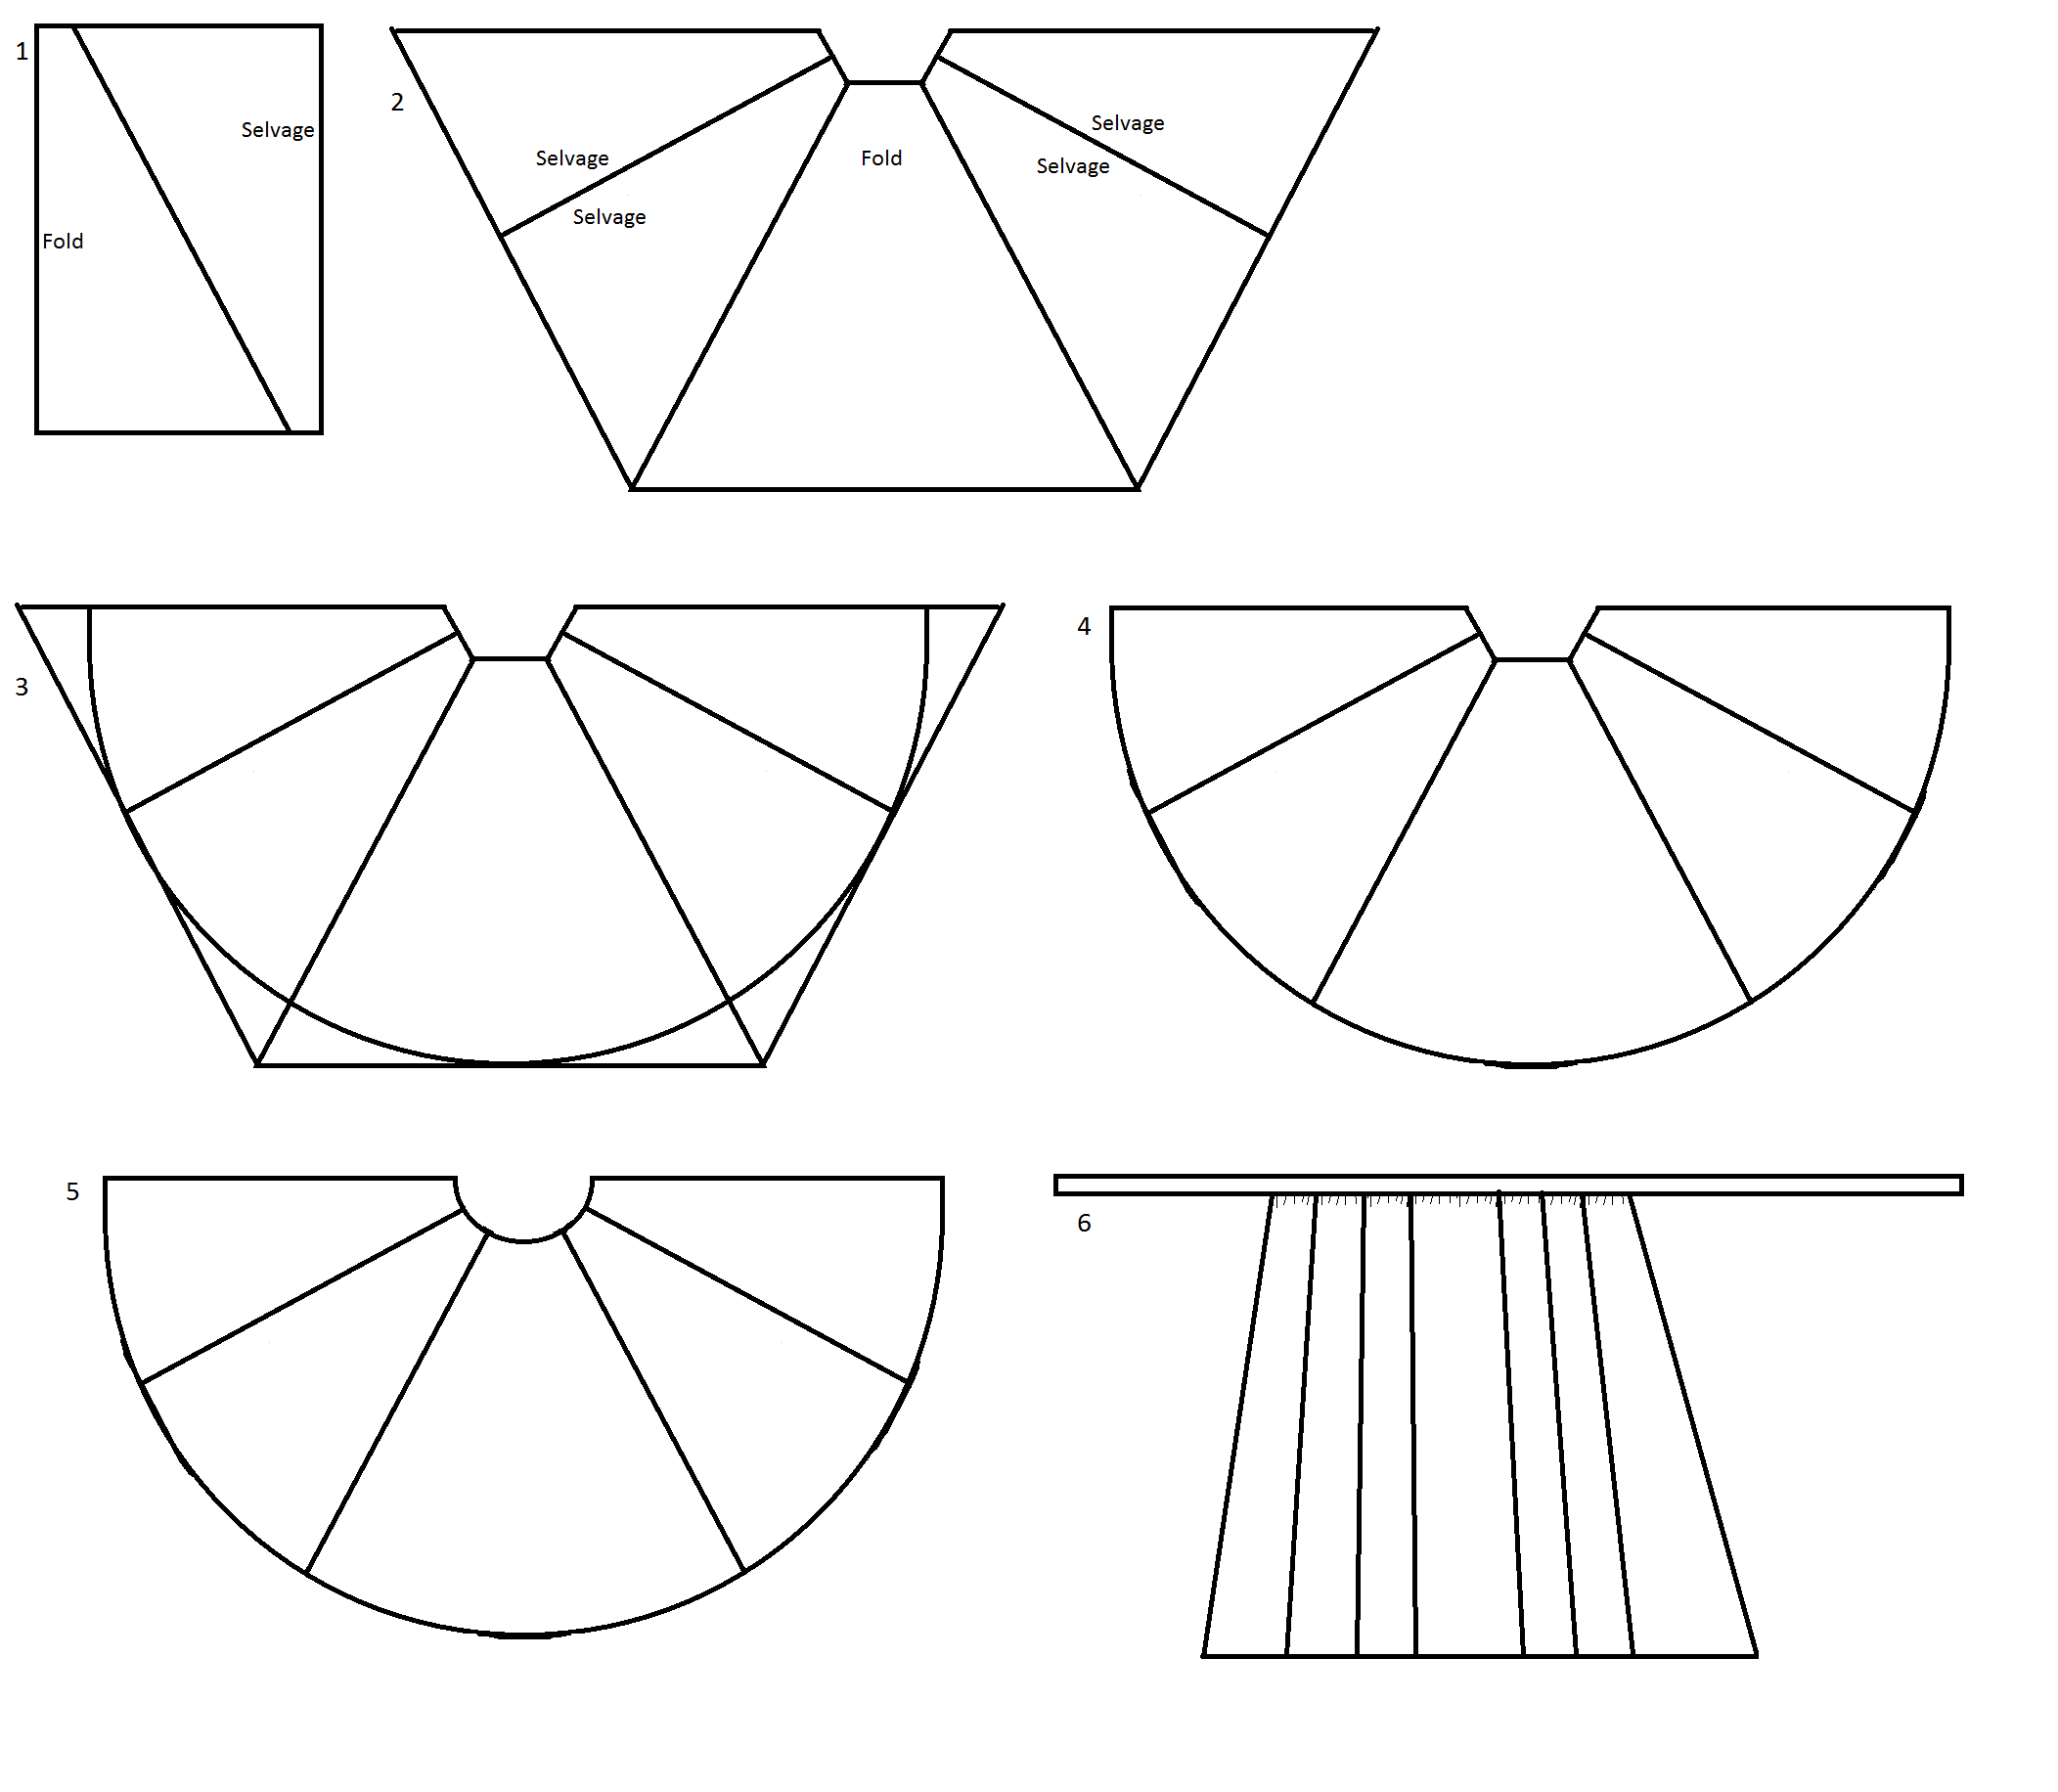
On Saturday I started with the first layer: the white underskirt. I decided to do it simple. I made a little “tutorial” to show what I did. Step 1 consisted of cutting 3 lengths, slightly over one meter (the length from floor to my waist) and then cut them across diagonally. The selvage edges were then sewn together (to end up with 3 pieces with a  selvage seam in the middle). The selvage and fold pieces were then alternately attached to each other using French seams. Number 2 shows half the skirt. The other half would look the same only there would be two fold pieces on both sides and a selvage piece in the middle. At step 3 and 4 I marked and cut the bottom of in more of a circle shape. In step 5 I cut the waist section in a circle shape. Then I cut a very long rectangular piece to be the waistband. I then gathered all the panels onto the waistband (6; yes this drawing makes little sense). All in all there is a lot of fabric at the bottom, the hem is going to be several meters long.

Tutorial

I have not actually hemmed it, which is why it is not finished yet. I felt I should let it hang for a while before hemming it, since the fabric is somewhat stretchy. I attached a little extra waistband to be able to tie it into a bow at the front. It’s actually really comfortable (if much too long). This is what it looks like, without the hem finished.

OLYMPUS DIGITAL CAMERA OLYMPUS DIGITAL CAMERA

As you can see, it’s very wide at the bottom, and much too long. Still I feel it looks nice. It’s also finished on the insides and the ‘getting in’ opening.

OLYMPUS DIGITAL CAMERA OLYMPUS DIGITAL CAMERA

Just hemming to do on these and I will really have been productive!

Productivity, 1.

Wow, you wouldn’t believe everything I did today, yesterday and the day before. I’ve made a shirt, 2 vests and a large, large skirt. Now, while I suddenly have done things and therefore could produce more content (and keep myself entertained), I’m going to divide the productivity into 3 parts. To start with the first thing I finished, and the most boring one.

We are again organising a larp event, this time it takes place during the beginning of April. We are introducing some new characters and species of which I helped conceive a few. One of these new species wears a yellow vest (and some other attributes, but I’m not going to spoil that fun, you might learn after April). I found myself in charge of making said yellow vests since I’m pretty much the only one who knows how their sewing machine works.

I couldn’t find any yellow fabric in the town where the event is held. So I went to a local second-hand shop to find some, and I did. It wasn’t too difficult. It was only when I returned home with the loot that I found I had a lot of yellow myself in the stash. However, the “new” stuff was a much better fit for a larp costume. There was not too much of it, which was a shame and had me change my “pattern plan”.

The second-hand shoppe also had patterns for sale, I got four (total price: 1 Euro). 3 dresses and a man’s shirt. The plan was to trace the front and back of the shirt and make the vests from that pattern. I did that, but they didn’t fit on the fabric. I had a night of thinking about it and the next day I decided I would keep it simple. So I cut the fabric in two. The bottom edges were both frayed, but it looked nice so I kept that as the bottom edge. The centre fronts are the selvages (less hemming for me, yay!). I cut out armholes, and some sloped shoulders. Sewed the shoulder seams. Created bias tape out of a bit of fabric from the yellow stuff I still had in the stash. (Thanks Scientific Seamstress for the printable bias tape maker and Jona for the bias tape out of small yardage tutorial!!)

Tape maker OLYMPUS DIGITAL CAMERA

I laid my bias tape along the edges on the right side, sewed it down, folded it to the wrong side and sewed it down again. The first time round it looked absolutely hideous.  But I decided I didn’t care, although I made the second one much nicer. Well this morning I changed my mind and redid the first one, it now looks like the pictures below, outside and inside. They are really shapeless and quite ugly, but they are supposed to ‘fit’ a wide range of people since we don’t know who will wear them.

OLYMPUS DIGITAL CAMERA OLYMPUS DIGITAL CAMERA

Well this was the first (or first two) project that was finished this weekend. Up next: shirt (of which you might spot a little hint up above).

Medieval Dress

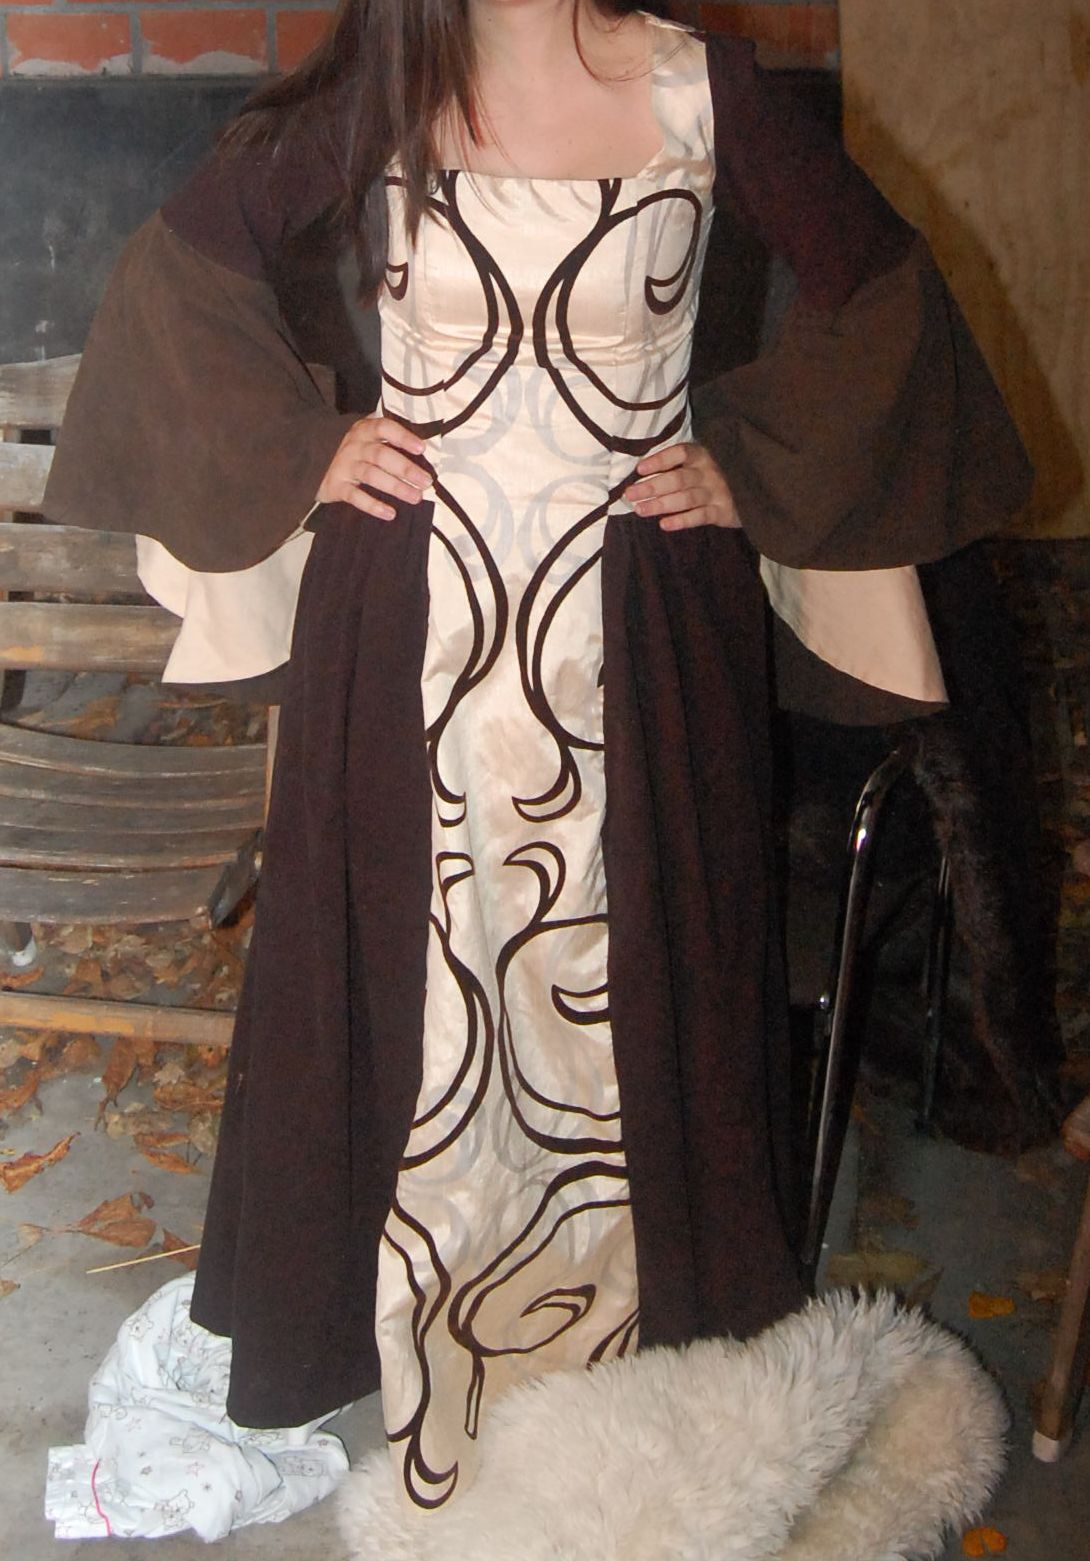
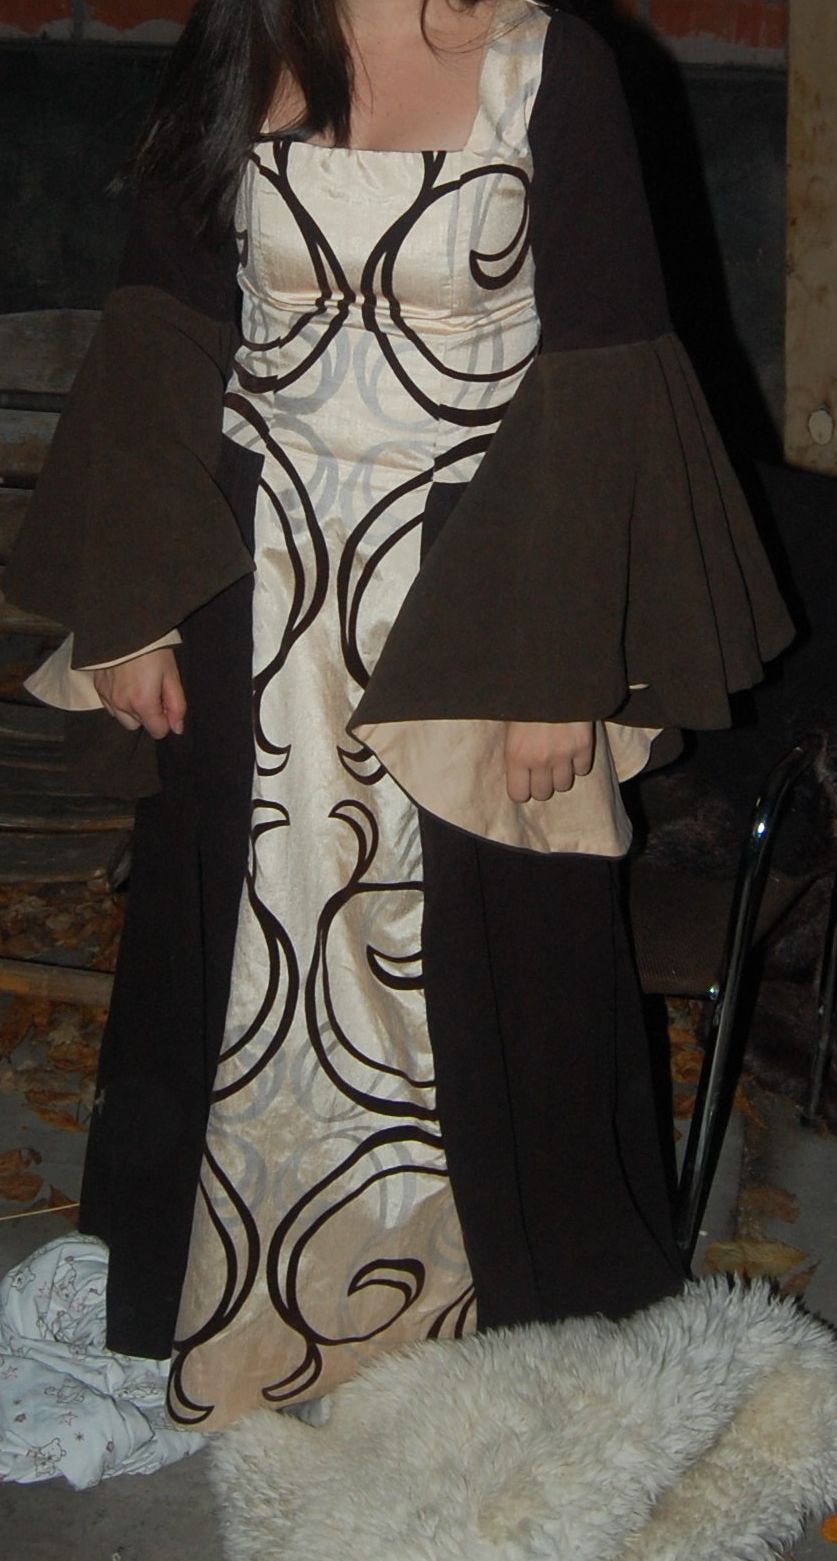
Whoops, it’s obviously been a while since I’ve been here. The last couple of months have been extremely busy and I’m still trying to get back on my feet. However, I have finally found the time (and motivation) to write about my new dress. A friend of mine celebrated her birthday the 10th of November with a party with a medieval dress code. The first deadline for this dress was September 6th (see here), I obviously failed at that, but I did finish it before the second one (the party)! I even have proof of me wearing it:


However, it takes a long time to put on thanks to this:


The back has a corset type closure, but there is no zipper and putting the cord through all those loops takes forever after. I have tried my best to match the pattern on the light coloured fabric. However, it was printed really off grain so that was not always possible. That’s why the browns are mostly matched up, although the centre back is a little off still. The same was true for the front, so although it doesn’t really show, the fabric is not sewn in symmetrically, in order to keep the pattern sort of similar.


Those sleeves are not very handy for.. anything, but they look really nice, and I’m very happy with them. I am really proud of myself for both thinking it all up (especially those sleeves) and for actually finishing it. I forgot to take pictures of the insides, but it’s fully lined and it looks really nice from the inside too. I’m so happy to have it finished!

On a random side note, tonight I have finally decided to eat the endive I’ve been growing in my garden. It was just enough to make me meal. I made “stamppot”, a Dutch recipe that’s really easy. Boil potatoes and mash them, add cut up endive and mash it all together, serve with bacon cubes. Done.

So now my patch is empty and I need to wait for spring again to start it all over. This year was not very productive, all in all I grew about 7 carrots and 1 plate worth of endive. I may have forgotten to fertilise last year. Anyways, I’m still busy, so I’m not very creatively productive nowadays. I’m trying though, I hope it will work, and good luck with your own creative outlets!