FINISHED!!!

Yaaaay!!! It’s finally done.
I have succeeded in knitting a cardigan! *dances around all happy *

You might not recall when I started this whole project. Neither did I, but I looked it up on the blog and the first mention was here. That’s September people. It’s now May, it basically took me 8 months to finish something that other people can do in days. I know this because my mum knit herself a sweater in the time it took from my due date to my birth (approximately 18 days), 22 years ago. I was in a kind of thrift shop today where I found really nice buttons with sailing ships on them. My mum doesn’t like them very much, but I’ve really fallen for them.

Here’s the button:
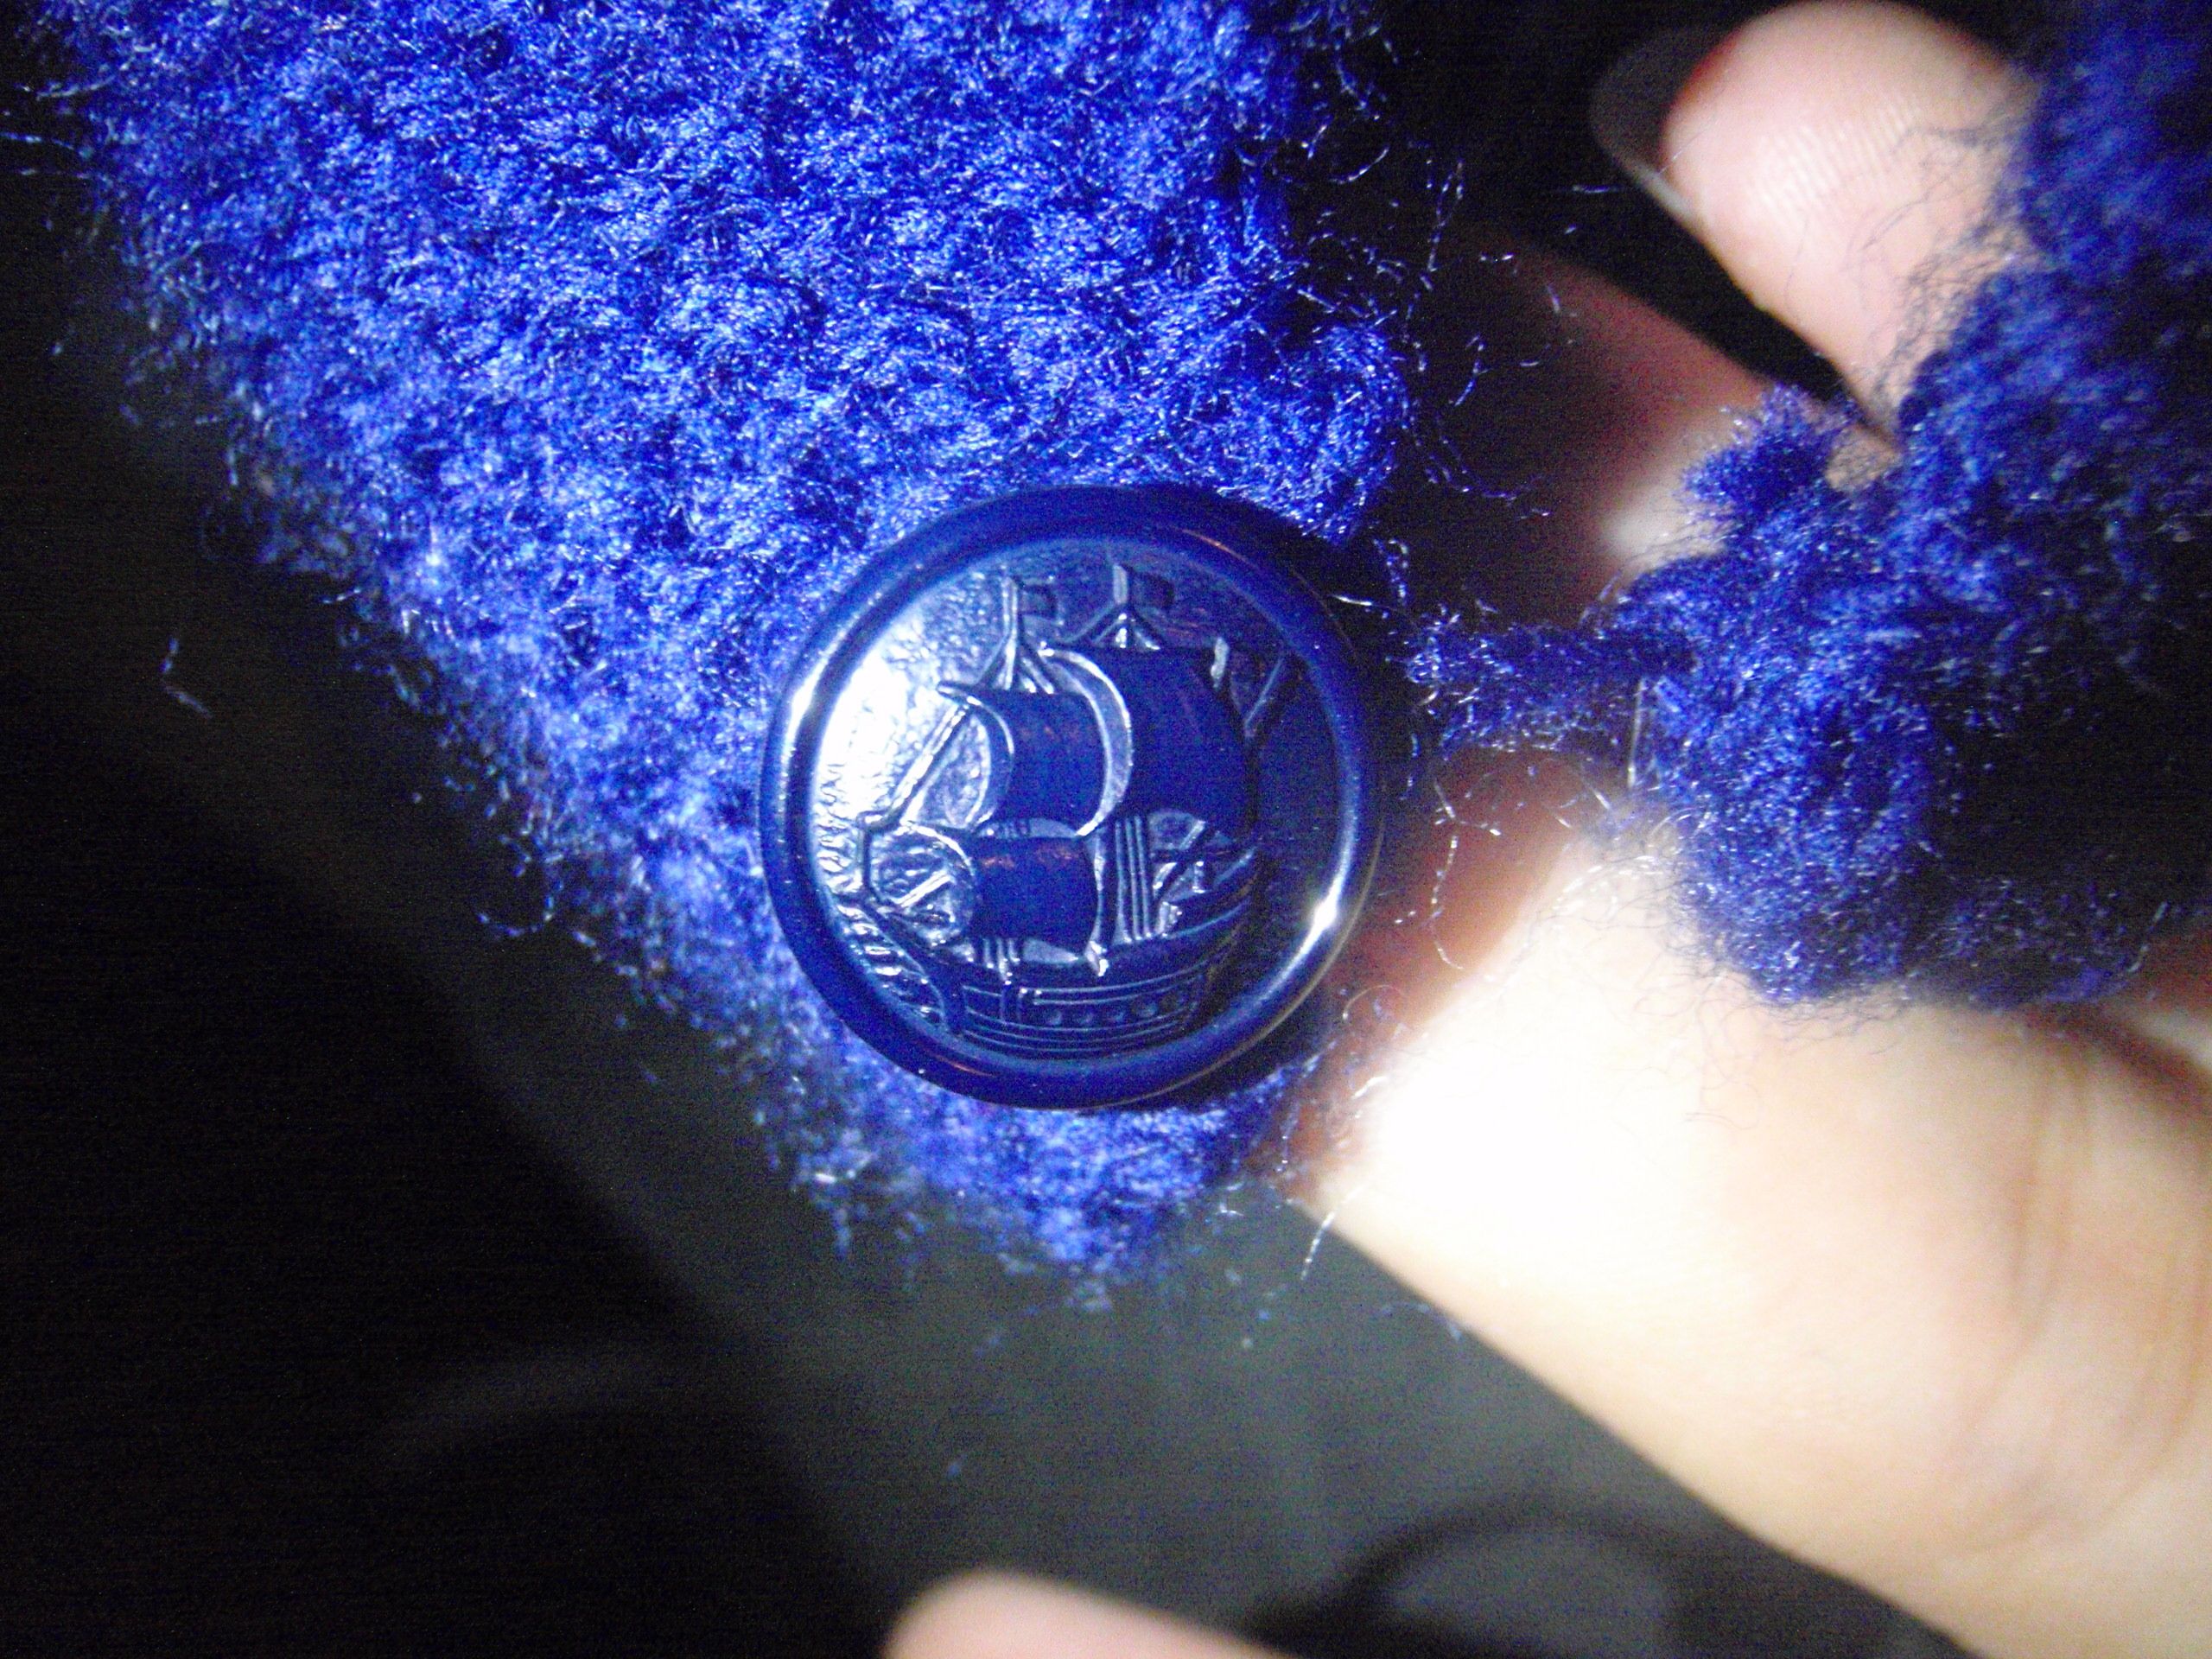
Button

It’s a lot darker in real life as you’ll see from the next picture.. The finished cardigan!
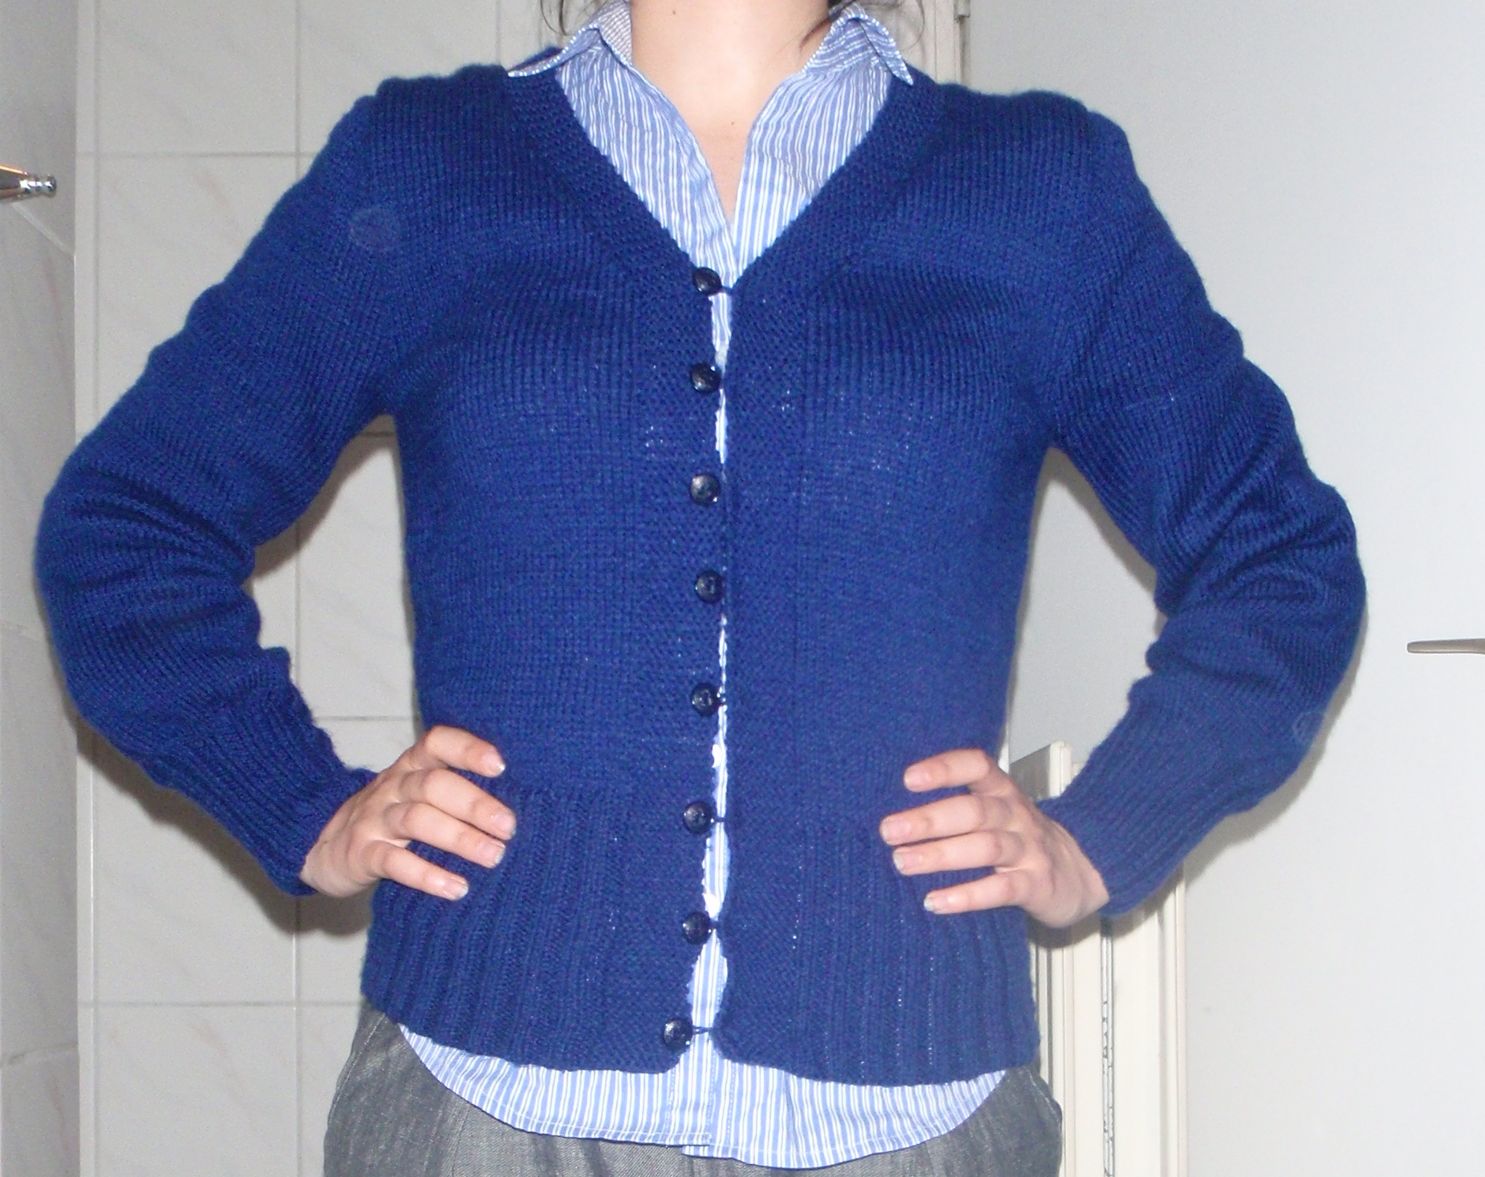
Cardigan

Yes this picture was taken in the bathroom. It was eleven at night when I took it and that’s the only room with actual bright light.

You might notice that it does not very much resemble the actual pattern it was based on, which is this one:
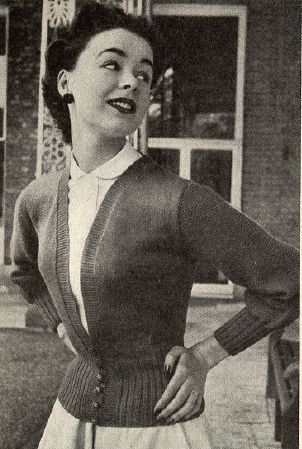
Pattern

This is because there was much too much space under the arms and it wasn’t even close to fitted. Furthermore, I felt uncomfortable with it being open so low (and it looked weird) and the arms are a lot longer than on the picture. The pictured length makes my skin crawl as it is both too short and too long for what I like. Thus with my changes I have now one finished cardigan!
(I’m so proud of myself for sticking with it even after all this time, go me!)

I don’t think I’m going to start another humongous knitting project soon, but this sure was a learning experience and at least I got a nice blue cardigan as bonus.


Queensday

The next village over always celebrates Queensday by also putting down a big tent and having a party in the days before (or after) Queensday. Yesterday me and my mother visited the bingo night, we actually both won something, not enough to cover the costs but it was still fun. Tonight there is a party with music and everything in Tiroler style. So my parents needed outfits. This morning we shopped around the closets to find something which we could see as the Tiroler style stuff we saw on the pictures we googled. I found a dirndl type skirt, my mom a shirt with a tie at the top and I fashioned her an apron from a bit of white fabric.

We made my dad substitute lederhosen by attaching ties to a pair of shorts we found in his cupboard. The amazing thing was that I had pretty much the exact same colour fabric in my stash as his pants were. So that’s what I did today, made silly costumes for my parents.

Result:

Promised Pictures

I promised to show a picture of my finished orangey pants, blogged here. So there they are:


I generally wear it with that little belt, which I attached at the back with a safety-pin, which you can probably see. I’m wearing them a lot, because they are comfortable and I really like the colour. I can generally pair it with quite a lot of things in my cupboard (or that’s what I think, don’t know if the rest of the world agrees).

I’m keeping to my plan of wearing something self-made at school. I forgot last Monday but apart from that I’ve been sticking to it. This pants is one of the regulars, and I have two other pants I wear often too. I have some difficulty incorporating the skirts and dresses because I never now how to behave when I have no pants on. Coming Monday is going to be Queensday, and I’m looking forward to the celebrations. I might wear these pants because they are close to orange.


Knitting, even further continued..

I’ve finished my first sleeve! And started on the second, I’ve even got proof!

Front Second sleeve

Cool, right. Well it’s cool on my left side, since there is no sleeve there yet. However, I started the second one already, so maybe I’ll really be able to wear this thing this year.

I know the ‘closure’ of this thing is a bit strange.. I just poked a knitting needle through the front so it could close. I also have not finalised the setting of the sleeve yet, I’m not completely happy with how it fits right now, but I’m sure I’ll manage something in the end. I think it’ll also be easier to do in the end.

I’m now at line 19 of the stockinette, there’s 100 to go in the body of the sleeve. Then a lot of lines to get the round shoulder bit, 52 to be exact. Putting it all together, attaching buttons and button loops and it should be finished and I have a new cardigan!

The skirt was another one of the projects, I do actually wear it sometimes. I quite like it with the two zippers, that you won’t be able to see in the picture, but are there.

No such thing as Easter without eggs

Therefore, I insist on having an egg search in our front garden every year. I make my mother get up ‘early’ on Easter Sunday and hide some painted boiled eggs and small chocolate eggs in the front garden. However, in order to do this, one first needs… painted eggs! So that’s what we did just now, me and my mom painted some eggs.

I assume many will find this a childish habit, as I am almost 22 and still want to paint and search for eggs, but it’s tradition, and I really enjoy it. By the way, so do our neighbours from across the street. They generally come and watch us search and my mother hide the eggs (in opposite order of course).

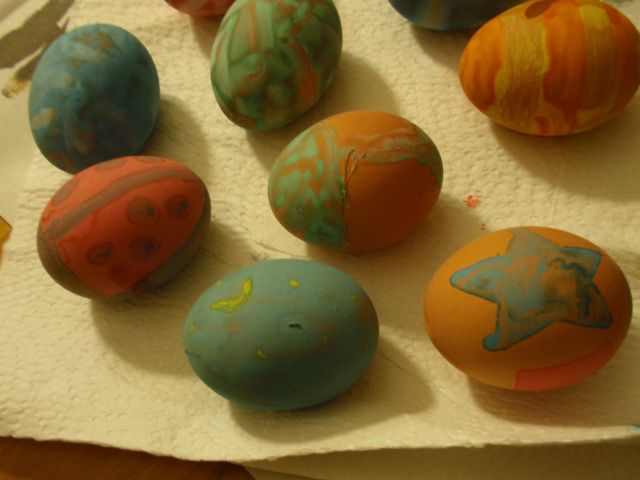
Anyways here’s this year’s batch:

Eggies My eggies

I shall describe what you see. On the first picture are all our eggs, we planned to do 10, but one broke during boiling. The ones on the right are my mum’s (the blue, green, red, orange and another blue squiggly ones). I generally paint with a plan, a bad plan usually but a plan. So the top one is a ladybug-egg, its black face is a little more visible in the right picture. The one beneath that is the night sky with the moon. It’s blue I know, but black also didn’t really work, and I wanted blue. The one next to that is called “Nature”, it has a red flower on the one side, grass on the bottom, a tree on the other side (see the right picture, where I turned it, just for your viewing pleasure) and the sun at the top. The bottom one was less planned, it’s basically an egg with semi-geometrical shapes on it, a star, an 8ish thing (I had no more ideas), a circle, a triangle and a bow tie. Well at least we had fun painting right.

My brother said he didn’t want to go search for eggs unless my mum was wearing a bunny suit, so I plan on making her a set of ears in a minute, that would be fine too, he said. Also to give the neighbours even more fun on their Easter Sunday morning.

Wish me luck, I hope to find all this year.. last year we lost 2 chocolate ones.


Work in Progress

I’ve been finding that I want to start a lot of projects, but because of time constraints, unwillingness or some other reason (for instance: the sewing room is such a big mess that I could not open the door), I hadn’t. Now I’ve started one, and don’t know how to finish. I’m making a second version of the black pinstripe dress I made from Simplicity 2374 (link).

I now have a white bodice and skirt, but no midriff pieces. I’m doubting whether or not I should make the midriff from a black fabric with leopards on it (a little lighter than the fabric, they are fairly unobtrusive), since the white is almost finished and if I want to get the sleeves in white I need the fabric. I’m just thinking, I could also make two.. One white top and black skirt or the other way around. That would be nice, possibly with a grey midriff band. I’ll have a check to see if I have matching fabric.

*Feels a plan develop, maybe the mojo to start the finishing is coming back!

Costume(?) Plan

In May I’m going to go to a LARP with a friend of mine. For this I need an outfit. I have a plan, and it is quite costumey, and I don’t know if it’s going to work, but I hope so.

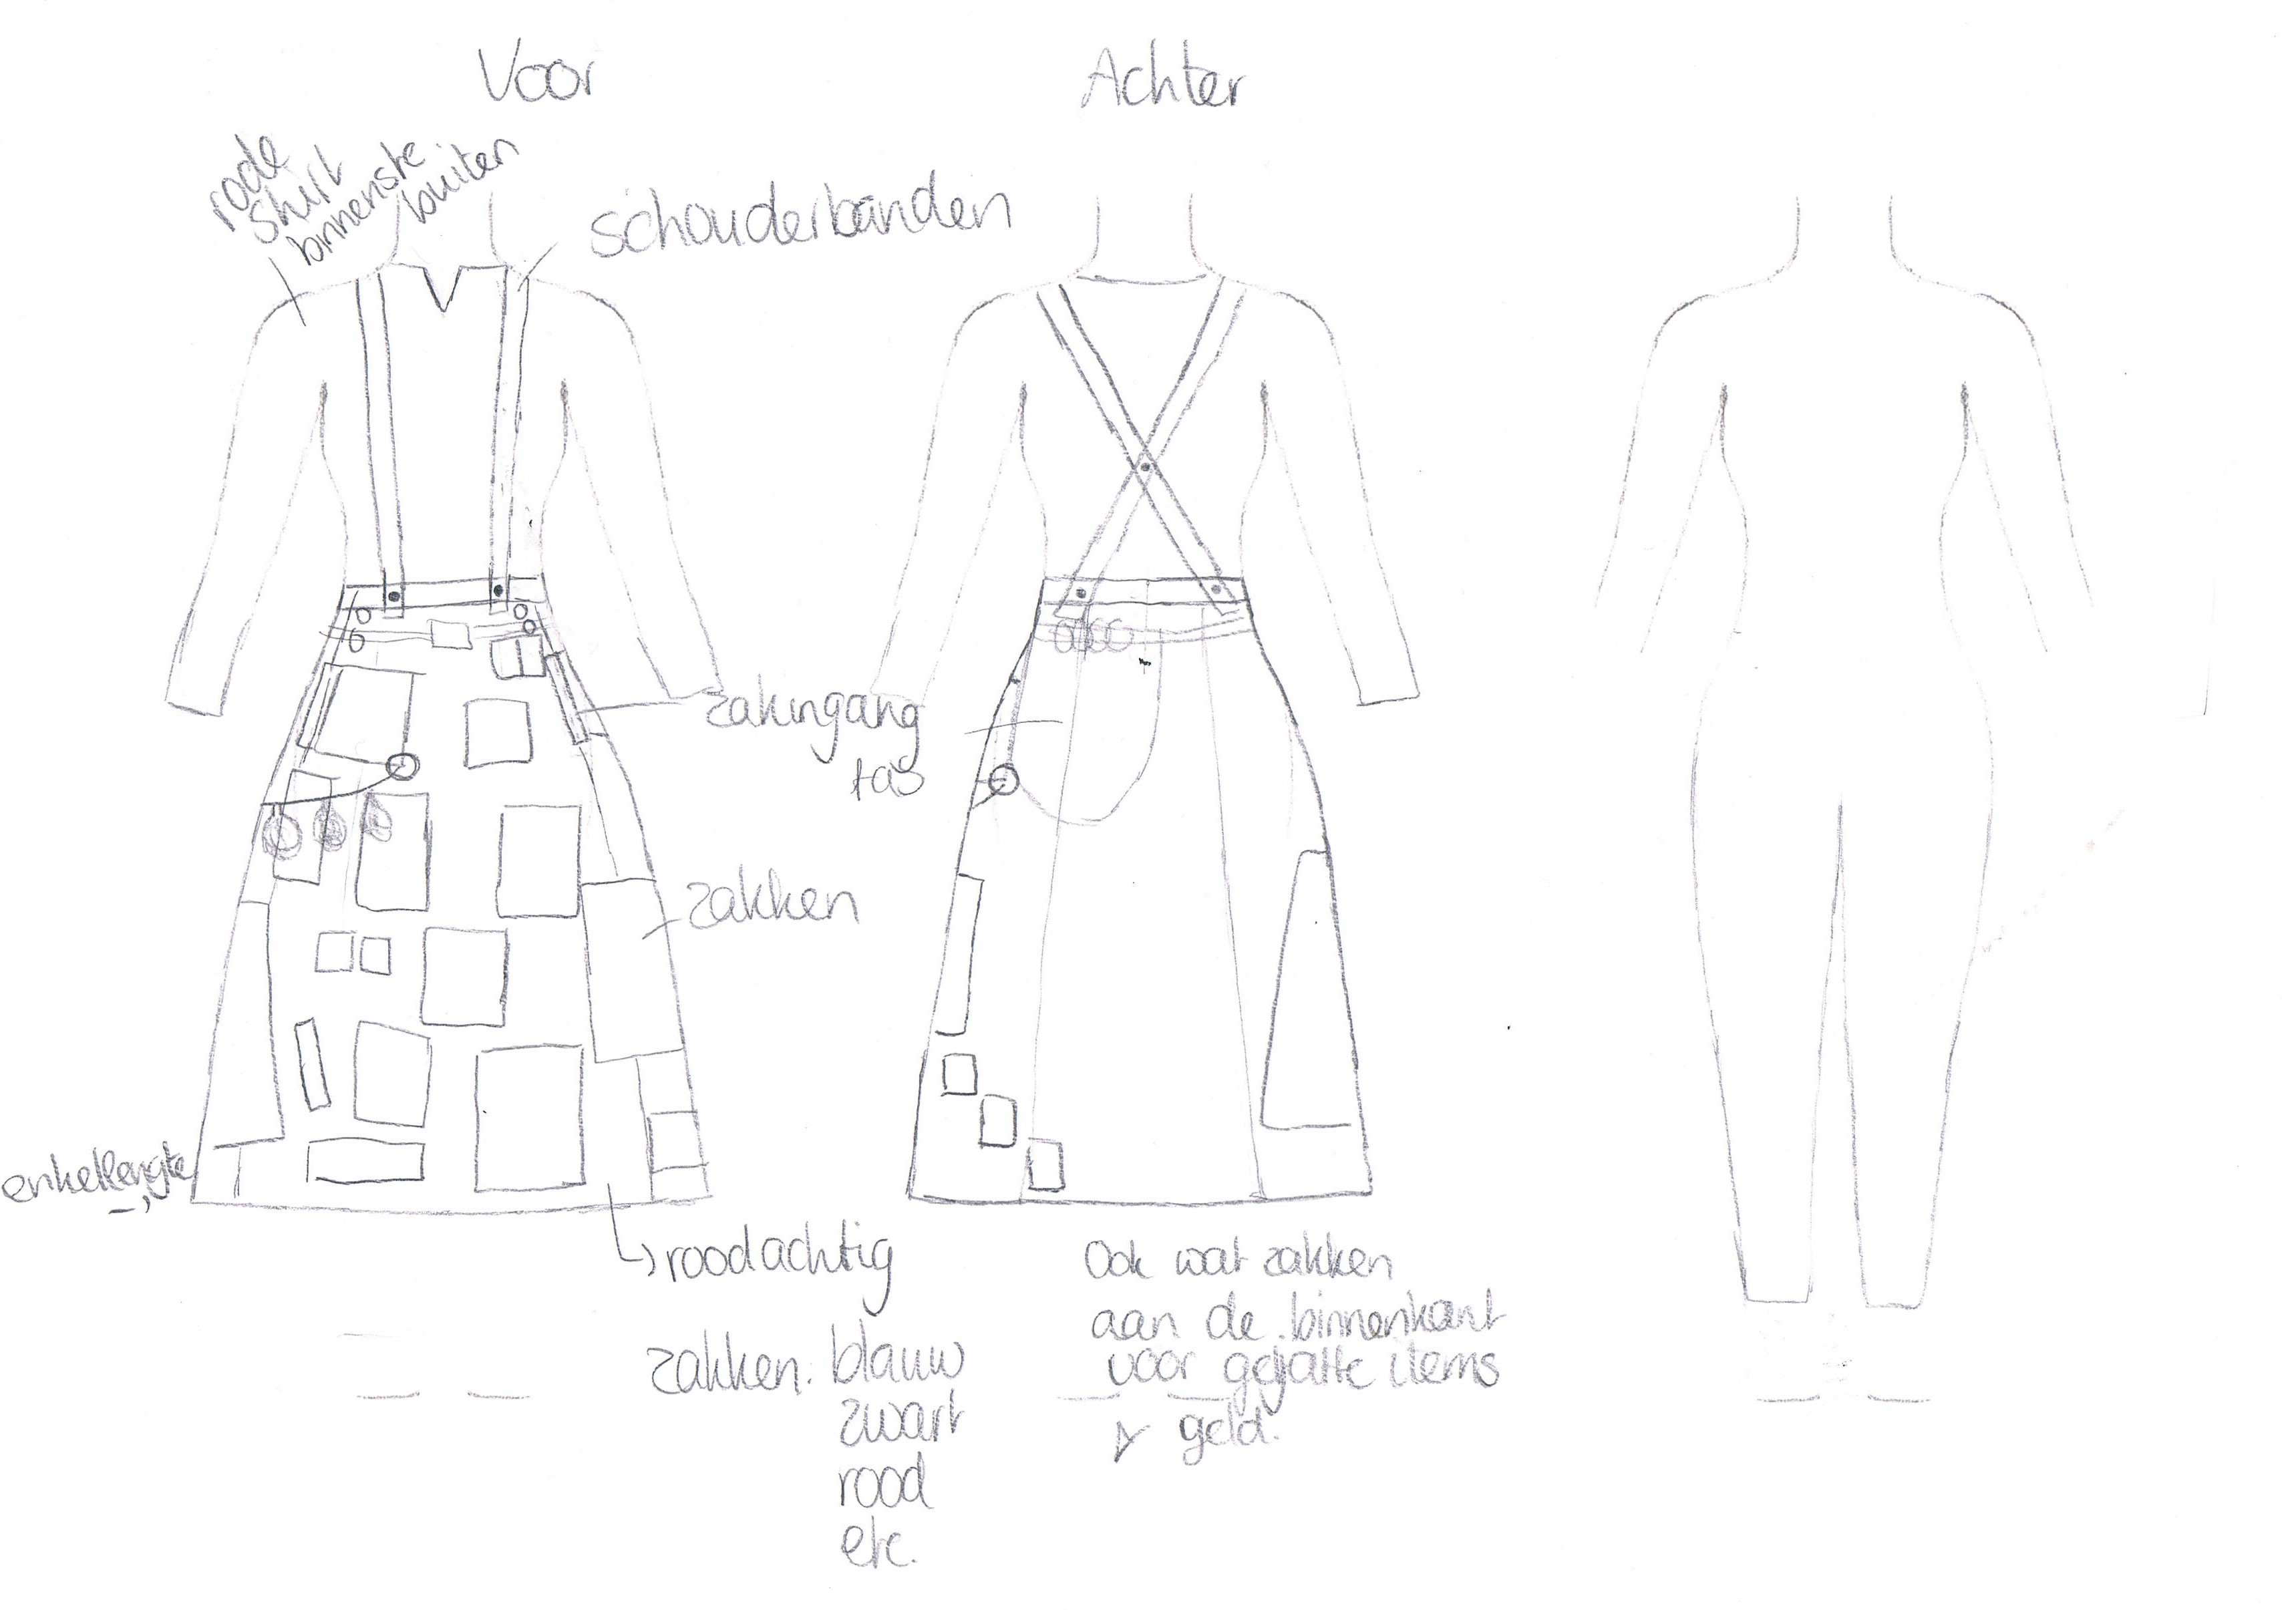
I’m envisioning myself in a skirt that has a lot of pockets. The character I want to play is somewhat like a magpie, always collecting shiny things. And not shiny things, and wanting to know everything (ok, maybe that’s not magpie, but it’s fun). So I want to be able to put all the stuff I ‘collect’ into something, in this case, a skirt. I want to make the skirt out of a red-ish linen that I’ve had for a larp purpose for years (it’s the only bit that is big enough for the skirt I want to make). Then I want to add pockets, a lot of pockets, in different kinds of fabrics. I found bits in blue, red, black, more blue and more red, so that should be fine. I also have some wool left over from my mantle. This could serve well as pouches I think. I have made a sketch (see below), I just haven’t really figured out what to do with the back. I can’t really put stuff in pockets, if I put pockets there. Since sitting comfortably is quite a priority for me, especially if I’m going to be running around the woods for days, I need to be able to sit if I’m tired.

Any ideas?

Here’s the sketch, the text is in Dutch, and also not very interesting:

Sketch

The third figure is empty, because it’s a template since I cannot draw freehand figures very well. I can draw one half of the figure, and than fail at reproducing it, so I scanned it and copied and pasted and voila!

Pants

I don’t remember when exactly but I made really nice (or at least that was what I thought) red/brown pants last year or the year before. I was happy wearing them the next day, and playing around with super glue. You understand that that obviously went wrong. I had a really nice super glue stain on my beautiful pants, close to the knee. It dried up much darker and wouldn’t come out so I did not ware those pants very often. Now I’ve finally ‘fixed’ it.

I made to additional seams in the legs of the pants to cover the stain inside. Which worked! I also reinserted the zipper and made it smaller. I’m quite happy again with it, no more stains! Now only to make sure that when using super glue, always wear something you can trow away if you get the glue on it. I’ll take a picture soon.

I’ve also agreed with myself that I’m going to try and get more out of my self made items, by wearing at least one thing I’ve made (or altered in the case when I really can’t find anything), when I go to school. I go to school 3 times per week so that should help get the rotation going. Eventually I might be able to increase it to every day, but we’ll see about that when the time comes.

Sleeves

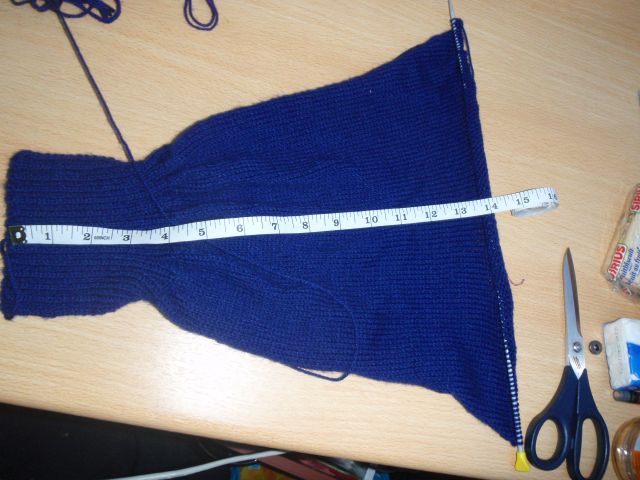
I’m still busy knitting my way through two sleeves. I haven’t actually started the second one still working on the first. The pattern calls for knitting until the sleeve measures 14 inches and then start casting off stitches to form the sleeve head. However, this would make the sleeves 3/4 length at best. I hate (with a passion) 3/4 sleeves. I always push them up because they are too long to be normal t-shirt sleeves, and too short to pull them down, and then I have cold arms. So I’ve decided to knit for a bit longer, so they just touch my wrists. I hope it will work, and I don’t ruin the thing. There is now so much time in this cardigan that that would be a real shame.

Here is the sleeve.

Sleeve


Knitting (cont.)

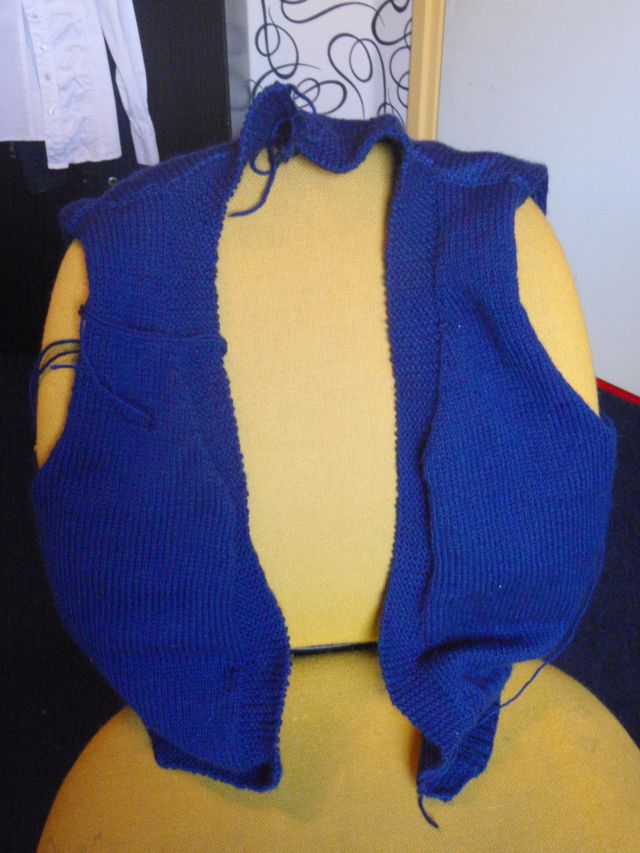
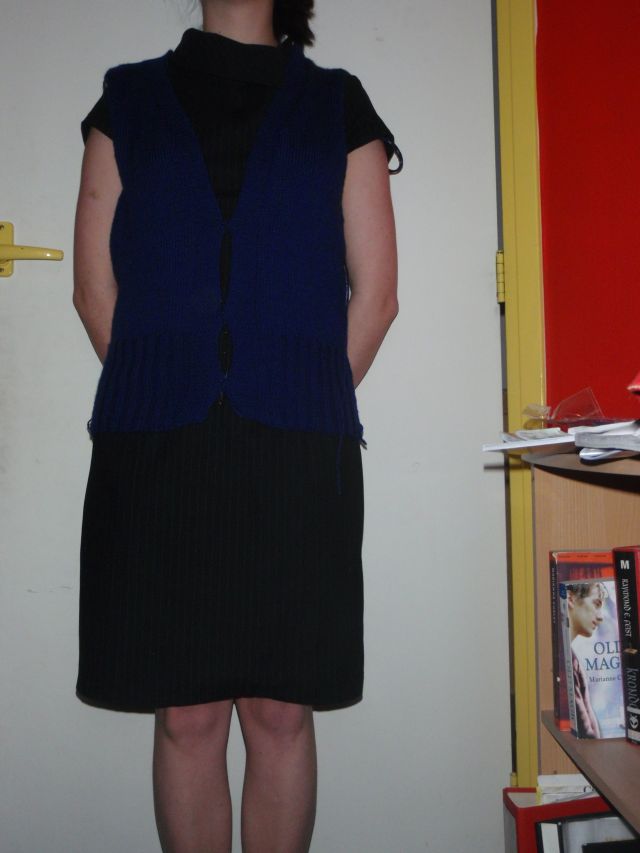
More knitting has been going on. I’m really starting to see progress! I now have the two fronts and the back finished. Although I’ve been laughed at for making such small ribbing sections I can now prove everyone wrong. IT DOES FIT AROUND ME!!!

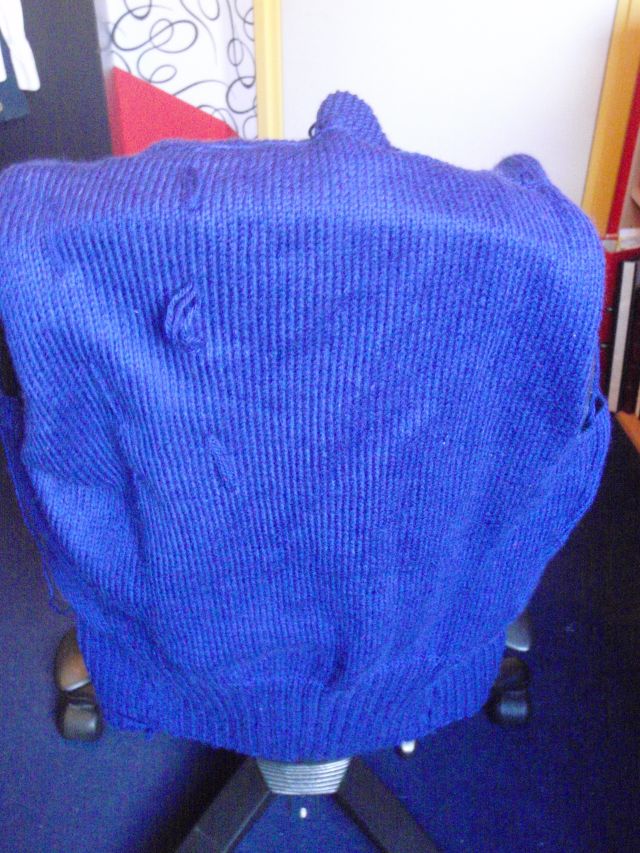
I know this because I put the body together, just to see if it would work, and it does. *does a little dance* Ok, it might at present look like a creepy blue sack with armholes that curl in on themselves, but I don’t care, I have knitted a body and I did it within 2 years, actually maybe even within 1 year! I’ve now started on one of the sleeves and have knitted about 3.5 inches of ribbing (this pattern measures things in inches. I’m so used to cm that I have difficulty guesstimating how far along I am in inches. So I’m very happy to have some trusty cm on one side/ inch on the other side – tape measures, they sure help a lot), maybe this cardigan will be done before the end of the world in December.

Anyways, I took some pictures to show, disregard the hair pins keeping the thing closed on the last picture (quick solution), the threads hanging off on all sides (I’m afraid to cut them yet) and it really is a very nice dark blue, which does not really come out very well in these pictures.

Back Front Closed