Finalemente

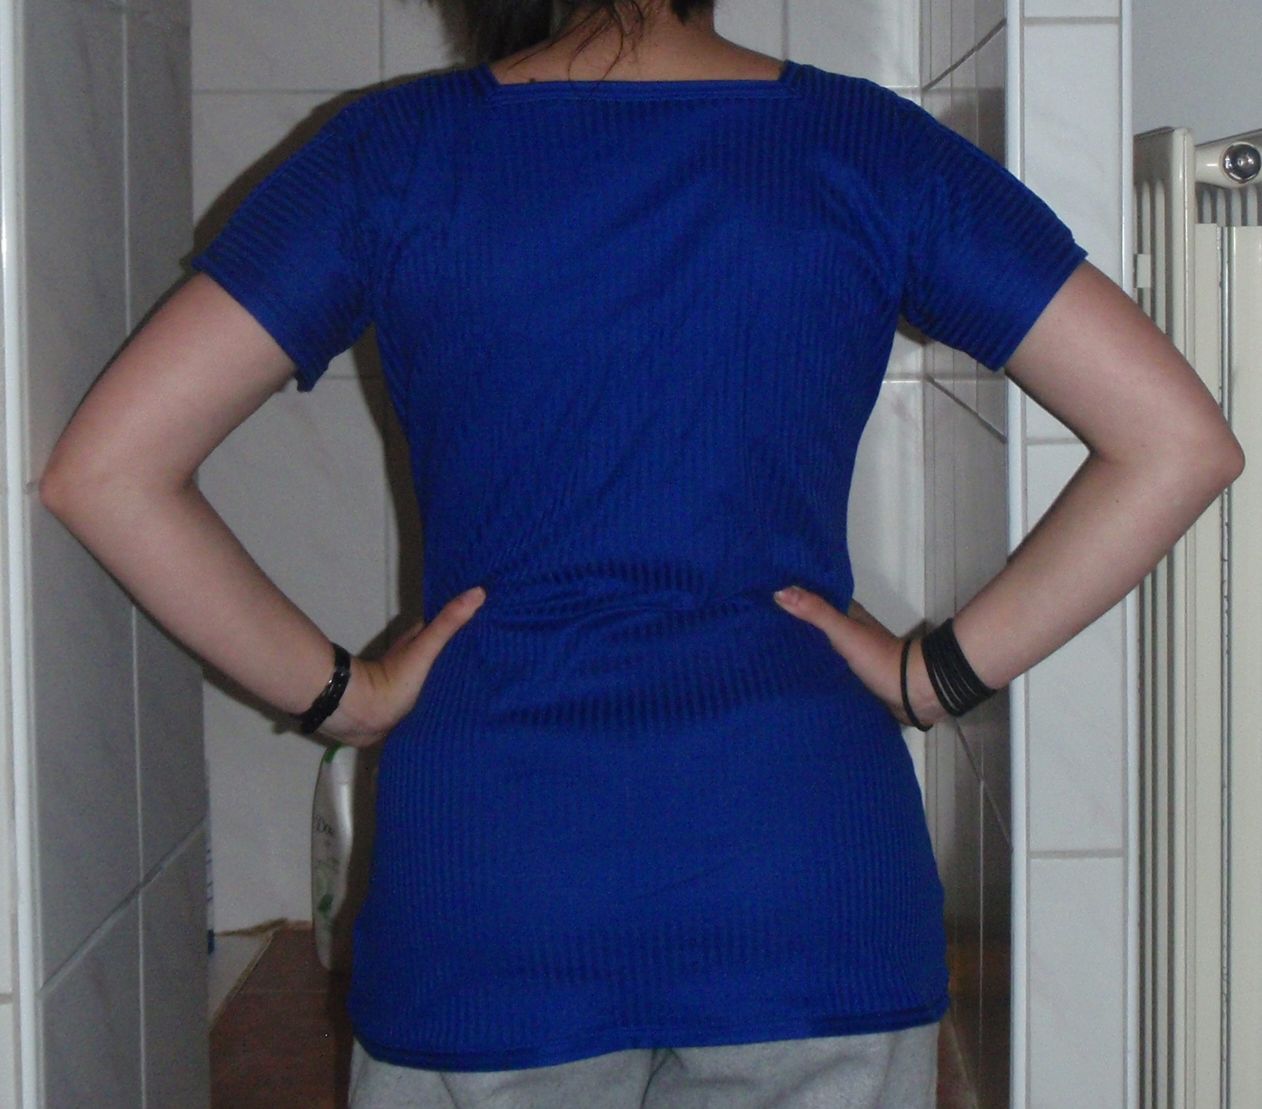
I have.. finally finished the shirt I started making ages ago. It’s another blue one, made from the same fabric as this one, but now with a nice neck and hems. It of course took forever to finish it. I’ve had it serged and ready for final touches (attaching the binding strips to each other at the corners and an extra row of stitches to keep the serged ends under) for at least a month now. However, I never did find the time or willpower needed to actually finish it.

Tonight I finally did, this might be because I had started another project last week (some shorts) that were also in the last stages of finishing, but I’ll tell you about that tomorrow.

So now the blue shirt is up and ready to be worn! As of right now I’m still very happy with it, although I haven’t road tested it yet, due to it only being done a couple of hours ago.

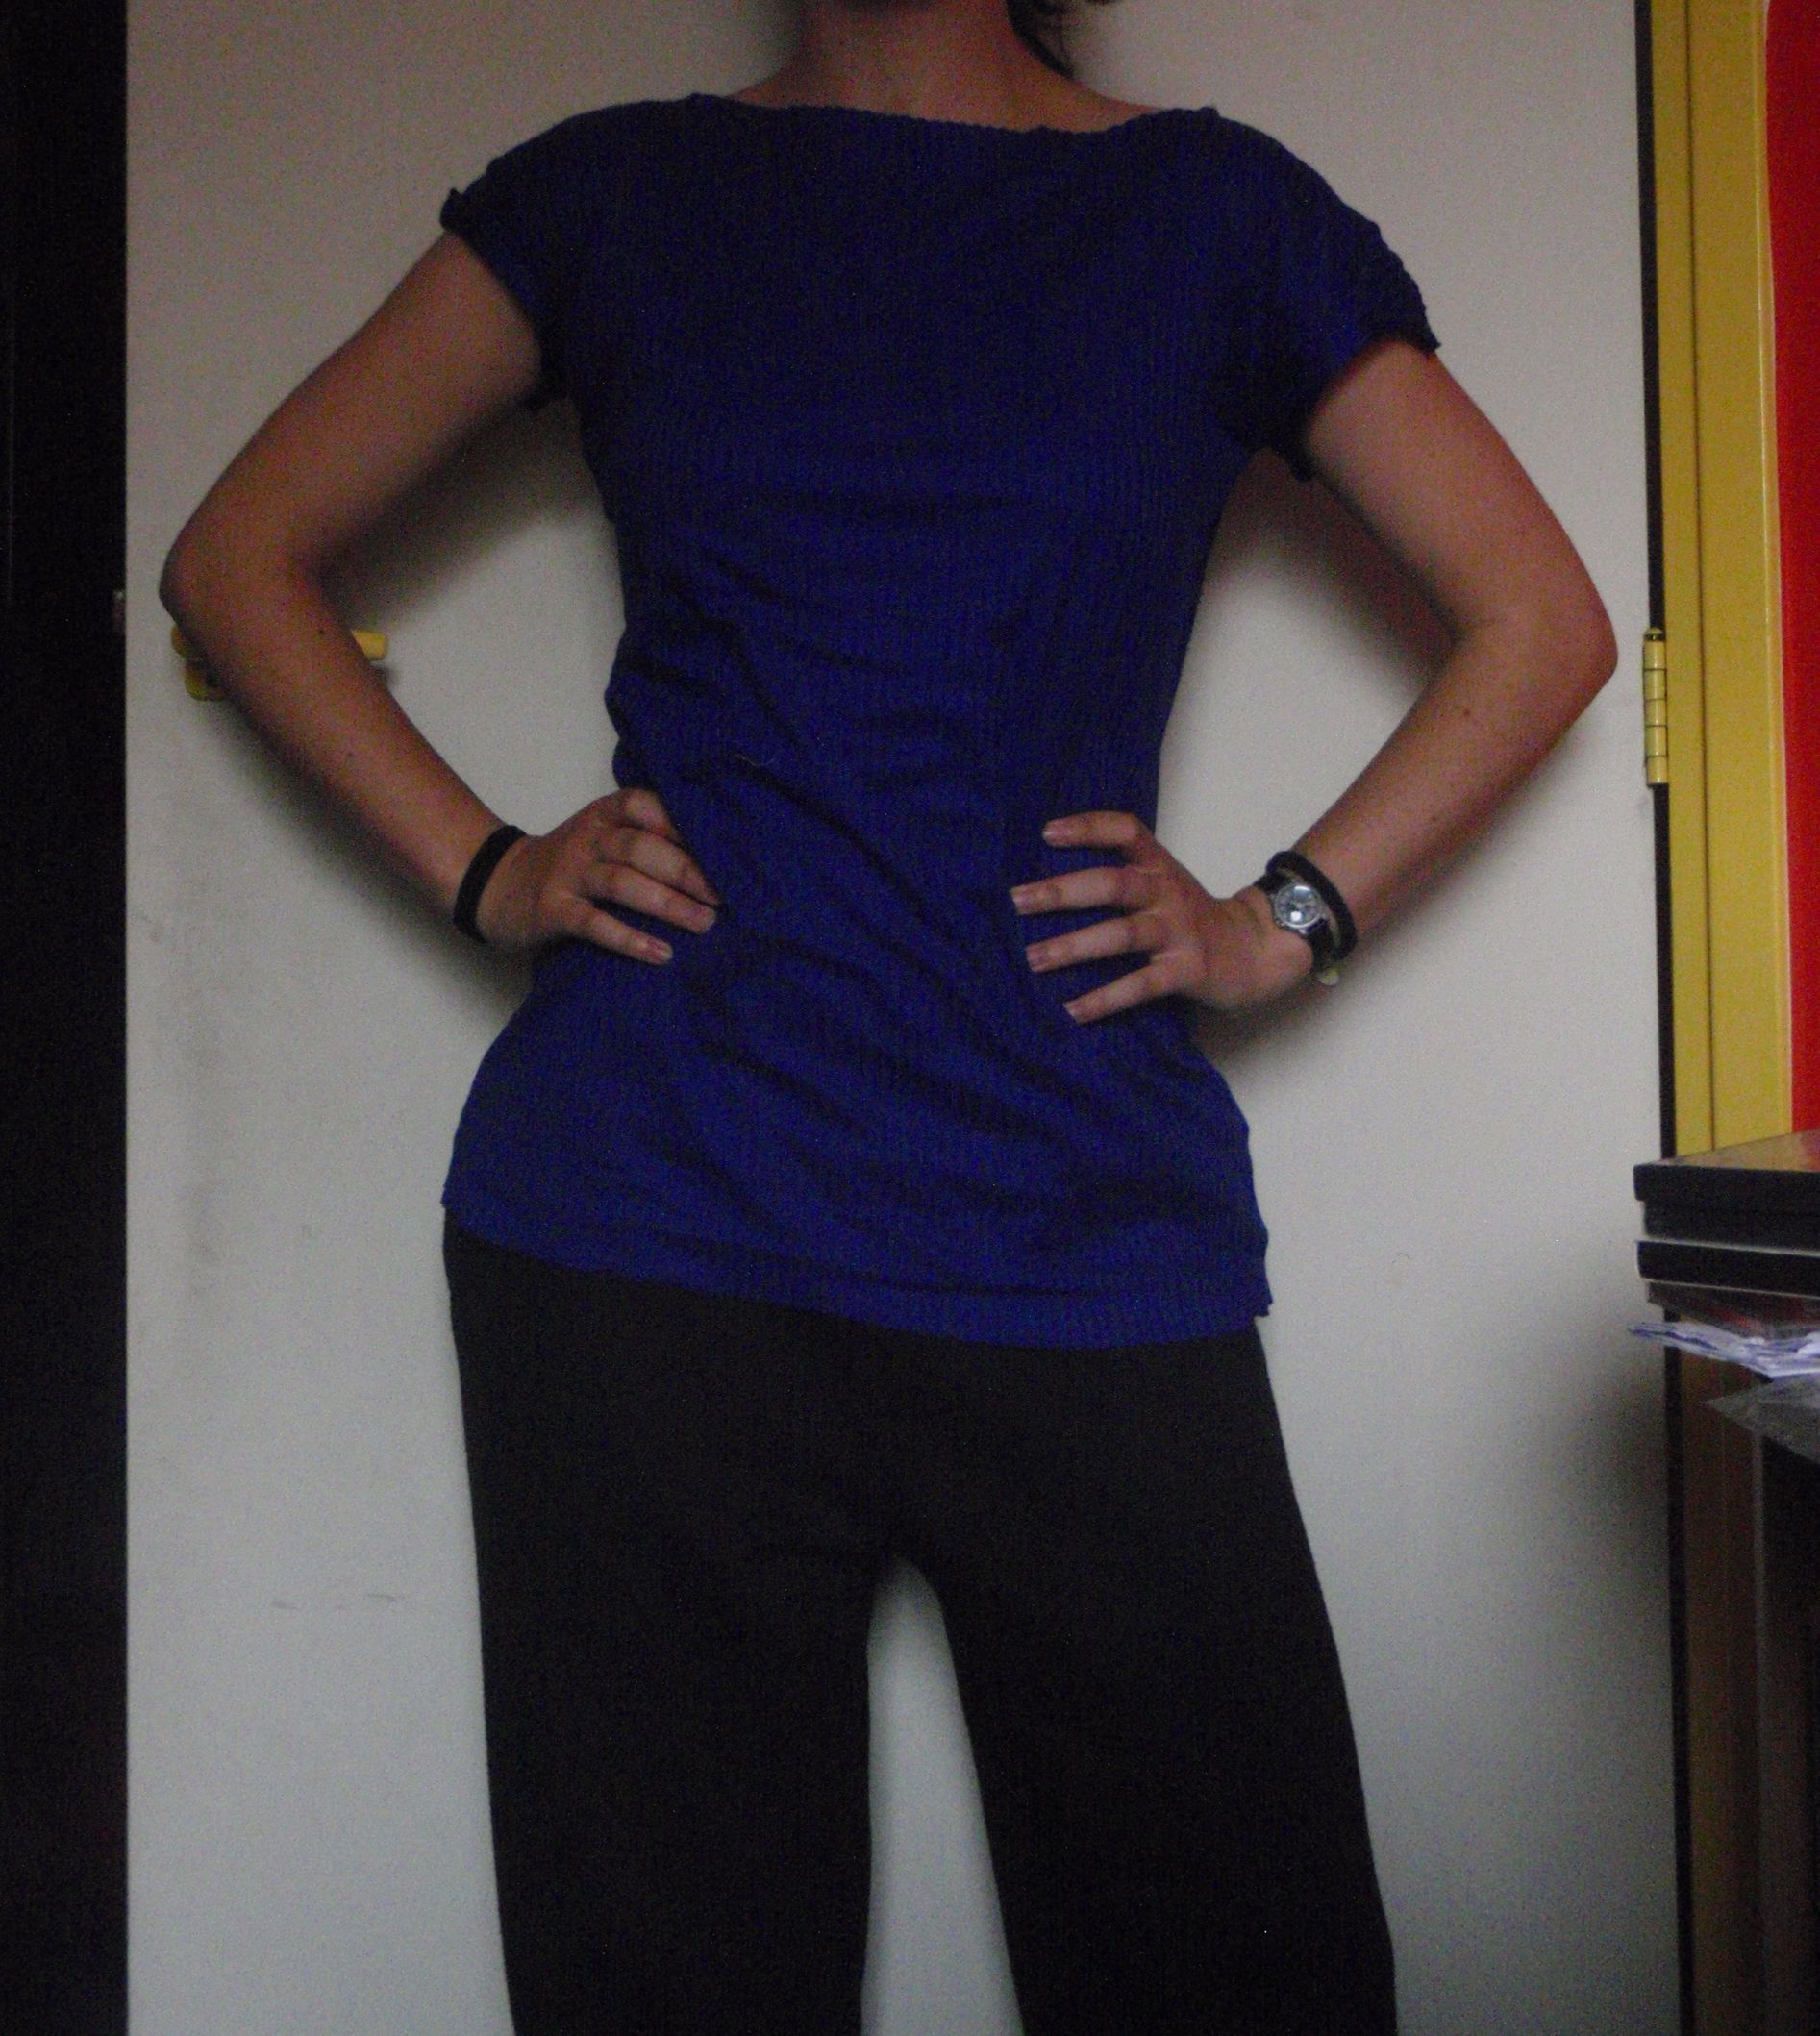
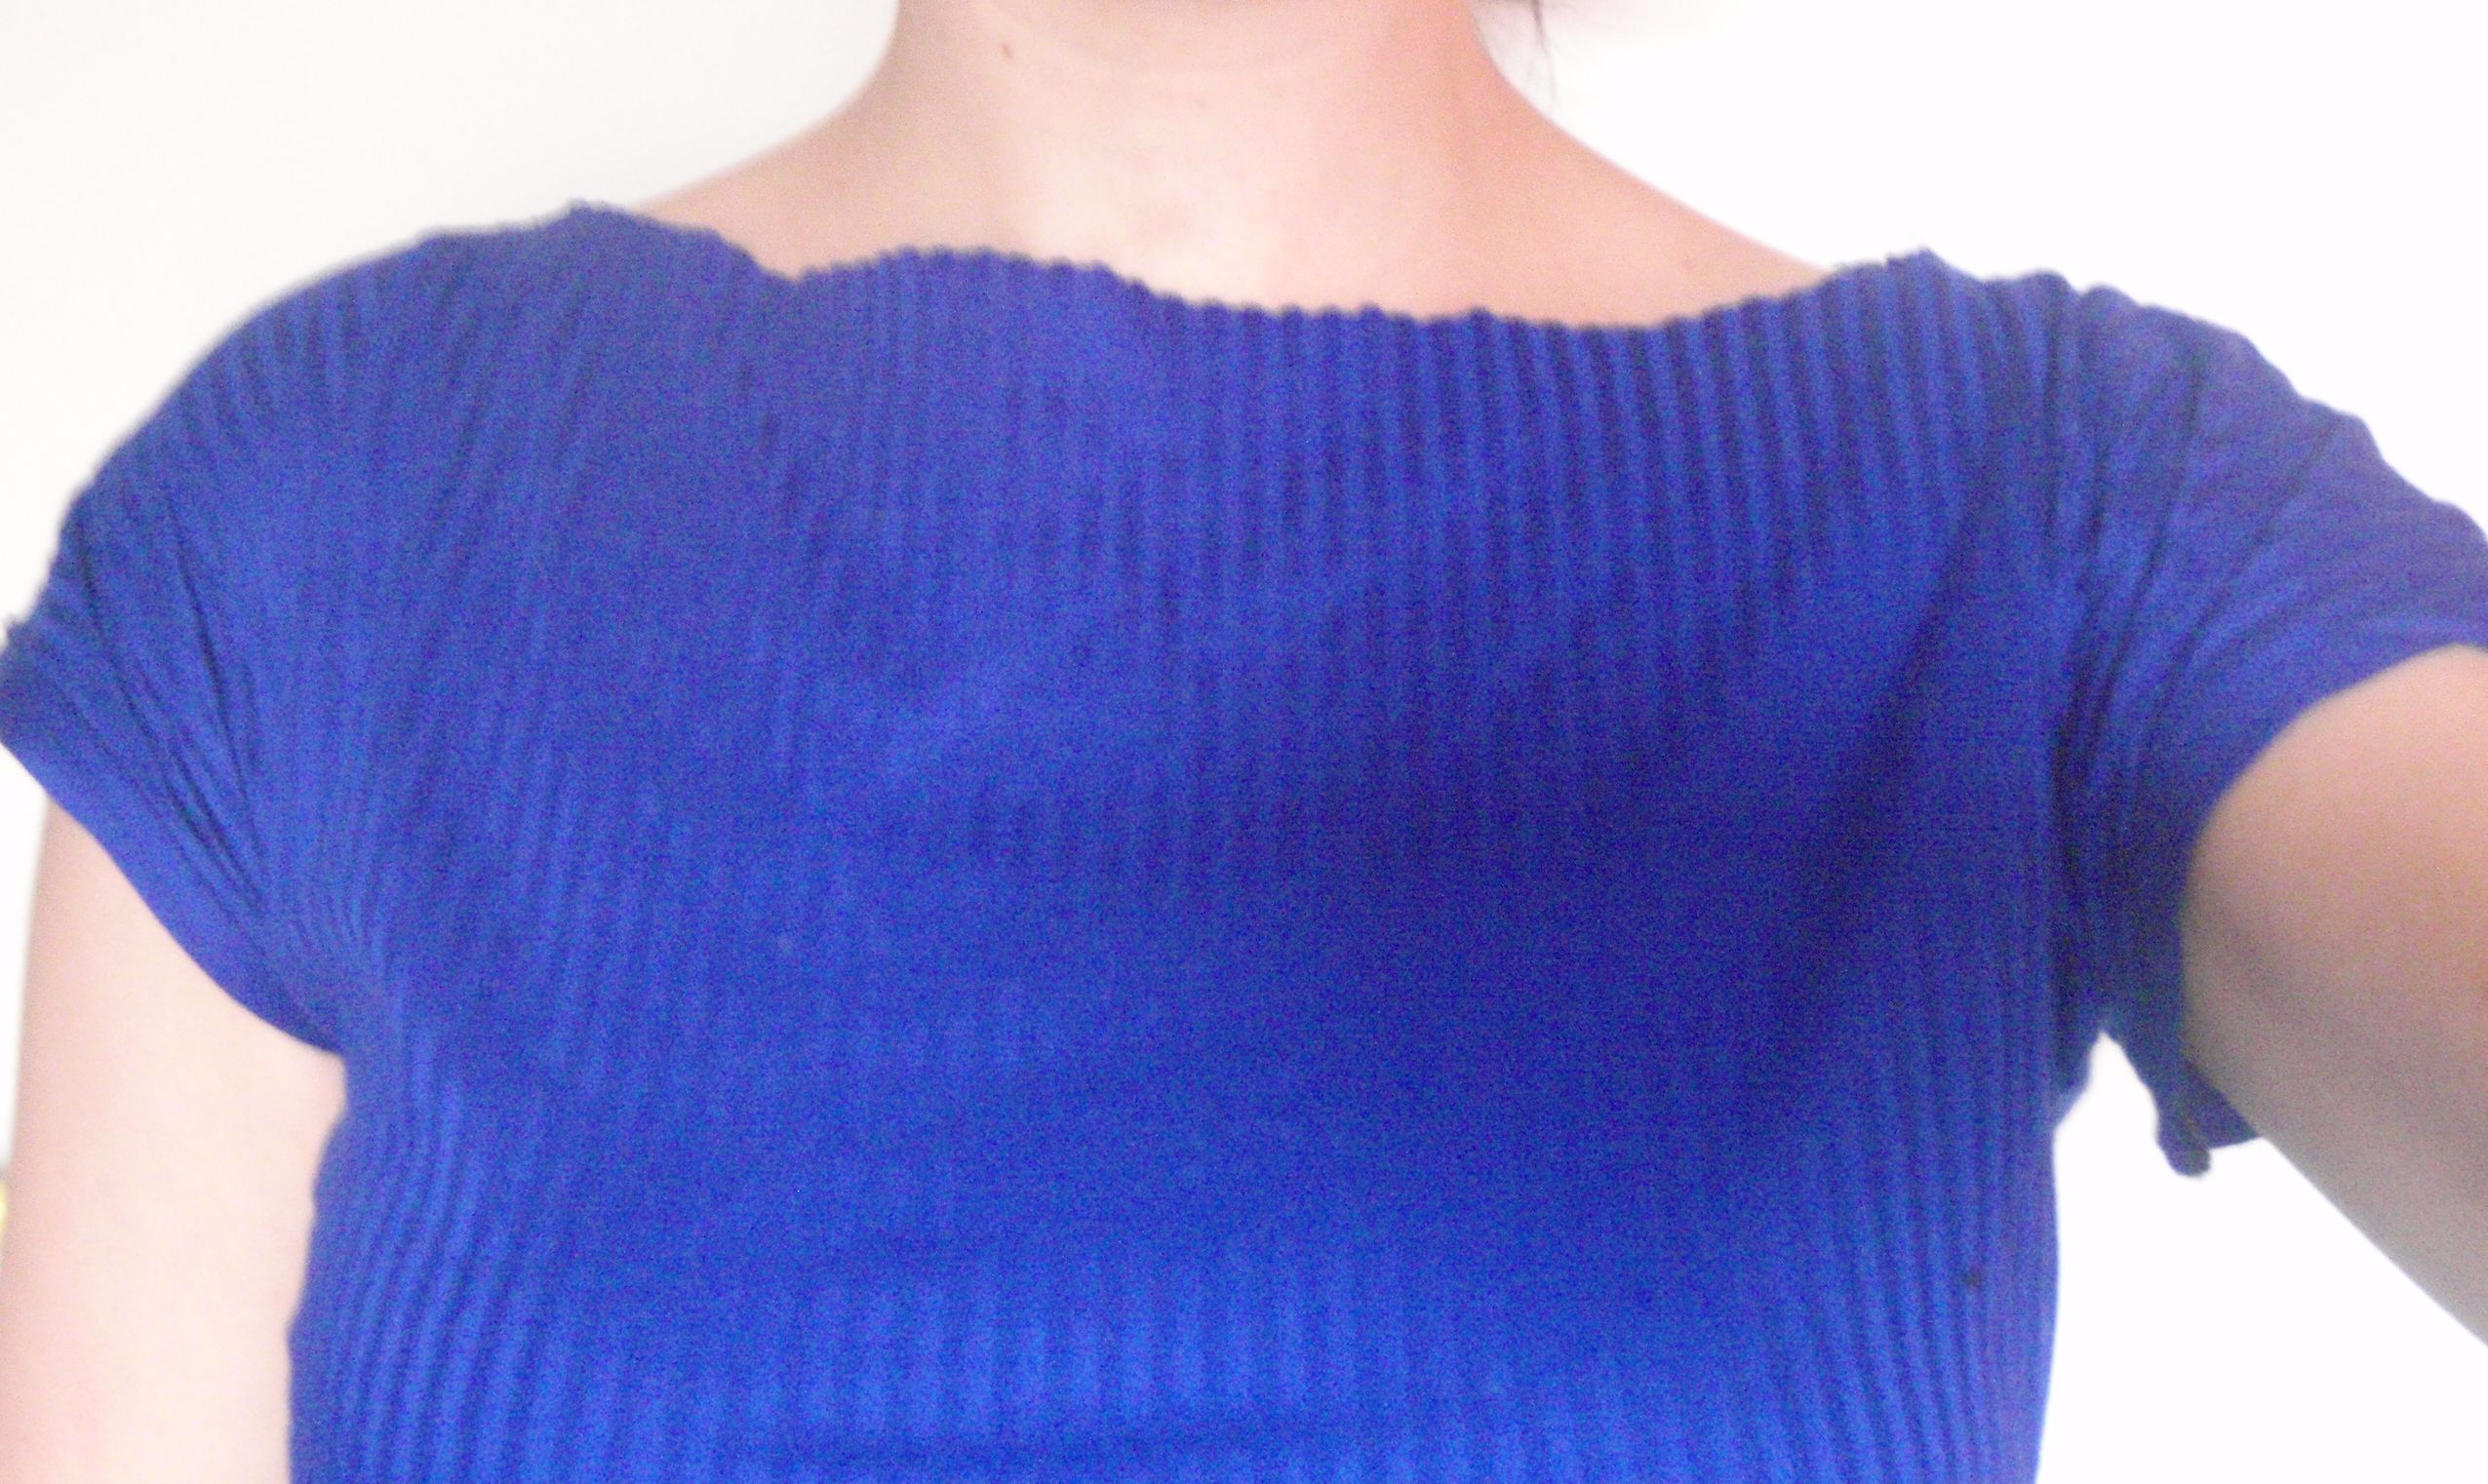
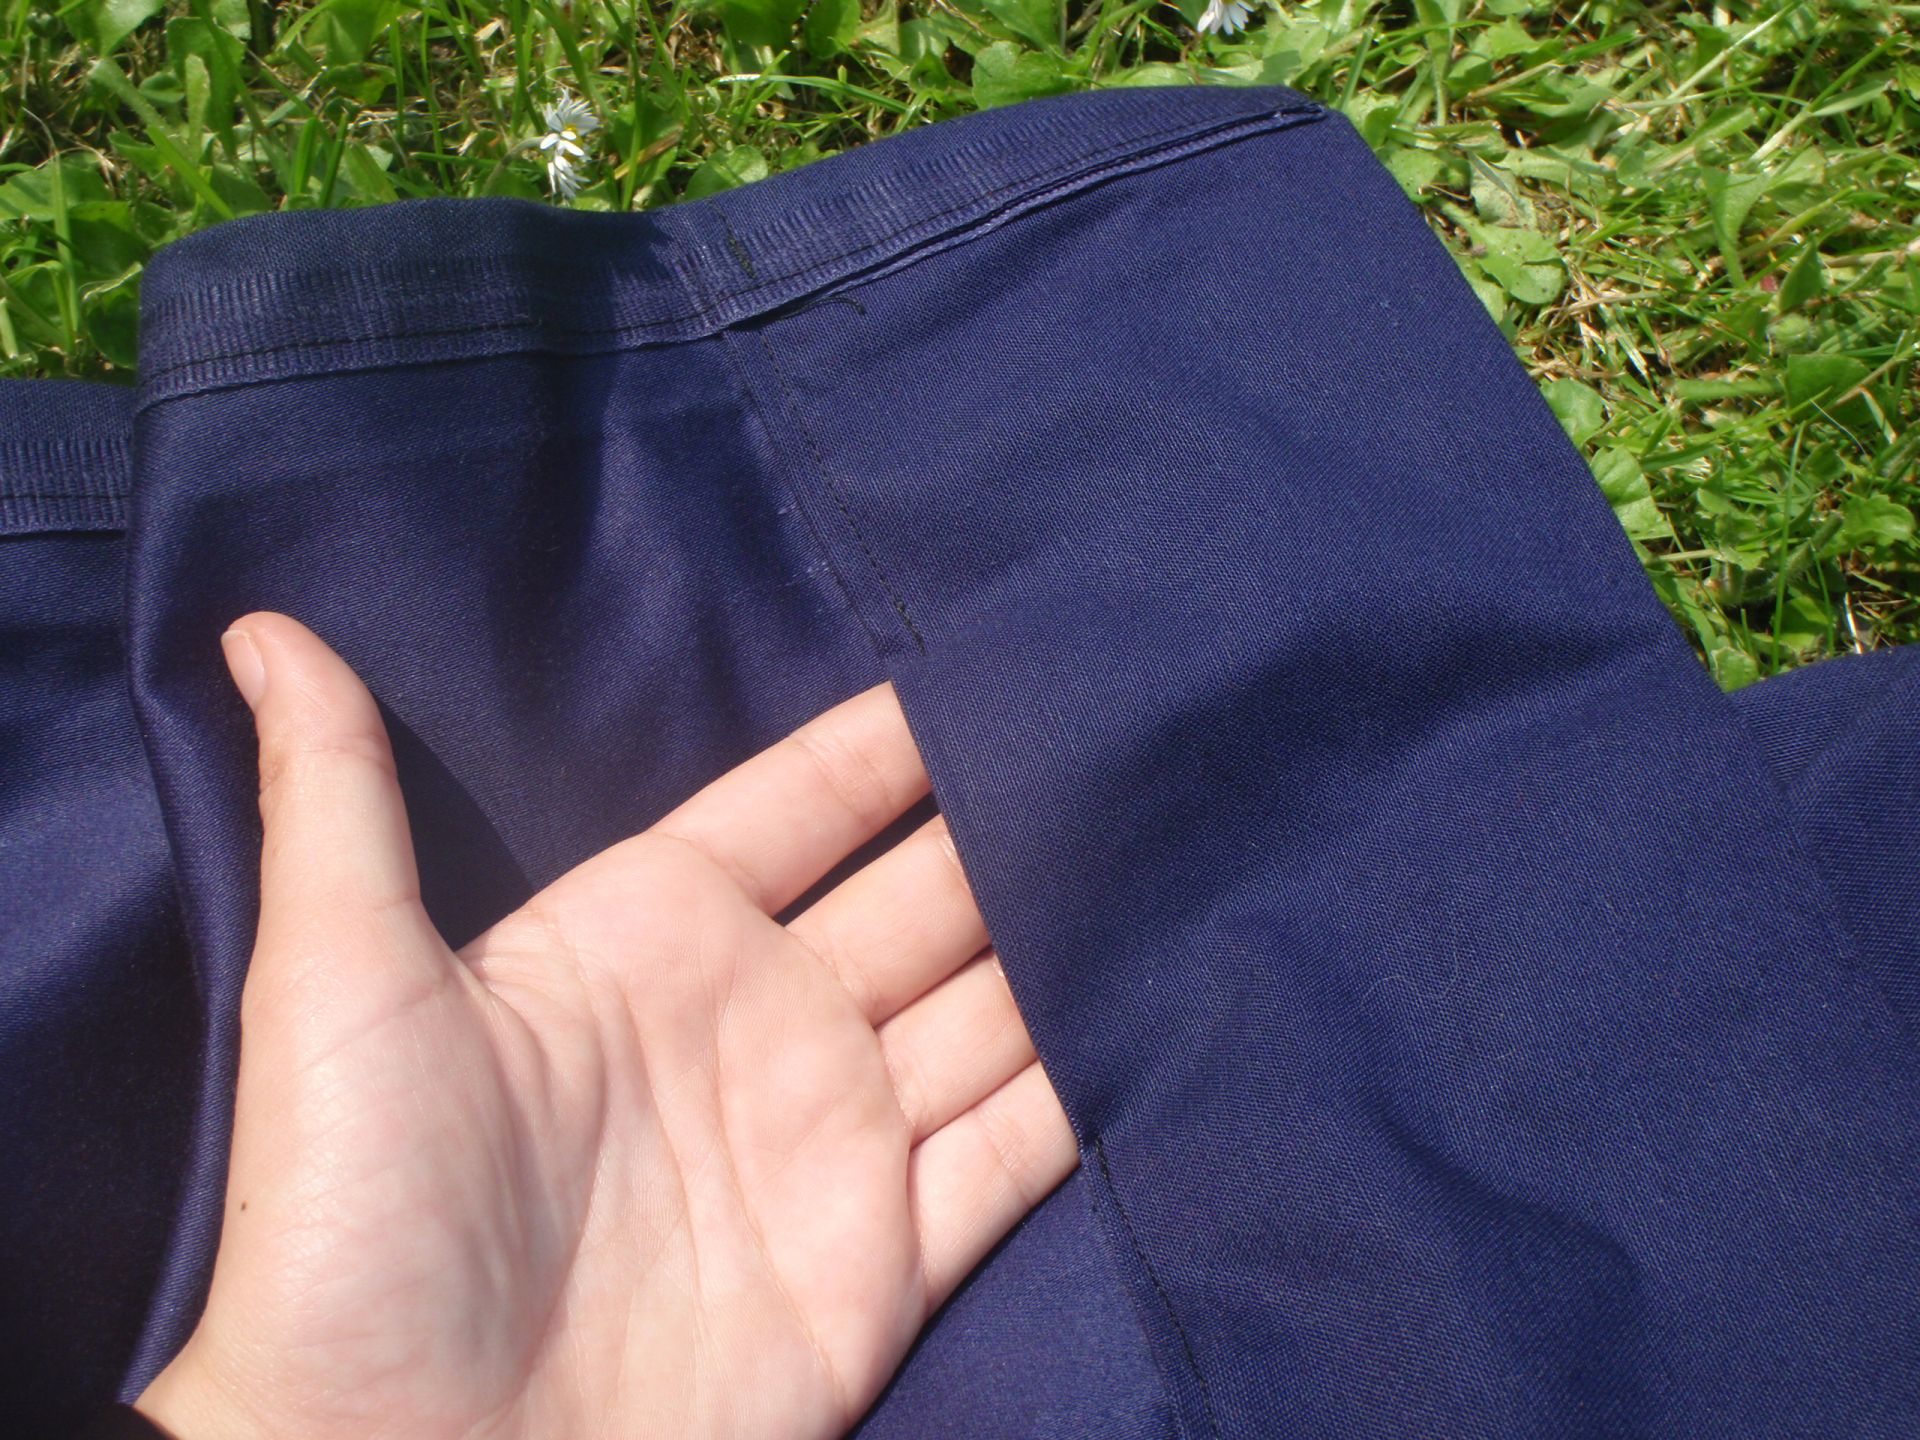
This is the shirt, the front has a sort of U(?) shaped neckline, and the back a square one:
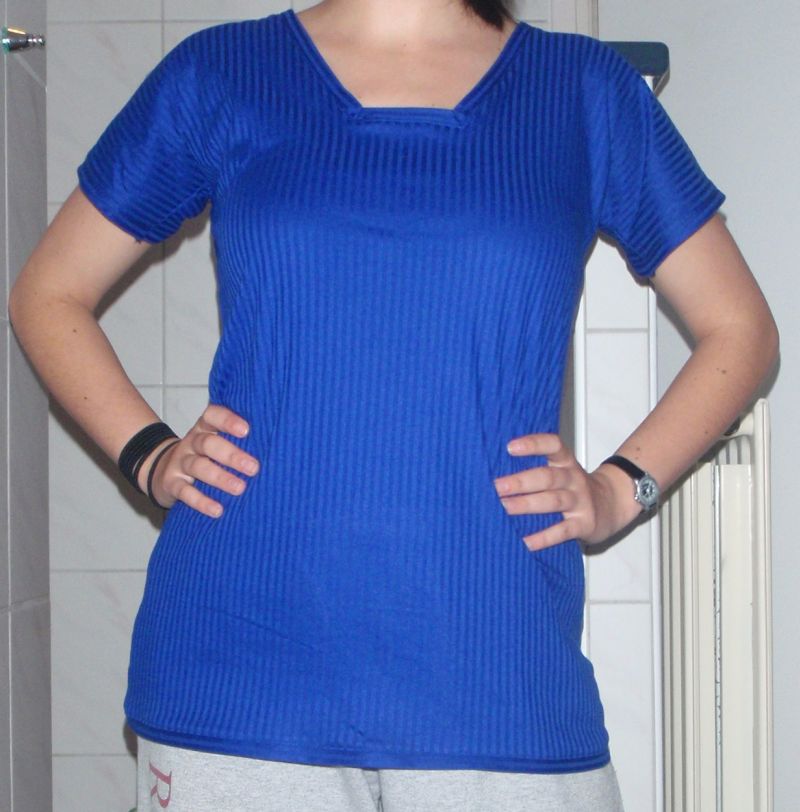
 

It should be nice for summer and I’m planning on wearing it frequently, just like I do the other blue top. I also hope to do some more sewing as I’ve got break from school now. Finished it all up and although one result was disappointing (and has now thrown away my chances for a cum laude distinction; gah, I hate policy!), the others were all good and the year has been successful. Up to a new year with new challenges, changes and people!

Happy crafting!
Blouse

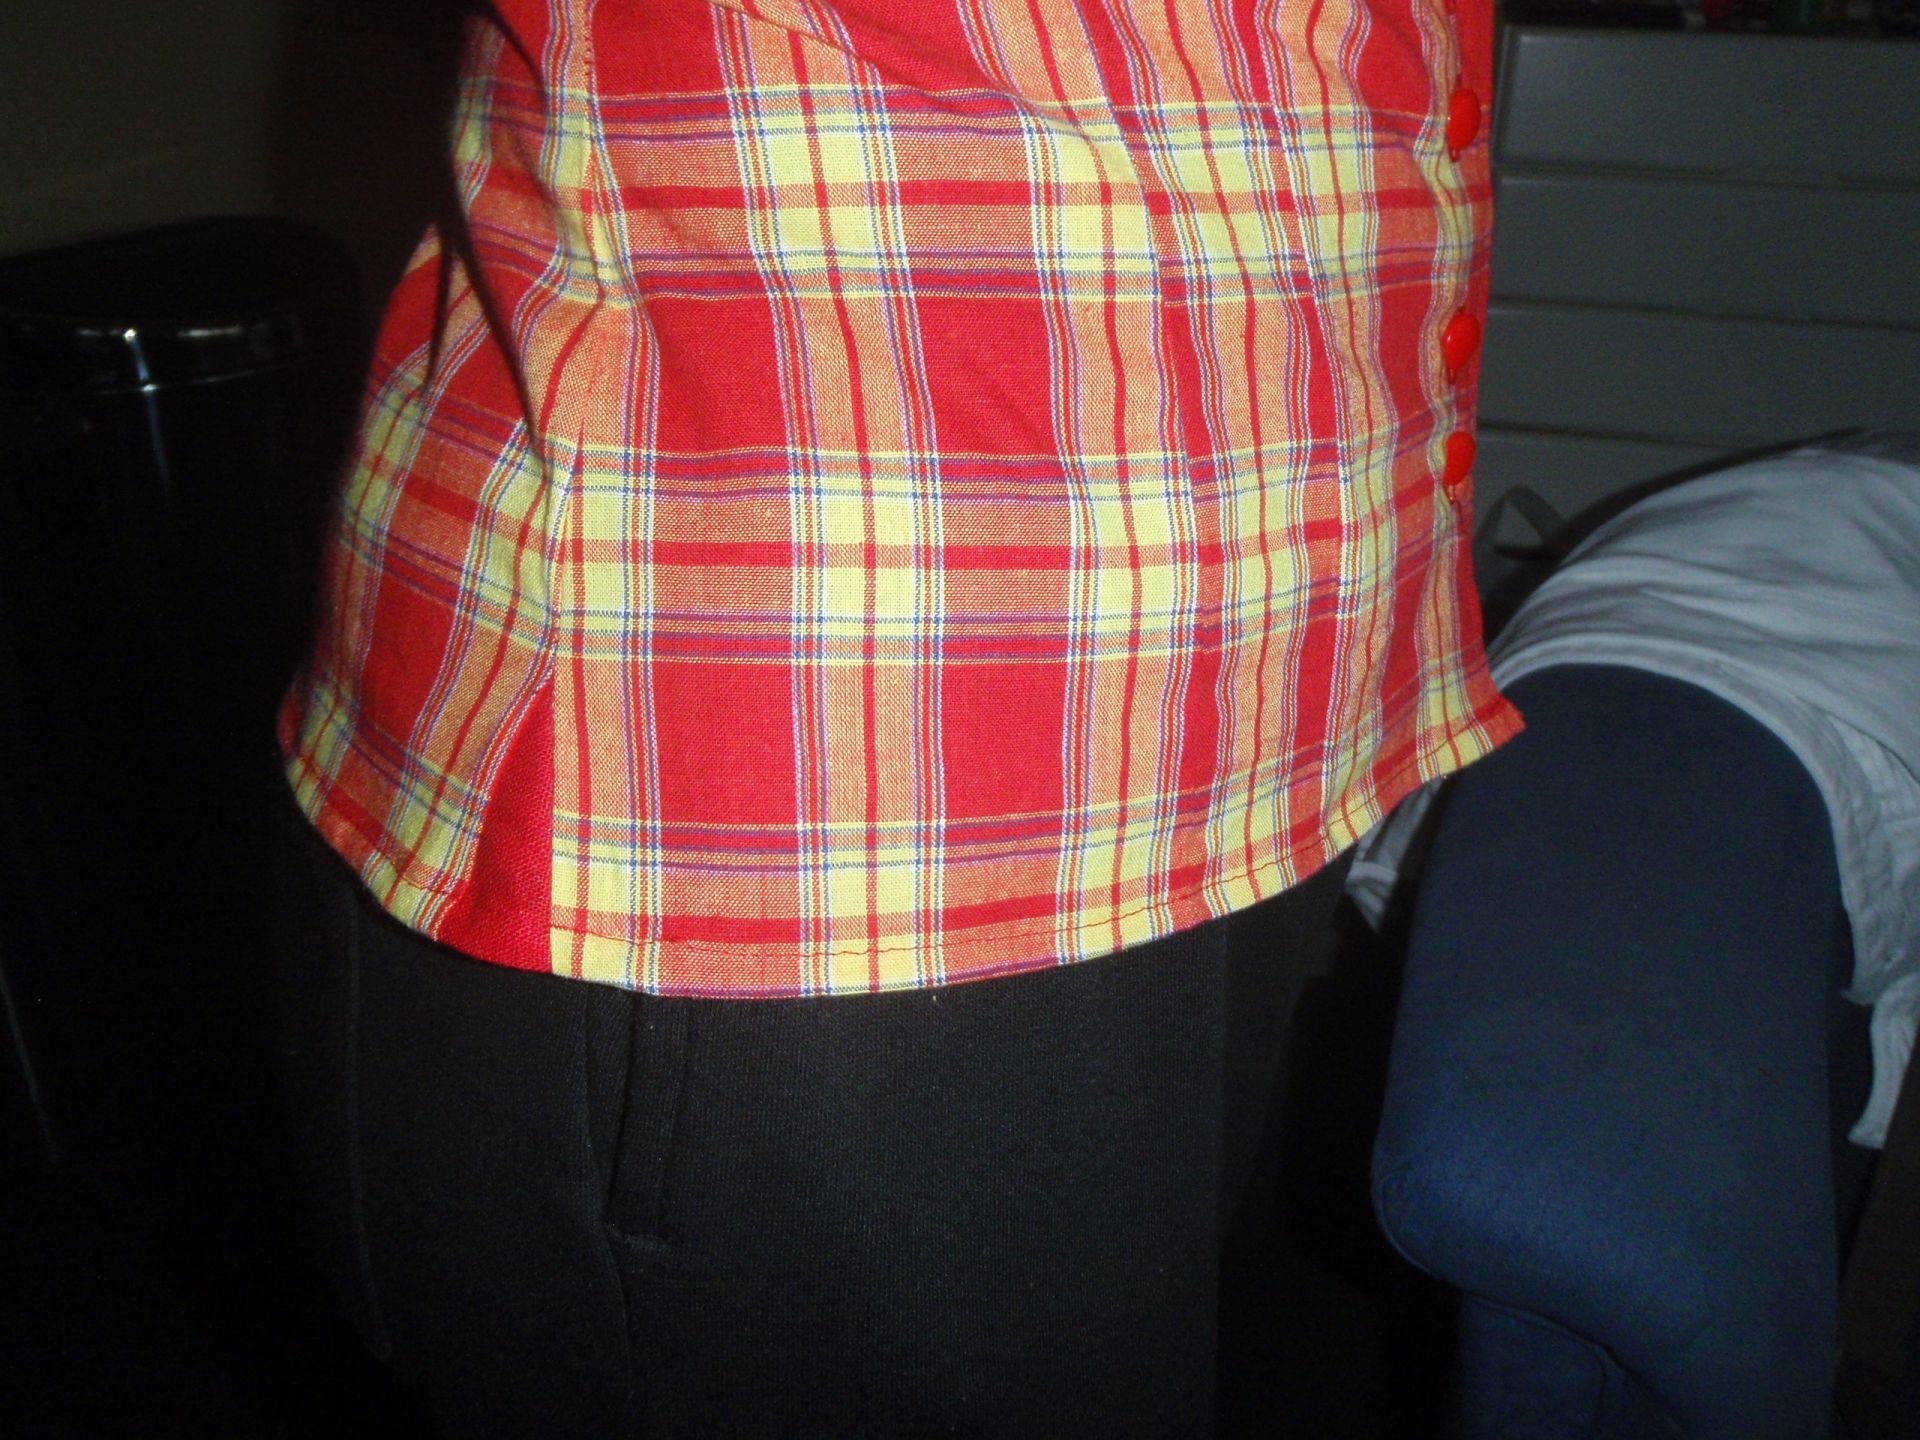
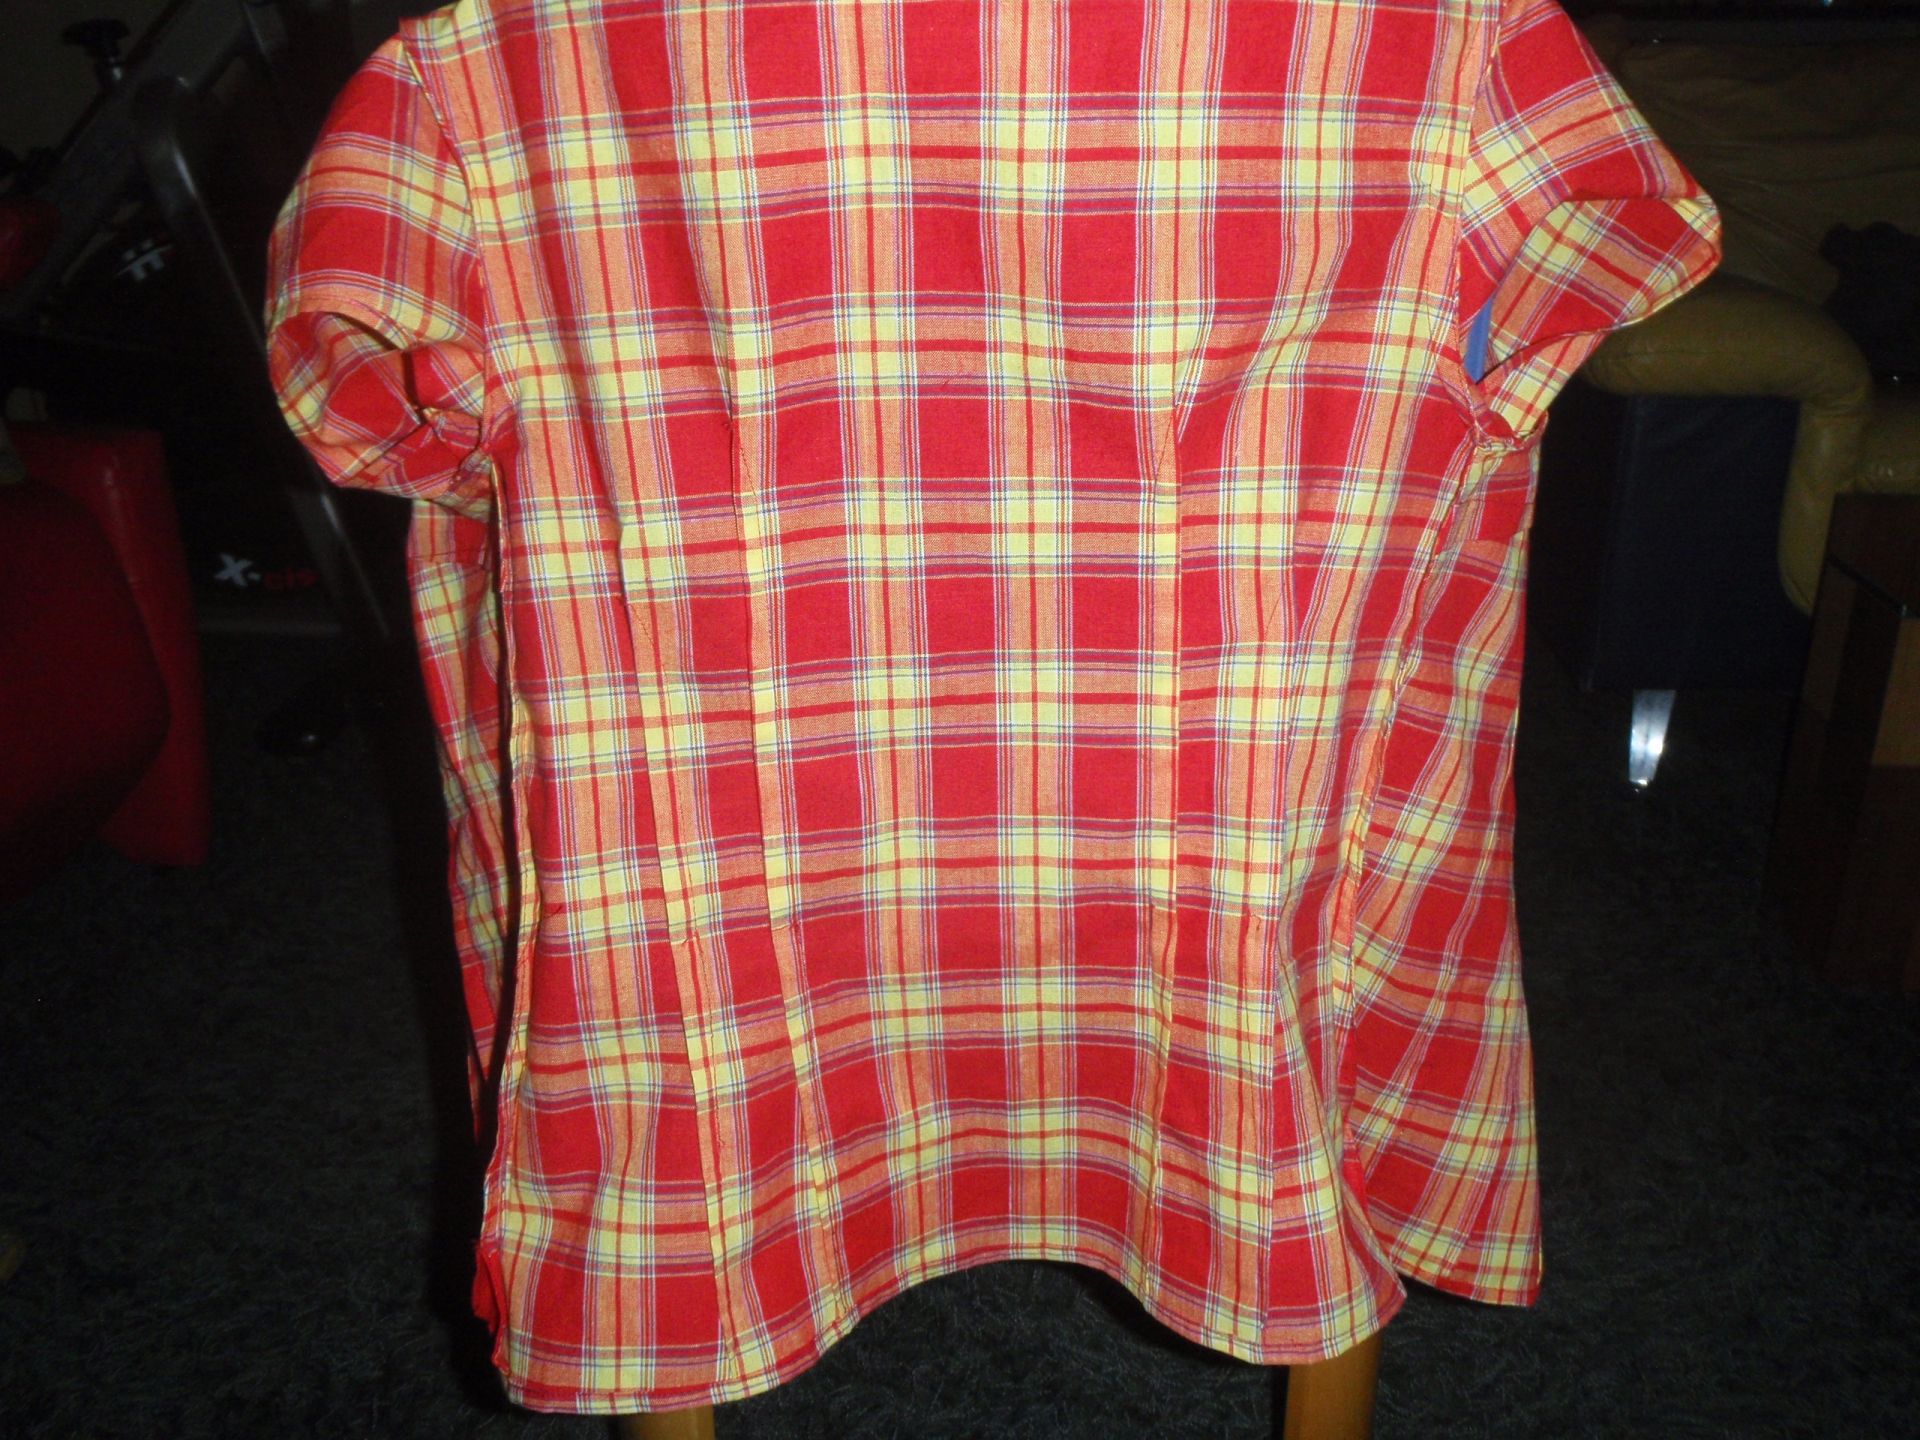
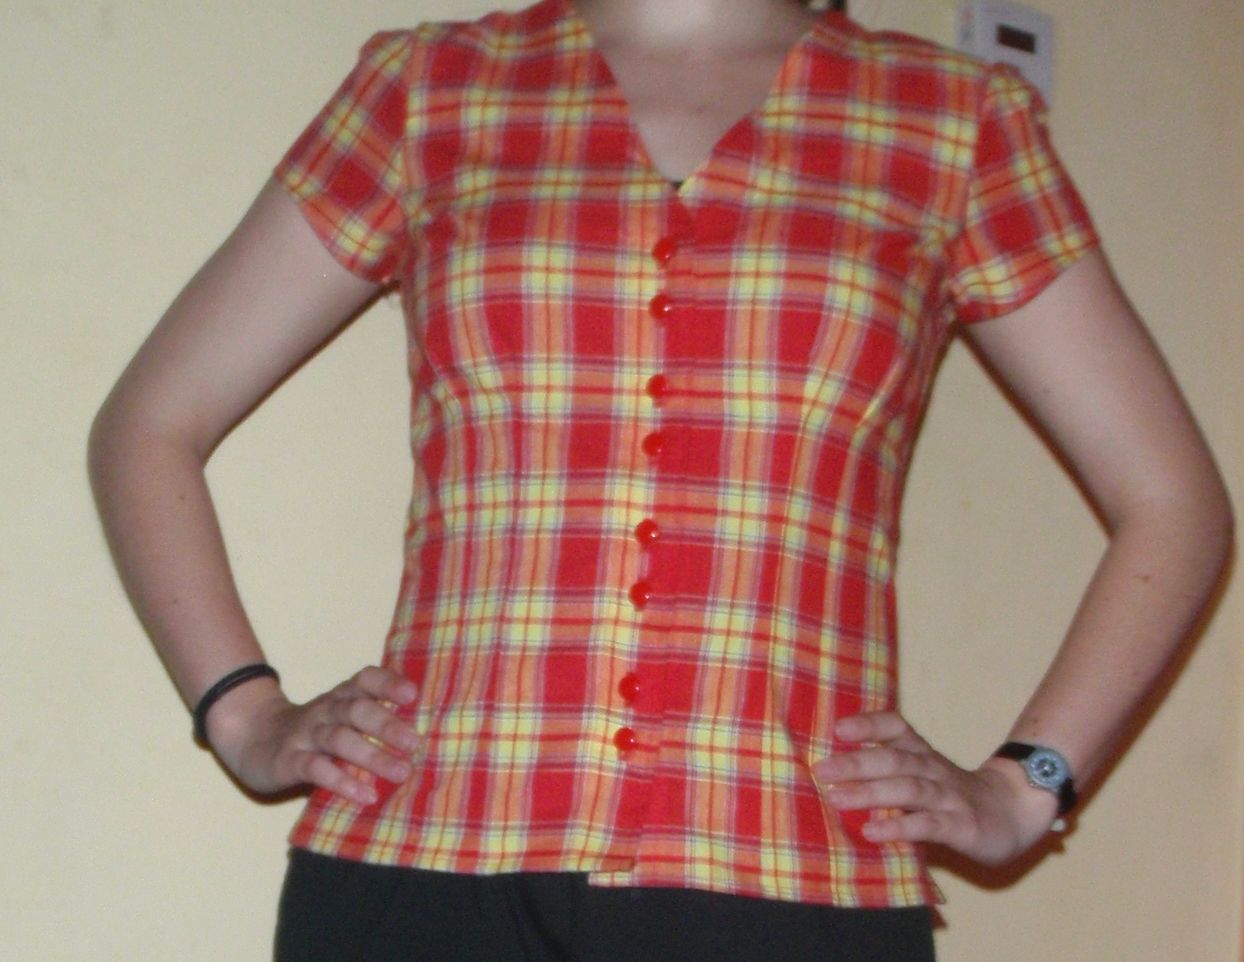
It’s been quite a while since I’ve posted anything. I’ve been working on three things actually, but it took me forever to complete one of them. The first one that is finished is a red and yellow plaid blouse. It’s based on the vintage simplicity pattern 1236, the same as the cook blouse (here). It took it in on all sides, lengthened all the darts, changed the button placement, took the cap sleeves from Simplicity 2473 and made it a little longer. I also added in side extensions at the bottom, as those I saw in my fathers shirt. So here is the finished product:


Left is the blouse front, with the plaid as matched as I could, I think it looks quite good. Also I changed the button placement to 4x 2 buttons closer together, I like it, although it is easy to skip one when buttoning up. On the right is the side extension, a red piece of linen I found in the stash.

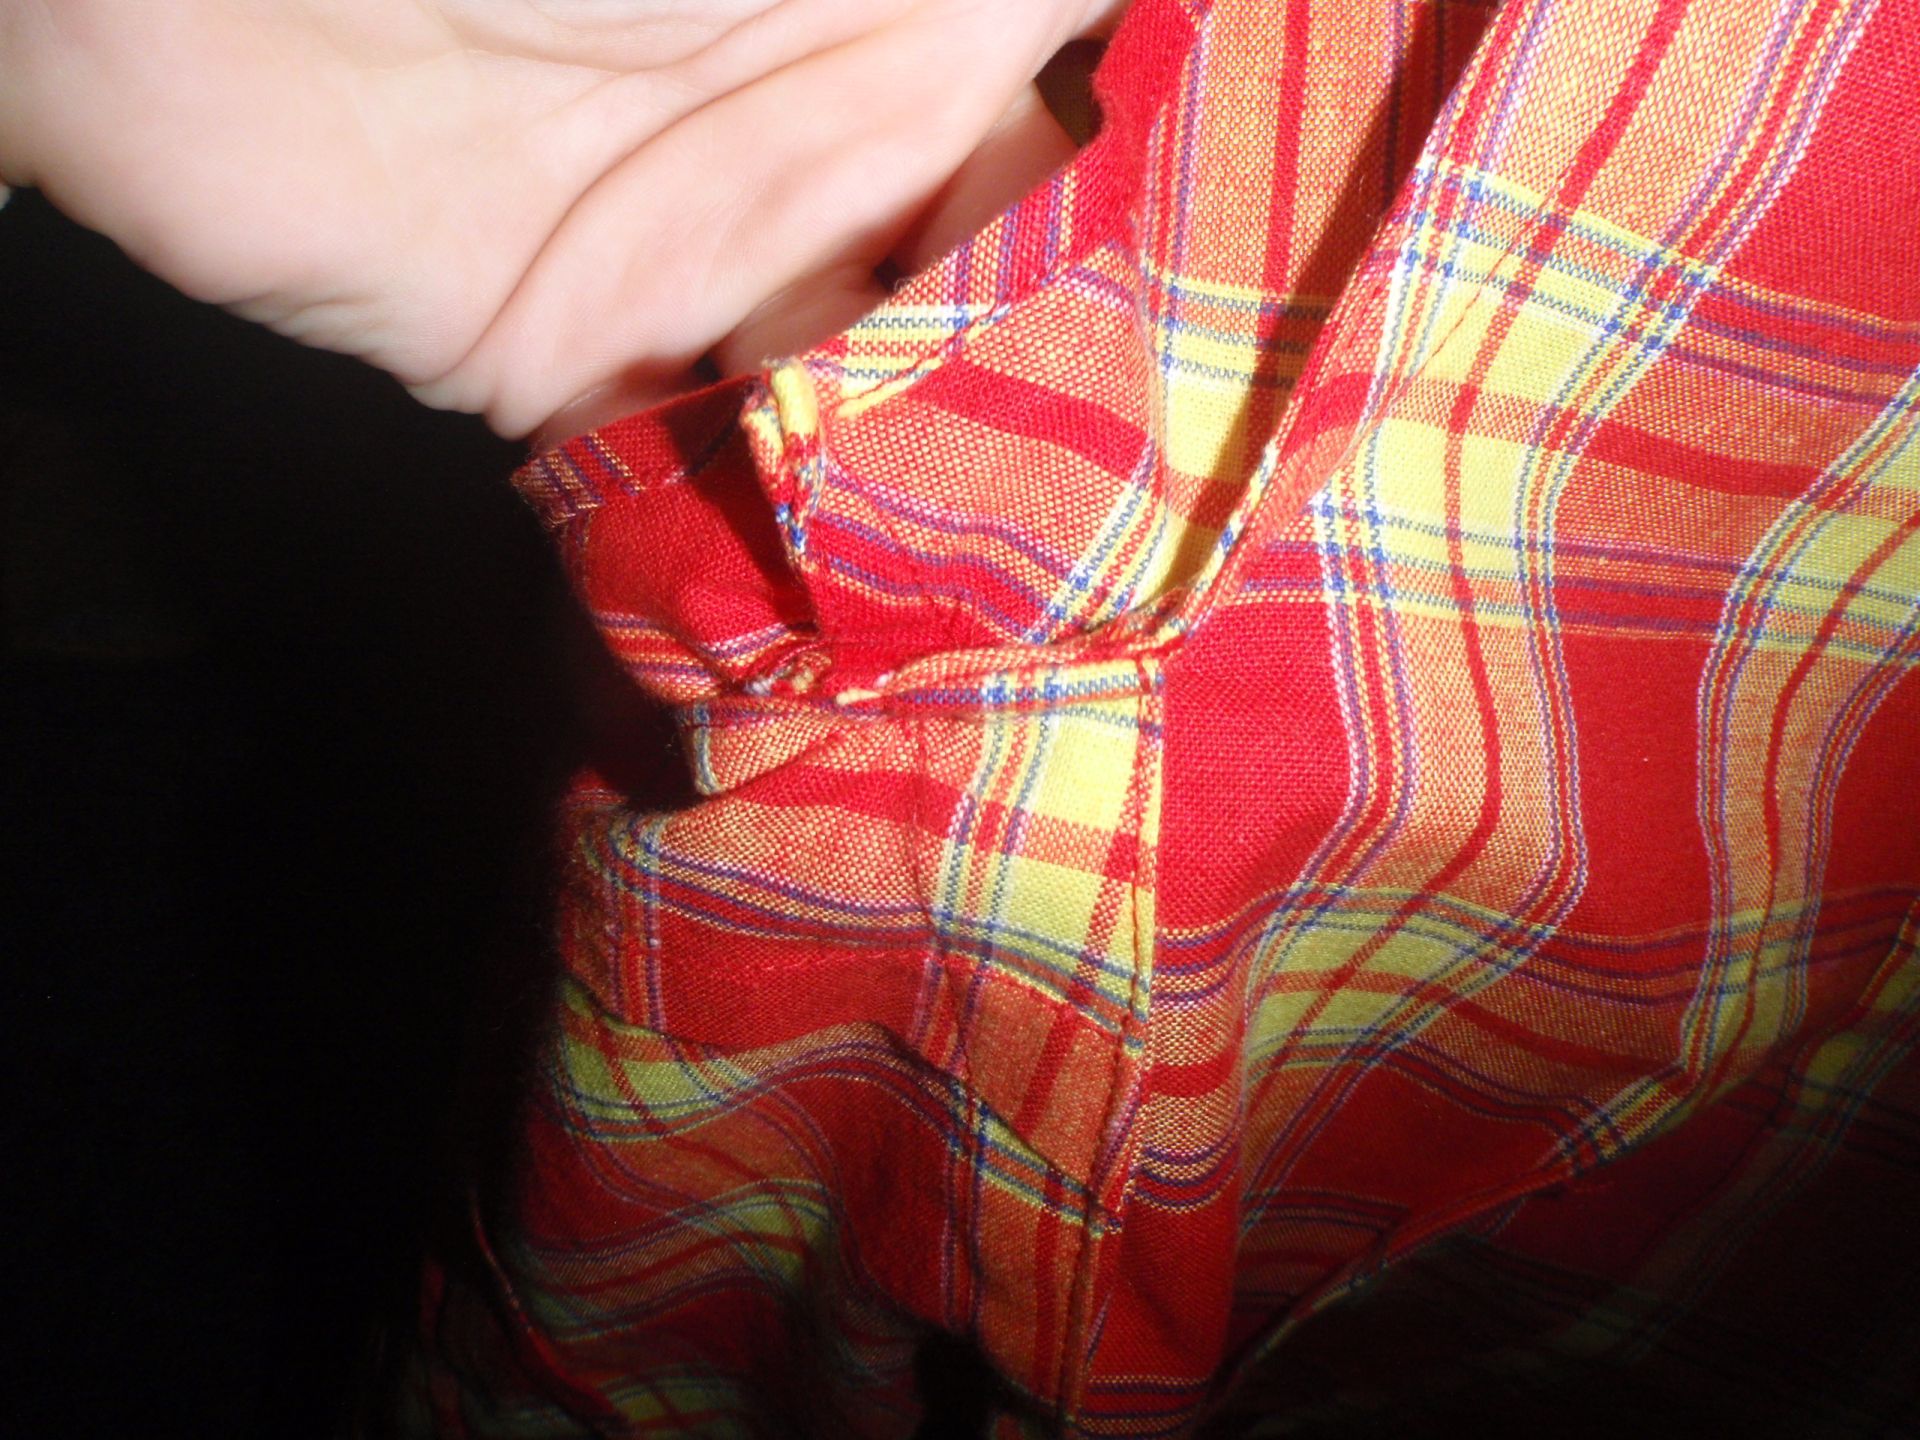
I also fully finished it on the inside, so no shedding hopefully. Here you can sort of see it.


So I also have a blue shirt to finish, and a red sweater that needs bound edges. So hopefully I’ll be creative enough to finish that soon!


Refashion

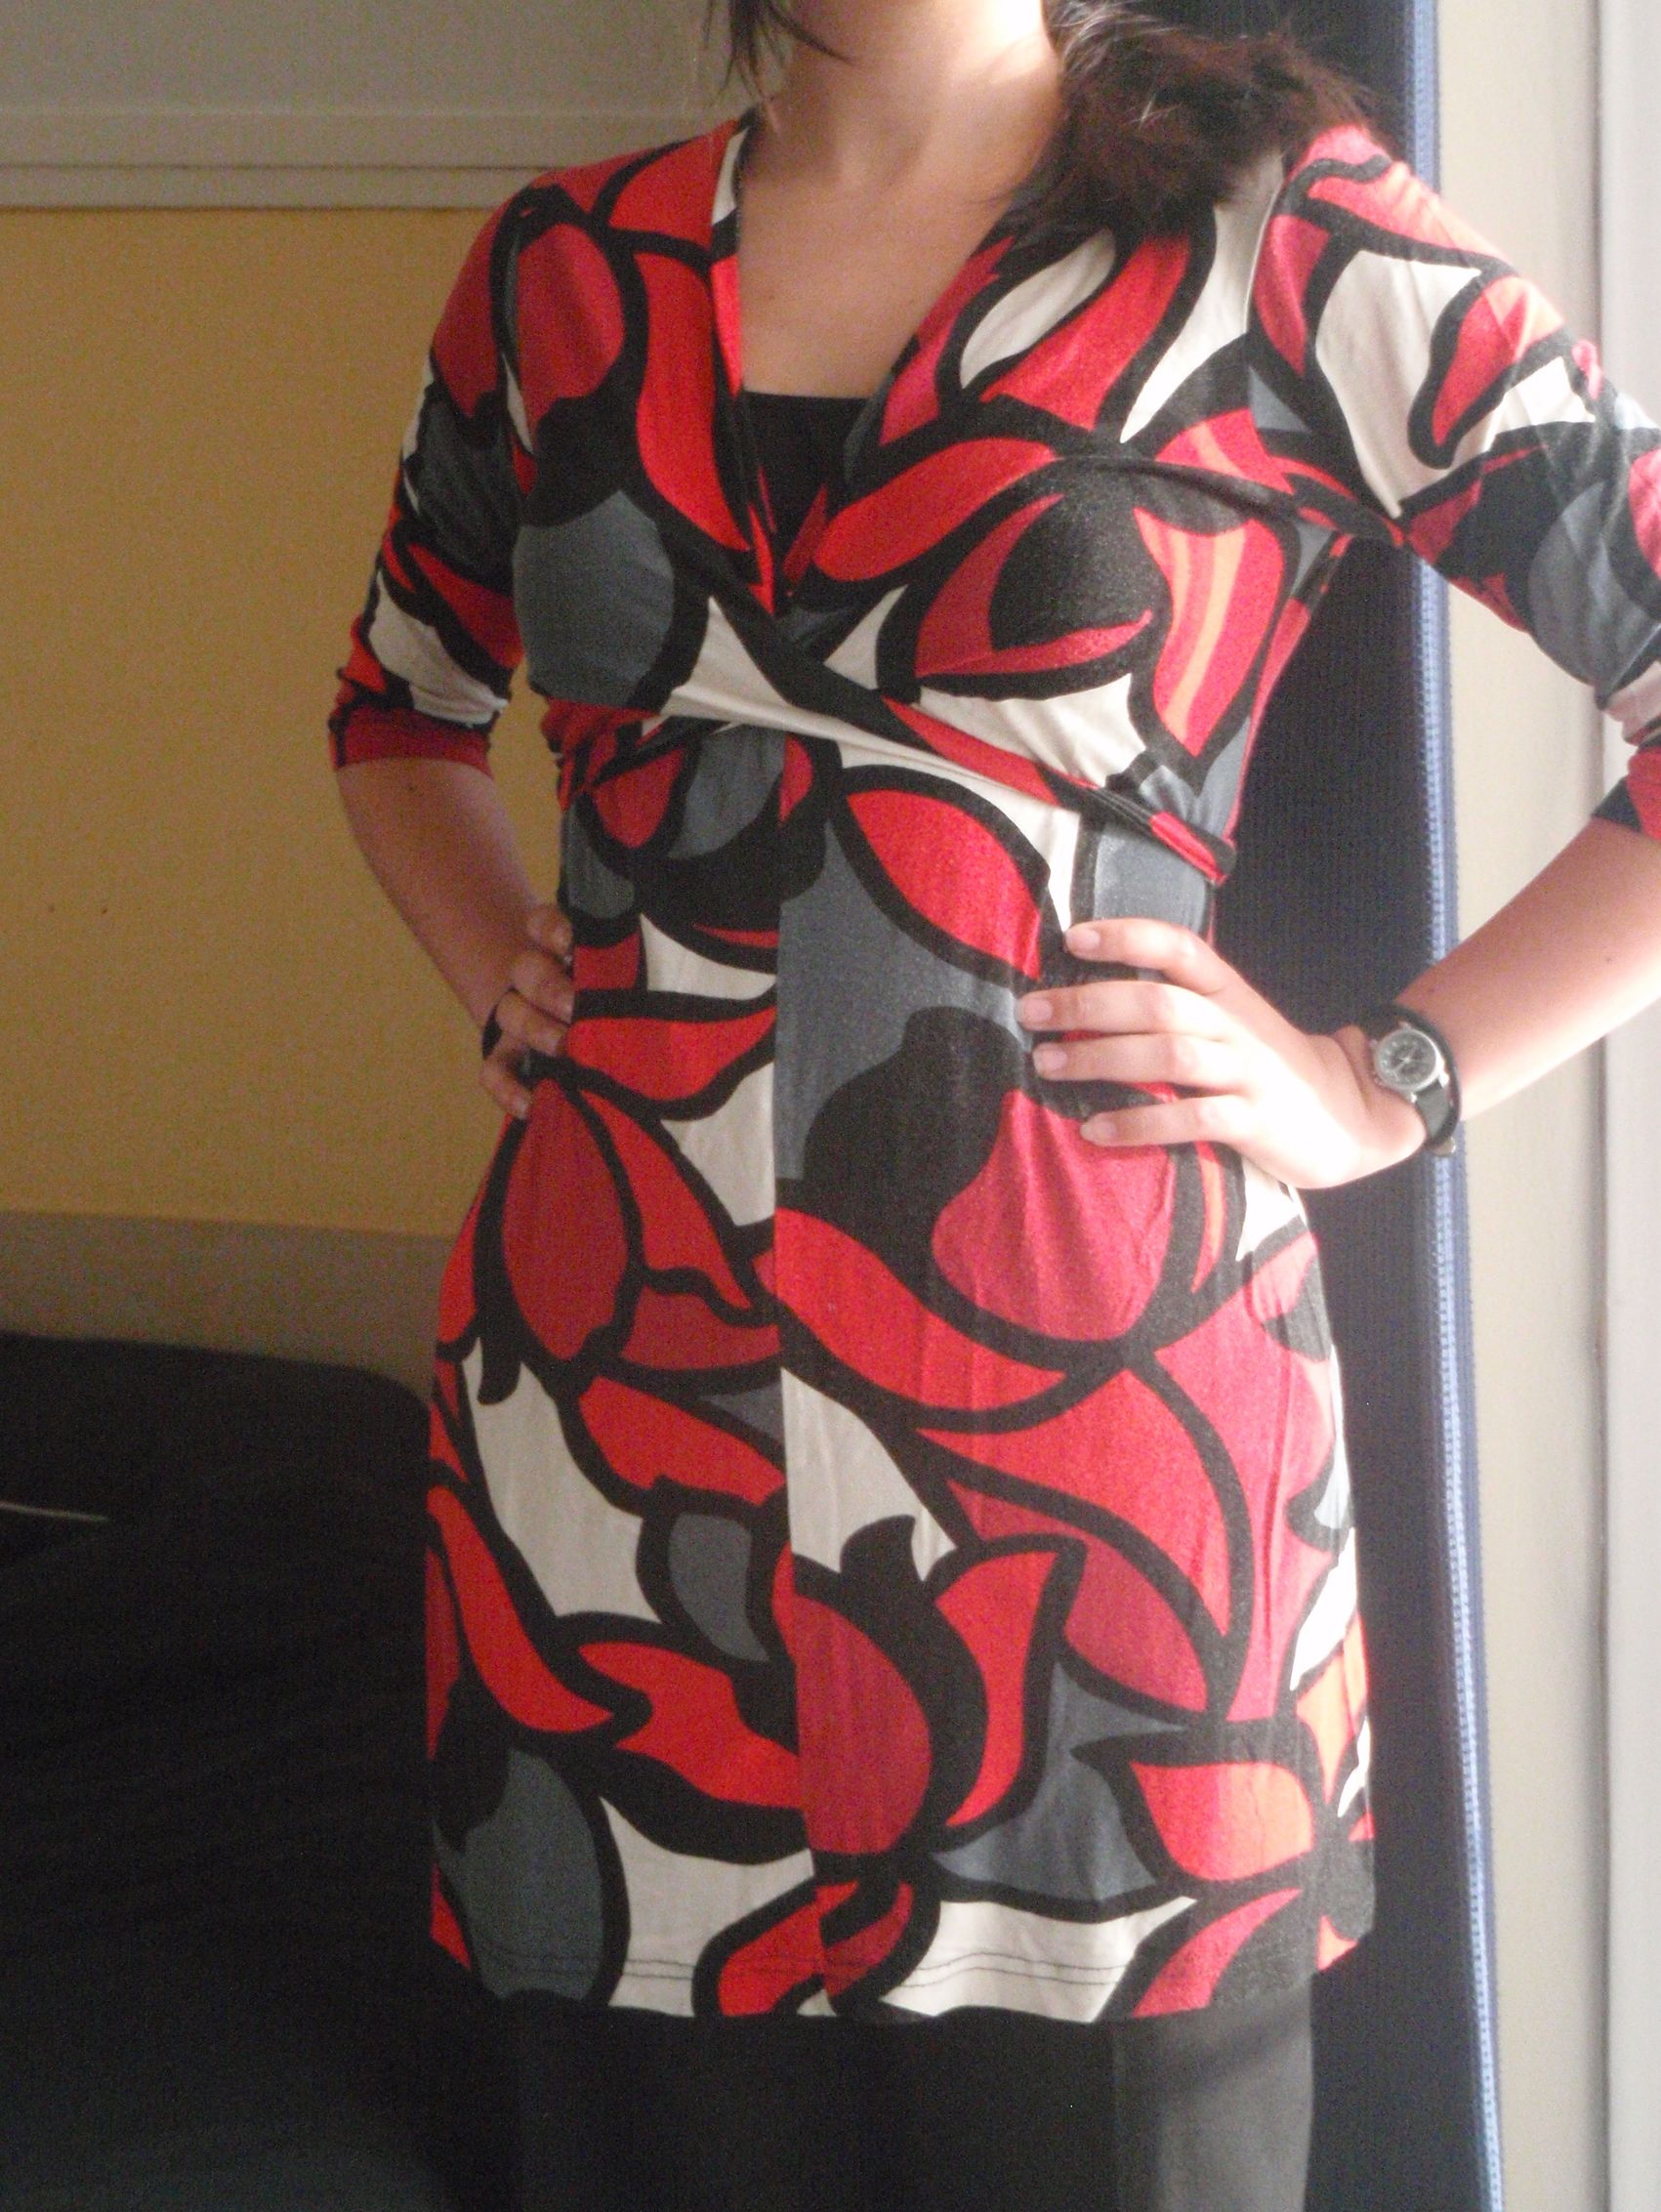
I found this pile of clothes that my mom was discarding a couple of weeks ago and I nicked some stuff from it (with permission of course). I was inspired by Marisa from New dress a day (here). She often picks up cheap and (relatively) ugly items for very little money (say $1), and makes them all nice and wearable again. Admittedly my items are the ones I actually liked without having to do much on it, and were for free.

They include a red/black/grey dress, a red sweater and some more which I haven’t done anything with yet. I forgot to take pictures of the red sweater before, but it’s not finished yet (I am snipping of the edges of the sleeves and the bottom, because they were all curly and creepy. Also, I’m removing some of the really ugly embellishments on the front). However, about a quarter of an hour ago I decided to make the red/black/grey dress suitable for my wardrobe.

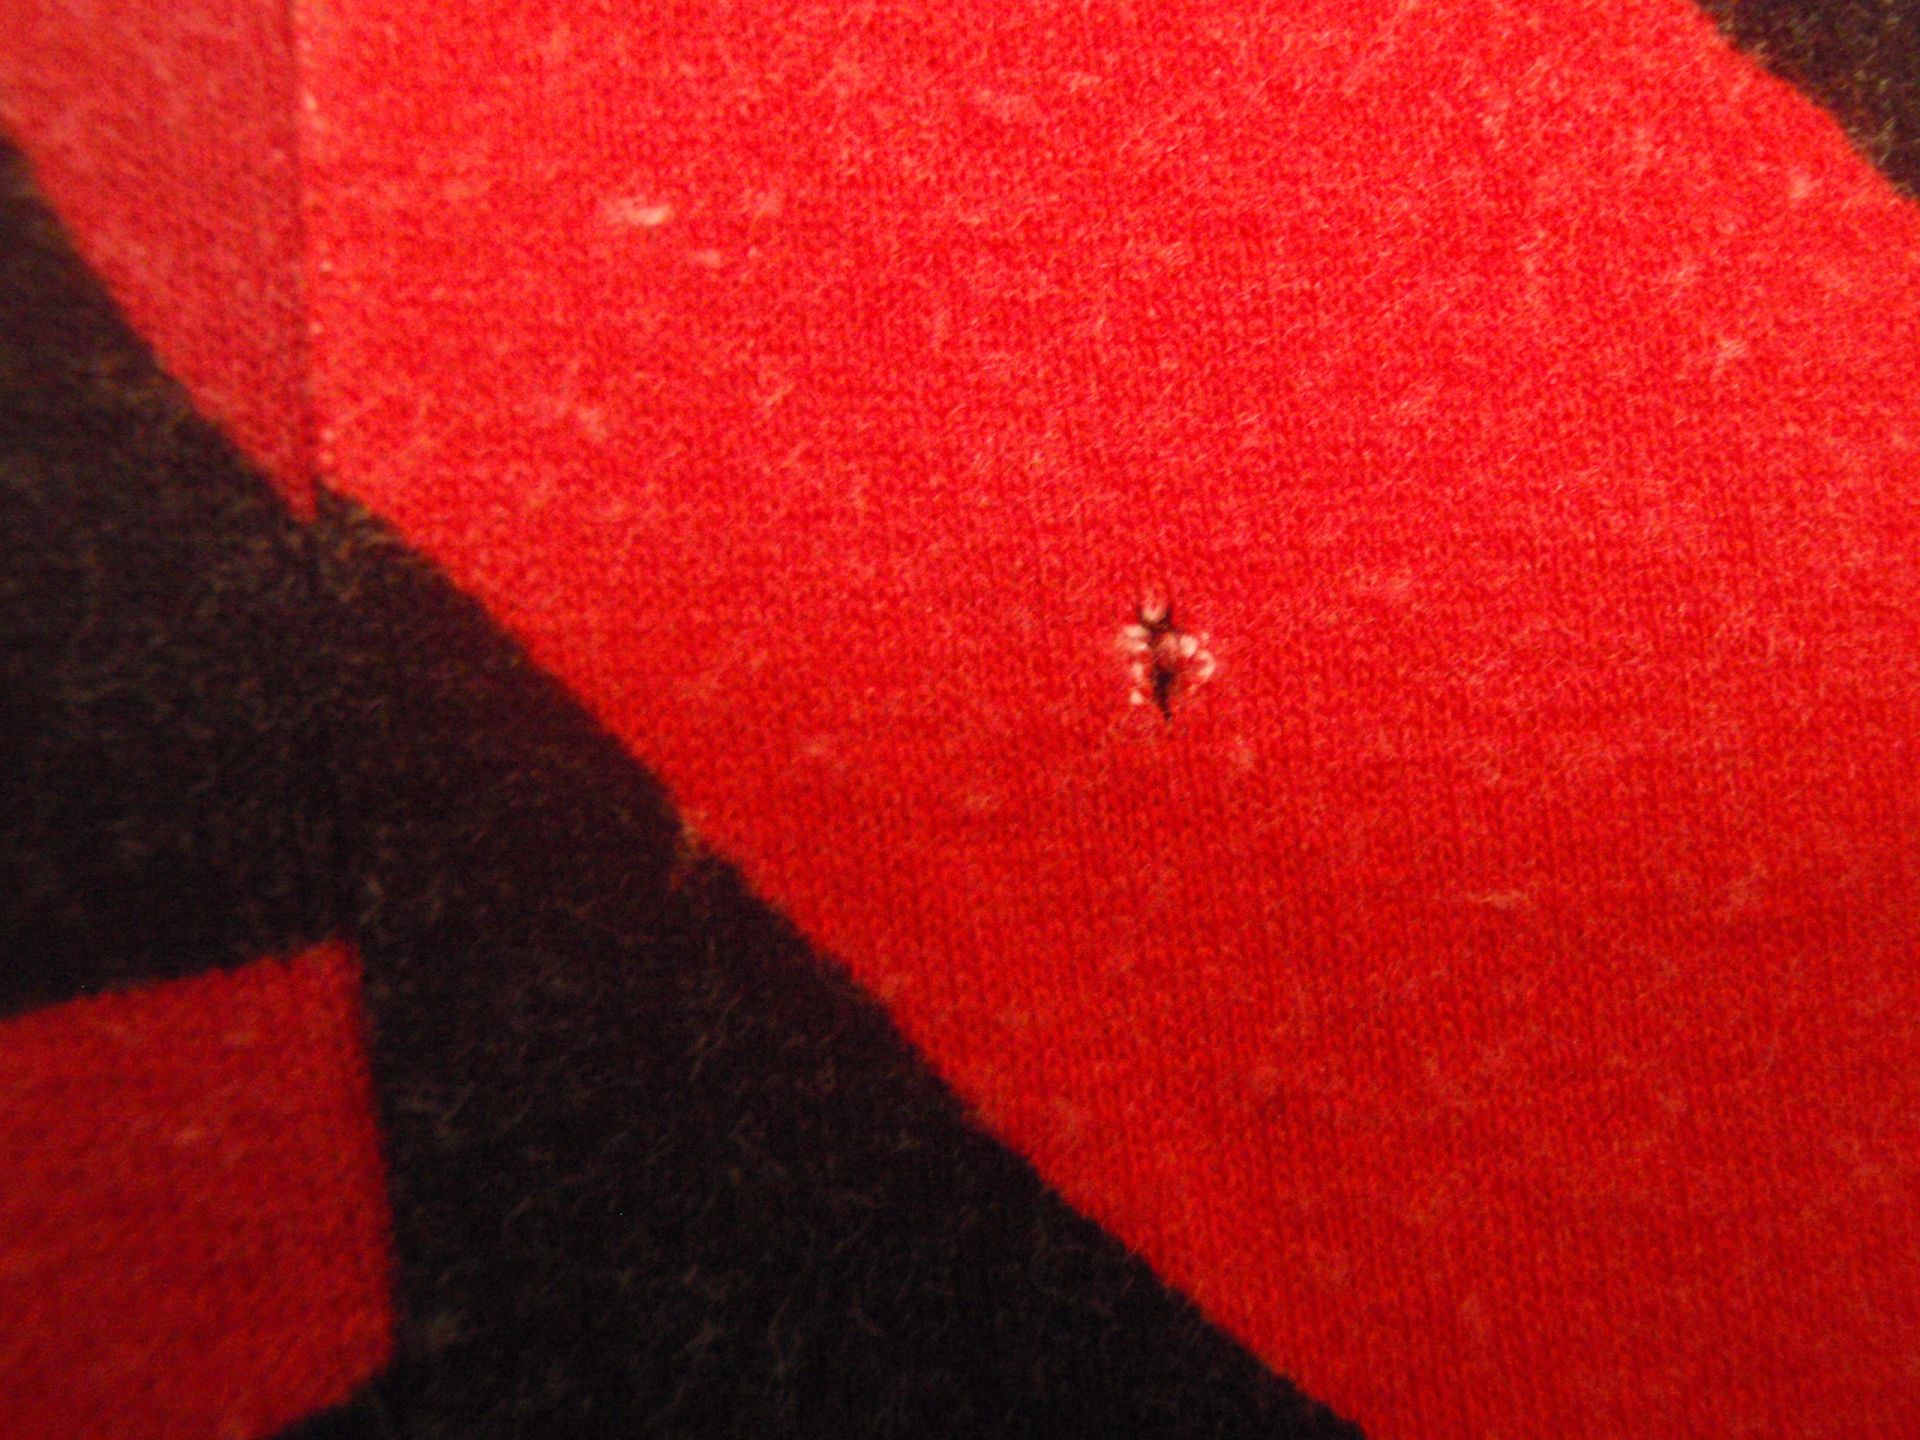
At first I couldn’t spot anything wrong with it and assumed that it was just too small or something, but on closer inspection..


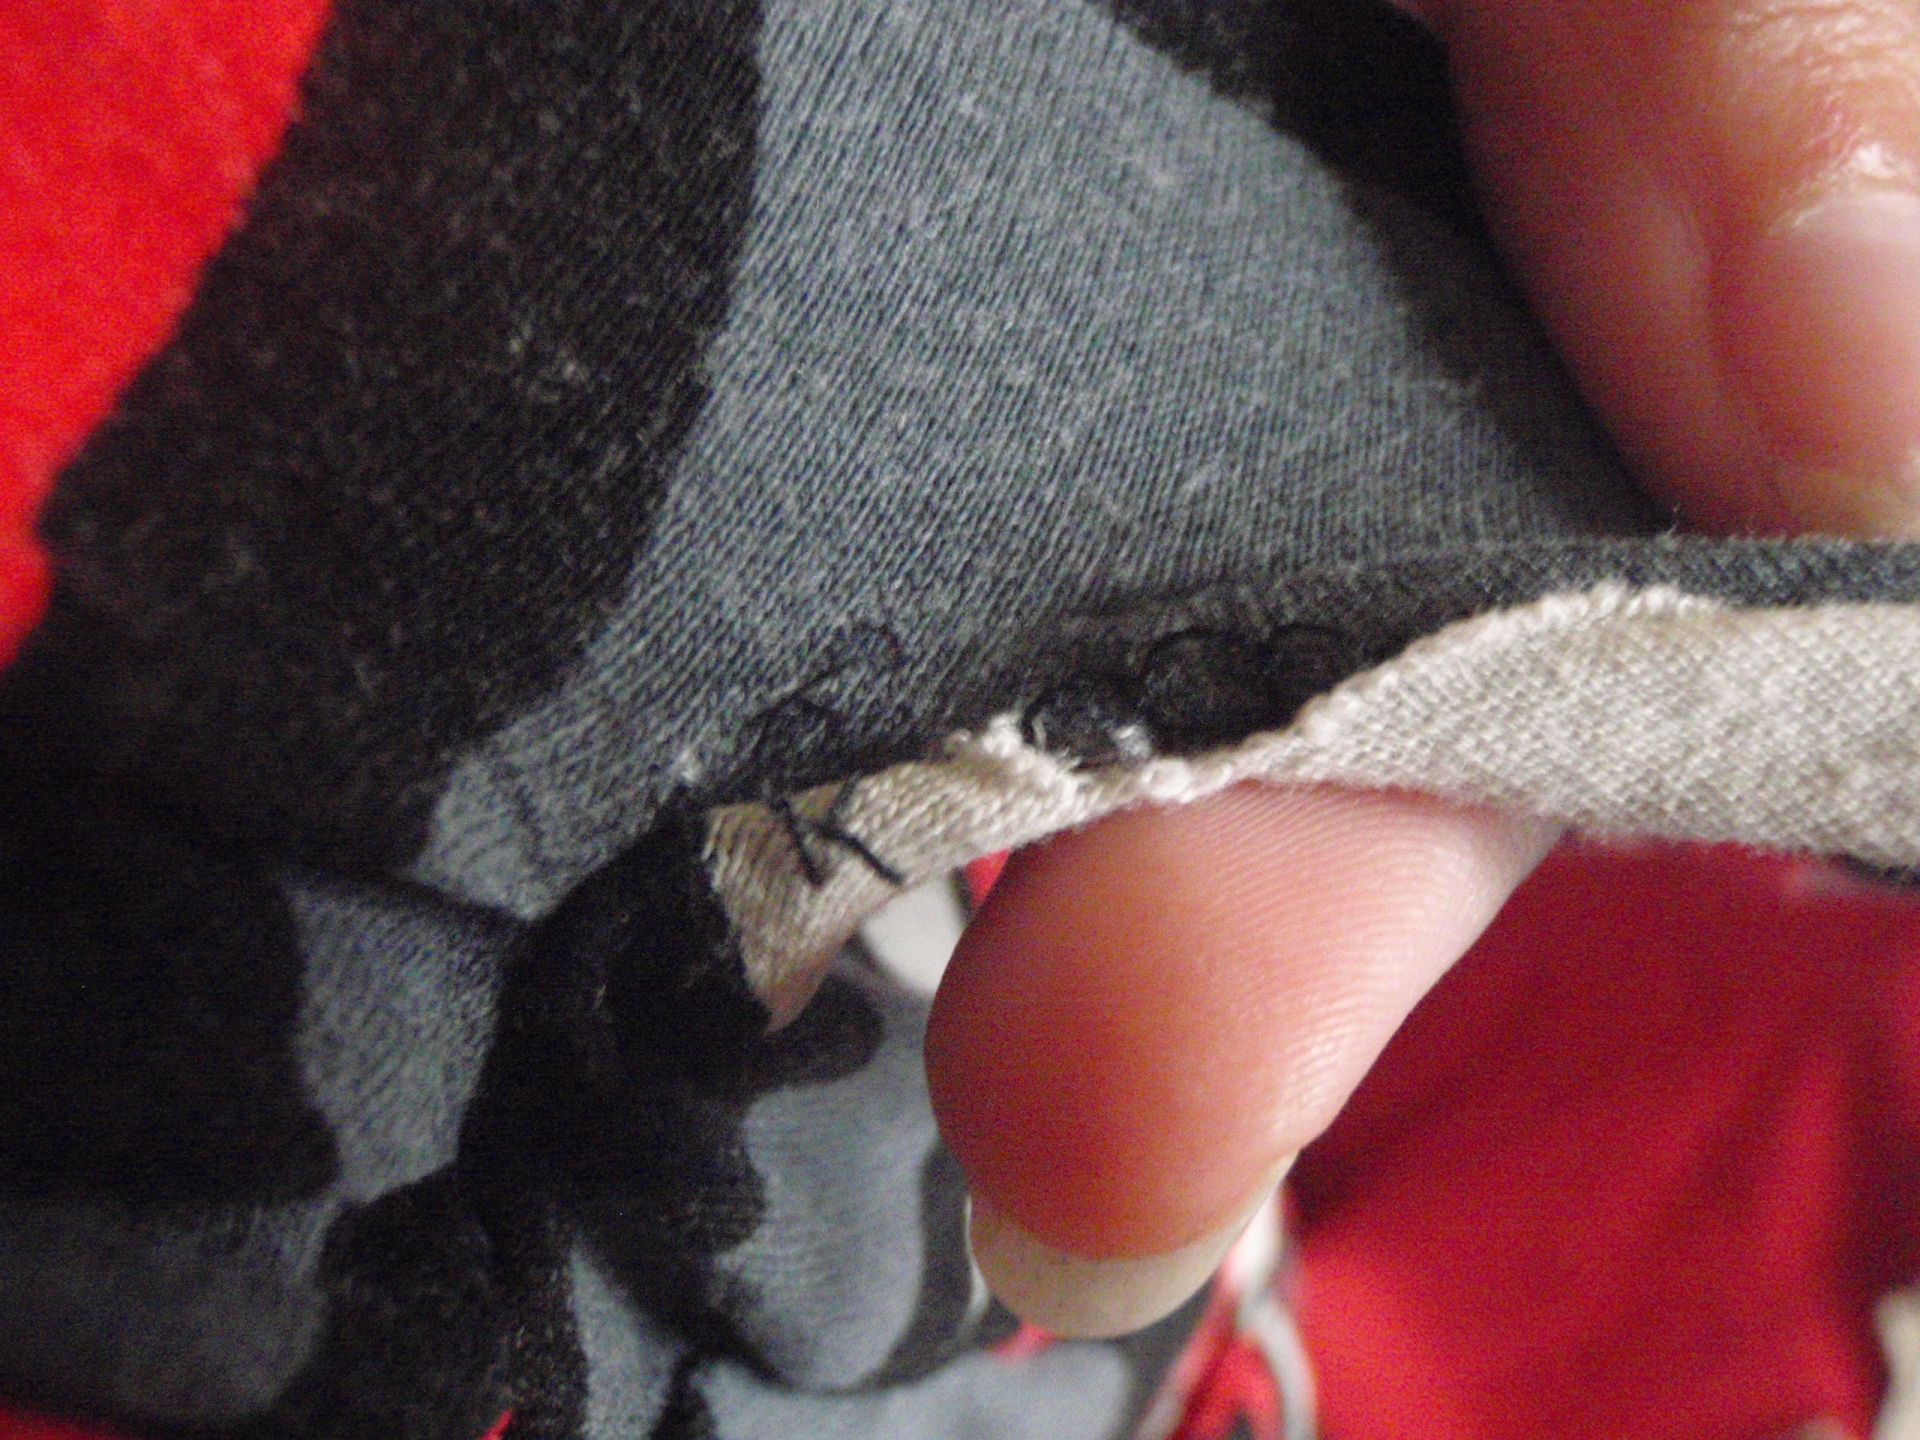
A hole! 1.5 inch or so from the centre front seam. Since I’m a little smaller than my mother, I thought it would be no problem to take in the front that bit as to hide the hole. So I did (actually, typing this up and taking the photo’s took longer than the actual sewing), and also did a little resewing of one of the ties. Since they were coming apart, see below.

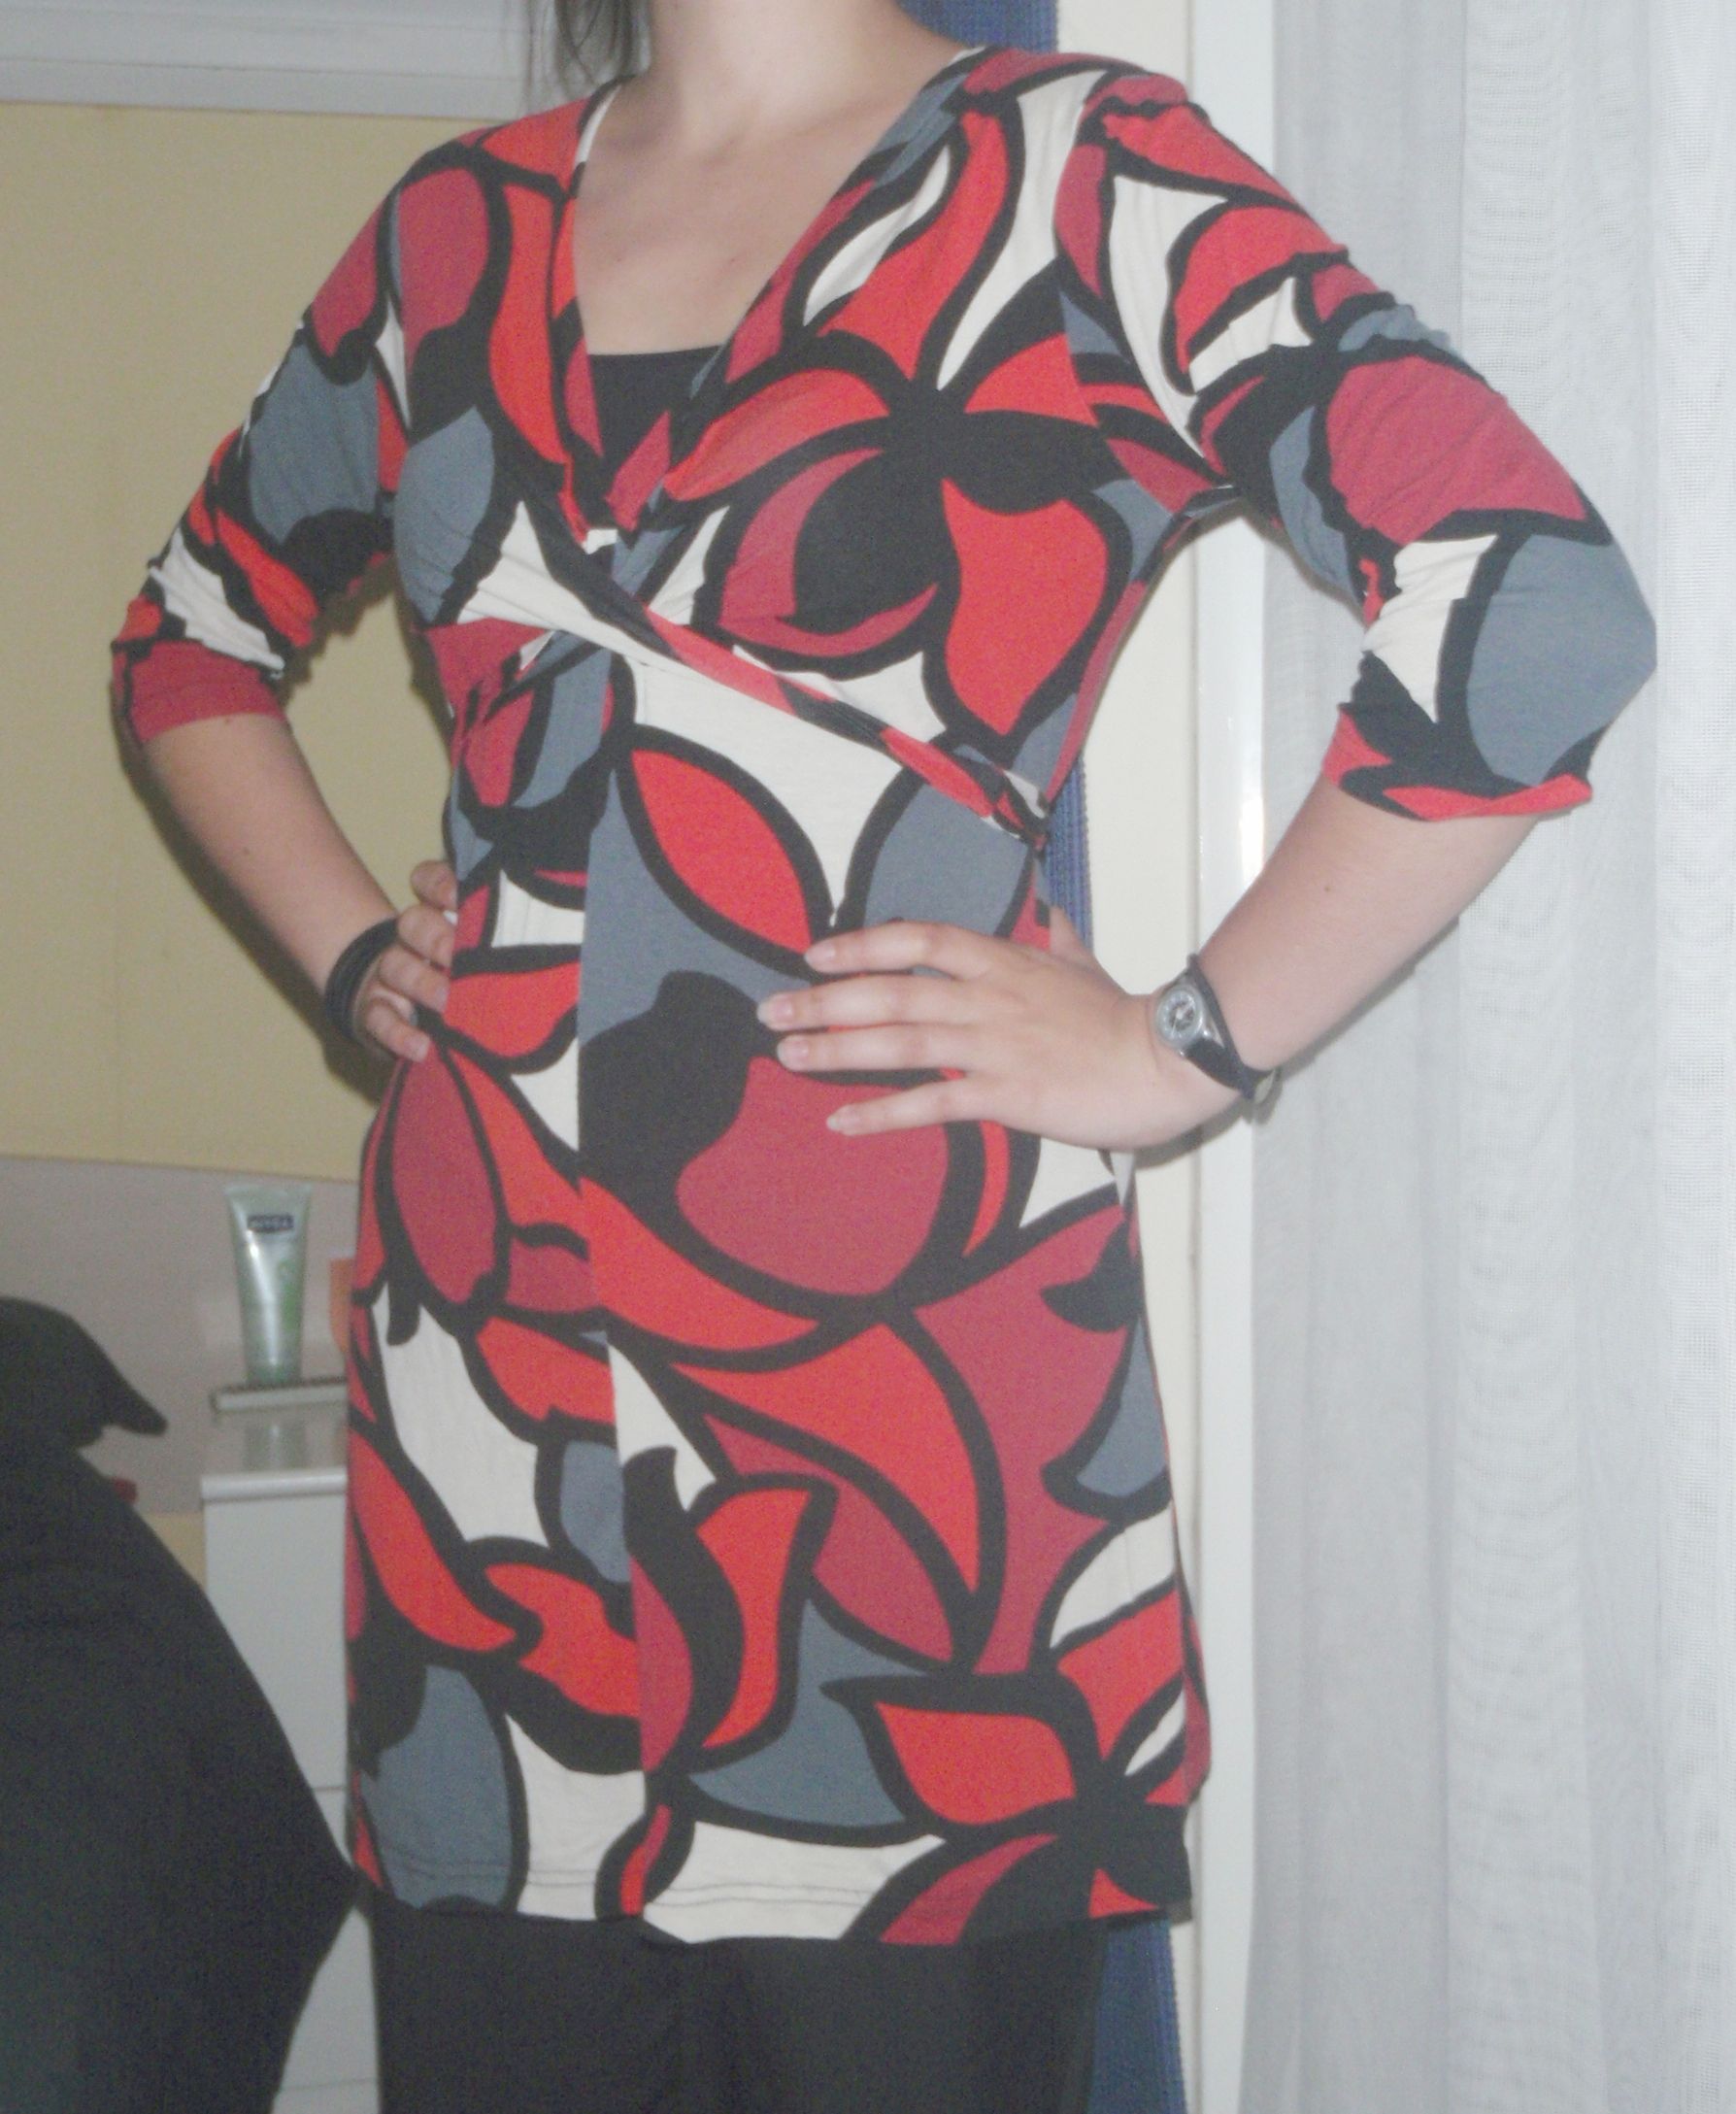
This is the end result, the whole dress and the centre front without hole. I hope I’ll wear it more often.


Wardrobe

While I was looking through my cupboard the other day, I noticed a somewhat worrying trend. The types of clothing items that I make for myself, are not in proportion to the types of clothing items I wear regularly. I made myself quite some dresses and skirts, while I practically never wear those in ‘real life’. There’s specific etiquette when wearing skirts and dresses, and I have failed to master that.

So when I go to school, with the promise of wearing at least one item of clothing I made myself, I find myself reaching for pants, a t-shirt and a sweater or jacket. The issue with this combination is that I only have 3 pants, 1 t-shirt and 1 jacket I can employ like this, although I have worn a blouse and some of the dresses and skirts at some point to school. The pants now get the most wear (as expected), the t-shirt is a bit strange, so I don’t wear it often, only under sweaters, and the jacket is quite nice, so that gets some rotation too. I now also wear a vest on occasion, with a button down blouse (bought) under it. However, this lack of nice things has given me another objective. Sew more things you’ll actually wear. So that’s what I’m doing now.

I’ve made a nice blue t-shirt Friday night 2 weeks ago. It’s unfinished at the top, arms and bottom (basically only serged and sewed the side seams and I traced it from a nice fitting t-shirt). I’m quite happy with it really. I love the colour, and I still have quite a bit of the fabric I used left, so I think I’m going to have two blue shirts in the near future.

This is it:


It’s been in regular rotation since I made it. I really really like it, and I really want another one, so I can wear them more often.


Full Larp Costume

So here it is, in its entirety: my larp costume for the Ravenskeep event on May 17-20 2012. Prepare for a photo-heavy post, people.

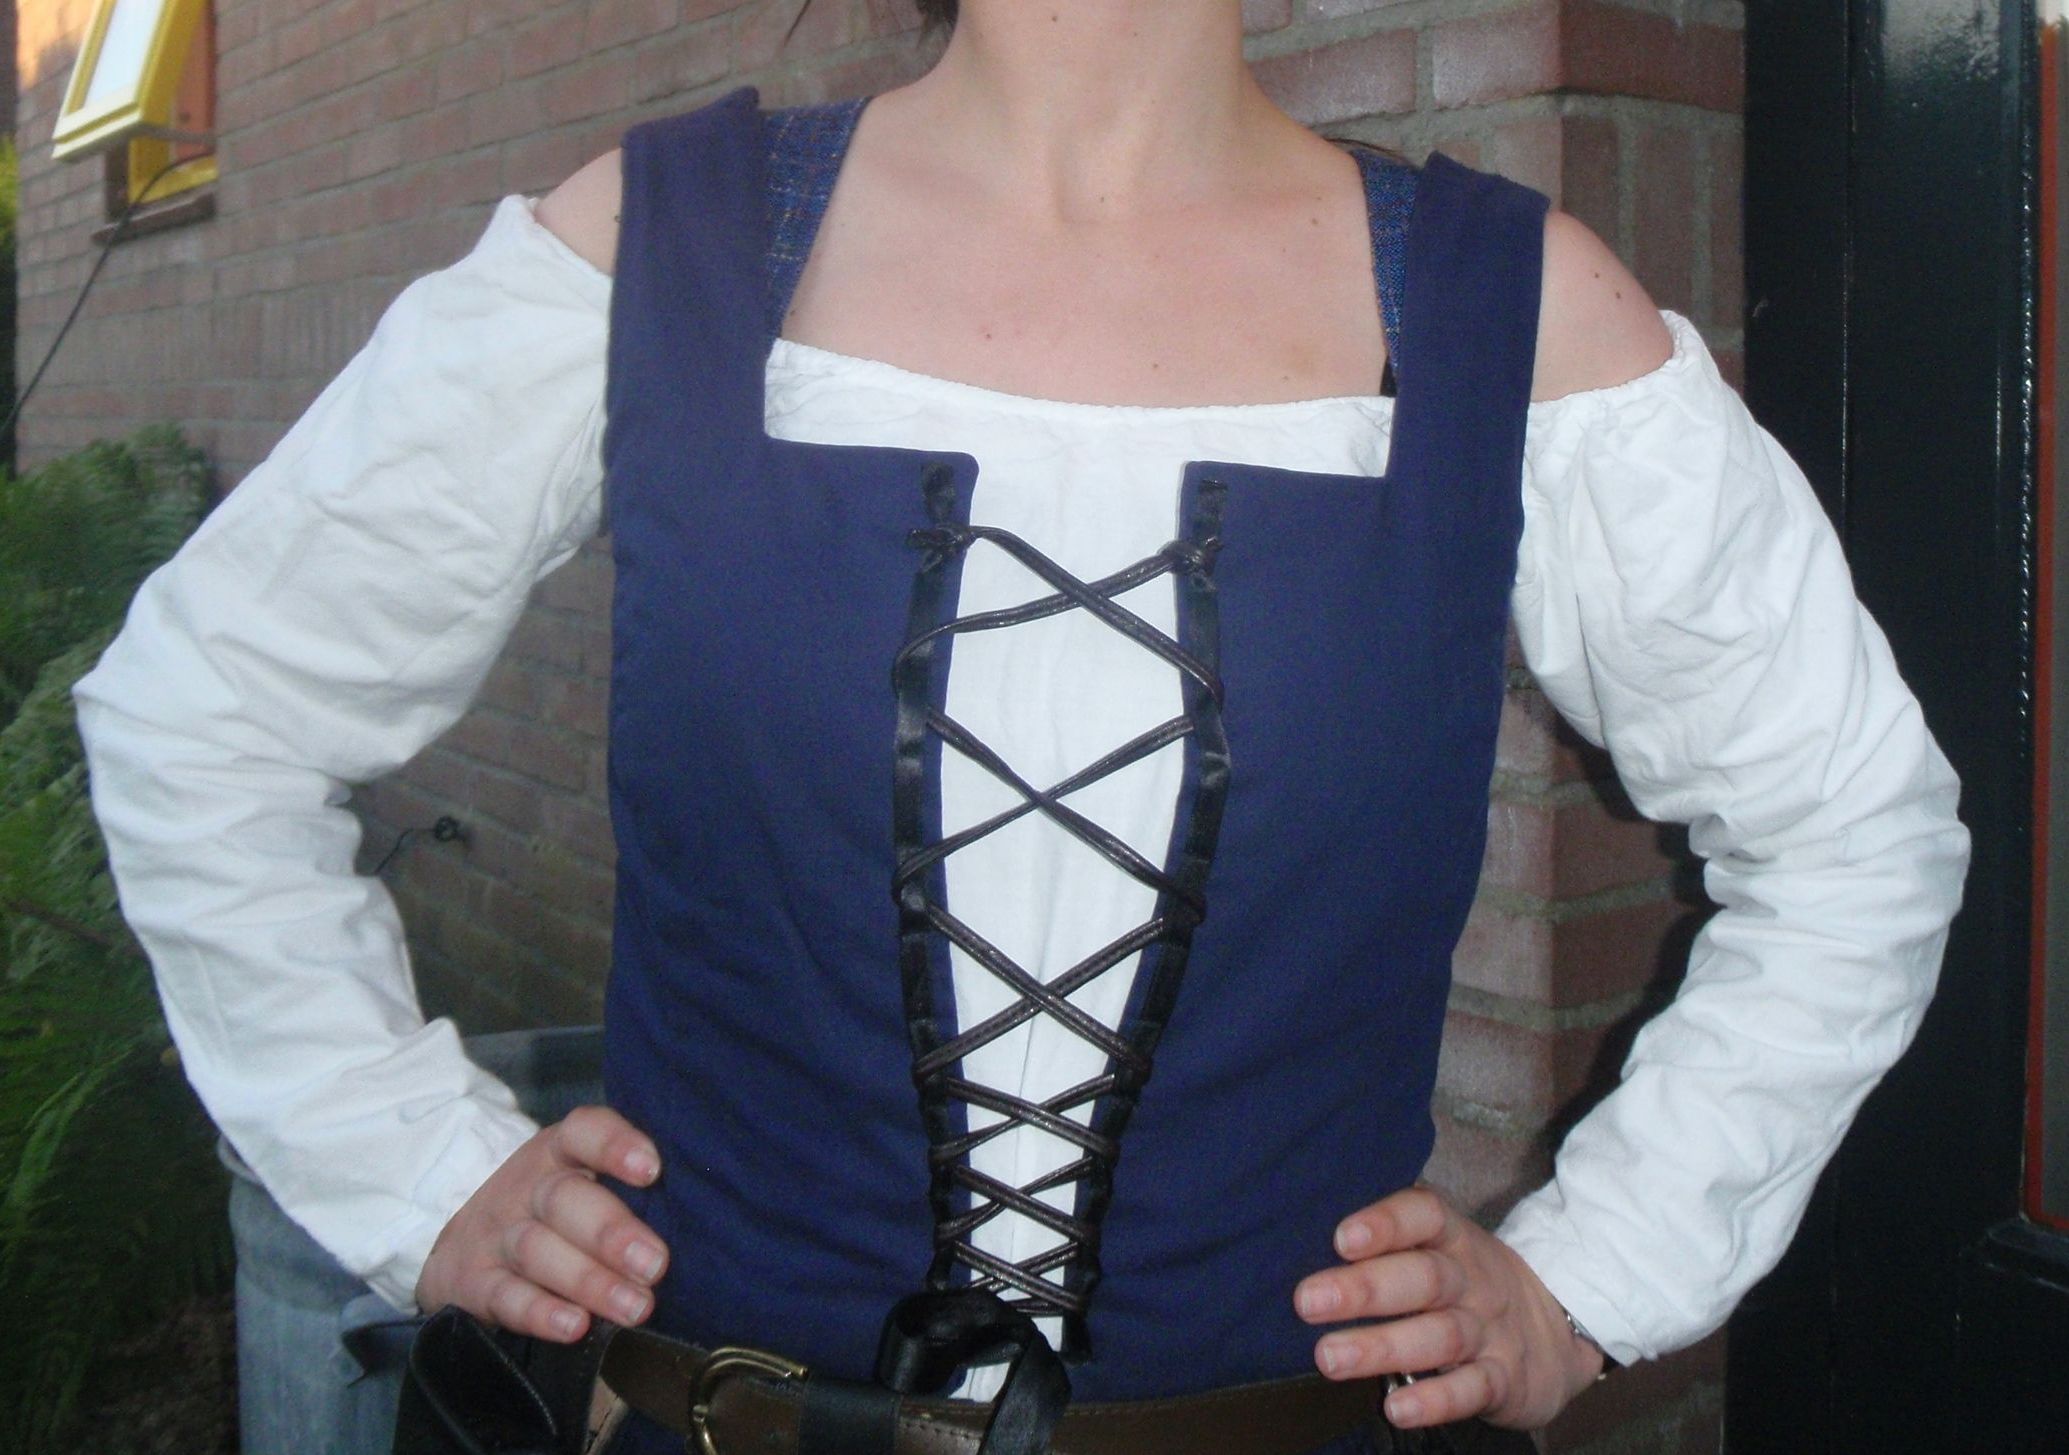
First up: the full view (apart from the boots).


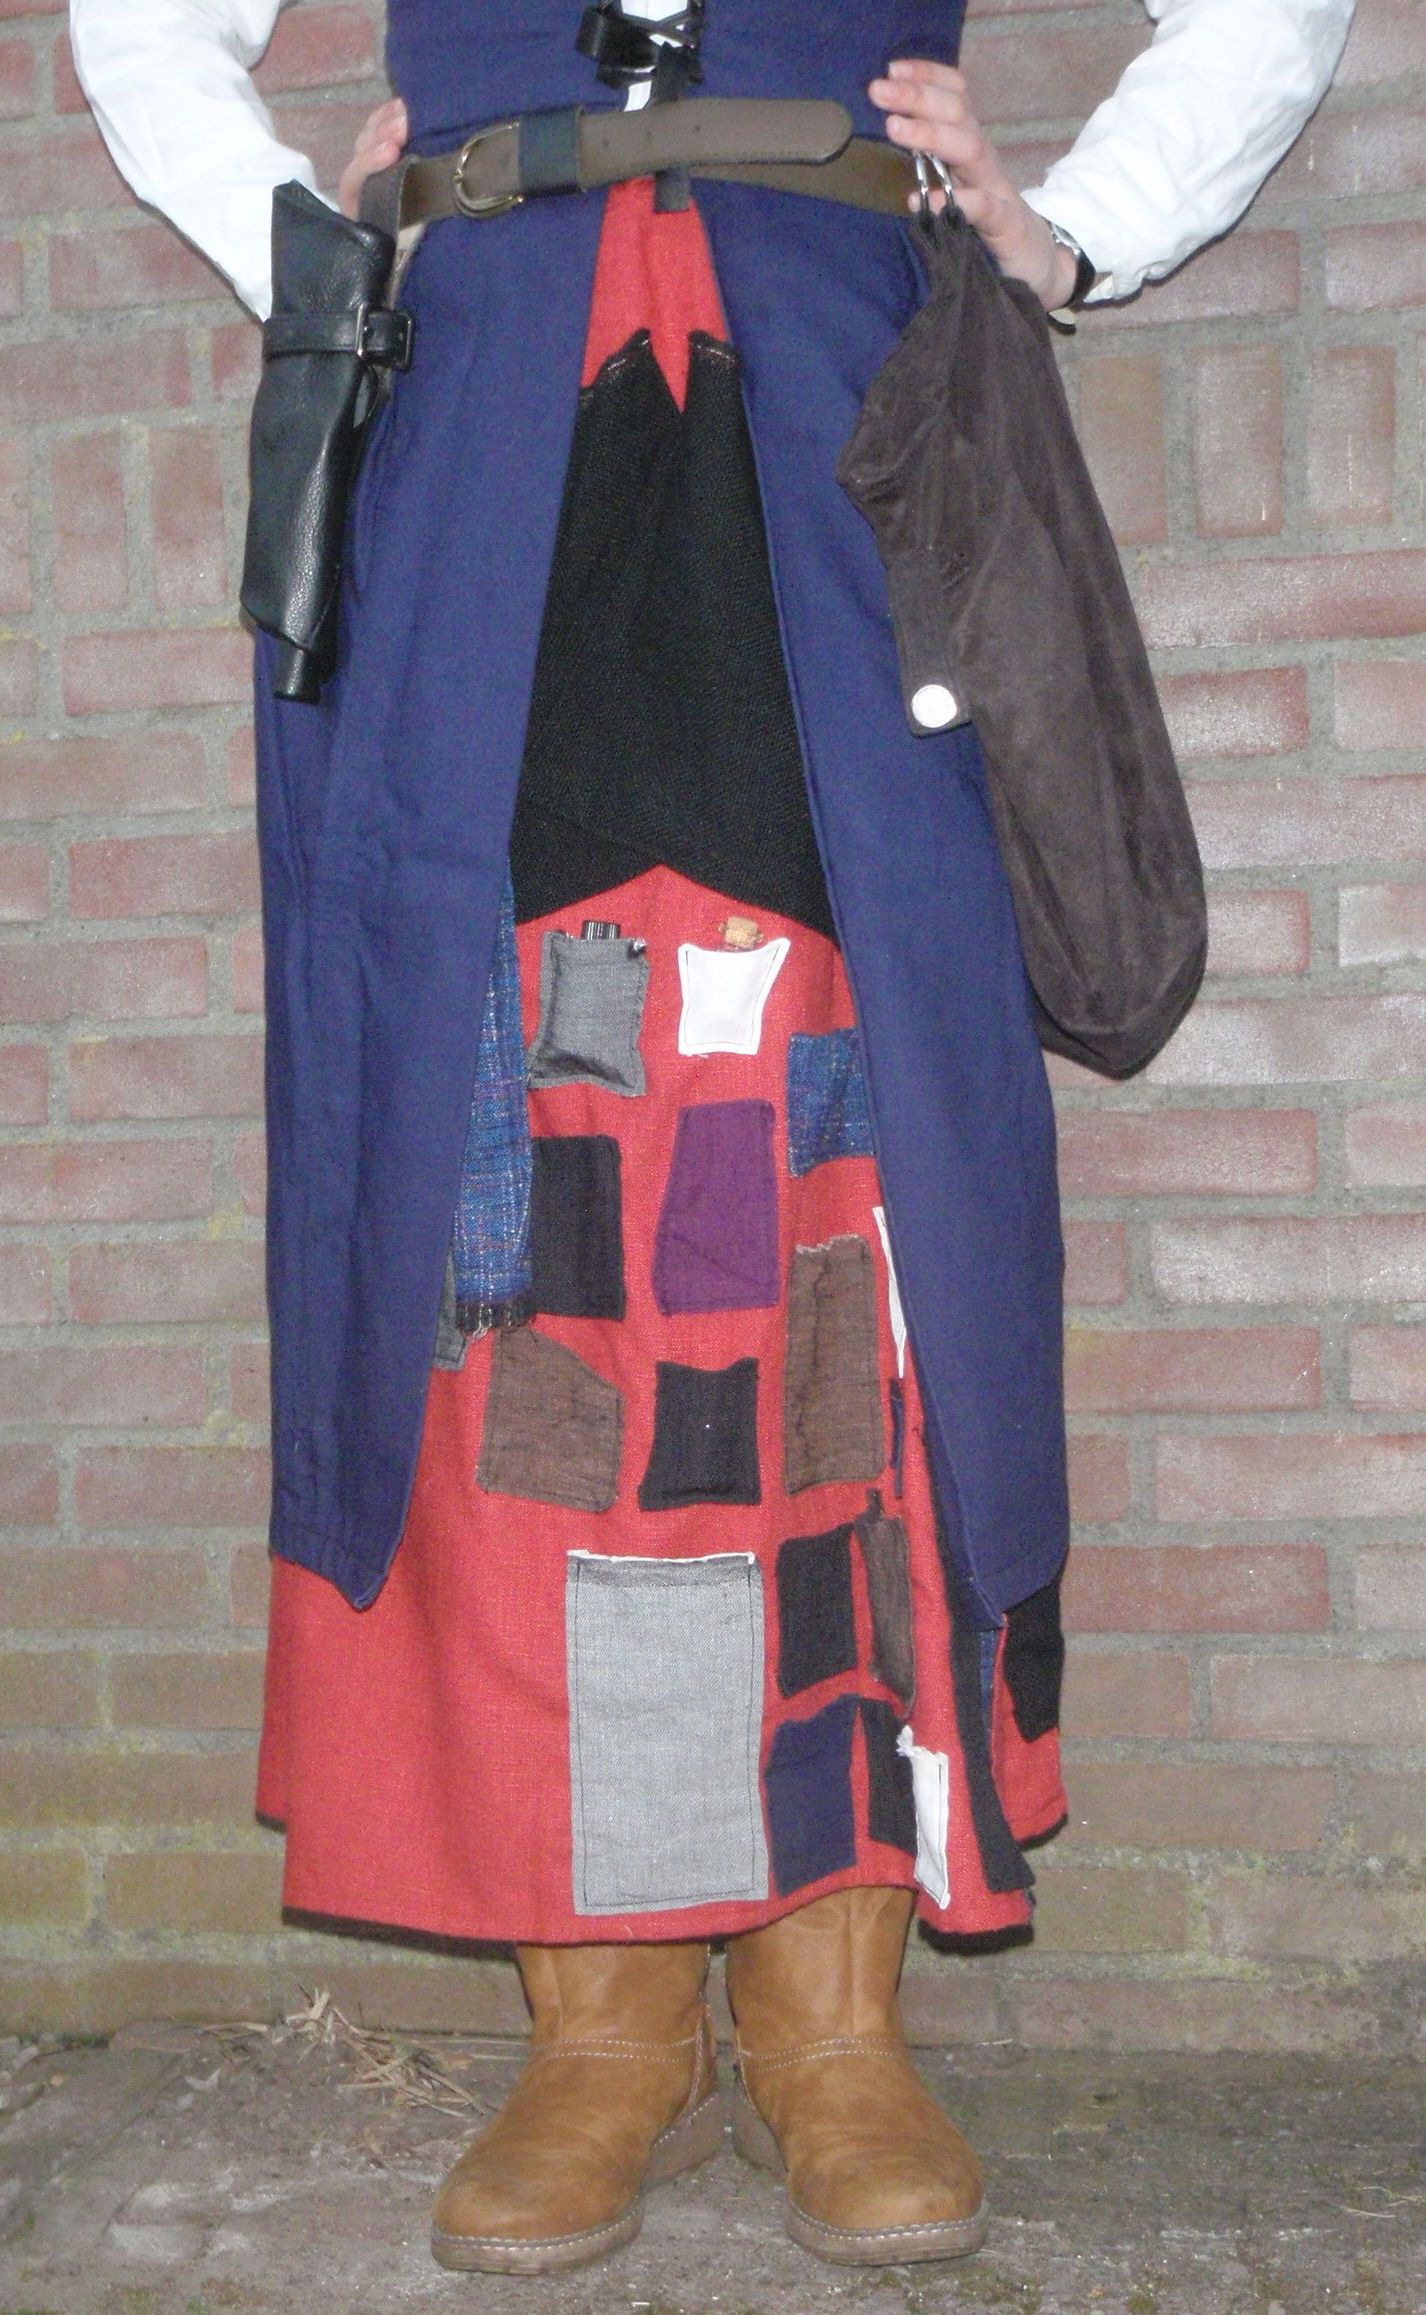
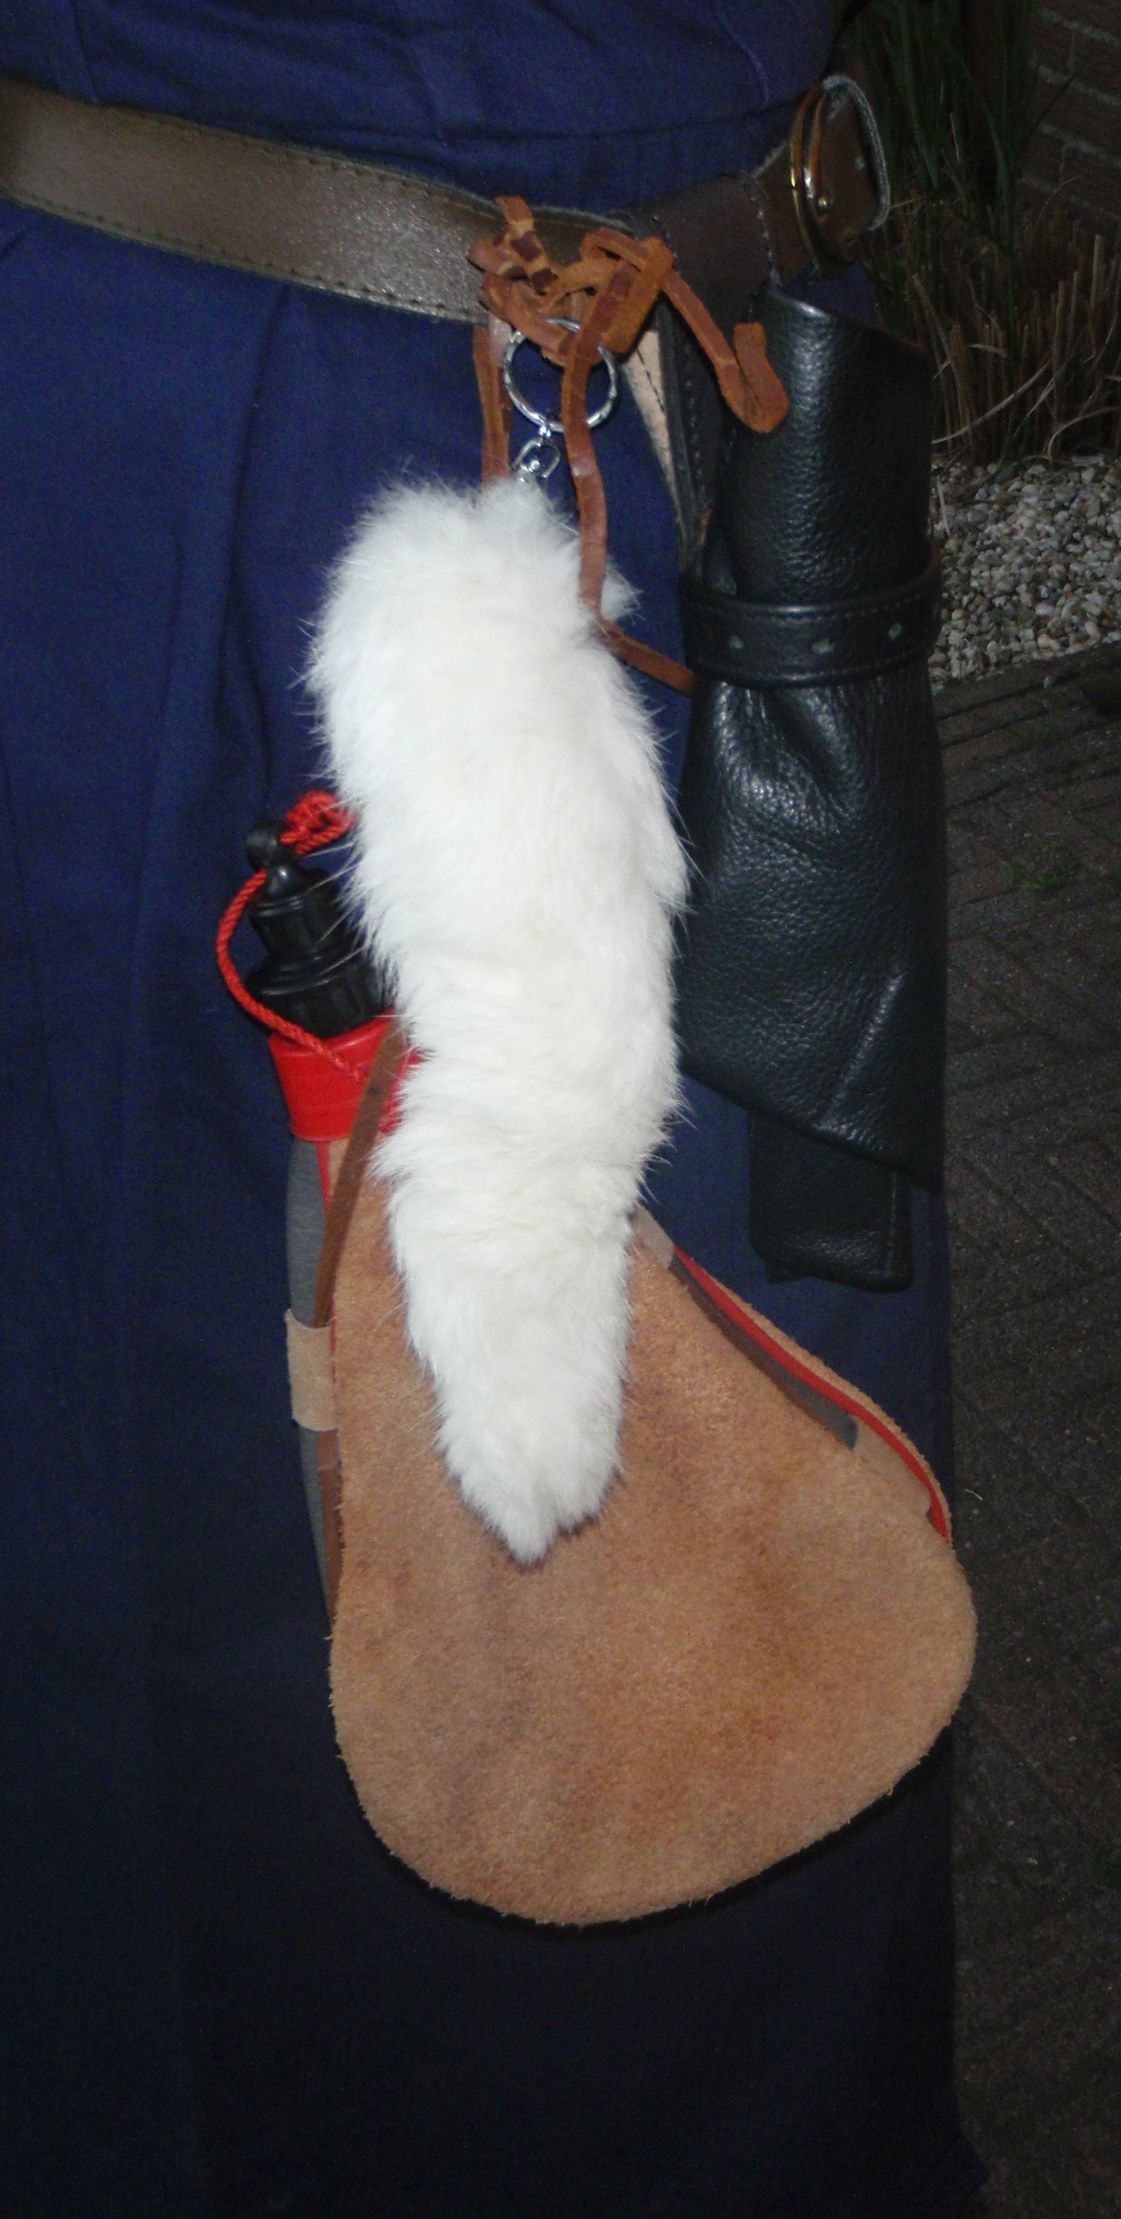
Left the top, in the middle the bottom half, including the usually very heavy brown bag and boots. To the right the side with a water sack and a ‘lock-picking set’.

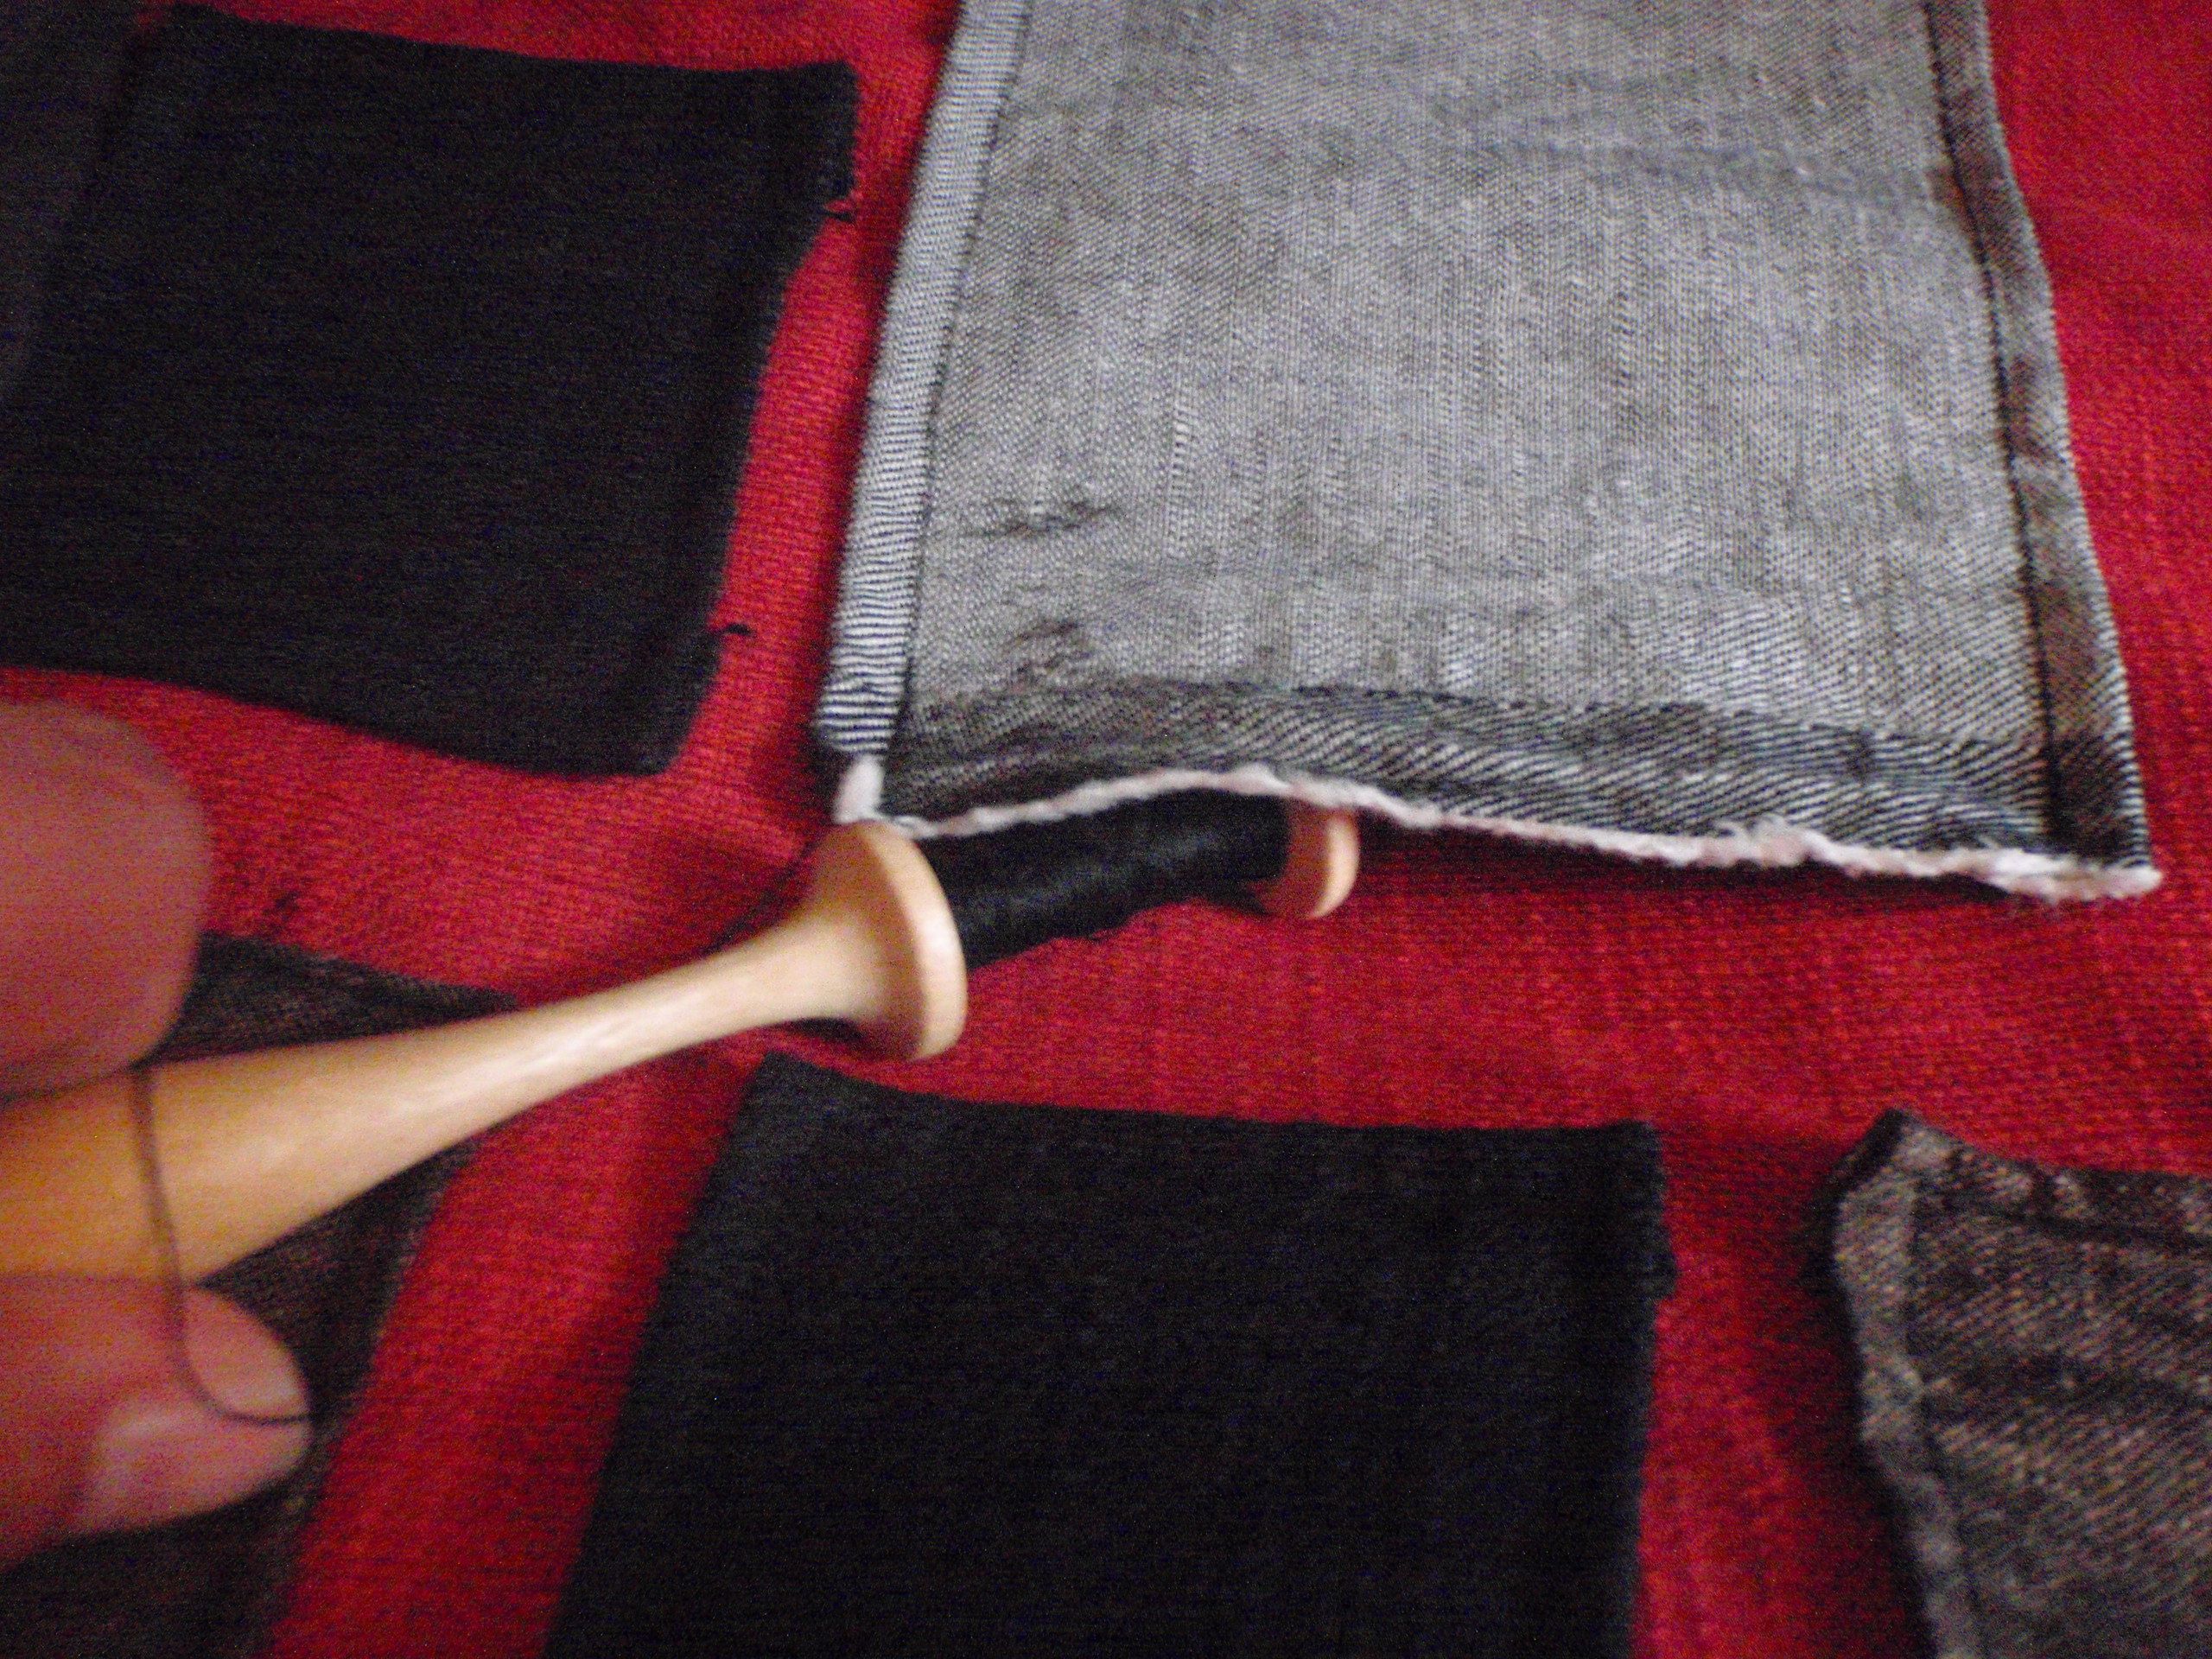
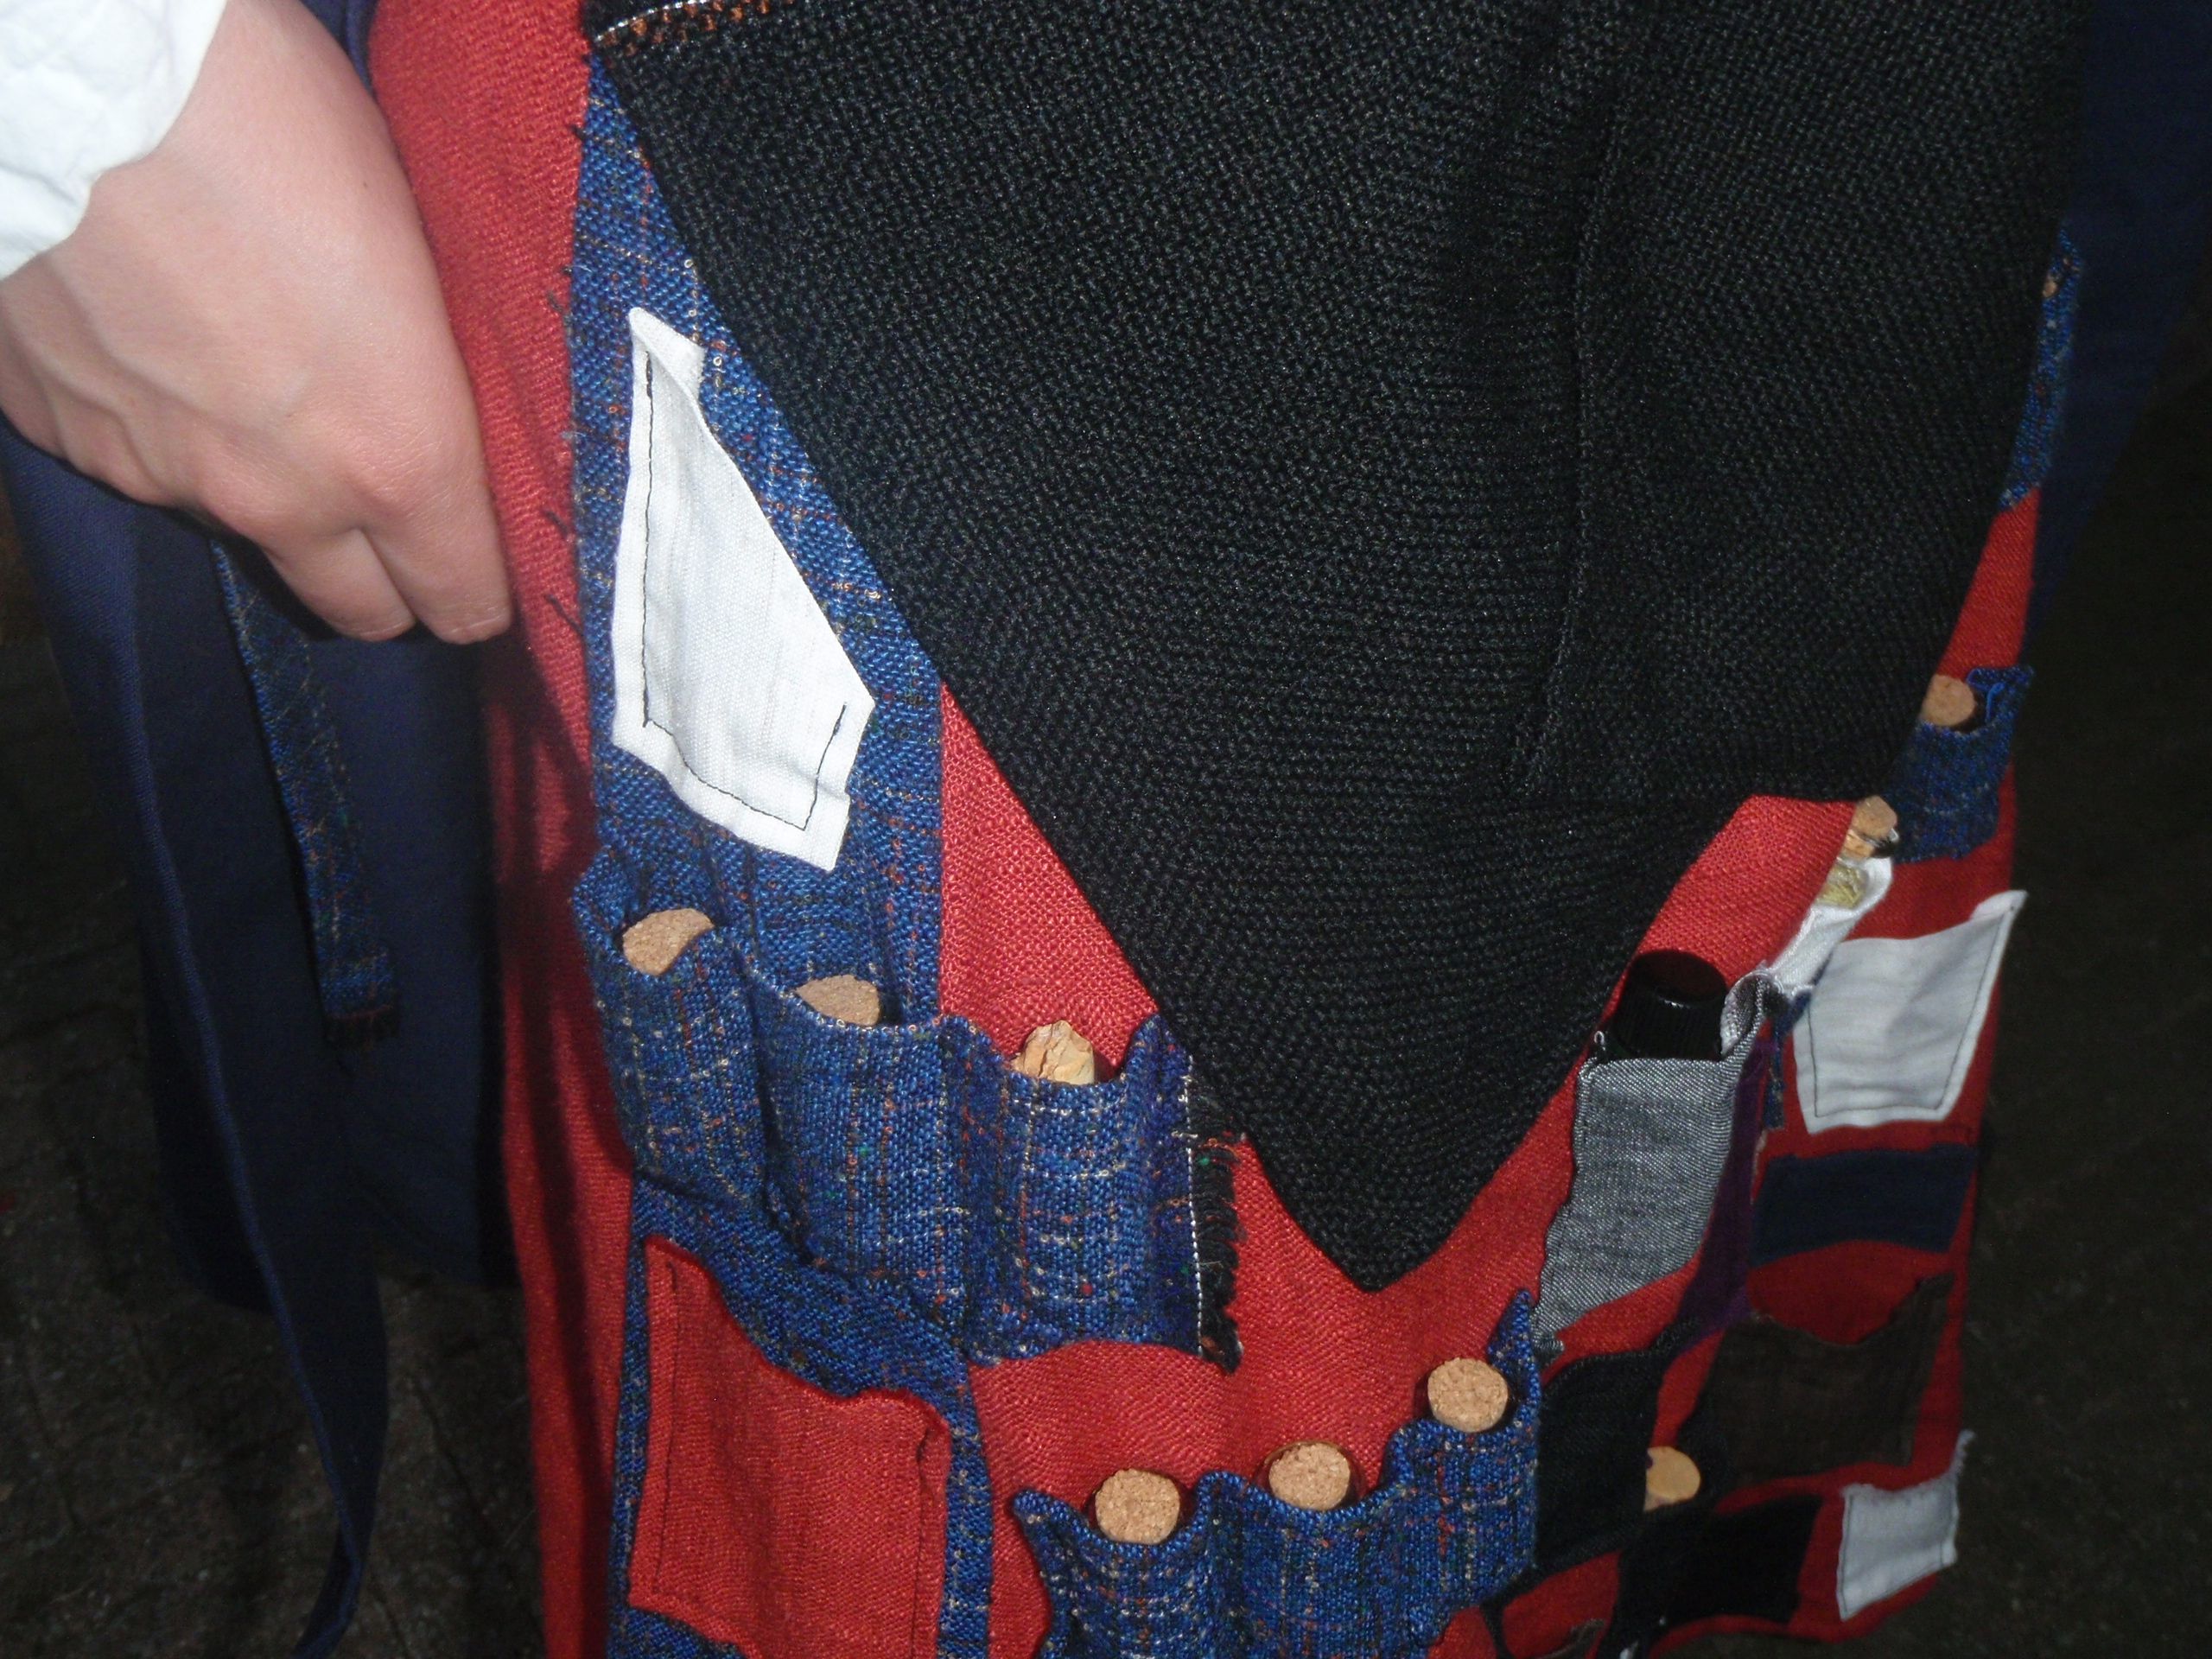
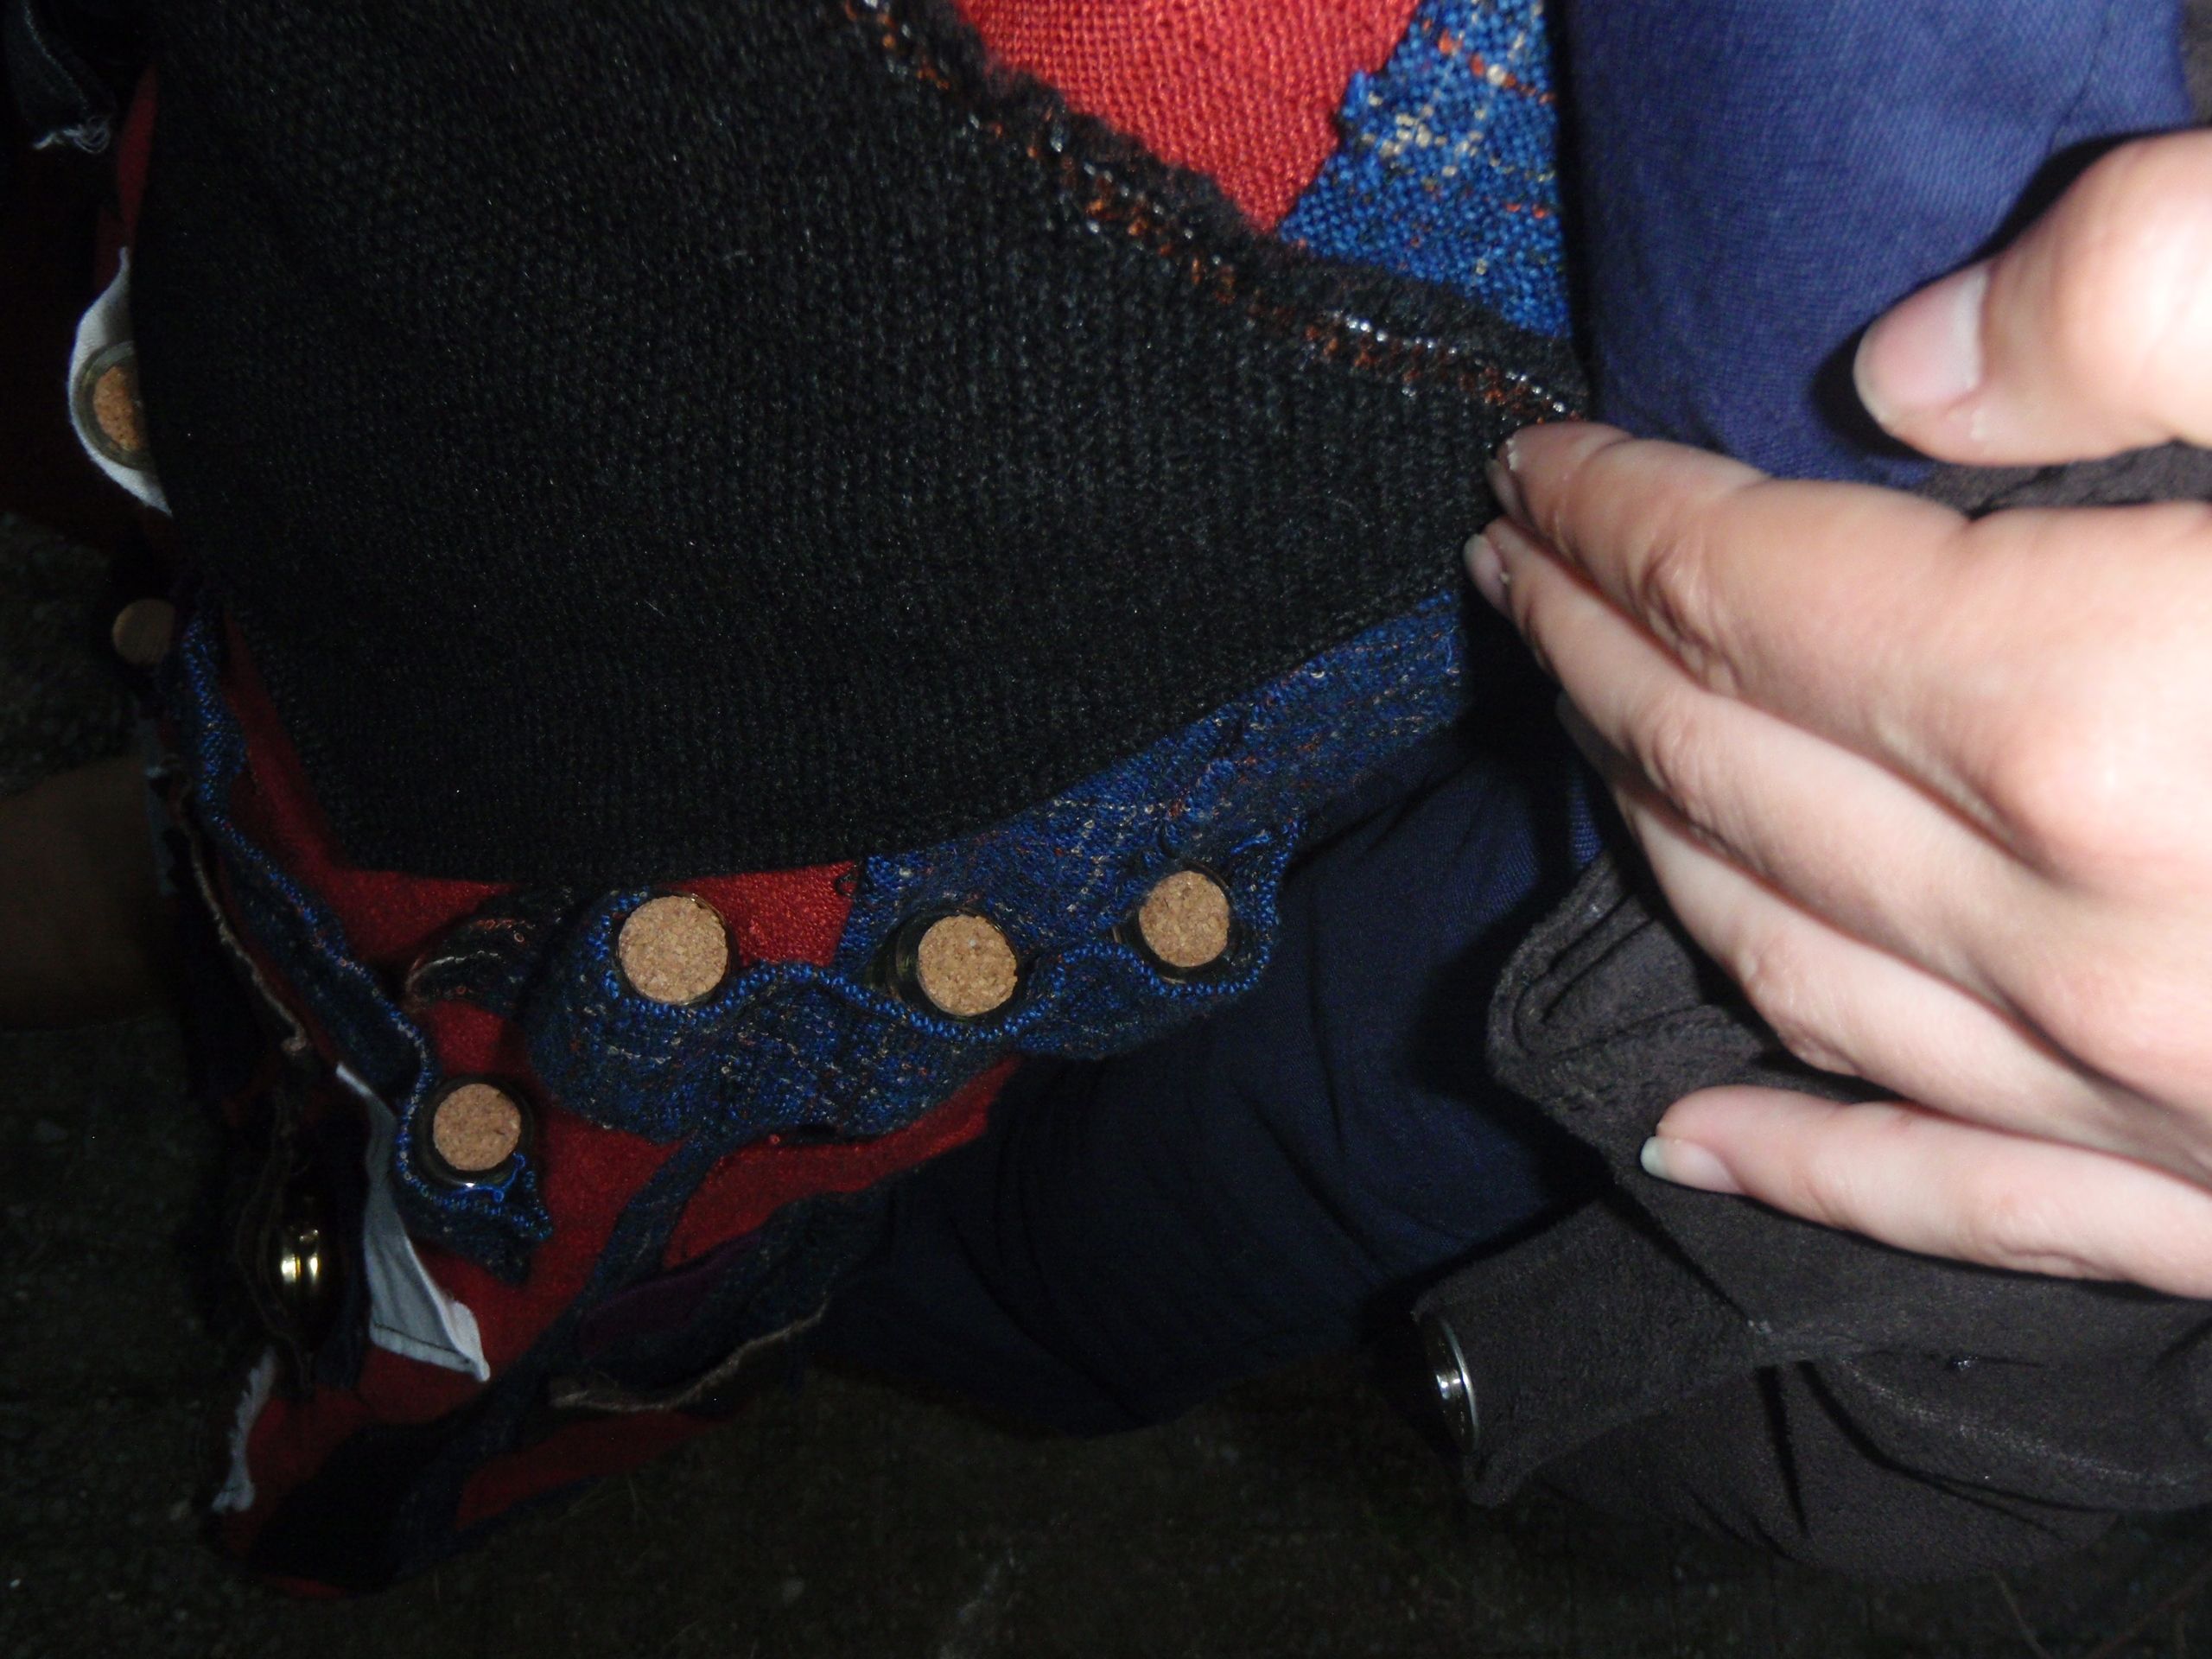
And the pockets from close up, including content:


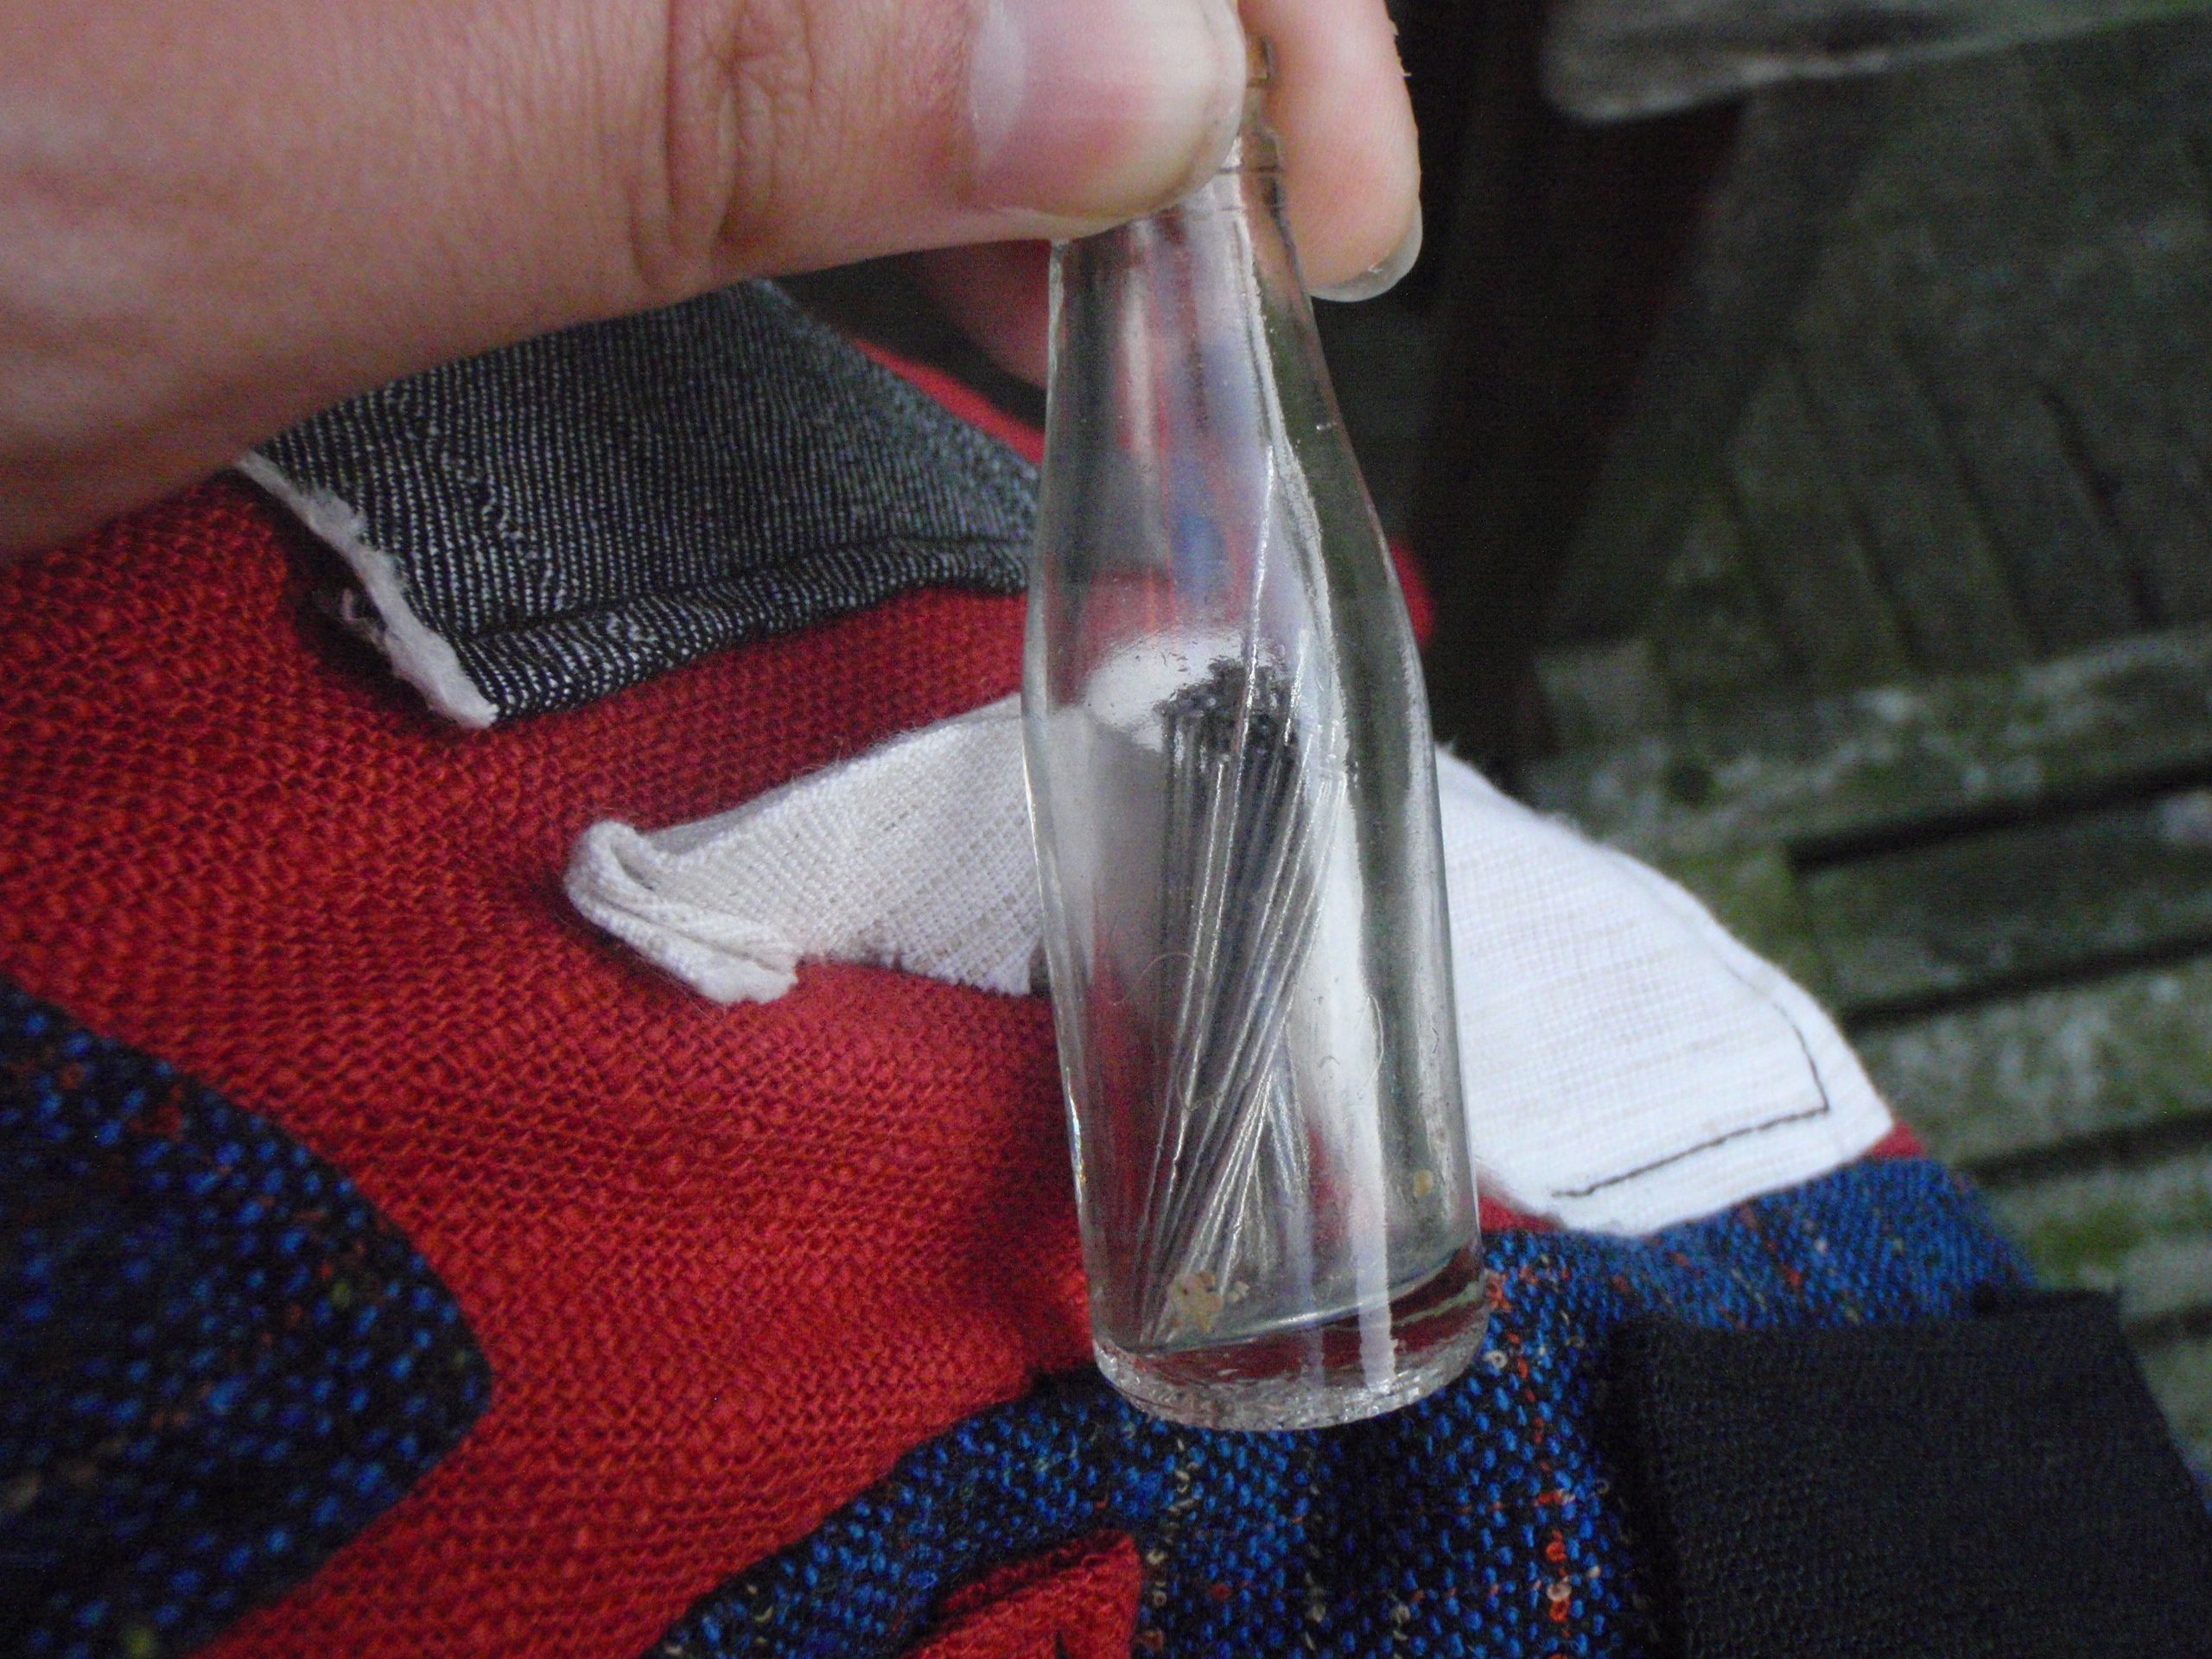
Thread left, pins and needles right.


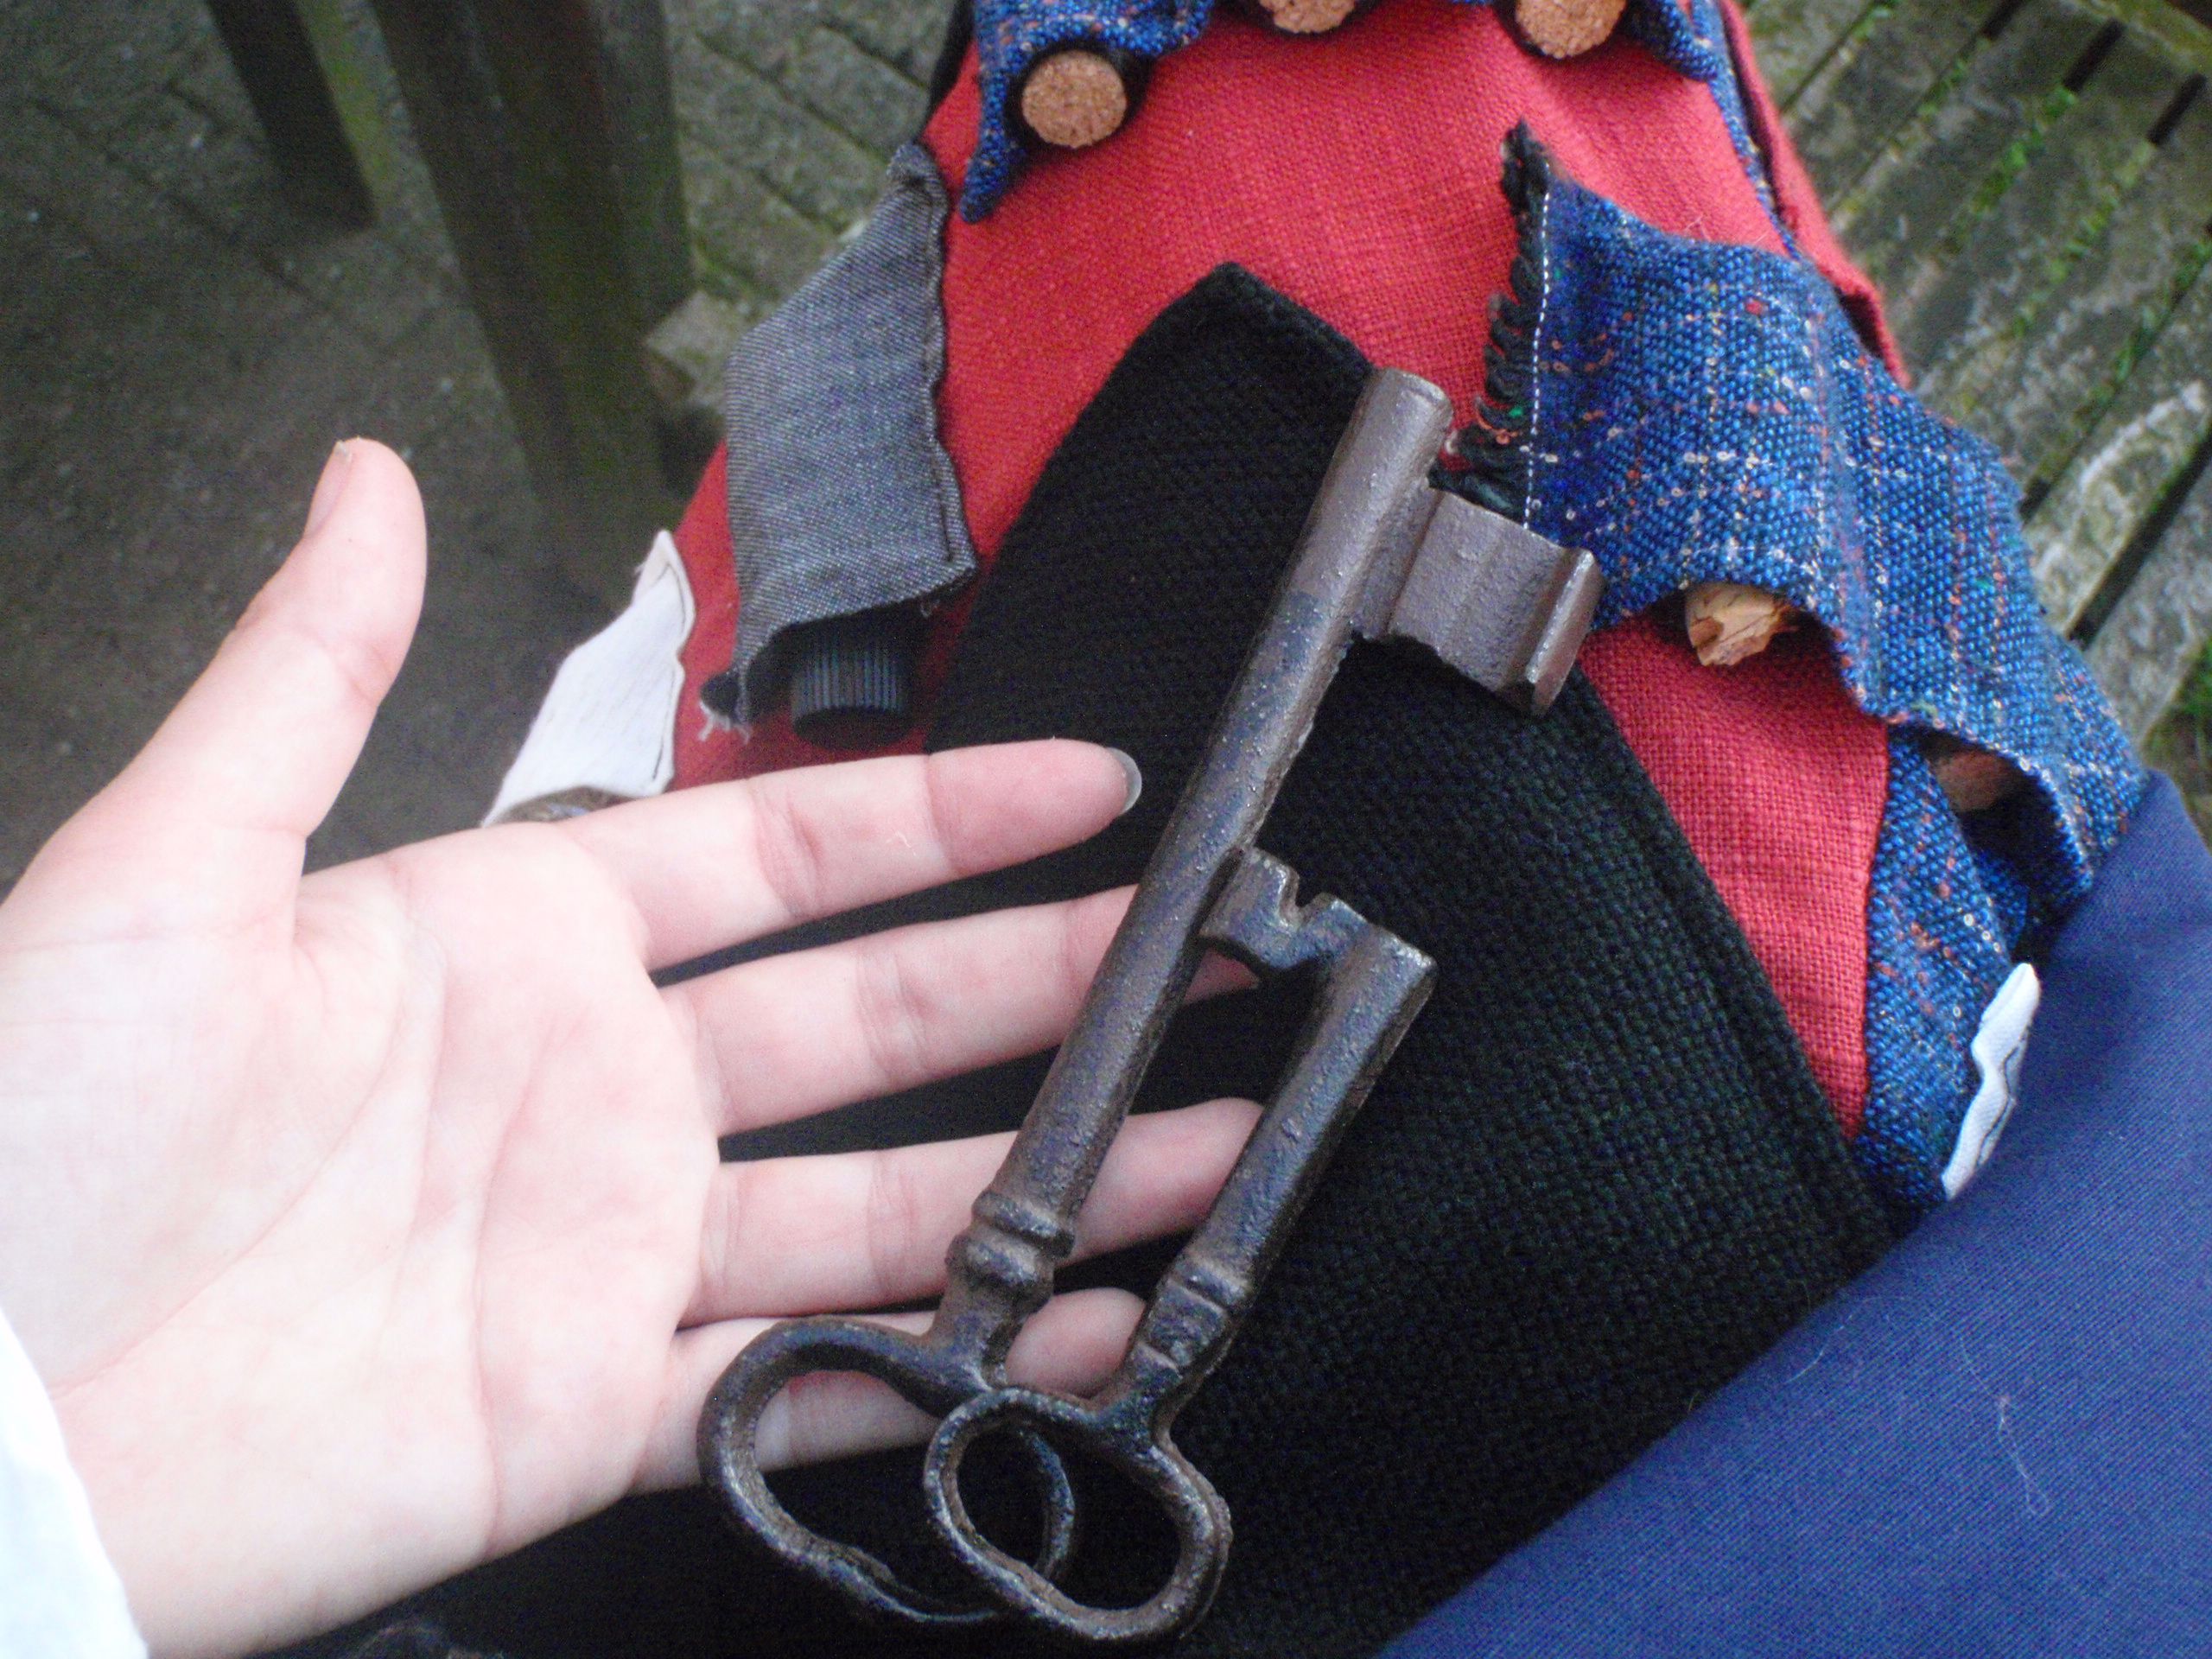
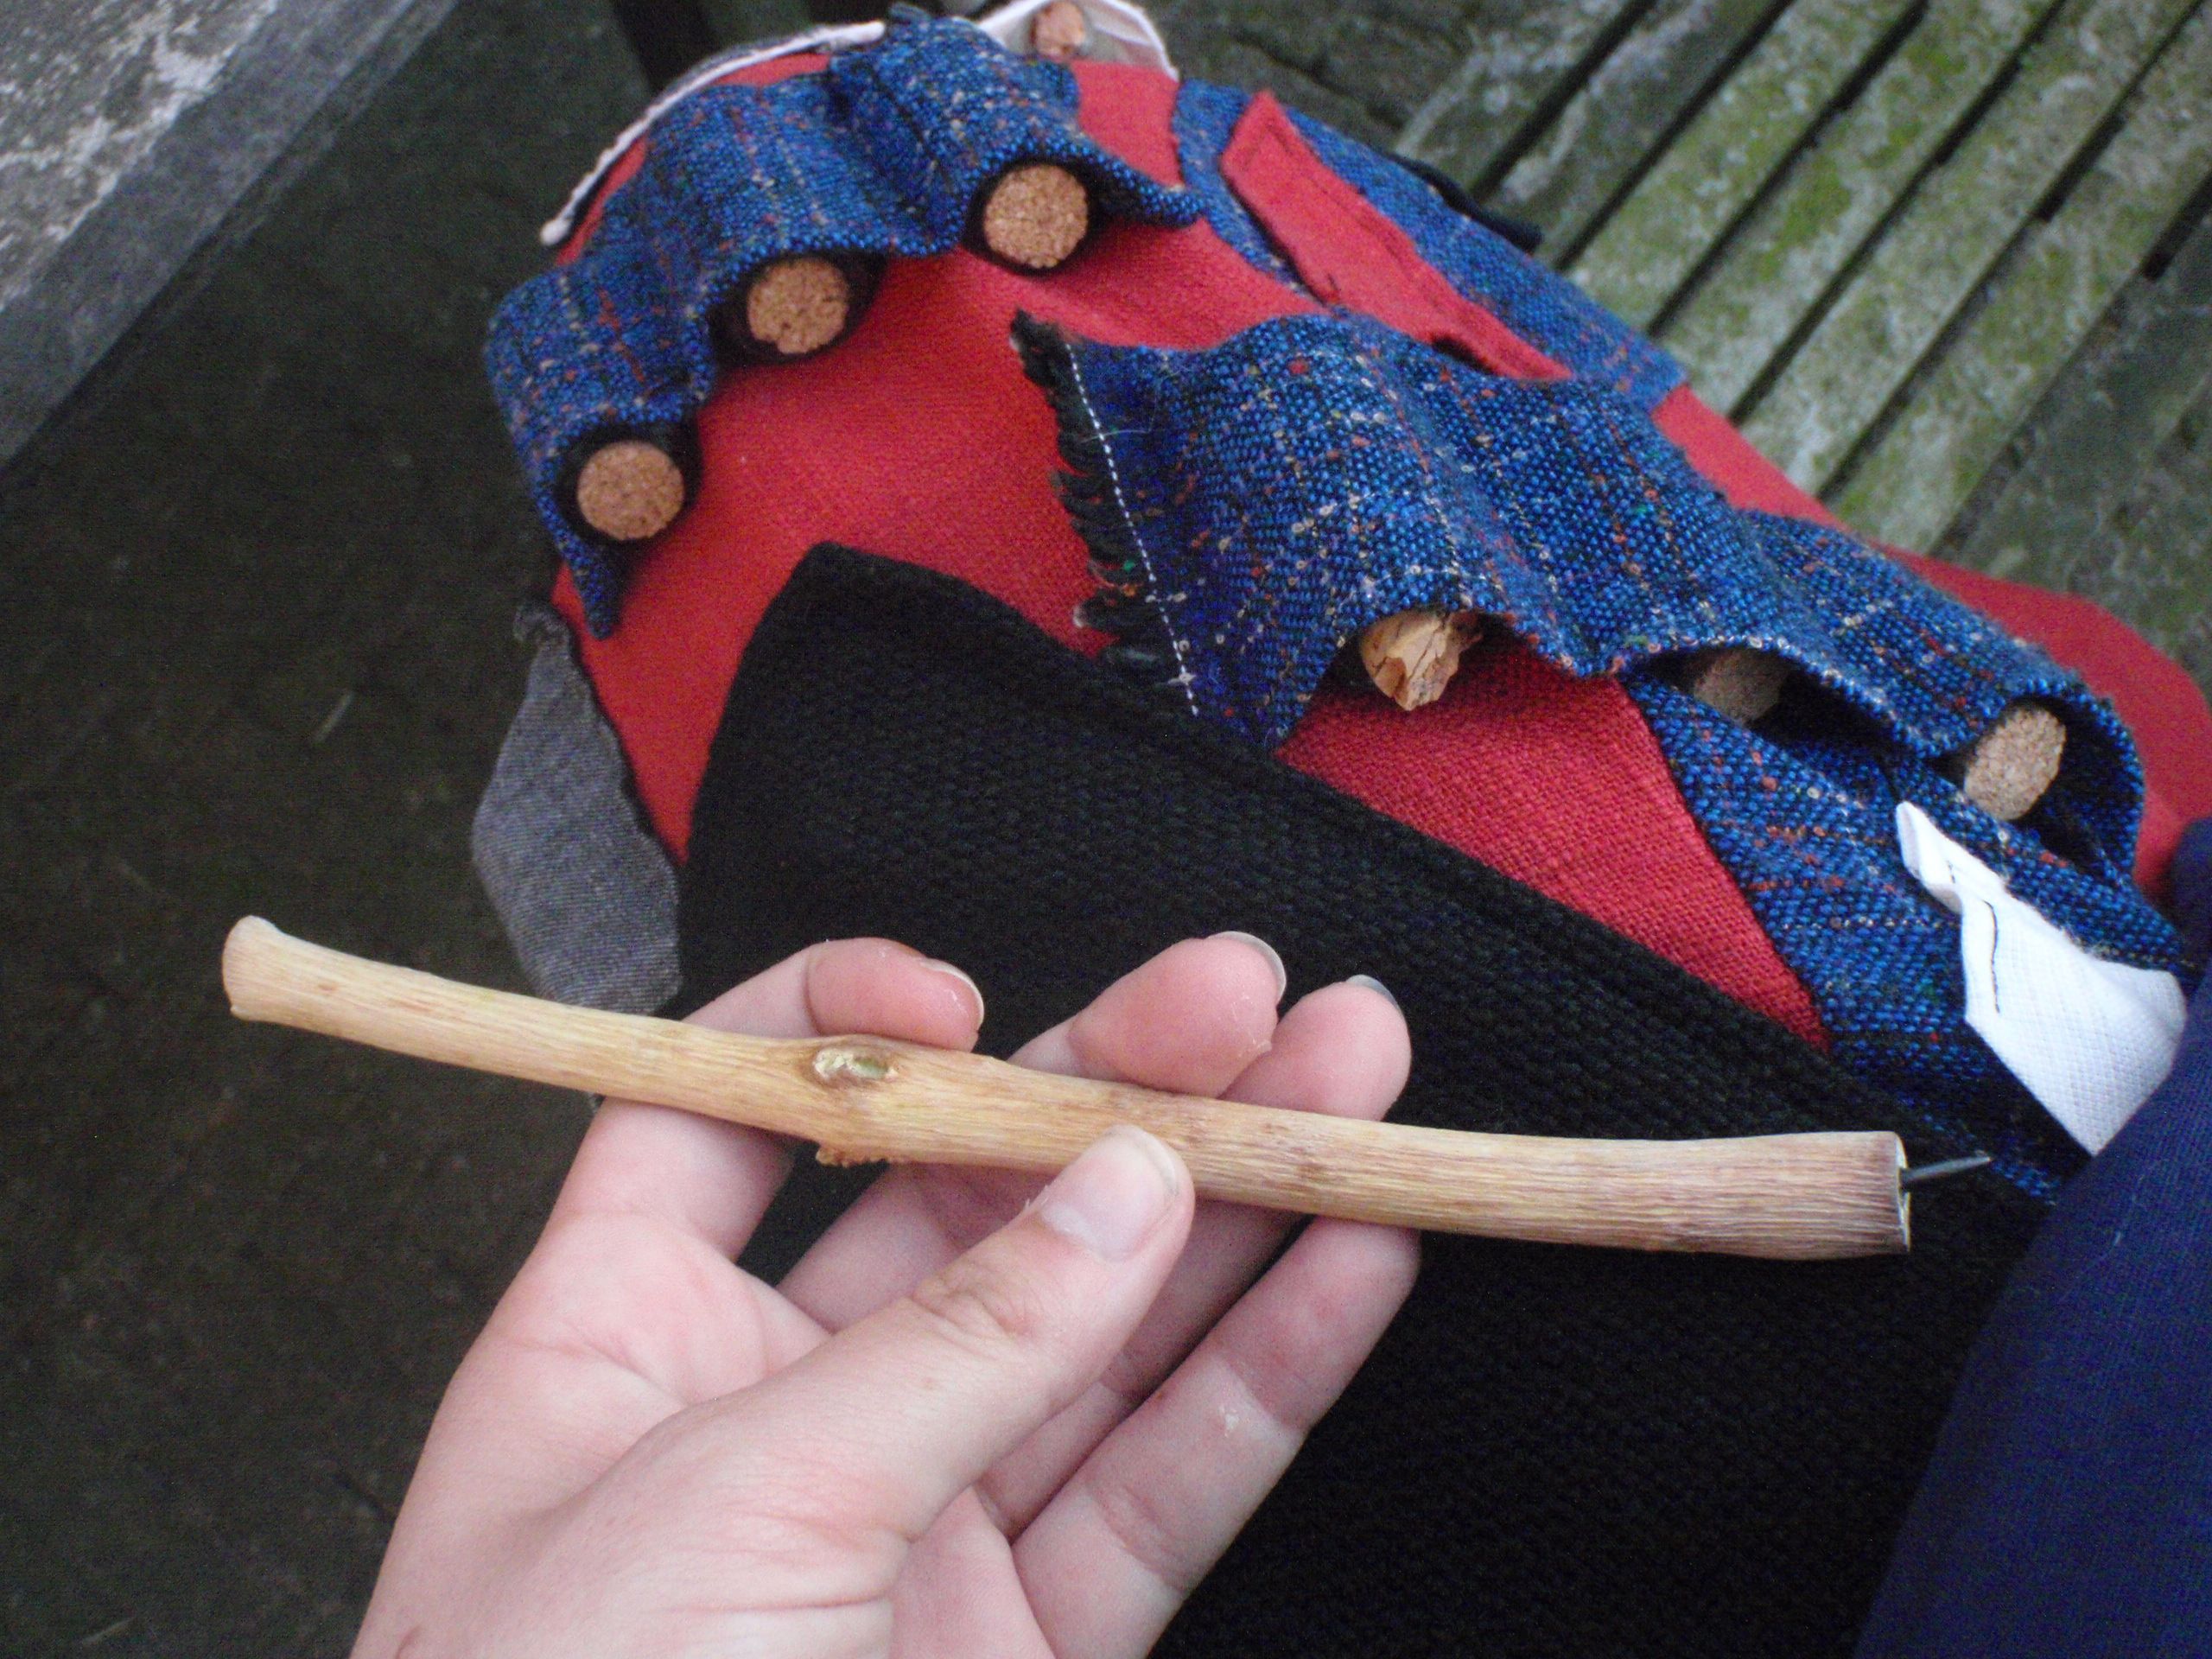
Keys left, home-made pencil right (glue a graphite bit in a stick, really easy, really satisfying).


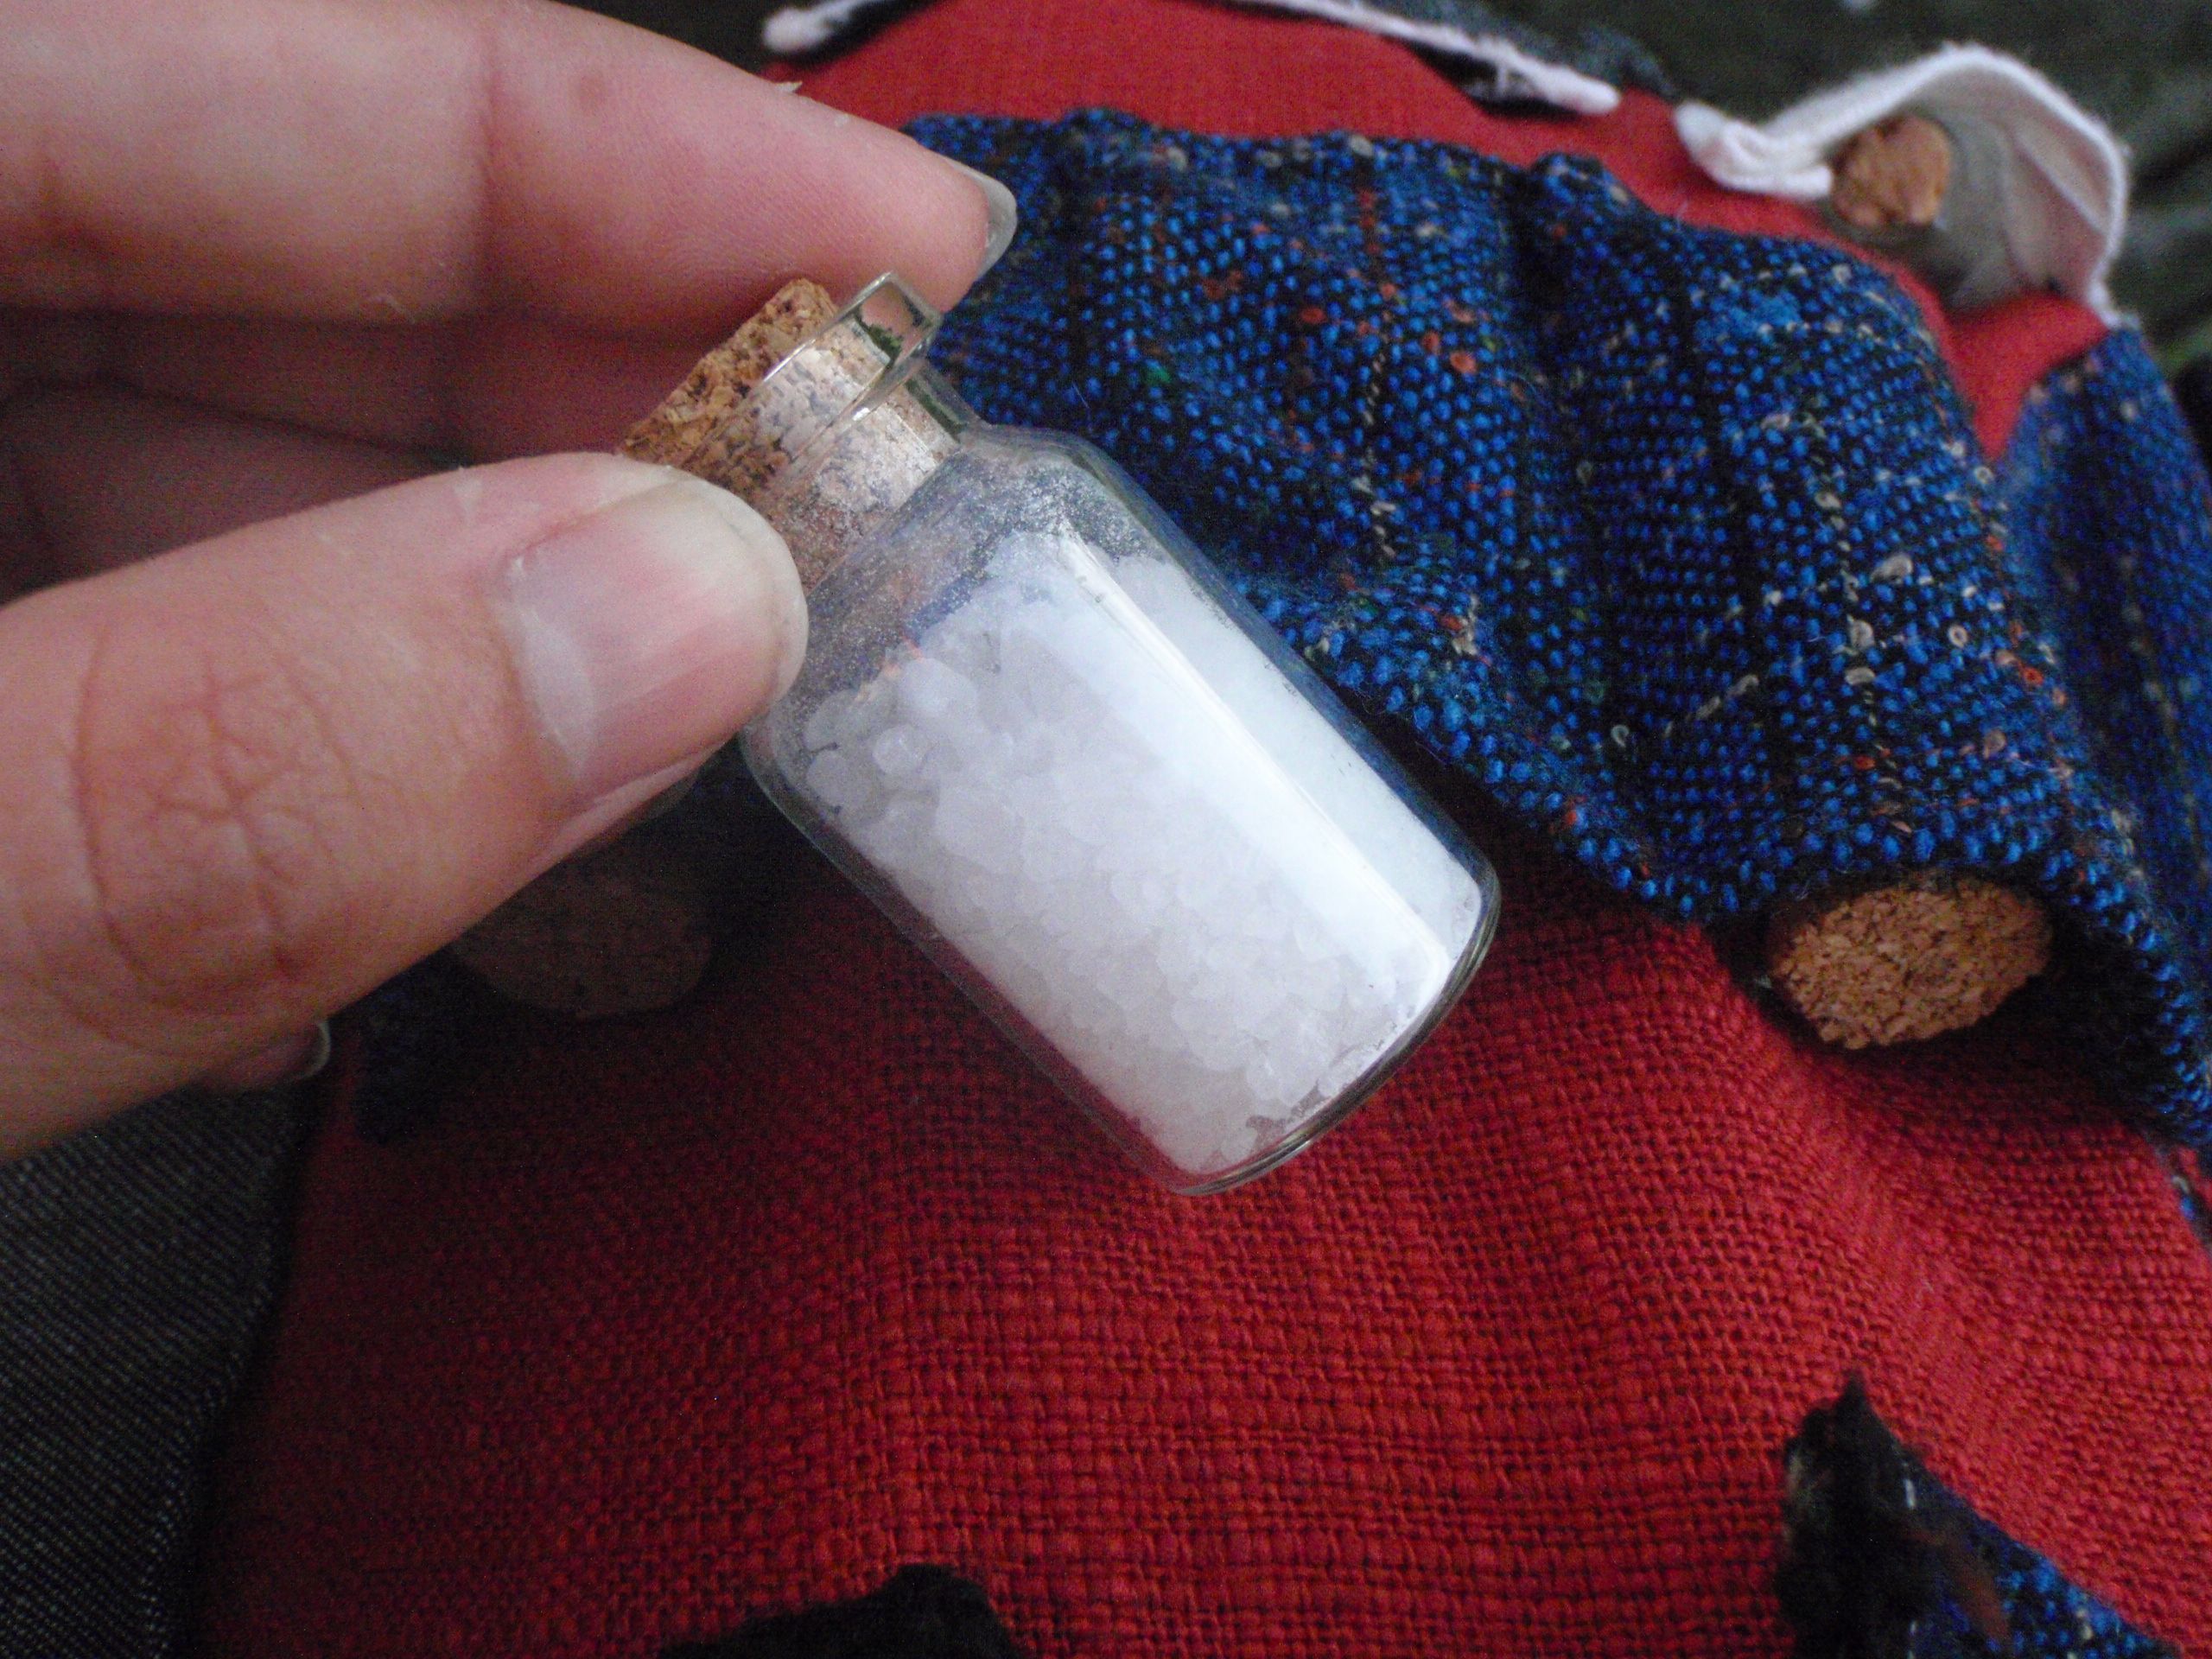
Salt left, and more pockets with more vials with herbs and an ink bottle (with a black cap)

 and even more pockets and vials!

I was really quite happy with the outfit although it did pose some technical difficulties. Sitting down on something low (for example: the ground or tree logs) is very difficult, because stuff might fall out. Running in the skirt is also not advised. However, it did hold up well, and the main issue I had, was with my overfull bag which hang on my hip bones (see also the picture up top), making the bones ache a bit. So I could probably improve the function of the skirt, snaps? perhaps. Overall, I’m happy about that though.

However, I have not made my mind up about the event itself yet. There was enormous chaos in the beginning (Friday night) and on the Saturday I had a scare which kept me out of it for most of the day. Sunday was really nice, because I got a task and figured out something I could do and felt really useful. I like feeling useful!

I’m going to have to see if I go again, of course also in combination with the always difficult part of figuring out the schedule at the university.
I think I might prefer not being the same person for 3 days straight, but that might change once I actually figure out the things I’m supposed to know in the game. (Pretending to have knowledge on the history of the country without knowing anything about the country is really difficult, that’s for sure.)

On to the next project! I’m thinking a t-shirt.
Happy crafting!
Larp Over Dress

I don’t know if it’s a real word, but the last section of my Larp costume was an over dress. Somewhat coat like, with a lacing closure at the front and no sleeves. The top part was based (partly) on the Franzi vest pattern from Burda style (here). Admittedly, it doesn’t look anything like it any more, but I used the bones and then just cut the bits away that did not correspond with the vision I had.

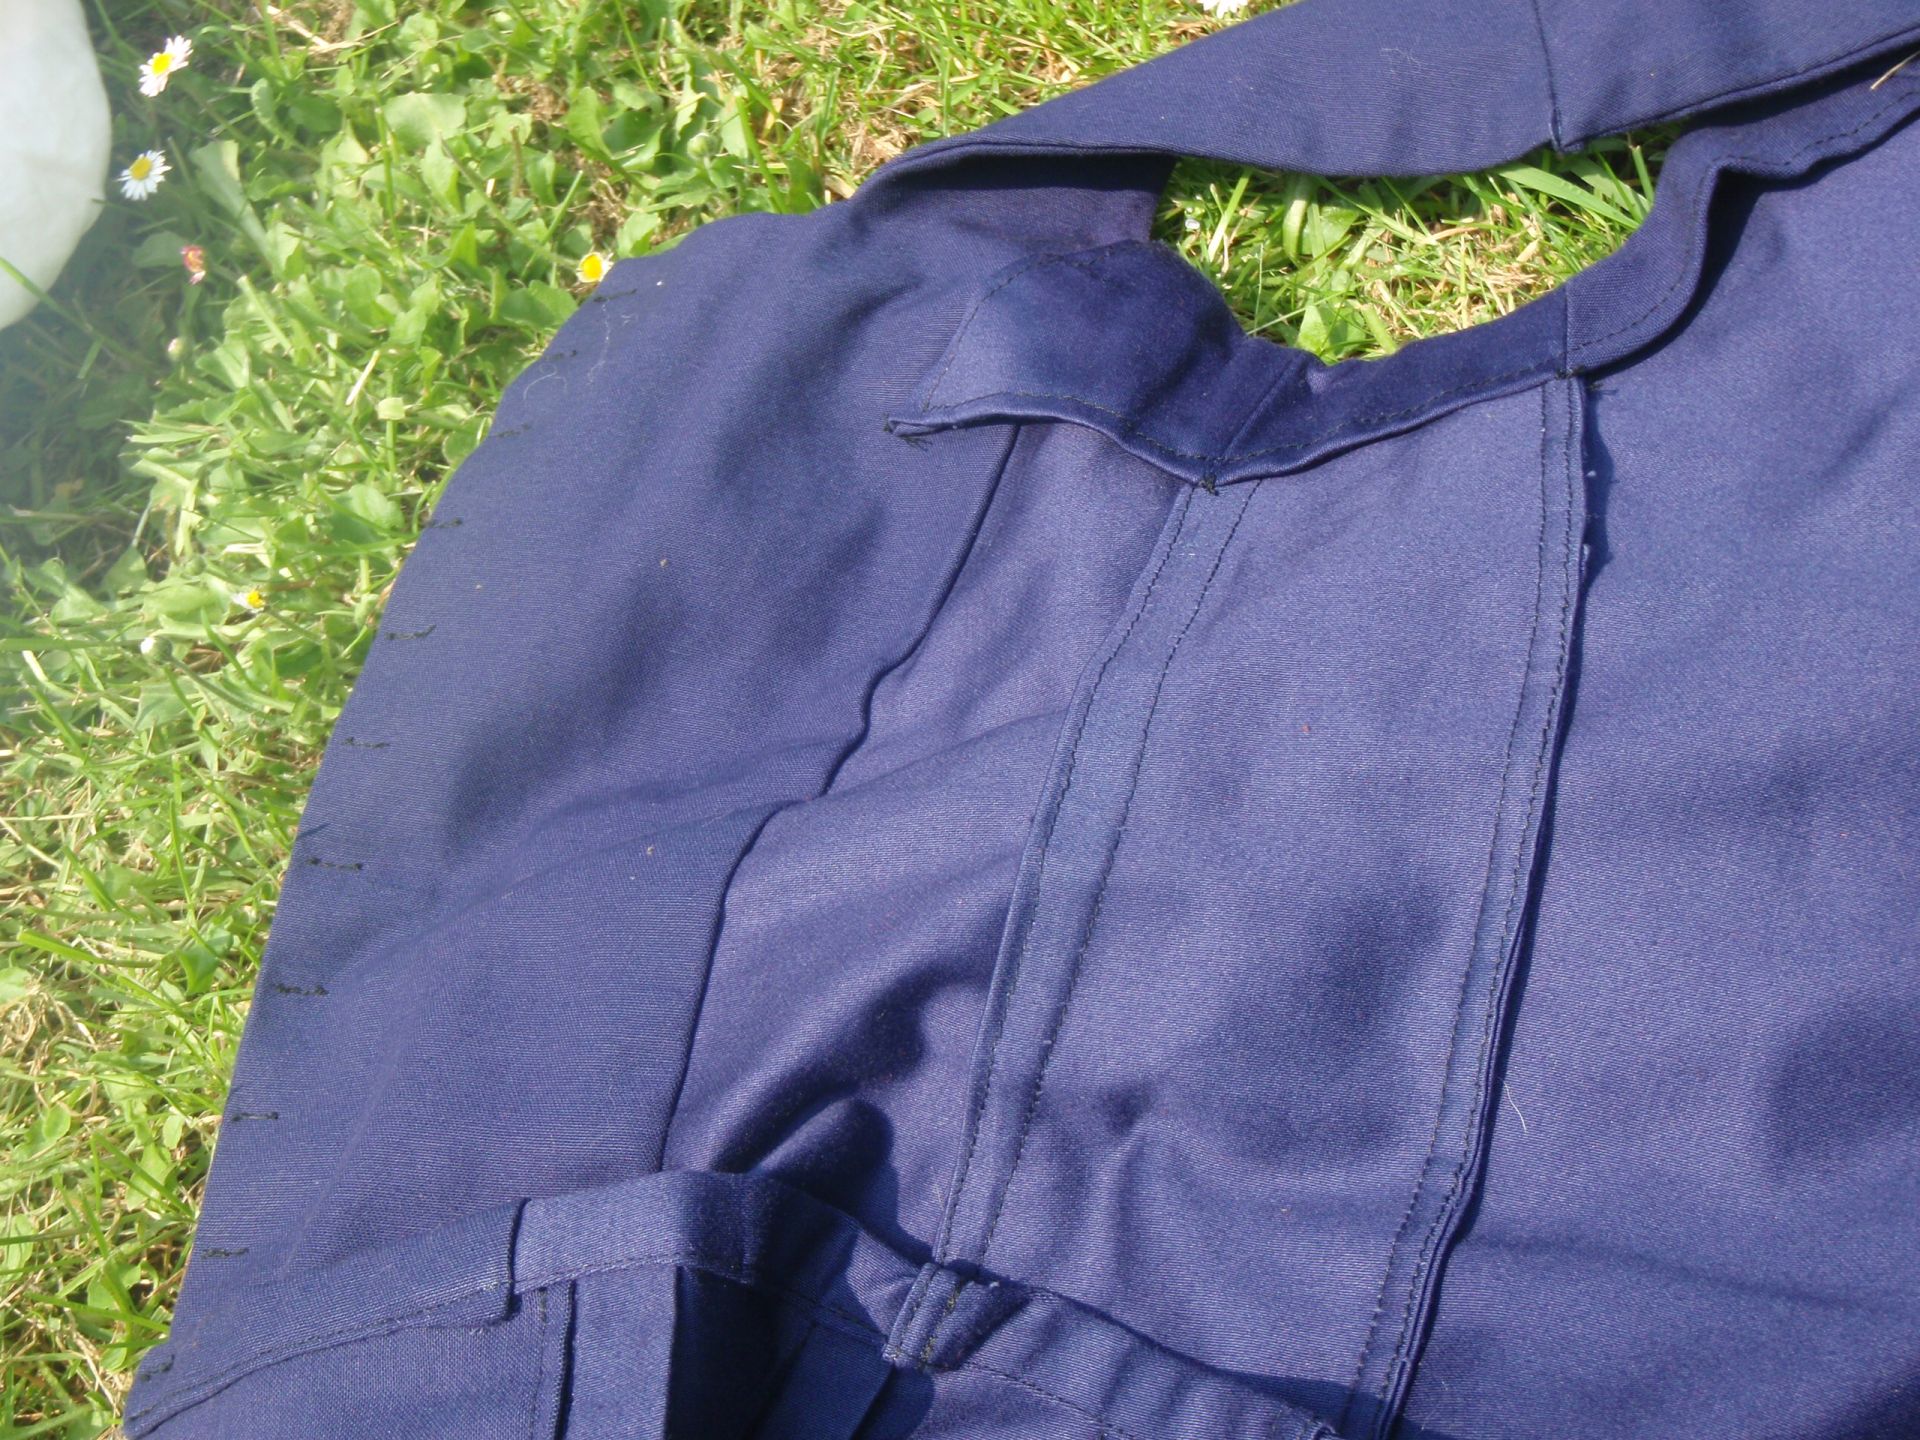
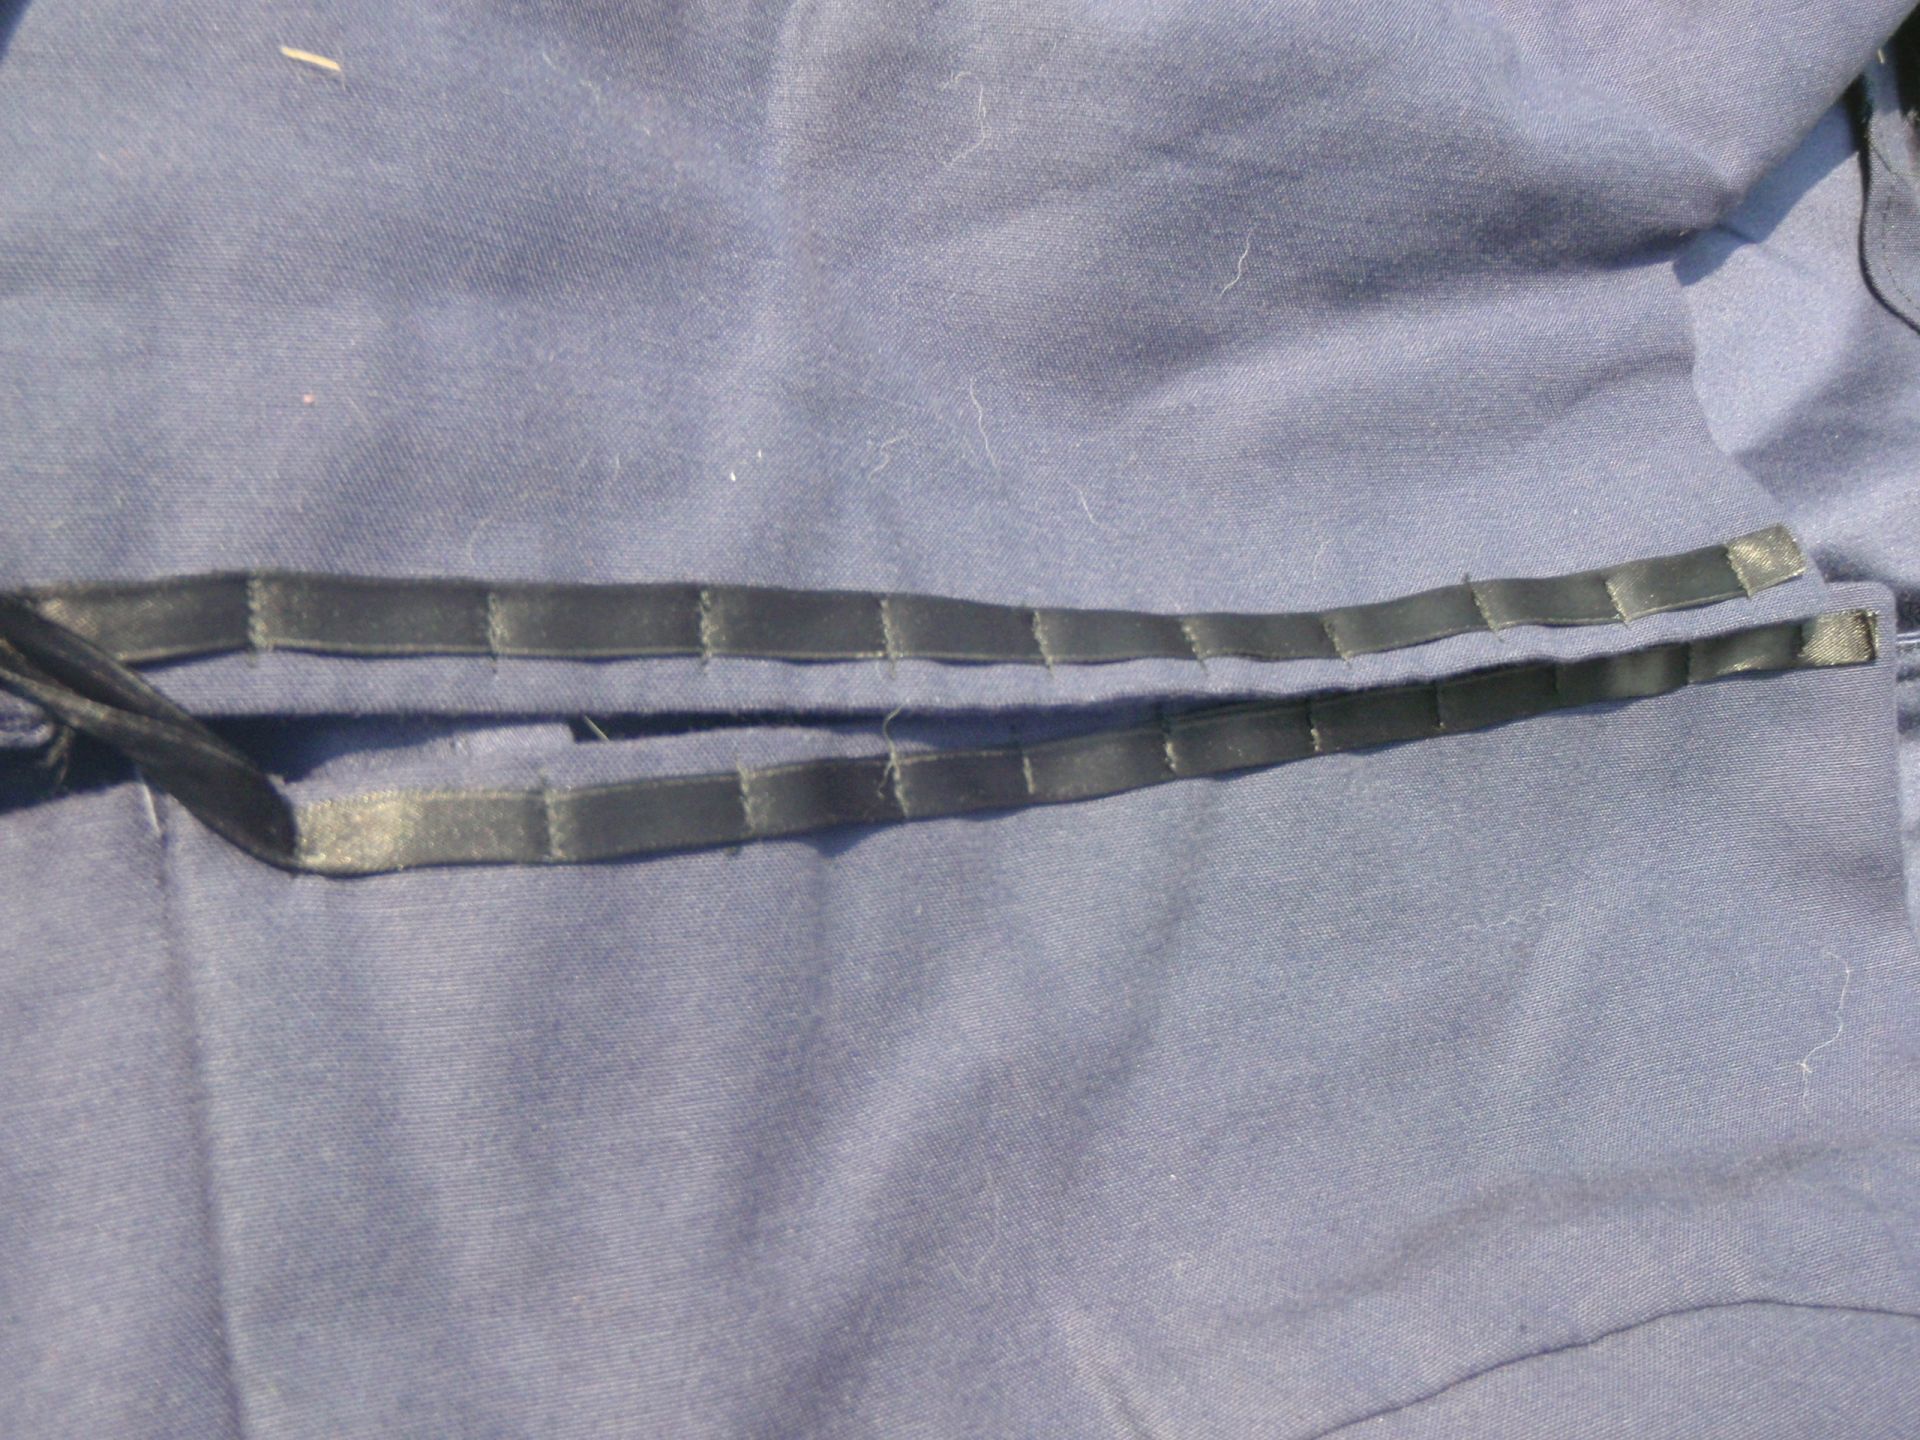
I made the straps thinner, cut the back a bit deeper, trimmed of the bottom so it was straight,  cut a section away from the front to create the square neck and made it too small in front so it would not close (on purpose). Then I added a square section of the curtain (yes, it was made from a curtain) with pleats to the bottom of the vest part. I also drafted my own facings for the top section, and added a ribbon to each front section, sewing it at approximately 1.5 cm intervals so I could thread a string through it and lace it up. There are also two pockets in the front sections of the skirt part, where I just left a bit of the front hem open (more pockets, yay!).

All in all, I’m really satisfied with this piece, it turned out pretty much exactly how I wanted it. It was really comfortable and I didn’t have any problems while wearing it.
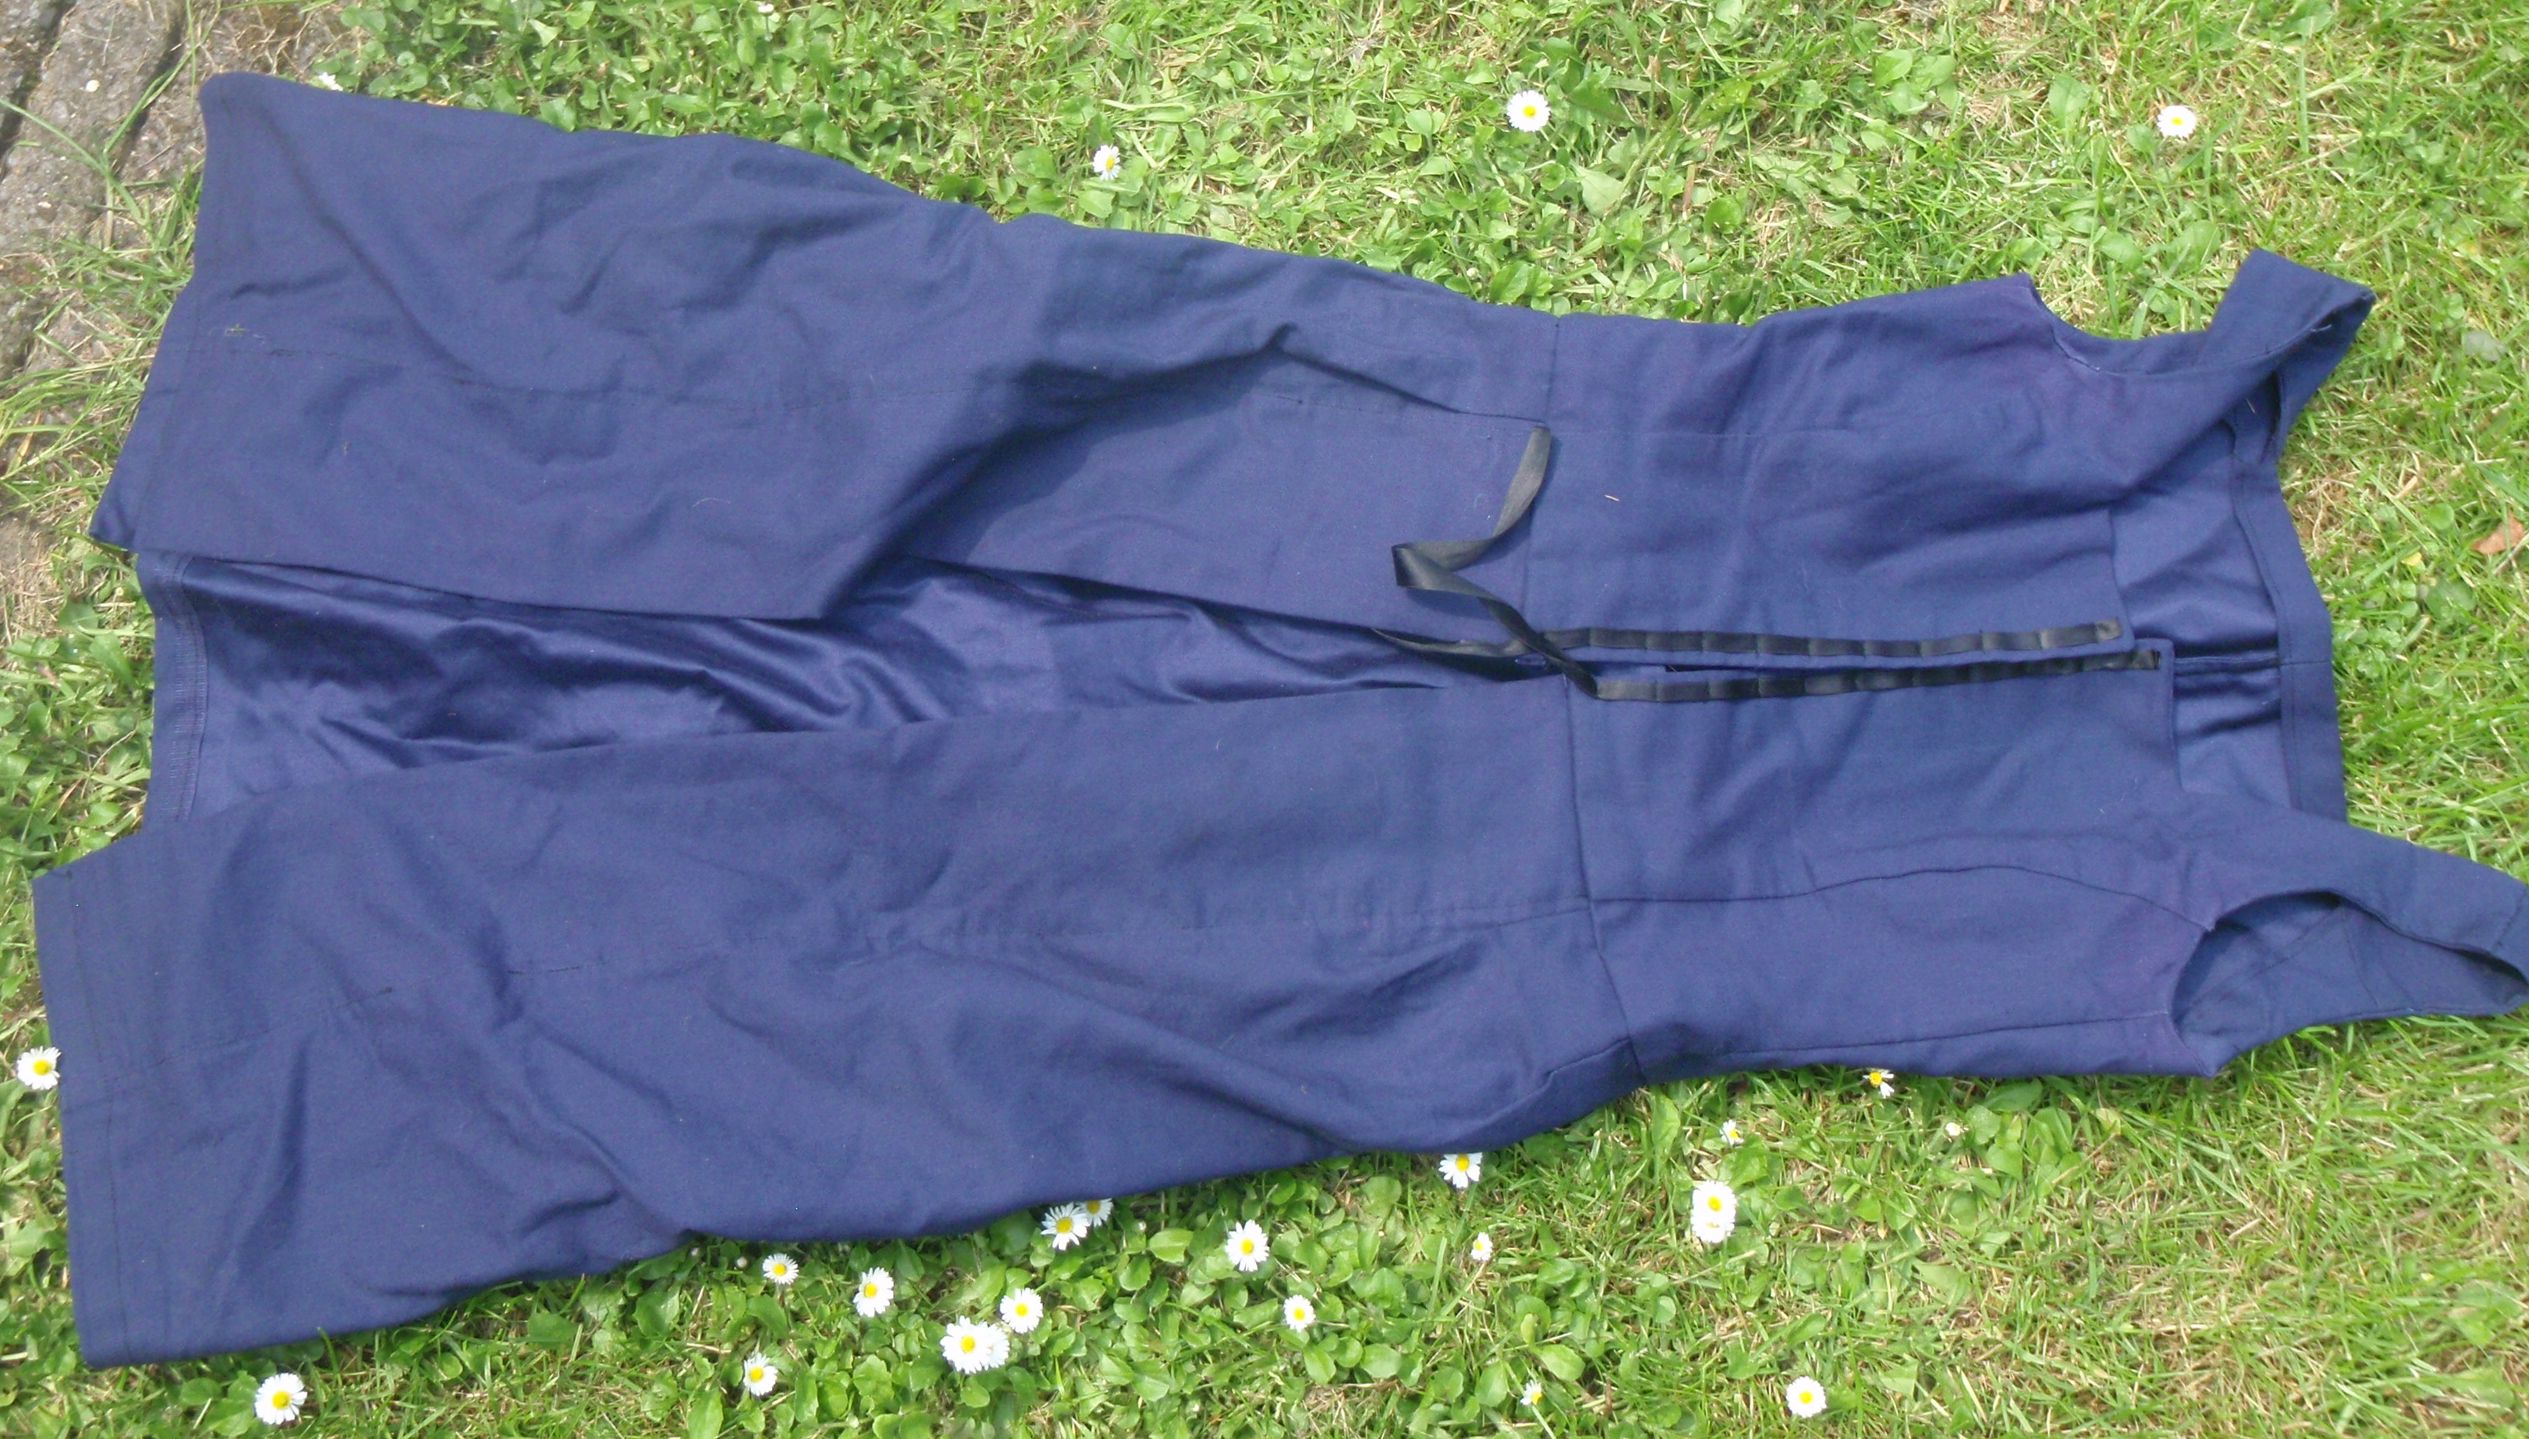
So here it is:


From left to right: the complete overdress; the pocket in the lower left hem, the inside (completely finished) and the closure through which a string or ribbon gets laced. The bottom of the ribbon gets tied together to close the dress at the front before lacing commences. It helps in the process and looks nice in the final product.

Again all wrinkly and stuff, but this will be remedied with a bit of laundry and an iron.

Tomorrow the final part of this series: the complete costume!

Larp Shirt

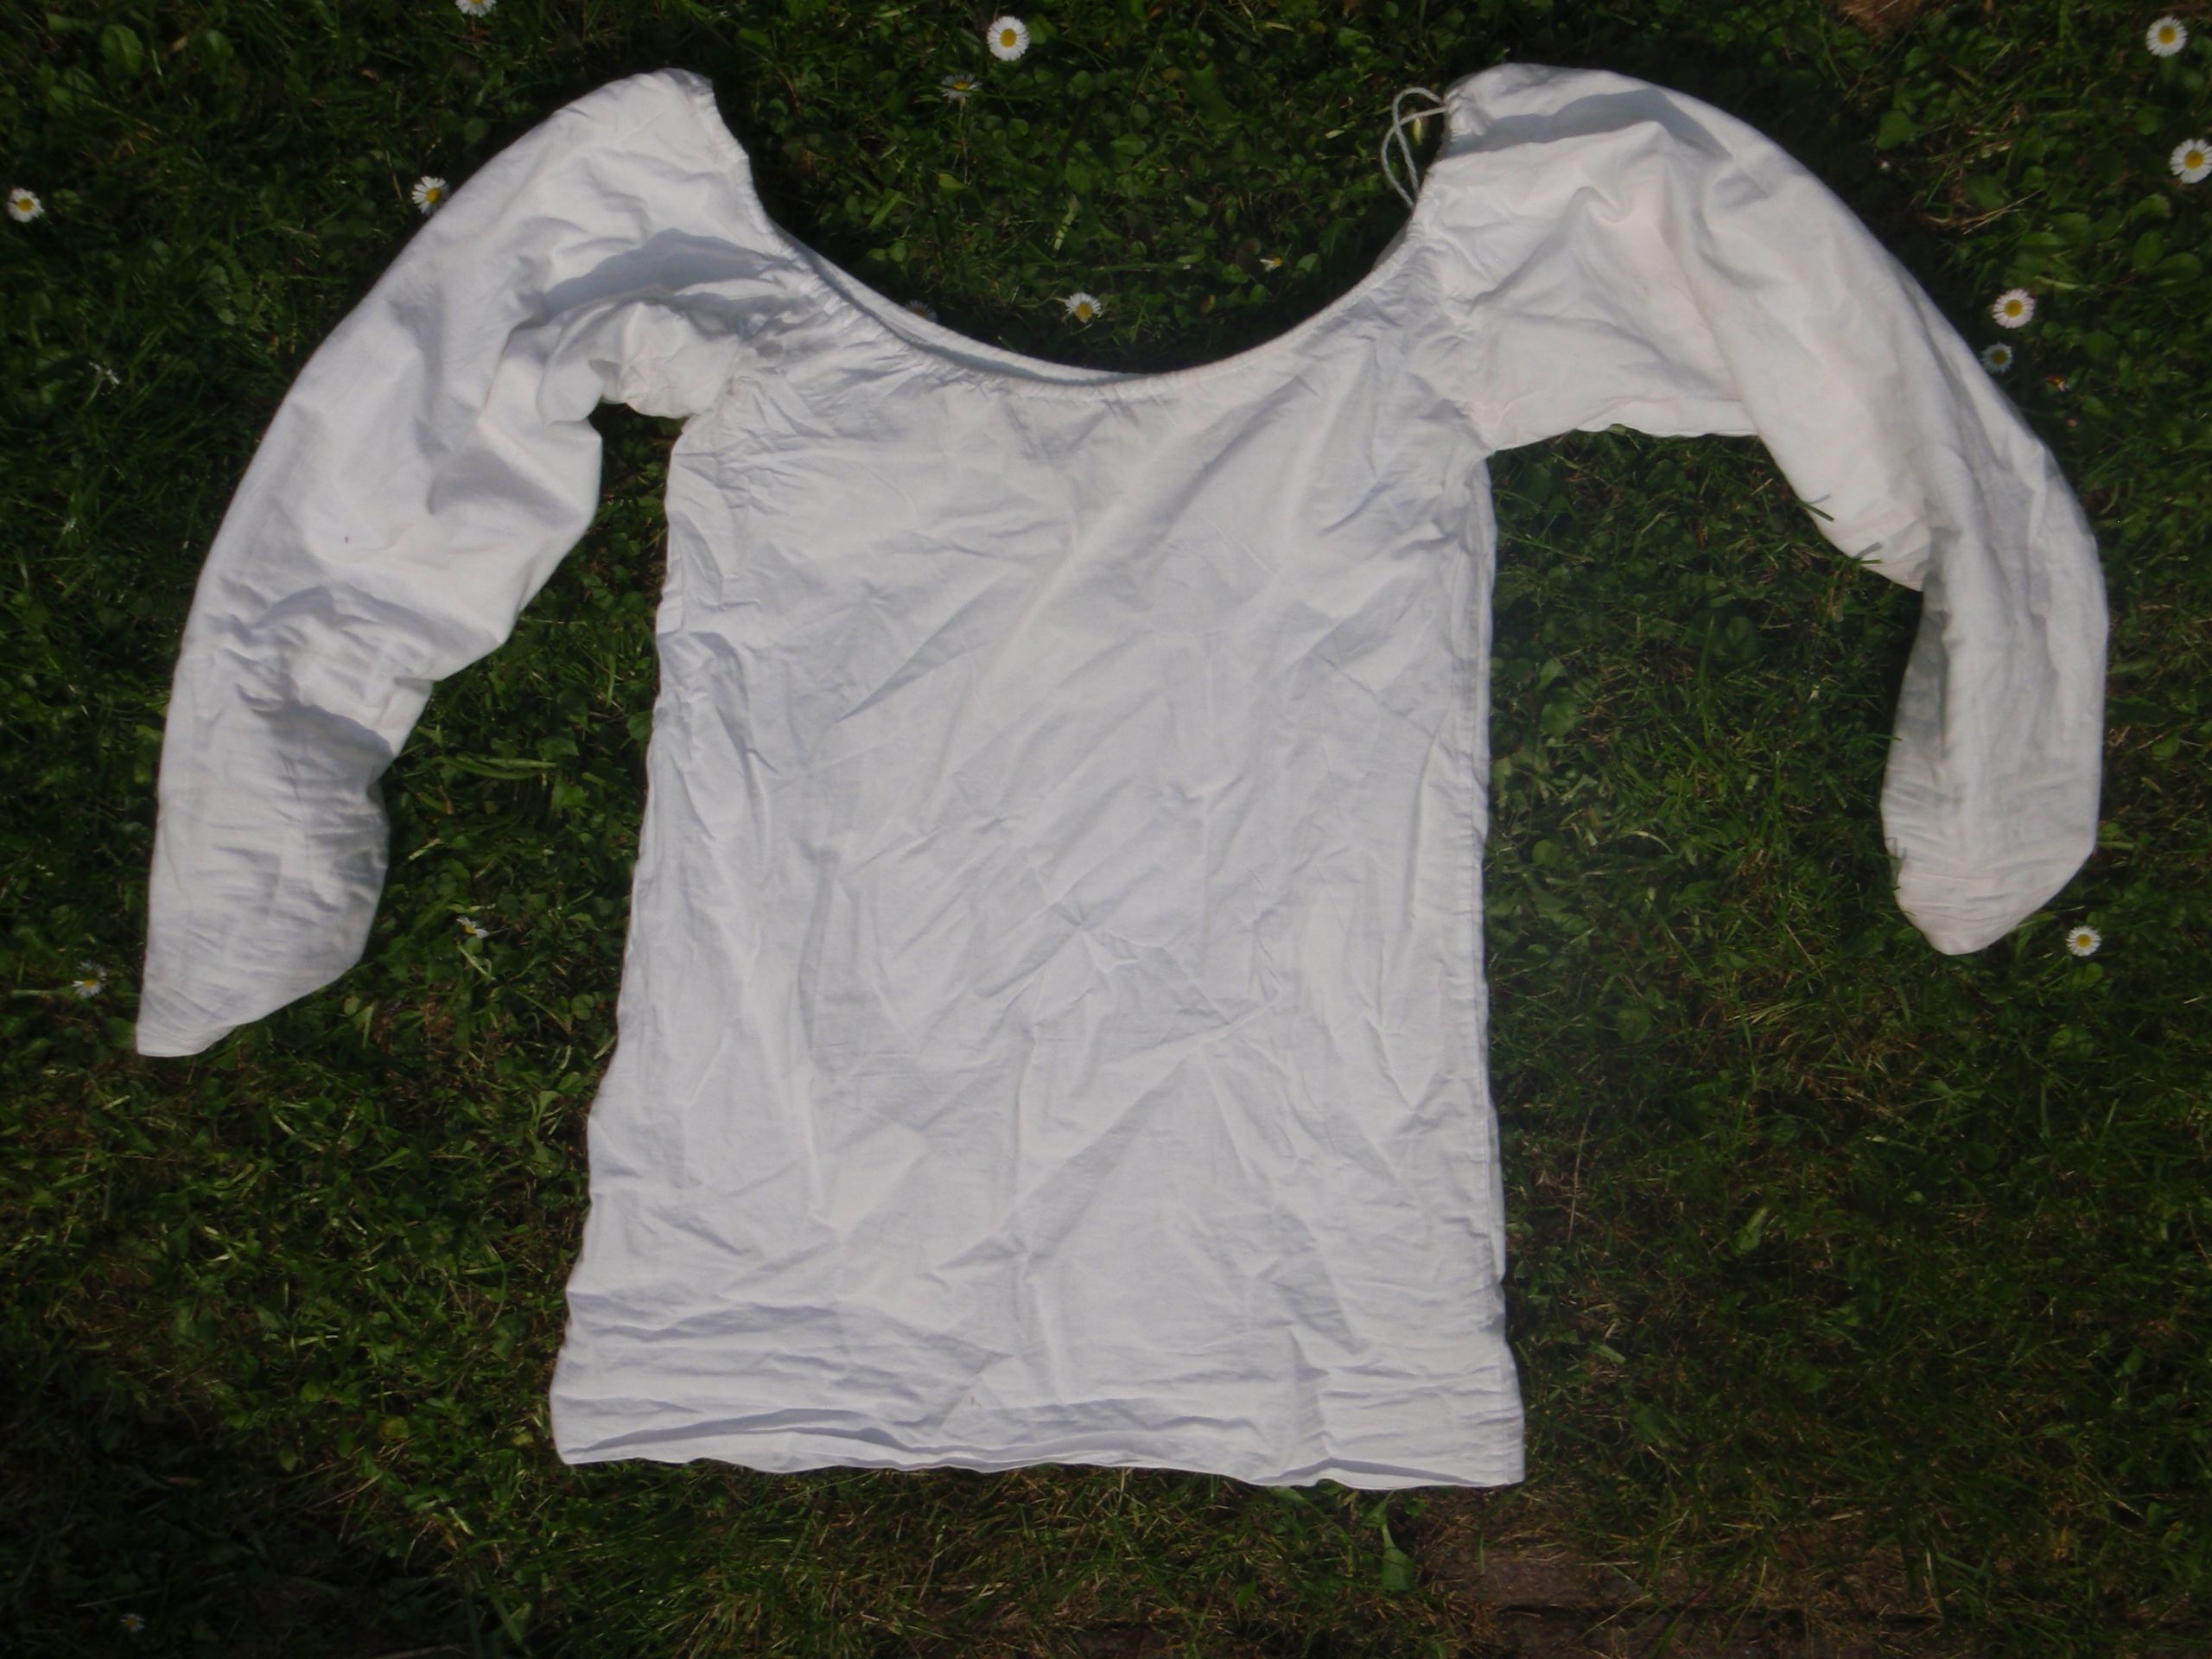
It’s possible that you’ve seen the shirt before, I wore it during Carnaval last year. However, I made some small modifications. I added another layer to the sleeves, because I was afraid I would be cold. I think it helped so that was nice. I also chose to loosen the string that ran along the top of the neck opening, so I could wear it below the shoulders.

It’s based on a free pattern from Burda style (here), which  I adapted to have long sleeves (basically just drew the line of the sleeve a lot longer, until it hit my wrist). I normally have a hard time wearing off the shoulder items, because I feel the need for hiking them up. However, the straps on the skirt made it feel as if there was something on my shoulder, so it didn’t bother me at all.

Of course a picture:

It’s quite hard to see the double layer, but if you click the picture, squint and focus on the attachment of the right sleeve to the bodice, you’ll see the bodice is lighter in colour. I know it’s all wrinkly too, that’s because I wore it for an extended period of time, and it hasn’t been in the wash yet. It will be, sometime soon, and then I’ll iron it, and it will (hopefully) look all nice again, this is just an indication of how it looks.

Tomorrow, part three: the over dress.

Larp Skirt

For my bottom half I made a skirt, red with two blue stripes down the front. I also added a gazillion pockets to it. I was playing a character that liked to collect things, preferably shiny things (buttons, coins, helmets..), and had to keep them close.

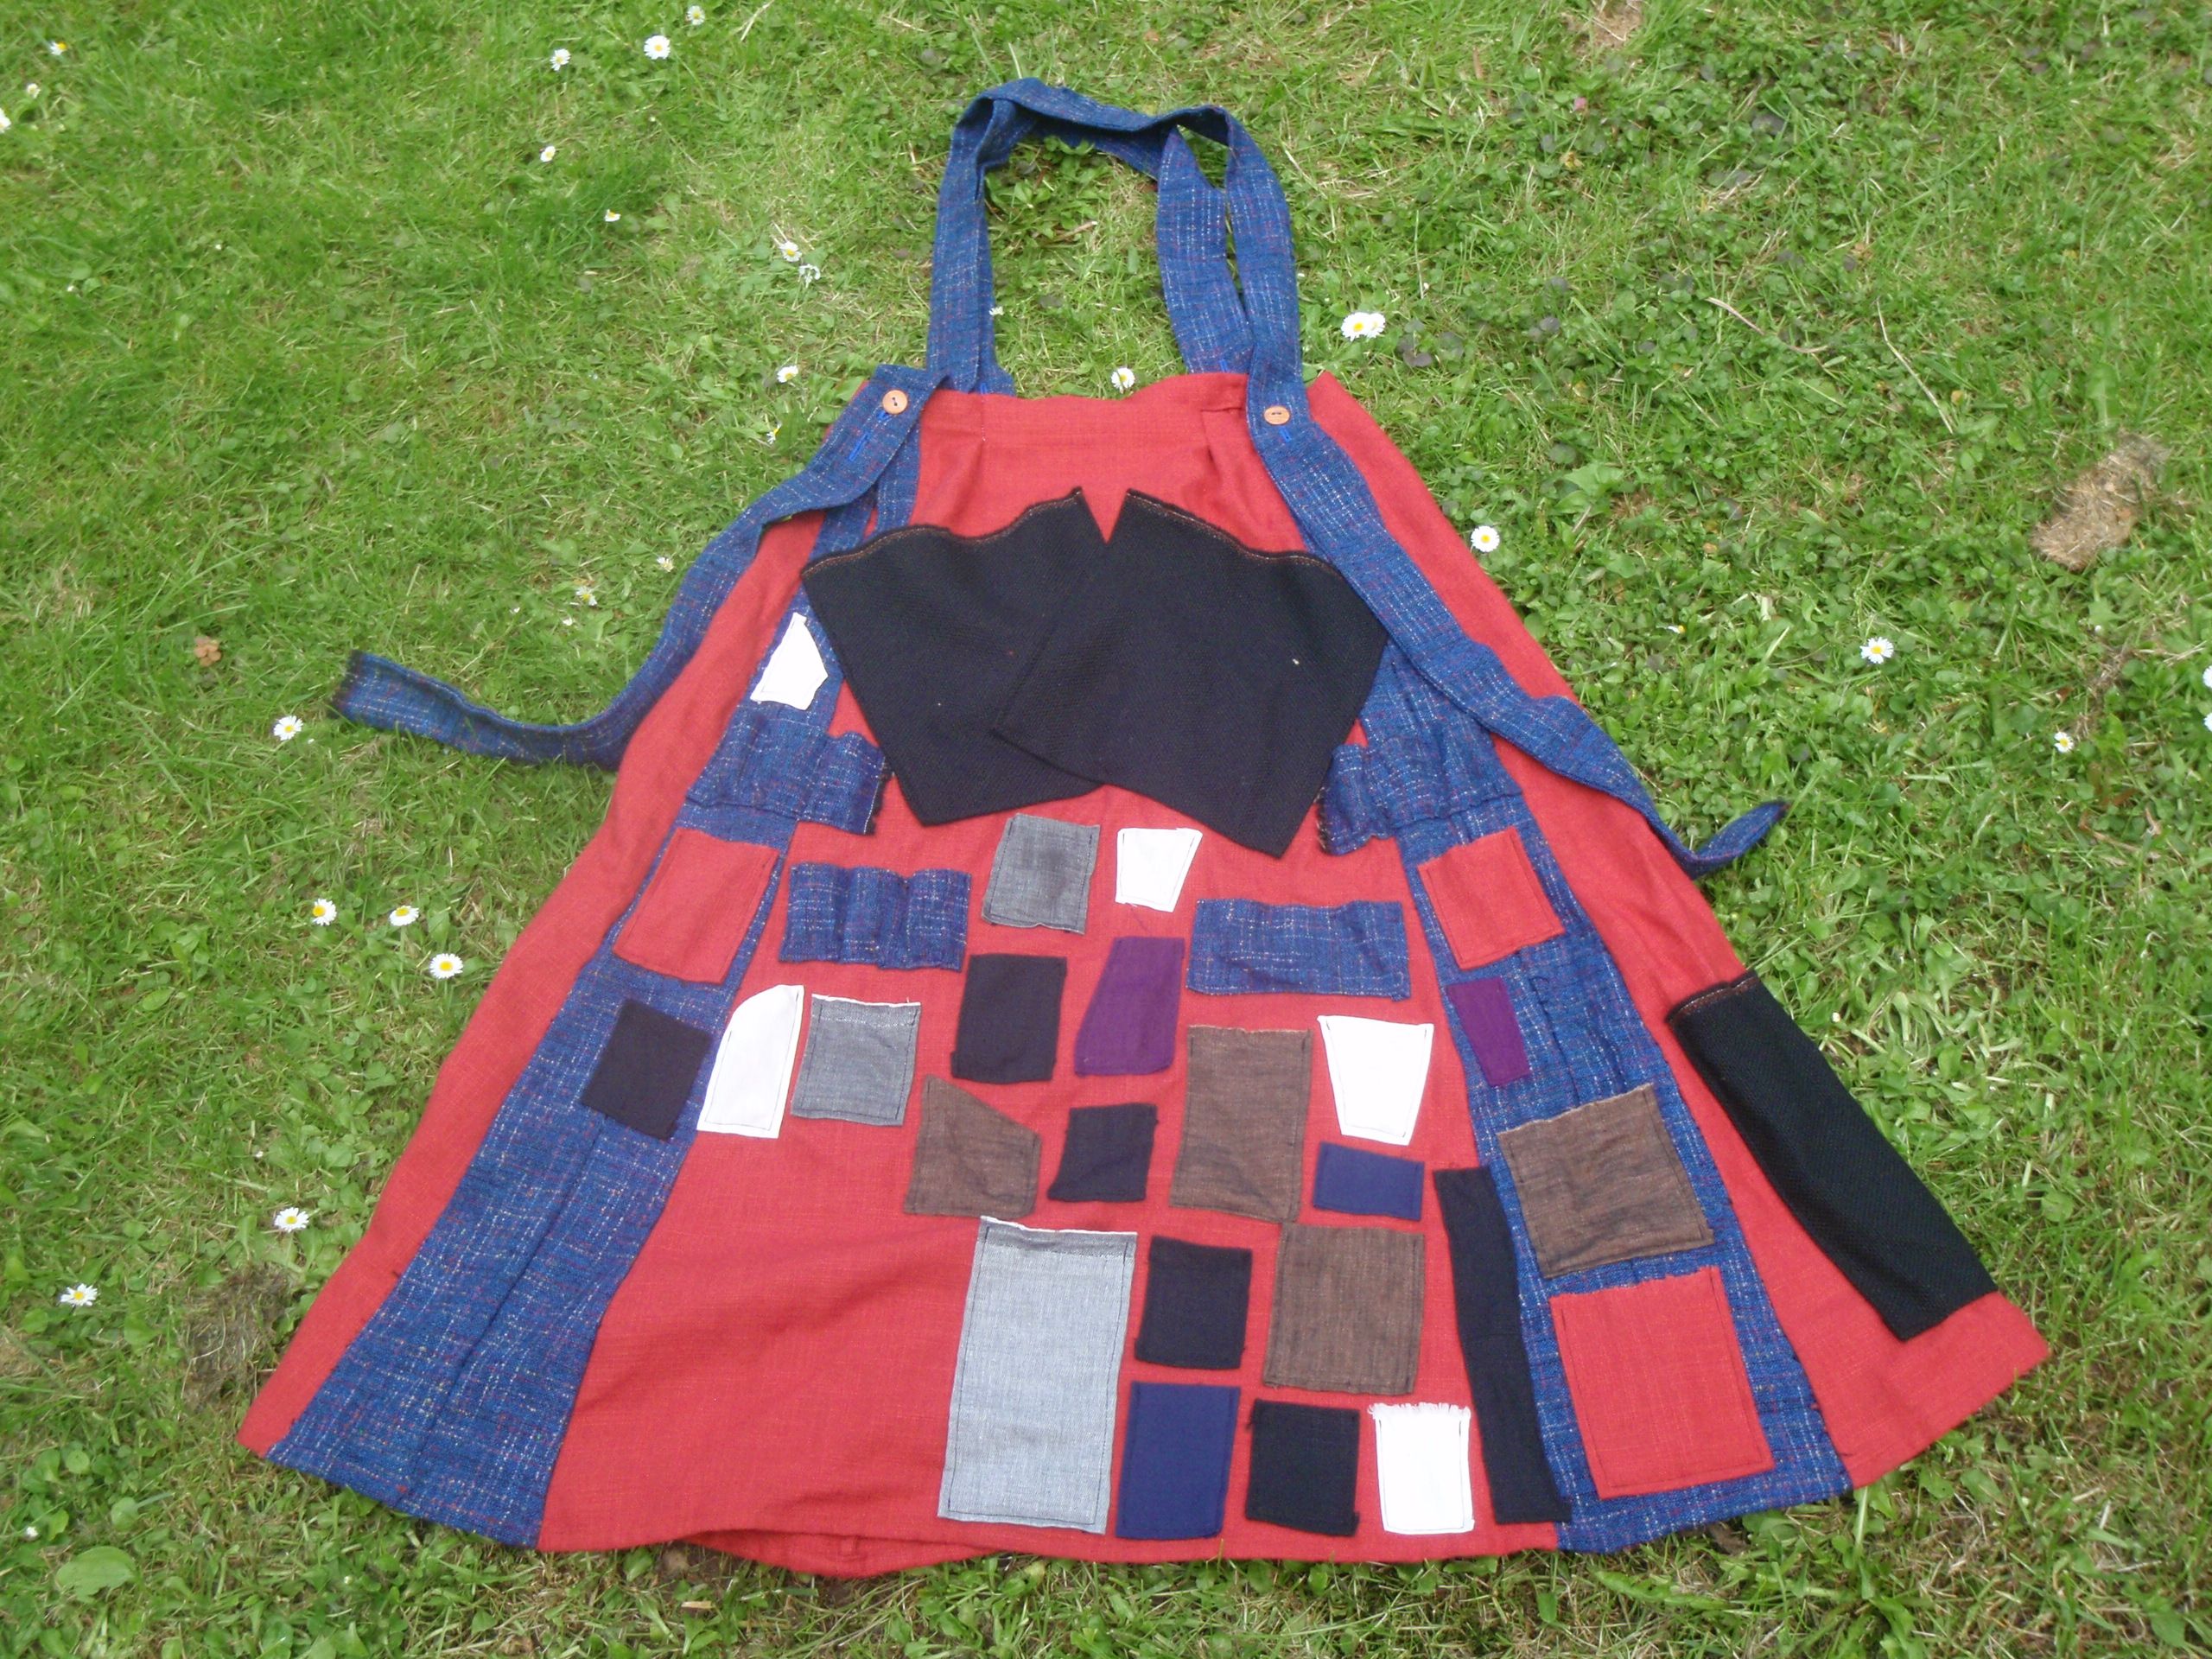
Eventually I had the skirt finished a couple of hours before I had to leave for the actual event. With all the stuff in the pockets, it would be quite heavy so I added straps to the top to keep it in place, which worked quite well, although they did lengthen a bit over time and I had to open the buttonholes higher up on the straps. There was no pattern for the skirt, just a couple of trapezoid pieces stuck together, I added in the blue because I felt I did not have enough room to move. The blue certainly did help, and I like the pop of additional colour.

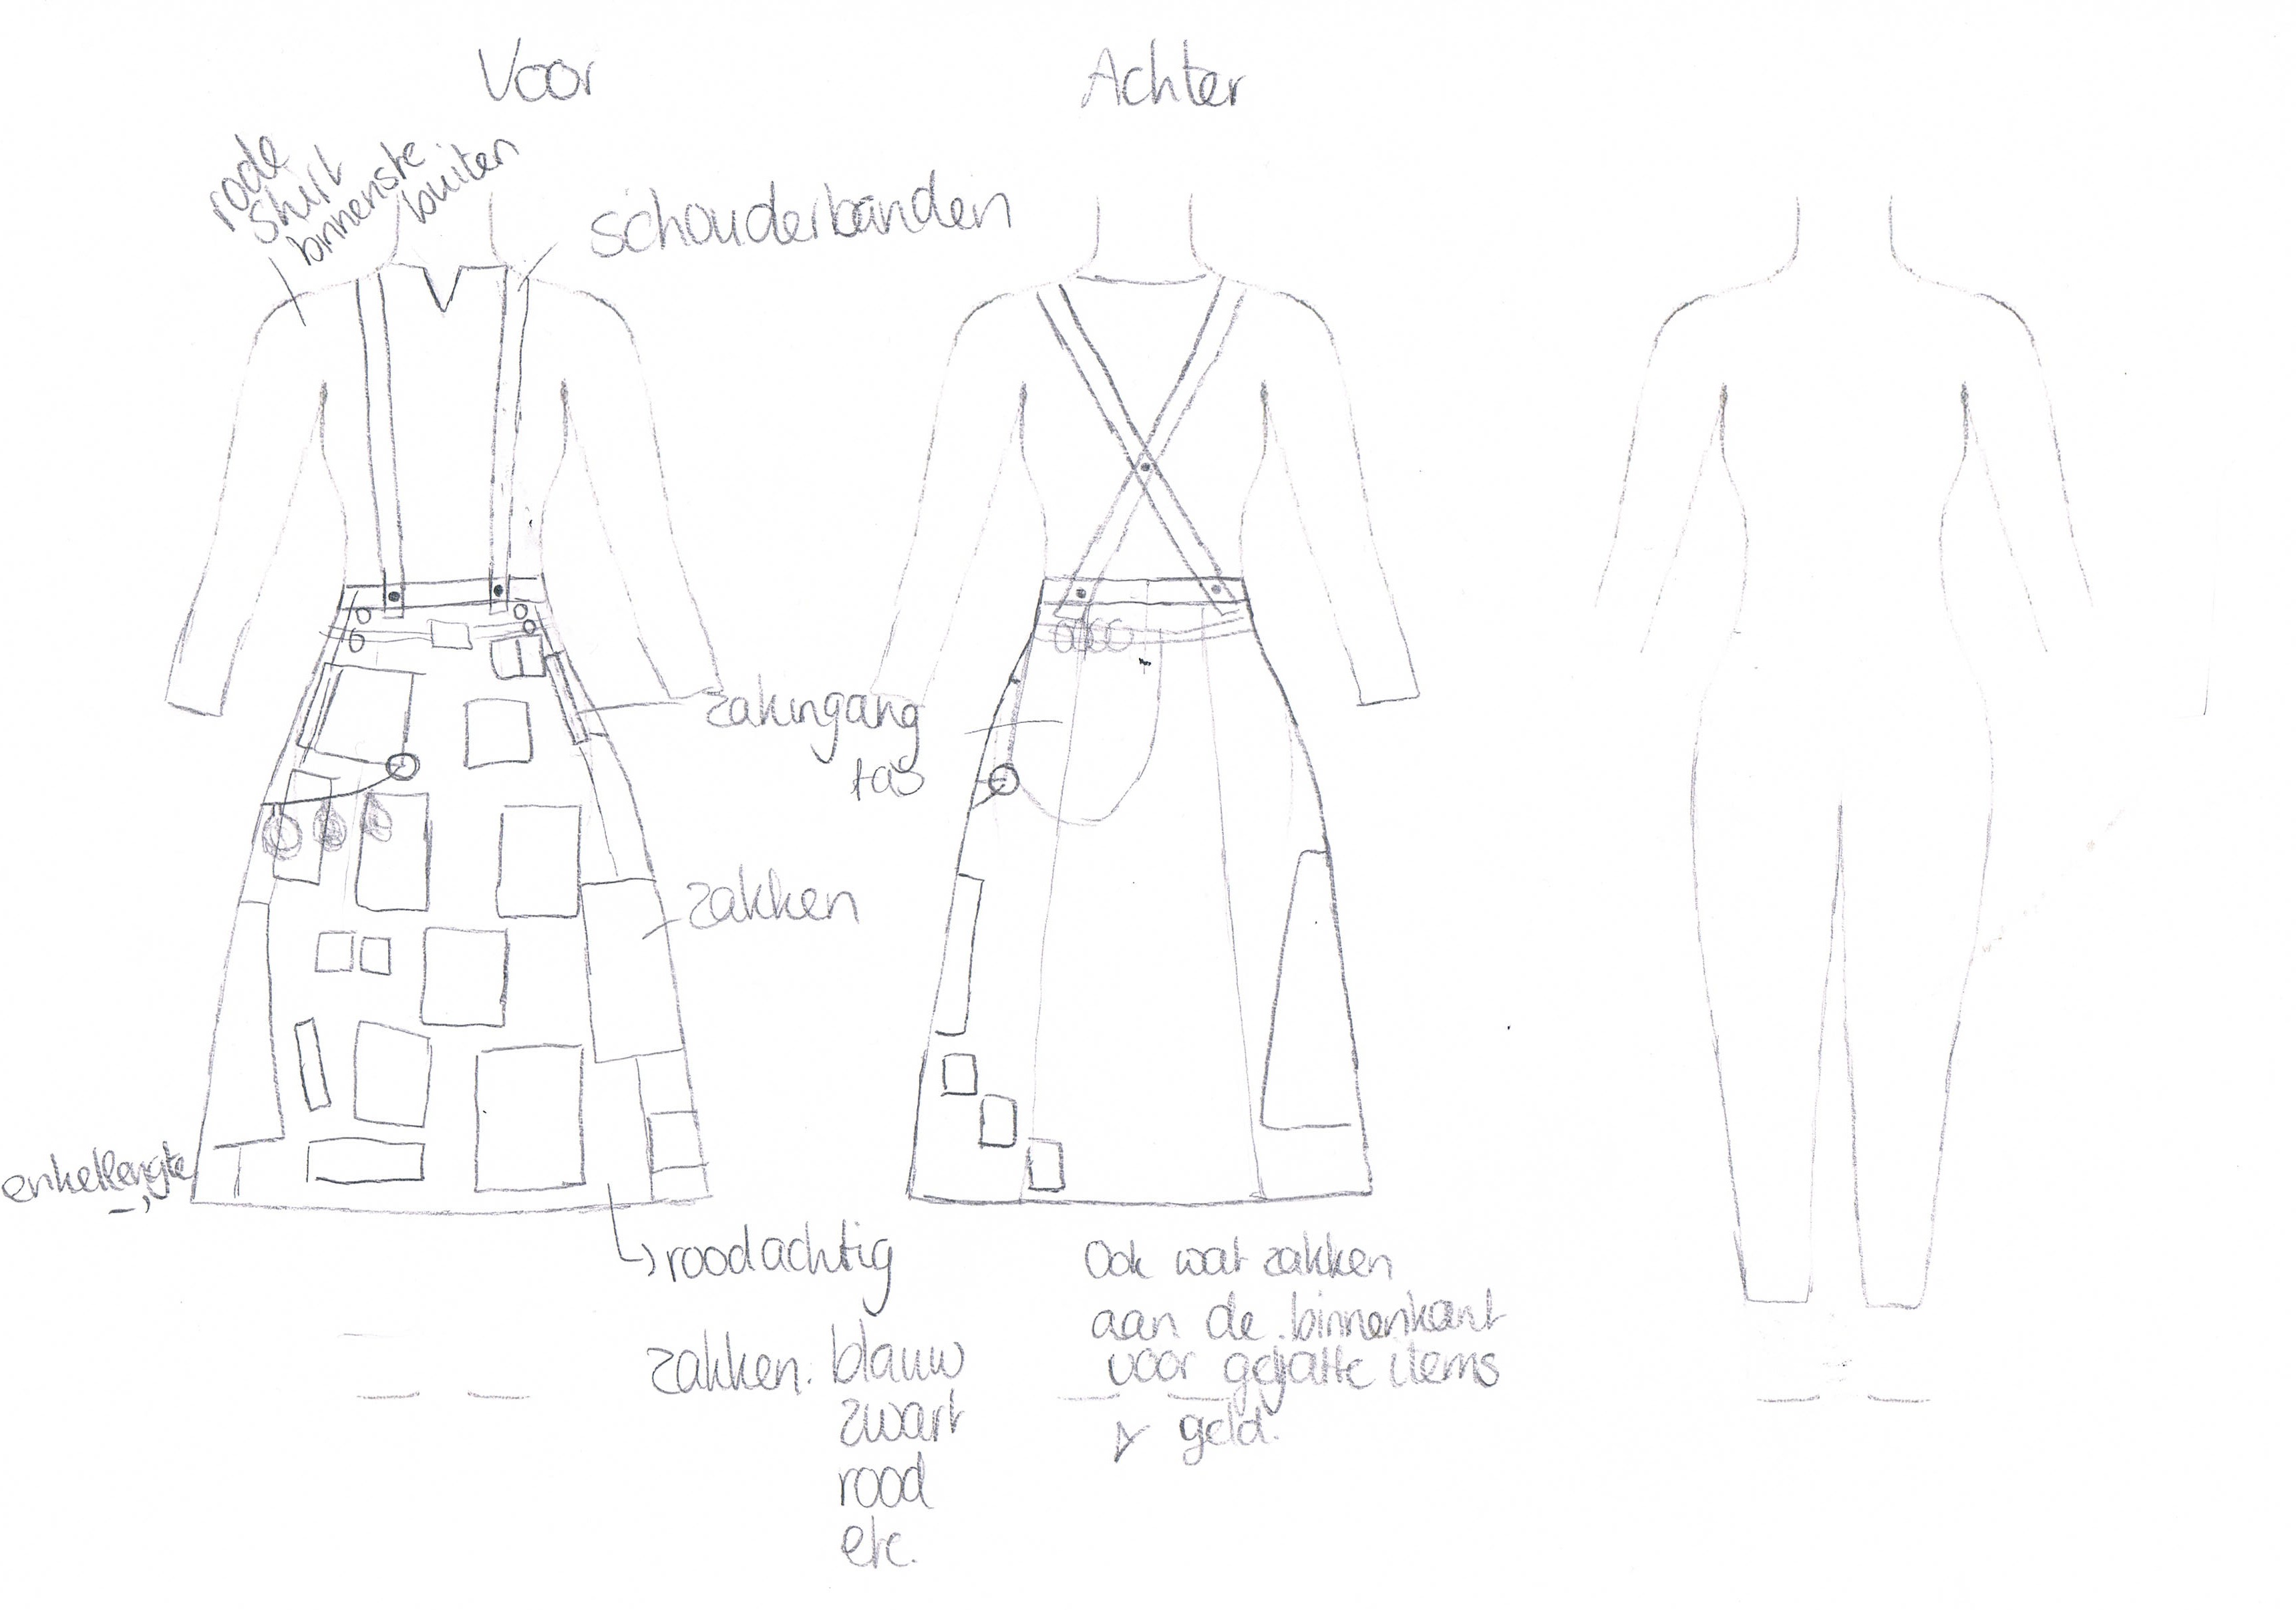
Anyway, here is the final result:


Left the real finished product and right the original idea. They do look somewhat similar right?

I just counted the pockets and there are 40 individual pockets to put things in, although there are only 31 pieces of fabric attached. Some bits were divided up into three to hold small vials of herbs and beads.

The left bottom side (right when I’m wearing it) is still empty, that is because I figured that if I would be really bored I could whip out the needles that were in the white pocket that was the most left one still on the red fabric. From the grey pocket in the middle at the bottom of the skirt I could take the thread and from the big black pocket on the back (you can see a bit to the far right) I’d take a piece of fabric and attach it. It turned out that there was no need for stitching more pockets on, but the bits of fabric did help as towels to clean our bloody hands, after an earth quake.

So the skirt, its pockets and their contents proved useful. Tomorrow we will visit the top under layer: the shirt.


Larp Costume

So the past weekend I spent running around a camp with tents in the woods. That’s not how I was supposed to view it though. You see, I was running around the city of Ravenskeep, with all its magnificent buildings, including a nine story high tower of the magicians governed by Arcanus (quite difficult to imagine if you just see a tent).

However, you cannot pretend to walk around a magic medieval setting without a somewhat period costume of course. Ok, mine was not very period, but it didn’t have a zipper, so that’s one thing at least. I did make it by machine, but that was because of laziness and time issues.

The next couple of days I will post a series on the complete costume I made for the first 2012 Ravenskeep event. It will go from bottom to top and under to over. Starting with the bottom part, the skirt, tomorrow.

Ps. Can anyone explain why zipper always shows up as being wrong in the WordPress spell check? I do not understand that, since I thought zipper was a nice and common word that people do actually use..  (also, why is WordPress underlined with the red line.. they should know their own name, right? Or am I even more of an idiot than I already thought?)

Pouch

I made a pouch for the Larp thing I’m going too. I now have two pouches and am still working on the complete outfit. I have the base of the skirt done, I have a shirt to wear with it. Now just the pockets and the over’coat’.

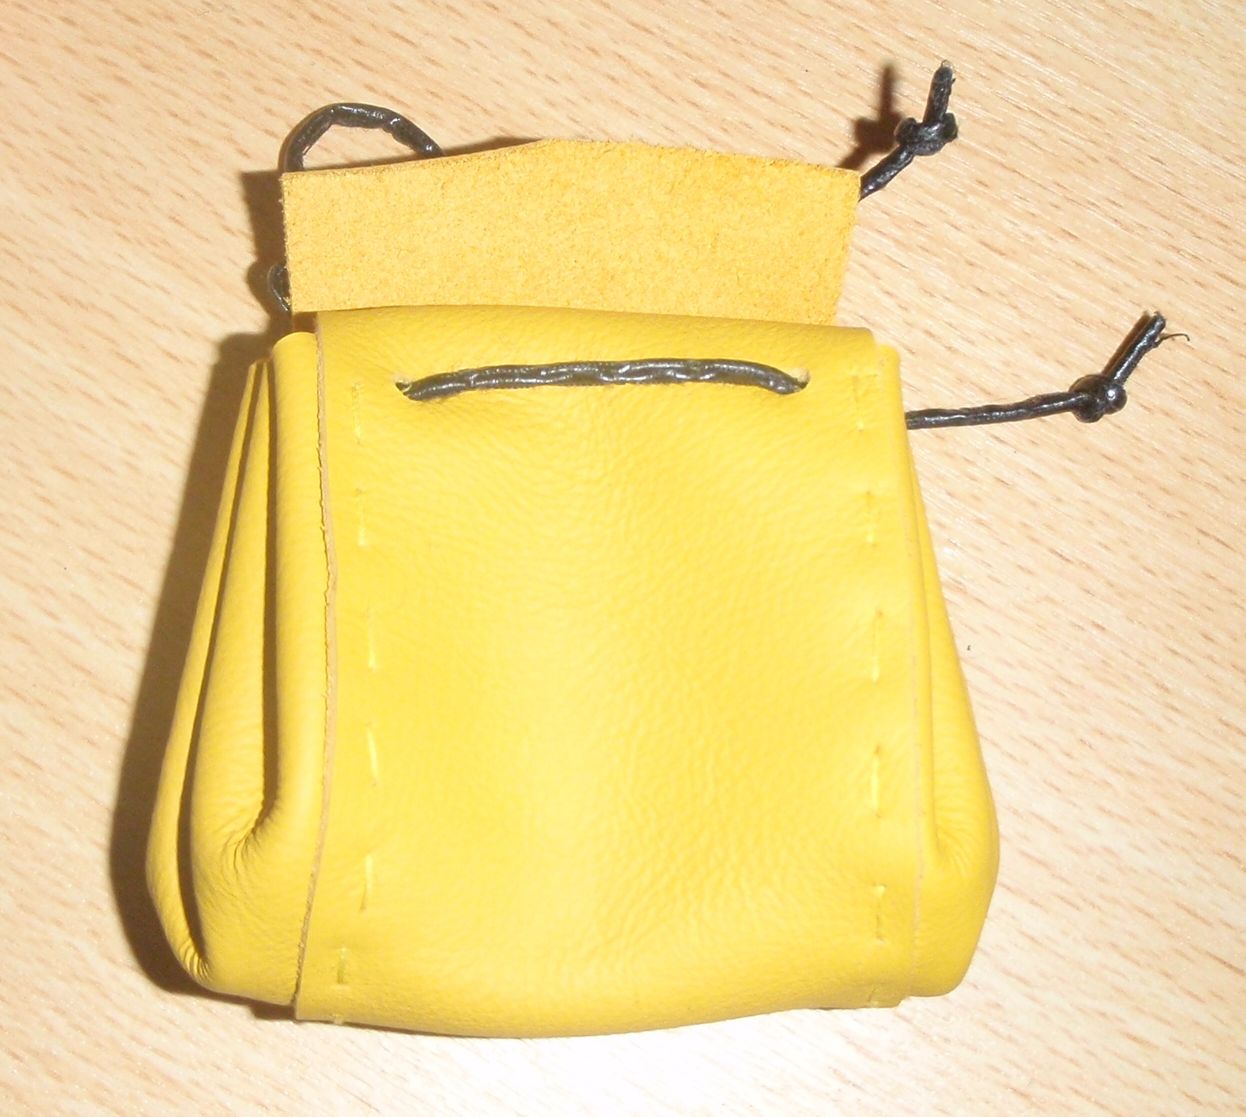
However, this is the pouch:

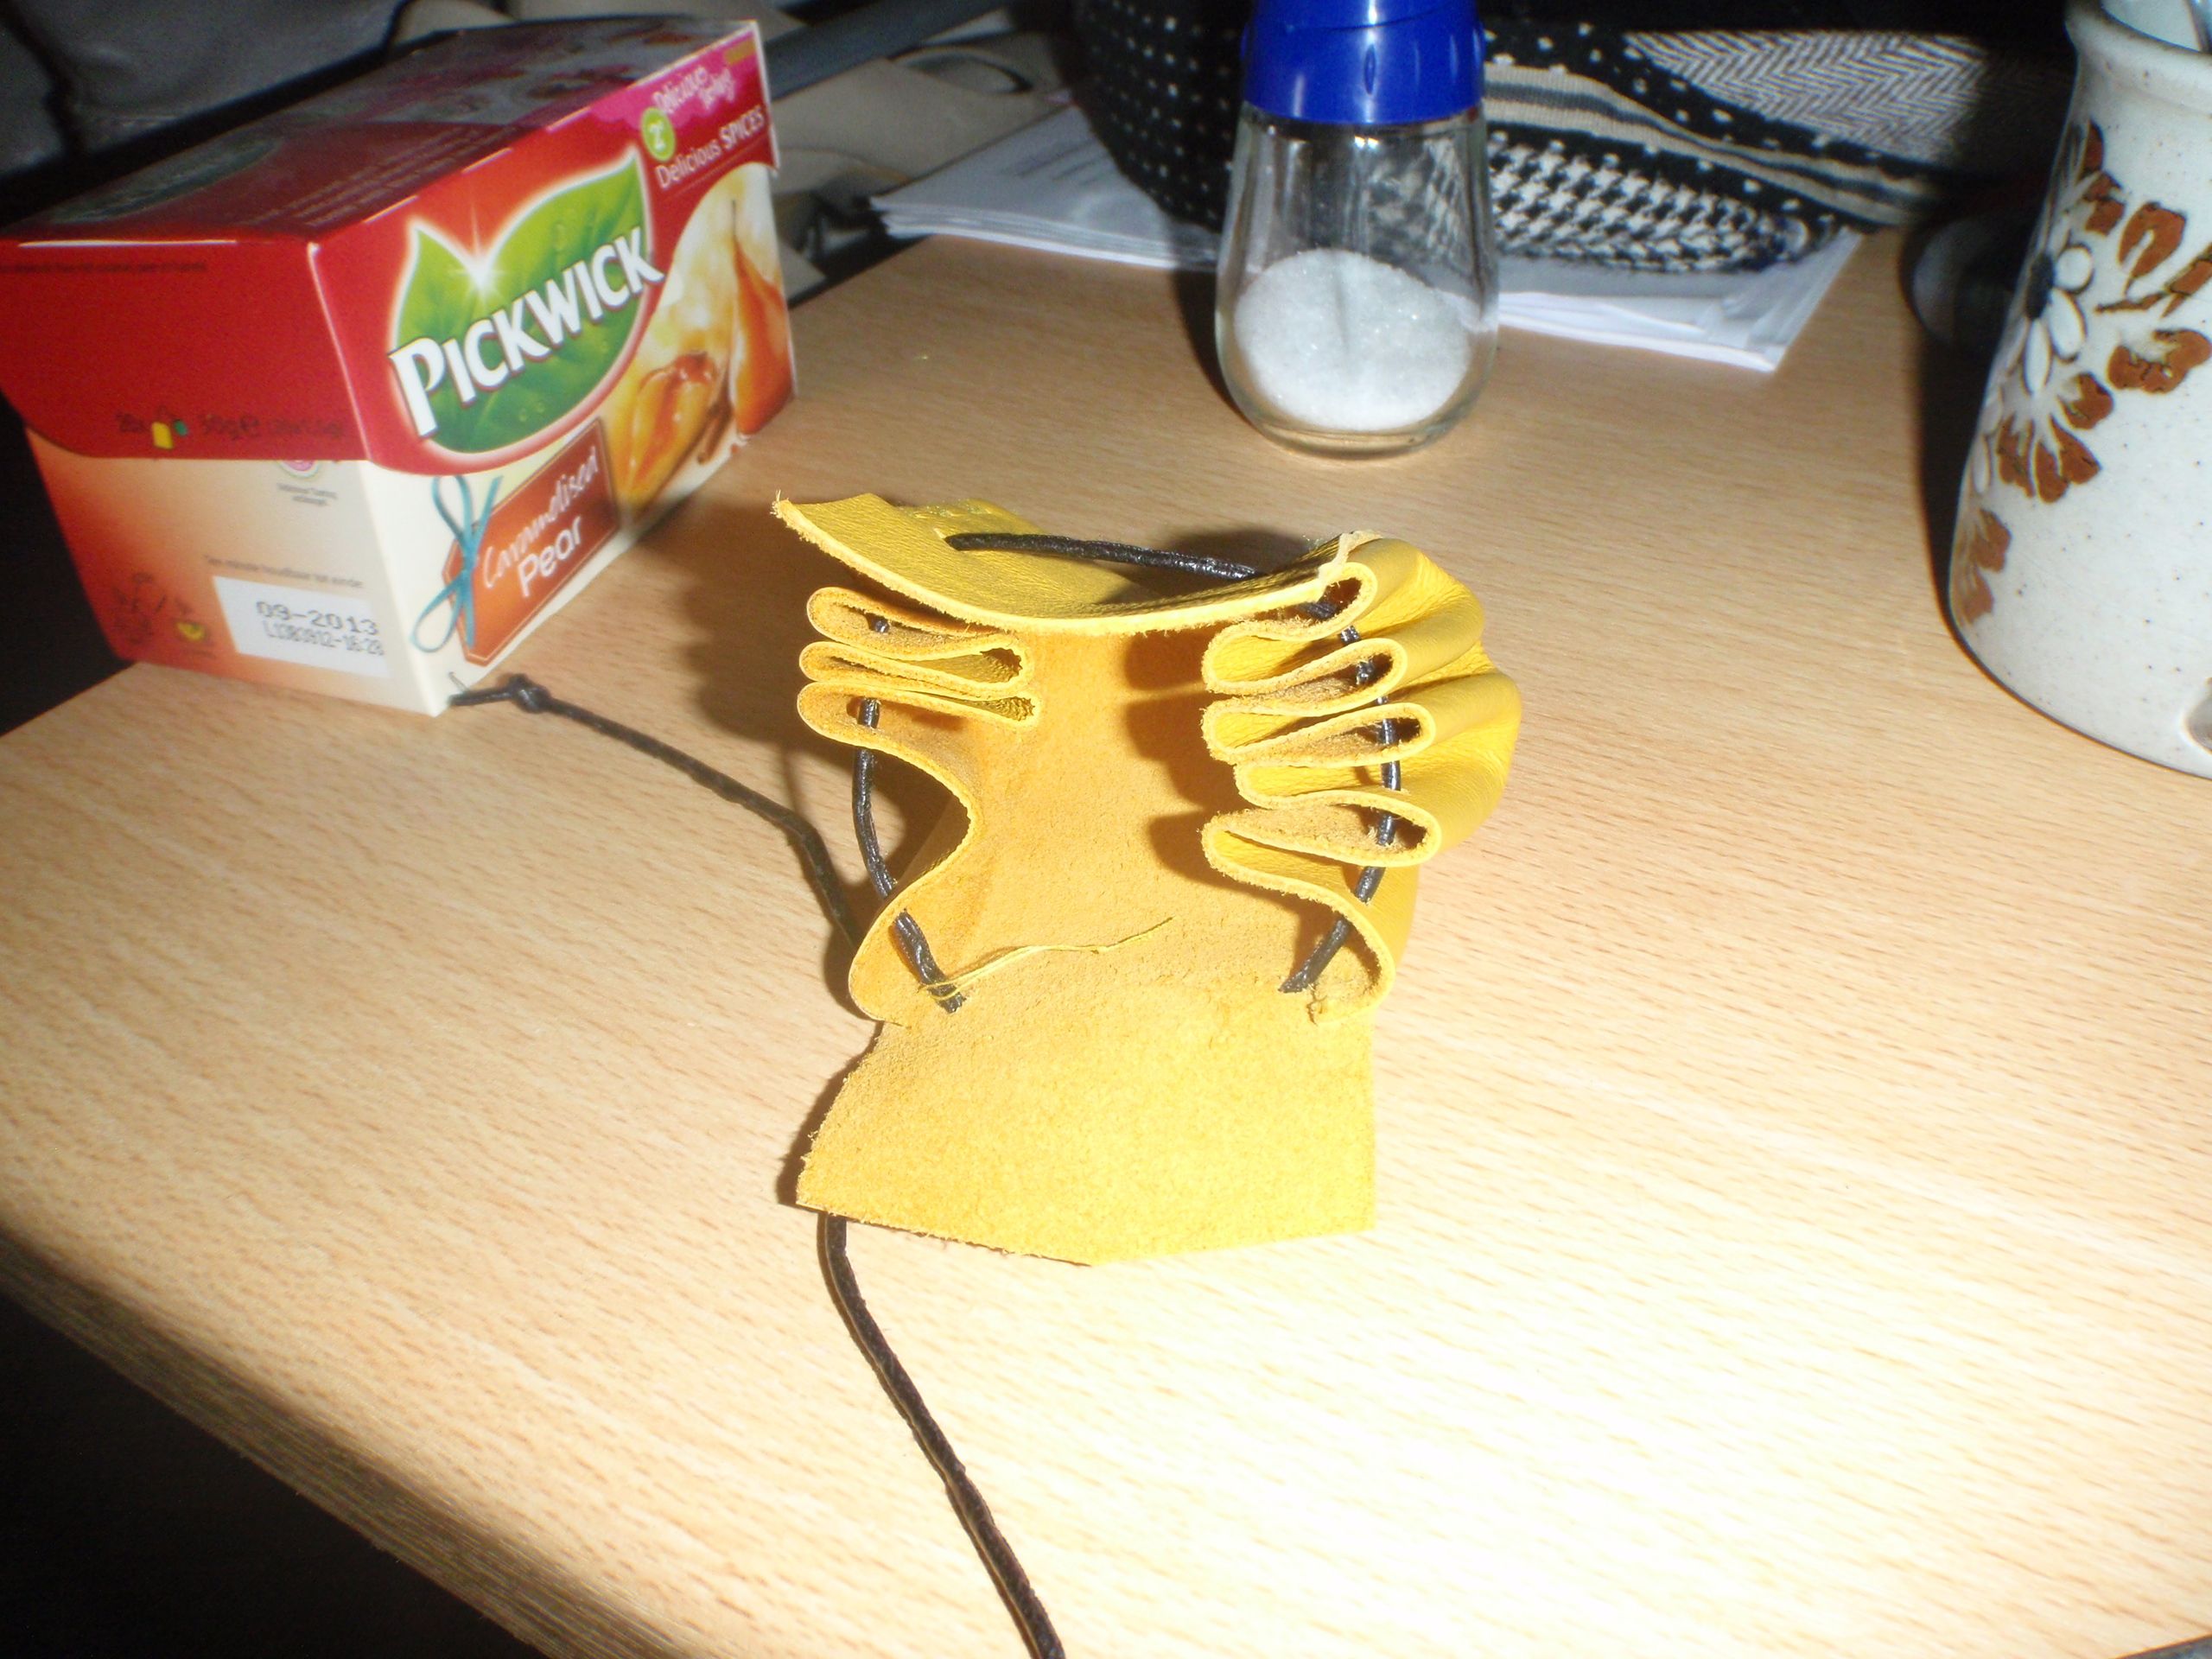
Pouch Pouch

Closed and open. I hope it will be useful. It was a nice and simple project involving some leather, a pencil, a hole maker, needle + thread and a push pin (for making the thread holes). Real easy and real satisfying.