During the pattern buying spree of 2020 (that rhymes!), I also got Black Snail Patterns #0714 Bicycle Skirt about 1900. At some point when the corona lockdown wasn’t as bad as it was now, I’d purchased 5-6 meters of a sand coloured (no, it’s beige but I hate that word) fabric. I think it might be a sort of twill, but I’m not certain at all. I’d also found some sand and white checked fabric that I thought would work well for a blouse to go with the thicker twill stuff. While the paper pattern has been cut out for a while now, getting started on it proved to be a little more difficult.

Back 
Side 
Pocket 
Front


Eventually, however, I managed to get going and once I did, the thing was done in three days. I chose to make the third size but once I’d cut it out and was measuring everything, I got scared and wanted to have some more space in the waist. So I moved all the markings on the side – front seams over by a centimeter. The seam allowance was 2 centimeters so that wasn’t too big of an issue. I think that this was probably a good call as I can now wear the skirt without foundation garments too. I also took 8 cm out of the hem and disregarded their instructions for the spacing of the hem-stitching. Most of it was sewn on the treadle, with certain bits being hand-sewn on.

Buttonholes and decoration 
Button stitching 
Back decorations and bar tack


The appliques where sewn on using a thicker thread, the same that was used for the hand-worked buttonholes. I’m very proud of these. It was the first time making a keyhole opening for the buttons and using a technique that actually seemed to work. I also used it to secure the buttons in an aesthetically pleasing manner. The buttons on the left are functional for putting the skirt on and the ones on the right are just decorative. There is one pocket in the skirt and this sits on the right side. Once I’d finished it and put my phone in the pocket, the entire skirt pulled out of alignment and I decided that I needed to add a pocket-holding strap. That’s since solved those issues entirely.

Pockets and insides 
Hem stitching


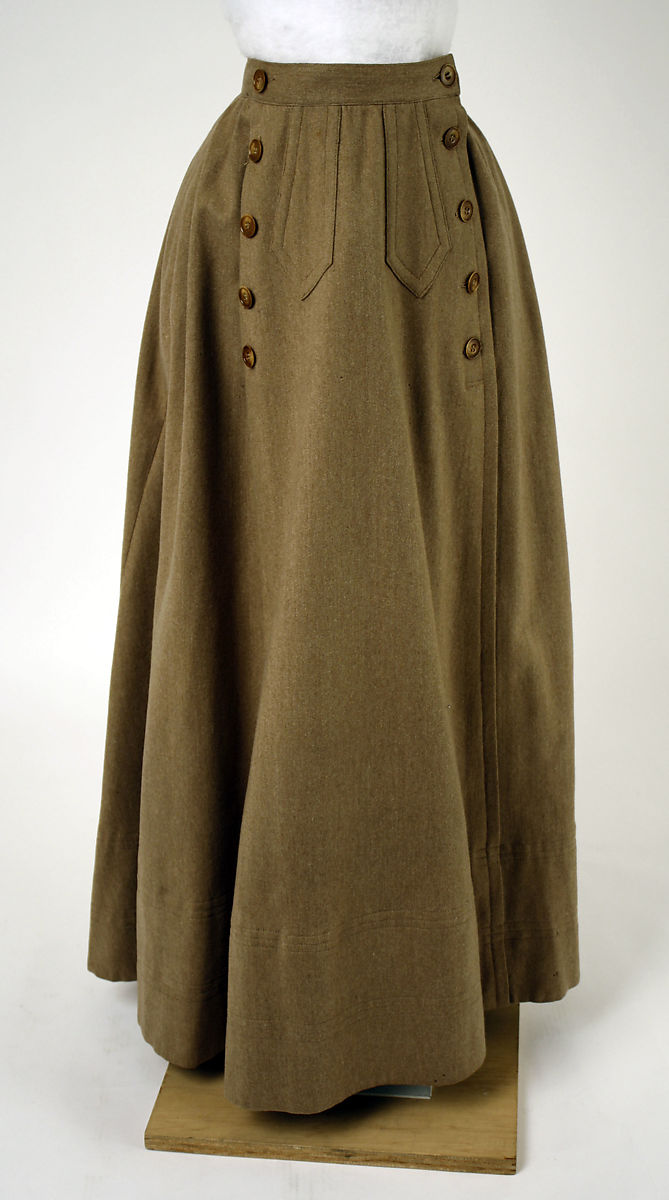
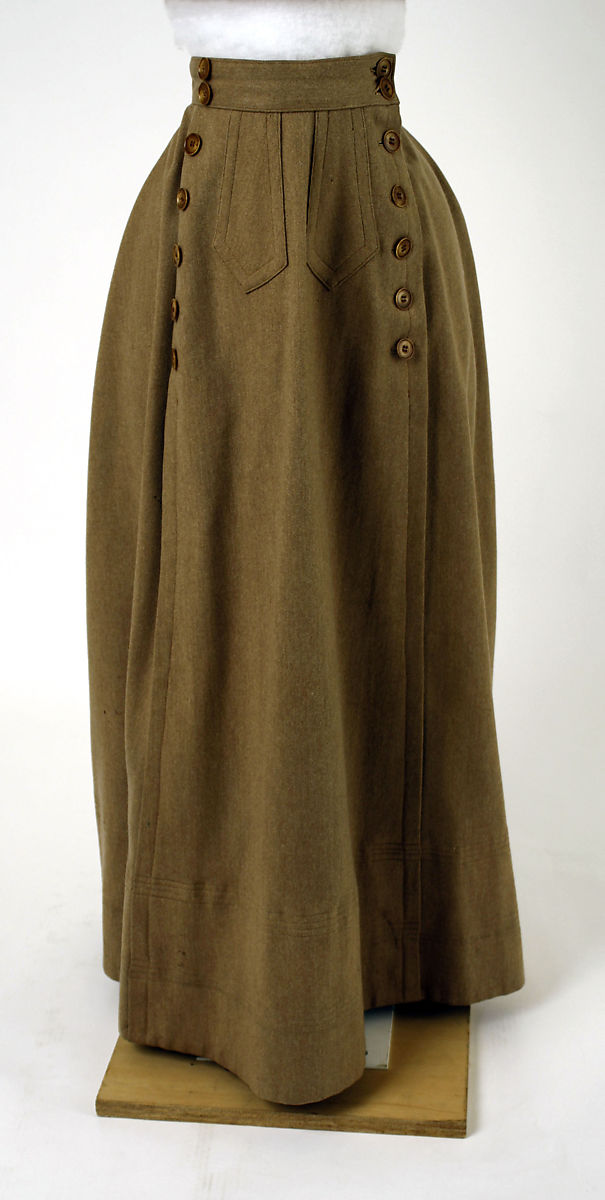
I’m fairly certain that this thing is based of a Cycling Ensemble in the Metropolitan Museum of Art, from around 1900. Otherwise it’s an incredible coincidence… The details seem to fit even if the actual seamlines might differ a little. The Met version also has a friend which is so similar that I actually had to look very carefully to spot any differences. The only real obvious changes I can find is that the second one has more buttons? I have made my very first bicycle test drive with this skirt and it seemed to work very nicely. I hope to get some wear out of it and finish a nice blouse to match.

One https://www.metmuseum.org/art/collection/search/106880 
Two https://www.metmuseum.org/art/collection/search/107110