Floral Party

Friday was the moment the Floral Party dress went out to play. Floral Party dress came into being because the first batch of students from work graduated. Graduation means a ceremony and a perfect excuse for a new dress. The dress needed three elements: a fabric, a pattern and a sewing machine. All those elements were new to me, and I’ll explain below.

How I wore it

How I wore it

Now, I’m usually not a floral person. In fact, I hadn’t even noticed that the fabric resembled something florally when I bought it. I thought it was just random smudges of colour, silly me. The fabric is stretch and has a seemingly waffle like texture to it, it felt very interesting and not something I’d really used before, so that was new. I had about 2 meters, maybe a little less of the fabric to make work.

Fabric

Second, the pattern. The pattern is called (I think) “Odkodowana sukienka” or “Decoded dress” from Papavero and can be found here. Now, this site is completely in Polish, and my Polish is *cough* very limited. It does however, have some very nice free patterns. There are no real instructions, apart from a link from someone else who made it, and the comment that the sleeves are tight. This was my first time with a Papavero pattern, so that was new too, but with a stretch fabric I figured not much could go horribly wrong. I decided to pick size 36 based on my measurements and sewed it up according to what I figured made the most sense. I added pockets, reduced the length of the back bodice about 2 cm in the centre and took at least 10 cm from the hem.

Front Back

The third element was the sewing machine. You see, I got this very old-looking sewing machine from my friends for my birthday. I didn’t know if it would work, or how it would work. So sometime in the past two weeks, I figured it was high time to get the machine out of the corner it had been stashed in since April. I googled the serial number, eventually finding a site (ismacs.net) that told me that V machines with my number were a type 15K and made in 1909. That’s old! With the model type I could YouTube a movie on how to thread and use it. So I did, and it worked! It might originally be a treadle, but I only used the hand wheel, so it is slow sewing. Very interesting to do for a change.

Singer Cluttered

This is the difference between how I should work (left) and how I actually work (right). Spot the differences..

I used the old singer for all the seams, apart from the waist seam. I figured the waist might need some stretch to be able to go over my head and stuff. The Singer is a pure straight stitch and cannot do the zig-zag necessary for stretchy seams, so I used the old machine for that. I didn’t overlock the edged since it wouldn’t ravel, and I’m not sure my serger is back to a decent stitch again.

Hem Scarf

I even hemmed it with the Singer. First stitching along the bottom edge, then cutting the 10 or so cm excess, and turning in the left over length and stitching again. I like that hem and I think it is either straight, or longer at the back. While I like the dress in general, I do think it benefits from something to break it, so that’s why I’ve added the scarf.

Verdict: another successful and comfortable Graduation Dress!

The Red Dress

Some time ago I bought a very pretty knit fabric, one side was red, the other side was black. I couldn’t figure out what to do with it, it was too pretty to simply make a t-shirt, to light to make a real sweater, and I had no inspiration. However, at some point in November, I realised I needed a new outfit for a party.

The story for that is the following. My dad turned 65 this year, and in the Netherlands you get your first payment from state pension three months after your 65th birthday. We decided that it was sufficient enough a reason for a party, especially as the birthday itself was not really celebrated. So it called for an outfit.

I scoured the internet and my stash of pattern magazines. I couldn’t find anything. Last ditch effort was looking through all my pinterest boards to see if I liked anything. And, surprise! I did! It was this pin that set me off, and I soon found the back by clicking through to the original listing. I decided to recreate that dress in the red/black fabric, as I thought a contrast flap would be nice. I also found 11 shiny silver coloured buttons that I figured were perfect.

Insides Shiny button

The pattern I used was my t-shirt pattern, lengthened such that it was one meter long, then I freehanded a seam to mimic the original. I also made sure I had two centre fronts and two centre backs, to be able to clean finish the flaps. The stretch is along the width, not along the length so sewing the seams was clean sailing. I did in the end take out quite large chunks along the back seams to counteract (what I think is a) swayback. I did not feel like sewing buttonholes in this fabric, and as it is stretchy I can get it on over my head, so there was no need for closures. This is the end result:

Dress front Dress back

I like it, it is comfortable and quite warm due to the doubling of the centre panels. People at the party also liked it, so that was good! Next up, different project from the same fabric.

Forgotten Graduation Dress

While writing the beginnings of the next post, I found out that I’d never told you about the Graduation dress I made for this years Summer Graduation (this was June…). I still want to because I really like that dress.

Years ago I was wondering around the interwebs looking for nice patterns when I found the Eva Dress pattern by Your Style Rocks. I thought it was really nice, especially since I like cowls. It also seemed fairly easy to put together, so for last summer’s graduation I decided to make it. It started as about 2 meters of black knit fabric with horizontal wavy stripes in red, yellow, blue and green. I cut out the pieces, but made some modifications.

  1. Shortening the dress before even cutting it out, I’m only 158 cm (5’2”, approx.) and skirts hitting below the knees isn’t too flattering for me. So I took off around 9 cm.
  2. Using only the lining piece from the middle section but reversing it to serve as the actual middle piece. I didn’t really like the gathers and didn’t think it would work in this fabric. I also put it on the crossgrain to create some difference.
  3. I added a hook and eye to the back, where the instructions tell you to sew a pleat.

It went together really easily and hemming actually wasn’t a disaster either, although it is quite a deep hem. Yay! I like the shape, the skirt is the right length, I like the colours, I’ve actually worn it to other events too and I think it’s just cute.

Front Back

Here you can see the front and the back of the dress. I’m still not entirely sure if placing the middle on the cross grain was a good idea, but I also don’t really care I think. You can also see the pleat in the back.

Neck Hook & Eye

Some details, the cowl neck, which may be a little wide, but it’s fun to wear. Also, the hook and eye that holds the pleat in place.

Hem

Last but not least, this is how deep I needed to hem it. I did serge all the insides, but I think my serger is a little on the fritz so it’s not always very pretty. Next post will be the Convocation dress, the dress I made for this week’s official event.

Leafy Graduation

After the fireworks and exhaustion from vacation and new years eve, I spent January 1 and 2 by myself. I took out an stashed piece of fabric that I’ve liked for a while and found a pattern with a design feature I wanted to explore and got to work. I wanted to make a dress to wear to the graduation of the first class of 2015. I was planning on this being it.

OLYMPUS DIGITAL CAMERA OLYMPUS DIGITAL CAMERA

This is the pattern I chose. I went for a combination of view 4 and 5 with lengthened sleeves. What is so special, to me, about this pattern is that it has princess seams in front and back. However, it’s got only the one pattern piece to make both the center and side front/back. I wanted to see if and how that works. It turns out, it works!

I made the smallest size, 36-38 and made it from a stretch cotton fabric with giant leaves on it. I hoped it would fit because I’m generally not a size 38, but I figured, smaller is always possible and larger is difficult. The shell of the dress was put together and then I had to decide how to put in the sleeves, right or wrong side out. I pinned in both ways and decided I needed a twist and put in the sleeves wrong side out. I felt less like a giant couch that way.

When it was all together and I basted in the back seam, I found out I could get in and out of it without problems. I also found it was really big… So I took in the back seam a bit more. It should have been 1.5 cm, but it was as much as you can see in the left picture below. There were facings involved in the making of this, and they work perfectly fine!

OLYMPUS DIGITAL CAMERA OLYMPUS DIGITAL CAMERA

All in all, it took me 2 days to finish basically everything. Then I took another day to hem. I hate hemming, so it took a while to get that done. I did invisible stitches and I’m quite proud of the way they turned out. On the right is a close up of the neckline. I think it looks nicely done!

OLYMPUS DIGITAL CAMERA OLYMPUS DIGITAL CAMERA

Here’s the finished product. I really like it with the white belt.

OLYMPUS DIGITAL CAMERA OLYMPUS DIGITAL CAMERA

Last Friday, during graduation, this dress did have its first outing and it performed splendidly. Definitely a keeper, especially with my old petticoat under it.

Scuba-dress

When one visits the market and finds a bit of fabric that feels like a wetsuit but has giant blue flowers one it, one naturally has to buy it. Right, right? That’s what I thought anyways. I wanted an easy dress with a drawstring waist so that’s what I (sort of) made. I used the t-shirt pattern from 3 hours past/cake because of the cut on sleeves. In hindsight I probably should have chosen a shirt pattern that I had actually made before, since I don’t really like the shape of this one. I haven’t worn my dress out yet, and summer is almost over. It should suffice as a beach cover up though, so maybe it will come in use still, you never know.

OLYMPUS DIGITAL CAMERA OLYMPUS DIGITAL CAMERA

Front and the insides, with pockets!

OLYMPUS DIGITAL CAMERA OLYMPUS DIGITAL CAMERA

Simple neckline and cut on sleeves and the drawstring at the waist. It’s a bit baggy at the waist so I don’t think it’s muchos flattering, but maybe I’m wrong. You never know.

This was part of a series of projects I finished on a Saturday a while ago but I’ve been busy (and lazy) and didn’t feel like posting much. So soon you’ll see the last entry of that Saturday’s creative outburst and I’ll be almost free off backlogged pictures!

Brown Dress – Now Finished!

Now the reason I finished the Brown Dress today, is that today is the last day of the Sew Weekly Reunion. While I hadn’t officially signed up, since I didn’t think I owned or any of those colours, I think this fits that weird brown colour ‘carafe’. (It’s close enough in my book anyway.)

So I present you my Sew Weekly Reunion piece: The Brown Dress (catchy name, right?)

The Facts
Fabric: Brown linen (? I don’t know my fabric types)
Notions: White and brown thread (does that count?)
Pantone Challenge colors: Carafe
Pattern: I cannot find the original pattern any more, but it was something like this: Medieval dress

With some alterations that I added, such as the neck treatment and the back eyelet panels.
Year: Old.
Time to complete: 5 years, in total maybe 30 hours? It is completely hand sewn.
First worn: For pictures, will be worn in the middle and end of September
Wear again? Yes!
Total Cost: I’m guessing maybe 4 Euro for fabric and thread? (I was really cheap back then, student budget)

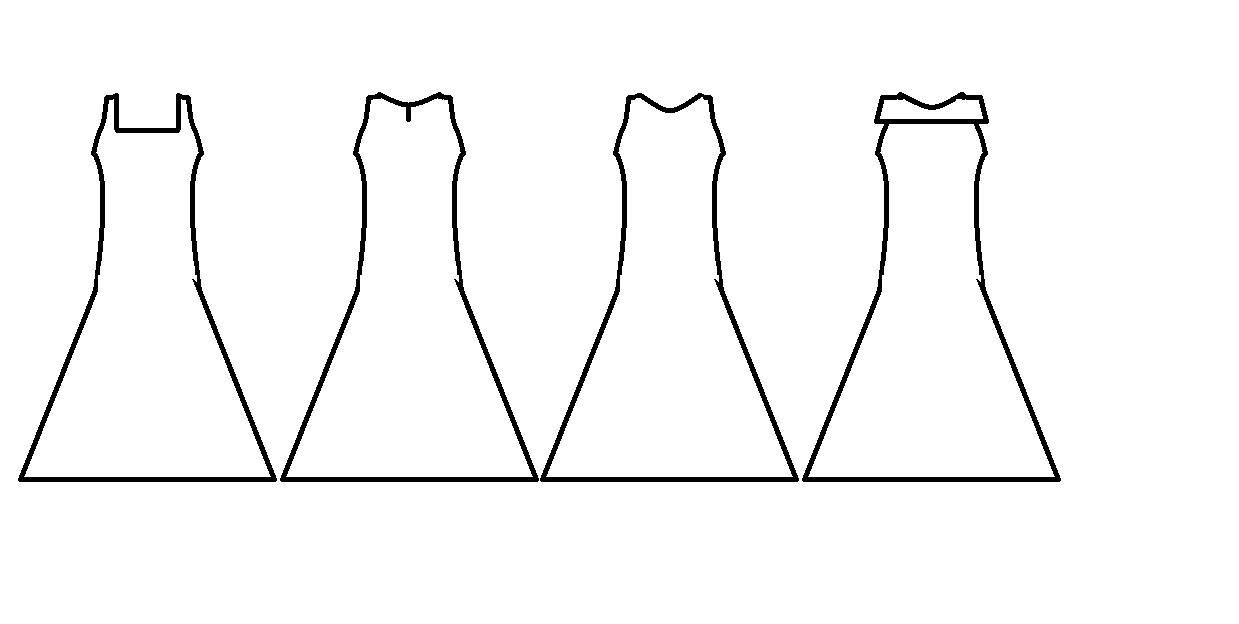
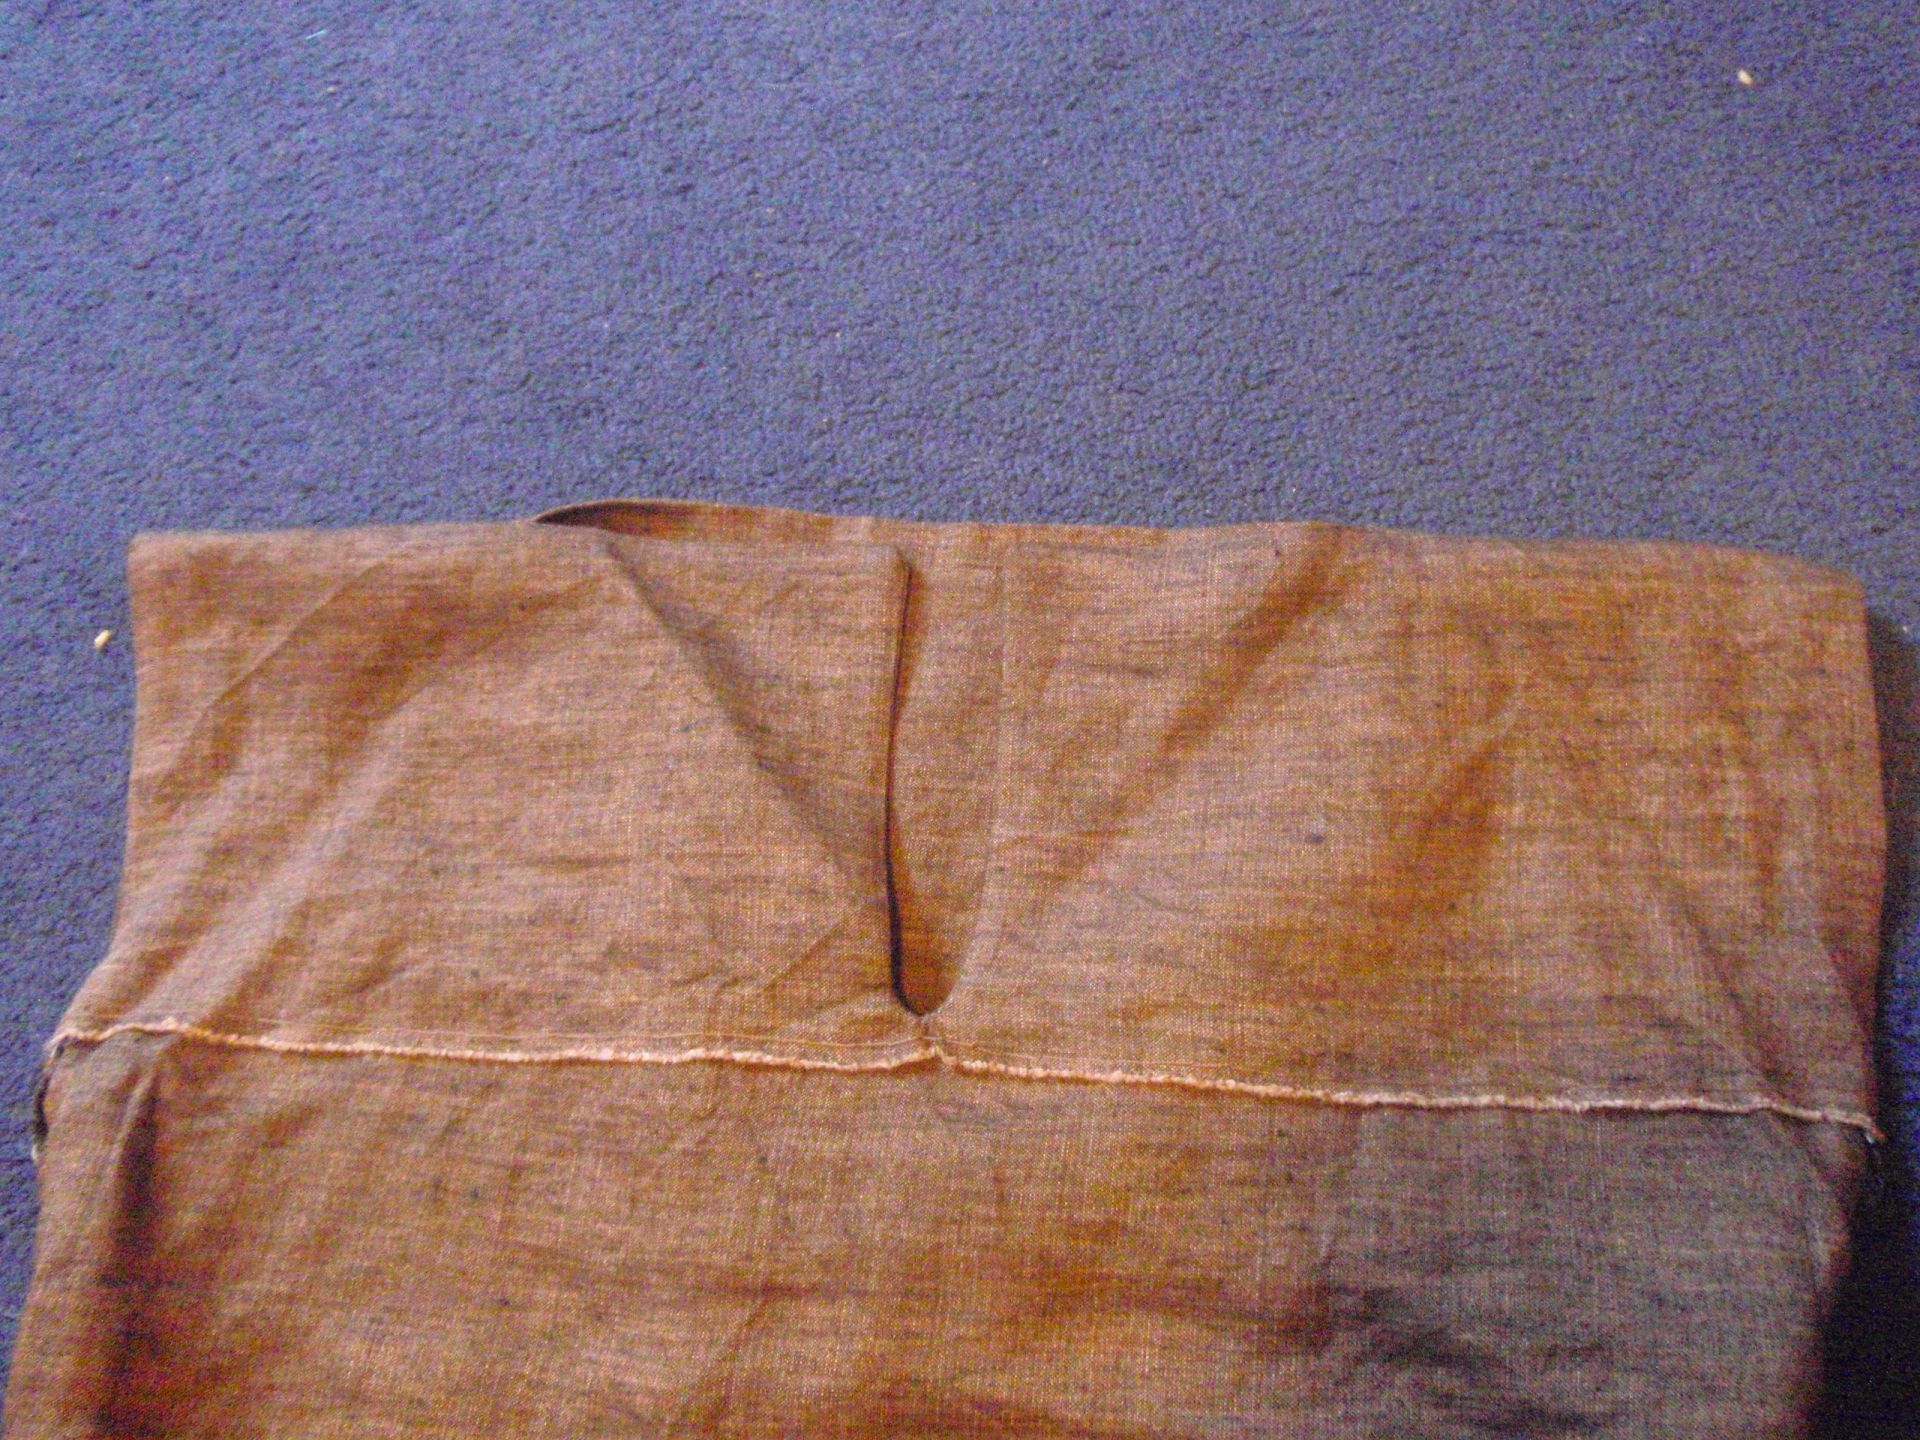
So, I finally decided on a neck treatment for my brown dress (here). I had four different options to choose from and I eventually settled on B (see below). The reason for this is that it’s high, so it’s warm, and a slit is fairly easy to sew if you have 15 odd centimetres of fabric too much at the top of your dress.

tops
(Yes, this is a really quick Paint sketch, gotta love Paint, people!)

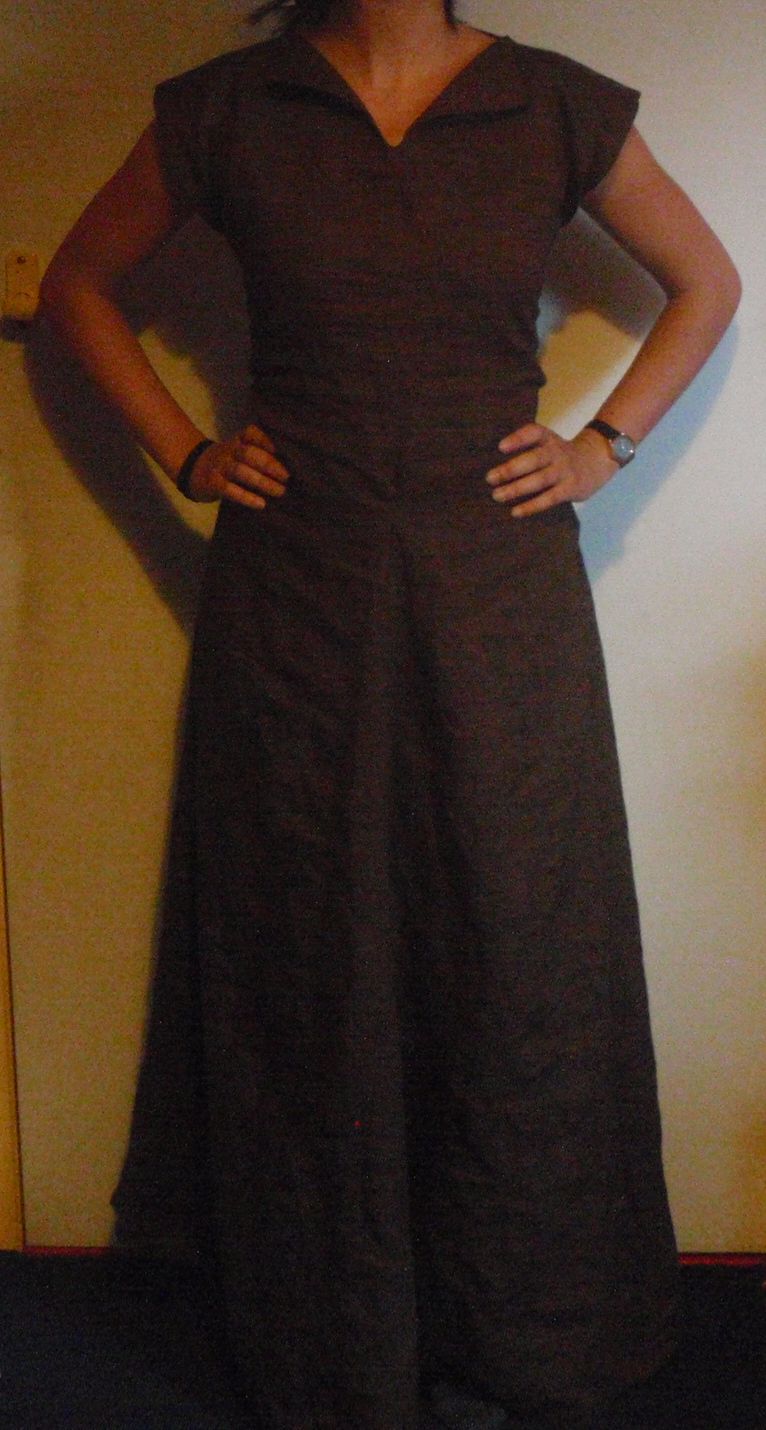
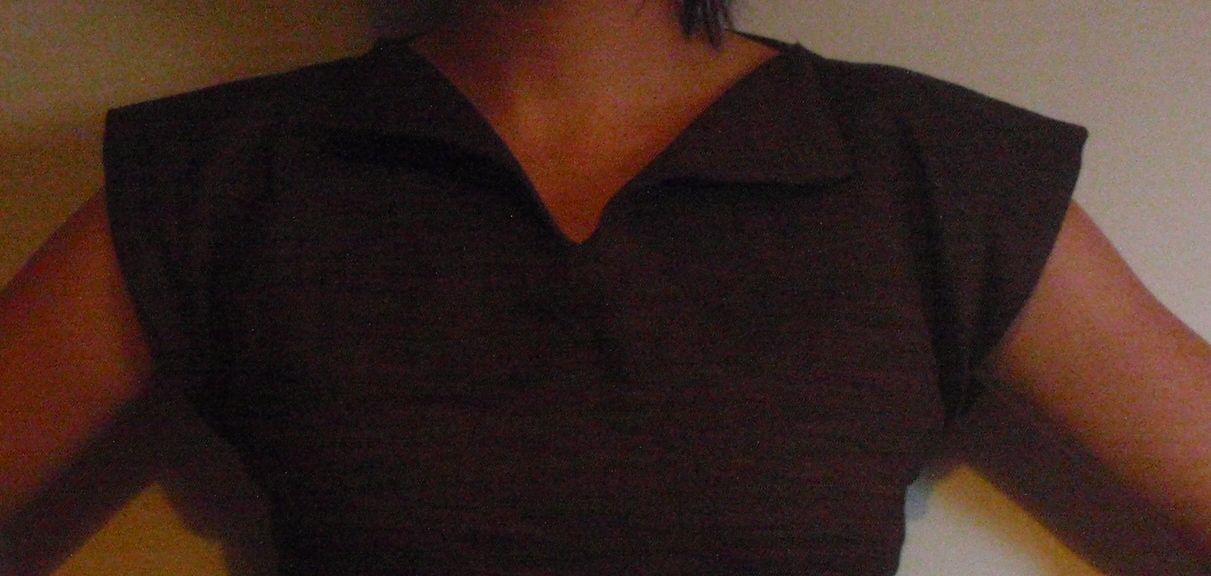
This treatment is also easier to finish as I had an inbuilt facing piece already. Anyway, here is the finished dress!

Front Back Top

Front and back go first of course, with a detail of the neck slash opening.

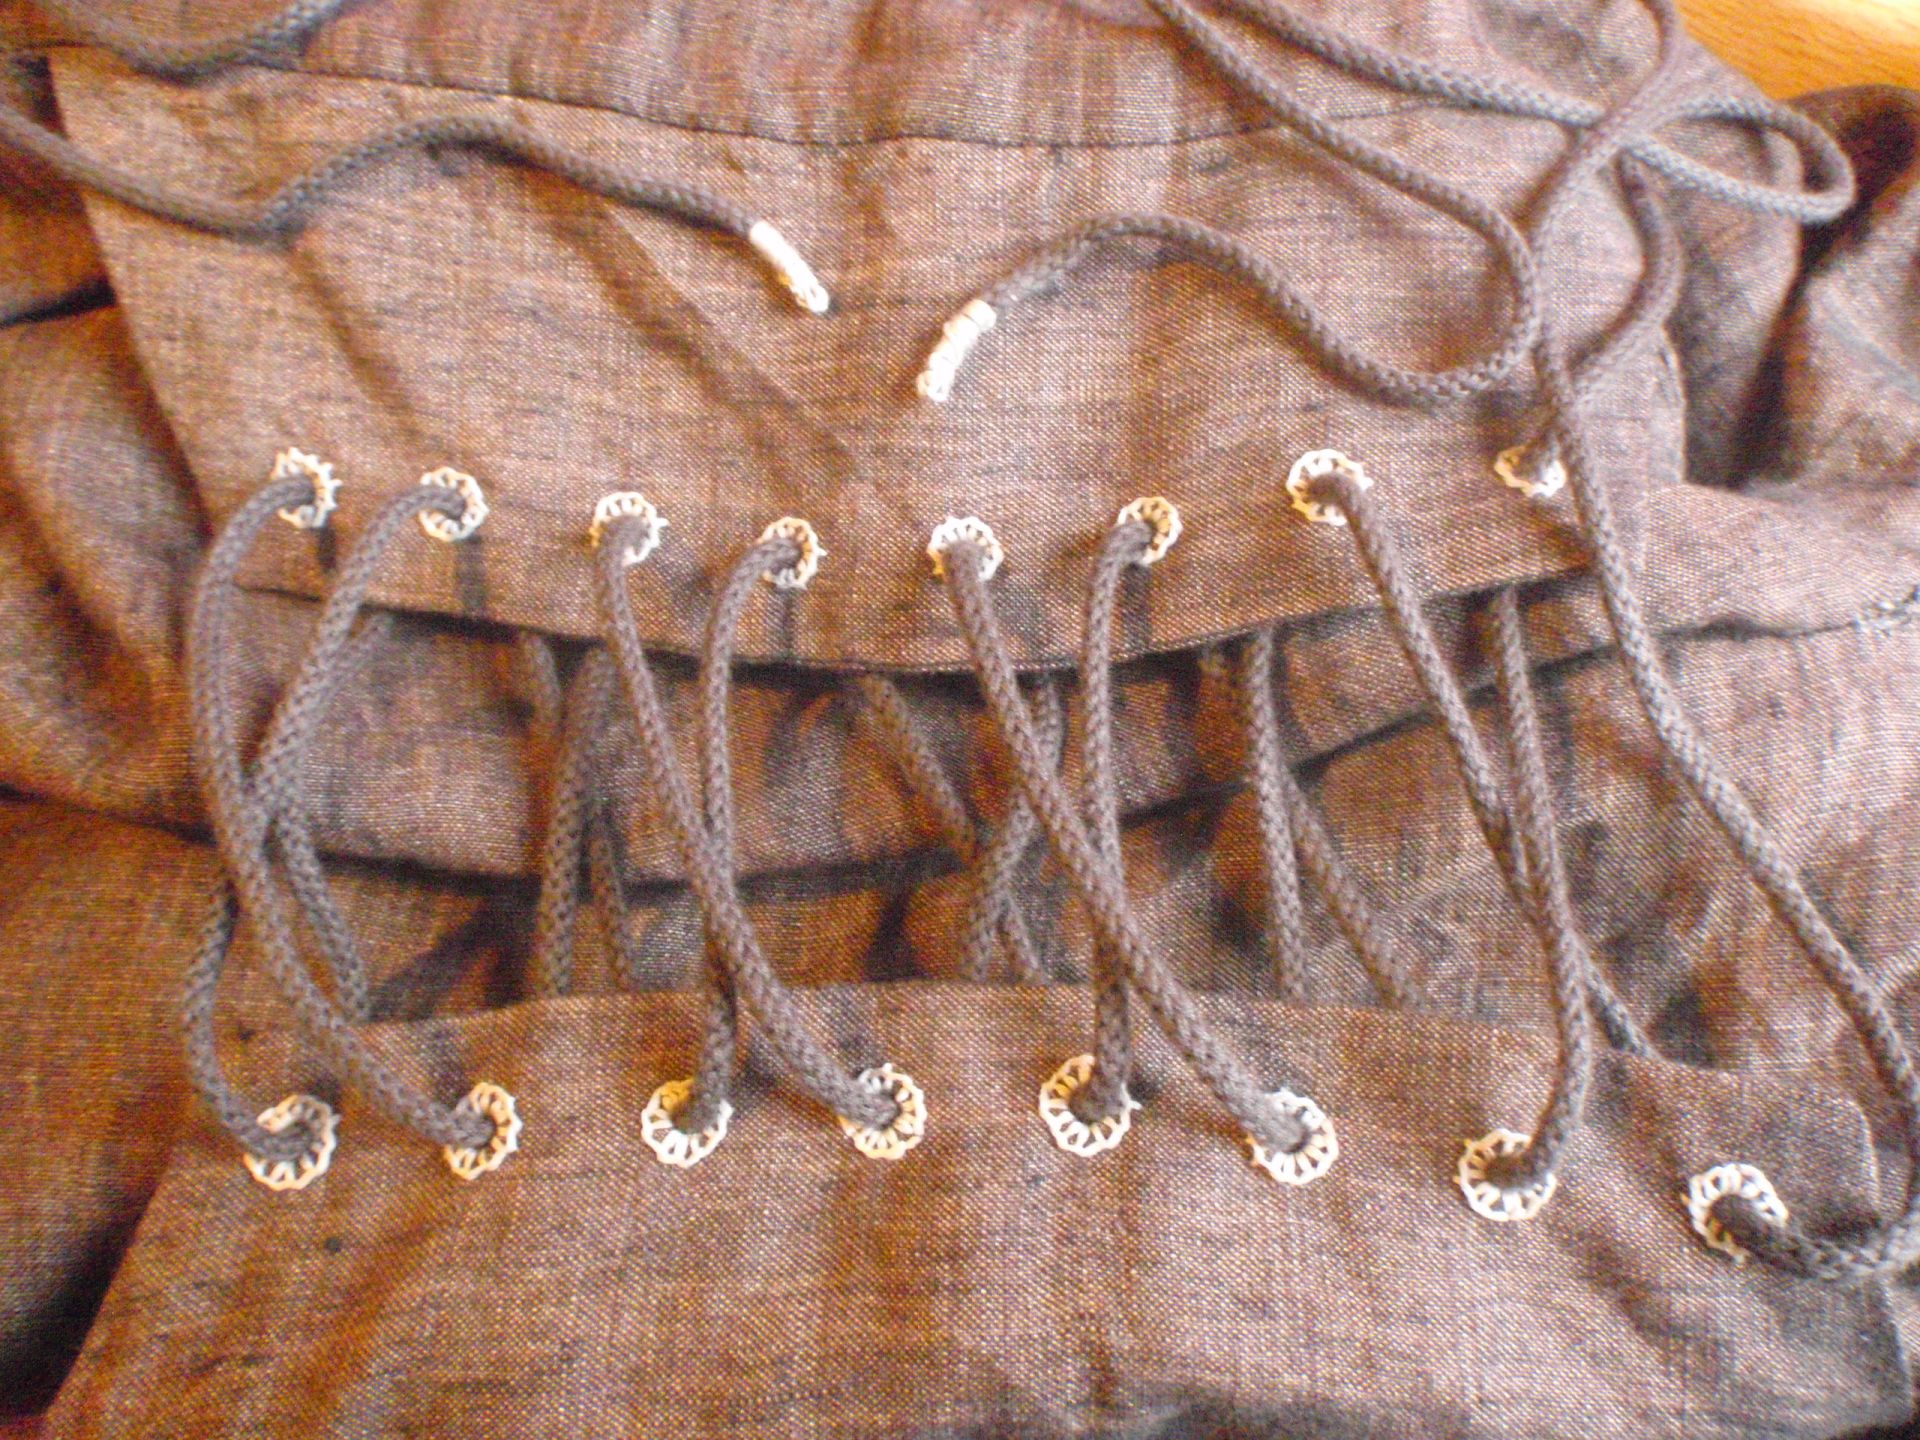
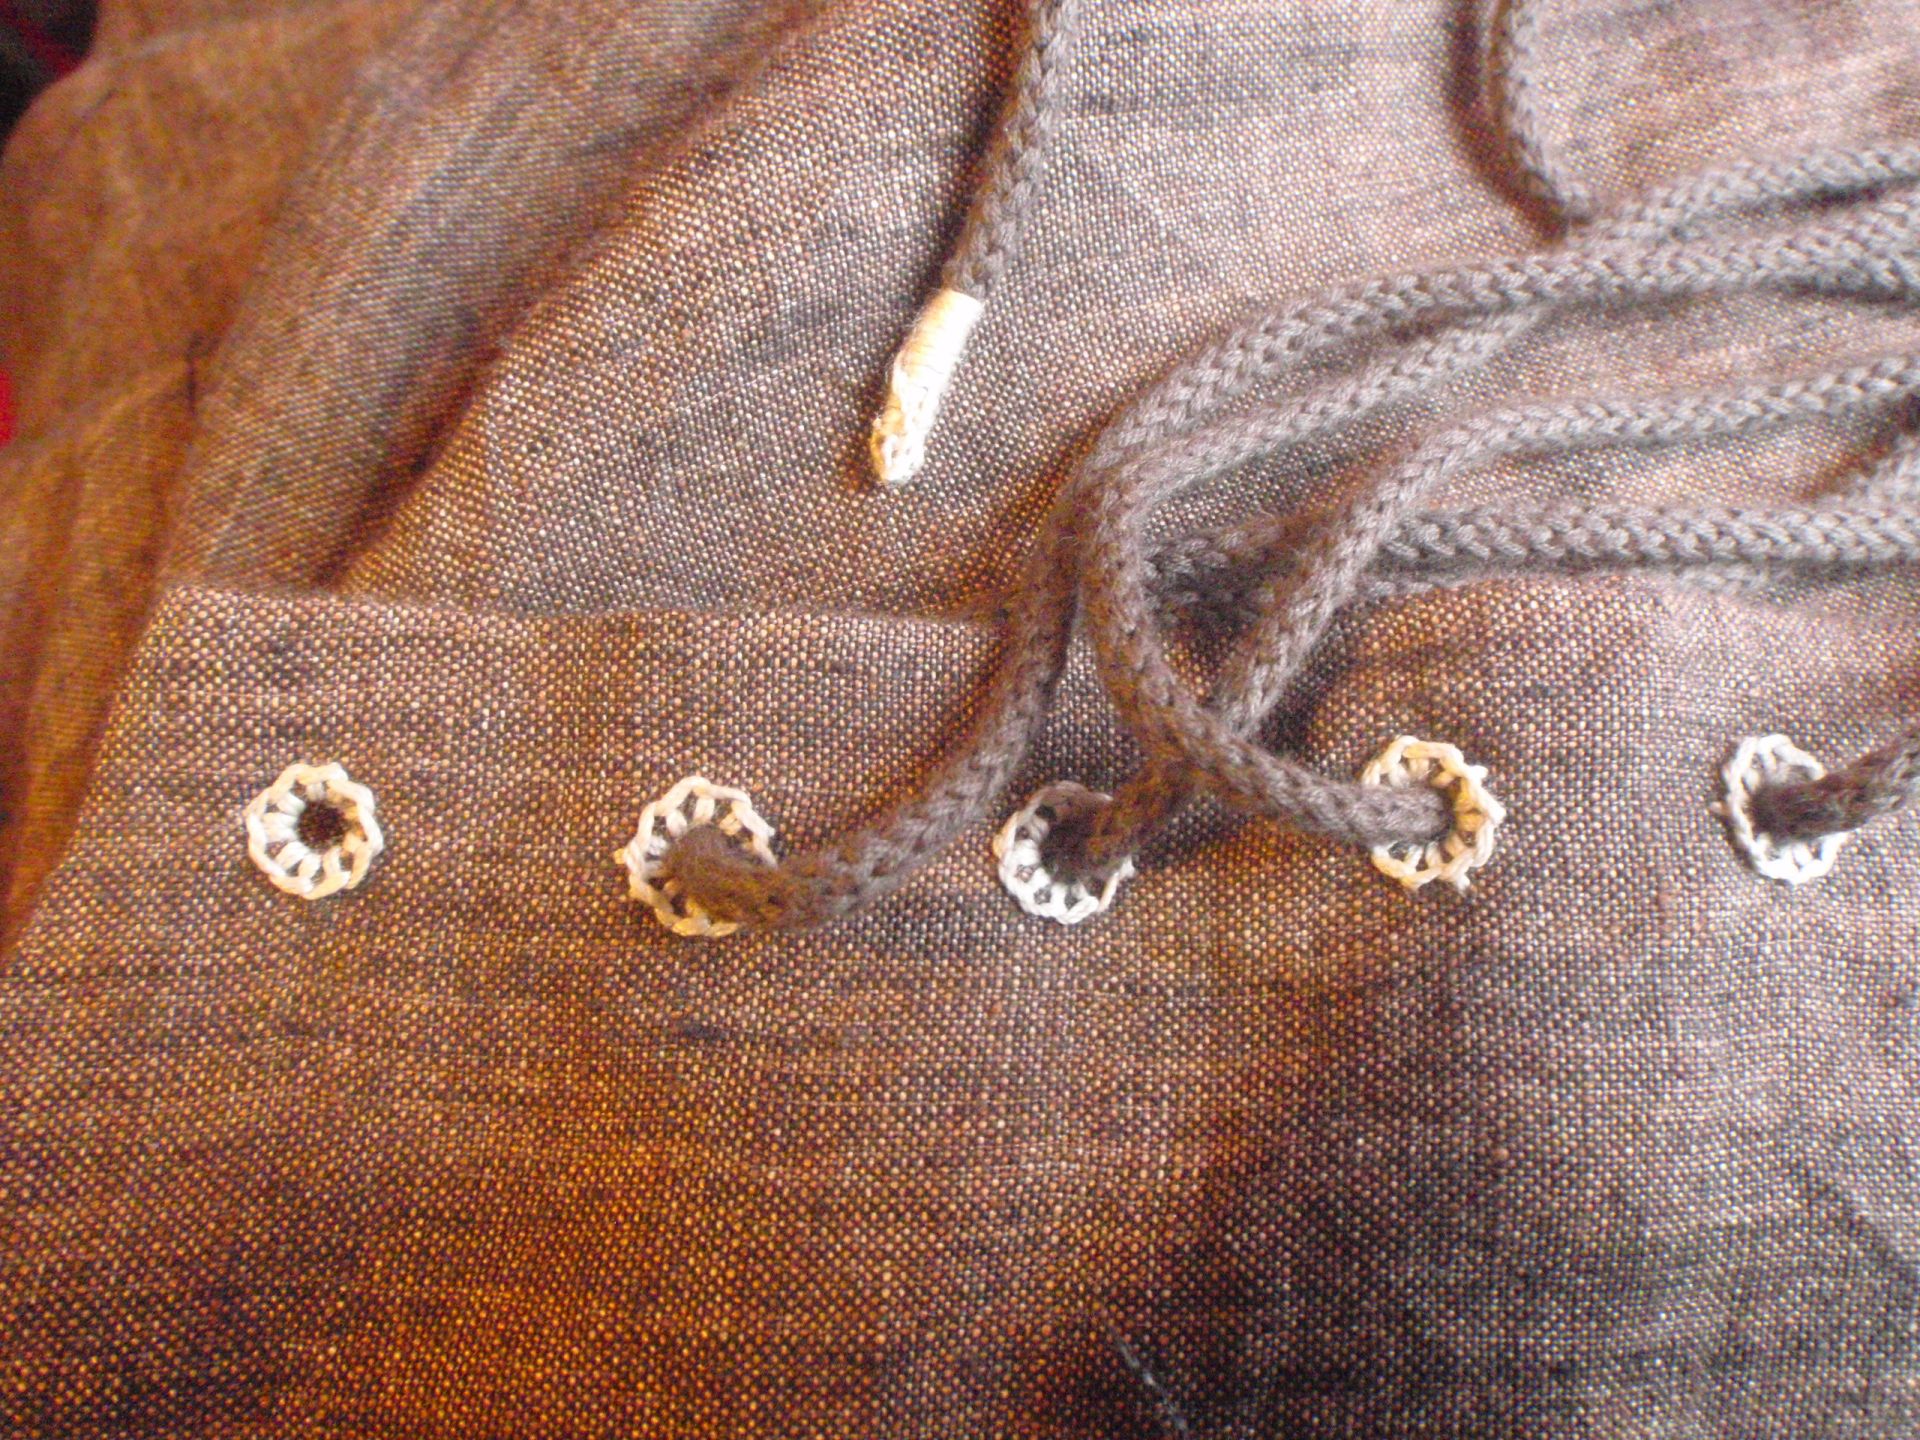
I sewed this thing completely by hand, with only the use of an iron, a metal current meter and a paint brush. Those last two might seem a bit strange, but I had to use an awl for poking the eyelets, and I couldn’t find one. However, the combination of the metal stick and the paint brush to make the hole bigger worked fine. Here is a picture of my eyelets including the ends of the string that I bound so they go through the holes easier.

Eyelets Eyelets

I also want to show you a picture of the insides, first top back and front:

Top front inside Top back inside

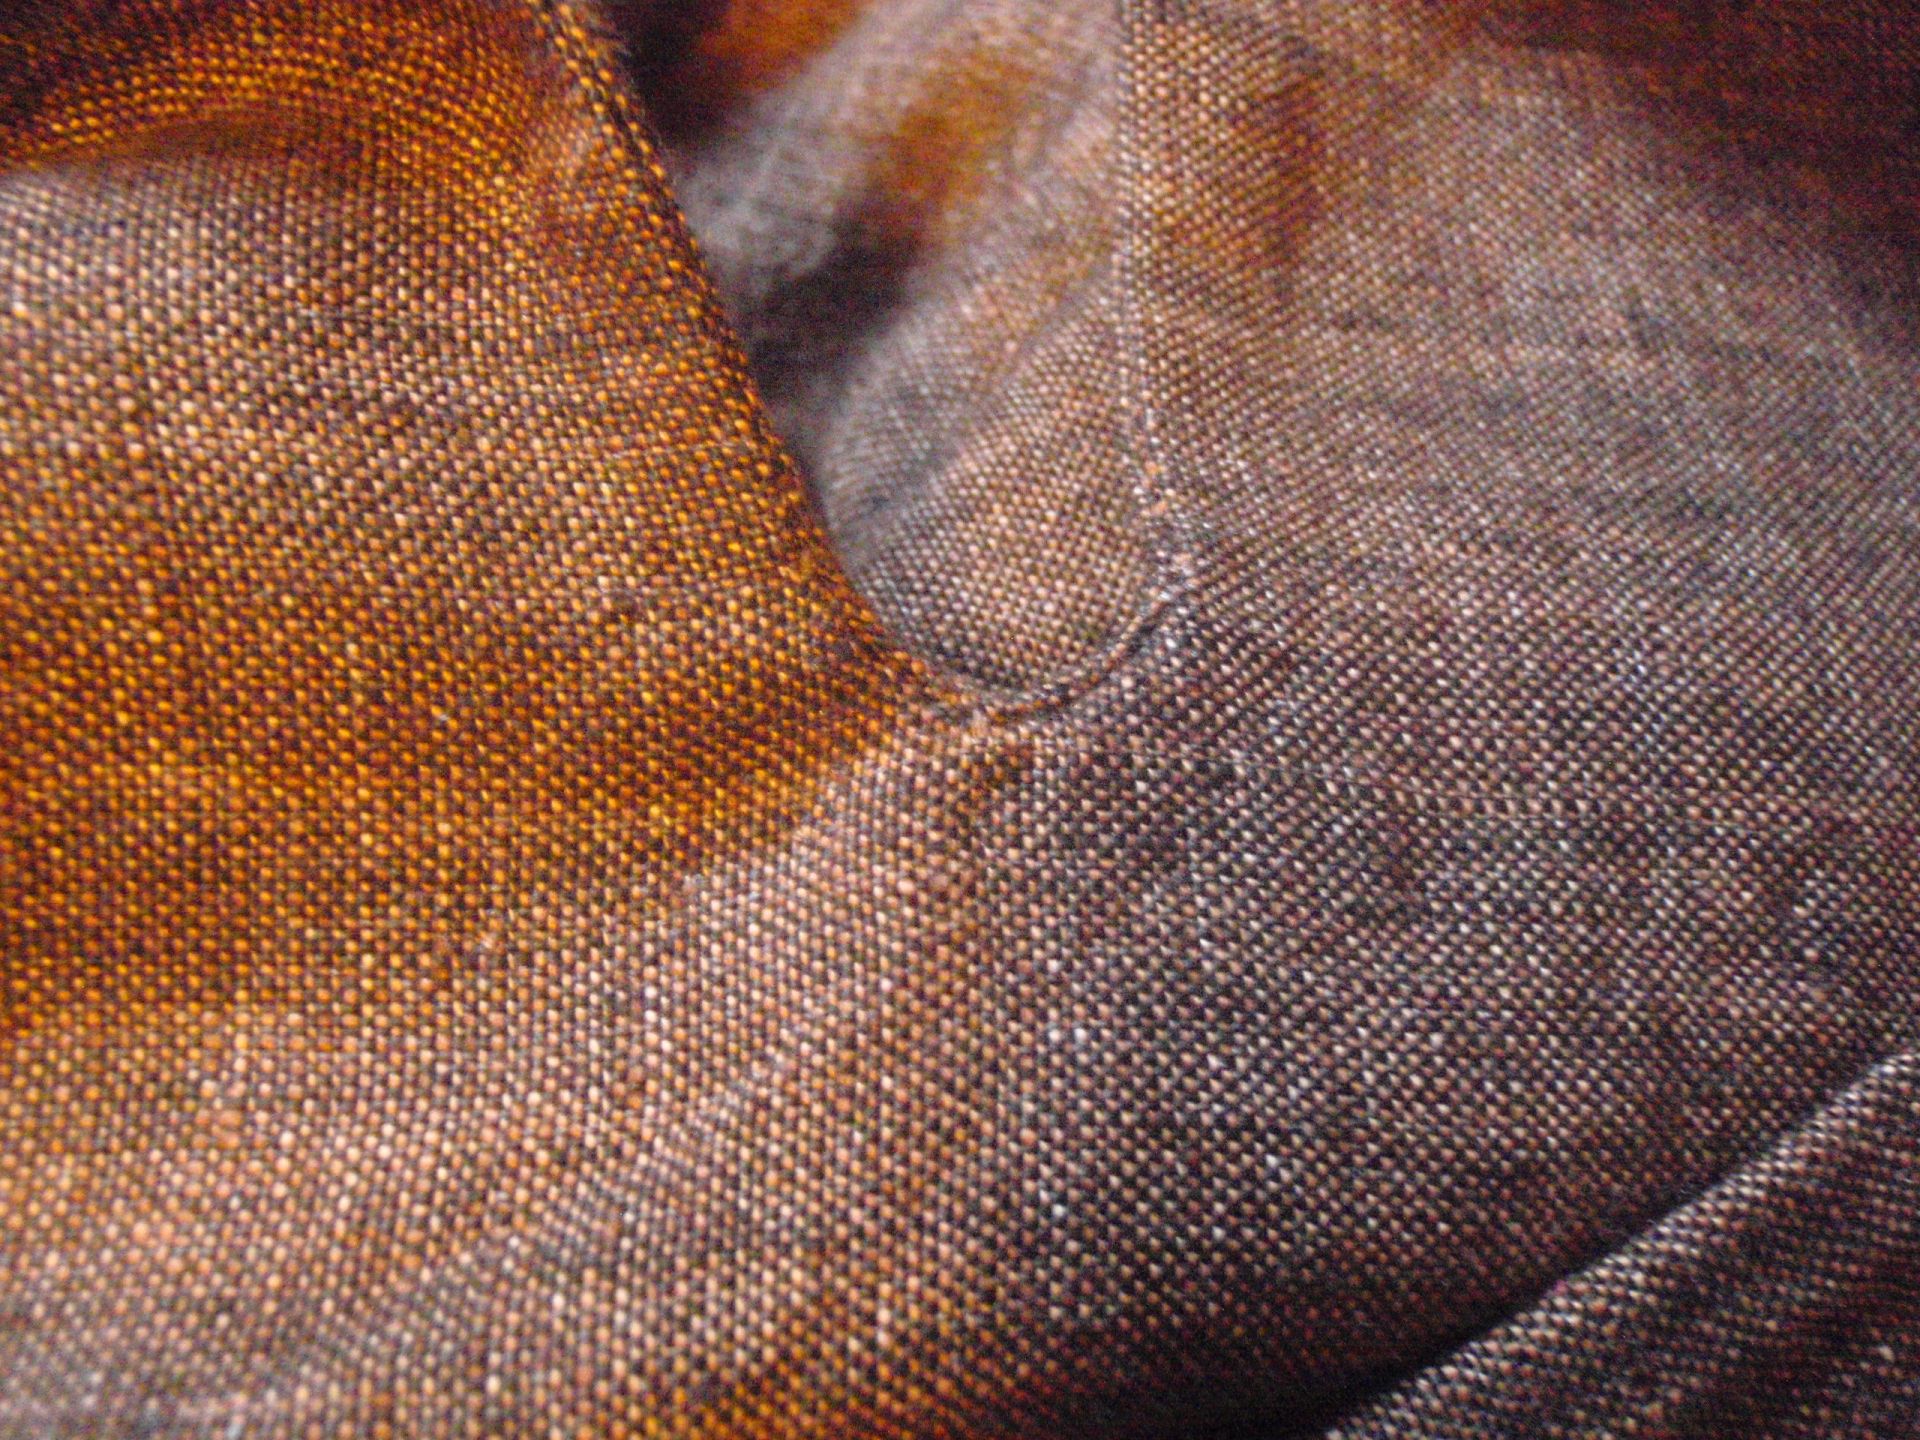
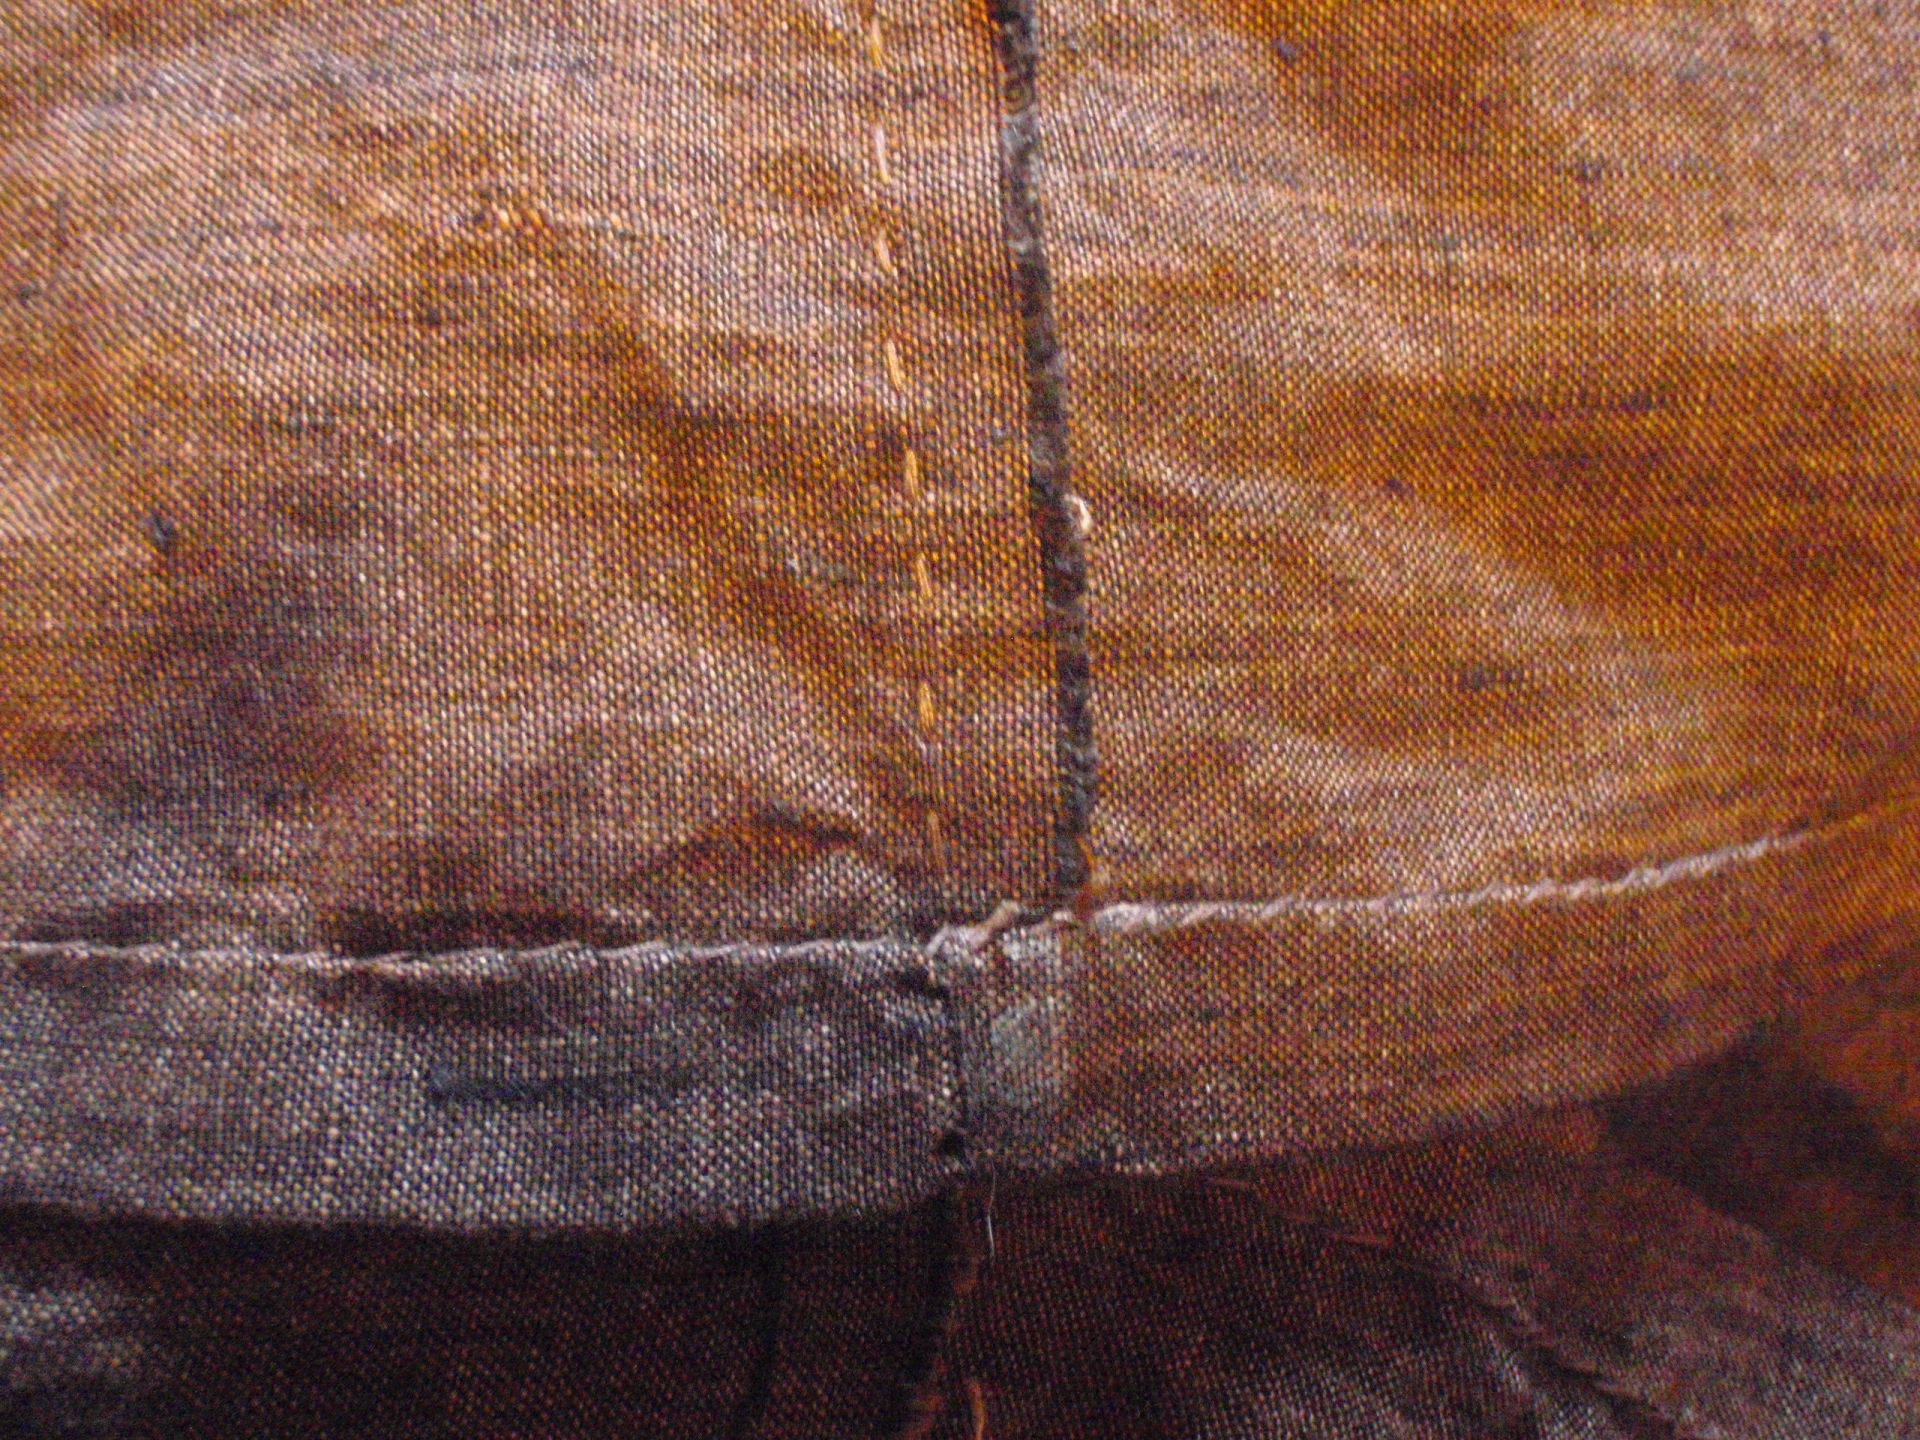
The edges are the selvage of the fabric, so they don’t fray. I did tack them down, but somehow managed to make  those stitches as close to invisible as you can get. I put this down to variegated fabric and matched tread. Below you see the bottom of the slit, clearly the facing had to have been tacked down somewhere there, but I couldn’t find my stitches.

Slit and invisible stitches

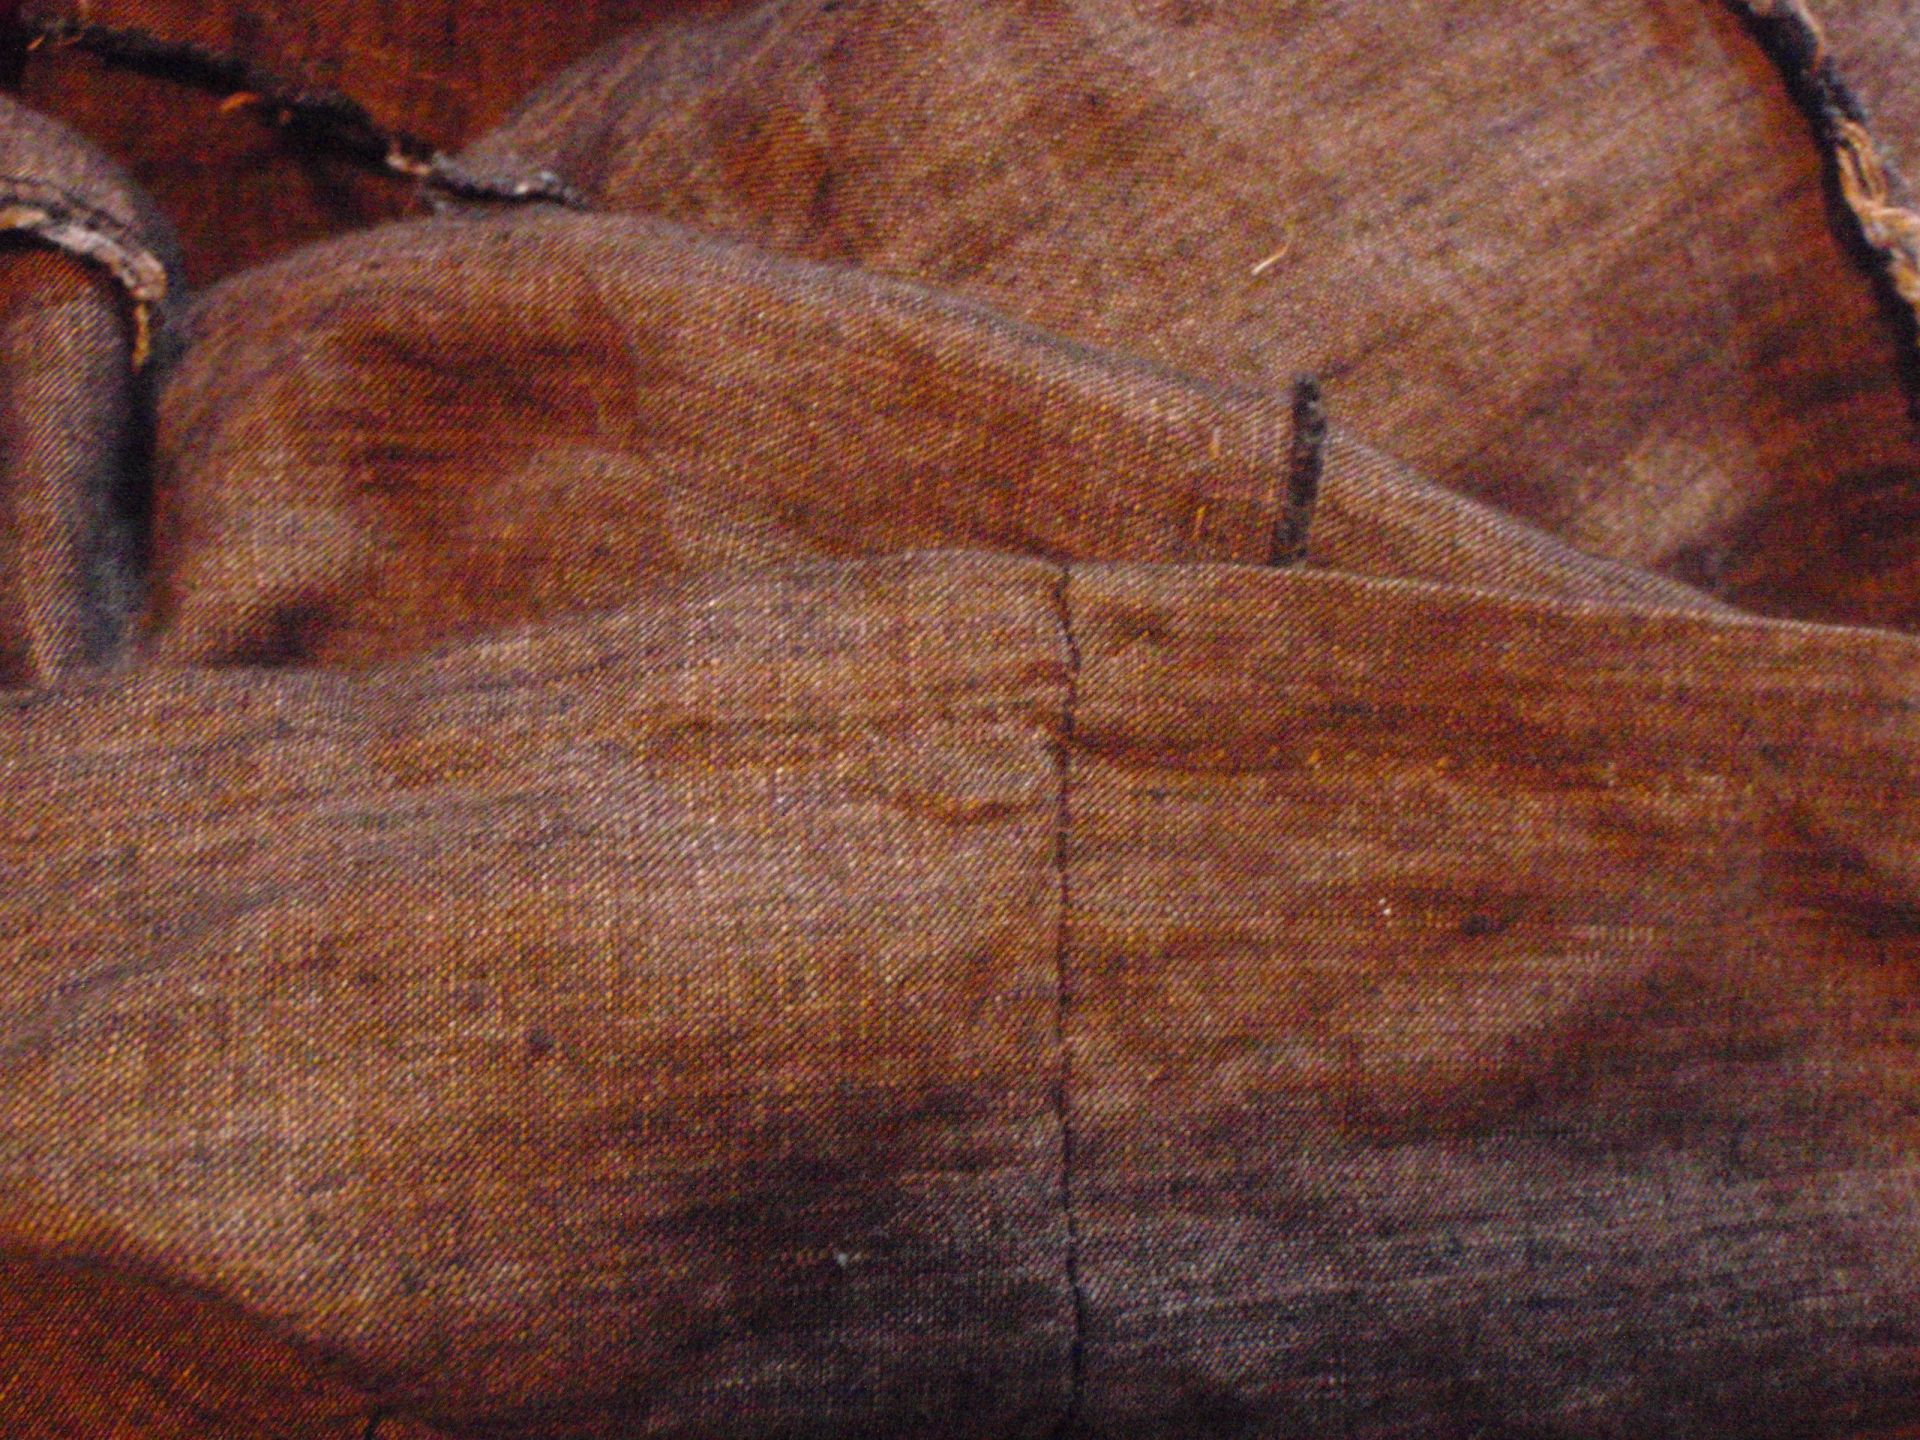
Lastly, the hem. This is also near invisible, which I’m really proud of. Next to it is a shot of a bit of the insides, all painstakingly hand sewn.

Invisible hem Hem


So while it did take quite a while to finish this dress. I’m really happy with it. It fits well, I can dress myself and I have shape (some at least) in it. I’m so glad I managed to find a solution and put this puppy to sleep. Now, I need to finish some other projects!


Brown Dress

After I’d finished the red bag, I wanted a new project. Well, it turned out that ‘new’ is a relative term. The project that I am continuing on is actually my oldest work-in-progress that I’ve saved I think. It’s a brown dress I started 5 years ago. The plan was to completely hand sew a dress that would be larp appropriate. I managed to cut it out and sew in 1.5 of the godets. I basted the other 2.5 so I needed to finish those seams also.

The reason I decided to continue with this project was the fact that I’d found a solution. The problem was that I couldn’t figure out a way to make it fitted without adding a zipper or buttons. The dress is basically straight up and down with 4 triangular bits inserted, so there is no shape. Then I saw a picture were they used two inserts in the side seams which had eyelets in them, and a corset type closure by stringing something through the eyelets.

I found that I had basted a line where I wanted to cut of the bottom to make it straight-ish. I cut of the bottom and use some of the extra’s to make the inserts for the side seams. I also handworked eyelets and now I actually have shape! I have it finished from the boobs down. The problem is the top. I don’t know what to do with it.

Front Back

I had it closed with a shoe lace, so that’ll be a better coordinating piece once I buy it.

Any ideas what to do with the top?

Test version

During the last month of my thesis, I was also working on a dress. My mom found some old bedsheets and I grabbed them to act as a form of muslin type stuff, to test out clothes. I’ve had a vintage pattern (Simplicity 1076) in my drawer for a while now. The measurements on it were smaller than mine, so I figured I’d make it out of said bedsheets and test it out. I traced the 2 pattern pieces from the top and added a little width to the sides. Yes, bad method, I know, slash and spread and stuff – but I tissue fit the front and the darts seemed to hit at the right place. So I just added some more to the side seams.

For some reason the front skirt pieces still matched the front bodice pieces, so I cut those out as they were. I thought it would be the same for the back pieces, however, I was sadly mistaken. In order to not have to recut, I just let out the pleats a bit, and then it fit. I did my first actual blind zipper with my (relatively) new blind zip foot. Absolutely fantastic, very easy, very clean, very nice.

Got the dress on me, it was see through as hell. (What do you expect with million times washed bedsheets girl.) So I grabbed myself another bed thing and made a lining. The lining was much more stable then the toplayer so it really helps to give it some structure. Stitched it all together.. it was too big in the bodice. I felt like a fat little blob because it gave me no shape at all. In went those side seams, which looked better. Still had a huge amount of pooling at the lower back. What’s a girl to do. Take in more!! This time I took in the back darts. It really helped a lot. Got rid of the pooling and gave me a waist. I’m loving it now.

After all this chitchat, I hope you would like to see the dress. Here it is:

Front Back Insides

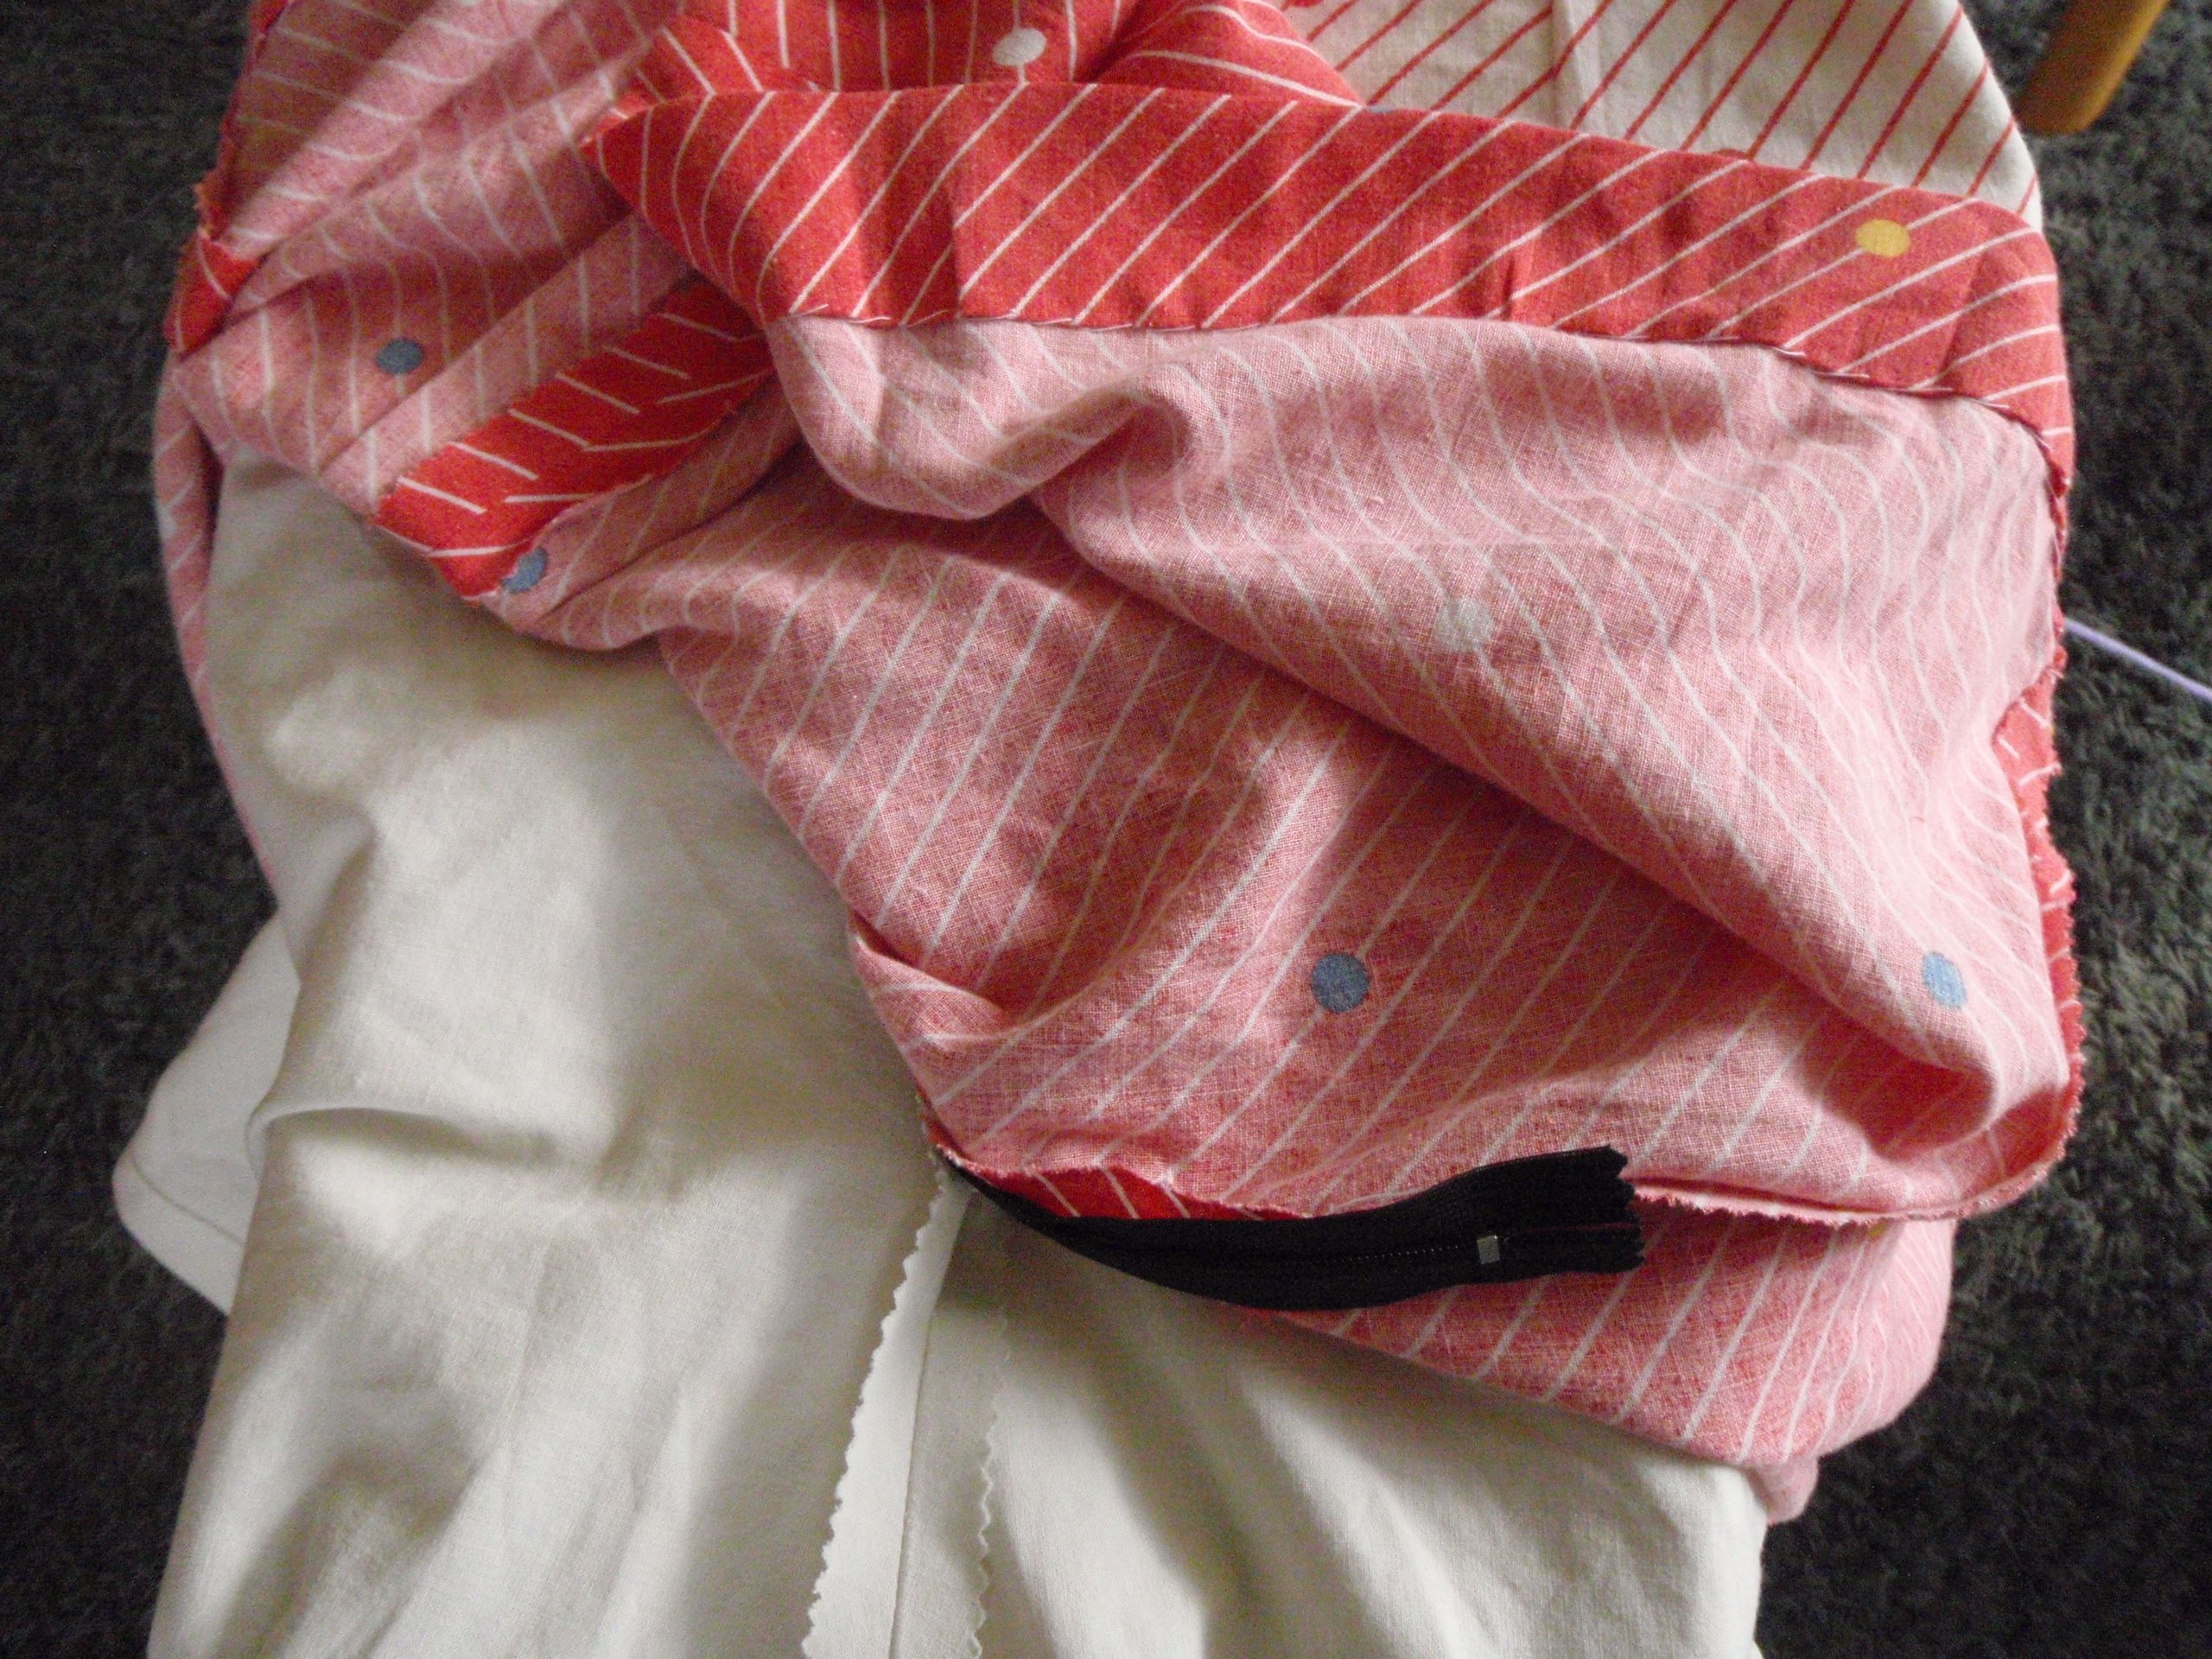
Front, back and inside view. For the insides I chose to pink all the seams (first time for everything right) and do a deep hem on both layers, mainly to make it fall right. I even hand sewed the hem, white thread and taking a stitch in the white stripes on the skirt. It’s completely invisible.

Oh.. where is that zipper  Full lining

Left is the back, with no obvious zipperage if you ask me, and right the full lining, nice and white, no more underwear on show.

So this dress now gives me a shape, it twirls, and it makes me happy. Even though it was meant as practice, I might now actually wear it. Moreover, I adapted my tracings such that making it again will be much quicker (hopefully) and I can make it in something that is.. age appropriate?

At least I enjoyed myself, and I’m proud for finishing something. At last.

Medieval Dress

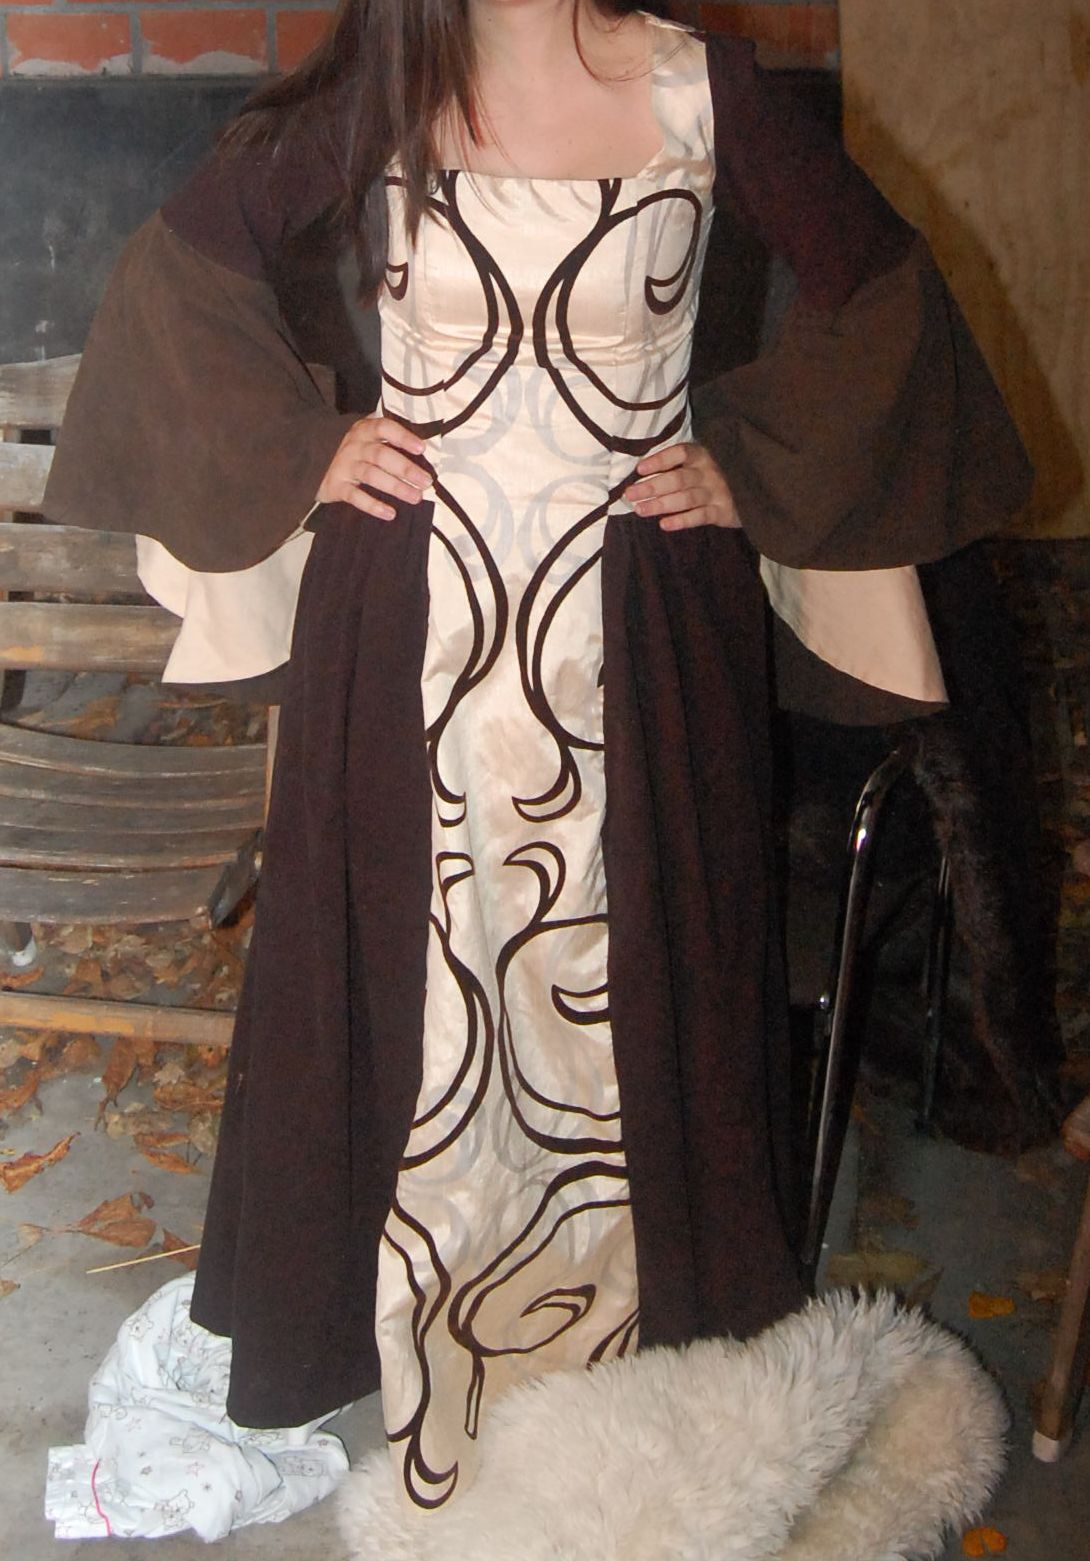
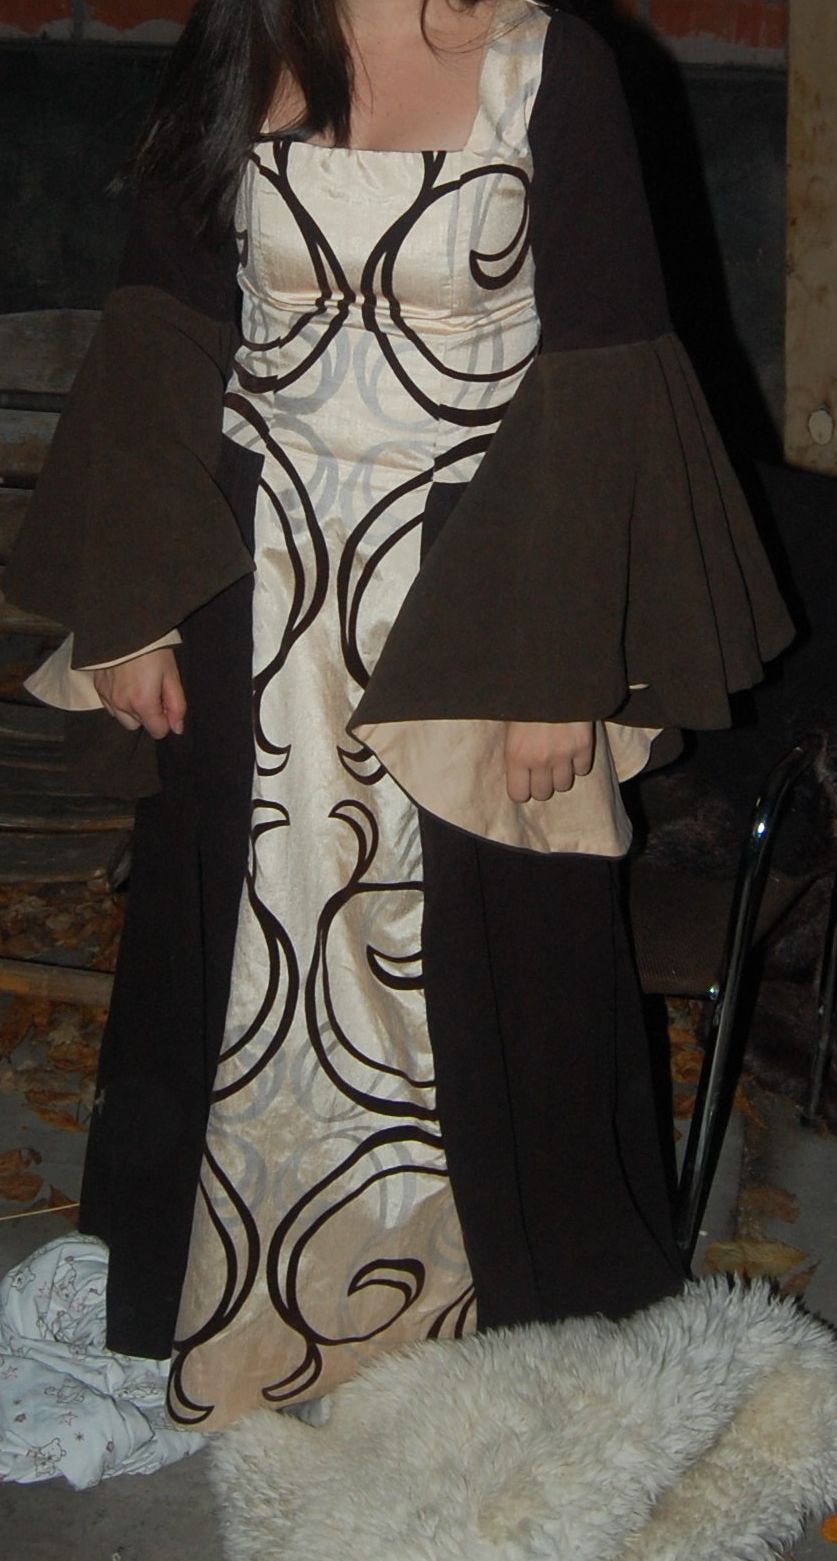
Whoops, it’s obviously been a while since I’ve been here. The last couple of months have been extremely busy and I’m still trying to get back on my feet. However, I have finally found the time (and motivation) to write about my new dress. A friend of mine celebrated her birthday the 10th of November with a party with a medieval dress code. The first deadline for this dress was September 6th (see here), I obviously failed at that, but I did finish it before the second one (the party)! I even have proof of me wearing it:


However, it takes a long time to put on thanks to this:


The back has a corset type closure, but there is no zipper and putting the cord through all those loops takes forever after. I have tried my best to match the pattern on the light coloured fabric. However, it was printed really off grain so that was not always possible. That’s why the browns are mostly matched up, although the centre back is a little off still. The same was true for the front, so although it doesn’t really show, the fabric is not sewn in symmetrically, in order to keep the pattern sort of similar.


Those sleeves are not very handy for.. anything, but they look really nice, and I’m very happy with them. I am really proud of myself for both thinking it all up (especially those sleeves) and for actually finishing it. I forgot to take pictures of the insides, but it’s fully lined and it looks really nice from the inside too. I’m so happy to have it finished!

On a random side note, tonight I have finally decided to eat the endive I’ve been growing in my garden. It was just enough to make me meal. I made “stamppot”, a Dutch recipe that’s really easy. Boil potatoes and mash them, add cut up endive and mash it all together, serve with bacon cubes. Done.

So now my patch is empty and I need to wait for spring again to start it all over. This year was not very productive, all in all I grew about 7 carrots and 1 plate worth of endive. I may have forgotten to fertilise last year. Anyways, I’m still busy, so I’m not very creatively productive nowadays. I’m trying though, I hope it will work, and good luck with your own creative outlets!

Busy

I’ve found myself a summer job. I clean the homes of old people who cannot do it themselves anymore. So for 4 weeks now, and one week more, I hop on my bike every morning and afternoon and work for 2-3.5 hours at a stretch. Vacuuming, cleaning bathrooms and toilets, making spider webs go away etcetera. It’s been quite a lot of fun actually. The cleaning itself is boring, but the conversations with the people are really nice.

I have found out that there are two things that connect practically all old people together.. They all have barometers and orchids, and are generally offended if you do not want a cookie with your tea/coffee (they also do not approve of drinking just water, it’s got to have flavour). If I’m not hungry I feel like I’ve upset their whole day by not wanting the food they offer. Still, I’ve enjoyed myself, some people I like better than others (and can hear me better).

With all that work (5-6 hours a day), I’ve felt quite busy. Although, really, I’m not very busy, I have all nights off so I should not complain. I’ve knitted a little, my sleeves now have 8 stripes, with the ninth being the next two lines, and I’m supposed to have 14 I think, so I’m at least halfway done now.

Well that was project 1. Project 2 is a medieval type dress for larp (inspiration) that I’m putting together using a light fabric with brown and silver swirls for the bodice and front, a dark brown for the skirt and top of the sleeves, and a lighter brown for the bottom of the sleeves (the fabrics were perfect, but there was only 3 and 2 meters left of them). I don’t have that pattern but I’m trying to make it work by adapting other patterns and some divine inspiration (or just normal inspiration really). It’s going quite well, although the light fabric is printed really really off grain, so I’m having to do some strange damage limitation. When it’s finished, I’ll try to show that. The personal deadline for this project is September 6th.

So it’s one more week of helping old people, then school again. That in combination with attempting to finish my projects, and all should be well. Now, further with the second project, since its deadline is closer. Enjoy the creatives too!