Refashion

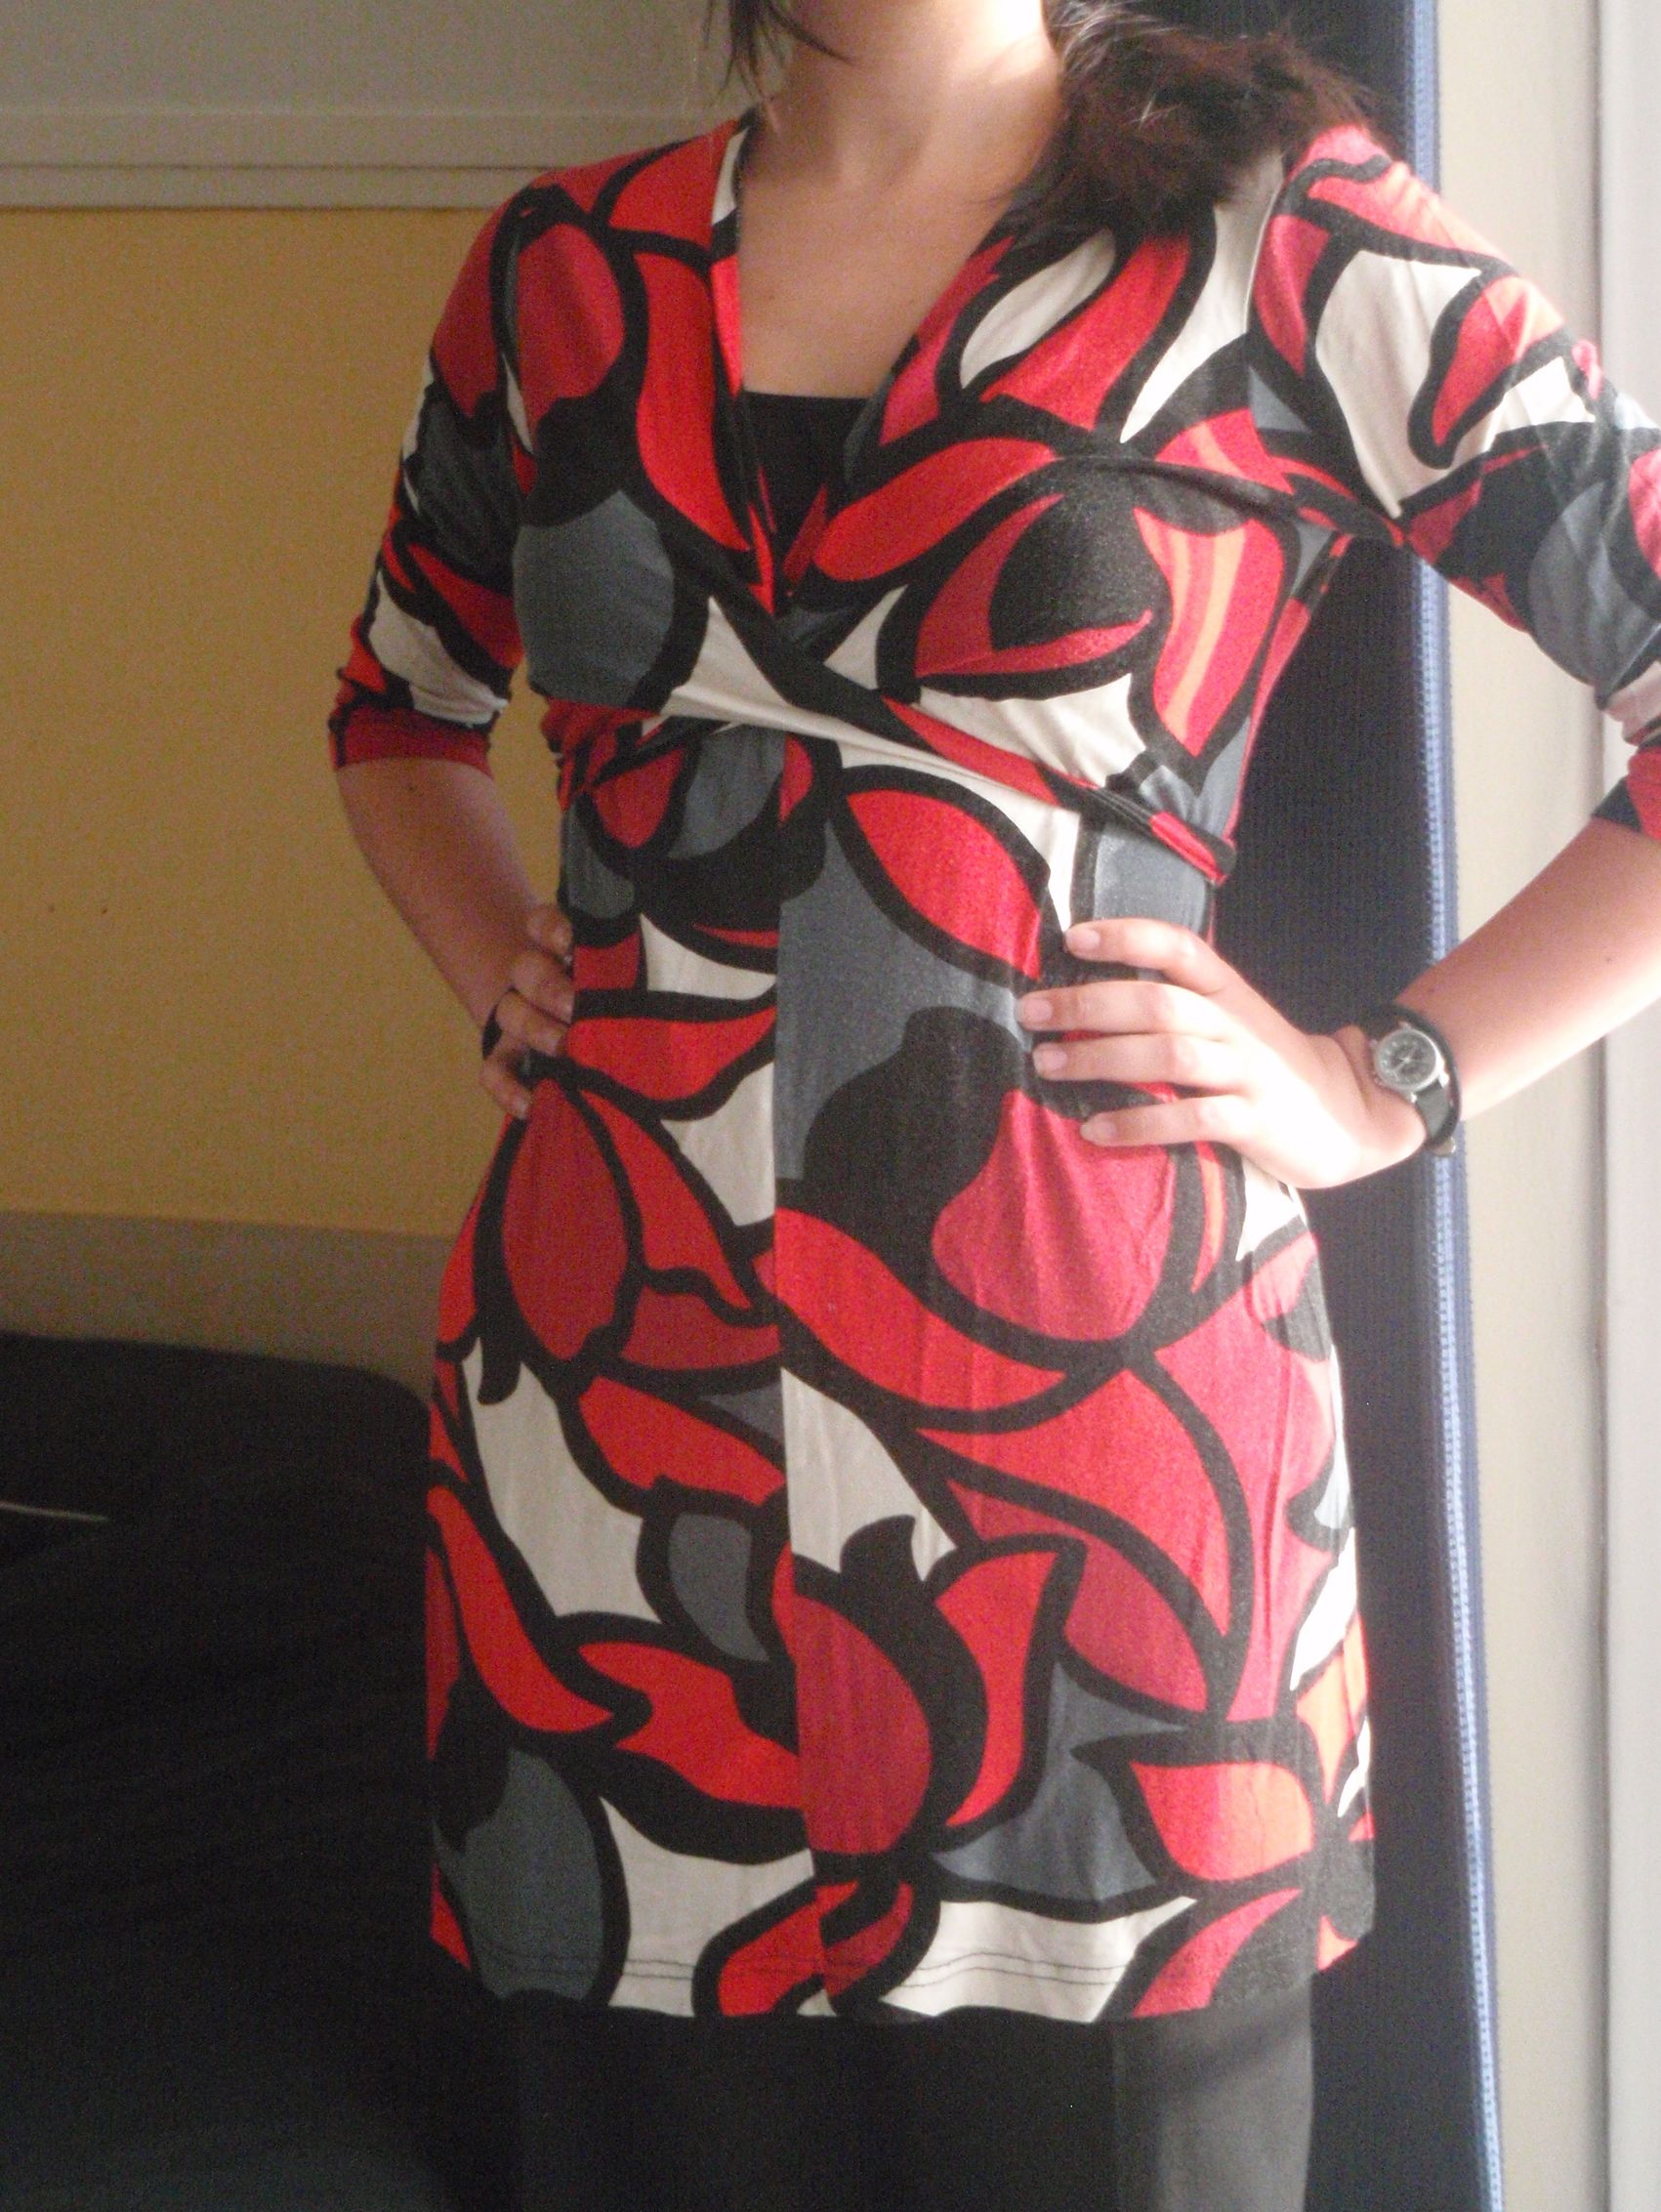
I found this pile of clothes that my mom was discarding a couple of weeks ago and I nicked some stuff from it (with permission of course). I was inspired by Marisa from New dress a day (here). She often picks up cheap and (relatively) ugly items for very little money (say $1), and makes them all nice and wearable again. Admittedly my items are the ones I actually liked without having to do much on it, and were for free.

They include a red/black/grey dress, a red sweater and some more which I haven’t done anything with yet. I forgot to take pictures of the red sweater before, but it’s not finished yet (I am snipping of the edges of the sleeves and the bottom, because they were all curly and creepy. Also, I’m removing some of the really ugly embellishments on the front). However, about a quarter of an hour ago I decided to make the red/black/grey dress suitable for my wardrobe.

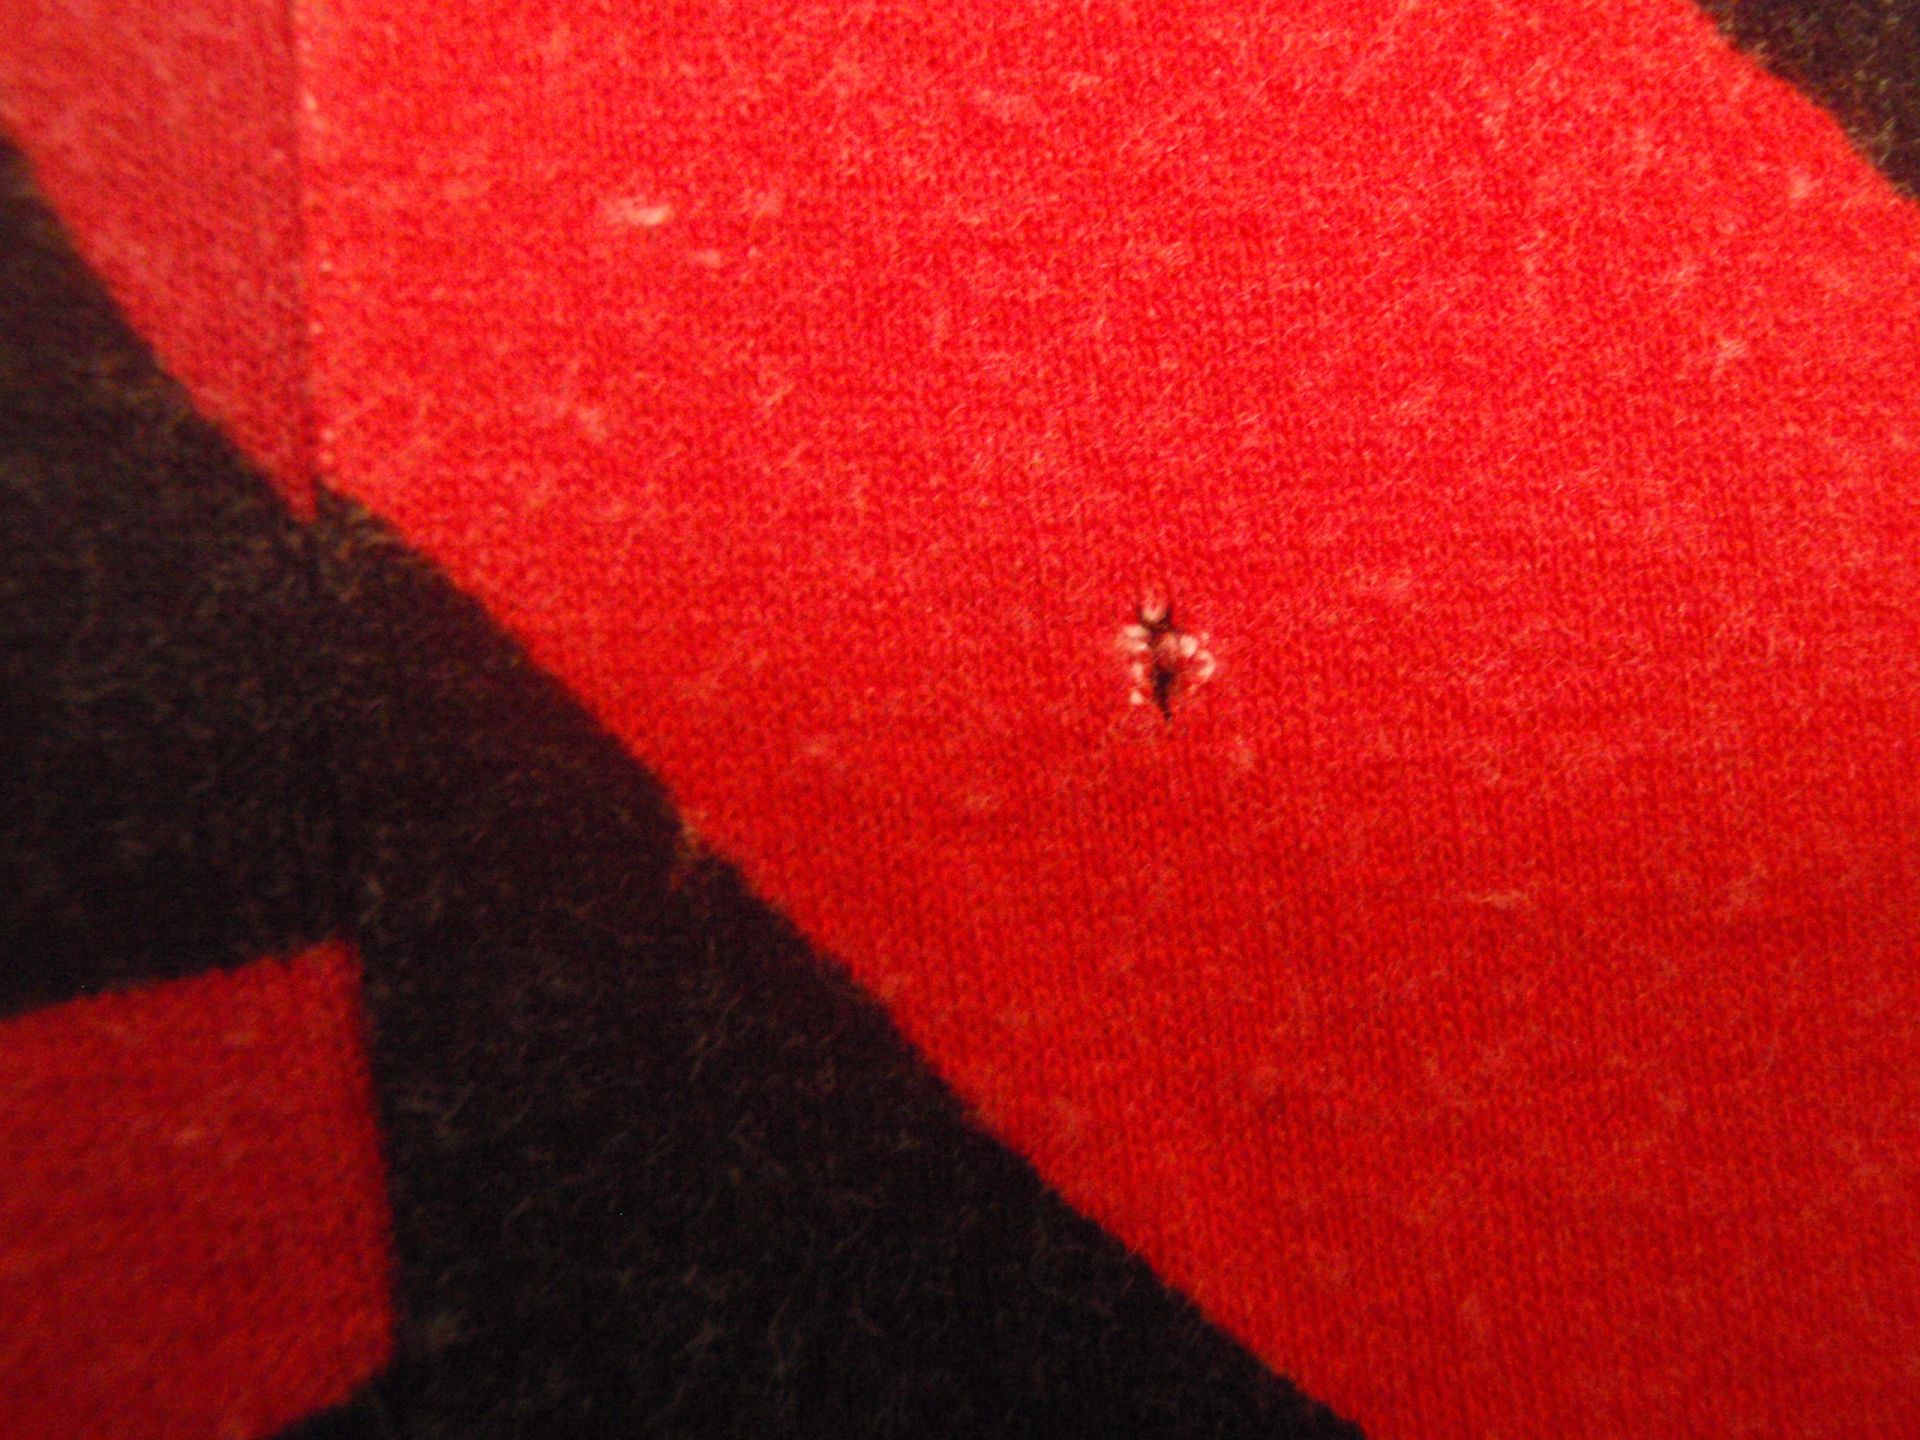
At first I couldn’t spot anything wrong with it and assumed that it was just too small or something, but on closer inspection..


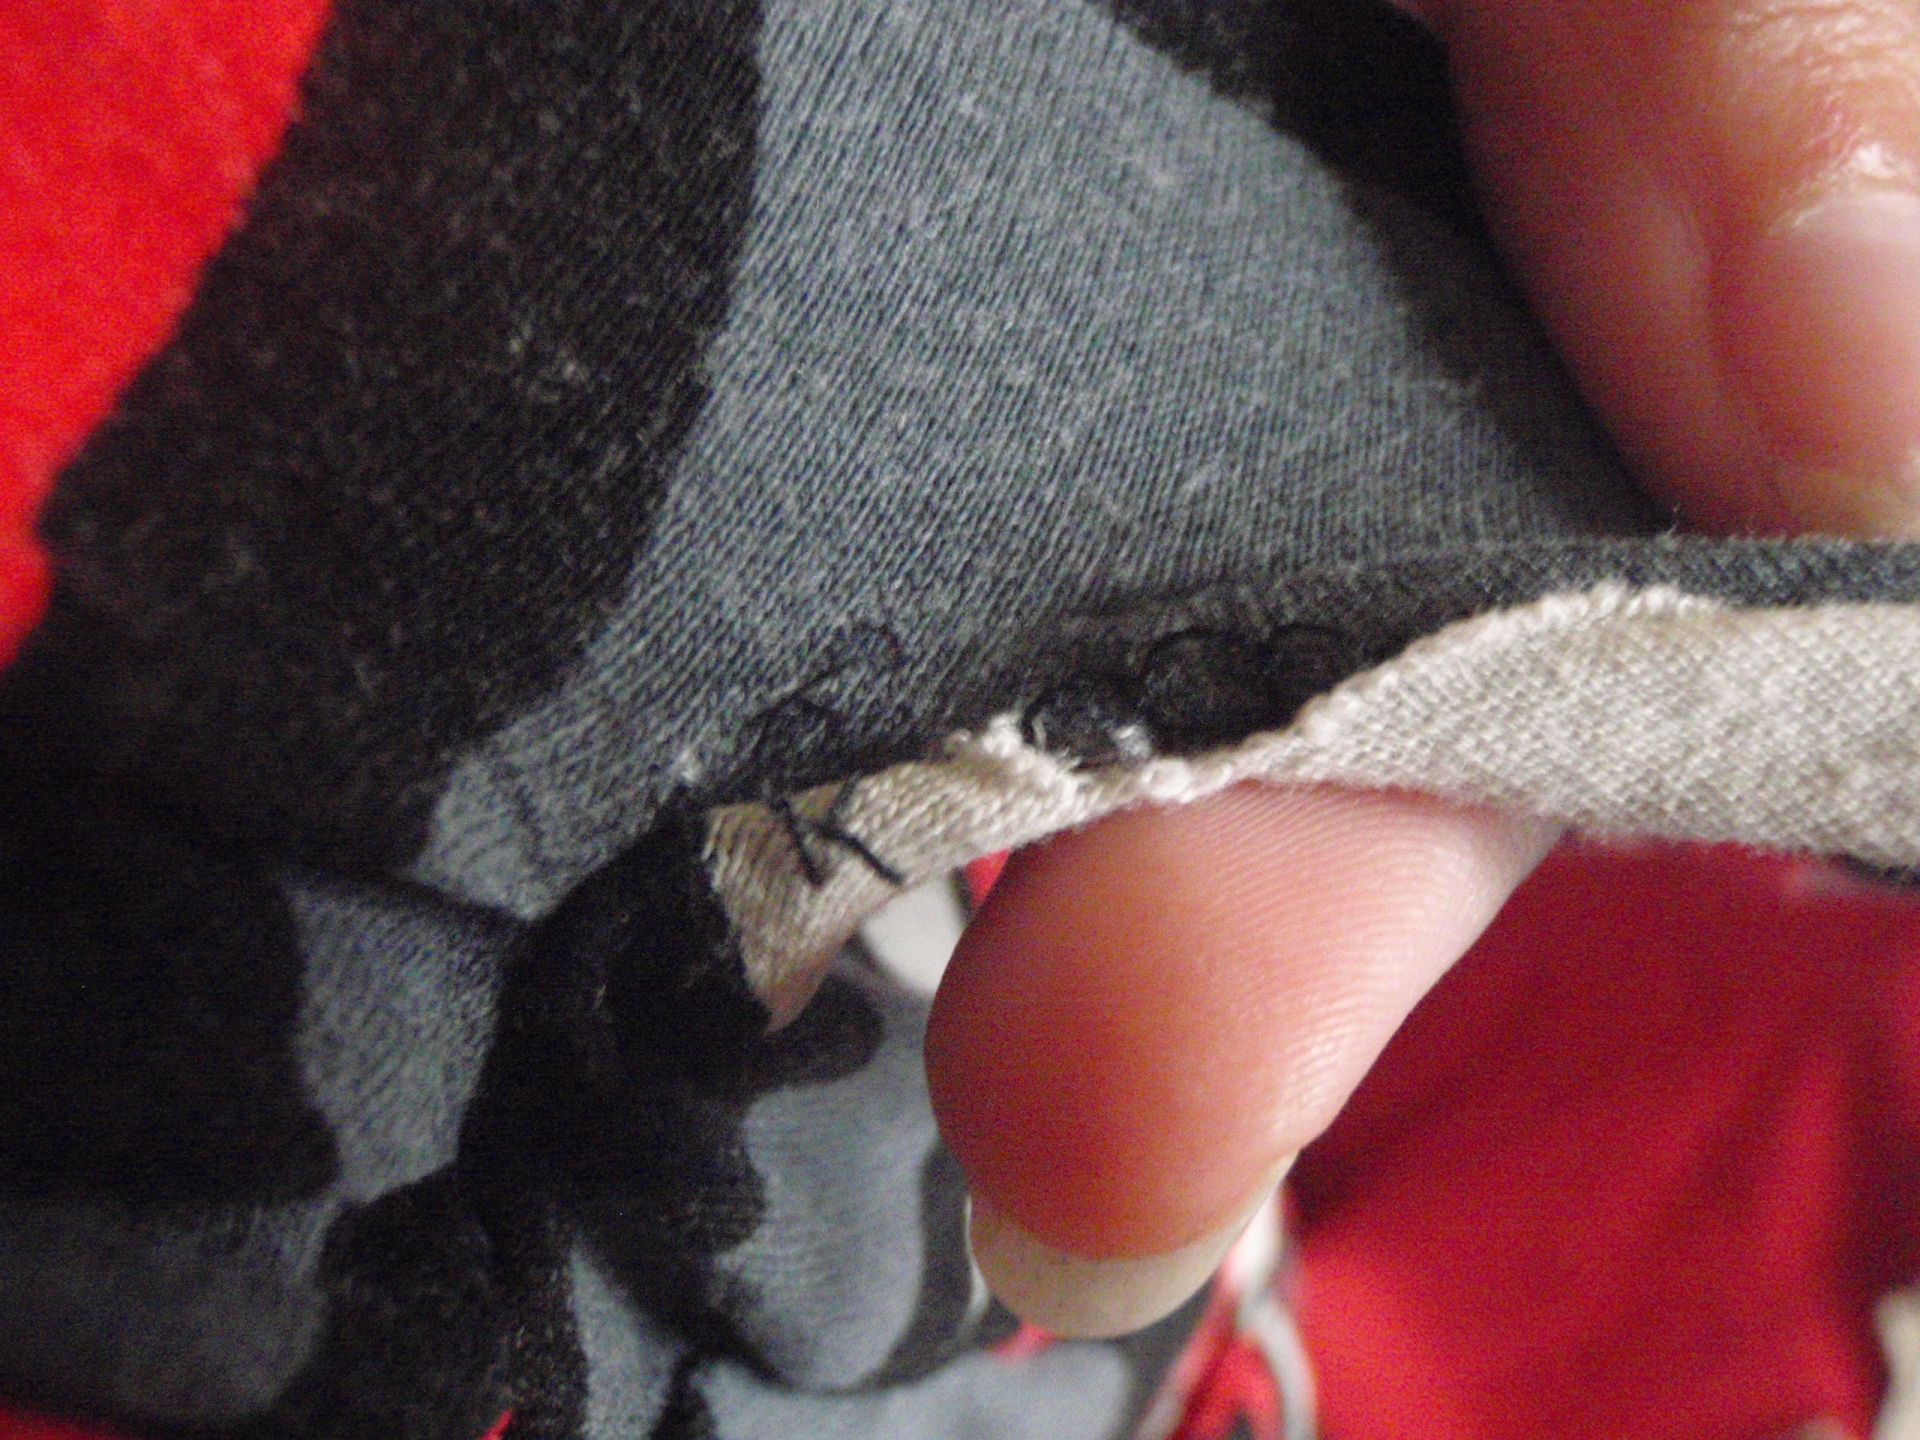
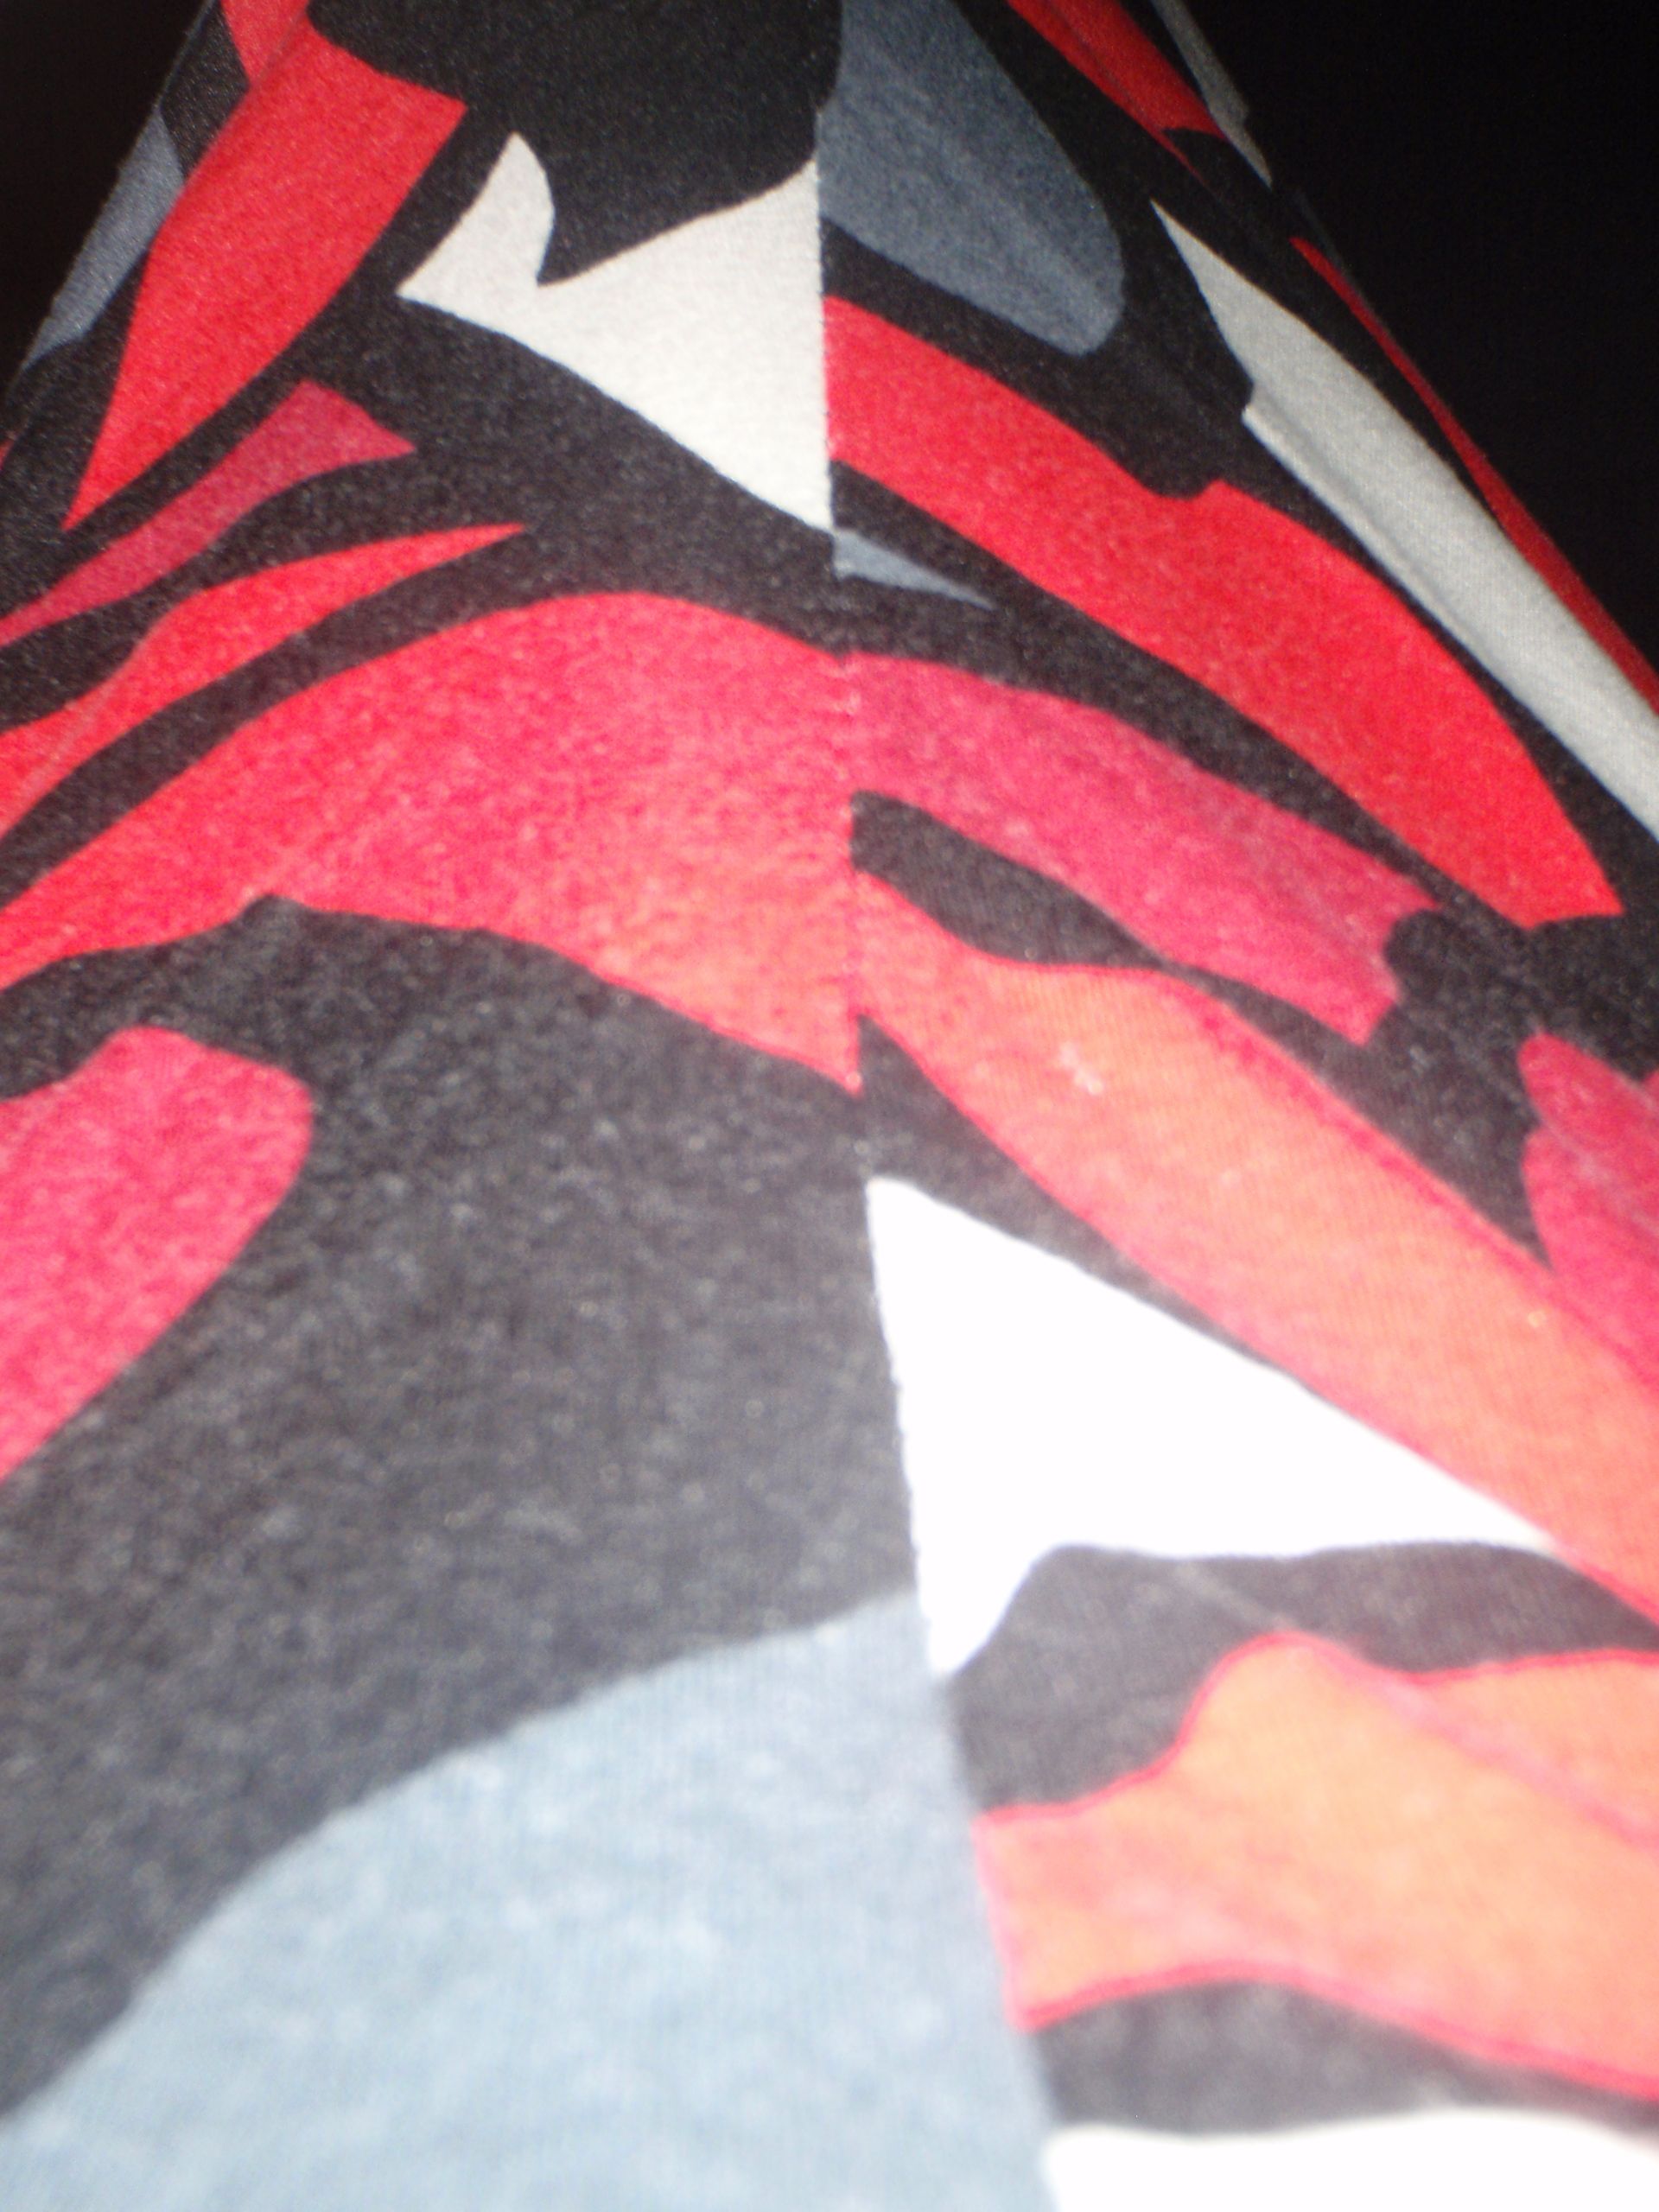
A hole! 1.5 inch or so from the centre front seam. Since I’m a little smaller than my mother, I thought it would be no problem to take in the front that bit as to hide the hole. So I did (actually, typing this up and taking the photo’s took longer than the actual sewing), and also did a little resewing of one of the ties. Since they were coming apart, see below.

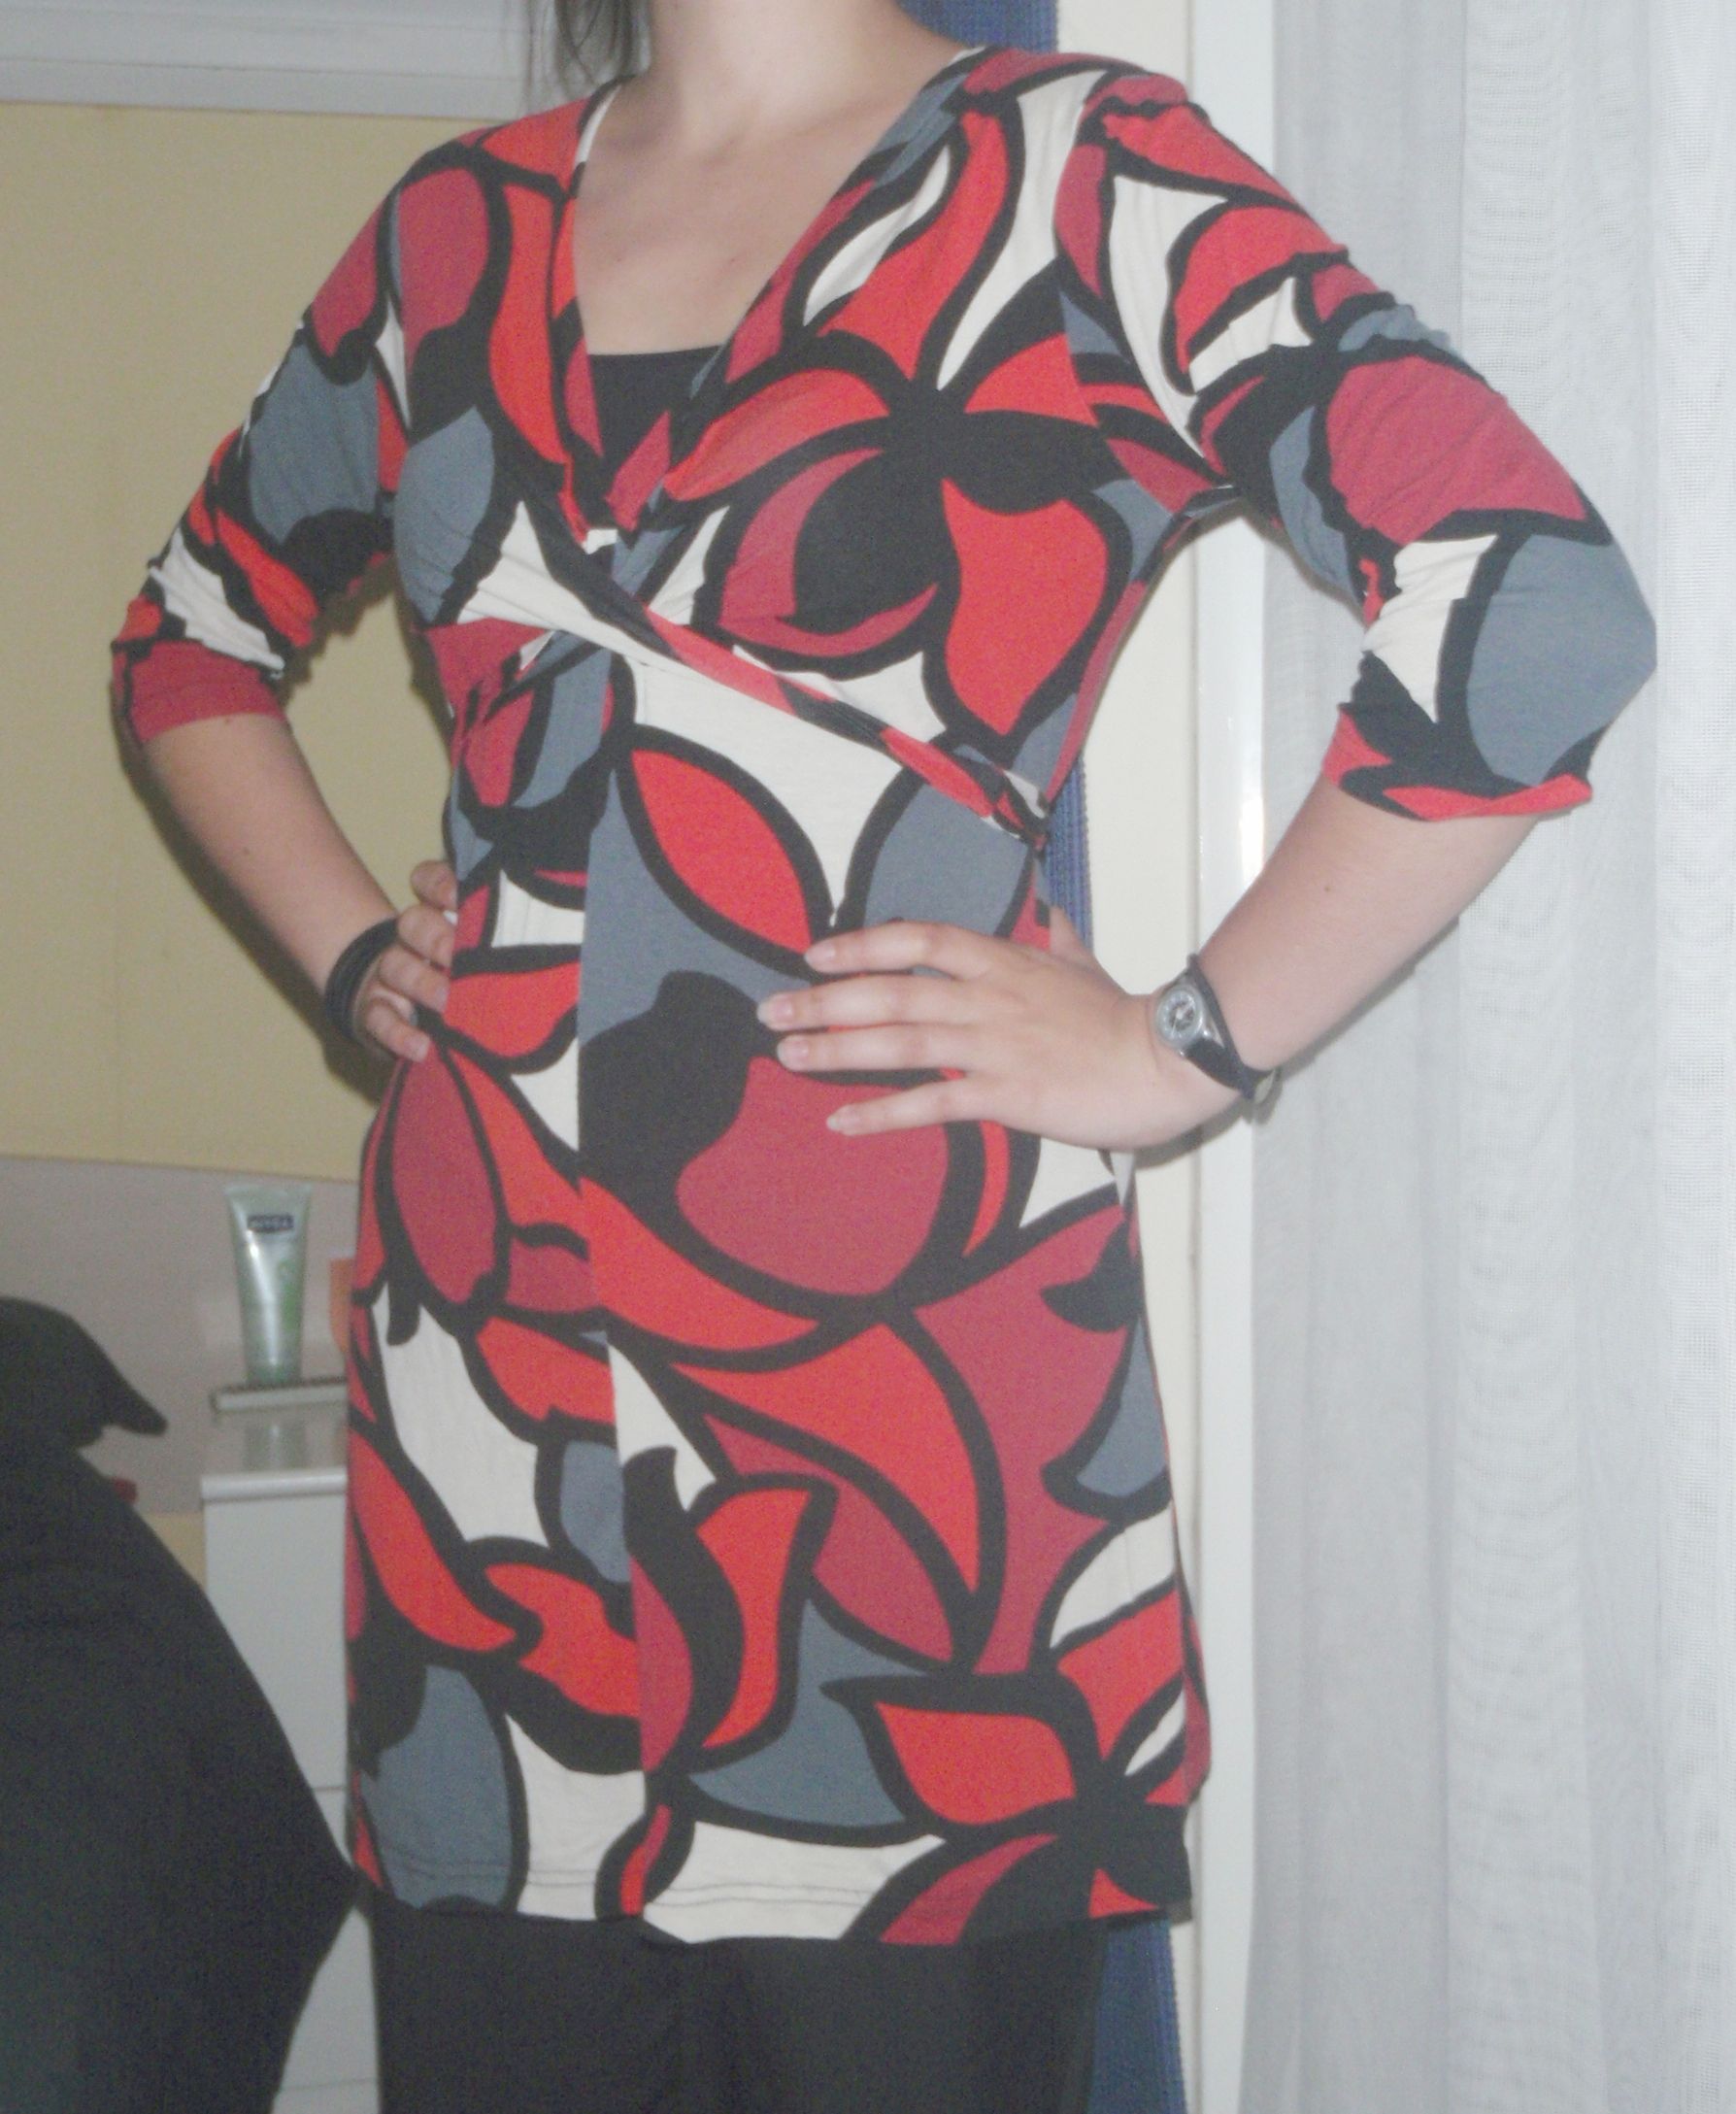
This is the end result, the whole dress and the centre front without hole. I hope I’ll wear it more often.


Larp Over Dress

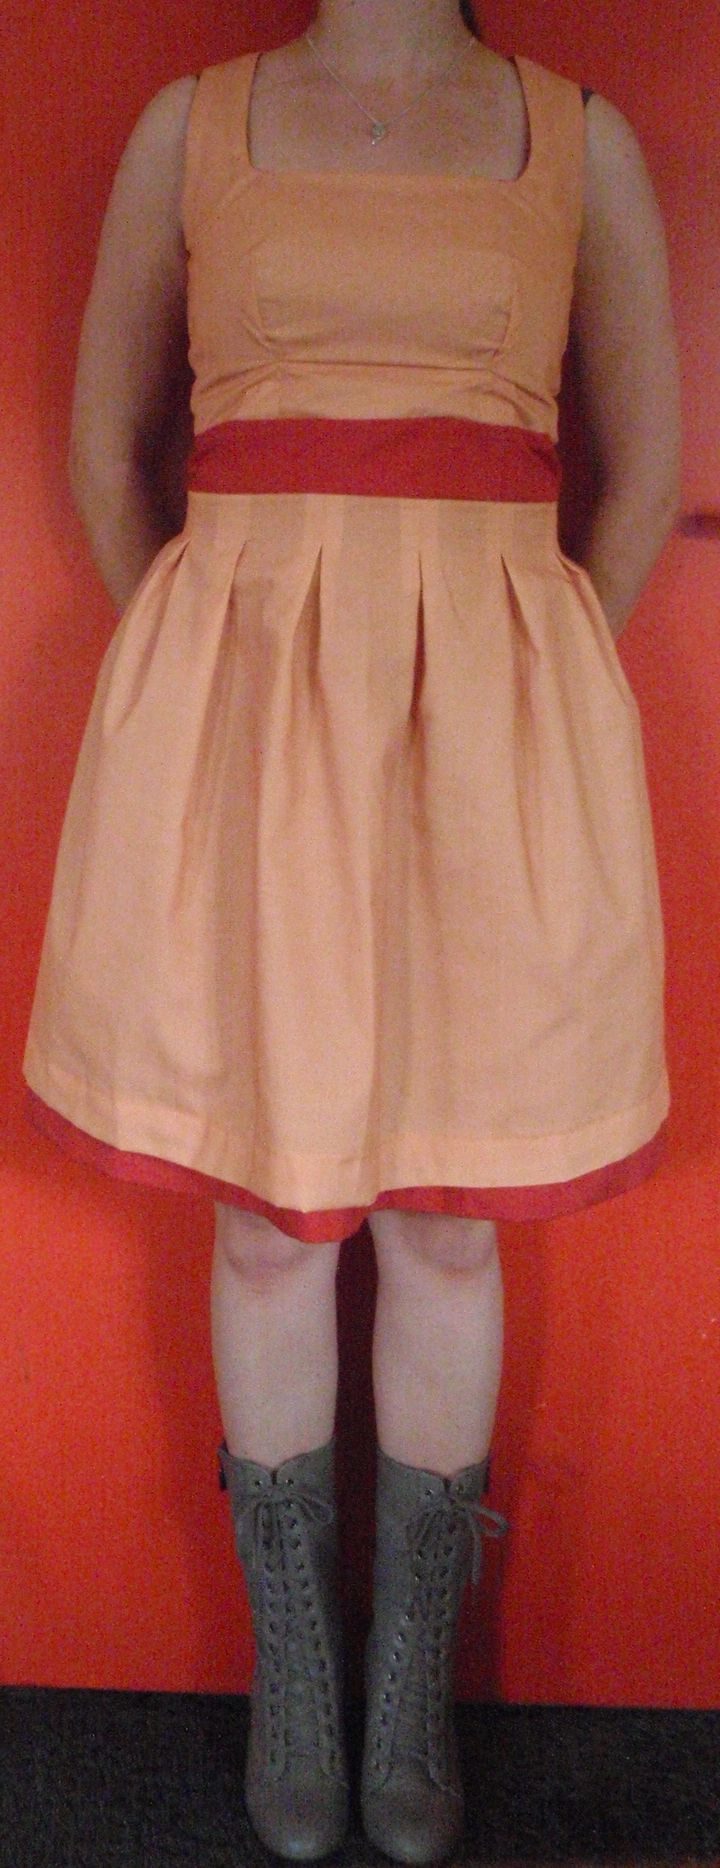
I don’t know if it’s a real word, but the last section of my Larp costume was an over dress. Somewhat coat like, with a lacing closure at the front and no sleeves. The top part was based (partly) on the Franzi vest pattern from Burda style (here). Admittedly, it doesn’t look anything like it any more, but I used the bones and then just cut the bits away that did not correspond with the vision I had.

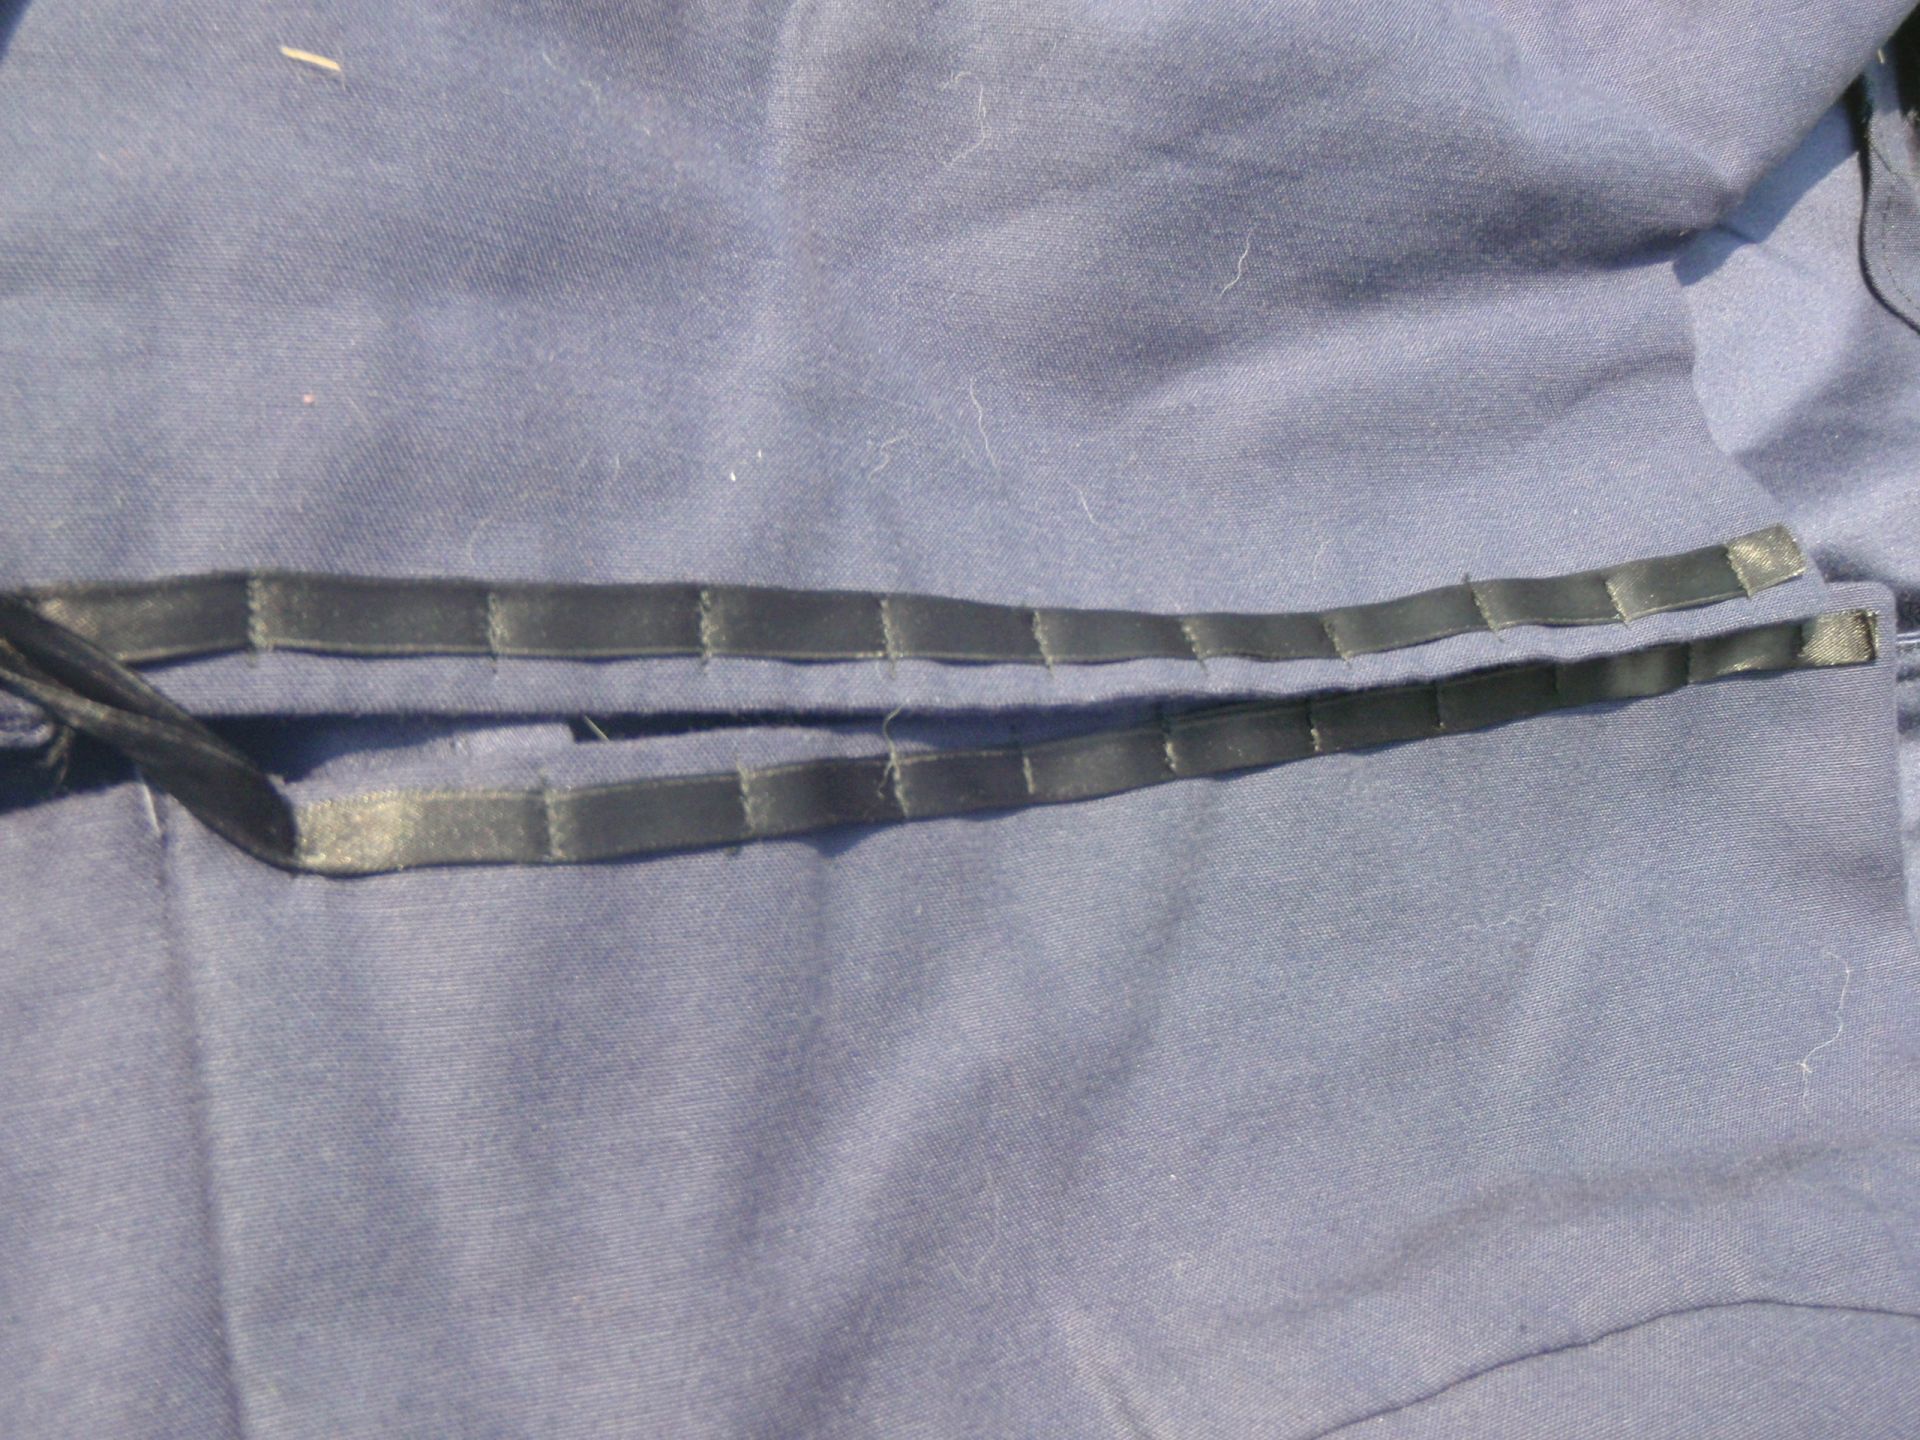
I made the straps thinner, cut the back a bit deeper, trimmed of the bottom so it was straight,  cut a section away from the front to create the square neck and made it too small in front so it would not close (on purpose). Then I added a square section of the curtain (yes, it was made from a curtain) with pleats to the bottom of the vest part. I also drafted my own facings for the top section, and added a ribbon to each front section, sewing it at approximately 1.5 cm intervals so I could thread a string through it and lace it up. There are also two pockets in the front sections of the skirt part, where I just left a bit of the front hem open (more pockets, yay!).

All in all, I’m really satisfied with this piece, it turned out pretty much exactly how I wanted it. It was really comfortable and I didn’t have any problems while wearing it.
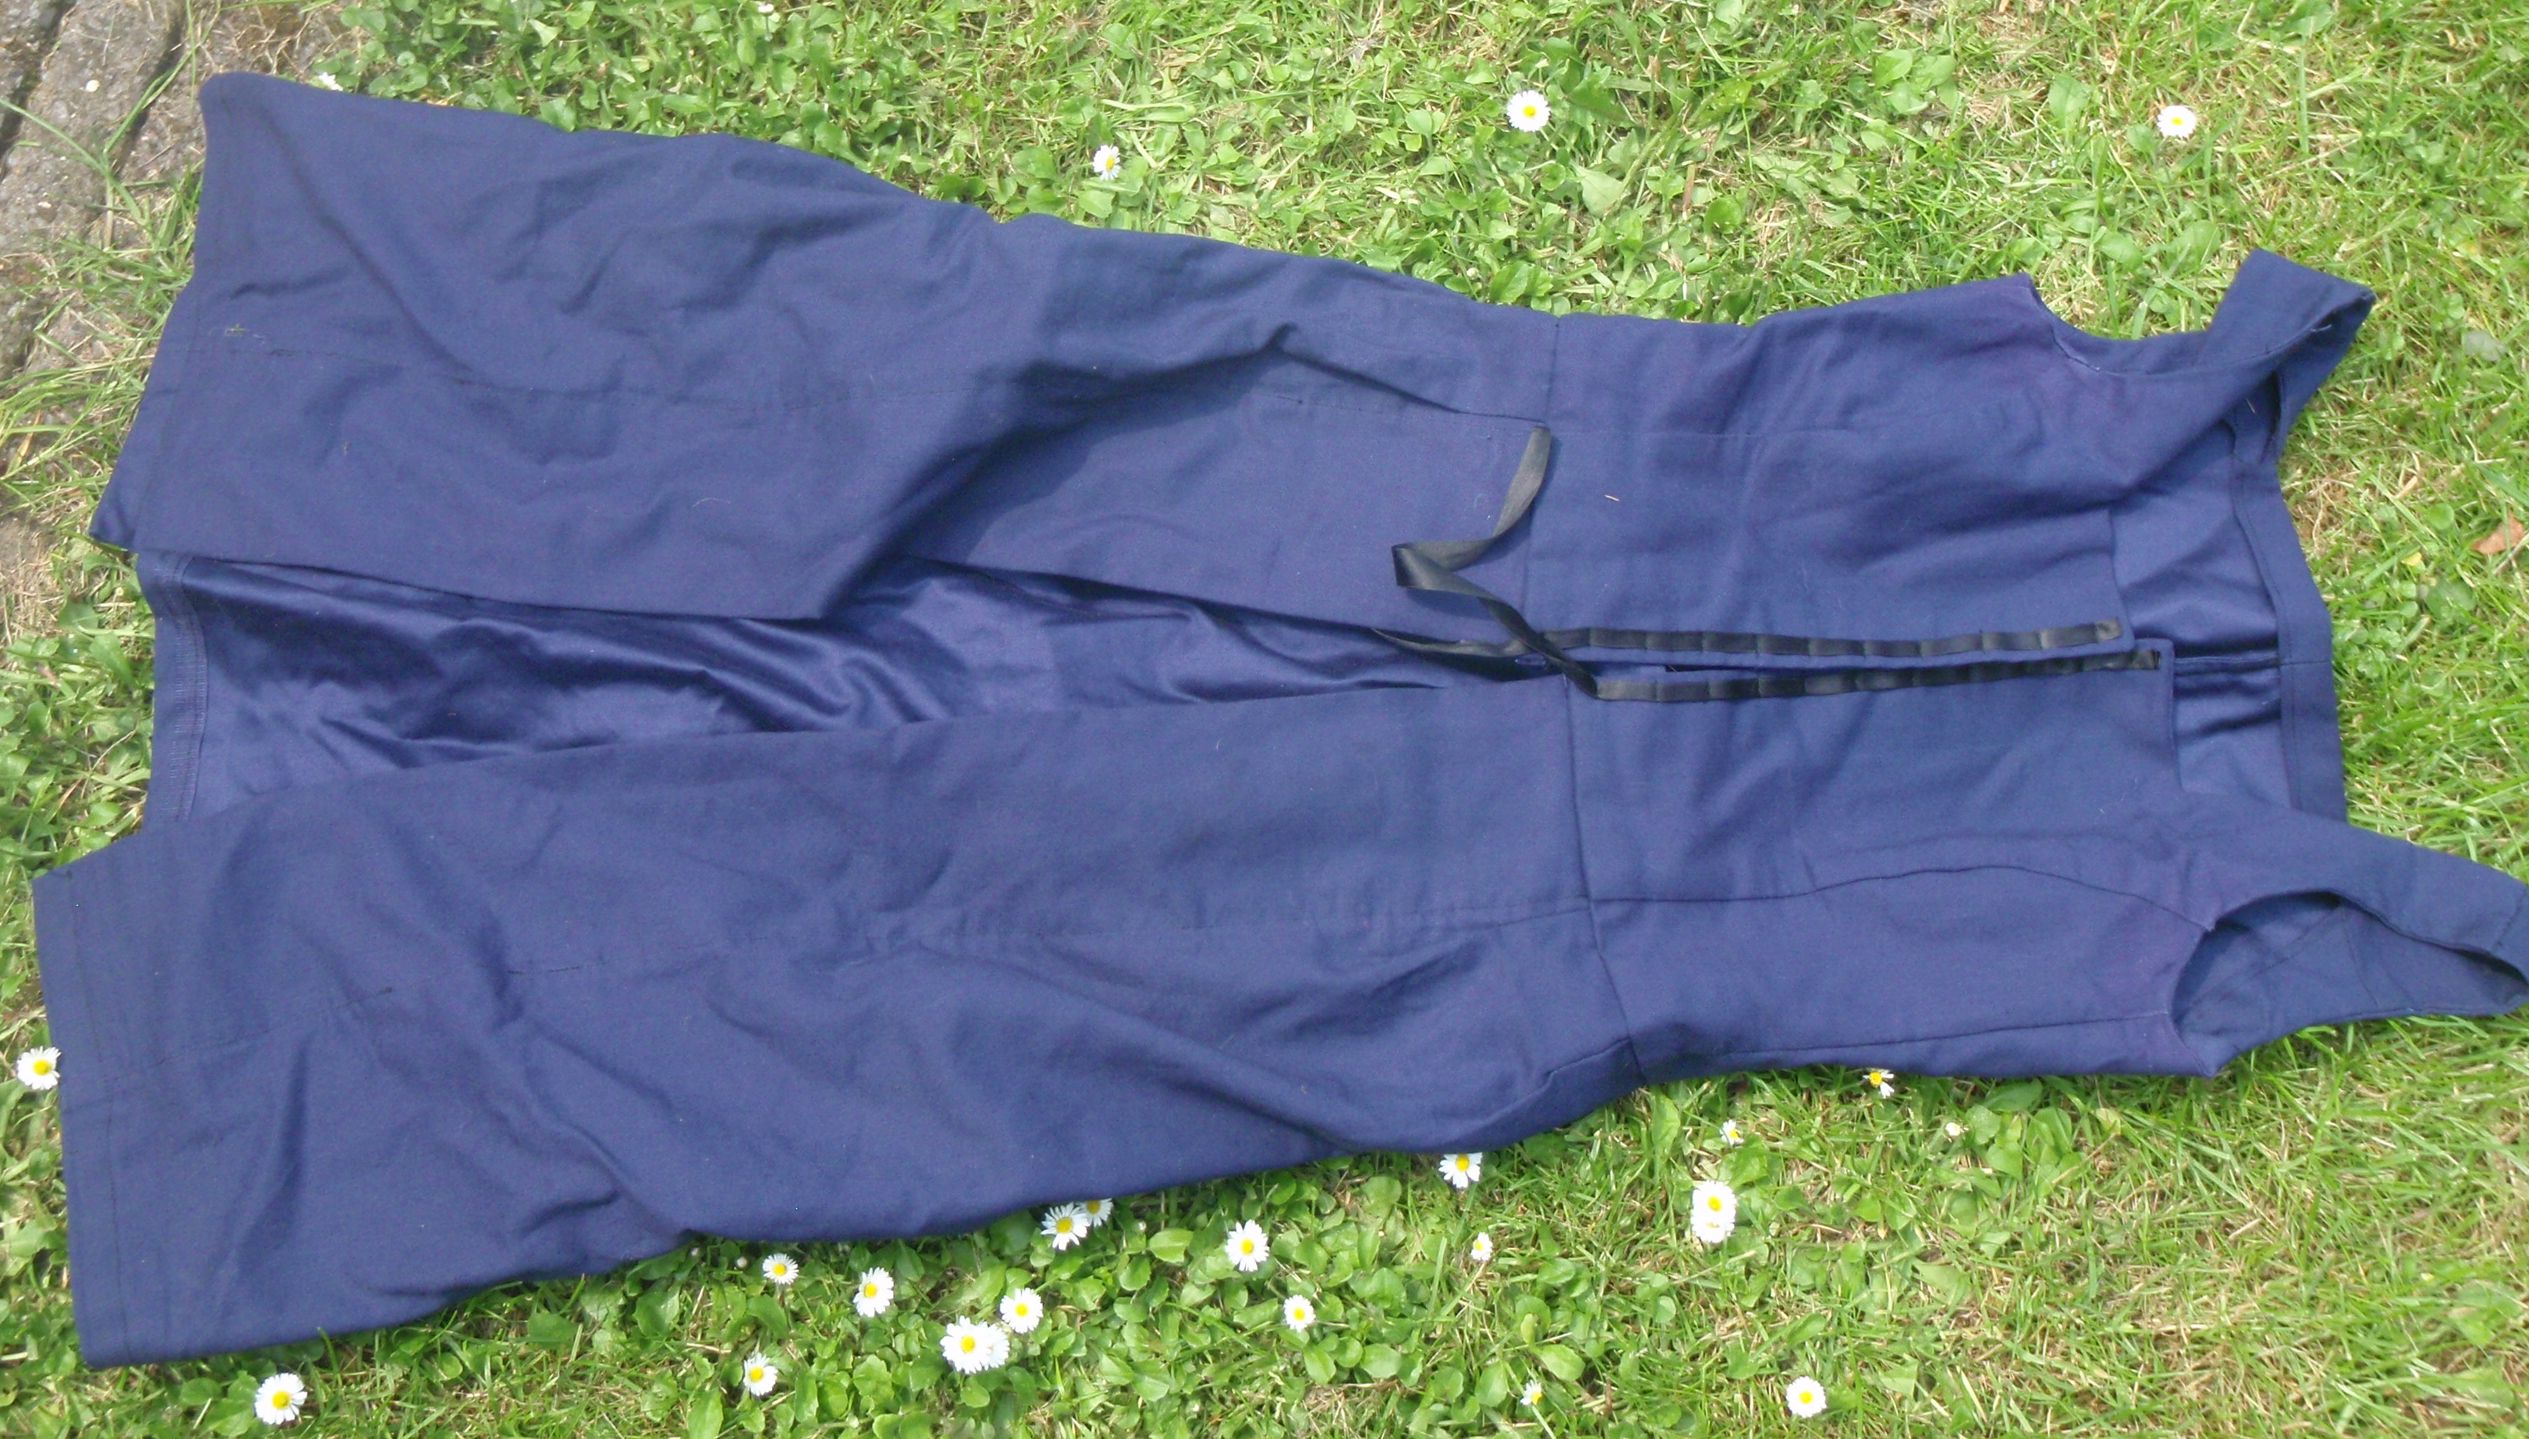
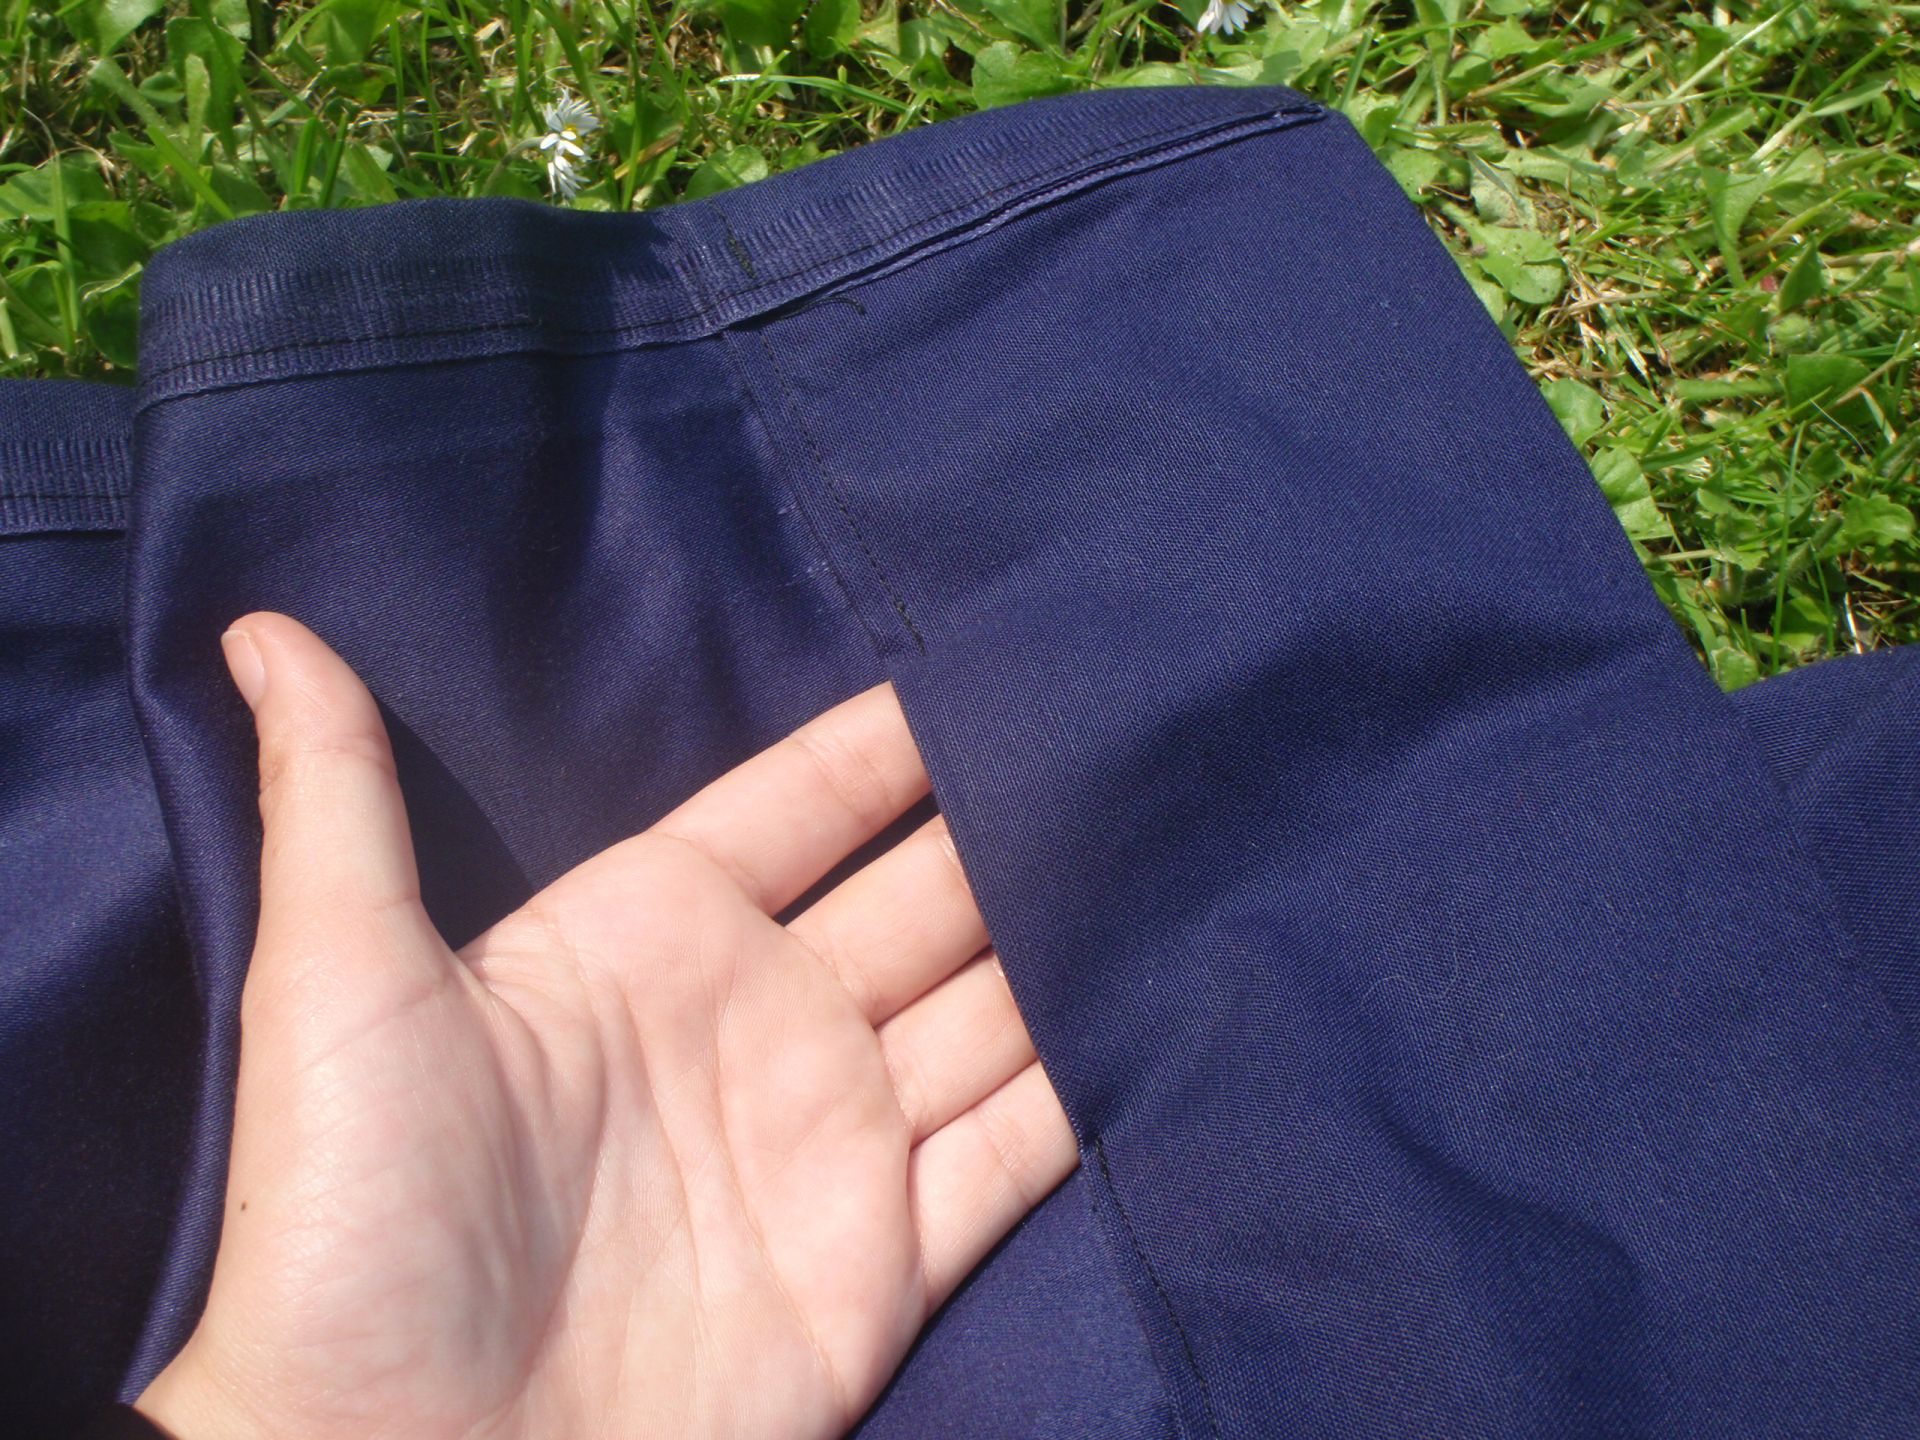
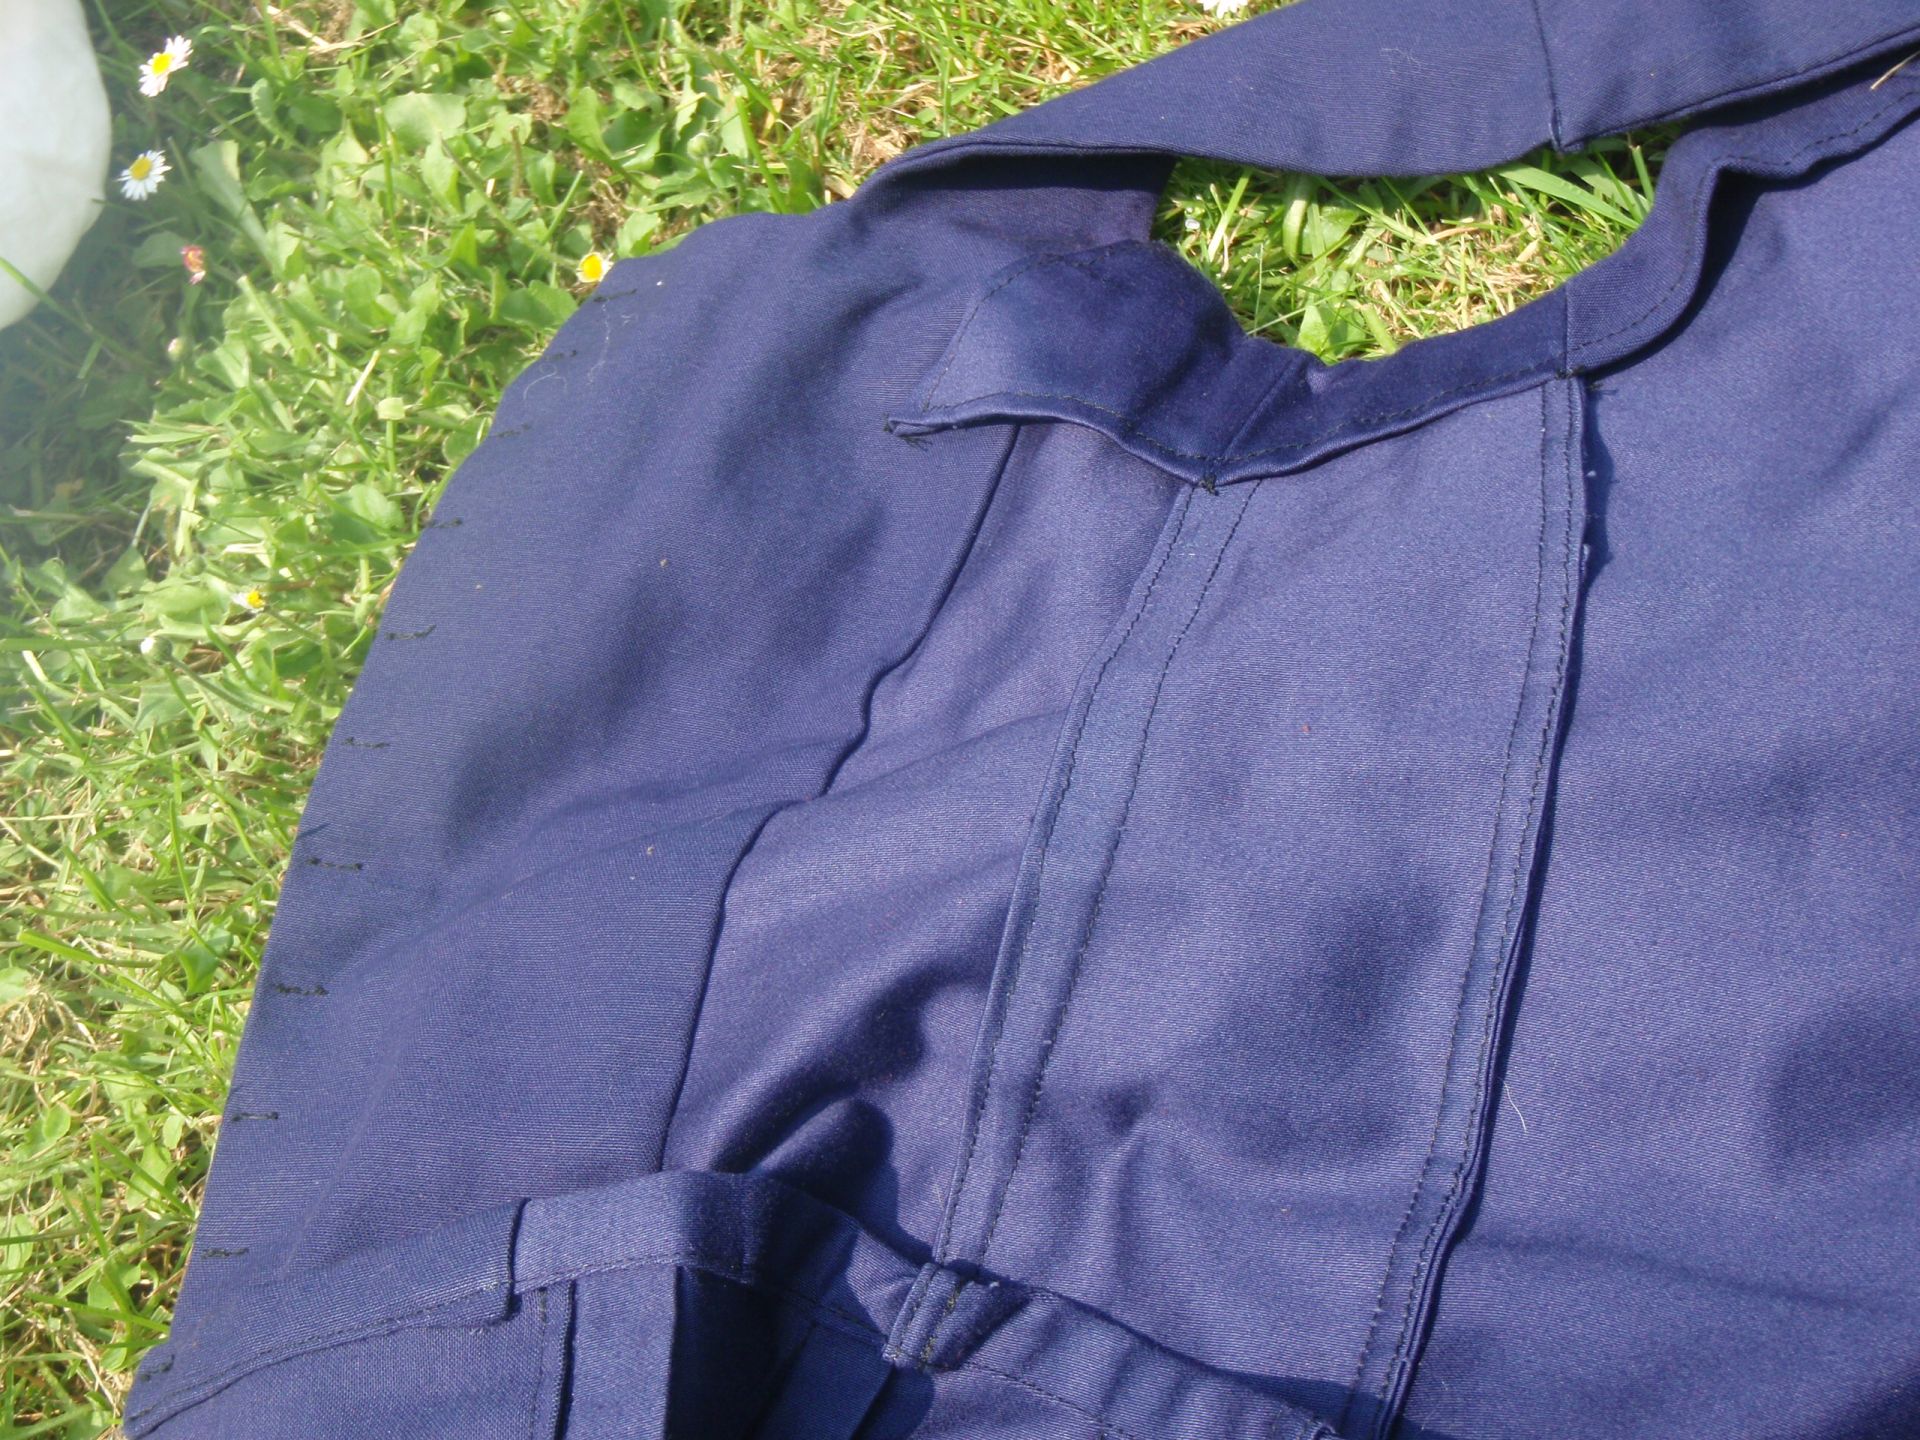
So here it is:


From left to right: the complete overdress; the pocket in the lower left hem, the inside (completely finished) and the closure through which a string or ribbon gets laced. The bottom of the ribbon gets tied together to close the dress at the front before lacing commences. It helps in the process and looks nice in the final product.

Again all wrinkly and stuff, but this will be remedied with a bit of laundry and an iron.

Tomorrow the final part of this series: the complete costume!

Dress

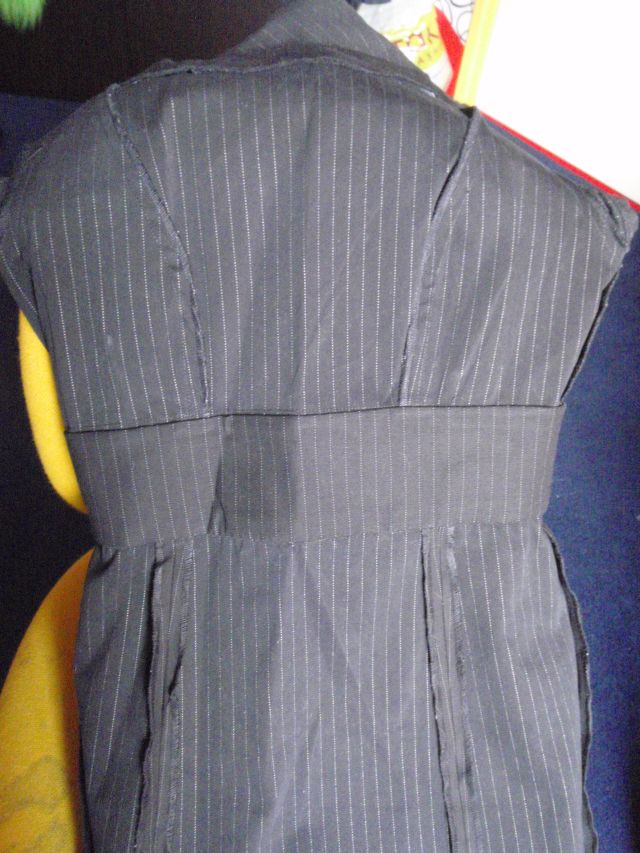
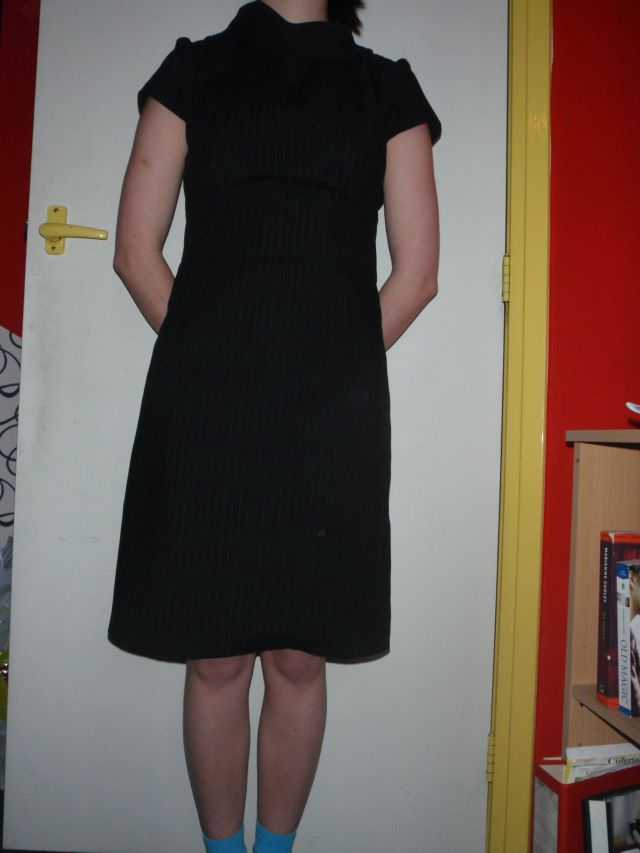
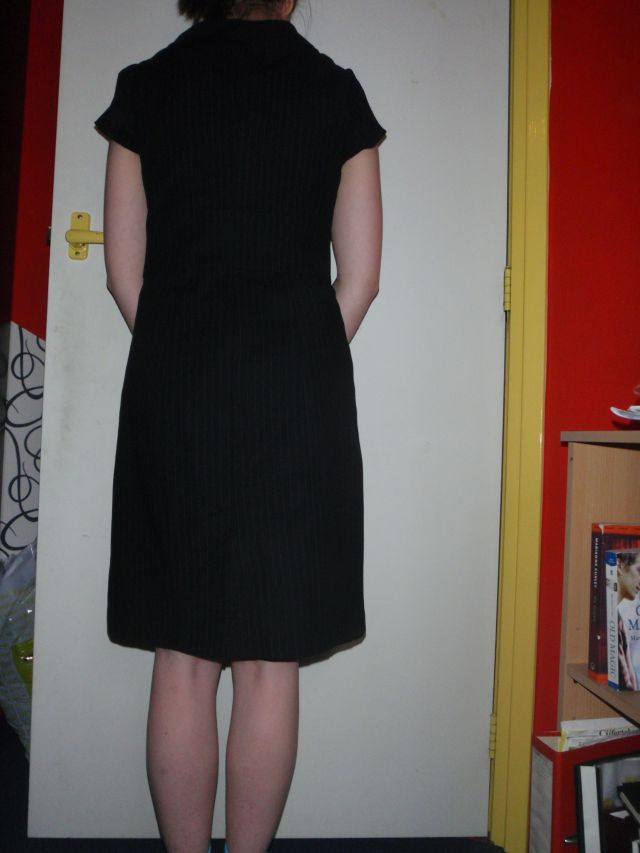
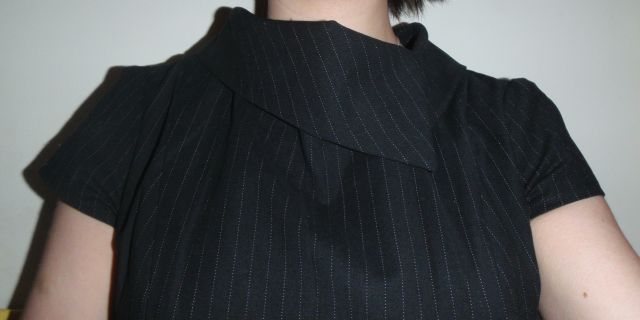
Last week I went to the fabric market with my father, we were on the hunt for some nice fabrics (of course). Eventually I came home with a bit of black with white pinstripe cloth with a strange but very nice feel, some white fabric I plan to use as a lining for a jackety type thing, and some blue stiff stuff with flowers on. I was quite pleased. Popped the black stuff in the washing machine and set out not long after to make it into a dress. I really liked working with it, and the dress is nice too. It’s Simplicity 2473, and I adore the collar. I did however, cut it at least 1 size to big, so now additional fabric on the insides by the zipper measures 3 cm. I did however, serge every edge, so it even looks clean on the inside, which is something I’ve really never achieved before. I did take it out for a trial run last week and it behaved nicely. I’ll just have to make sure I don’t wear it with that particular pair of leggings because it sort of stuck, which looked a bit odd. This dress took about 4 days to make, on and off. The instructions are very clear. Anyways, here is the finished product (inside and out).

Insides:

Inside back Insides front

Outsides:

Front Back (disregard the nice blue socks, I need to do laundry)

And the collar:

Collar


Productivity!

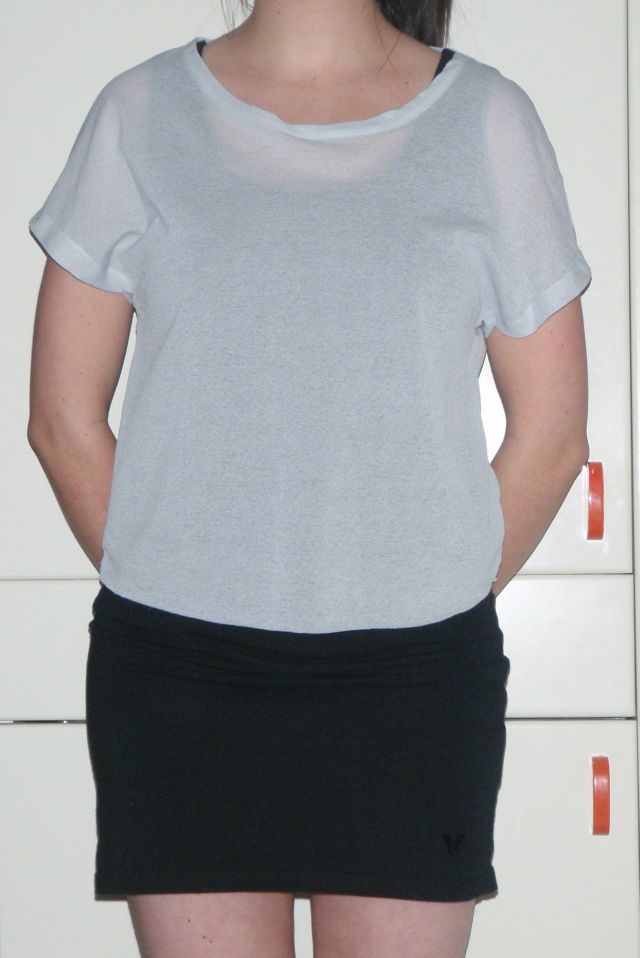
Friday at quarter past eleven, my vacation started. And so did a productive streak that continued until a couple of hours ago. The second semester of university finished on Friday after handing in the last assignment. I decided I wanted to make something. I found a free t shirt pattern on ‘3 Hours Past the Edge of the World’ and decided I wanted to sew a knit for the first time. There was this piece of light be knitted stuff (very see through) in my stash, and since I did not care much for it, I figured I could use it to test the pattern.

Here is the result:

Changes for next time? Yes, add length, find a less see through fabric, tighten it a bunch and cut the neckband in one piece (this is recommended, but I has scrap pieces that just fit the front and the back).  I felt the sleeves were also to wide, but I also had a wrong fabric for the pattern I think. Ah well, it was good practice, and I enjoyed myself. Although I doubt I’ll wear it often as it is so short.

So I printed and taped the pattern together, cut the fabric and sewed the left shoulder seam on Friday, and finished the shirt on Saturday, which I was pretty excited about. The productivity streak continued. I designed a pouch for my mp3-player to replace the enormous not fitting one I made before the holiday in France. Then I put it together using scraps from a coat project. It looks a bit weird but I think it should do the trick.

Here it is:


Lastly I decided to tackle my box of UFPs, I have this long black almost floor length dress (because I didn’t have enough fabric it’s about a cm of the floor without shoes), with a grey bust bit, that has never been finished. I ripped out the zipper, because it was too small, and am trying to get it to fit me better, which is difficult with the zipper being on my back and me not actually being able to see it. So I’ve left that be for now.  It will be tackled soon (I hope). (I tried to take a picture, but it was just wrinkles:)

The weird white looking bit on the right is the attachment of the grey fabric. I’m debating attaching long grey ties to make a bow in the back.. once I figure out how to get it to zip up nicely of course.  The quest continues for the perfect back.

Adjusting

I’ve started school the 5th of September. It’s taking a bit of adjusting. Not just the ‘getting up at 7 o’clock in the morning’ is making my life way sleepier, also the incredible amounts of reading I’m supposed to do make my eyes all droopy. All the reading has also lead to limited amount of crafty time. I’ve done a few things, salvaged the top of my wannabe pant suit thing, and made it into an unfinished dress. Only hem and straps left though, I planned to do that Saturday, then I fell and hurt my ankle so I didn’t. The ankle is almost fine now though (yay!). And I’ve been knitting a cardigan.

I quite like knitting. However, I’m not very good at it, nor am I very quick. So starting quite some time ago, I’ve now managed about 22 cm of the back panel. I’m guessing that’s 2/5 of the back panel finished. Which means there’s still a heck of a lot to do before I can actually wear it. But slow progress is still progress right? Ok, writing this was my break from reading, back to chapter 5!

Wedding Madness!

We received an invitation a couple of months ago for a wedding. My cousin was going to marry the mother of his 2 children. So I figured, what a good opportunity to make a dress. I started one, and discarded it quite soon after (it was hideous, and didn’t fit at all). I think the pattern was just screwed up because even the models looked like it didn’t quite fit.

Some time after the first try I was wondering around burdastyle, where I found a really nice dress (link). With a free pattern. So I figured I’d attempt that. Figuring out how the top should fit took some time. And I had to make it in the evenings because I was working that week too. Which was troublesome. After I’d finished the top bit, I had to attach the waistband, which took one or two more evenings, which sounds long, but alone it’s very difficult. And of course zipper troubles, which took forever. In the end I was literally sewing until the minute before we left. I cut of the last bits in the car and arrived splendidly at the party. I had a very nice time and got a lot of compliments, about my hair, appearance and dress. That made me very happy.

Here’s the result of my hard work:

Dress

Formal Office Dress

I was looking around Etsy for dresses and I found this one:

Inspiration front Inspiration bust Inspiration back

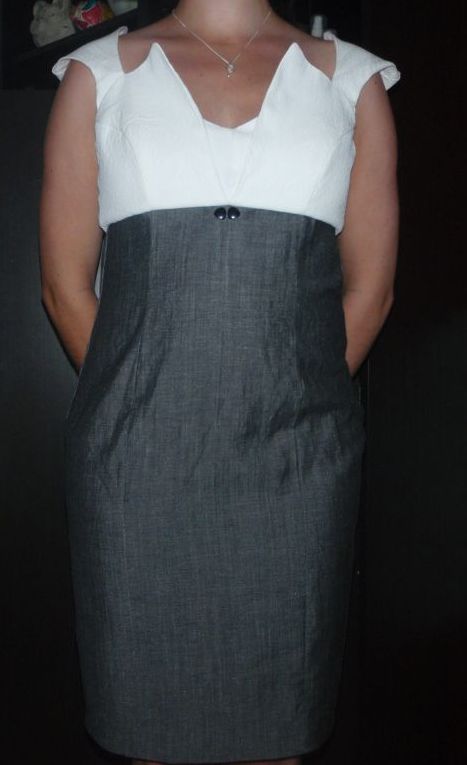
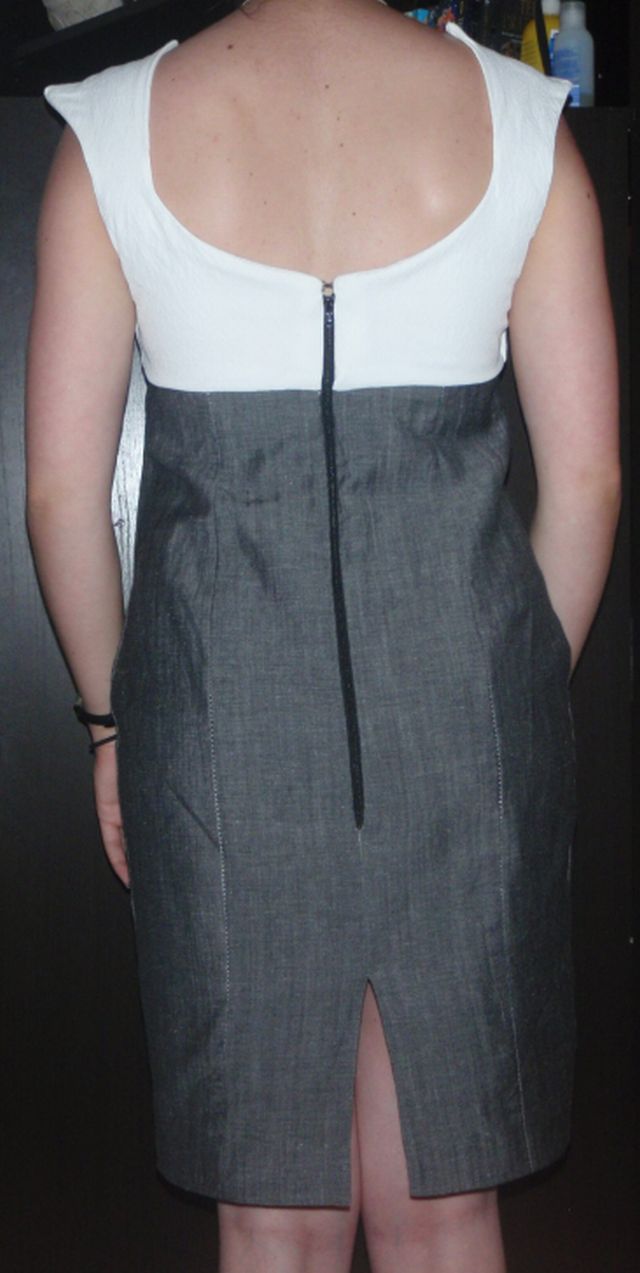
And I thought: “that’s nice, but I’m not willing to pay that amount of money for something which will not fit me”. So I figured I’d make it myself. I’d just gotten my serger and found a free sheath dress type pattern on the internet and started fiddling around. The bottom bit got together without a hitch, but the top bit, well the top bit just.. didn’t. It didn’t fit, it wouldn’t sit right, and eventually I gave up.. Until.. yesterday morning. I’d just finished the champagne skirt and wanted another project, saw this hanging and thought: yes, that’s it. However, since the top bit didn’t fit and I’d make the black top only days ago and that did fit.. I decided to adapt the black top to fit on the grey skirt piece. That did fit, and eventually went on fine. It’s taken me until today to finish it, but it’s done now. And I’m happy with it. I used the vintage dress as inspiration, not as the thing I wanted to carbon copy. So the back is different and so are the straps, but the idea is there. I’m actually pretty happy with it and think it could work really well for anything formal. Or less formal, depending on the sleeve bit you put over it. I’m really happy with the result and here it is:

Finished front Finished back  Finished bust

Hope you like it as much as I do!

From UFP to FP

UFP, UnFinished Project
FP, Finished Project

I think you can see where I’m going with the title of this post.
Today I finally finished one of my million UFPs. This one in the shape of a dress I practically finished over two years ago, only one little thing needed to be done.. The Hem.

I don’t know about you, but I’m terrified of hemming. I’m always afraid I’ll make them too short, or incredibly uneven or that I accidentally cut something of that I wasn’t supposed to. But in order to really finish a project hemming needs to be done. And being without a dress form and never trusting my own eyes when it comes to having a straight hem, I need at least another person to help me with this.

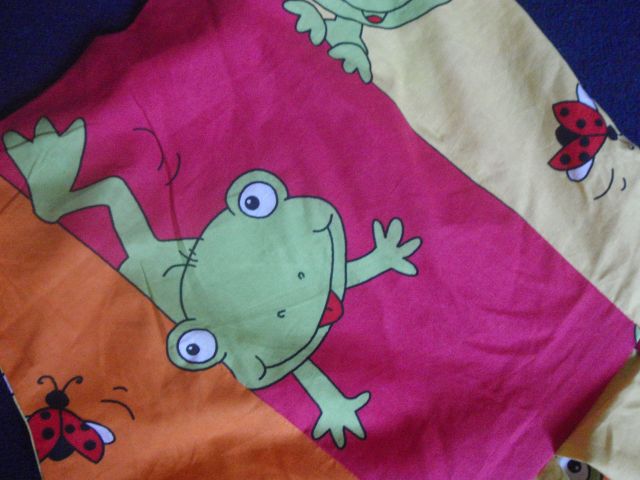
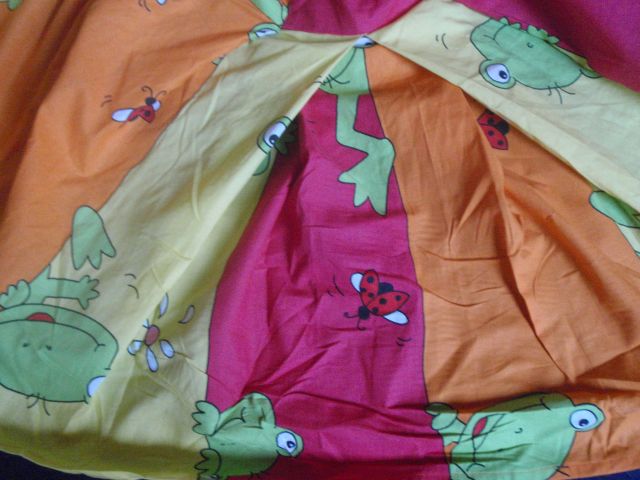
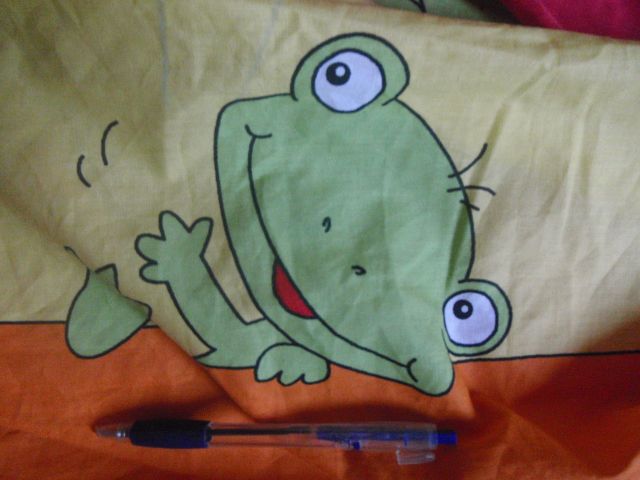
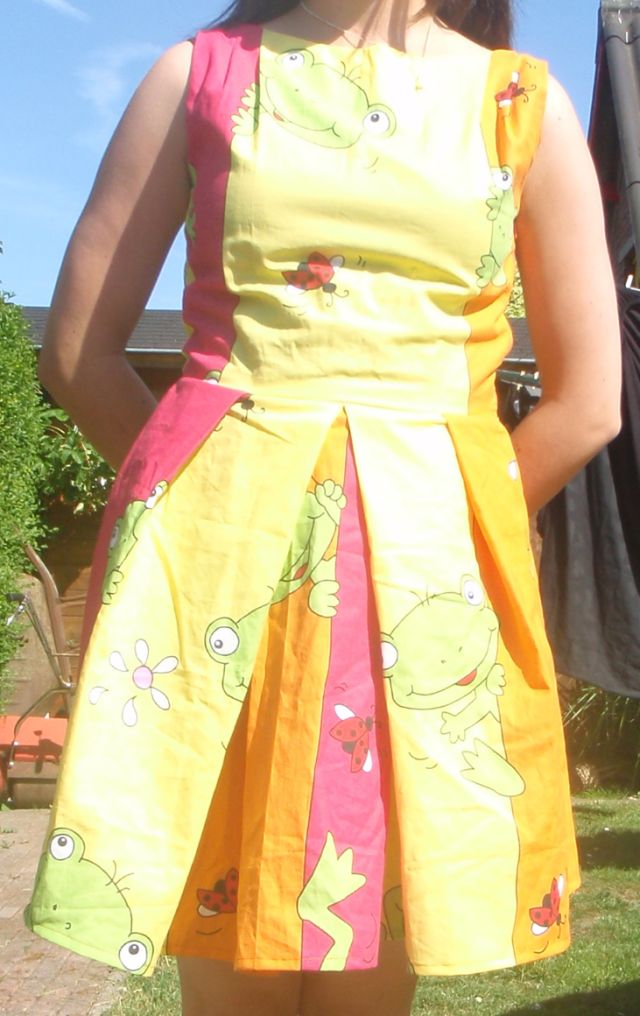
So today was a wonderful sunny day, I was reading in my bed for most of the morning. When I finally got up my parents announced that they wanted to go camping tonight with the two of them, so I helped them pack a bit, still in my pyjamas. Eventually I decided that I needed to put on some real clothes. But the only thing I wanted to wear was this dress that I had, which was almost finished, only the hem needed to be done. The reason I wanted to wear it is because it is a perfect summer dress, yellow, orange and pink with big green frogs and red ladybugs (I think it’s supposed to be kids curtains).

Frog Frog Frog with pen

The most right picture has a pen to show scale, they are really pretty big, my cute frogs. I really like the ladybugs too.

So I put it on and walked downstairs to show my mother. She told me that it looked pretty straight and that I should hem it the way it was. So I did, and it worked (I was amazed). Something I’ve dreaded for over 2 years was finished in half an hour. Eventually I also decided to add pockets, since dresses without pockets are like a bike without a key, nice to look at but not very practical. And that worked too, I put in somewhat invisible pockets in the side seams, and even remembered to colour coordinate so they would not be very obvious.

And here it is.

Finished Dress
This is the finished dress

Sorry for the colours, but I wanted to take a picture outside, but the sun was somewhat too bright I think. So the frogs are not really very visible, but they are definitely there.

So what did I learn from this project? That two years ago my sewing skills were abominable (the inside looks like it’s been chewed by something), that pockets next to zippers aren’t nearly as difficult as I thought, and that with a little help hemming is easy. I hope this will help me overcome some fears and hem more in the future. Lets finish up some other UFPs soon!