High-High Waisted Pants

As I mentioned before, I made pants! I made, what I consider to be the prettiest pants I’ve ever made. Sadly, not everyone agrees with me and apparently I look like a hillbilly. I will be ignoring the nay-sayers and continue to wear my fancy pants.

Anyway, these were fashioned after a free pattern. The pattern is called the Helena Culottes by Ralph Pink and can be found here. The pattern looks to be shortish pants, but when I made a muslin they already reached the halfway mark of my calves. I decided I wasn’t going to wear shortish pants anyway, so I added one A4 to the bottom and decided that that should be long enough to wear. It turned out that I was right!

Front Back

The pants were made from a red thin wool fabric. It feels like I’m wearing pyjamas that hug me the entire day. It’s wonderful. I especially like the side view. The second picture is the front, with three covered buttons on it. These buttons are just decoration, they are not functional. In the original pattern, the flap wasn’t supposed to have the fold over that my version has, but I’m too short waisted apparently for the original pattern.

Side Front

The amount of closures is quite large. The first layer is a waist stay to keep the pants up (the beige thing). There are also zip ties in the darts for a bit of stiffening. The waist stay has two sets of hook and eyes. The next layer is the zipper that closes the pants, and the hook and eye at the top of the zipper. The last layer is the snaps. There are two large snaps attached to the waistband and eight small ones to keep the flap flat. There are also two pockets in the front and two double welt pockets in the back. The welt pockets only took 3 times each side, I was staying up too late to work on those. However, they did work out wonderful, I’m also not scared of making them anymore.

Closures Pocket

In my opinion, pants don’t usually fit me this well, so I’m planning on adapting this pattern to become a multitude of different things. I’m going to try to make ‘normal’-waisted pants, a playsuit and maybe a swimsuit? But that’s all future talk. First I’m going to try to finish a long sweater, a scarf and a shirt with little vintage people on it. Wish me luck!

Fancy Grey Pants

I mentioned this project as an aside in my curtains post (here). I had made some grey pants using the pattern from my green pants (here). Sadly, when I put them on with the invisible zipper already in place, it fell off, it was that large. It was also extremely itchy so it was difficult to try on and figure out what to do. However, I had to take it in somewhere.. I decided I didn’t want to mess with the fantastic side seam zipper. So I took it in in the middle. (Note: trying on really itchy pants with pins in the crotch seam.. Super scary!)

I first had to get a lining to be able to fit the thing easily. I got that with the curtains and then managed to get my pants done. I made my own bias tape to line the pockets and belt loops. So my pants are black and grey, very wide, extremely fluid (because of the lining it feels like liquid bottom covers) and nice to wear. This is how they look:

Front Back

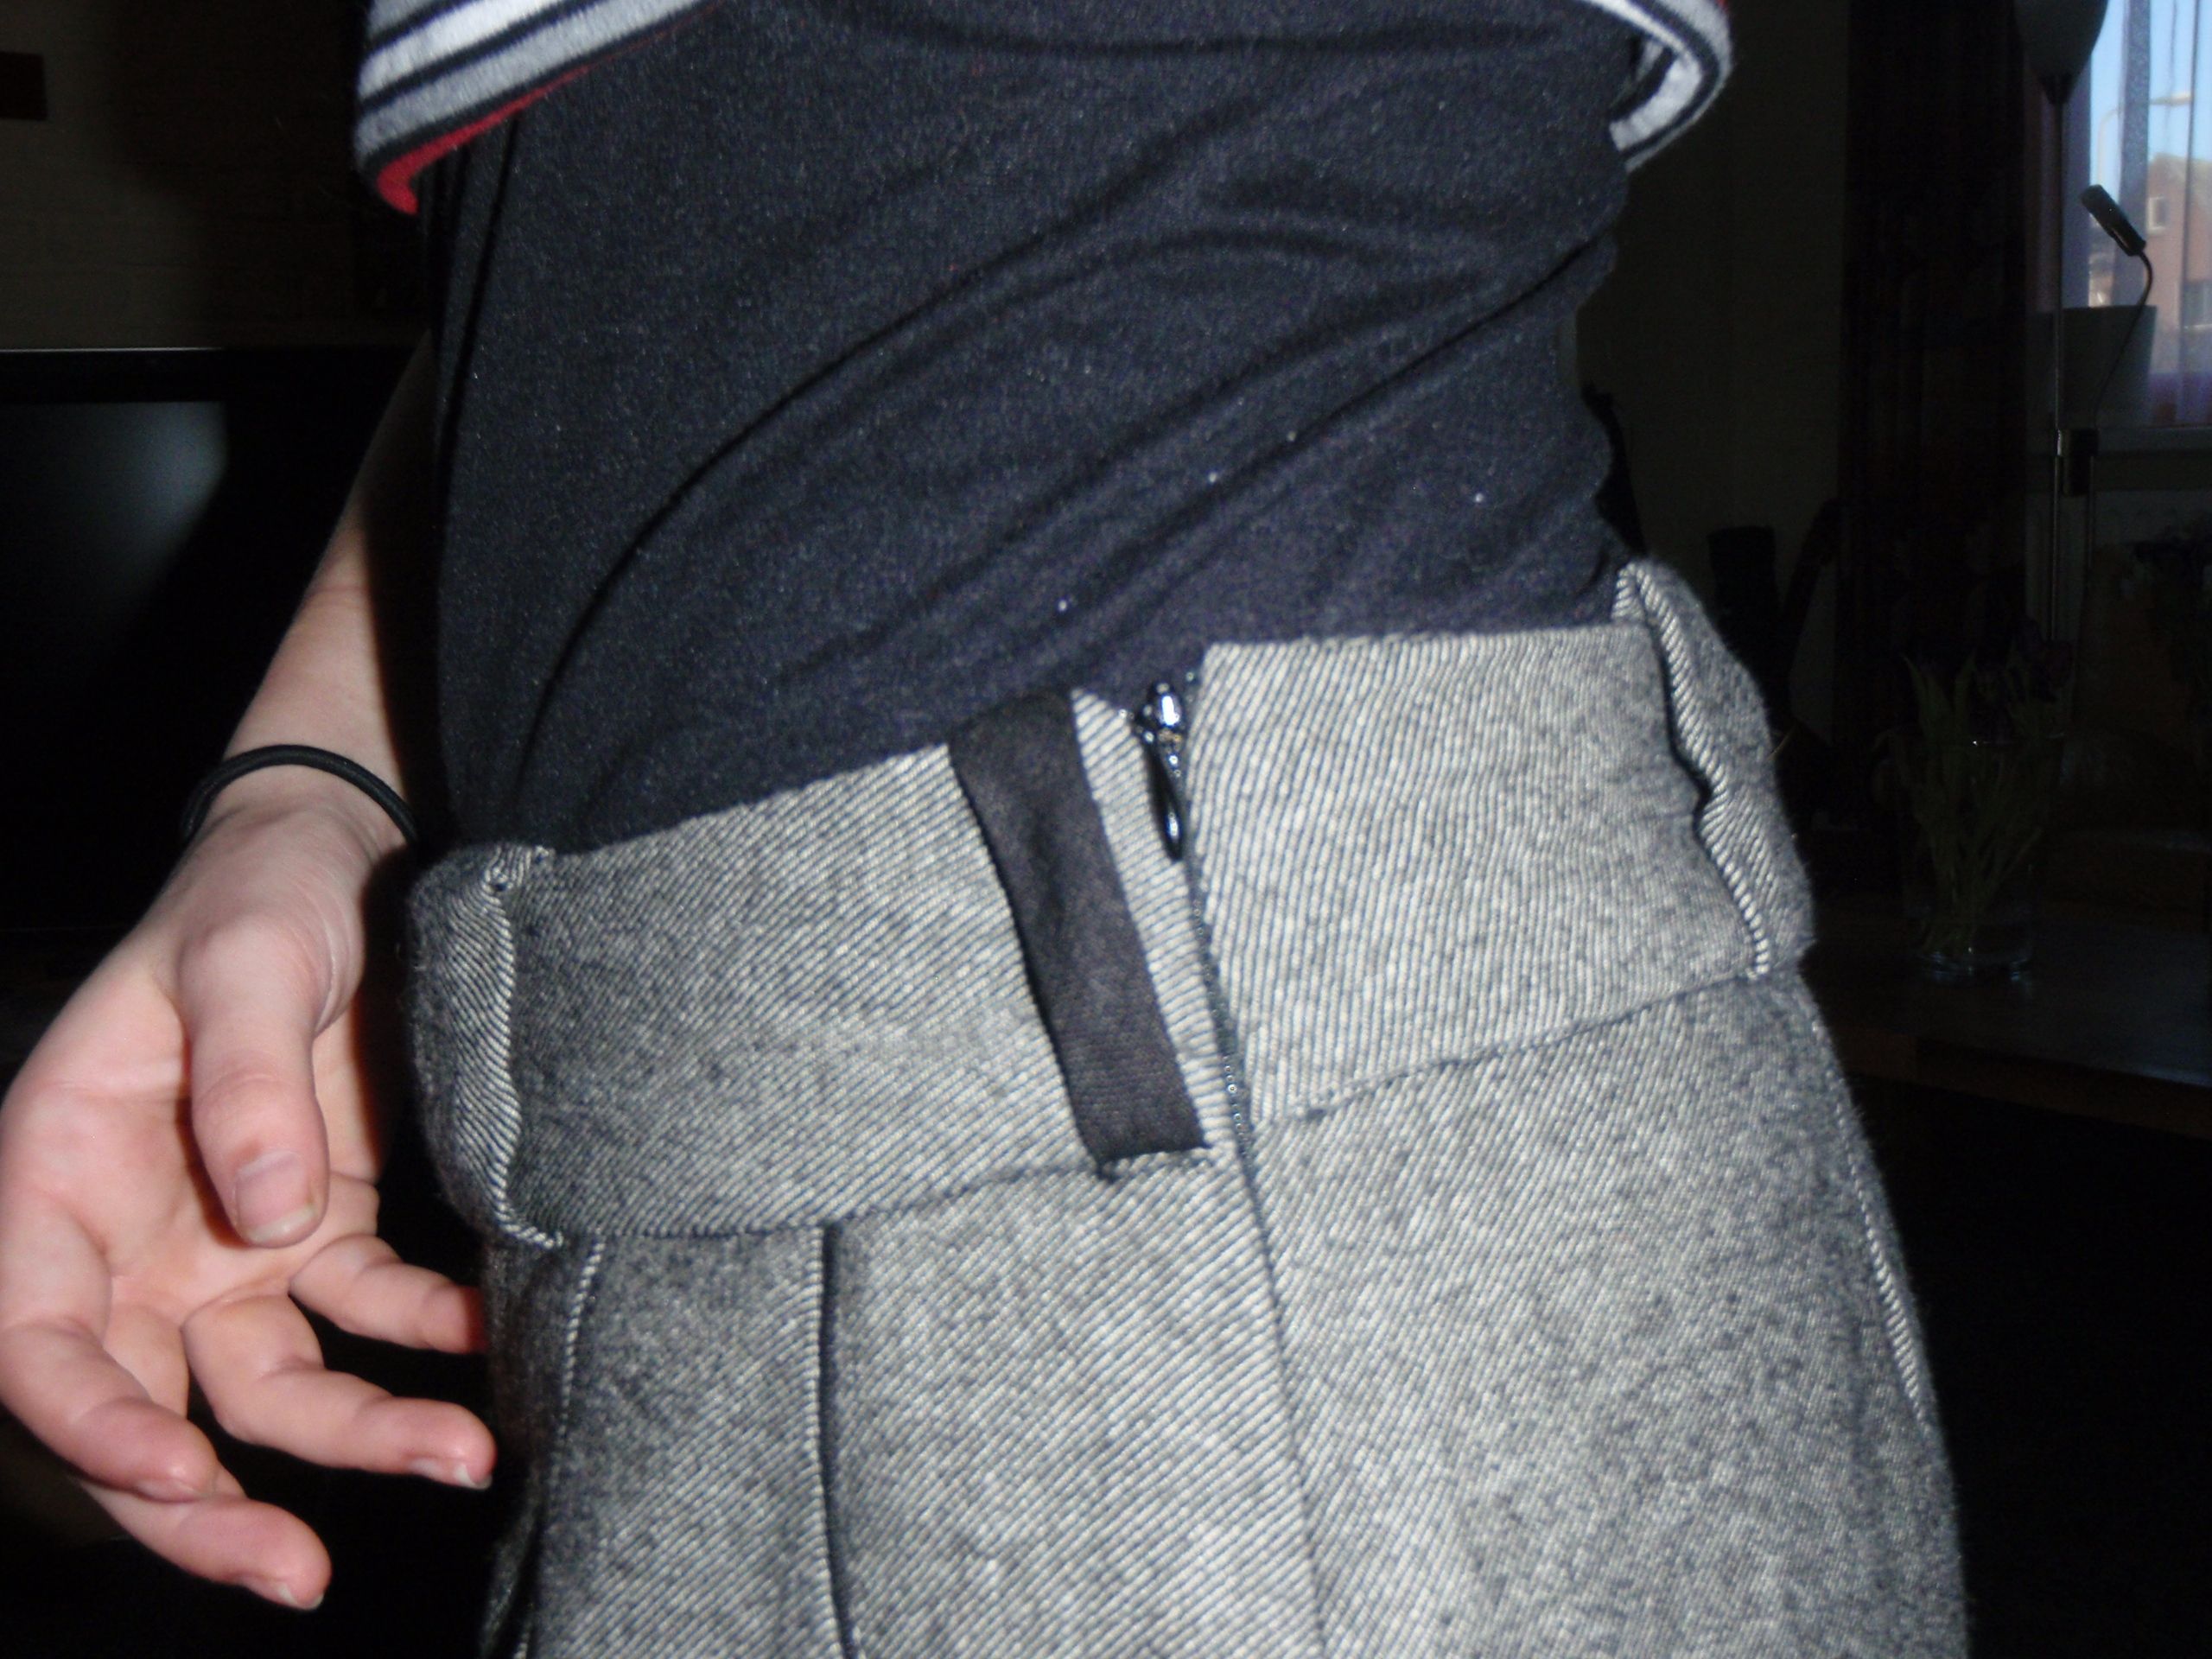
Here’s a close up of the zip and pocket. You can also see some of the belt loops.

Zip Pocket and beltloops

I have even more pictures of those belt loops, clearly I like them, the left is the front and the right is the back. There is a centre seam in the pant front waistband because I had to take it in and was not interested enough to cut a second front waistband. This works fine.

Front loops Back loops

Lastly, the lining (brown) and the hand sewn hem. The hem is quite wide, so I could theoretically let it out if needs be.

Lining Hem

I really like these pants (even if the proportions might not be ideal on me). I’ve worn them quite a bit since I finished them. I’m still getting used to the fluidity, but I like the fact that there are two layers. Next, I finished a sweater and you’ll get the details.

Really Green Pants

Since I’ve had a lot of bad experiences with pants/jeans I figured that for this next pattern, I’d better try it out first. I decided to use the same fabric I used for my frog pouch (here).

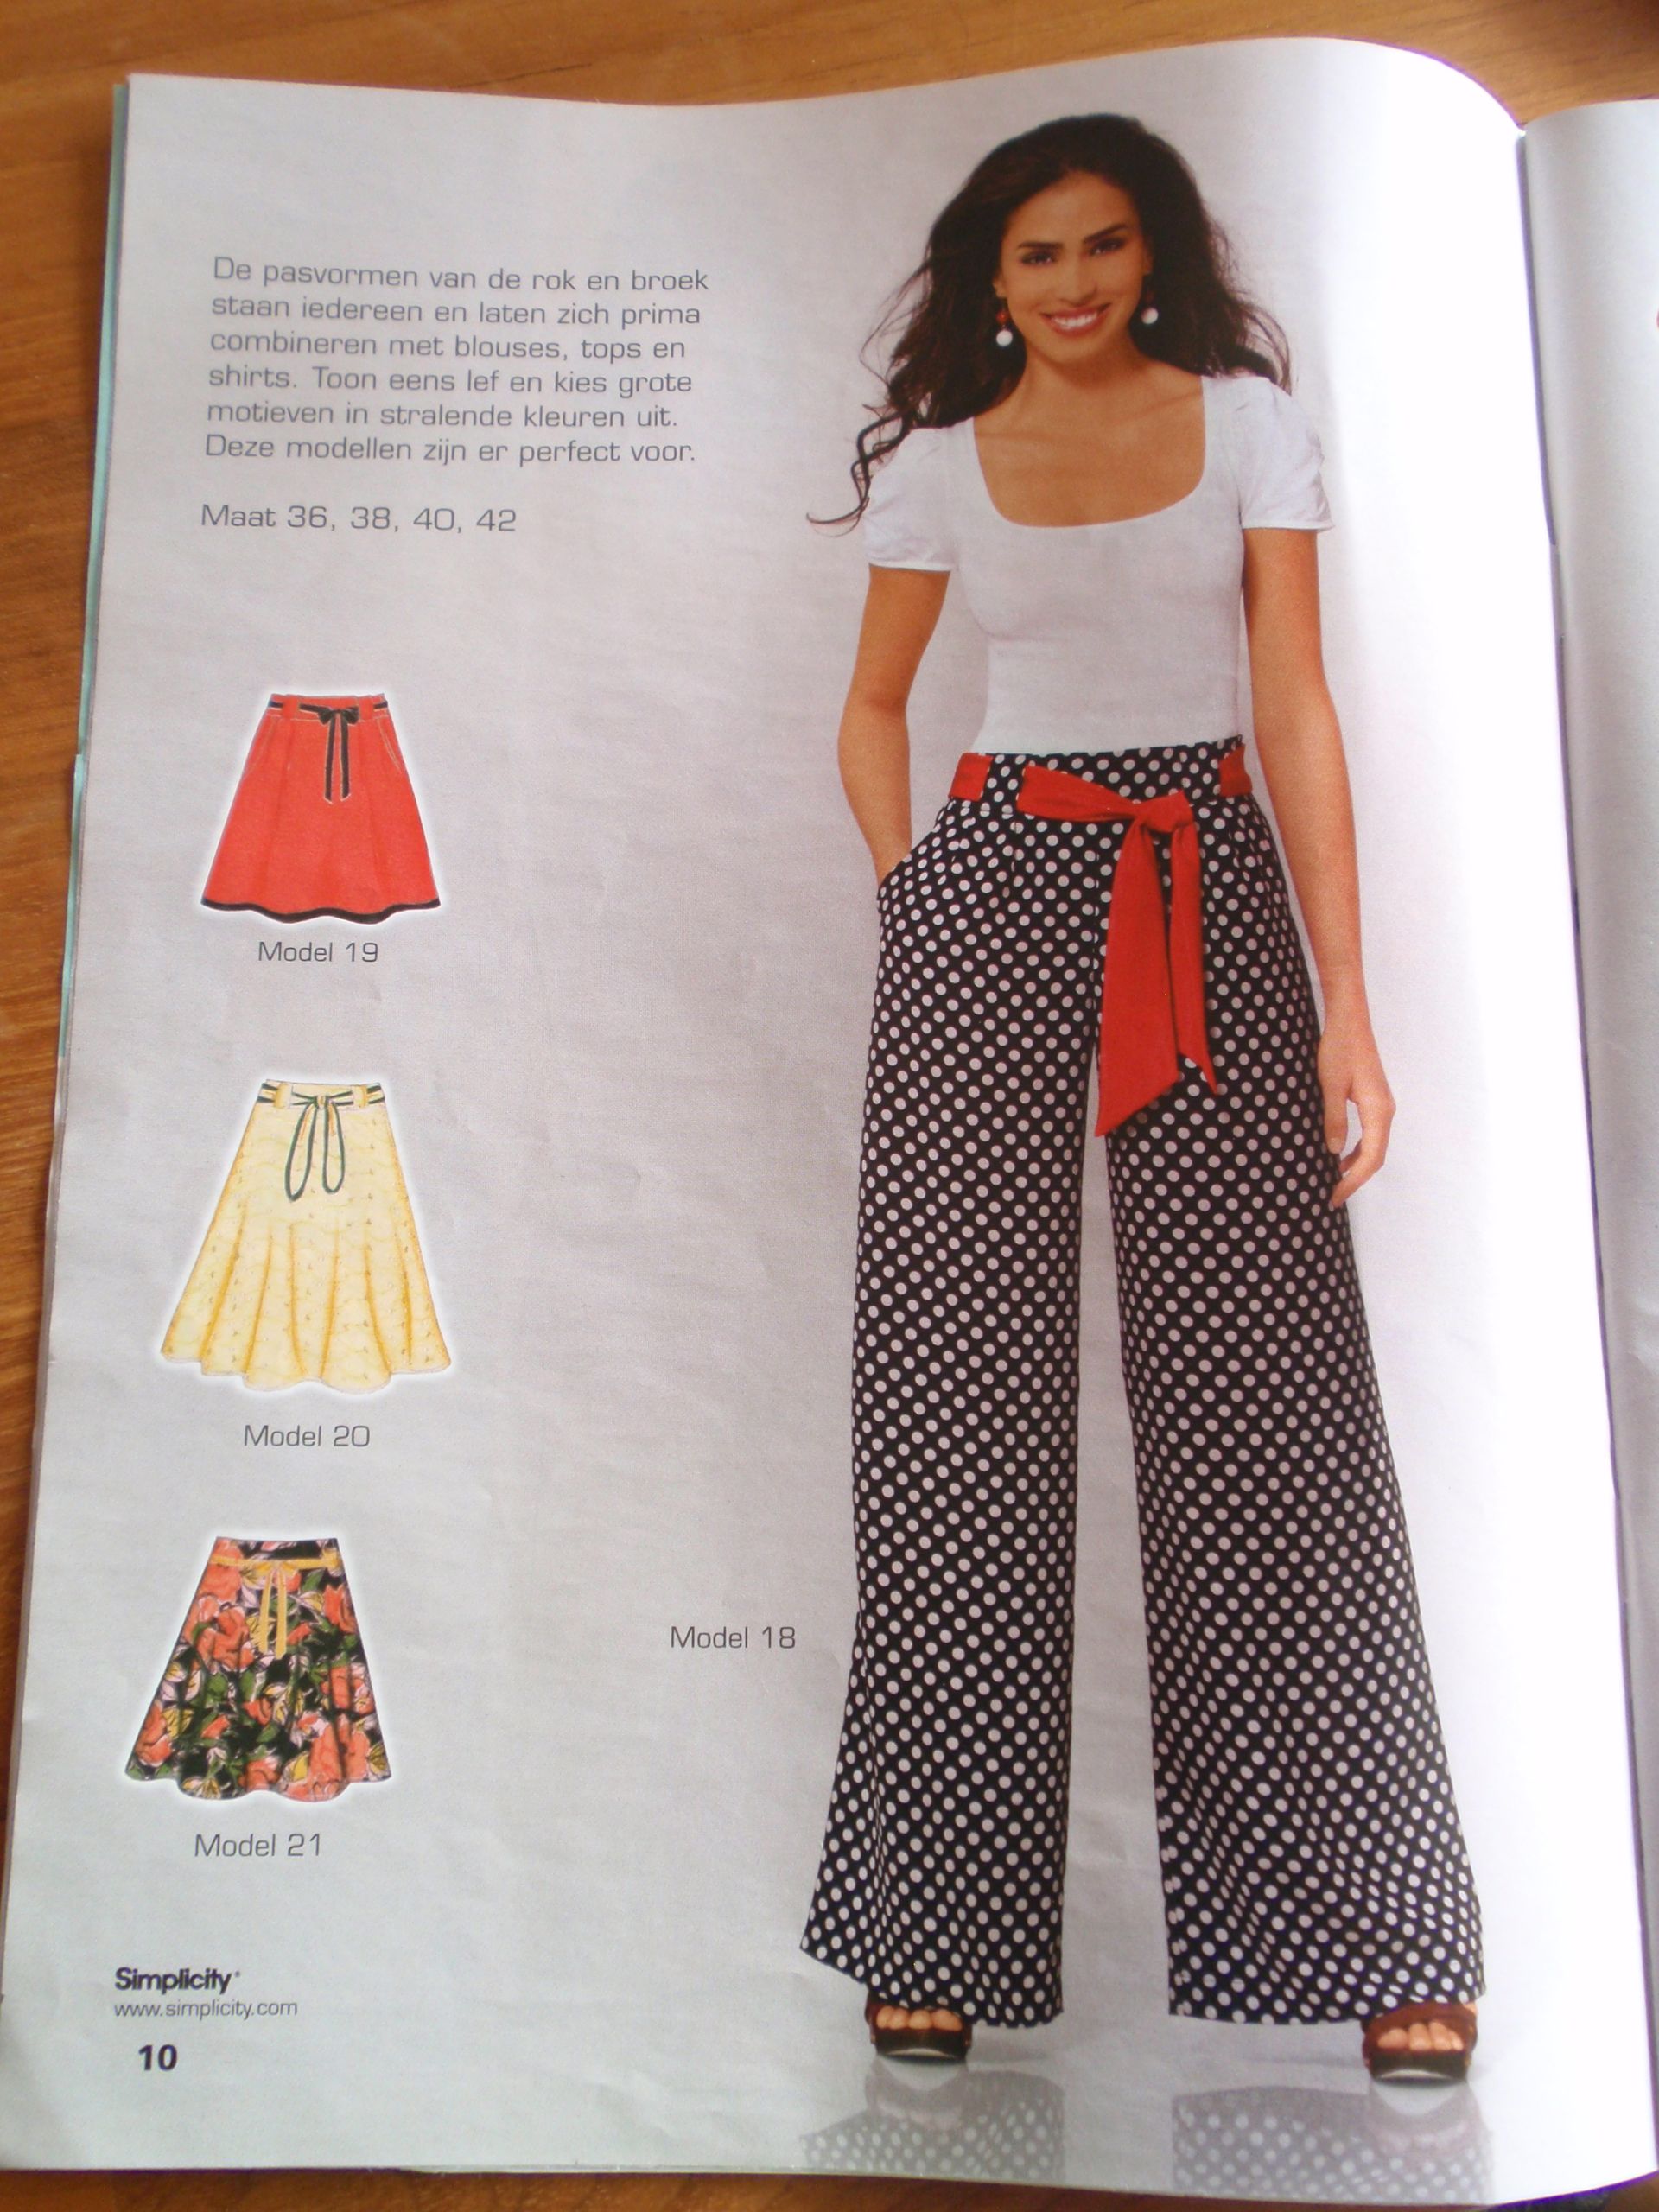
It’s a pattern from the simplicity pattern magazine, I’m guessing that it also comes out as an individual pattern, but this is the picture:

Pattern

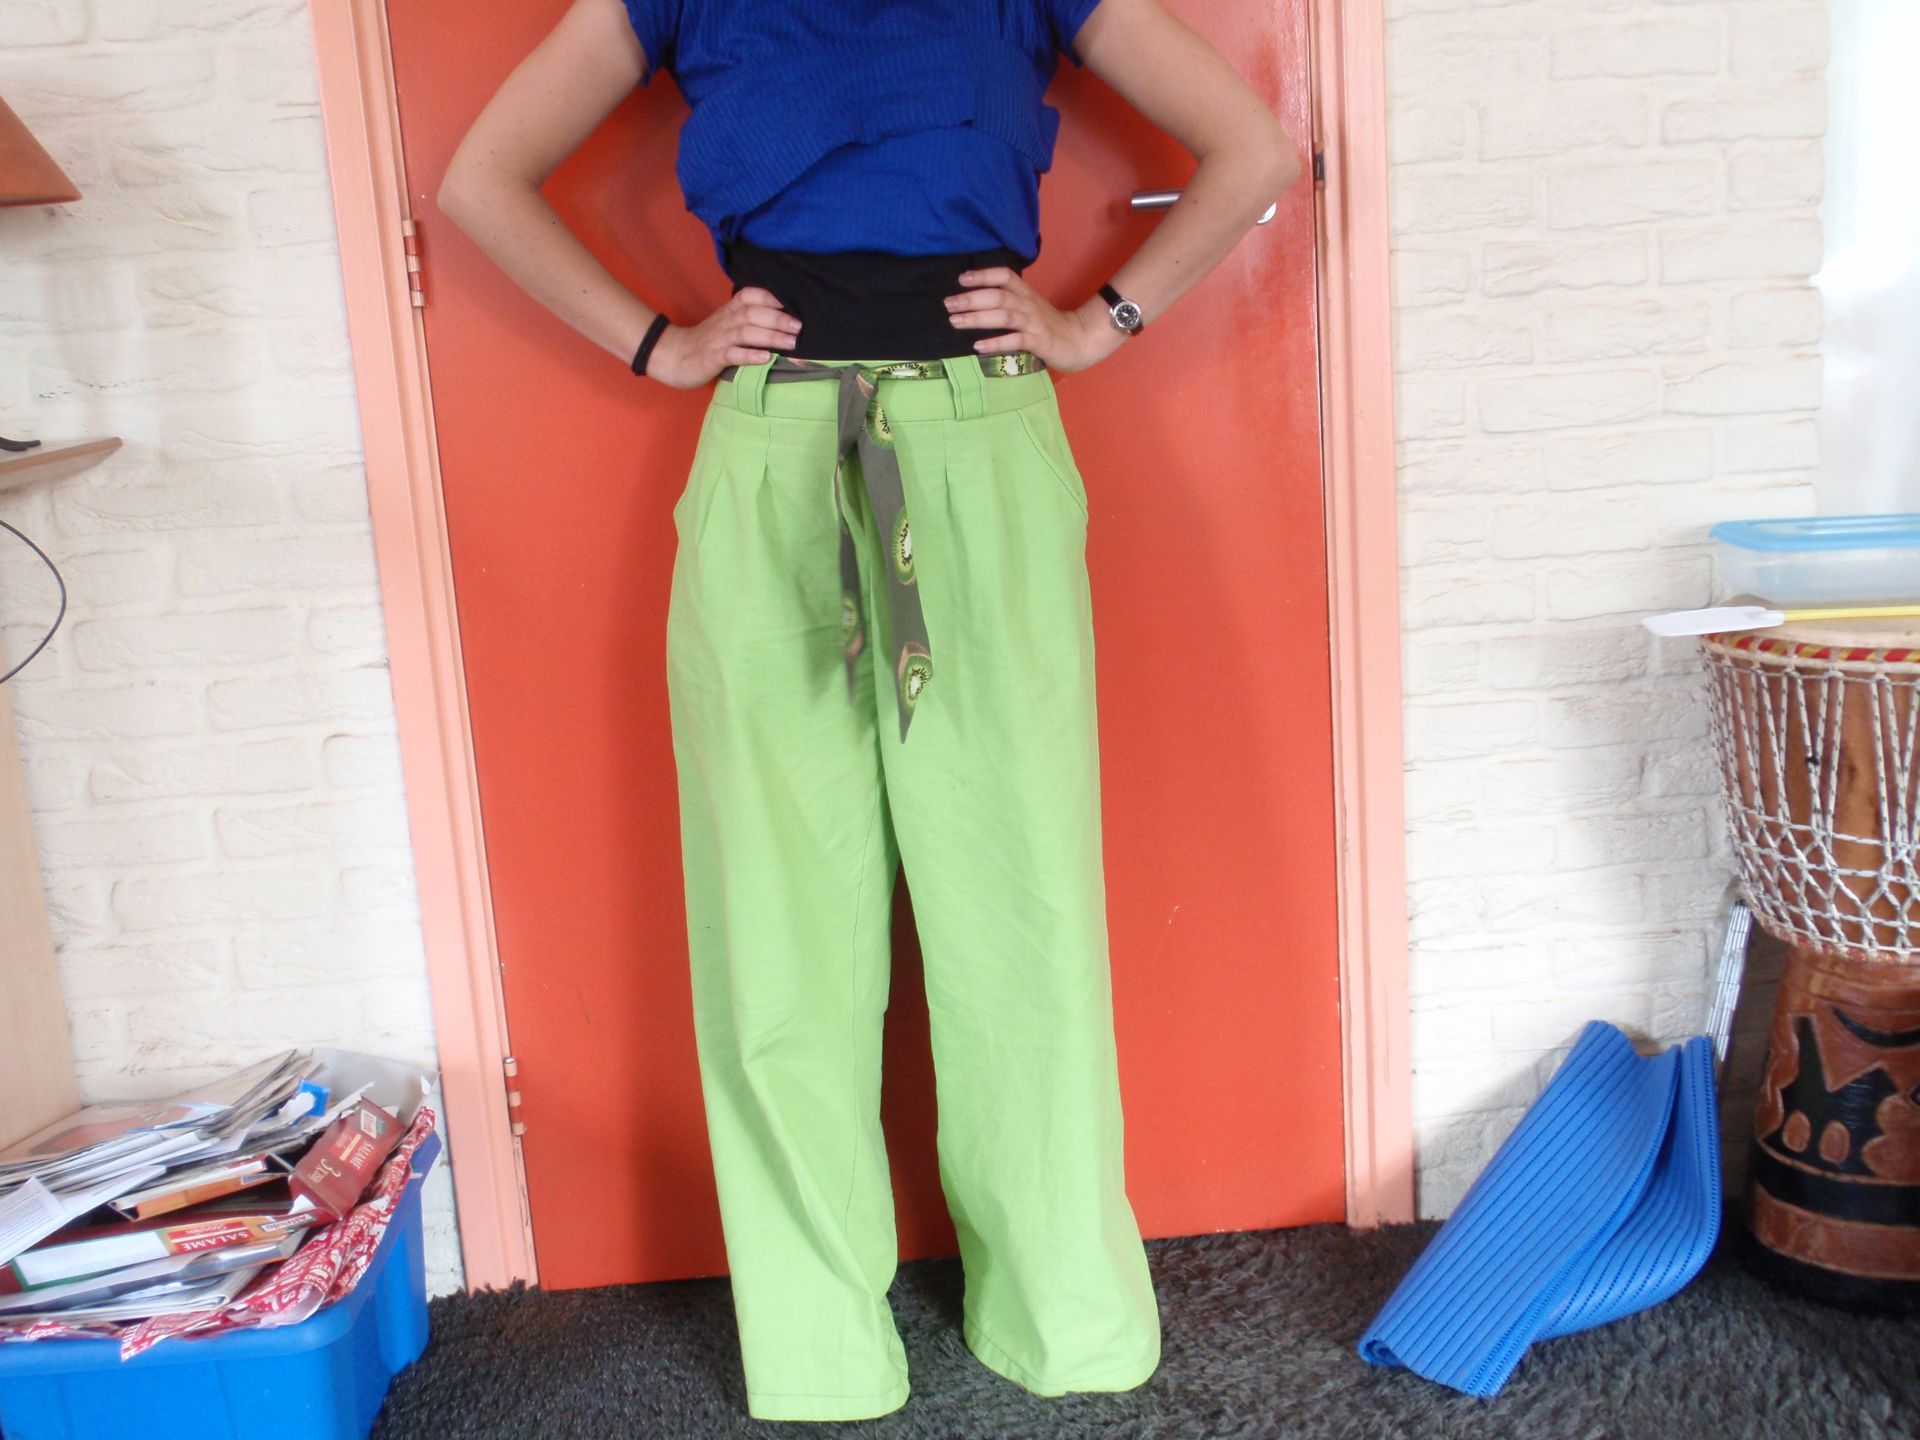
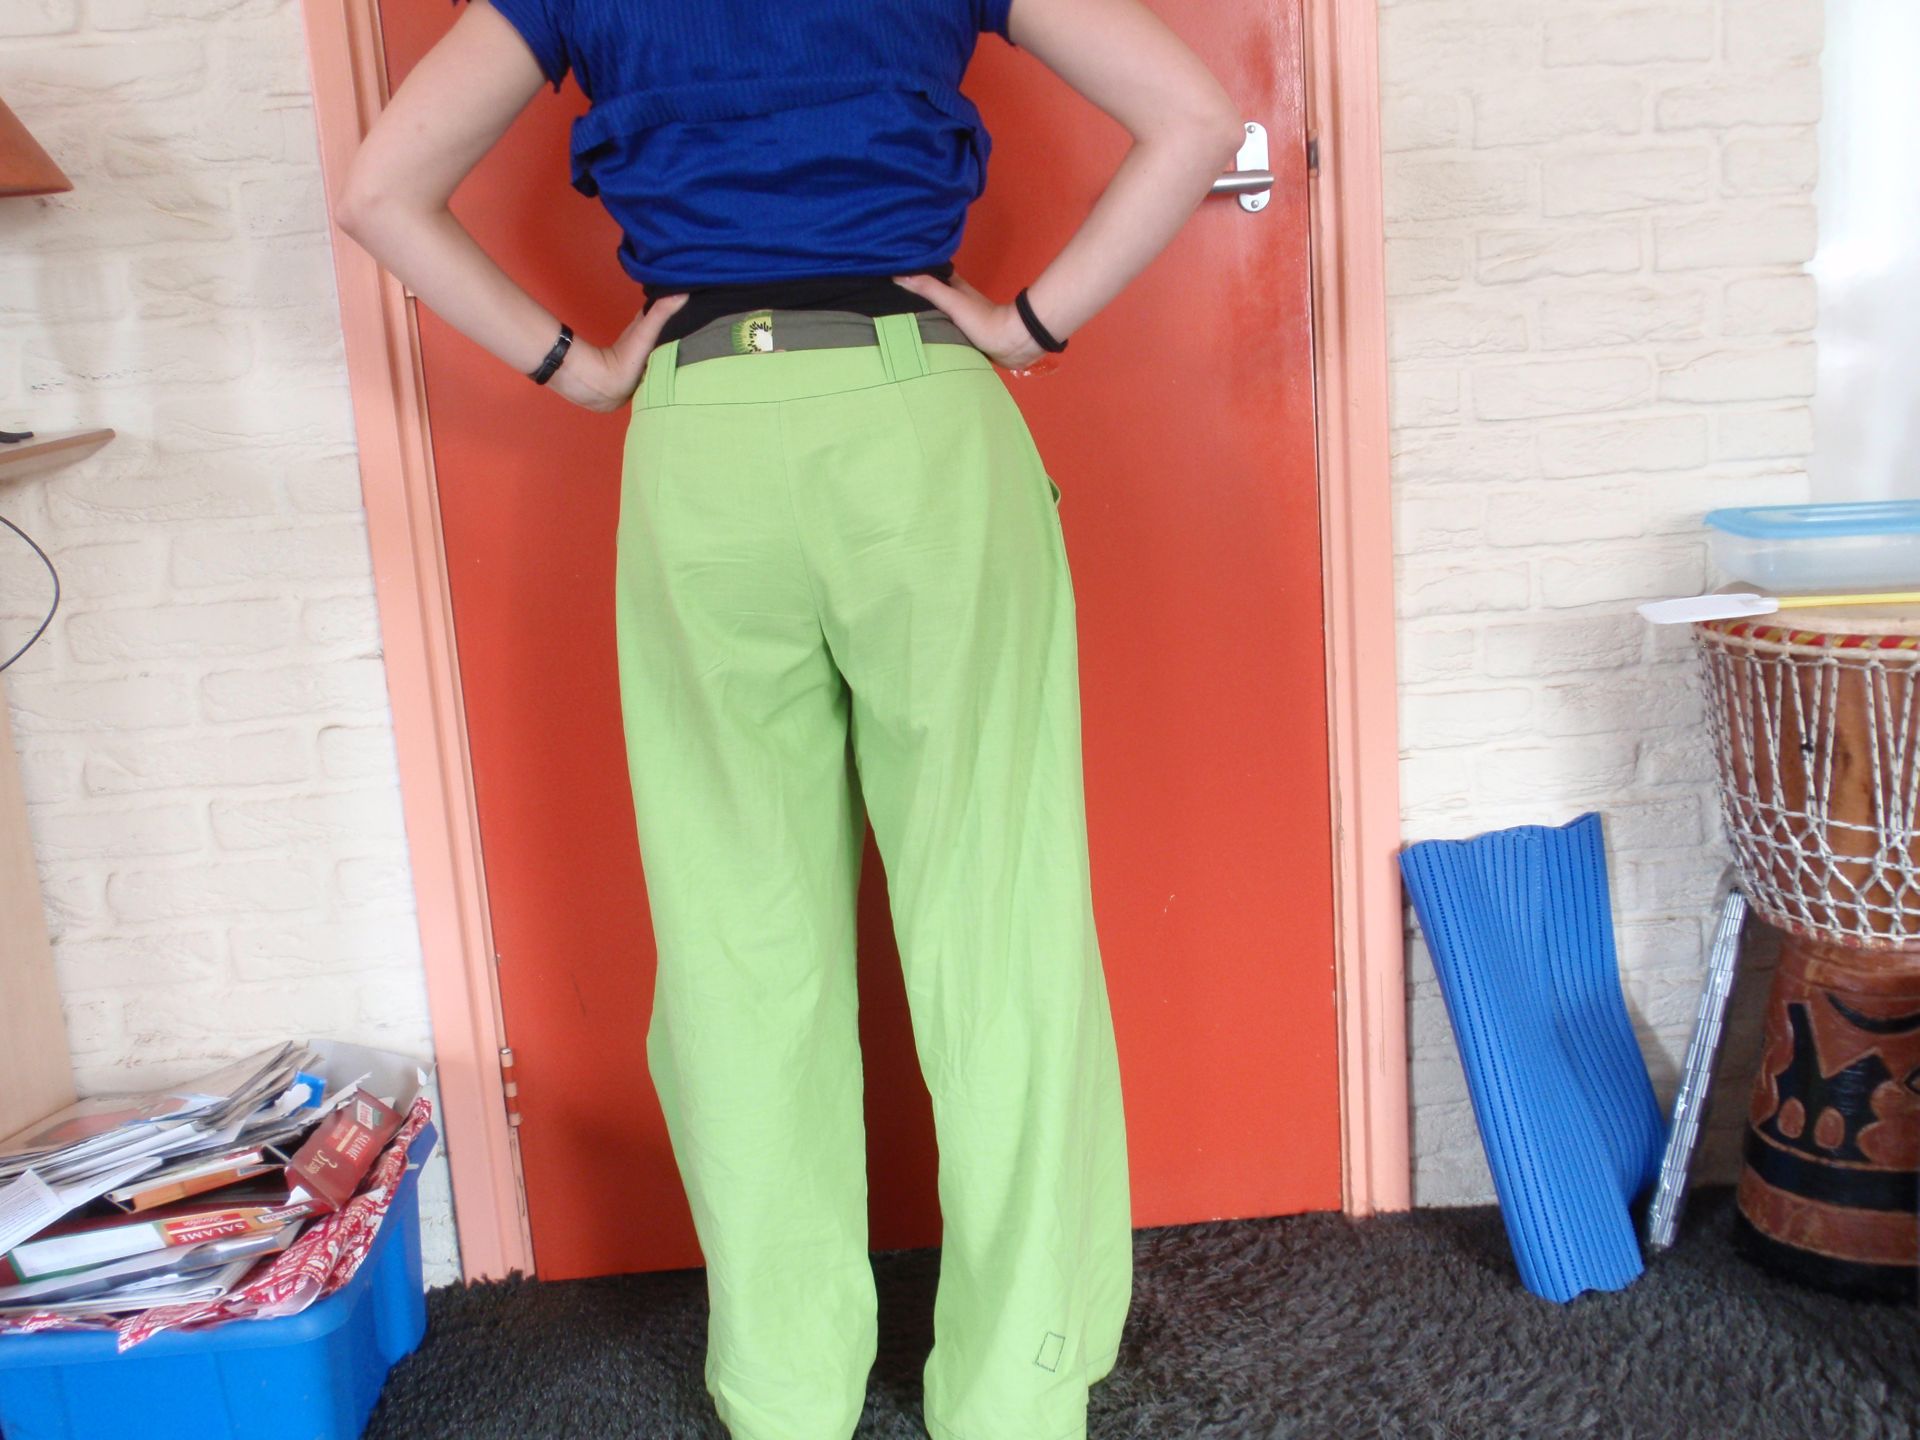
I really like these pants. They are really comfortable, not too difficult to make and I only made two alterations. The first was to sew the waistband on 2 cm below the original seam line, this raised the crotch and made it look a lot neater. Next to that I angled the back waistband so it would hug my back better. This meant that I sewed the front to the back waistband on an angle, and thereby also had to cut of a little of the back leg panels at the top, but that wasn’t too difficult either. Now, the final product!

OLYMPUS DIGITAL CAMERA Back

Excuse the mess.
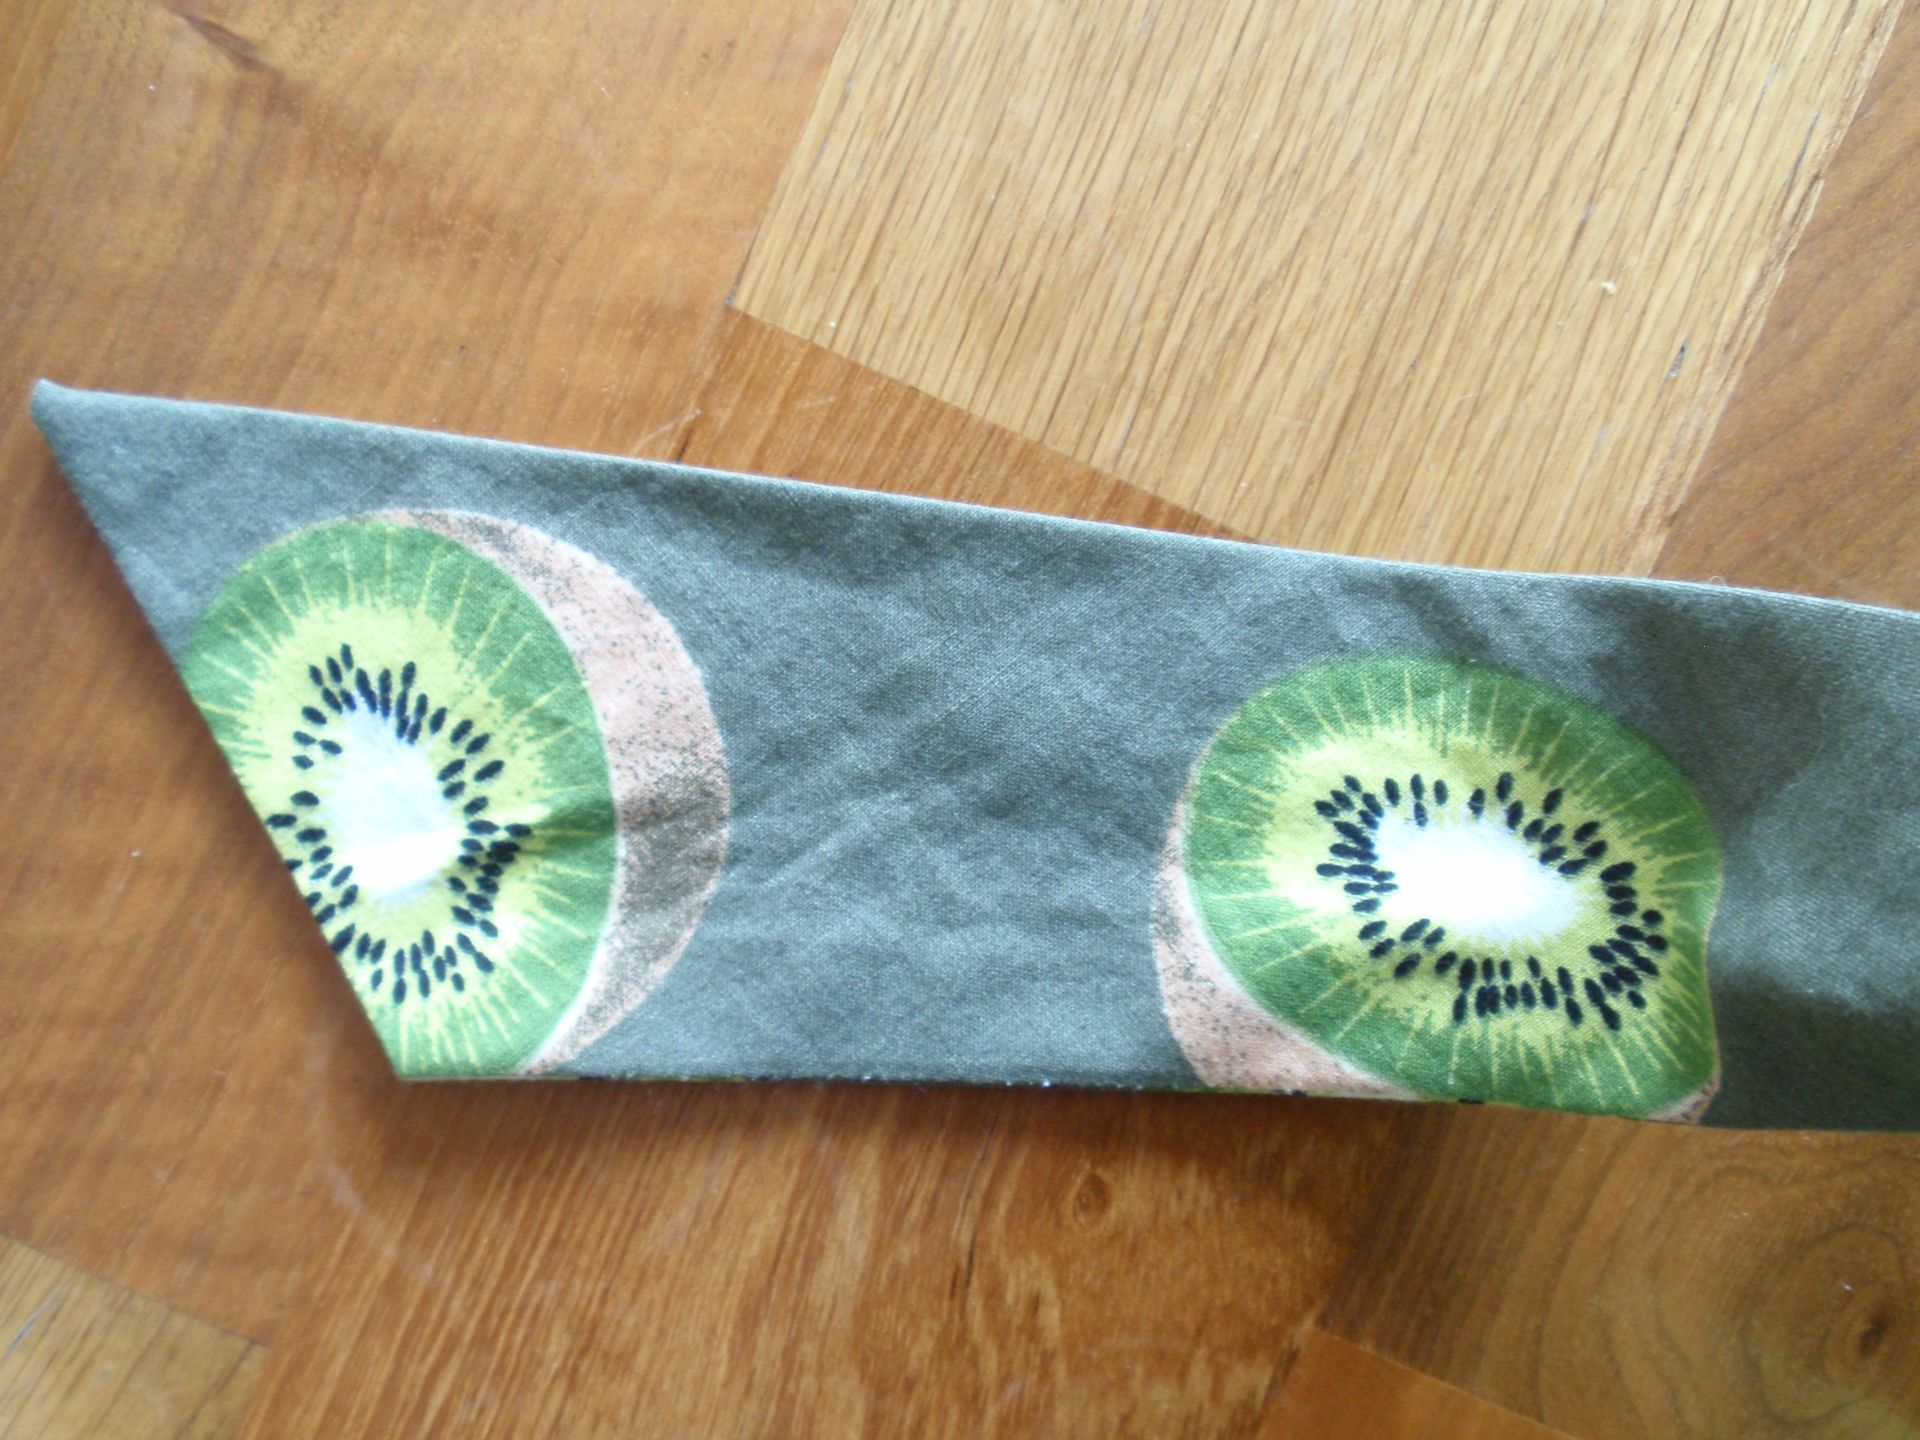
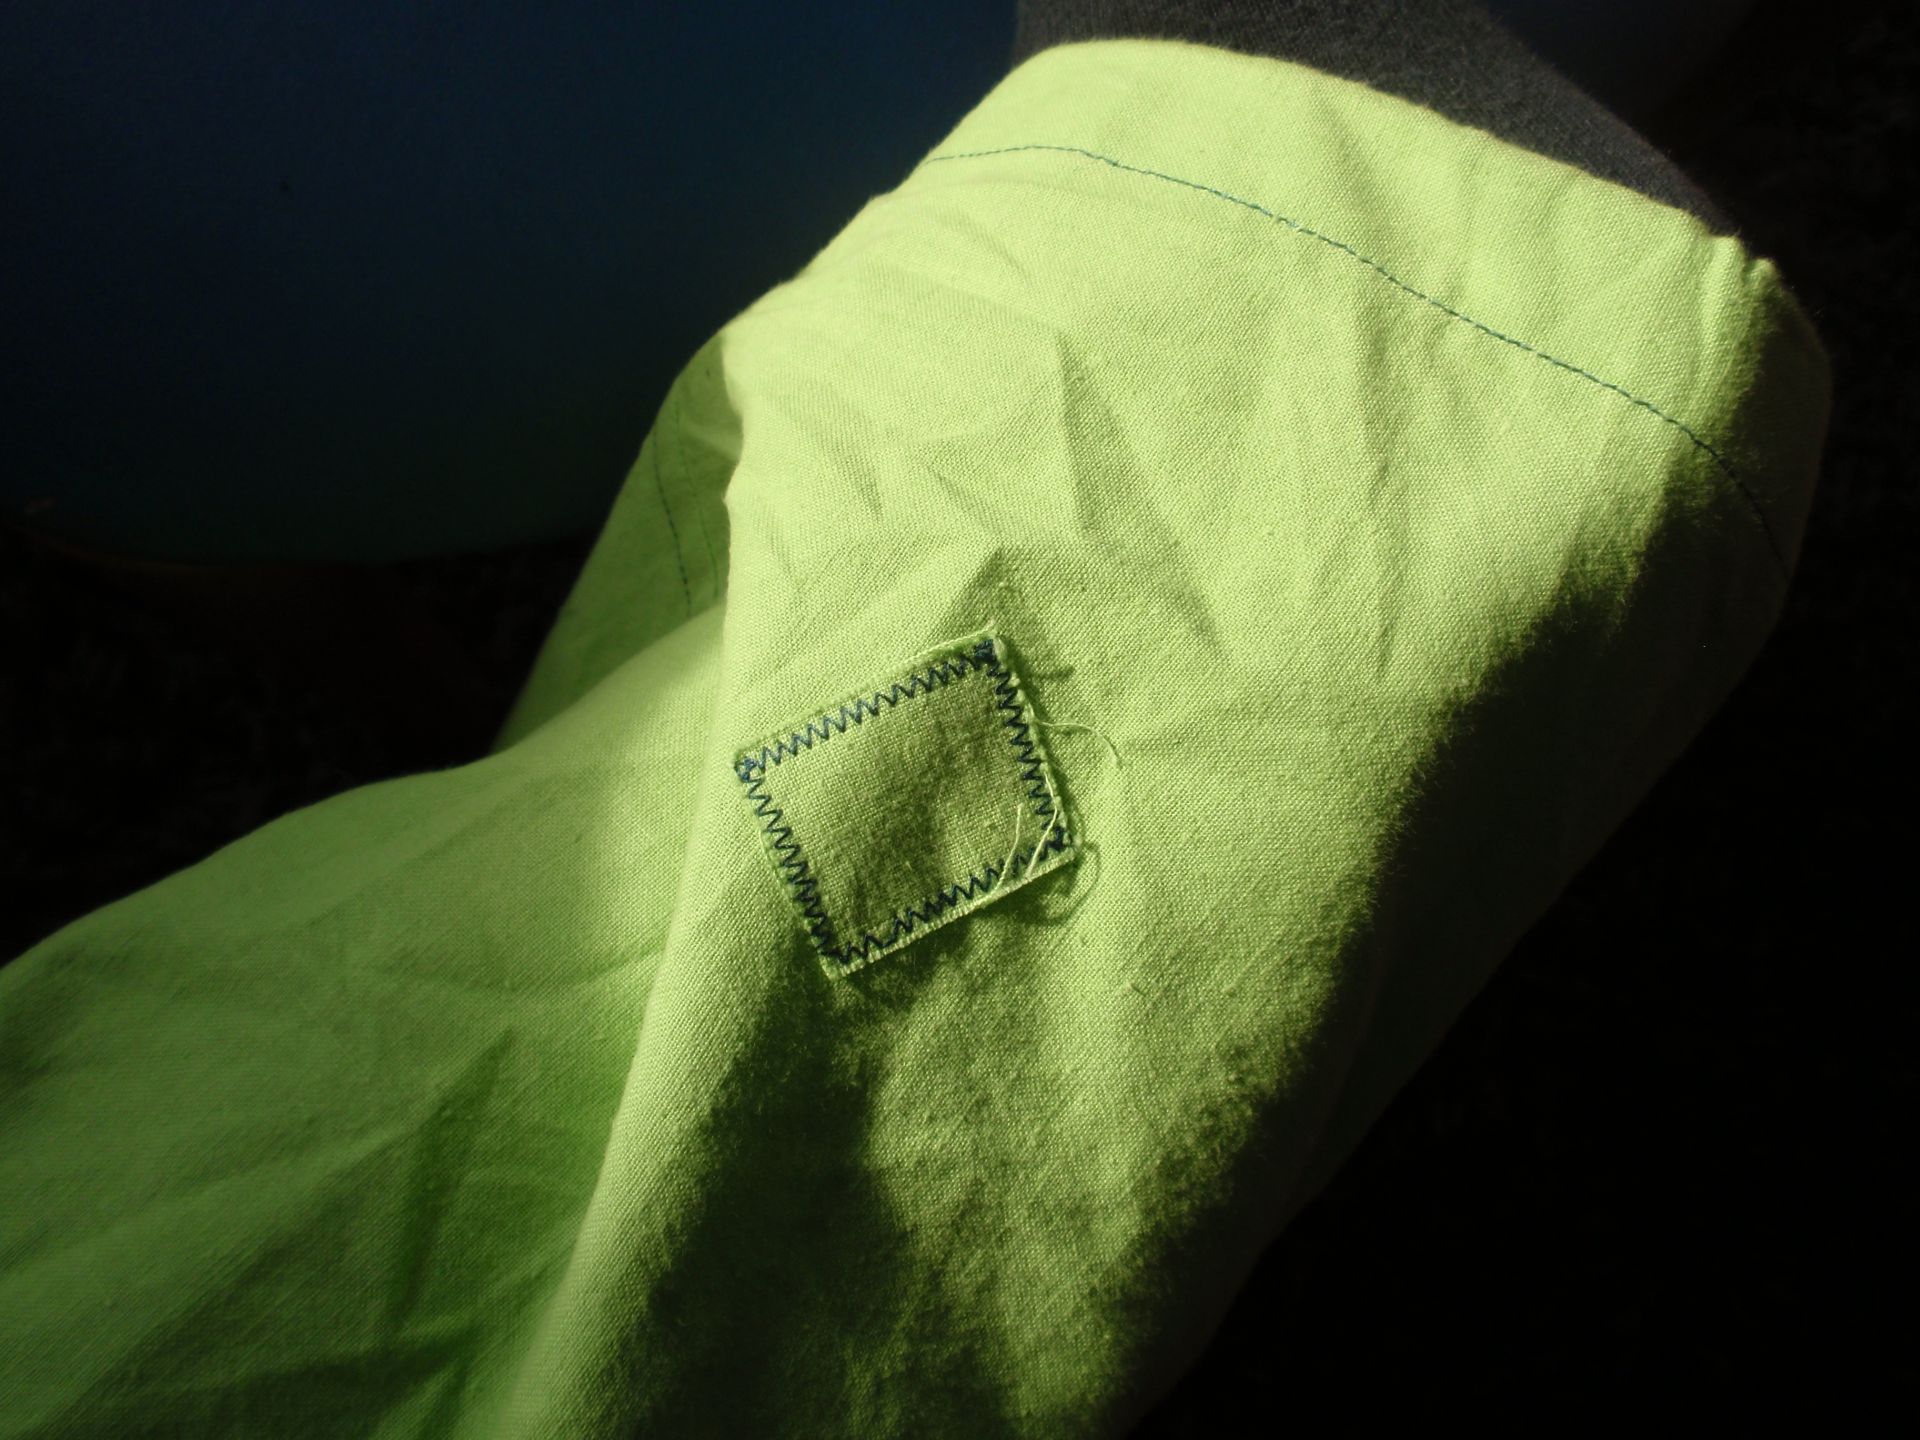
Here are some details, though. On the left, a close up of the sash. It’s a kiwi fabric, which I though would match perfectly with the green in the pants. I feel it does. Next to that is the patch that I had to add to the right leg, because apparently there was a hole in my fabric before I started cutting, and I missed it completely. Now it’s a ‘design feature’ (and I love it!).

Sash Patch

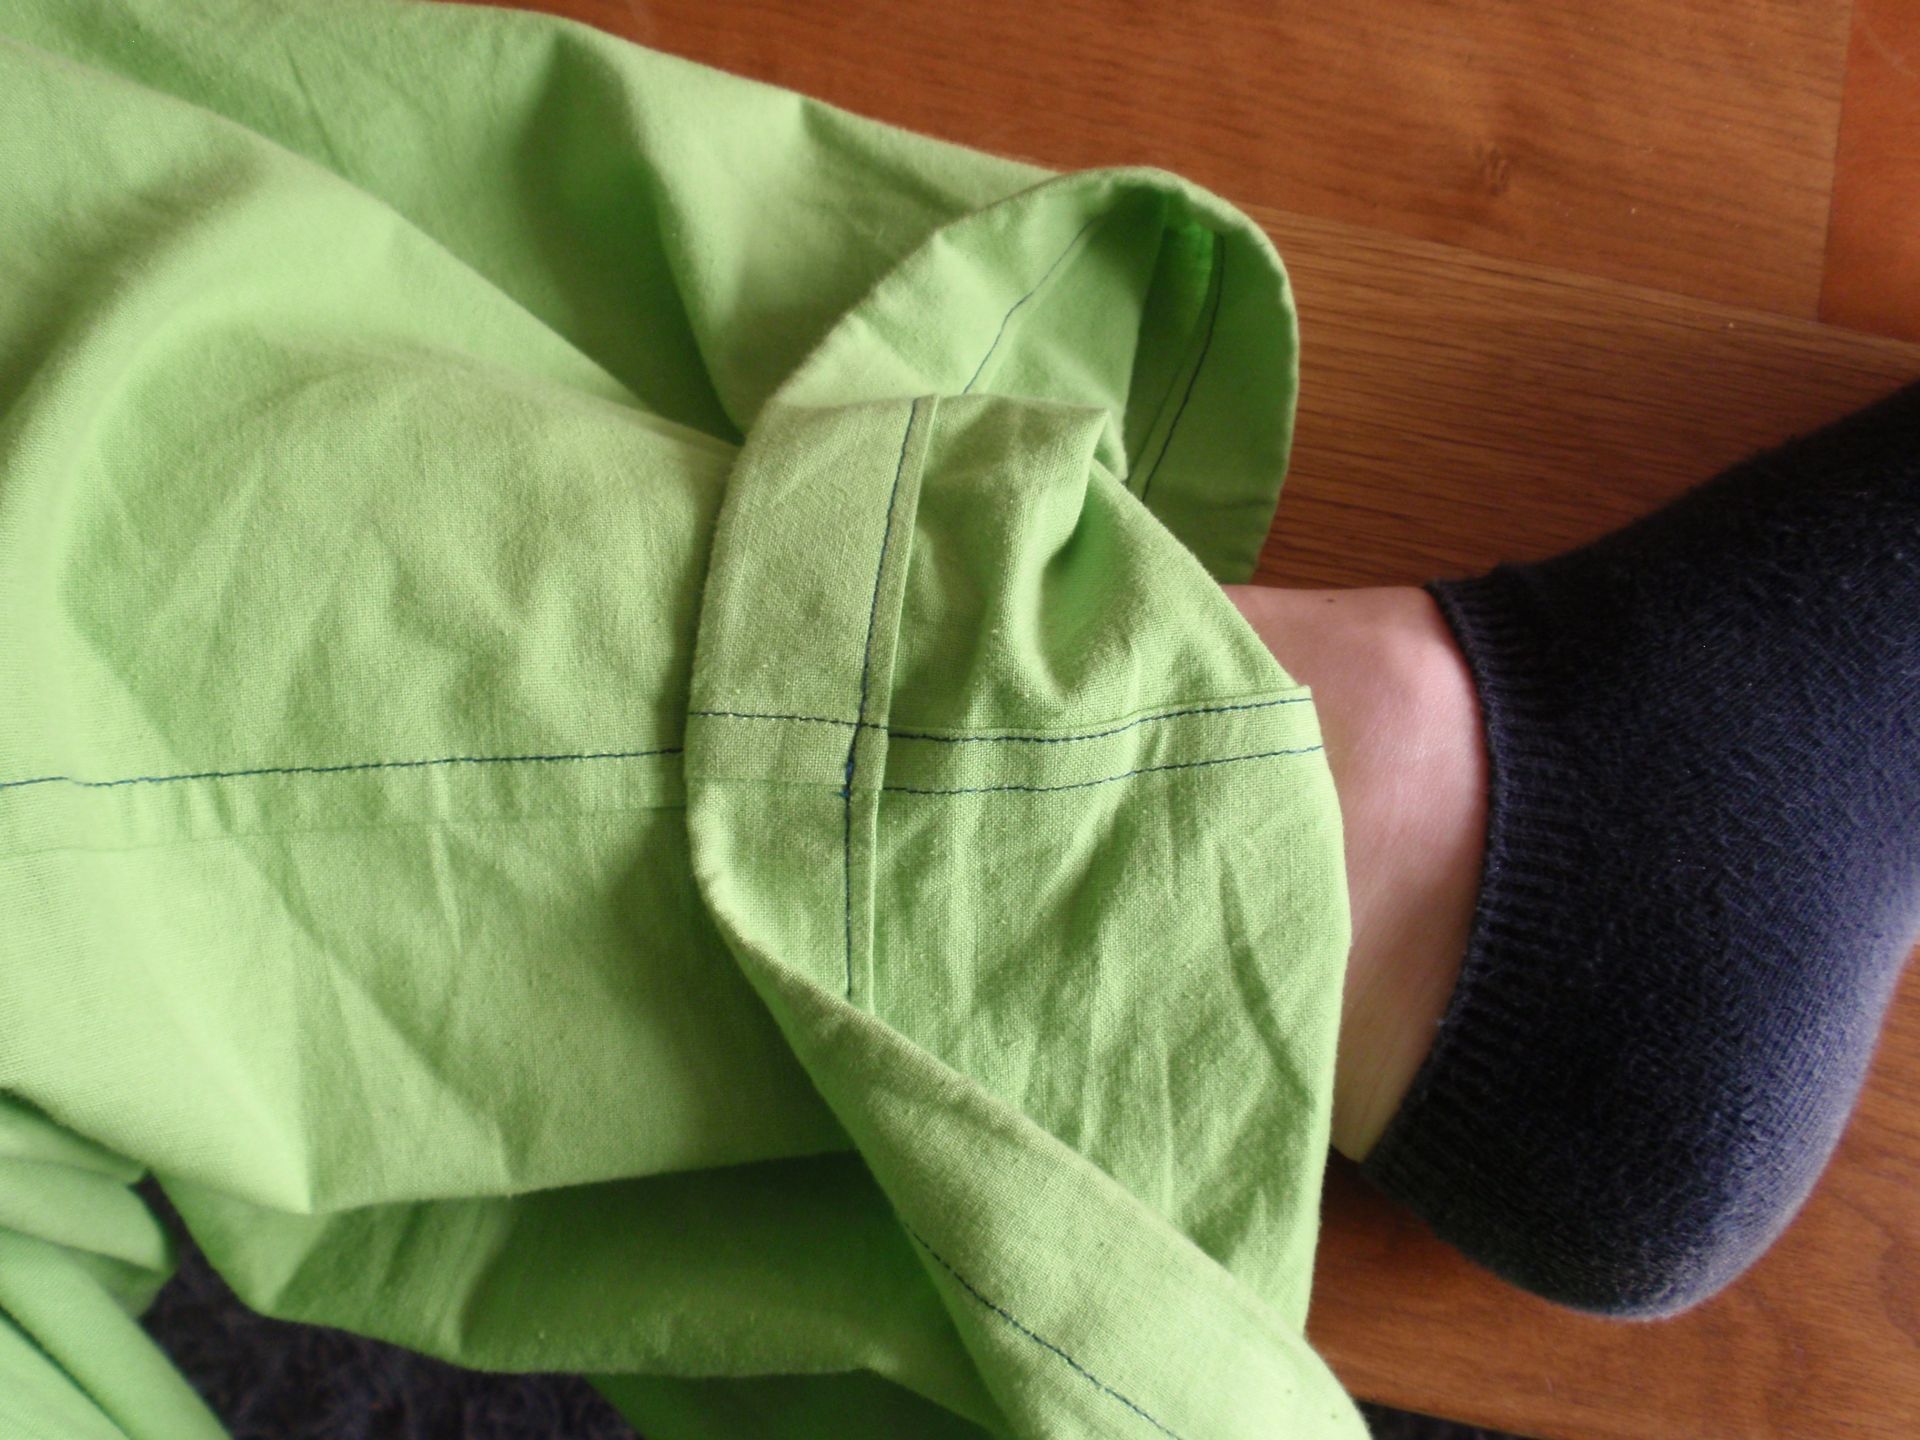
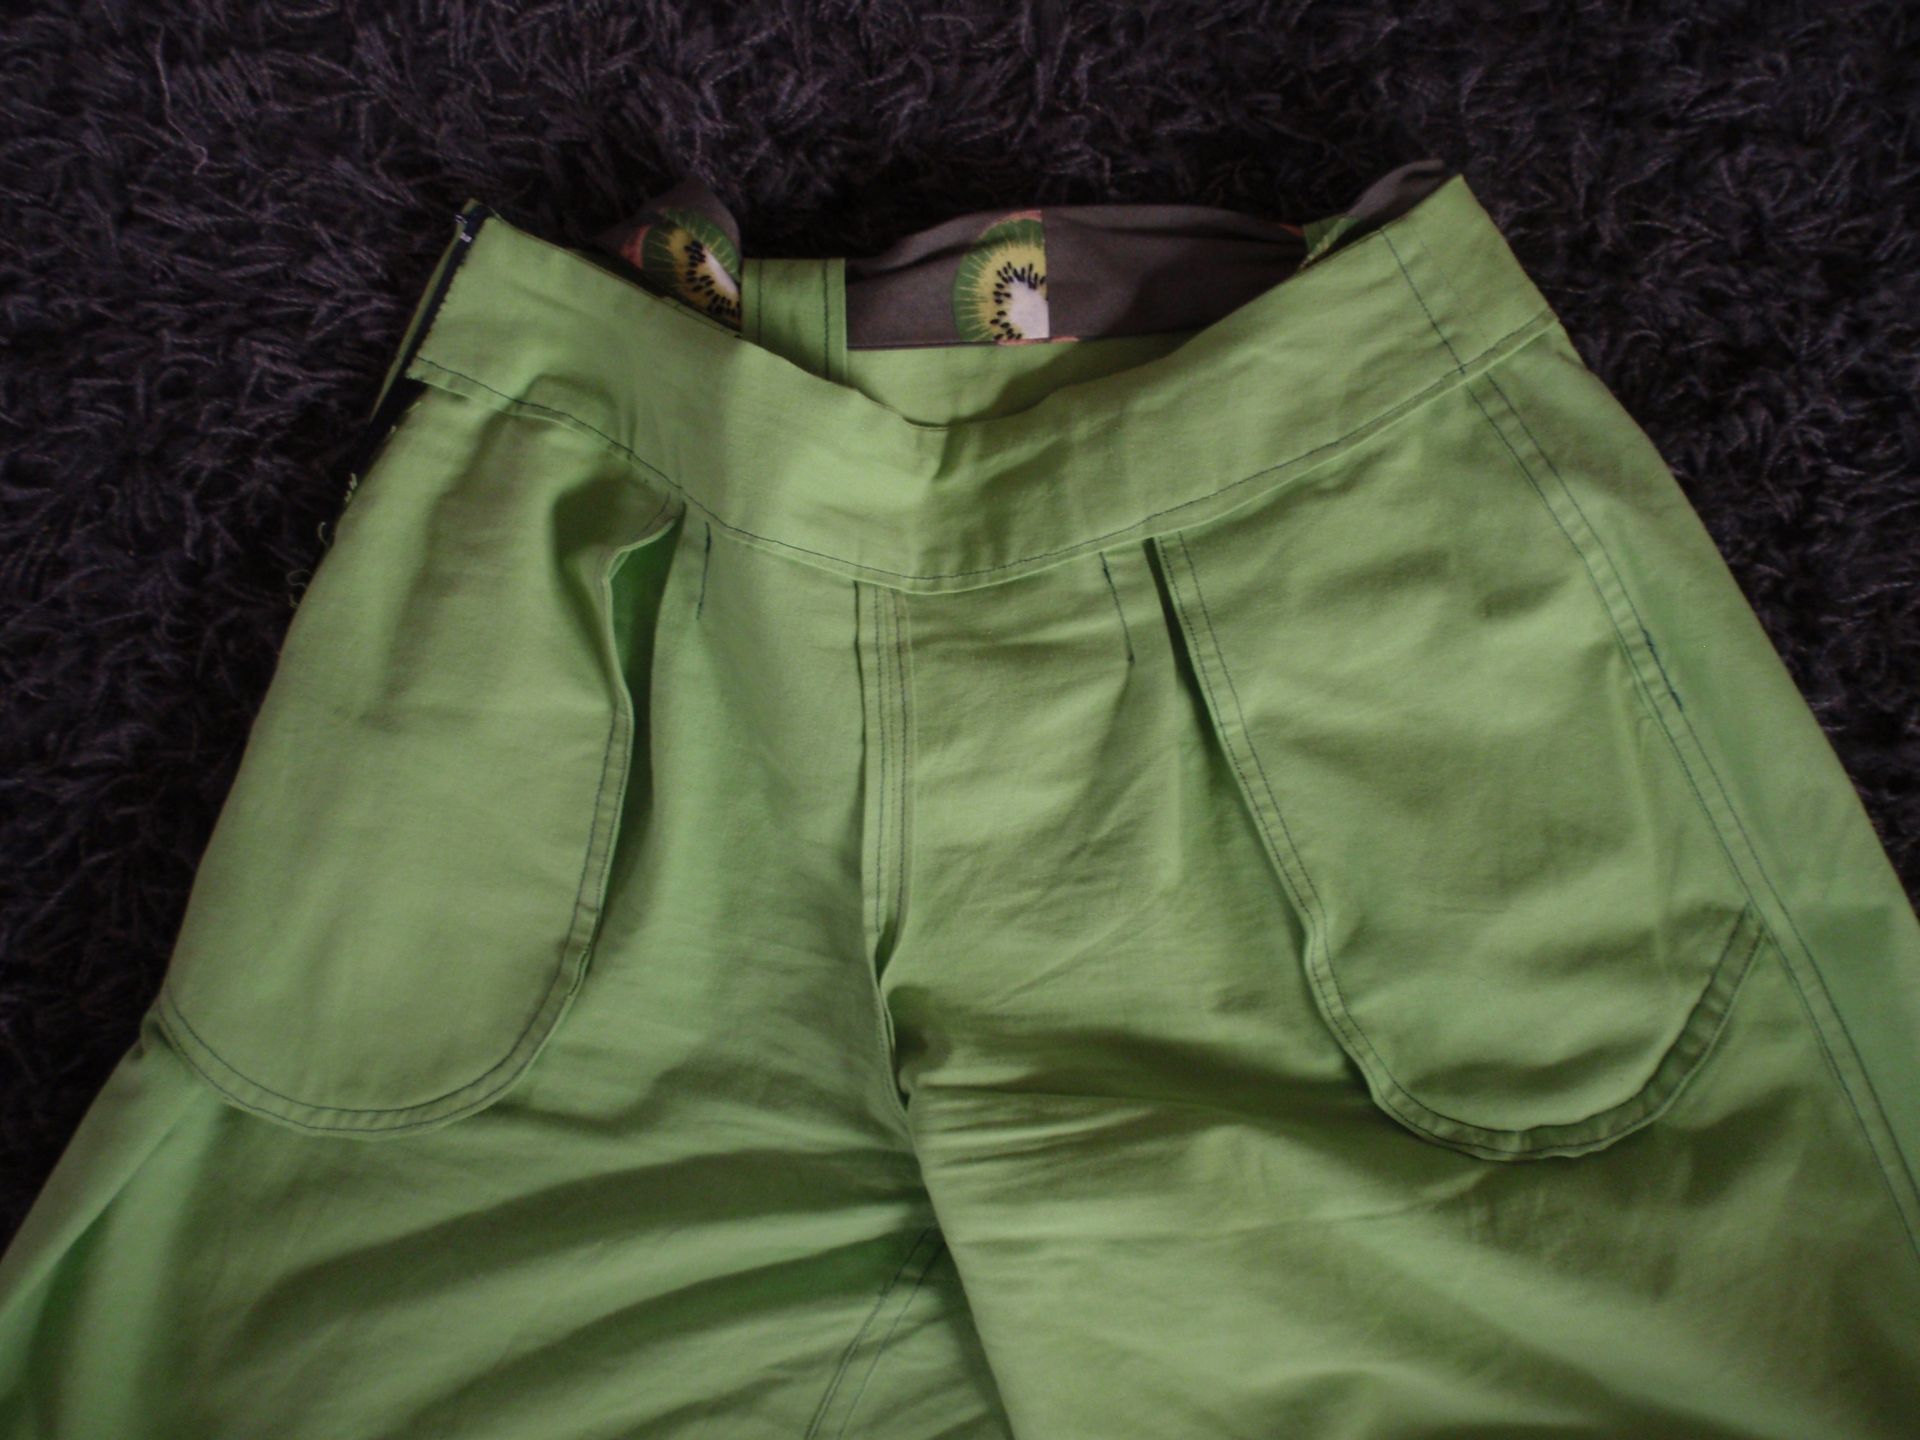
As I said before, the insides are completely finished, both legs are flat felled and I enclosed all the other seams with their counterparts.

Insides 1 Insides 2

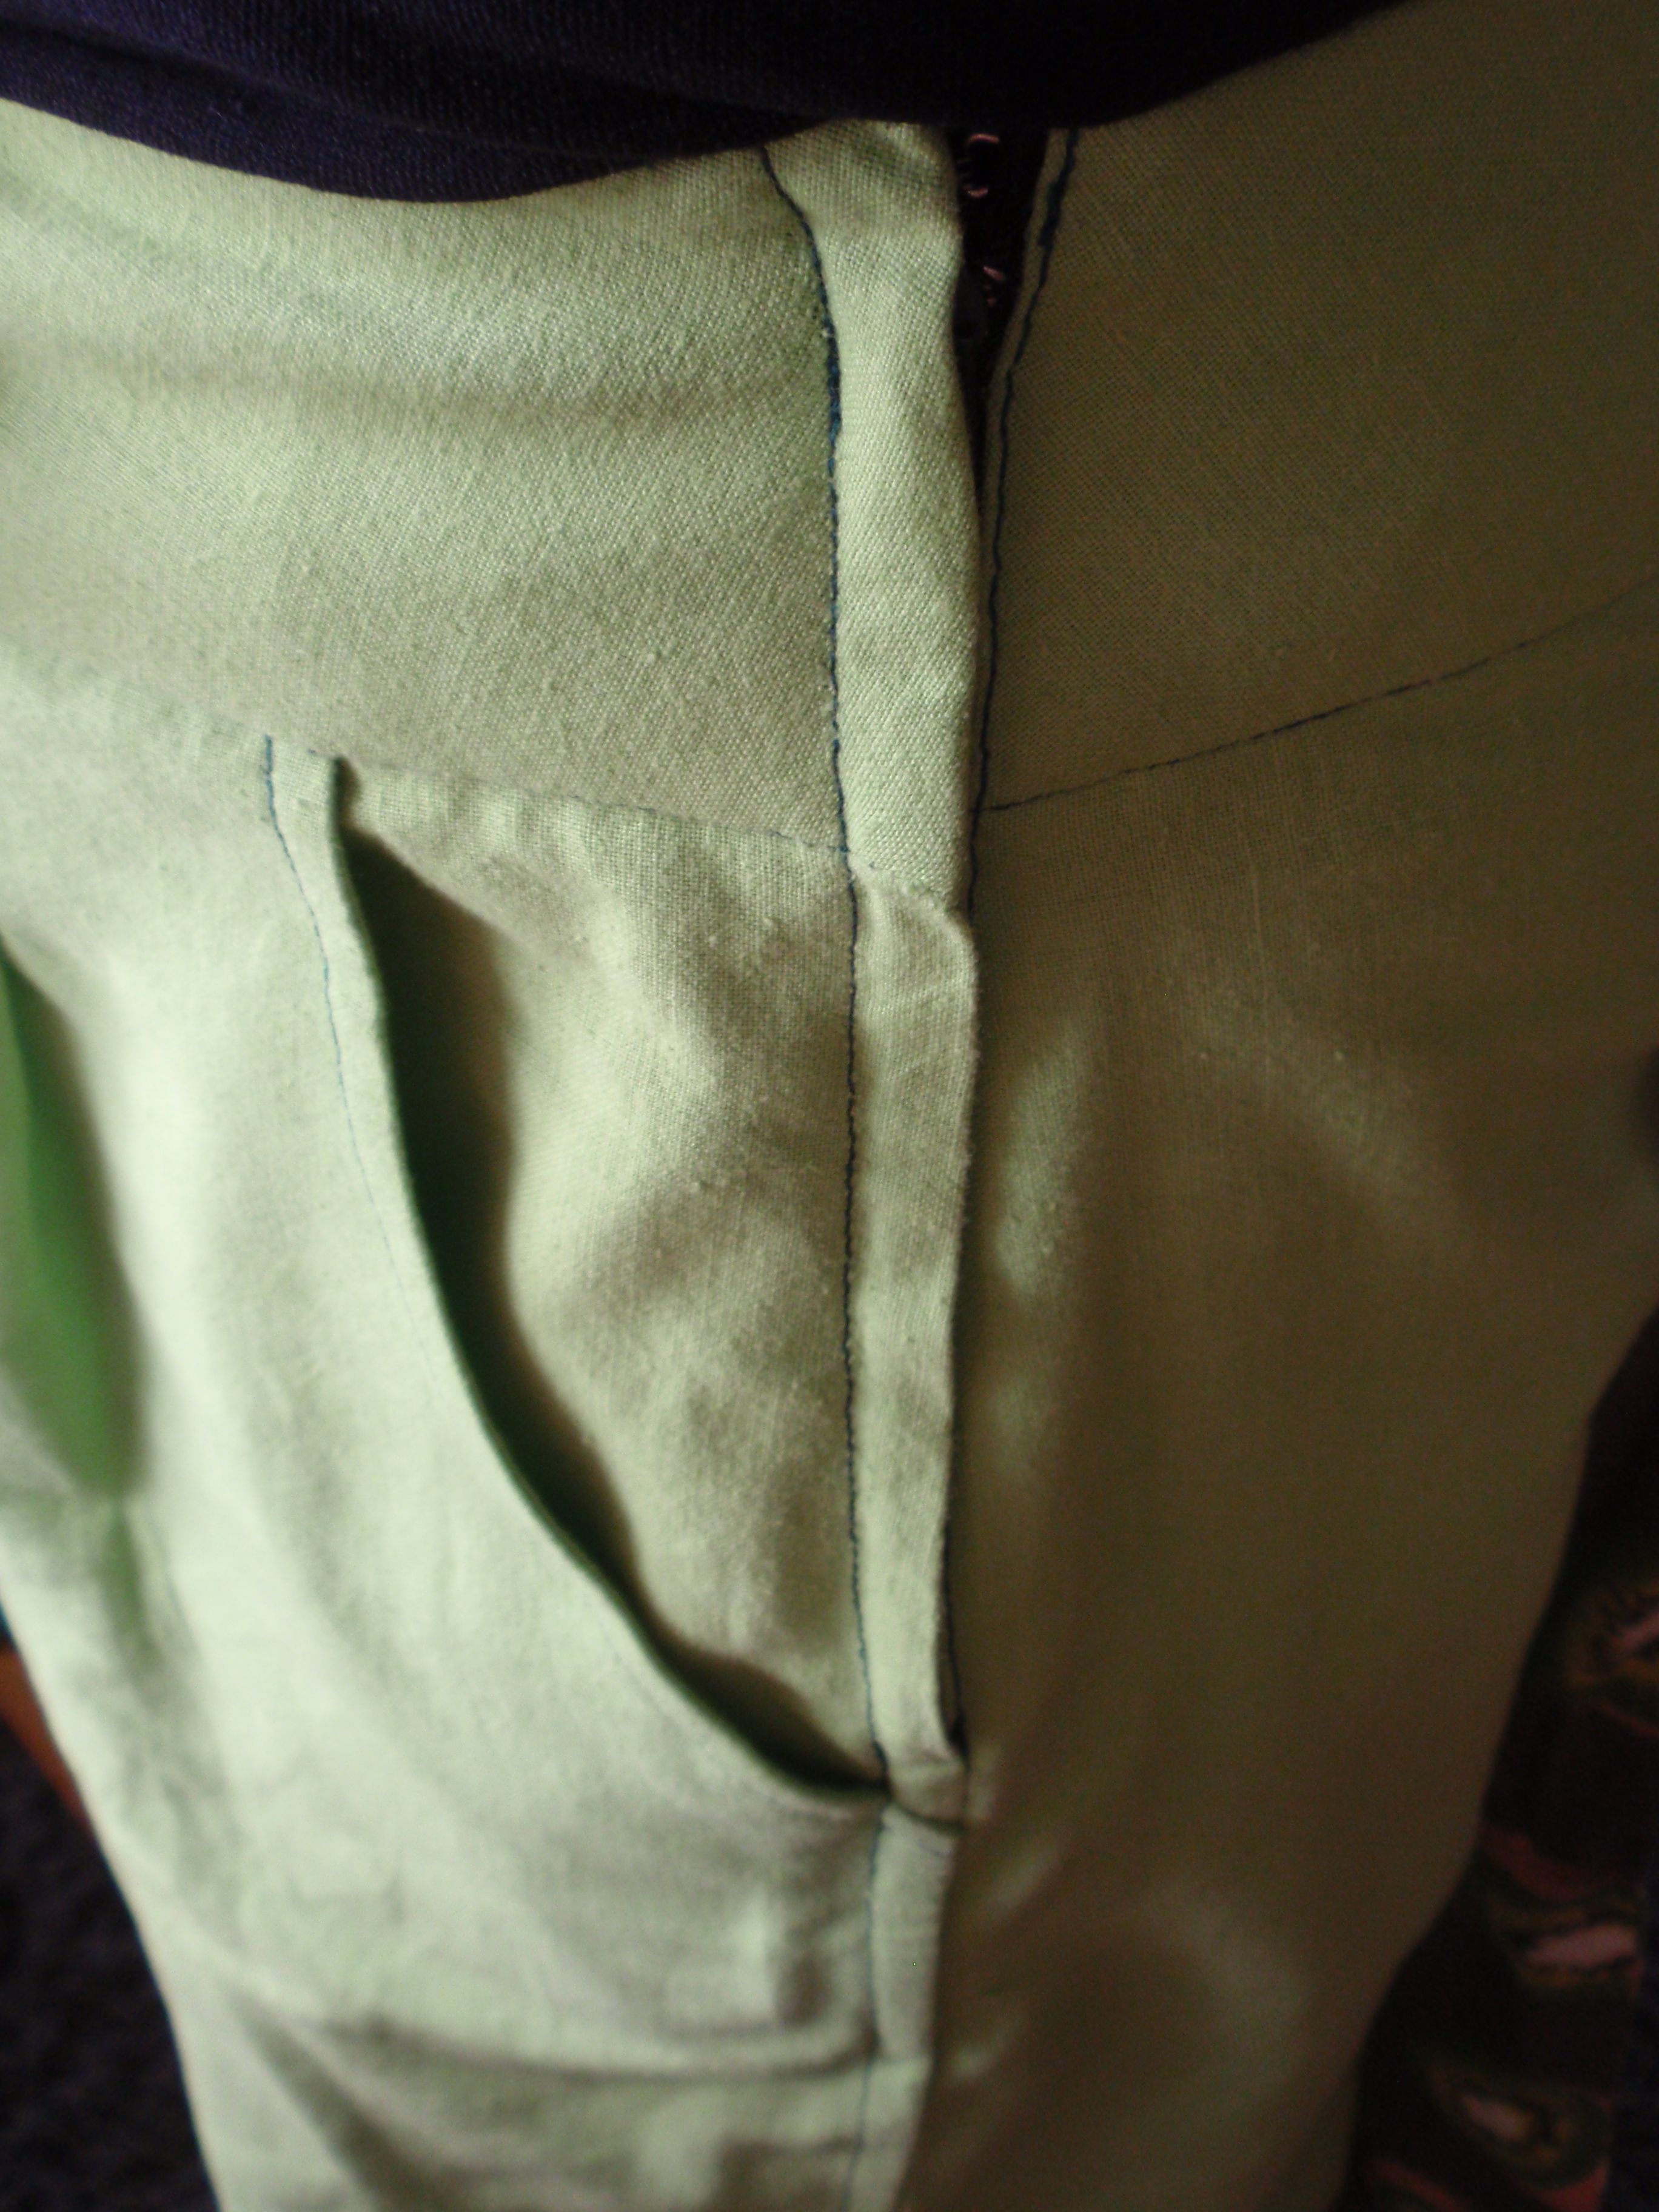
Lastly, the zip. I’m quite proud of this zip, it’s a side zip, which I’ve never done on pants before, but will in the future.

Zipper

I’ve been wearing it for two days now, so excuse the wrinkles, but it’s really comfortable. I love the colour and it makes me feel happy. I guess that’s much more important than what other people think. So even if grass green isn’t your colour, I’ve decided that it is mine!

I’m also still working on the brown dress, hoping to finish that tonight!

Pants!

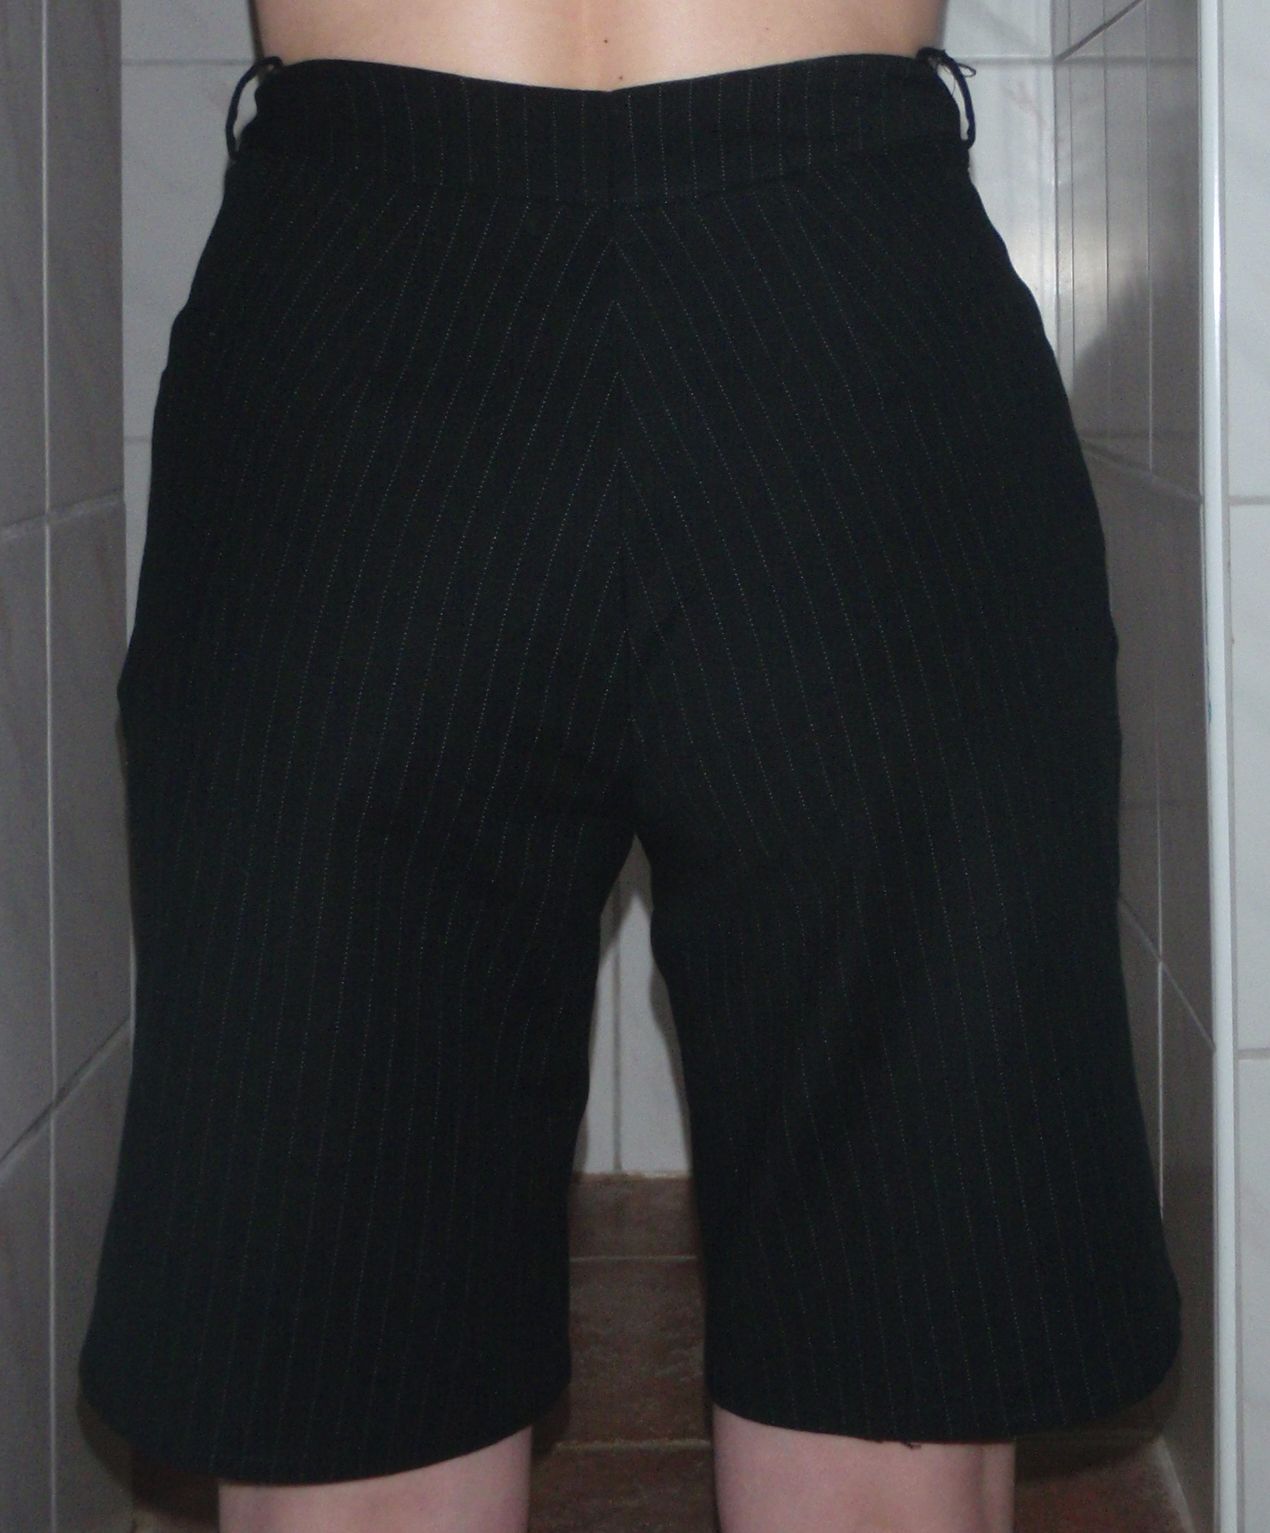
As I said yesterday, I also finished a pair of shorts. I still had some left over fabric from this  dress, and as I’ve said before, I love the fabric. It’s just really nice to both sew, and touch and do stuff with as far as I’m concerned. I have had the idea of making a pair of pants from a navy linen for a while now, but pants are always a nightmare for me. The shorts you will see shortly are meant as a wearable muslin (yes I know, some people don’t believe in those) for those navy ones which I will make full length.


This in theory seems like a good idea. However, I forgot to add more room in the crotch section to play around with. So this one is not really to satisfaction fit wise (although I’m sure I’ll wear it) in the crotch, although the length is absolutely perfect. I don’t like my shorts too short. They also come up a little high in the waist, and although I like coverage, this might be a little too much.

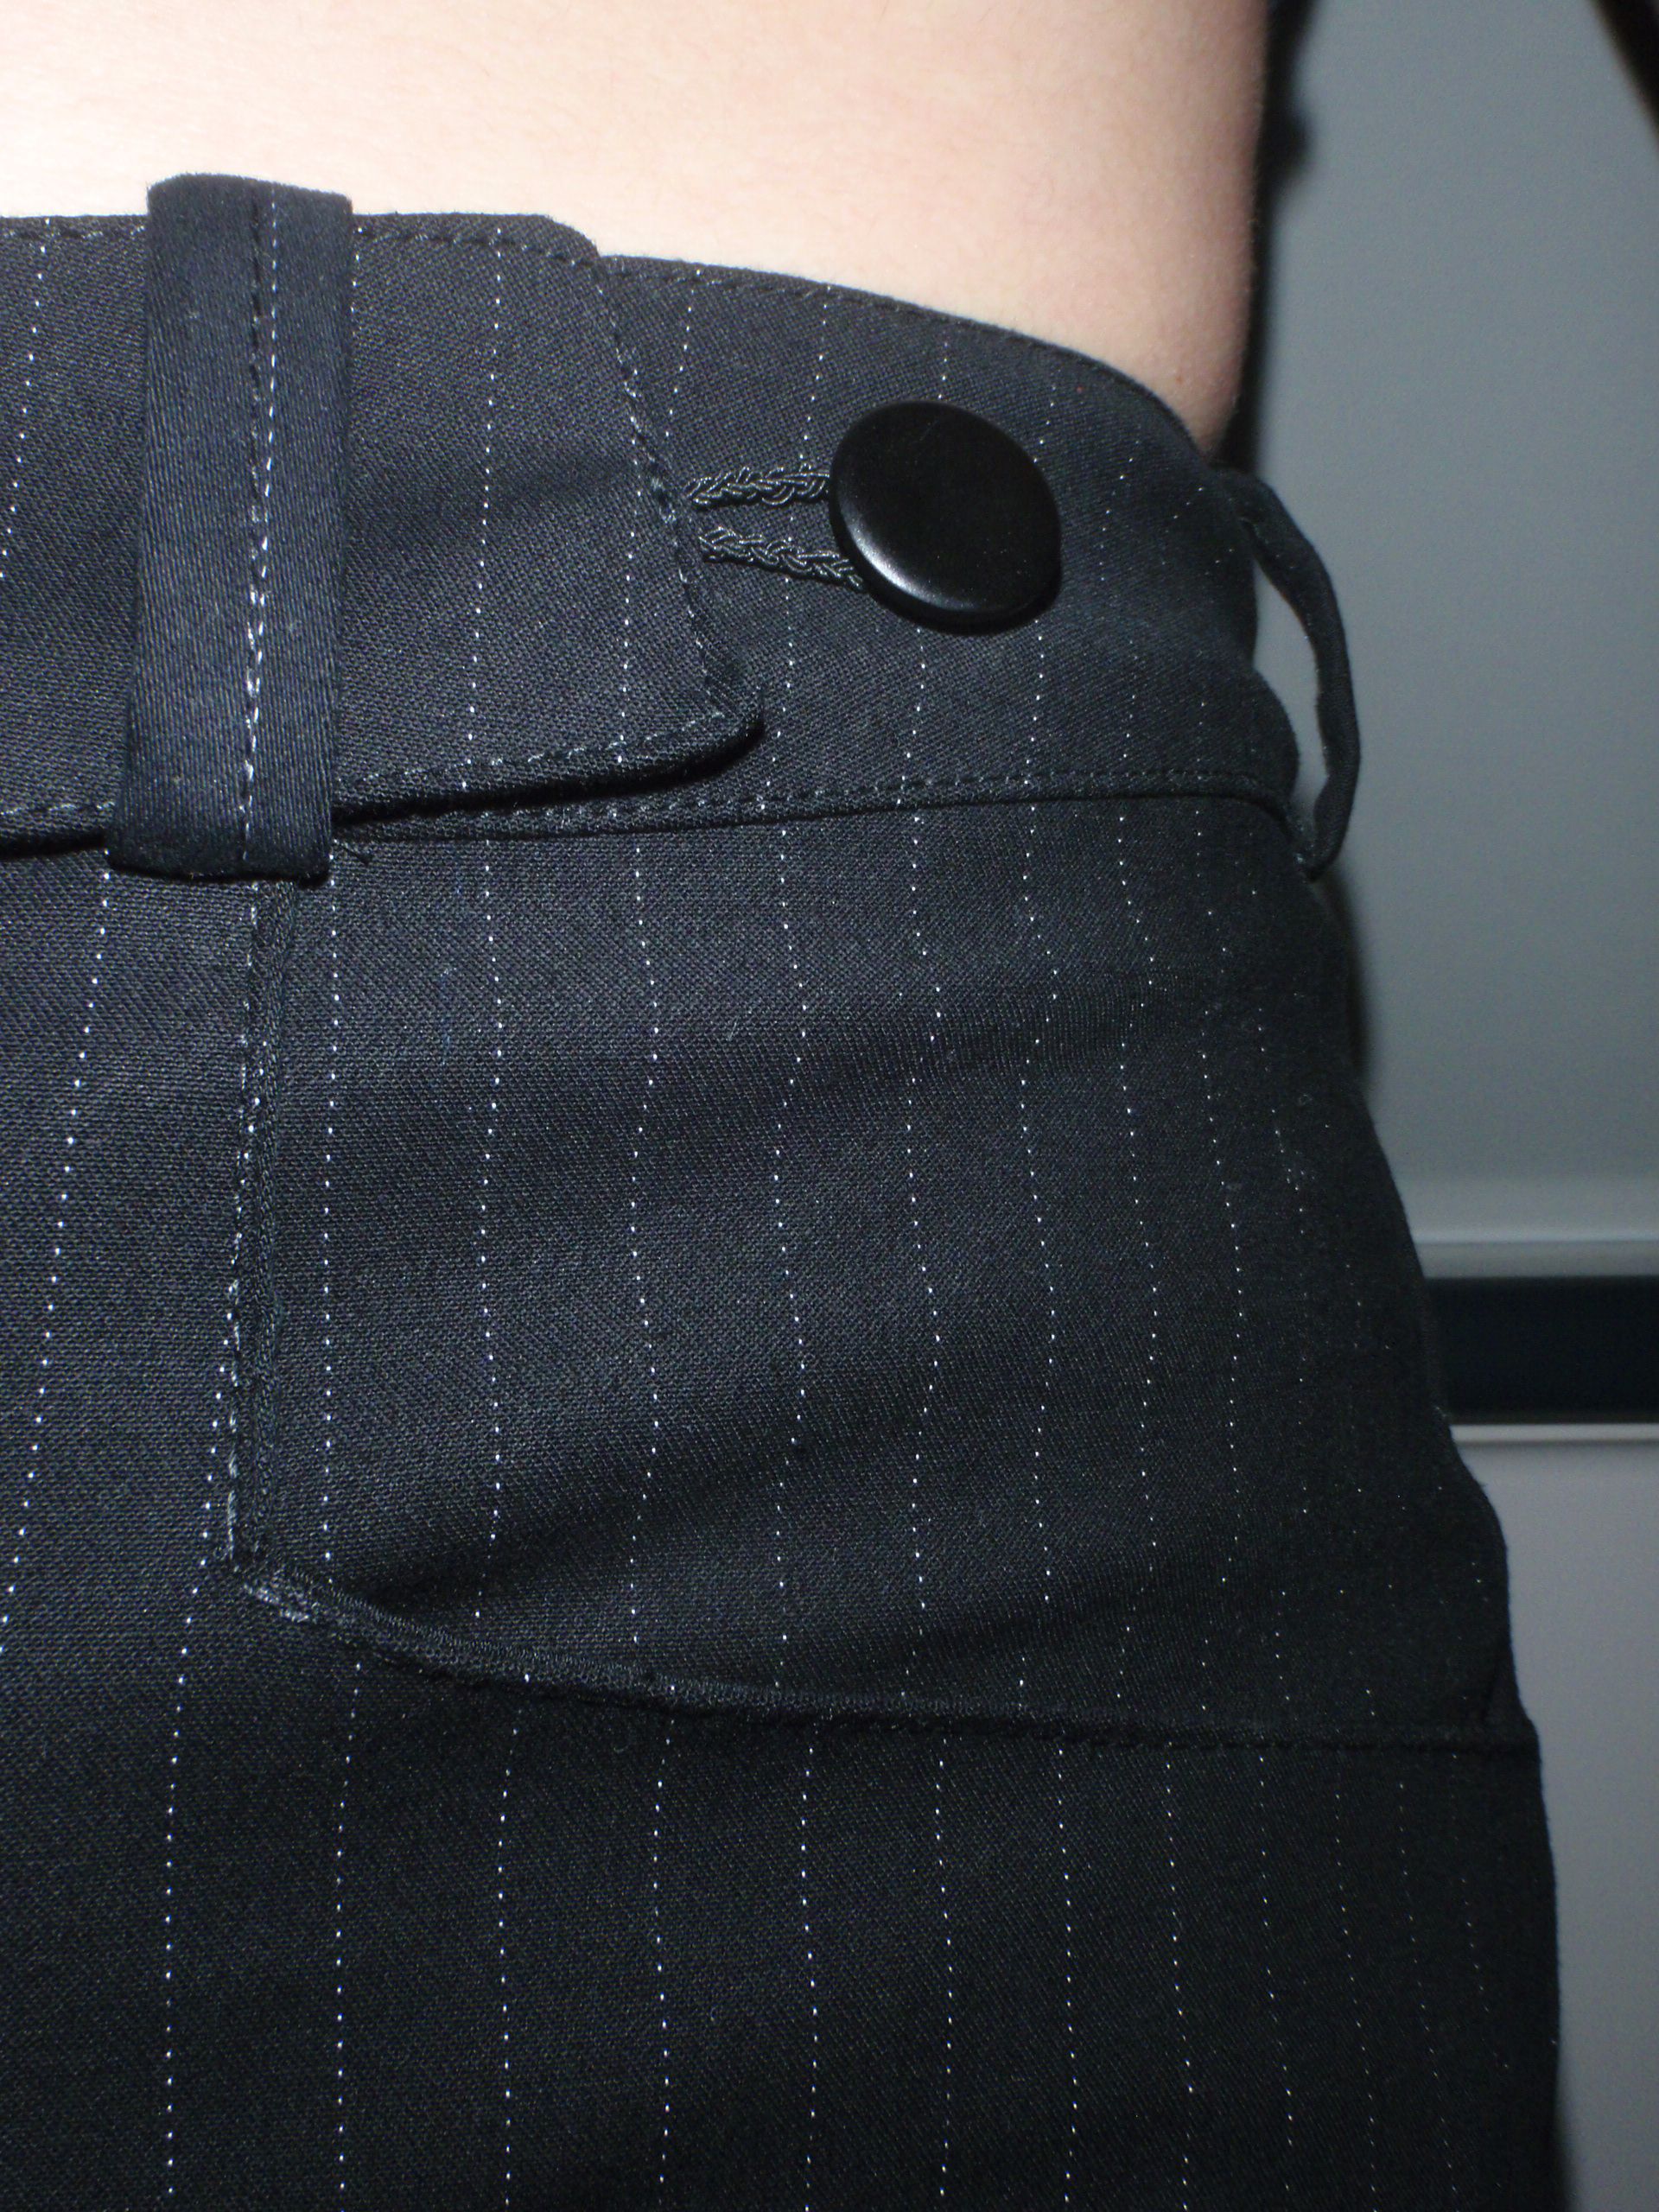
Live and learn people, live and learn. I have now learnt that on these pants slanted pockets, like in these pants, stand out a lot and make me look really fat so I changed them to squareish pockets which don’t stand away from the body. Furthermore, I learned that I need more room in the front crotch because the inseams are too close to the front for my liking. I also learned that my ass is strange and needs a lot of taking in at the top, and therefore an extension on the bottom of the waistband. I’ve learned how to make fancy zipper fly thing from this wonderful tutorial, without which it would have looked a million times worse (*takes a sneak peek at her first attempt at pants and groans in disgust). I did some topstitching around the waistband which also makes it look much nicer. I added belt loops somewhat following this tutorial (although not fully because I attached them differently (the fabric was too thick to be backed over like that). I tried using my blind hem foot to make a blind hem, and failed miserably, twice. So I gave up and just double folded over the hem and stitched it. I did use my blind hem foot for the topstitching and the zipper outside (and of course the zipper foot for setting the actual zipper). I braided some elastic and attached it to the waistband to go around a button, because the band was a little to short to accommodate a button after the belt loop. I put in a hook and eye thing for pants for the first time. Also, I matched stripes in the front and back! Sadly the sides were impossible to match/I didn’t think about doing that. I made do with small bits of fabric and cut the back waistband pattern to be able to piece it from scraps of fabric.

All in all I think I learned a lot from this project. Now hopefully the weather will clear up and I’ll be able to wear it outside!

Promised Pictures

I promised to show a picture of my finished orangey pants, blogged here. So there they are:


I generally wear it with that little belt, which I attached at the back with a safety-pin, which you can probably see. I’m wearing them a lot, because they are comfortable and I really like the colour. I can generally pair it with quite a lot of things in my cupboard (or that’s what I think, don’t know if the rest of the world agrees).

I’m keeping to my plan of wearing something self-made at school. I forgot last Monday but apart from that I’ve been sticking to it. This pants is one of the regulars, and I have two other pants I wear often too. I have some difficulty incorporating the skirts and dresses because I never now how to behave when I have no pants on. Coming Monday is going to be Queensday, and I’m looking forward to the celebrations. I might wear these pants because they are close to orange.


Pants

I don’t remember when exactly but I made really nice (or at least that was what I thought) red/brown pants last year or the year before. I was happy wearing them the next day, and playing around with super glue. You understand that that obviously went wrong. I had a really nice super glue stain on my beautiful pants, close to the knee. It dried up much darker and wouldn’t come out so I did not ware those pants very often. Now I’ve finally ‘fixed’ it.

I made to additional seams in the legs of the pants to cover the stain inside. Which worked! I also reinserted the zipper and made it smaller. I’m quite happy again with it, no more stains! Now only to make sure that when using super glue, always wear something you can trow away if you get the glue on it. I’ll take a picture soon.

I’ve also agreed with myself that I’m going to try and get more out of my self made items, by wearing at least one thing I’ve made (or altered in the case when I really can’t find anything), when I go to school. I go to school 3 times per week so that should help get the rotation going. Eventually I might be able to increase it to every day, but we’ll see about that when the time comes.