Accidental Harry Potter Sweater

Red and yellow seem to become Harry Potter colours really easy and really quickly. I only found this out after I’d finished most of my sweater though. Truth be told, I don’t mind. I like the sweater, it is comfortable, warm, pretty and it has stripes. Those stripes were a complete pain in the ass to finish, but that’s the life of a (somewhat new) knitter, I guess.

The original pattern is $5 in Paris which is free on Ravelry, you can see my very limited notes here. I now also remember why I thought I’d blogged about it, I did post the pictures on Ravelry. Sometimes you’d think I’d forget my head if it wasn’t stuck on. I did already show quite a few pictures of me wearing it, just see the MMM ’15 posts.

For the sweater, I basically fudged a bit and math-ed with the stitch counts to suit my gauge and called it a day. Also, the stripes were sort of supposed to continue along the arms too, but I’d ran out of white yarn, and so made them completely red. I actually like it like this, so happy accident!

OLYMPUS DIGITAL CAMERA OLYMPUS DIGITAL CAMERA

You’ve now seen the front and back, and they were so pretty, weren’t they?! But the nicest bit is the neck. In it is this cute little tag I bought from a shoppy. I finished the neck with elastic, as it became a bit stretched out during the day and sank further and further off the shoulder. I hate off the shoulder everything, so that was not an option. This solution works, and it’s a nice pop of bright red on the insides.

OLYMPUS DIGITAL CAMERA

I will write about the graduation dress when I have some nice(r) pictures. And once the day is over so I can tell all about the possible thunderstorm coming our way.

Woolly Necklace

No, not a woolly jumper yet, although I’m getting there. I am slowly finishing up a green sweater with a side front closure and weird collar. However, in the mean time, I made a few necklaces. I have a colleague who owns a necklace made of a lot of rolled fabric strips in coordinating colours, all in hues of blue. I really liked that idea and when I found some interesting yarn on sale, I figured I’d try to recreate that necklace. This was the yarn and the first part of the necklace.

OLYMPUS DIGITAL CAMERA

I wanted to figure out a way to make the necklace without using any knots in the yarn. So I looked through my stash of jewellery equipment and found some bits that have a hole in the top and fold over to grip whatever you put in. I had about 20 of them. I made the first necklace, the red one and didn’t have enough bits to make another one. So I looked through all the shops I could think of to find bits to make more necklaces. Couldn’t find any, and I didn’t know what those things were called, so ordering them was difficult at first. Using some interesting methods I eventually found out that I was looking for “Fold Over Cord Crimp Beads”, and I got 3 packets of 150 bits in 3 colours.

OLYMPUS DIGITAL CAMERA

To make the necklaces, I put the yarn in the bits, fold over the sides and cut of the yarn that comes out the top. I do this for 8 or so strands and then I string them on a jump ring. Another jump ring is added and the other ends are strung on another jump ring, then the second jump ring with closure are added. This produced, in my opinion, a nice finish. You can also first braid part of the strings or add a metal chain or two. I personally really like the mixed media approach.

OLYMPUS DIGITAL CAMERA OLYMPUS DIGITAL CAMERA

I have made three so far. Of which I only took pictures of two. I sent the third one to a friend, I hope she likes it.

OLYMPUS DIGITAL CAMERA OLYMPUS DIGITAL CAMERA

This one has 5 red stands, one black and a doubled chain, the bits are silver coloured. This one was the first attempt and I really like it. The second one, below, used all the colours, two strands of each, one chain and old copper bits. I twisted this one a bit before I put it on. Which is an alternative method of wearing it.

OLYMPUS DIGITAL CAMERA OLYMPUS DIGITAL CAMERA

So this was my new project. I like it and I have still quite a lot of the yarn left over. This means that I can experiment and make all kinds of things, using this approach. Maybe even add large beads or knot, braid or twist strands. The options are endless!

Holes

Happy new January etc.

As you may or may not know, people in the Netherlands are allowed to ignite fireworks in their own backyard and/or street from 18:00 on the 31st of December until 2:00 on the 1st of January. Being somewhat easily scared and with a severe dislike of loud bangs, you can understand my dislike of the party. However, apparently, most other people do like it. Anyways.

Way back in 2014, I finished a new sweater. The pattern, or as they call it recipe was called the eyelet yoke sweater and can be found here. I had actually completely finished the body and part of a sleeve when I decided that it really was much too big and baggy and not what I wanted. So I frogged and started again, using the very unscientific method of not knitting 1 every 8 stitches. And some calculations to get the yoke to work out.

Left the frogged version, right the current one. See the difference?

OLYMPUS DIGITAL CAMERA OLYMPUS DIGITAL CAMERA

OLYMPUS DIGITAL CAMERA OLYMPUS DIGITAL CAMERA

Now, the eyelet yoke sweater sort of has its description in the name. There are eyelets in the yoke, aka holes. Once I’d finished the thing it was difficult to think of something to wear underneath, because there were holes that would show whatever was underneath. Eventually I had the brilliant idea to just wear a blouse. I own two and even though they are blue and white, I don’t think they clash with the red in the sweater. I’ve now worn it out and about, and forgot to take pictures every time, so that’s why it’s ‘late’.

Here is was after a wash, you can see on the left that the bottom is not the same length all the way round, sort of. And on the right the built-in shaping which I may have overdone a little.

OLYMPUS DIGITAL CAMERA OLYMPUS DIGITAL CAMERA

The left is the finished version of the bit with the holes, and right the frogged version. There is a little difference but not much.

OLYMPUS DIGITAL CAMERA OLYMPUS DIGITAL CAMERA

Below you can see the thing on me. Excuse the horrid lighting, it’s winter, I feel like I’m in perpetual darkness with all the storms, rain and other light-blocking weather features.

OLYMPUS DIGITAL CAMERA OLYMPUS DIGITAL CAMERA

And this is my ravelry project.

Moving Fabric

I’ve wanted to make something the Dutch call a ‘tuinbroek’ for a long time now. A tuinbroek, from the Dutch word for garden,  is called dungarees in English. Pants with flaps at the front and back and straps over the shoulder.

For my plan to work I first needed to find a pants pattern that would fit, such that I could add the front, back and straps. I eventually settled on the pattern I used for my green and grey pants. I tried to remove the pleats in the front because I didn’t like them for my dungarees and shortened it to knee level. Found my fabric, a bright red linen type stuffy that I’ve also made this bag from, and cut it out. That was 2 to 3 months ago. Guess what has been wadded up inside a bag for quite a while…

Now, it is presently extremely hot in the Netherlands, so hot that I needed something short to be able to survive the heat. So I continued on with my dungarees. Also because I felt a bit guilty that it had been left in the plastic bag for so long already. I first made the pants bit, where I found out that I hadn’t removed enough of the pleats so I still had to make some anyway, otherwise it would just fall straight off my bum.

Zip, pleat, pocket Zip and side

You can see the pleat next to the zipper, it’s on an angle because I liked the look of that better. I also made belt loops in case I want to wear a sash or belt. This is the only side that opens, the other is completely closed. It opens by means of a zipper and two sets of hooks & eyes.

Tuinbroek insides back Tuinbroek insides front

When I had finished it all, including the top pocket, back pockets, belt loops and serged all the insides, I had to decide on the length. It was really hot so I decided to chop it all off. It’s pants, so basically still having a bit of inseam would be decent enough. I was wondering if I wanted to have turn ups, so I made those first, the plan being to allow me to turn those turn ups in or out depending on my mood. I didn’t like them out so I decided to stitch them down. This made the inseam the perfect length of 11 cm.

Tuinbroek inseam Front pocket

All in all, I like them. I might possibly need a little bit more  room in the butt area, but I’ll see if I can change that in the next iteration of this pattern. I really like this pattern so I’m guessing there might be more in the future. This is how they look on me, completely finished.

Tuinbroek front Tuinbroek back

I have already started a new project involving some stuff that feels like a wet-suit. I just hope that project will not take as long as this did.

Hat!

Or, according to the pattern, Vintage Allure Beret. Meet my latest finished (important note, I have many more unfinished) knitting project.

Hat on head

It’s a free pattern that can be found here. It’s a beret that features 8 cables and it is knit in the round using mostly purl stitches. I really liked knitting it, since it’s a fairly fast project you can see it coming to completion. I also really liked the colour red that I used. I think I’ll probably make it again, but then I’ll purl the decreases instead of knitting them, so they hopefully blend in a bit more, I now have 16 ridges. You can look at my project on Ravelry here. Also, this is the hat when it’s flat.


Hat


I’ve worn it already and it is really nice. I used to pins to keep it connected to my head (hard winds that day) and it held up perfectly. I also think the red and my hair are a nice combination. Now, I’ll continue with my sweater, that will hopefully be finished this winter…

Winter is Coming!

While you may think from the previous post that my head is still in summer land, it is actually cold over here. I don’t particularly like the cold, so the last time (I think?) I was at the fabric market, I bought a meter of something red, thick and stretchy. I figured I might be able to make a sweater out of it. Well, my size turned out to be a blessing, since I could actually get a long-sleeved sweater out of that 1 meter. If I’d been only a little bit hippier, it would not have fit!

I chose to use my t-shirt pattern and just elongate the arms. Why do it the hard way, right? Then I copied the hood of a sweater I’ve bought and futzed a bit to get the hood to fit in the neck hole. In the end, it all worked out. I had the body of the sweater lying in my room since Monday, but I was a bit scared to attach the (finished) hood. I bit the bullet today and attached it. It worked the first try! Then I wanted to make thumb holed cuffs. So I found myself a tutorial (this one, thanks!). I only had to redo the first one three times. 1st time: I did the second seam the wrong way round because I was too stubborn to read the instructions carefully. 2nd time, it went right but the opening was a bit big, so I ripped it all out and for take 3, I angled the seam and that worked fine! The second one worked in one go! Yay, for learning. Lastly, I attached a bottom band. Red T-shirt Sweater Hoody thing is a reality!

Front and back, naturally.

Front Back

Thumb hole and insides. I only sewed a few bits with my sewing machine (inside of the cuffs and bottom band, ‘topstitching around the hood’ and the pointy bit where the hood attaches), the rest was done with the serger. I only have white or black thread, there was white still in it and I was too lazy to switch, nor did I care about the colour.

Thumbhole Insides

Hopefully I’m now ready for the real winter times! It should be quite warm!

On a Roll (with a Bow!)

I finished the Duck skirt not long ago, and Saturday I decided to finished another UFO I had thrown in a bag in the corner (probably quite literally). See, I bought this knit fabic, it’s blue-green with turtles and apples and flowers and stuff on it (fairly.. childreny). I tried to get two shirts out of it, a while ago. I succeeded in cutting out the pieces and then my machine decided to stop working and I couldn’t figure out how to get the serger to do what I wanted. So I bagged the projects and threw them in the corner. Where they sat.. and sat .. and sat..

Today I got the bag out and finished one of the shirts. This one is a sleeveless top. Since I didn’t really have enough self fabric to finish the arm holes and neck, I took a bit of red stuff I’ve had in the closet for a while too (I’m still scared of knits, if I’m honest). I cut of a strip to finish the bits and decided I might as well use it to make a bow on the front. I’ve seen bow-blouses all around the net for a while now, and I figured I’d like one myself. If not, I can always cut the bow bit of and have a normal neckline, right?

So you might wonder what it looks like.. Don’t get scared, but here’s my fantastical kiddy top without sleeves but with a bow! Front and back first:

Front Back

And a close(r)-up of the bow and the fabric. See all the cute little turtles and apples and flowers and stuff? The colour is closer to the first picture, but I couldn’t get the flash to cooperate nicely.

Bow Details

Now, I’ll hopefully finish the other shirt soon too!

Play Dice With The Universe

Ok, maybe not with the universe, but I like the quote, even if it is most likely not what was actually said. (Something Einstein, blabla).

Anyways, back on topic. I have a friend. She plays DnD (Dungeons and Dragons, for those not in the know). It was her birthday not too long ago. I wanted to make her something to give as a present. Now, for some reason that I don’t really remember, I was searching the internet for weird-numbered-sided-dice a bit before. In DnD the most common dice are d4 (4 sides), d6 (6 sides), d10 (10 sides) and d20 (go guess how many sides that one has..). For some reason I google image searched a d14, because I wanted to know if they existed. I found out they did, and I found a picture of a d14 laid out flat! After a while I put 1 and 1 together and decided to make a d14 shaped dice box for my friend.

I got out the felt I had conveniently bought a bit before, used the garden wire I had bought for my Christmas cards (which will be explained after Christmas (or after I’ve sent all of them)), and sewed the thing together. This is the layout (click on it for link):

14 sided dice

This is the final product. The elastic is to keep it closed when there is something in it, like dice, or little clothespins to form a Christmas card line with a bit of ribbon.

ClosedOpenOpenBottom

Next up, ducks!

Red Bag

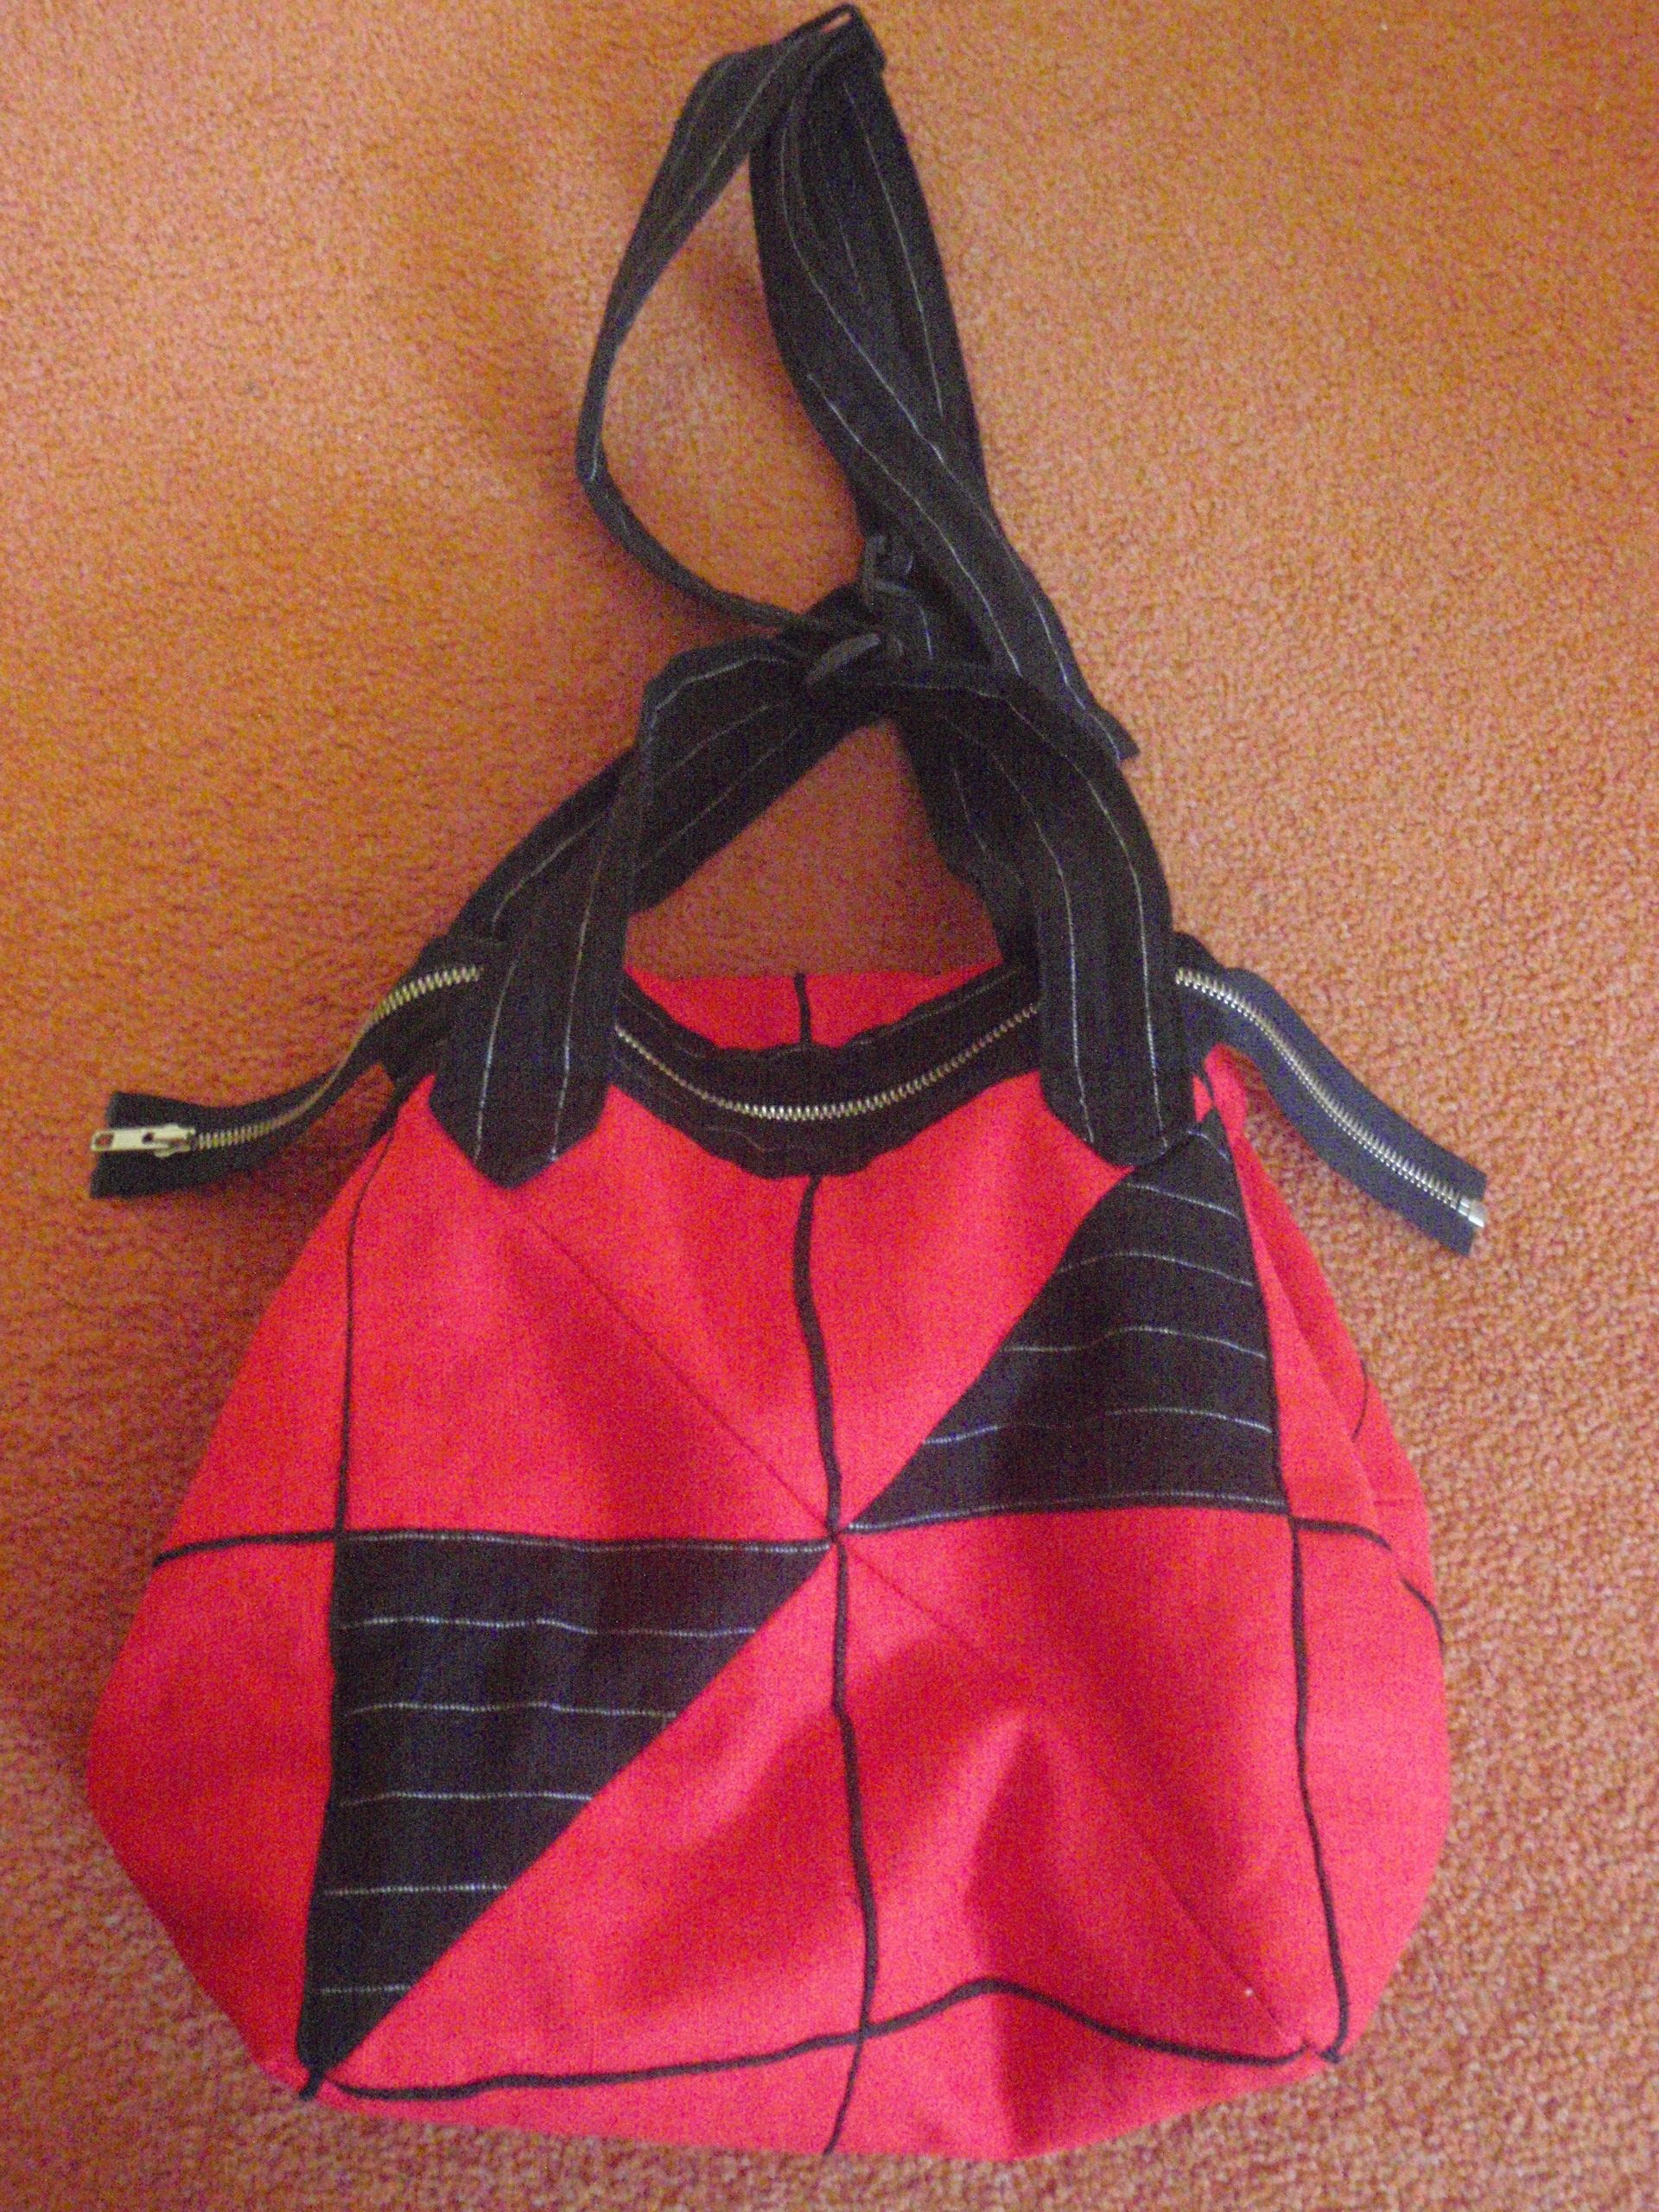
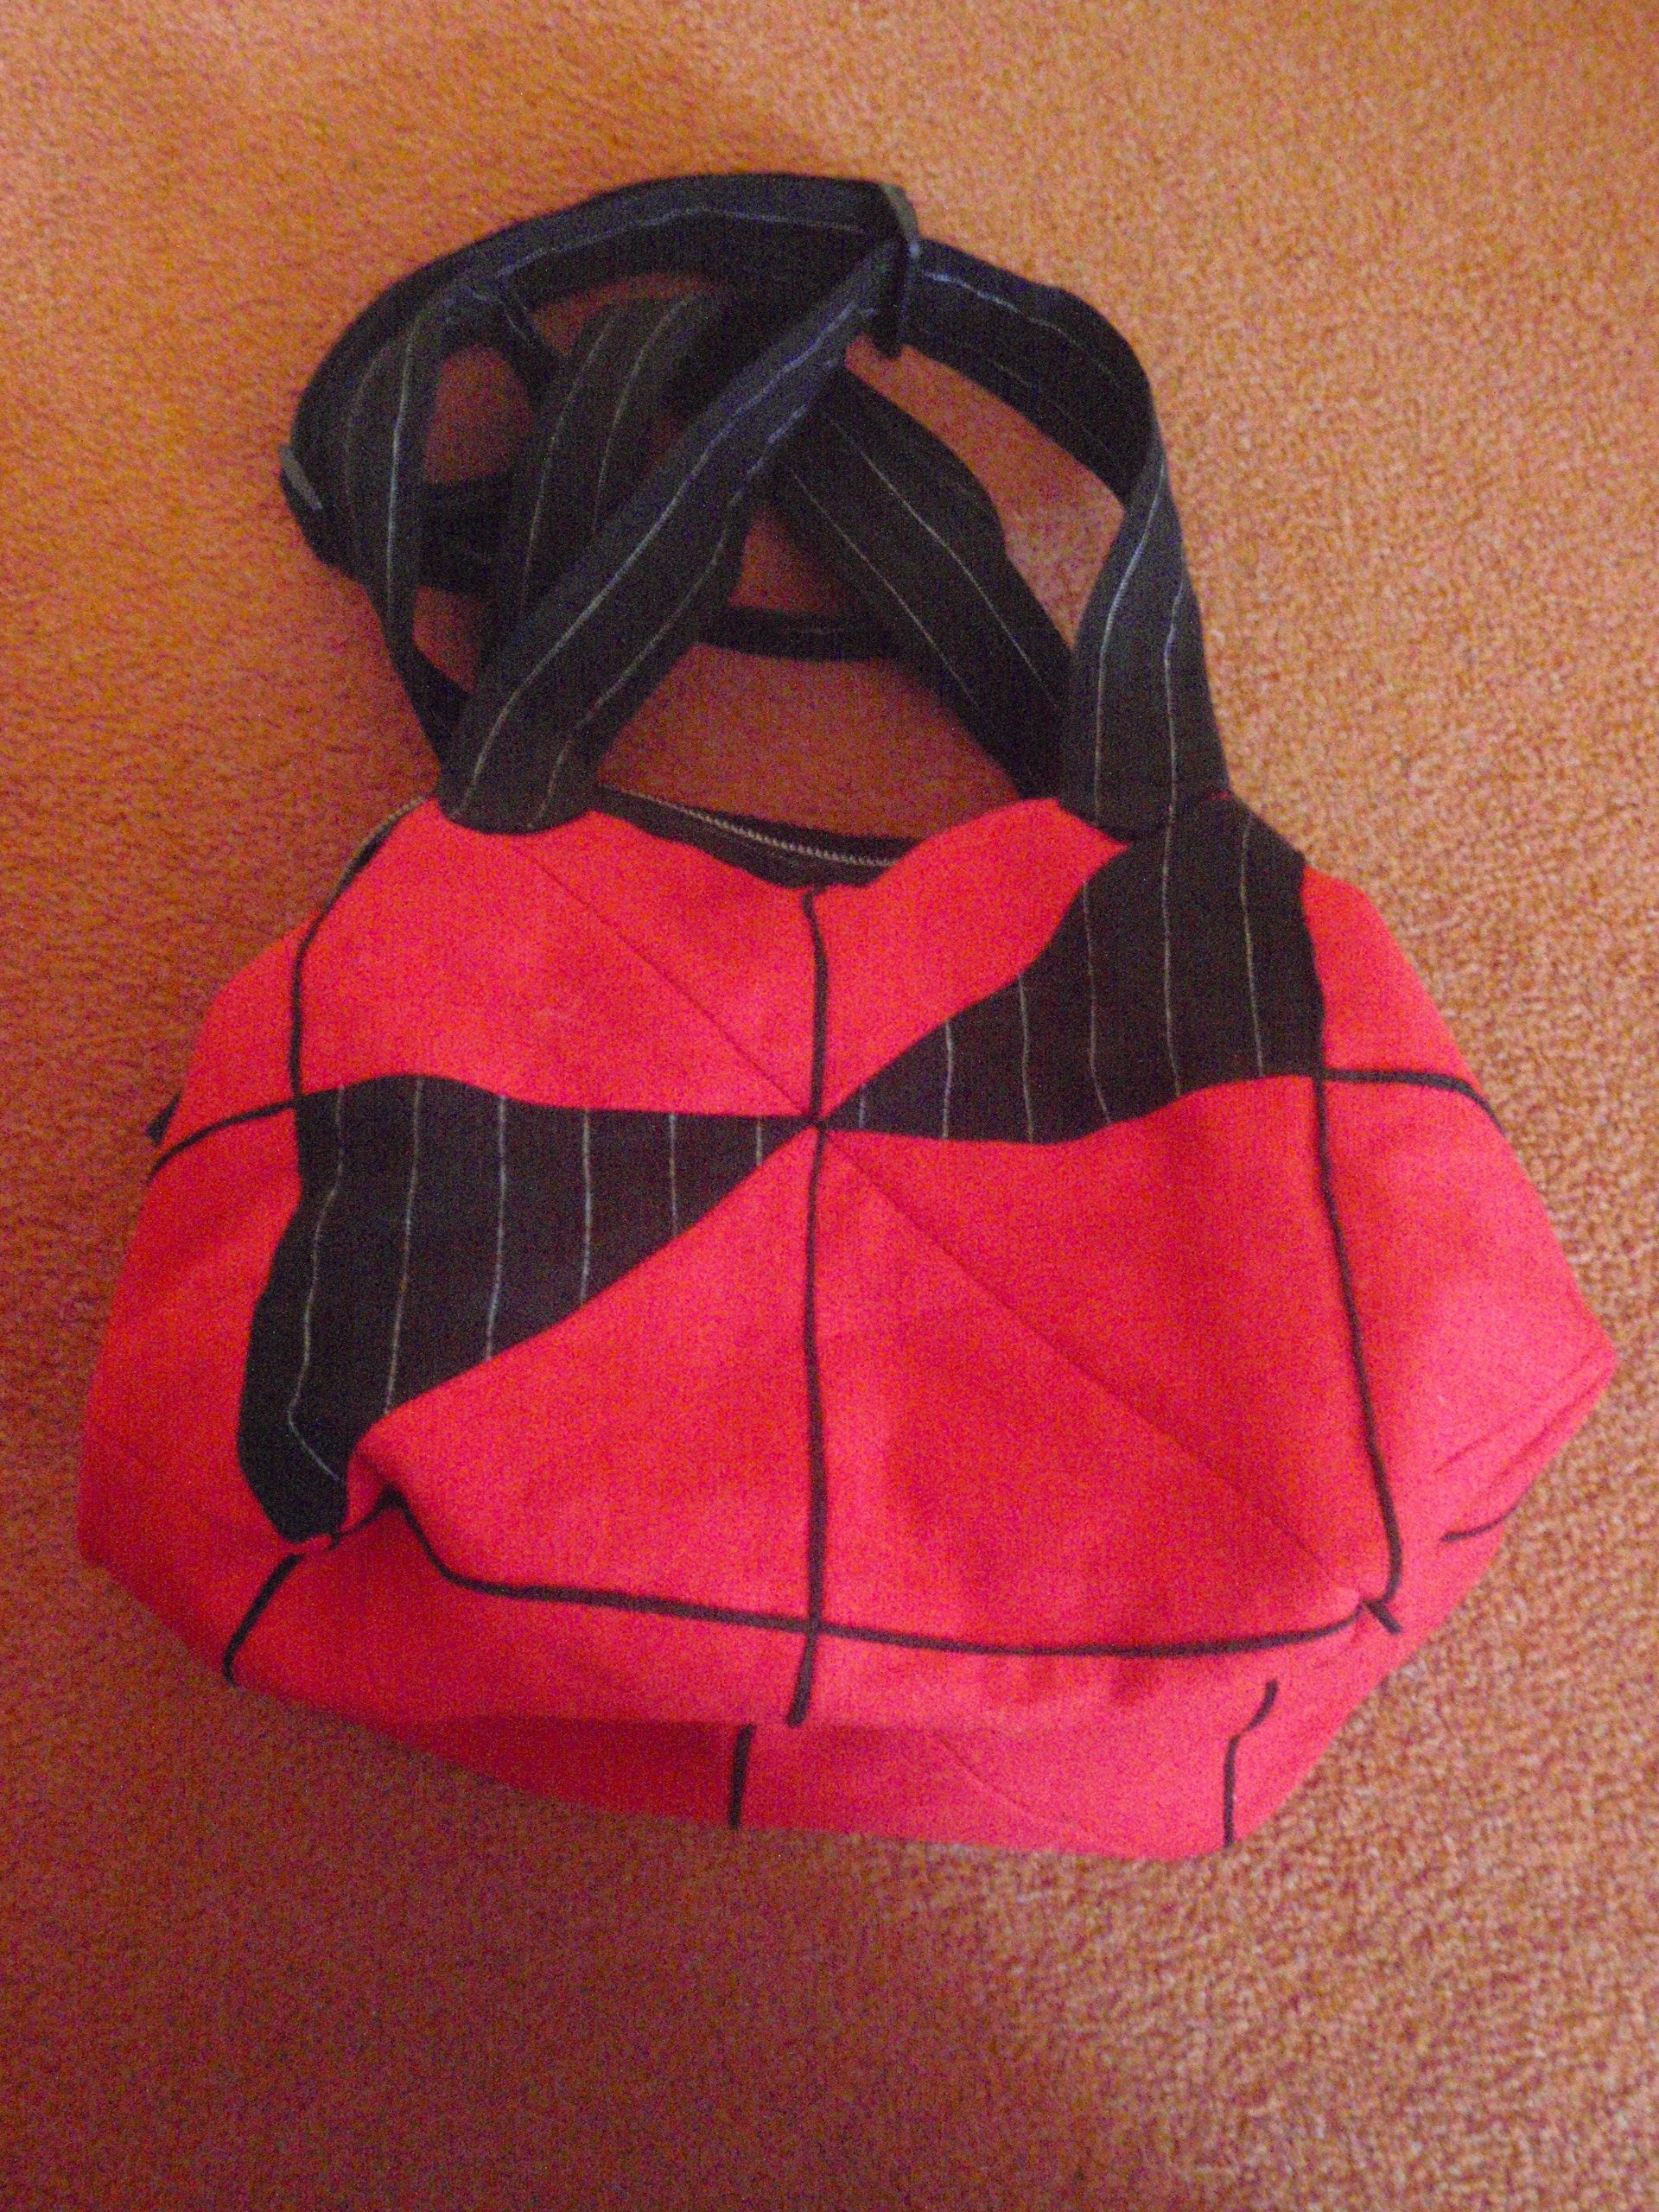
Last time I posted, I hoped I could post about the red bag being finished. I am very proud of myself for actually doing that. Today I finished the red bag. Now, you might wonder what ‘the red bag’ is. When I decided to start quilting I went to the library to get a book. I came home with two, of which one was “Japanse quiltstyle” (or “Easy Japanese quilt style” – by Julia Davis and Anne Muxworthy (here)). I really liked the bag on the front (here) but I couldn’t find enough different fabrics to make a fun multi-coloured patchwork bag. Then, a light bulb turned on in my head. I could do it in one colour I really liked and do with piping!

I searched my stash for a fabric and located a red linen stuff that I really love the colour of. I always think that red and black go very well together so I found a black pinstripe fabric that had 2 cm apart pinstripes. This meant that I could cut on the lines and they would make nice even piping (if I had sewn straight). I cut out 18 squares of red and 2 of black. Only 9 fit the width of the red stuff and  I figured, variety isn’t bad right, so I took two other squares.

I made some paper models to figure out how the bag was put together. They have you make a windmill shape that sort of twists around such that the diagonal of a square forms the top. It was difficult to picture in my head, so I decided to model it. I sewed everything together and added a couple of touches from my own. Here is the finished product.

Front Back

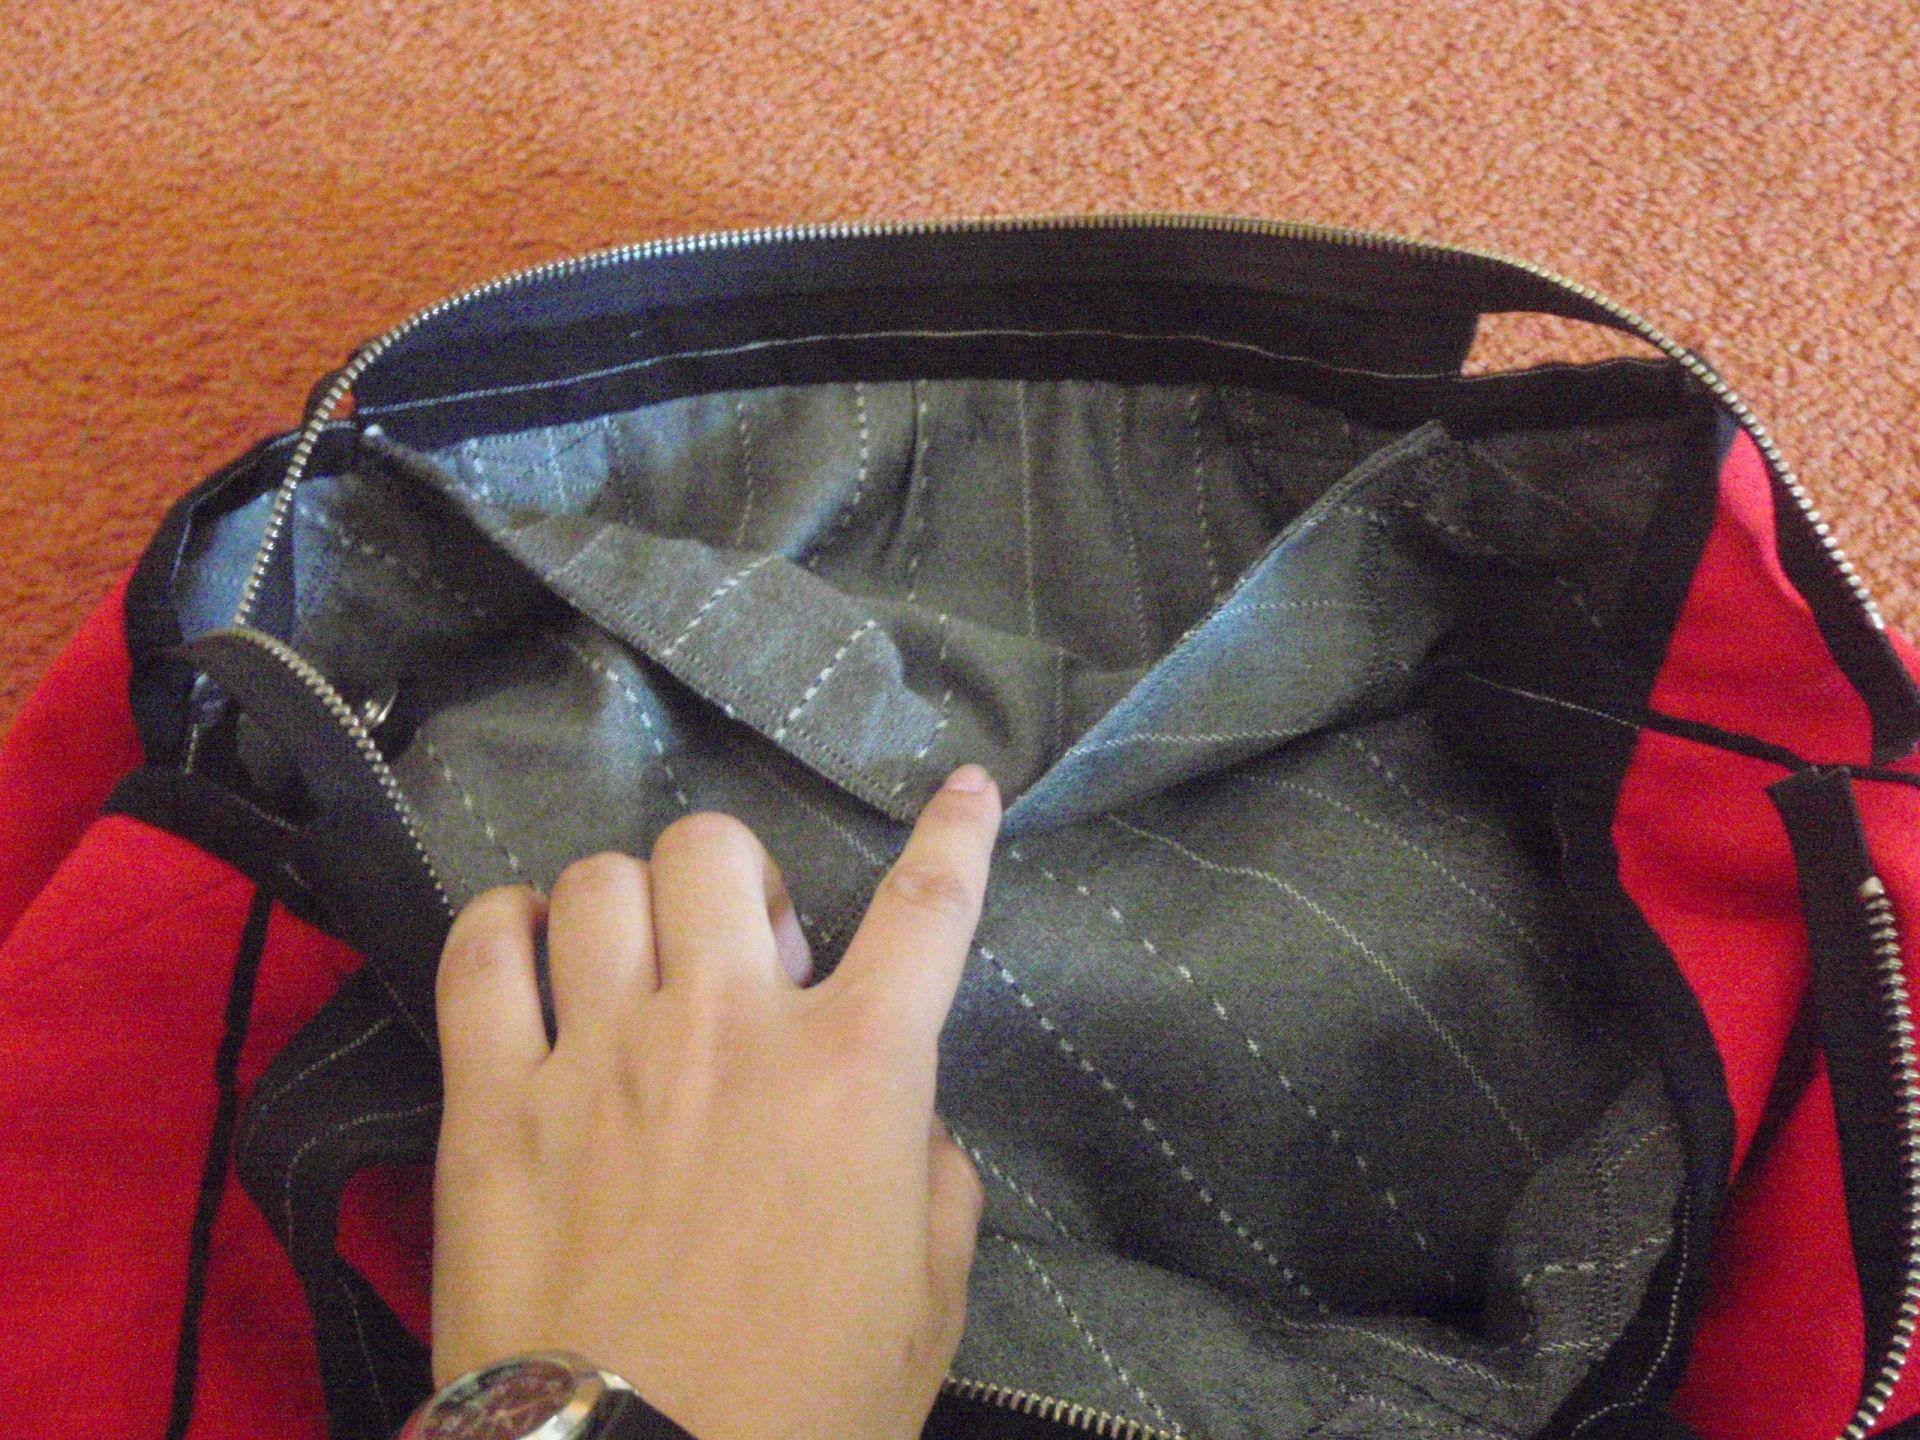
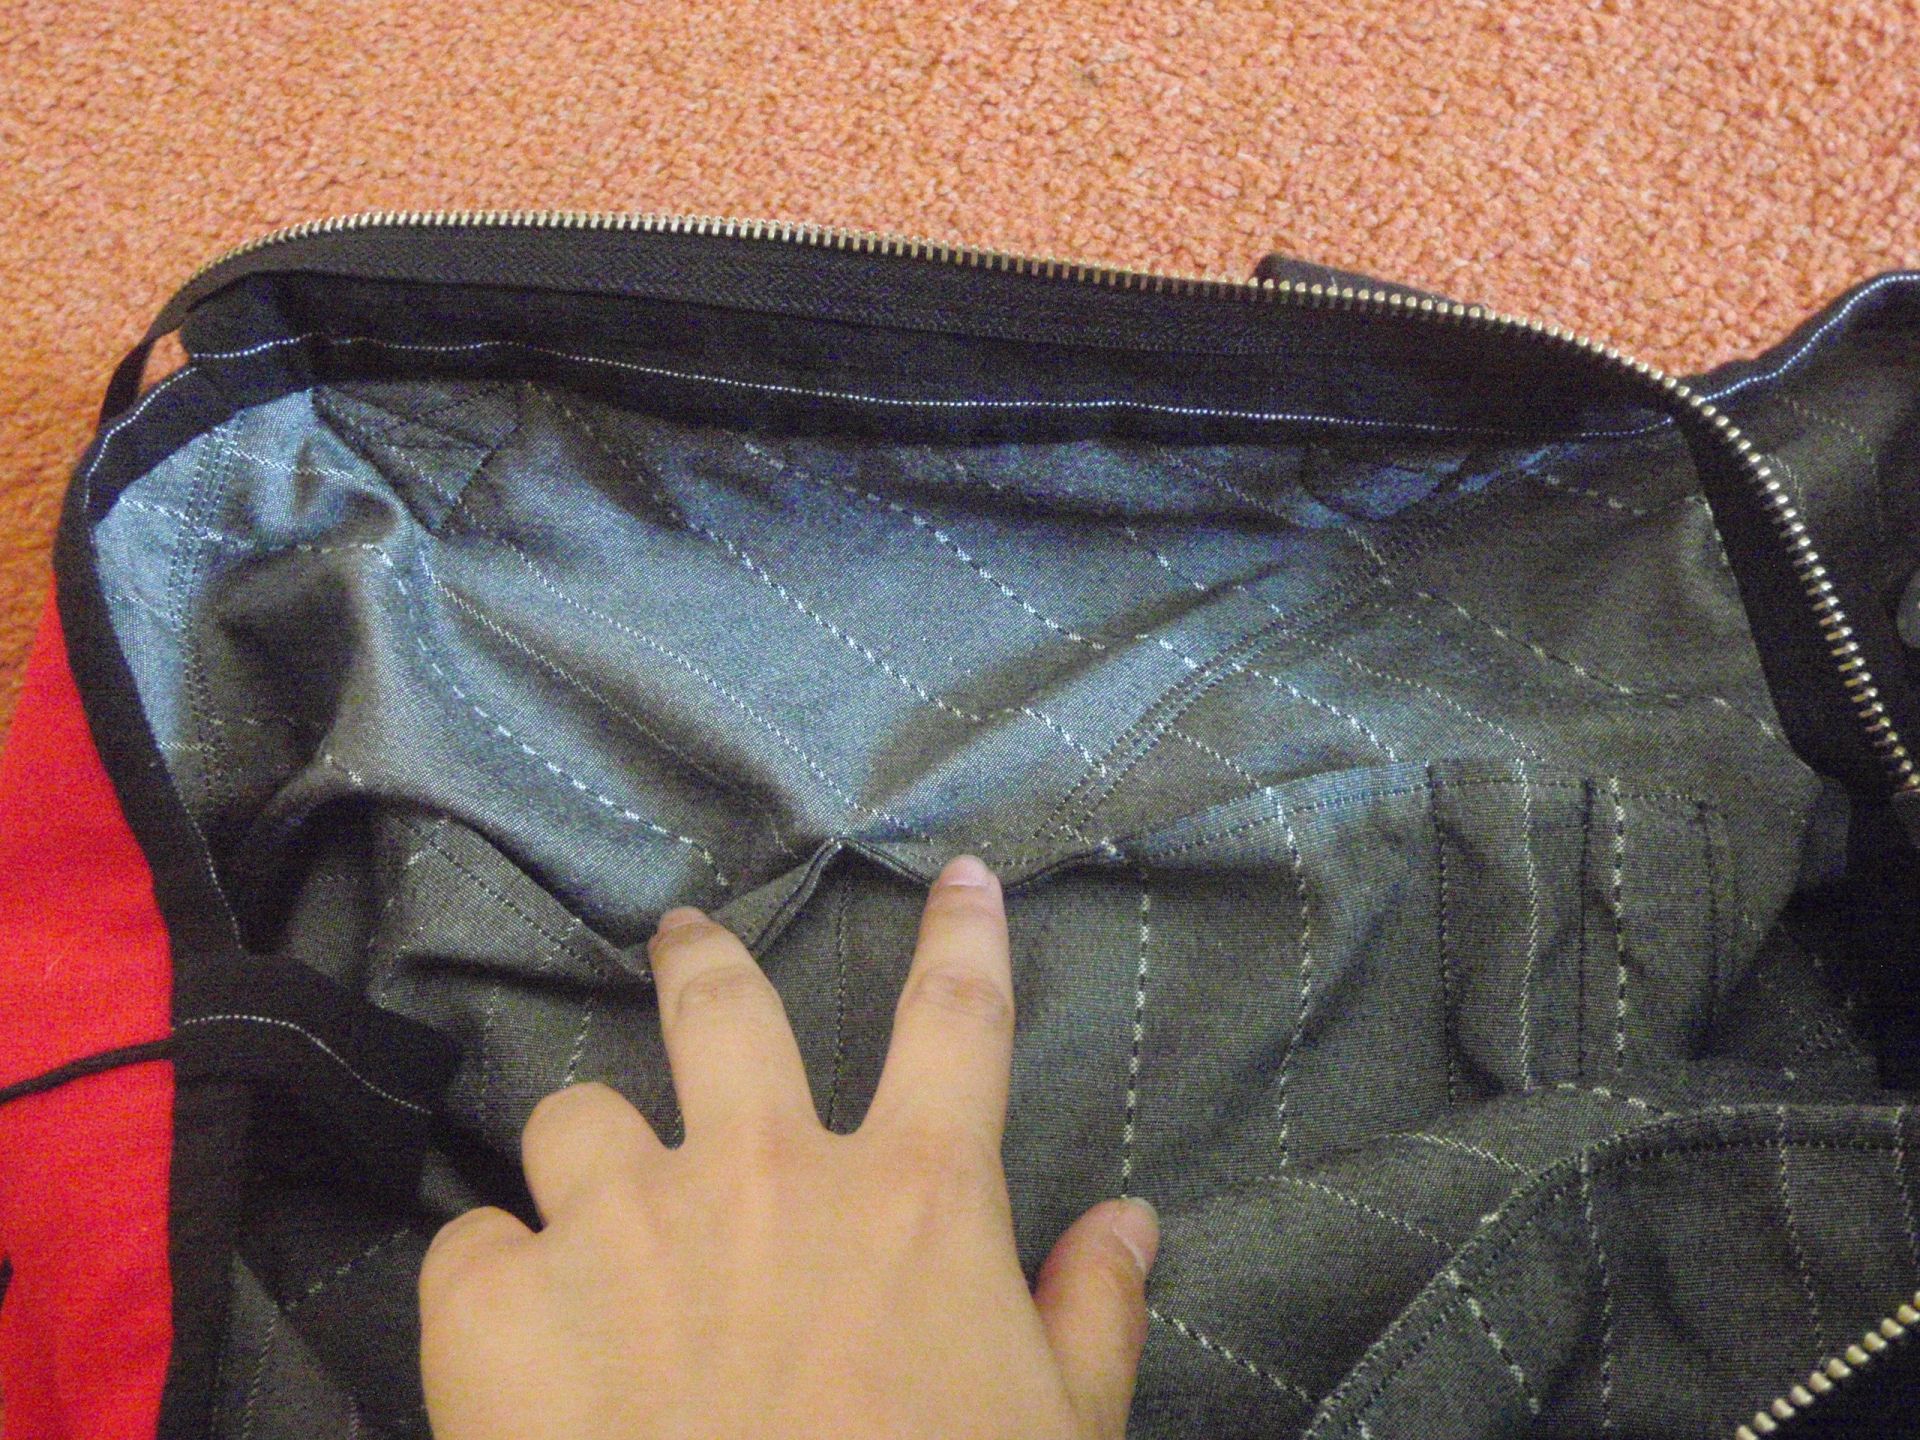
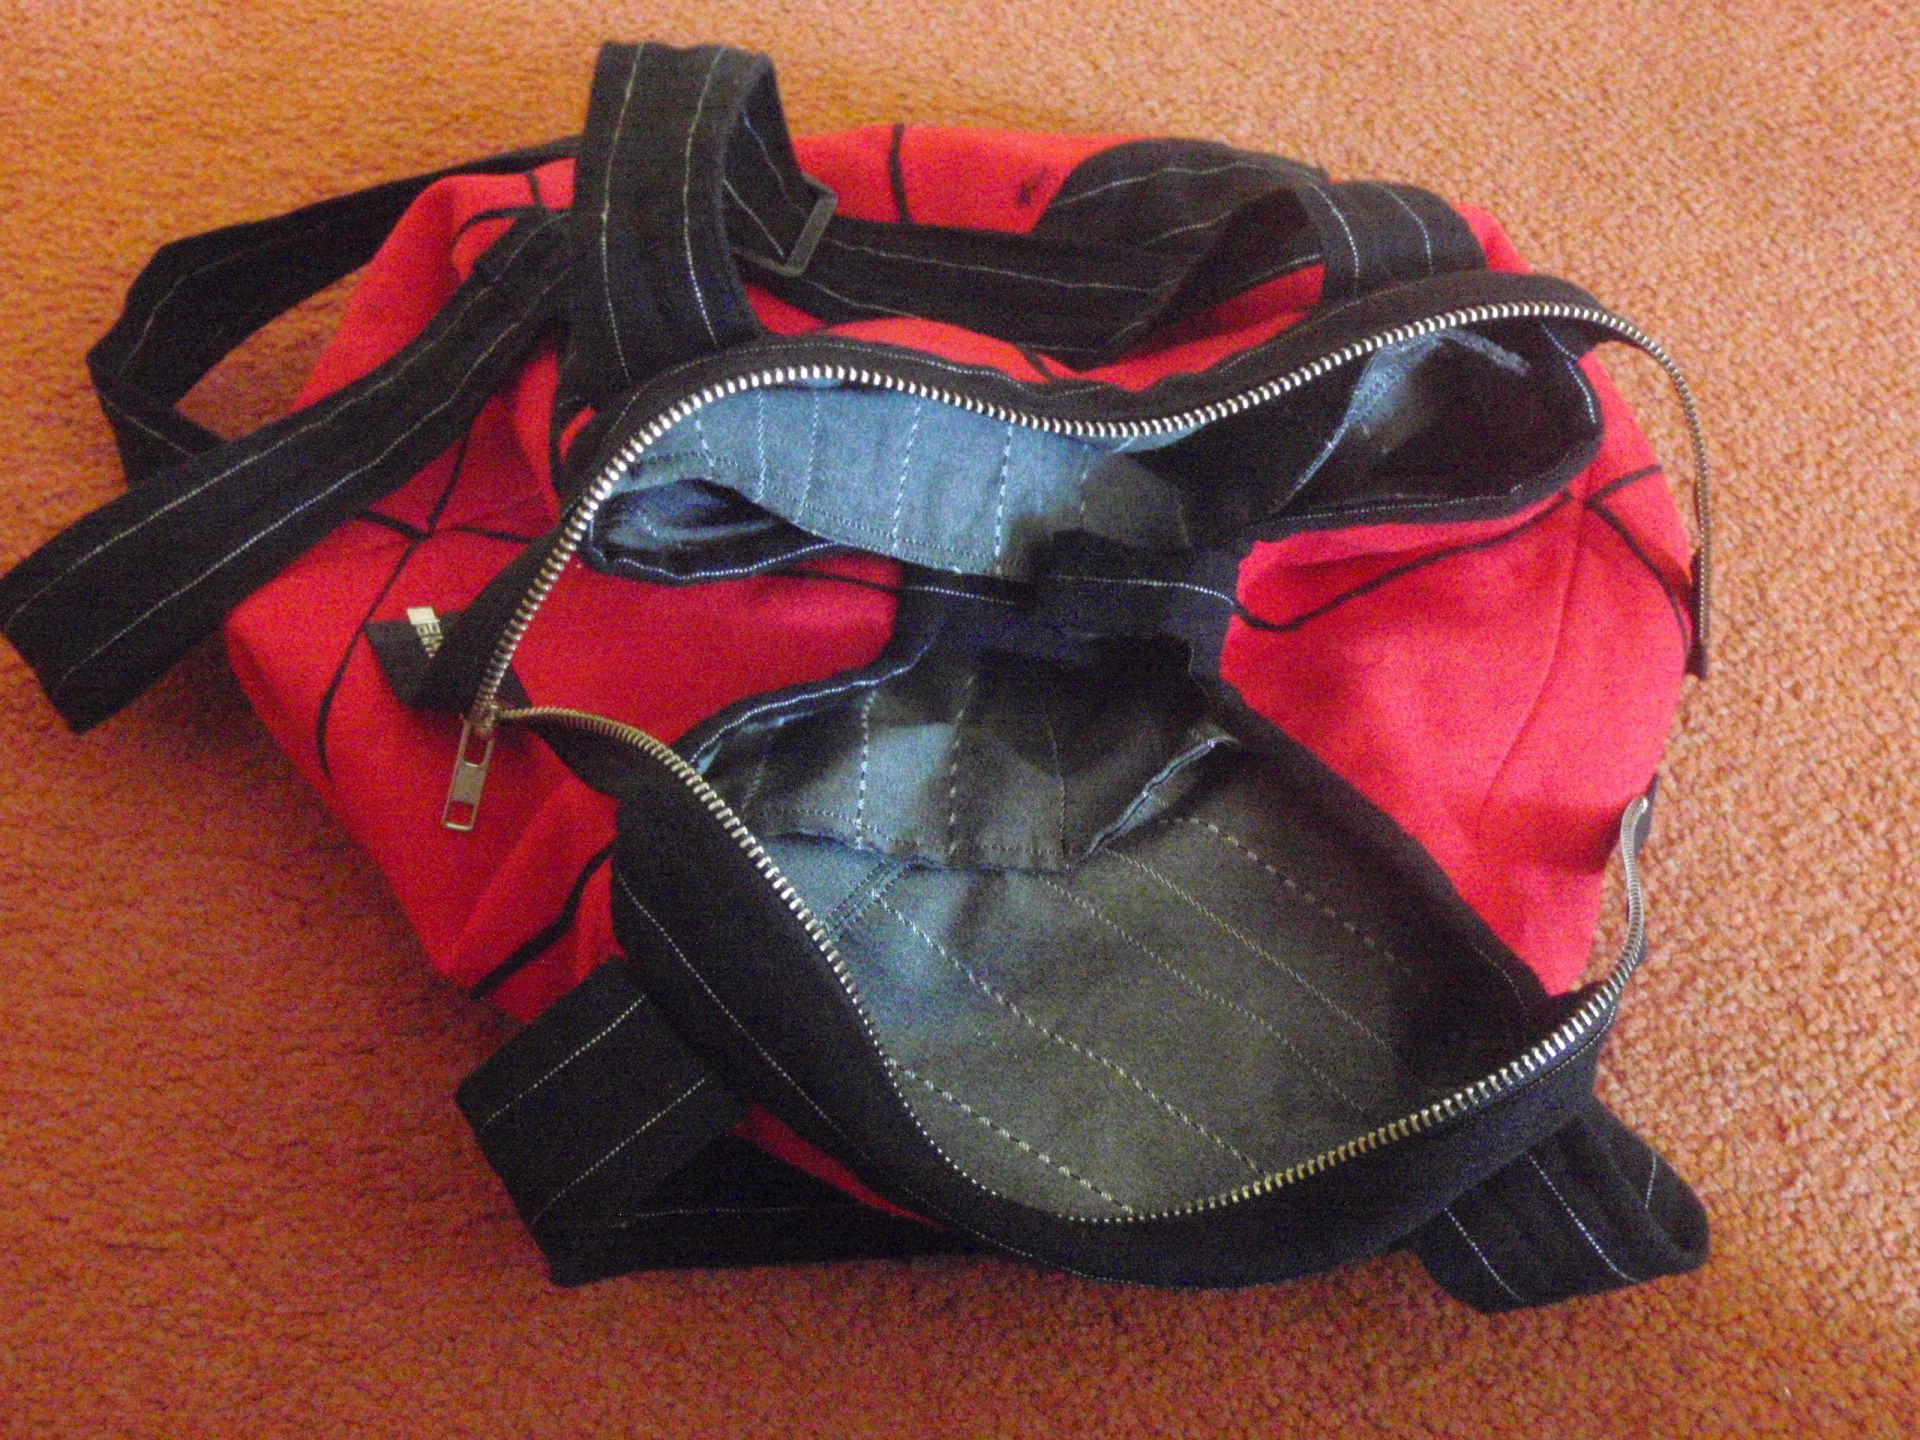
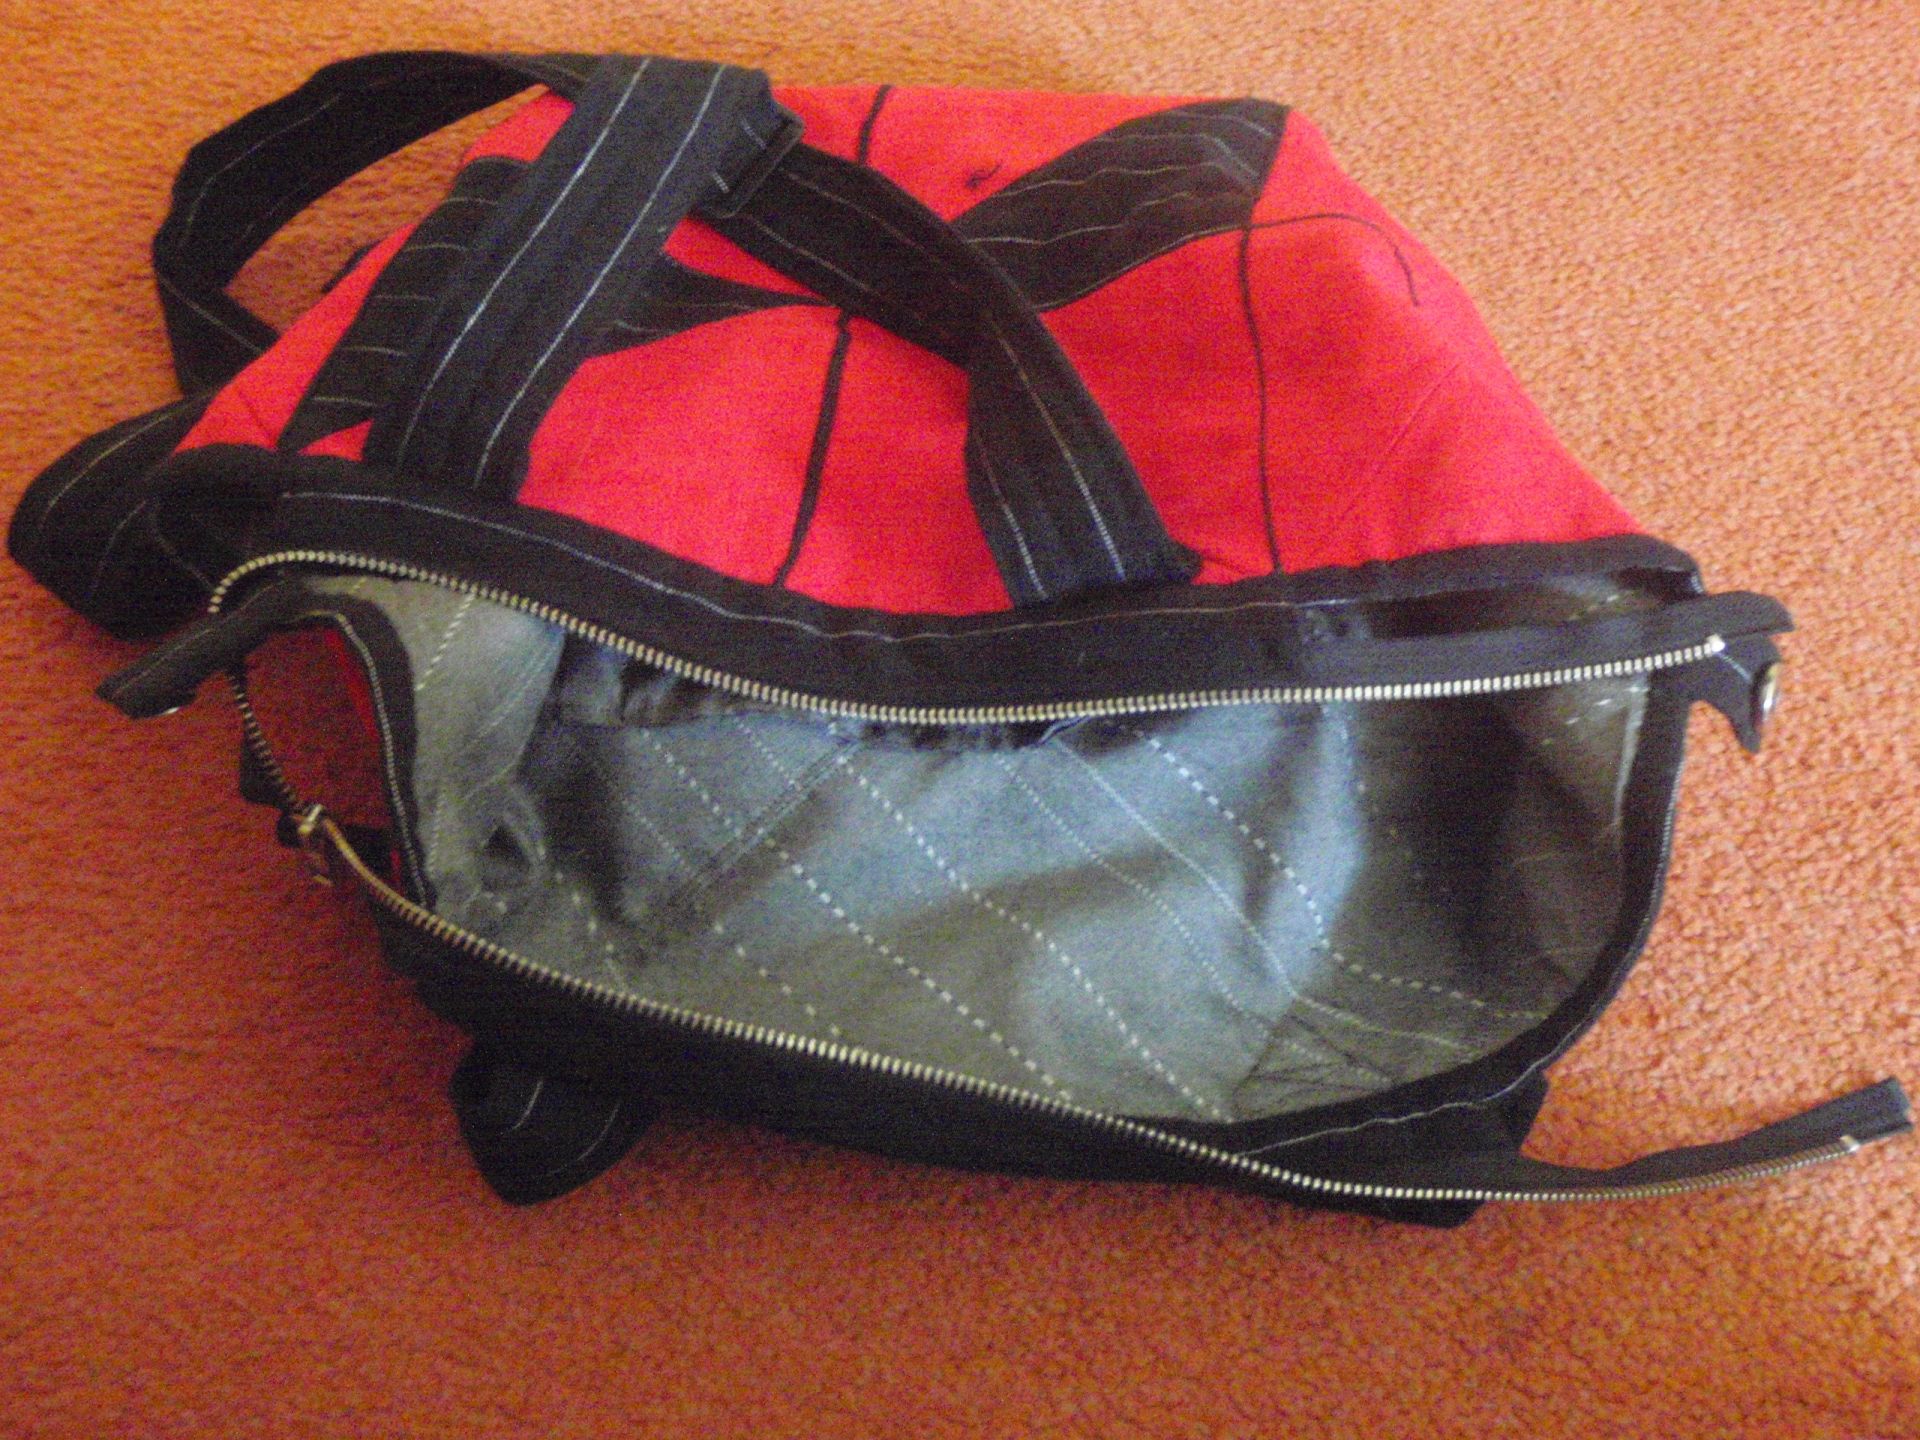
The tie strings on the side were omitted. I did add a half-lining that was waterproof. I also added some pockets on the inside. One big one on the one side, and 2 smaller ones and 2 pen slots on the other side.

Big pocket Small pocket

I also added a magnetic button closure to close the bag on the inside, and an overly long (design element) zipper as top closure.

Inner closure Inside

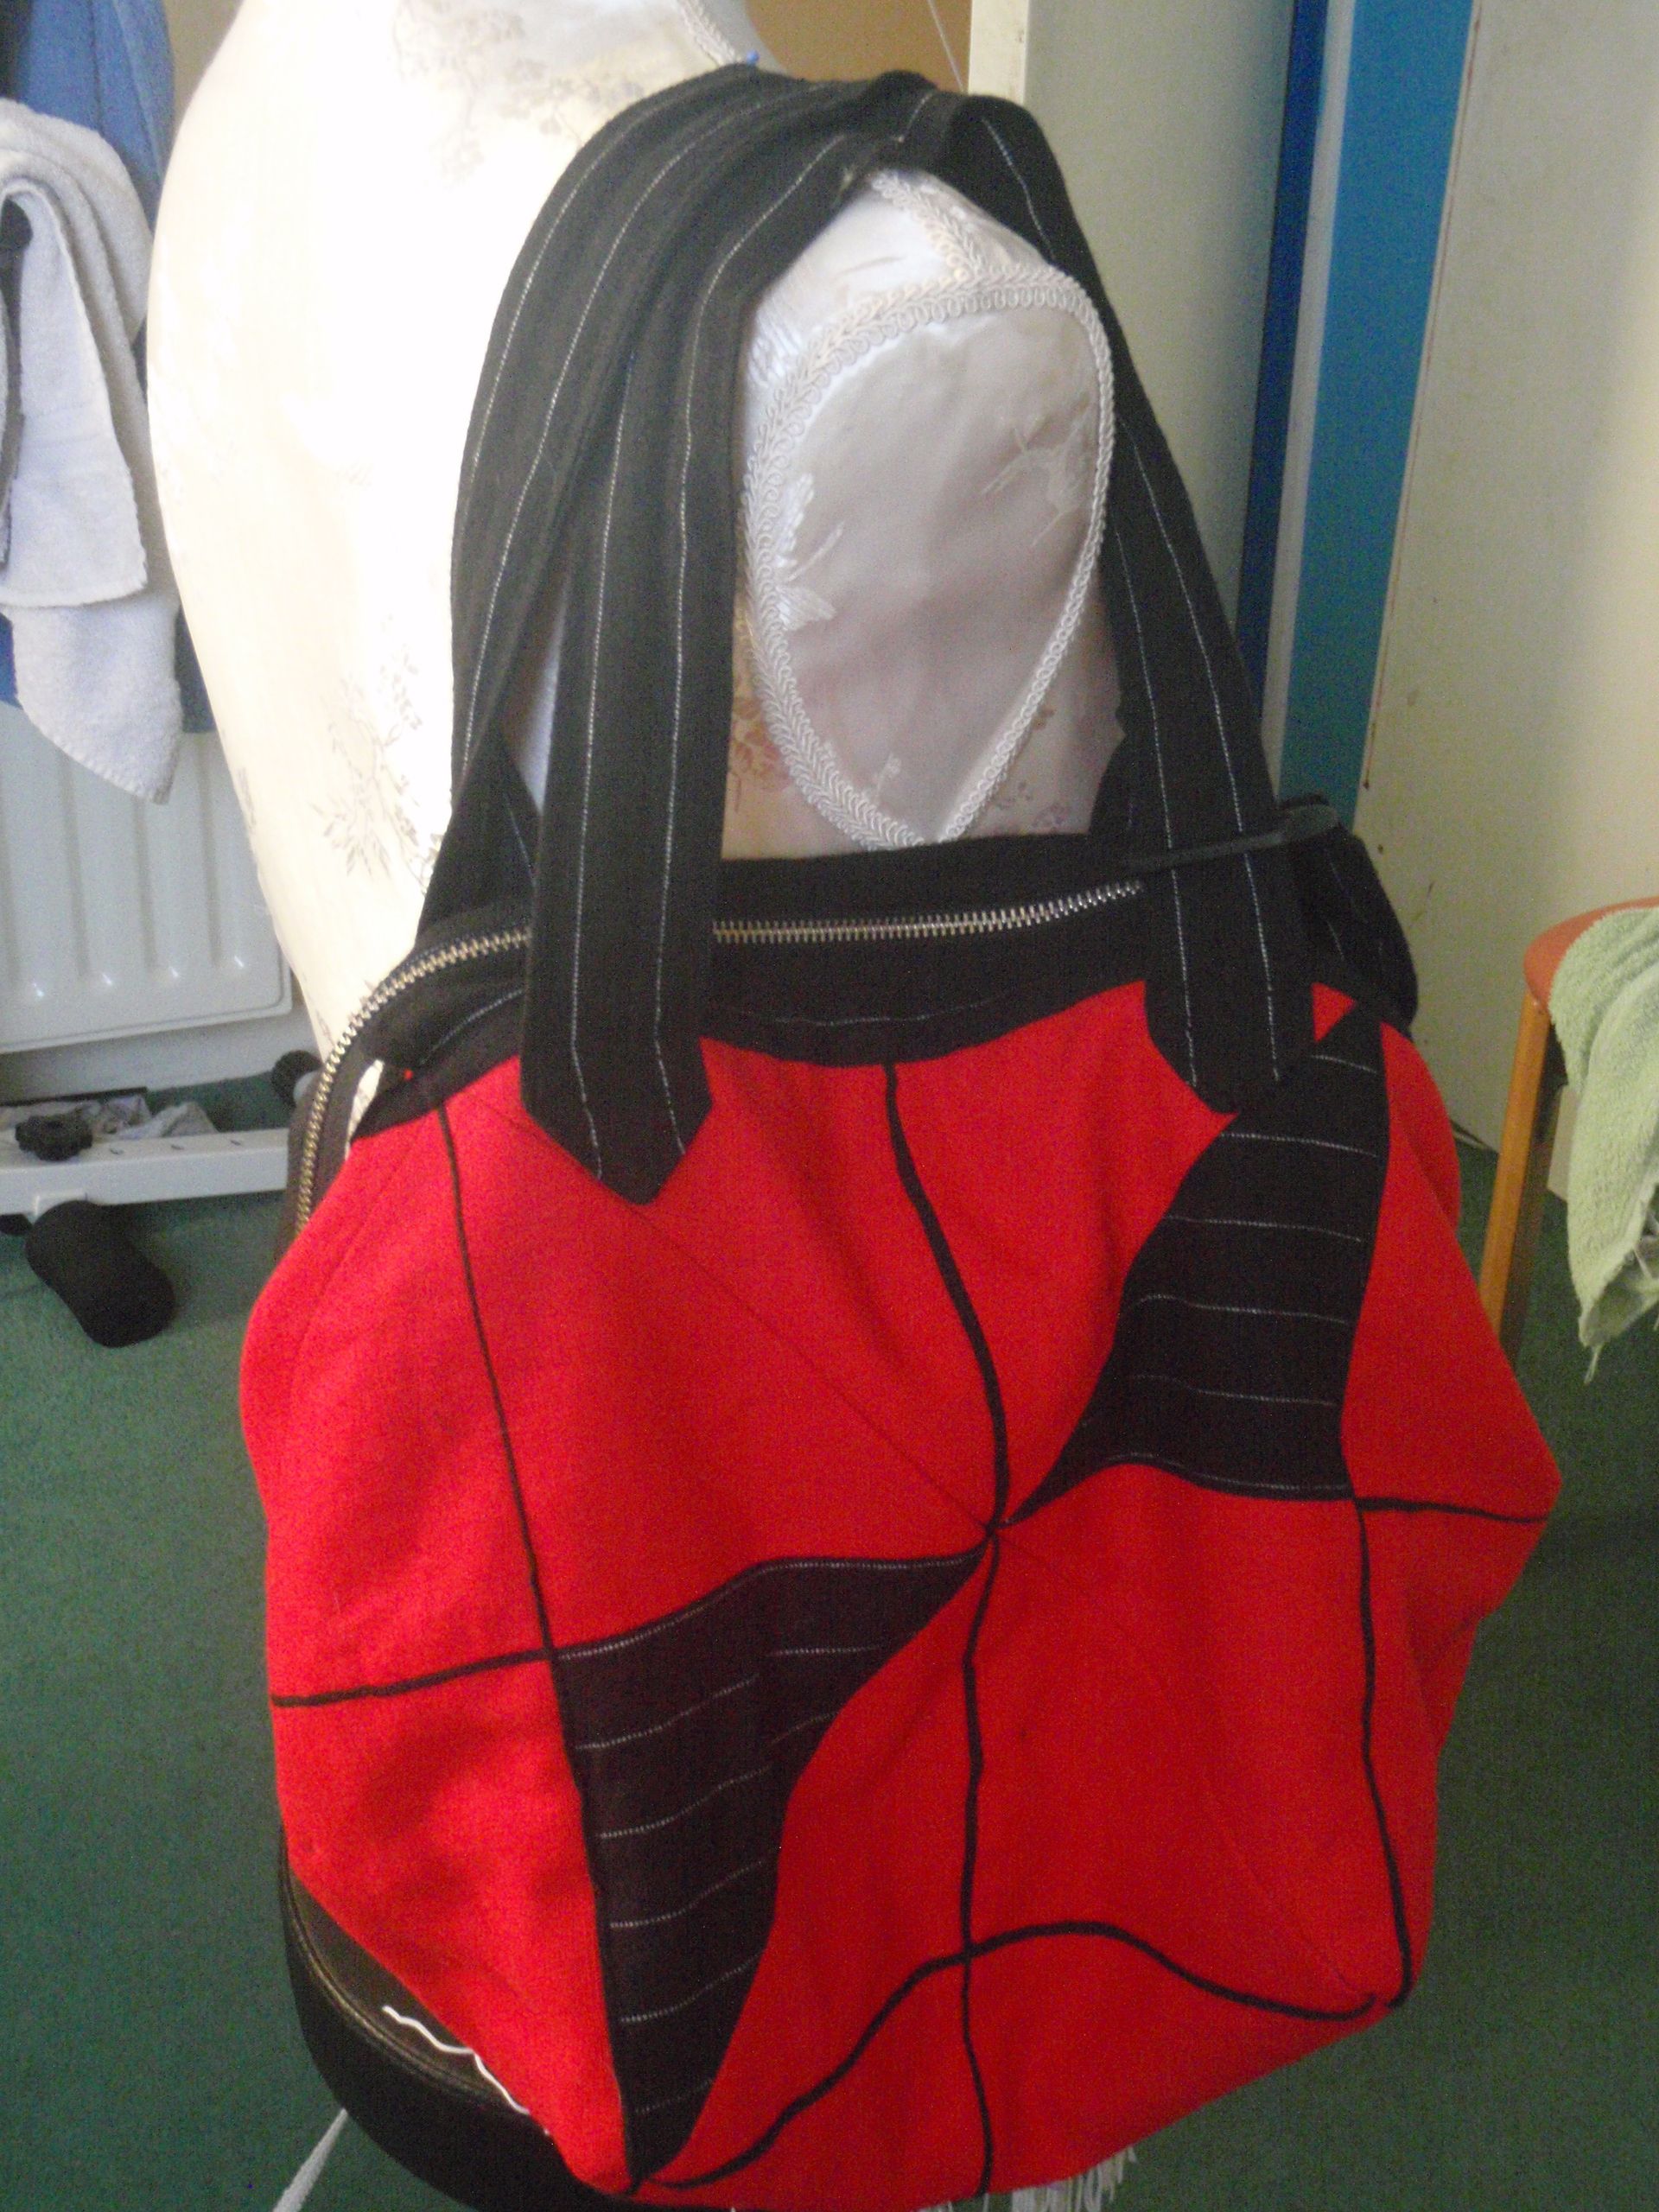
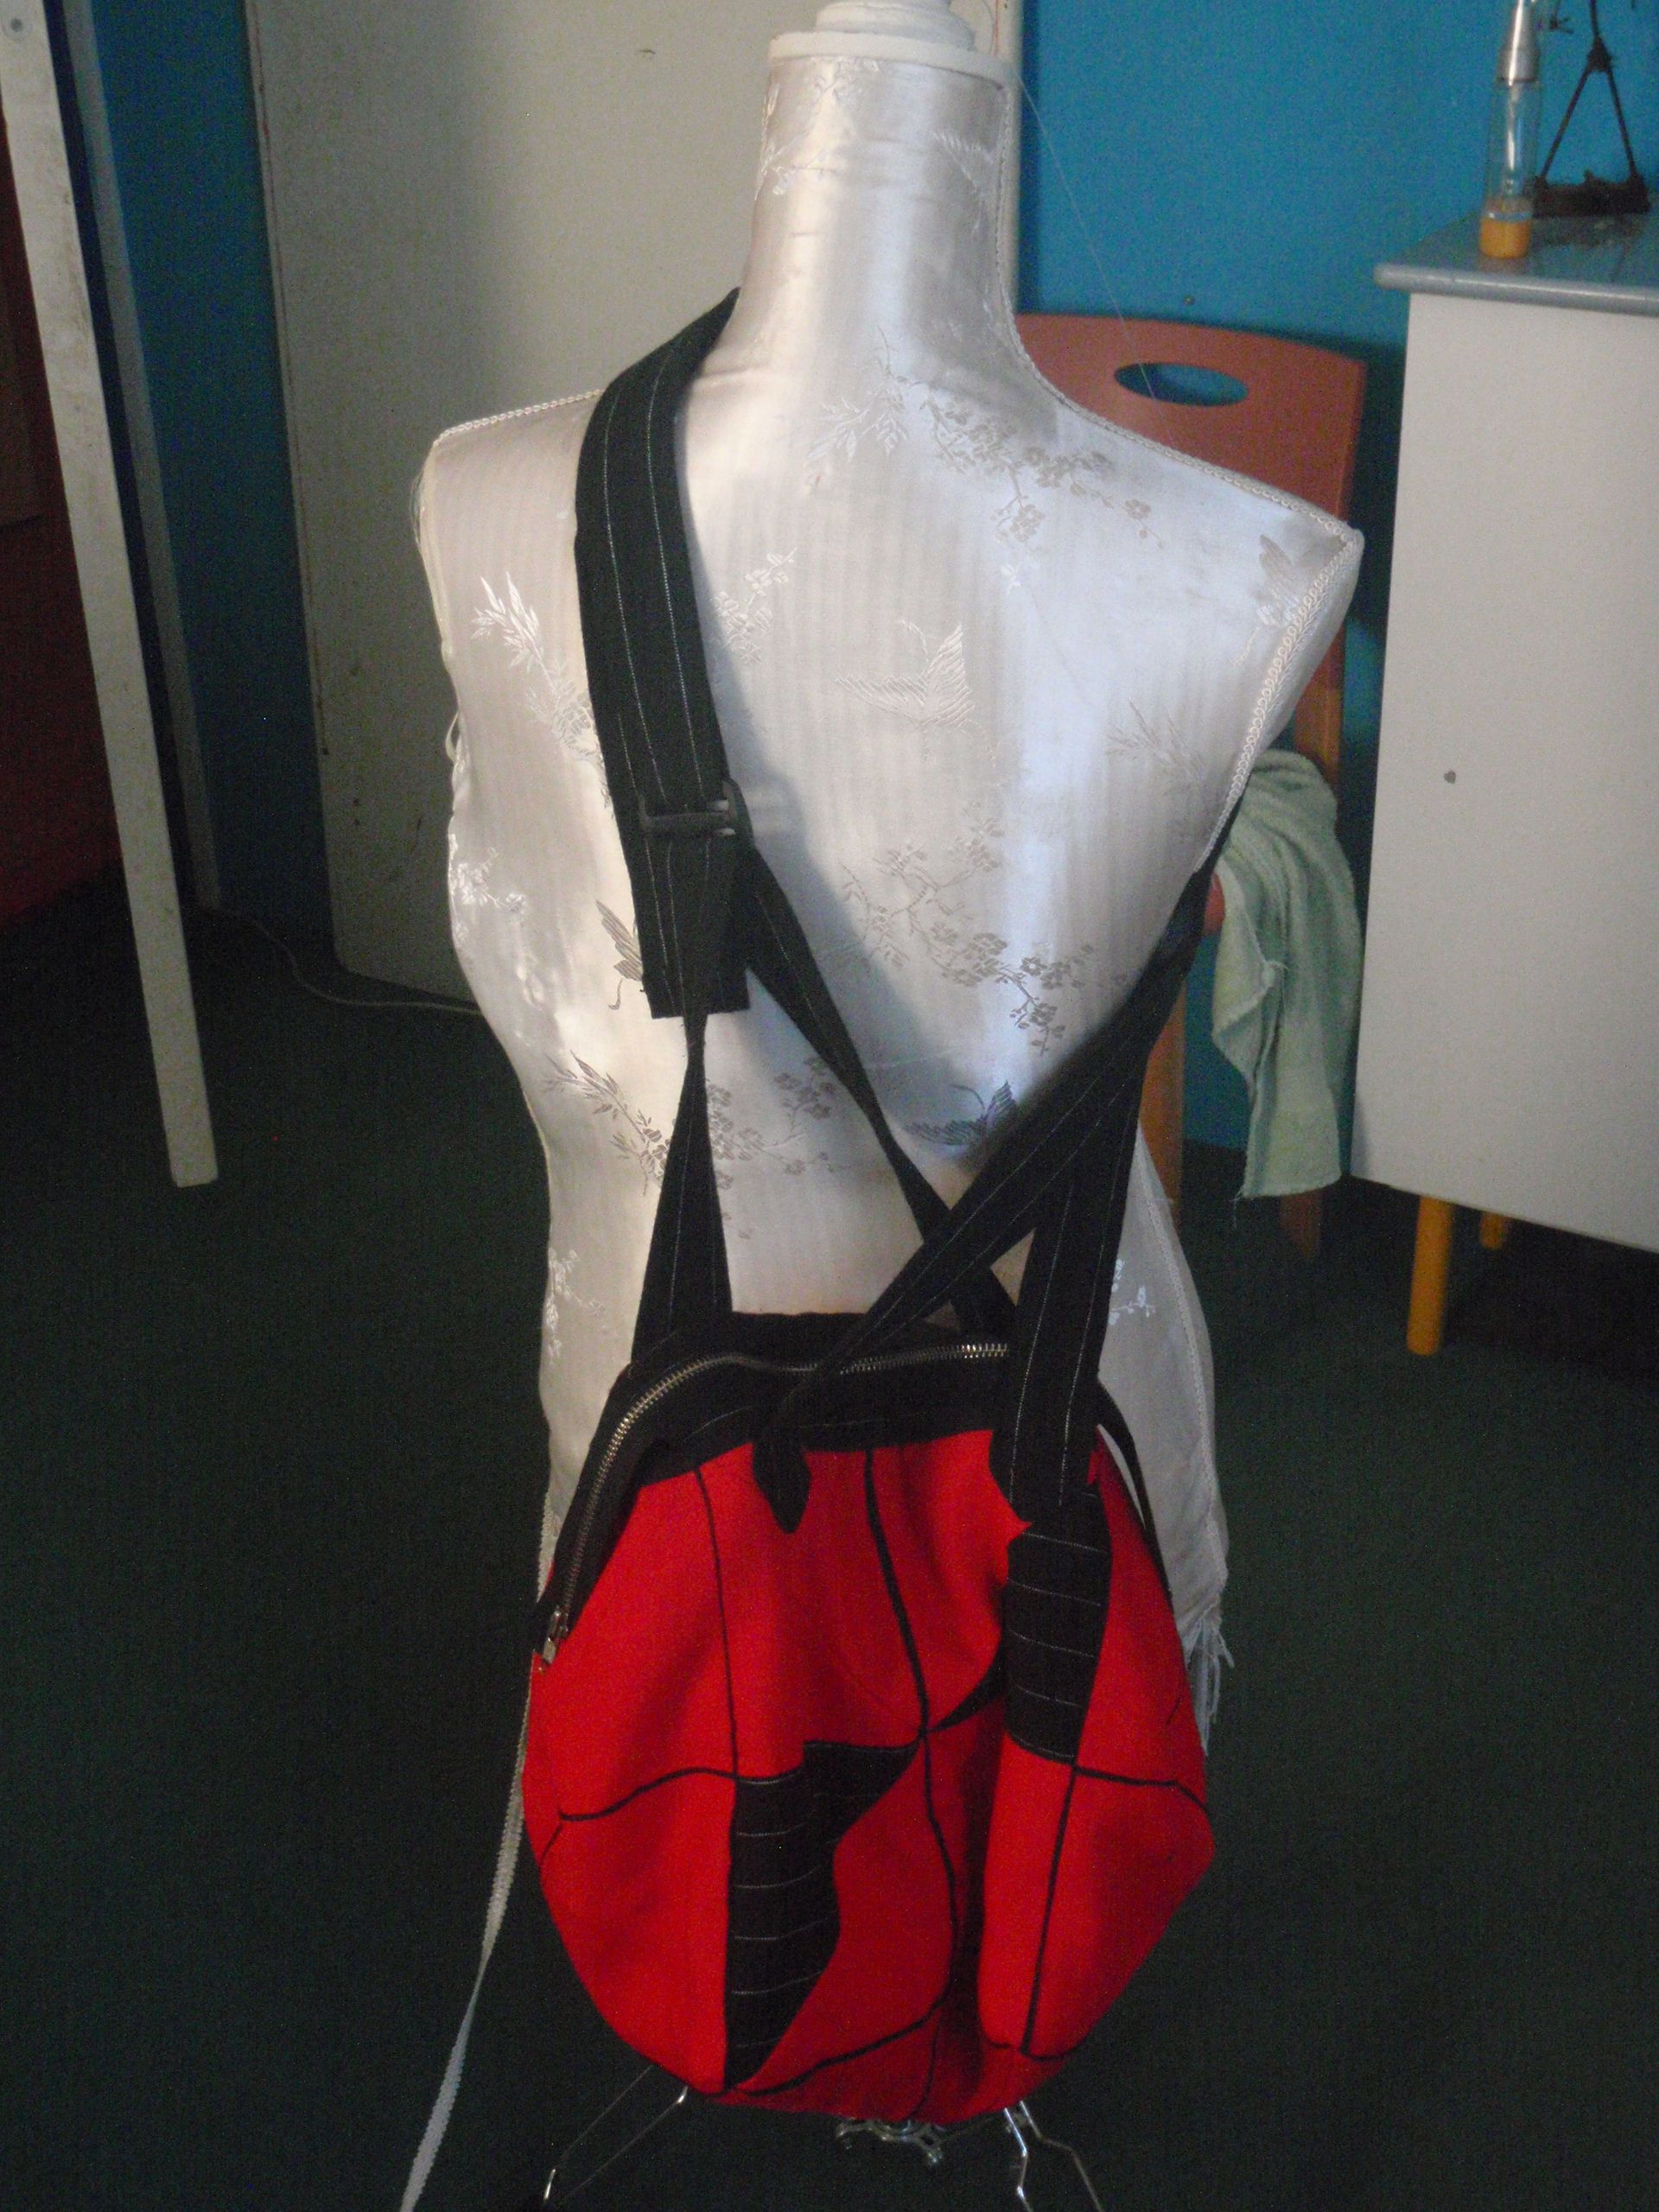
I also added the option of a long strap next to the short straps. If I want to wear the short strap, I can shift the longer strap to the side and then inside. Then I can use the short straps on their own. However, I have found that short straps then to slide from my shoulders, so I like a long strap. This is a (semi-broken) mannequin wearing it.

Wearing Wearing

I hope to actually be able to use it too, to see if it works nicely. I’ll see how that turns out. Now I should continue with the large quilt, since this project is finished!