Short Sleeves for Larp

The weather forecast predicted degrees hovering just below 30 Celsius with no let up in sight. So on Wednesday evening, I went through the pattern magazines stash and found Simplicity 16 – Model 49-52, a blouse with a drawstring top. Traced the pieces, cut out the fabric (leftovers from the long sleeve top) and sewed the thing together.

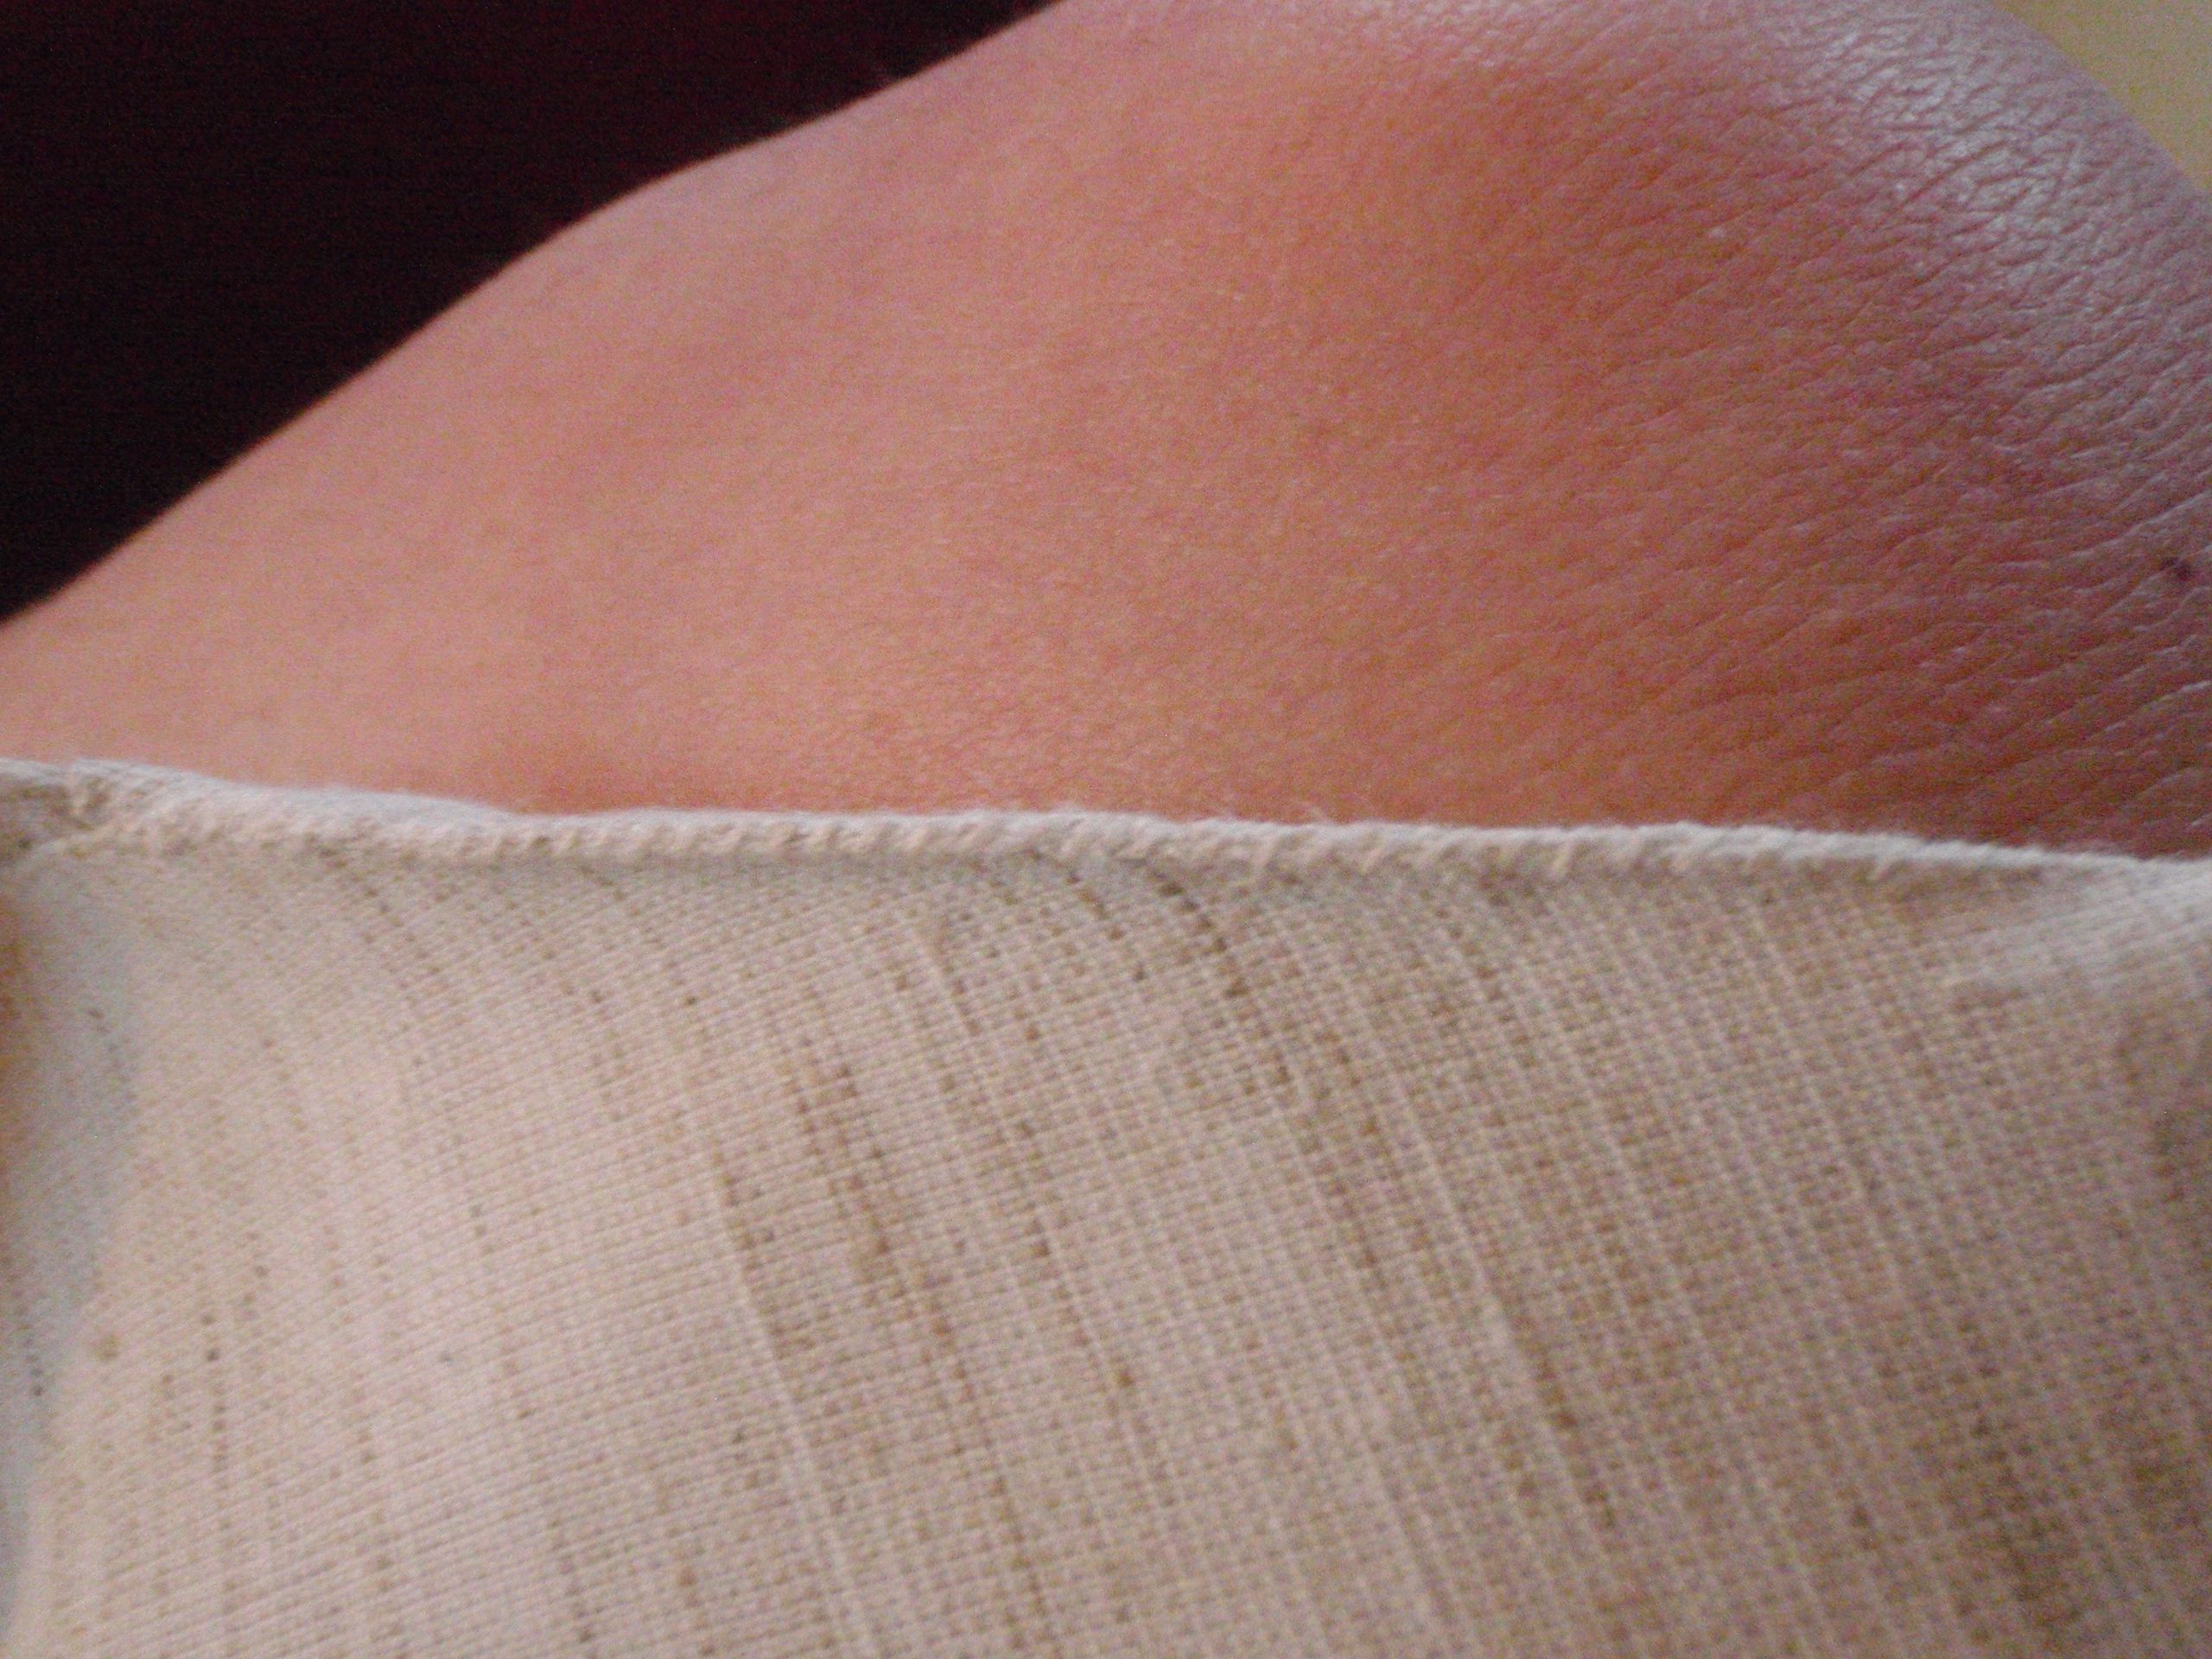
I used French seams throughout most of it. The fabric frays so badly that this is needed. However, at some points doing that would have made seams so thick that it would not have been comfortable. The sleeve hems are not sown double and the facing is some black bias tape. All in all, the shirt worked quite well which is why there is now a second iteration.. Come back later to check that out.

Red Birds and Foxes

A year ago, I added a piece of light coloured fabric with grey leaf-ish things and little deer, birds, squirrels and foxes to the stash. On the hunt for a project, I re-discovered this fabric and decided to finally make (at least part of it) into a top of some sort.

Enter Simplicity 9, model 59 minus ruffle. This pattern came in size 38-40 at the smallest. In general, that tends to be too big. However, I hoped it would work anyway without resizing the pattern beforehand – spoiler alert: dumb choice.

In order to get it to fit, I made a 2 cm pleat at the back, ending at the small of my back. The shoulders were lowered 1.5 cm. I redrew the neckline at the front and back to correspond to the original size. So in total I probably managed to shave of more than 8 cm or so. I now like the fit a lot better. The fabric does crease like crazy and I don’t like ironing, so this is why you see it in all its wrinkly glory.

The fabric is super cute though and those five buttons also came from the stash. The original pattern had more buttons, but I was not going to let such a good match in buttons go to waste, so five it was. The button bands might have a little to much interfacing for the thickness of the fabric, but all in all, it wears well and it’s very cute. So far, so good!

Dragon Shirt

For my birthday this year, I got a meter of stretch dragon fabric from my friend. It languished in the stash until the day before yesterday when I pulled it out to make a shirt. It was always destined to be a shirt because, one: dragons, two: limited fabric and three: stretch. I had located a new to me sewing pattern called the Supersnel Shirt (here). Only two (or three depending on how you count) pattern pieces and 8 pages.

It fit together well and I cut the size S from my dragons. The first attempt at binding was a disaster since the binding was way to short (and/or my shirt did not have enough stretch). Even after lengthening, the centre front still pulls slightly. However, the binding attachment method is very nice. I broke the twin needle I was finishing all the hems with so I had to wait until morning to finish all the hems and the neckline. It was still a fairly quick make. Next to the lengthening of the binding, I also added a small pocket to break up the dragons a little. Not sure if it works, but I liked adding the detail.

I need to wear it for a day before I can decide whether I need to grade to an M on the hips for the next iteration, it does feel fairly tight over there. Again that may be that the fabric has slightly less stretch than the pattern would like. I do think the dragons are totally cute.

Summer Shirts

I seem to have cultivated a preference for thin fabrics with prints on them in the past while. I found I had four pieces of thin fabric next to the cycle stuff (here). So in two nights/days of frantic cutting and sewing I created three additional shirts following the pattern from the cycle top. All these tops now have different necklines and hem treatments, one also has ‘shorter’ sleeves due to fabric shortage. Moreover, during this fascinating time, I discovered the handiness of spray starch for creating self made bias tape, which is used in many of the shirts. 

The first is the dotted one. It’s white with small light grey dots. Four dots (that are printed pretty well on the bias) is the perfect width of neck-edge bias tape. This one has a scoop neck and a high-low hem. It’s all French seams again, but this iteration had the unfortunate luck to be the one where I forgot to trim the French seams before the second stitching, so some threads come out the side seam. I’ve decided that I don’t care enough to redo everything. You can see from the pictures that it’s quite sheer, which is why it is a good thing that I always wear a tank top under my clothes.

Front Back

The second one was made from a narrow fabric with paint splatters. I had already made a scarf out of this in the past, so one of the edges already had a rolled hem. I figured, why not use this. This shirt has slightly less wide sleeves and the hem is shorter and straight. The neckline is straight at the bottom and then comes up at angles to connect to the rounded back. I can’t really explain it, the pictures lower down in the post should show the difference clearly.

Paint front Paint back

Last but not least, the cat fabric. This fabric has little cats all over it, I think it’s cute. This one has a v-neck and a hem that is long on both the front and the back, but shorter at the sides. The fabric is not printed on grain, which made it difficult to get the neck to look ‘right’.

Cats front Cats back

Now, as these shirts were all made shortly after each other, I could still picture them all together. Below you can clearly see the differences in necklines and hem treatments (if you look carefully).I liked making these, and I’ve found that I also like wearing them, which is a plus as I have four now.

Necklines Hems

One shirt only requires about half of the cuts of fabric that I have. This means that there is room for some other things that could be made from these fabrics. I’m curious to see what I will come up with…

Cycle Top

On Thursdays the market square is home to numerous stands with all kinds of different things, from cheese to fruit, from leather to bicycle stuff and from post-card crafting to fabric. You understand that I like the fabric stands best. There’s one that always sells coupons, cuts of about 1.5-2.0 meter in all kinds of different fabrics for between 3 and 10 euros a piece. A while ago I got home laden down with five of those pieces. One of these was a very light weight something, dark blue with white cyclists and walking people on them.

Close up

As it’s been almost continually raining for the past five or so days, it clearly was time to make myself the light weight summer top I’ve been dreaming of since the heatwave. I cut it out last night, loosely cutting around a blue knit shirt I made some time ago. Folded over the neckline twice, folded over the sleeve hems twice and stitched those. Then I French seamed the remaining bits and lastly I cut a semi-high-low-hem and folded that over twice and stitched as the hem. Yes, I am wearing my pyjama bottoms in the pictures. No, I have no shame.

Front Back

The fabric was an absolute pain in the bottom to cut out as it was shifty as hell. I figured this out before when I tried cutting out a shirt from an actual pattern. I first spray starched the entire cloth, and now understand why one shouldn’t use it on floors as I currently slip and slide all across my living room… Sadly I was an idiot, and didn’t check twice before I cut, so that shirt is currently balled up with a front that is too short for me too wear. I will probably just attach a band along the front to solve the problem, but that’s for a later time. Especially as this fabric is also a hellion to sew, as things keep shifting. I needed something with the fewest pieces possible to keep my sanity yesterday and it worked! Now off to see if I also like wearing it.

Night Clown

I have just finished the most colourful object I have ever created. It makes me look like a clown and it will serve as pyjamas. This also means that I now have part of a permanent carnaval costume that is multifunctional!

The story goes as follows: At some point in time, I figured out that pyjamas without standing collars leave your neck cold. I made the owl pyjamas without collar and while they are wonderful, that bit of me stays cold. So I wanted to get some more 1 euro/meter flannel-esque fabric with some fancy pattern on it, like the owls from before.

So one morning, I woke up my father and convinced him that he wanted to go with me to the fabric market. We had a fun morning out and I found the most wonderful flannel I’ve ever seen. It’s striped with the following extremely bright colours: yellow, orange, green, blue, red and purple. It had to become pyjamas!

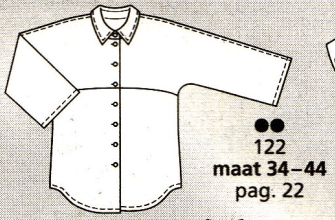
I just bought 18 second hand pattern magazines in a shop around here (for 20 cents a piece), and thus had enough choice for a fresh pyjama top pattern. I chose a pattern from the 7-2010 issue of Burda Style, nr 122, a three quarter length sleeve blouse with attached sleeves.

February 2015 2 pattern

I started a few days ago and it actually went really fast to trace and assemble. I did add some additional length to the sleeves because I believe three quarter length sleeves are evil. They leave the wrists cold. I finished all the insides with serging so it’s really nice on the insides too.

OLYMPUS DIGITAL CAMERA

I did think about the collar, but I accidentally put it in the wrong way round, I wanted the yellow/green side to show. However, it’s usually the red side now. I also chose to do different coloured buttons. Mainly because I couldn’t find enough fancy coloured ones in my stash.

OLYMPUS DIGITAL CAMERA OLYMPUS DIGITAL CAMERA

And this is the completed thing.

OLYMPUS DIGITAL CAMERA OLYMPUS DIGITAL CAMERA

On to the pants! I’m going to be a full clown at night!

Deadline Work (2) – Cowls

The first deadline went by, then came the second. The important visit, said visit was the Queen of the Netherlands, the real one. I came so close I could have touched her if I wanted to, which I didn’t because I value my life. Anyways, the brief was to wear something formal but festive. I knew I wanted to wear something I’d made myself. I’d already decided that I was going to be too busy to make something new, so I’d settled on wearing the grey pants.

But, lo and behold, I managed to have a Tuesday off which I’d sort of forgotten about. I thought that that would be enough time to make myself a cowl top. I traced a shirt I already owned with a cowl and frankensteined it with a shirt pattern I’d traced long before, that has formed the basis of several shirts (here and here and here) I still wear. I found some grey stretch stuff with blue that I liked in my stash and sewed up a storm. I finished this thing, from pattern making, to cutting, to sewing, to finishing that same day. That almost never happens. All in all I was very happy with the end result, see before you the front and back.

OLYMPUS DIGITAL CAMERA Shirt back

I personally like the cowl a lot, a close up is on the left here. I was also doubting how long I should cut it. In the end it turned out I could wear it as a dress, see right, if I felt inclined to show more leg above the knee than below. I don’t, but I couldn’t resist seeing what it looked like in picture form. I will not wear this out of the house like this, it is so far out of my comfort zone that the Oort cloud is closer by.

Cowl Almost dress lenght!
I do like this shirt, is comfortable and I see quite some wear for the future. Next segment is the wedding present.

On a Roll (with a Bow!)

I finished the Duck skirt not long ago, and Saturday I decided to finished another UFO I had thrown in a bag in the corner (probably quite literally). See, I bought this knit fabic, it’s blue-green with turtles and apples and flowers and stuff on it (fairly.. childreny). I tried to get two shirts out of it, a while ago. I succeeded in cutting out the pieces and then my machine decided to stop working and I couldn’t figure out how to get the serger to do what I wanted. So I bagged the projects and threw them in the corner. Where they sat.. and sat .. and sat..

Today I got the bag out and finished one of the shirts. This one is a sleeveless top. Since I didn’t really have enough self fabric to finish the arm holes and neck, I took a bit of red stuff I’ve had in the closet for a while too (I’m still scared of knits, if I’m honest). I cut of a strip to finish the bits and decided I might as well use it to make a bow on the front. I’ve seen bow-blouses all around the net for a while now, and I figured I’d like one myself. If not, I can always cut the bow bit of and have a normal neckline, right?

So you might wonder what it looks like.. Don’t get scared, but here’s my fantastical kiddy top without sleeves but with a bow! Front and back first:

Front Back

And a close(r)-up of the bow and the fabric. See all the cute little turtles and apples and flowers and stuff? The colour is closer to the first picture, but I couldn’t get the flash to cooperate nicely.

Bow Details

Now, I’ll hopefully finish the other shirt soon too!

Jacket

I finished a previously long-time unfinished project! The shell of this little jacket has been done for months and months. I don’t even remember how long really. However, a friend of mine was on holiday this week, and he has threatened to come by and chuck all my unfinished projects away. So I figured I’d take the time and use it to finish something. Less for him to throw away, right?
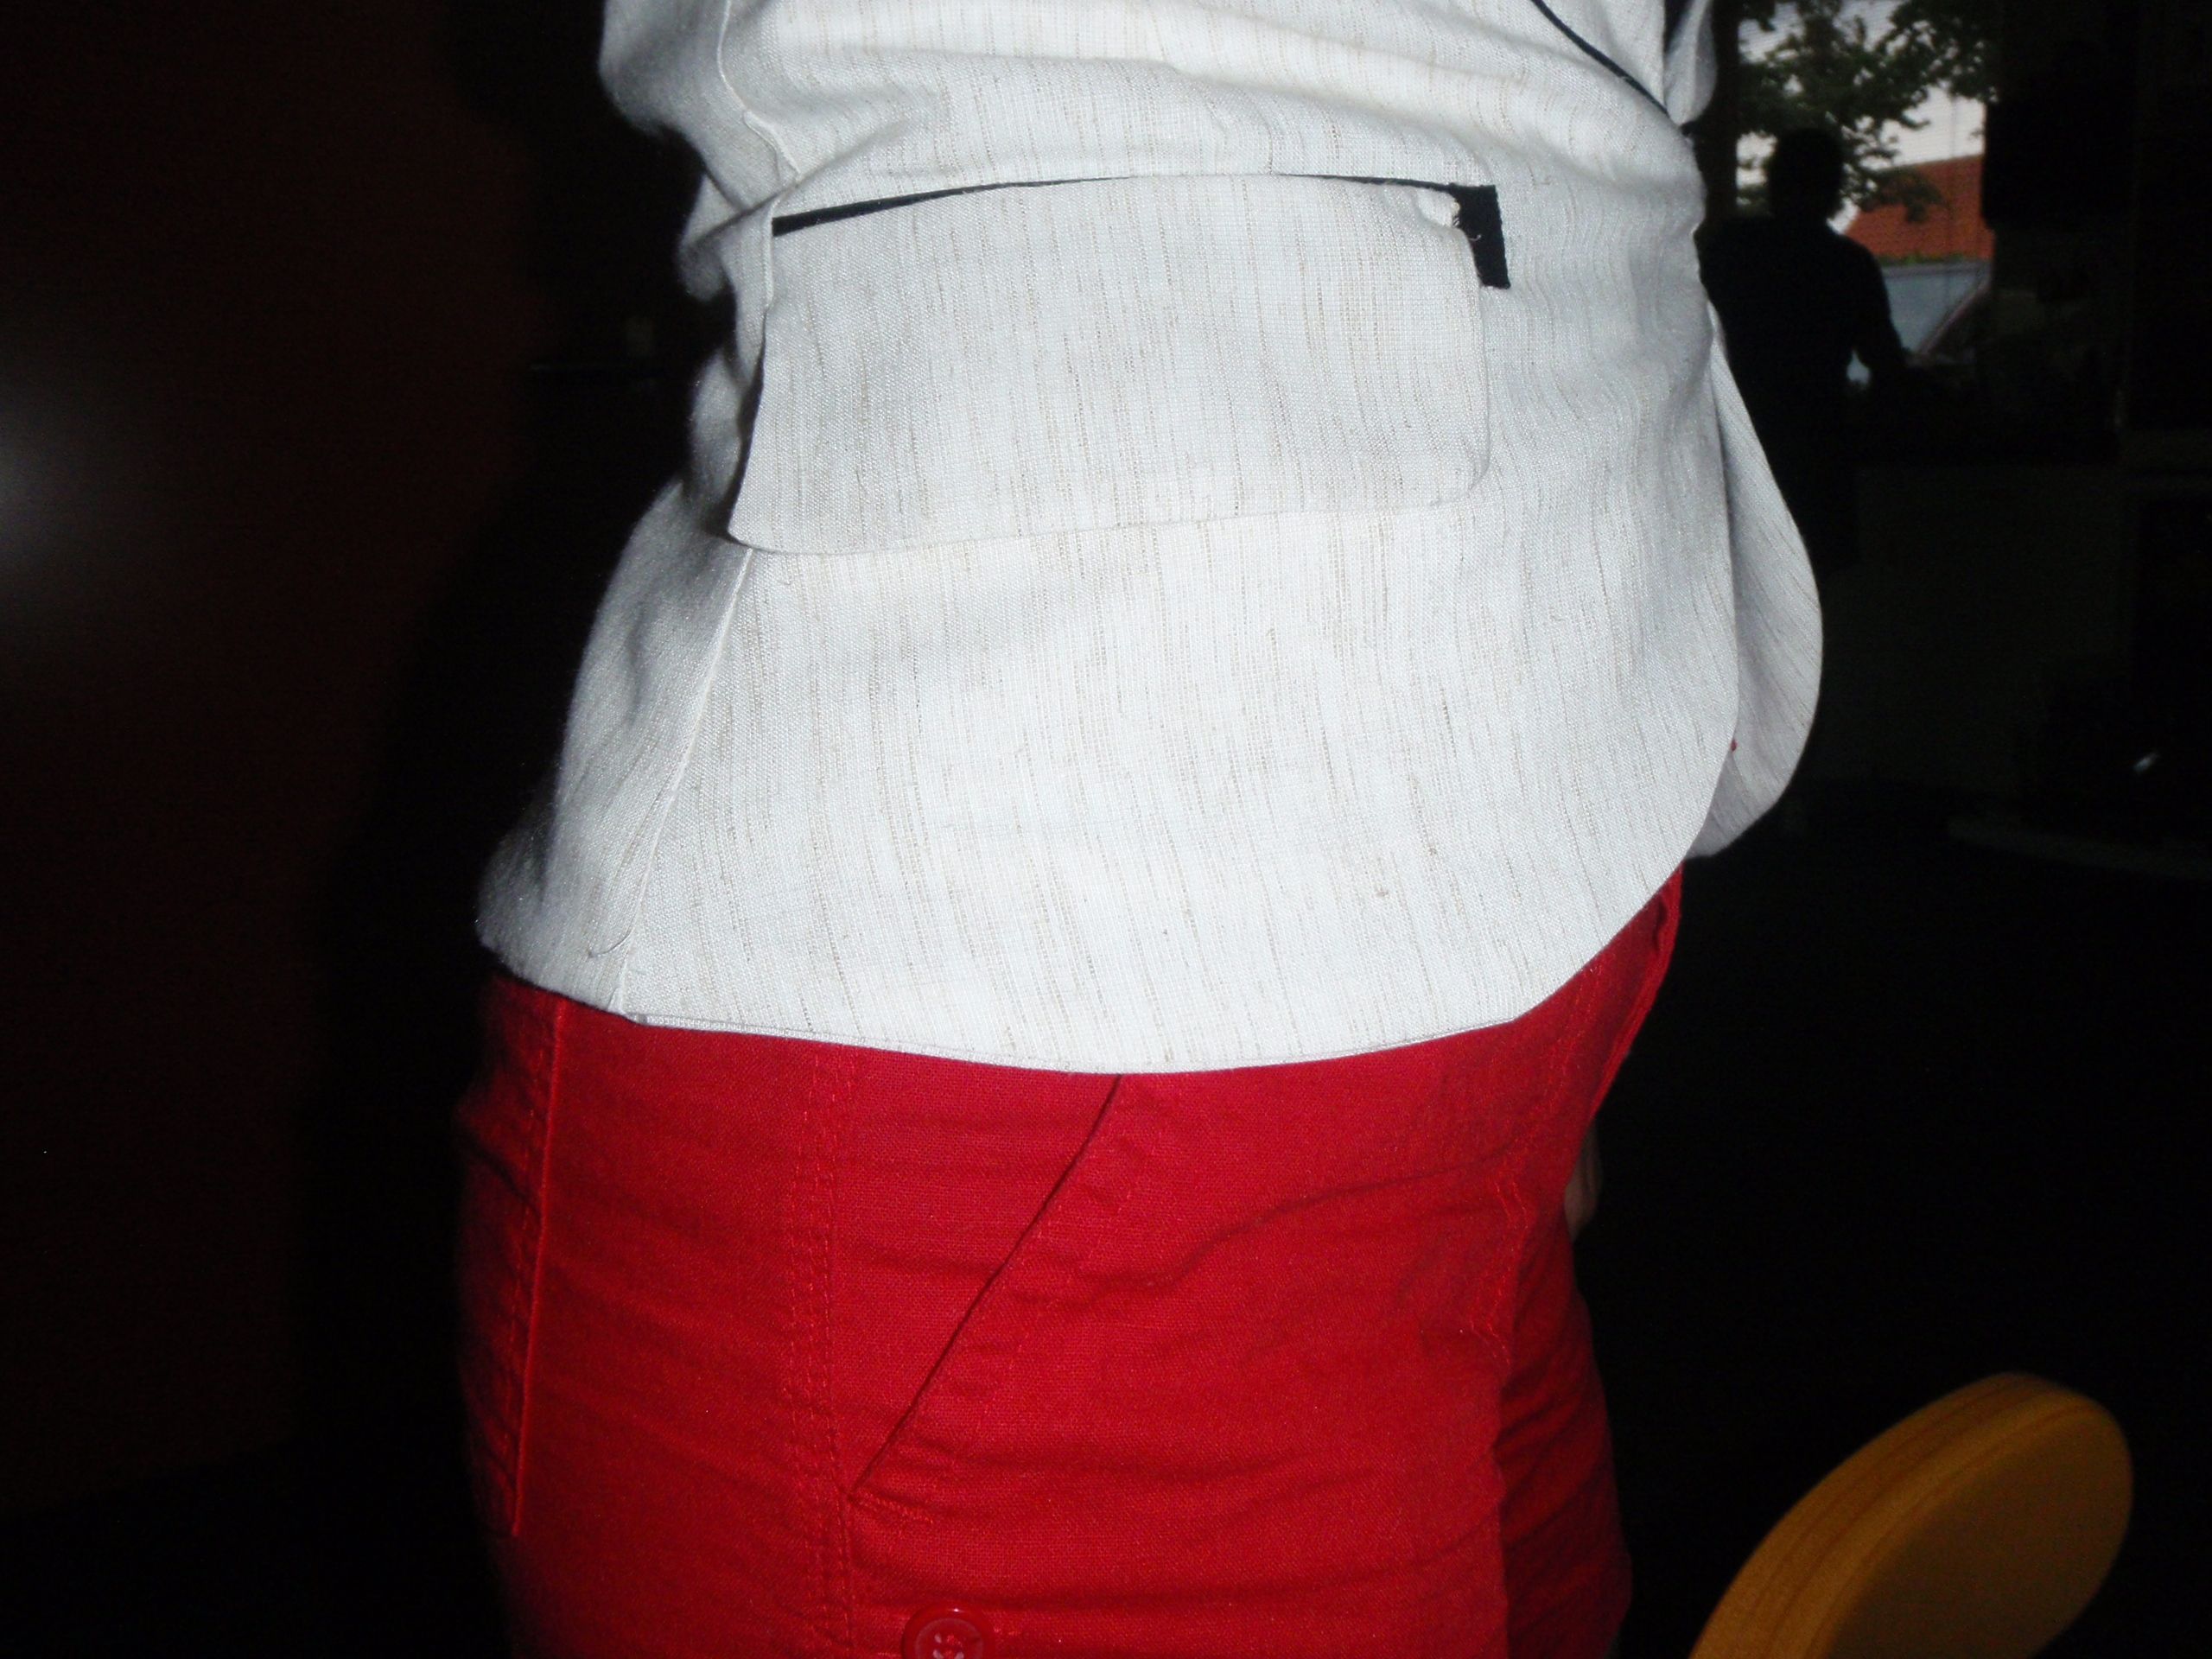
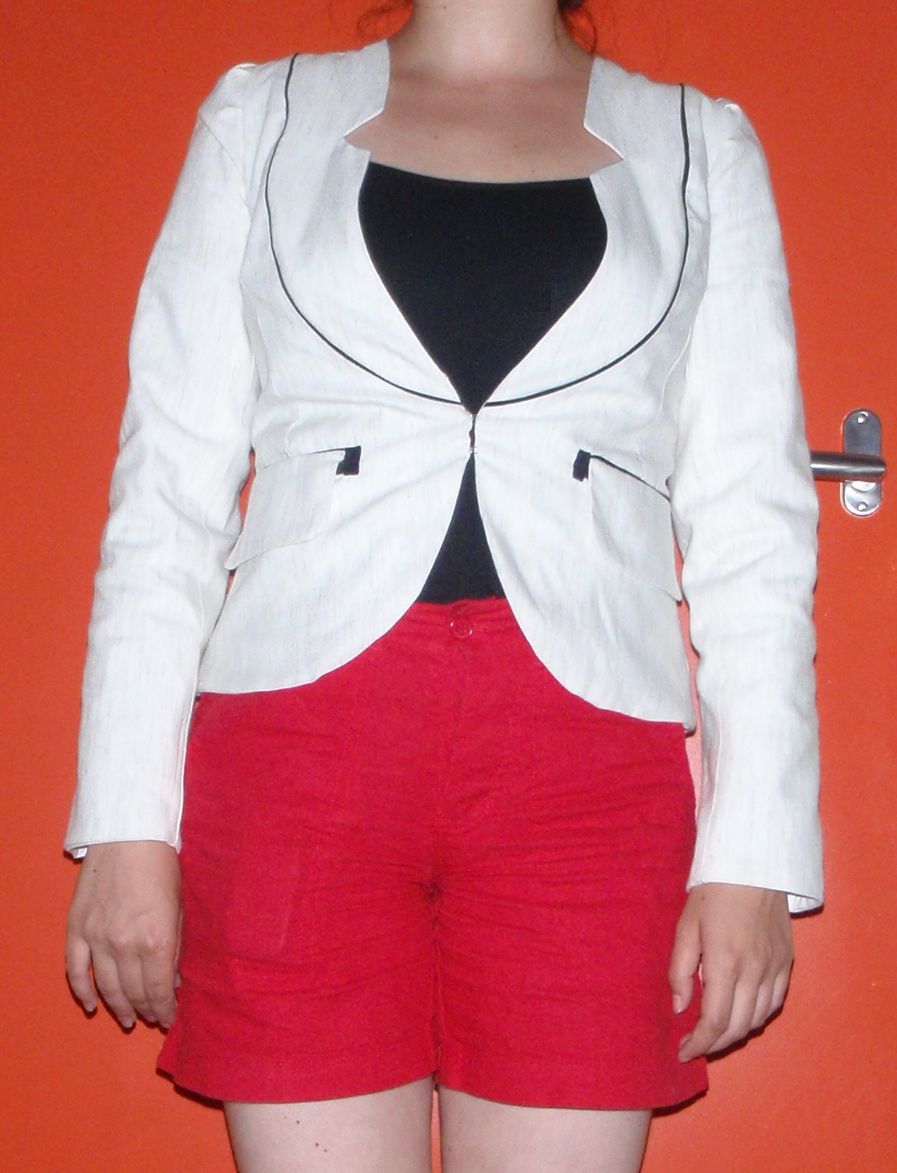
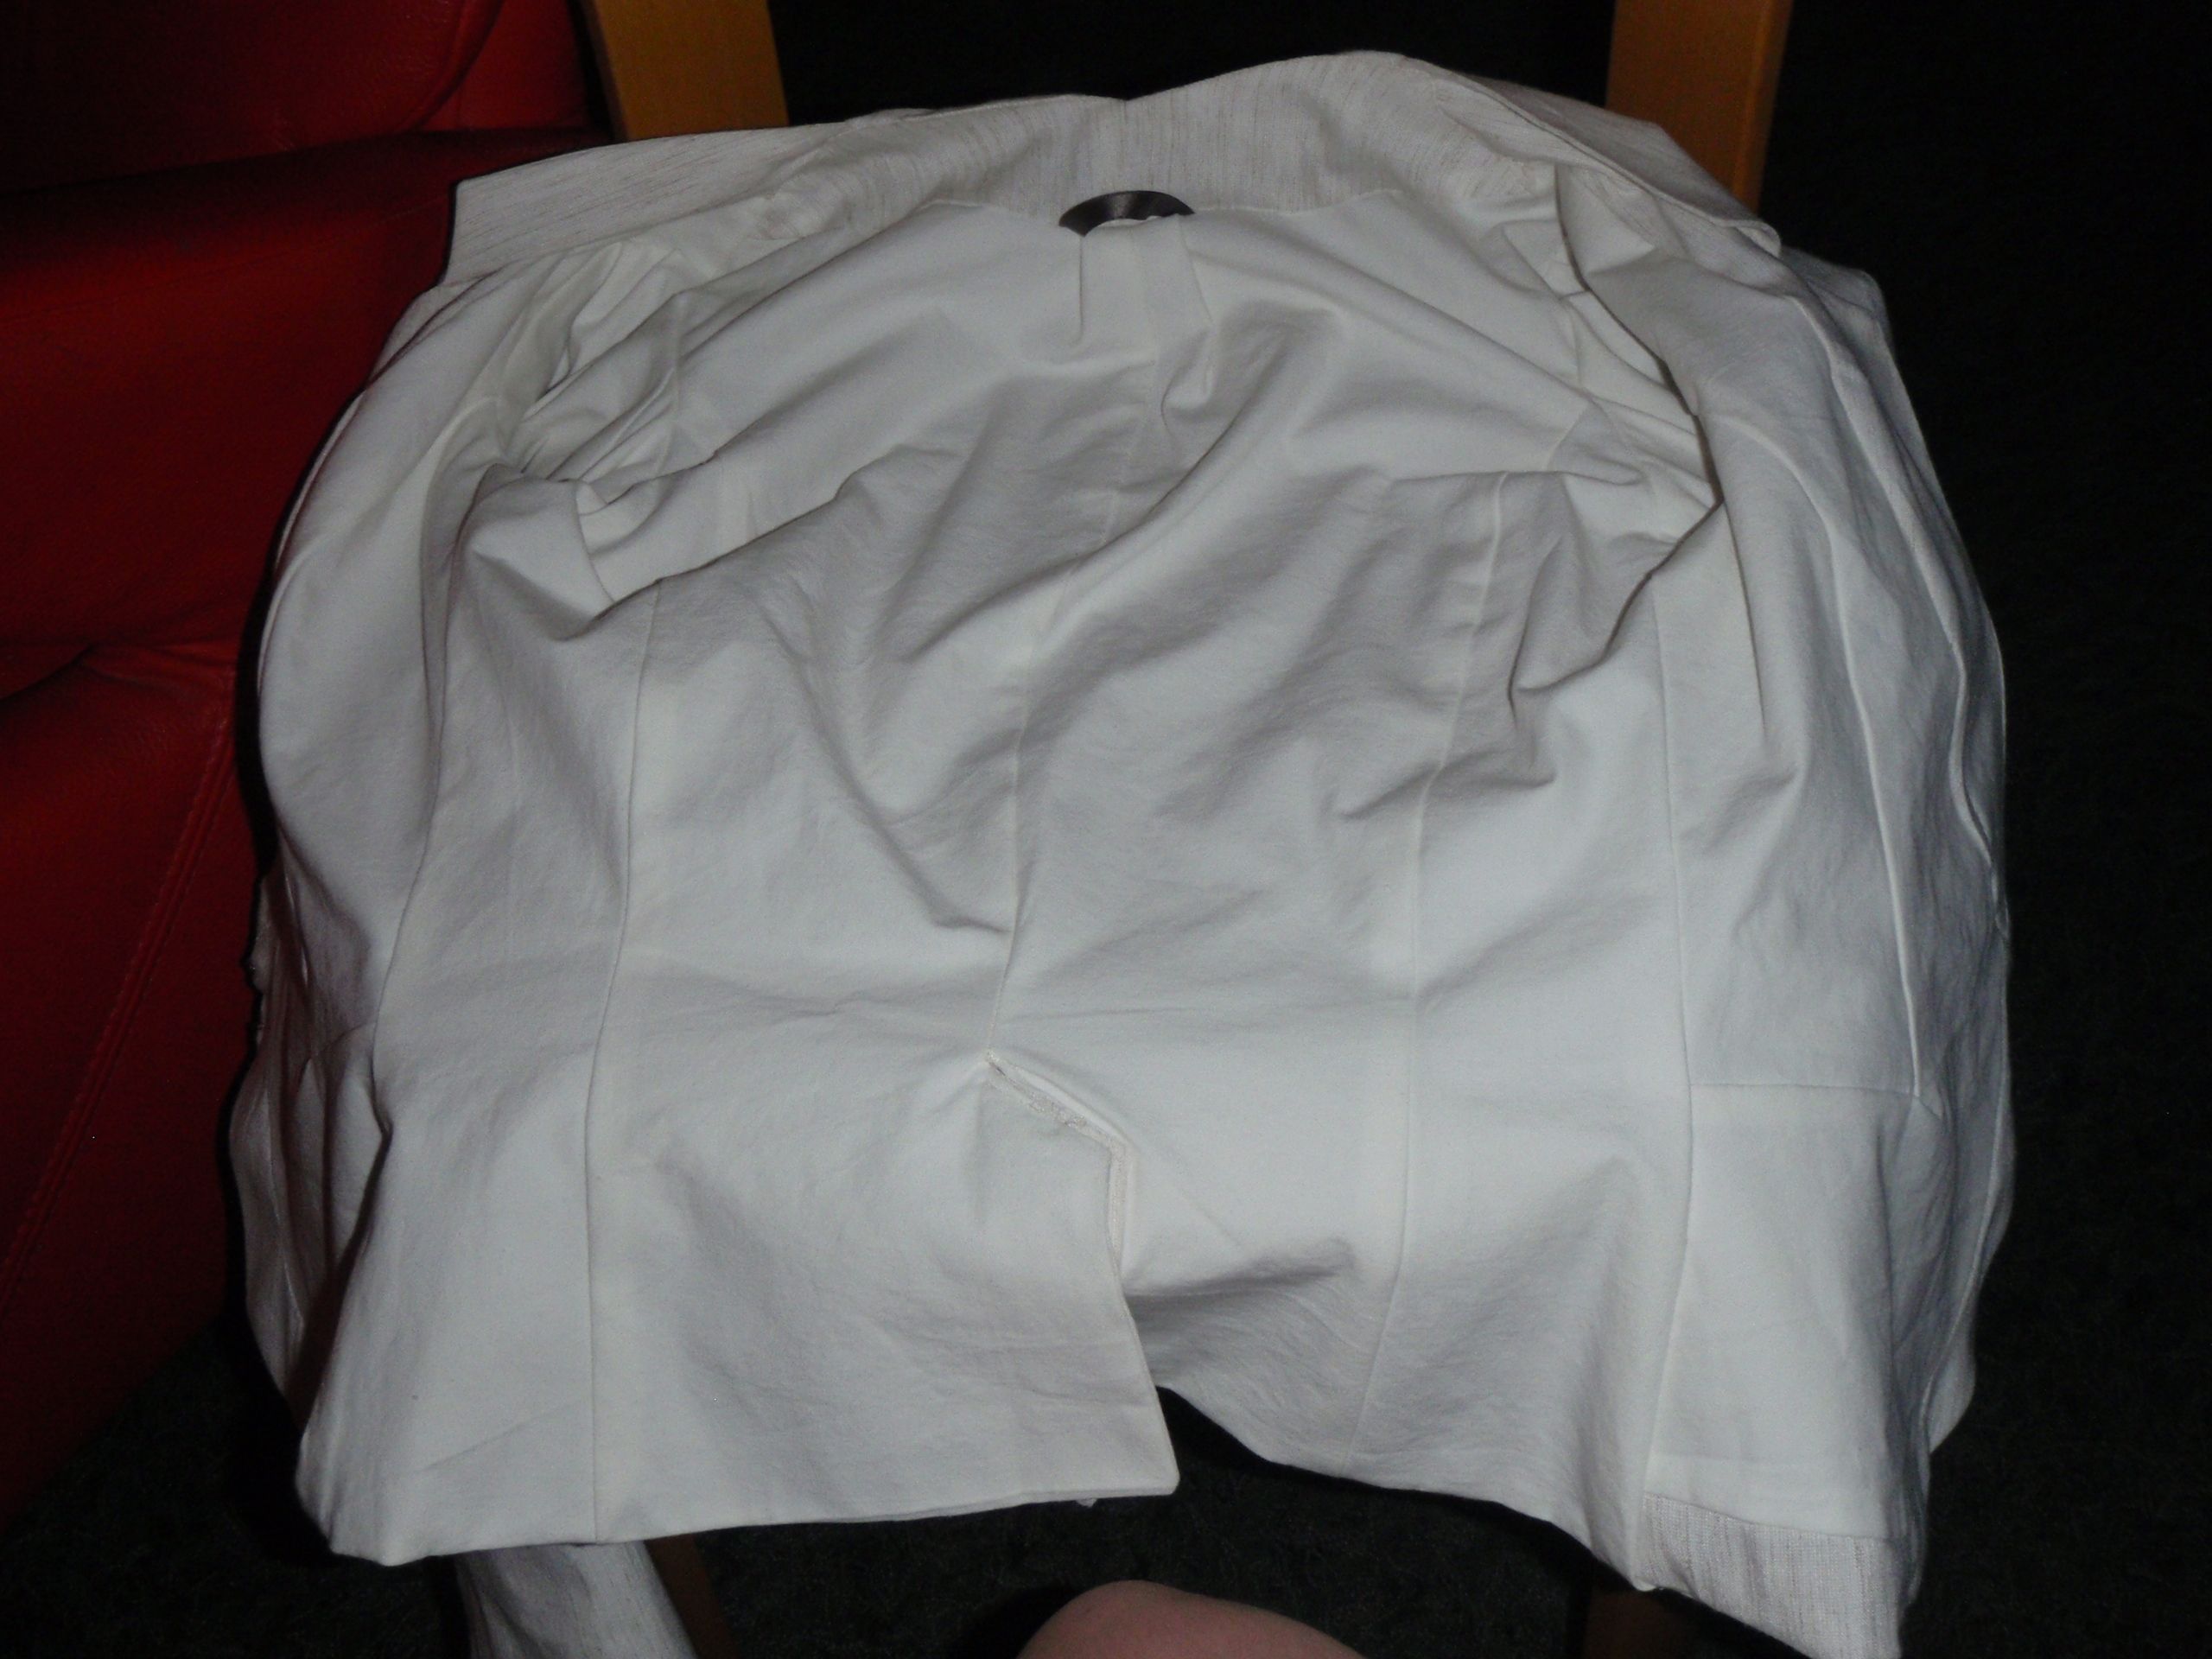
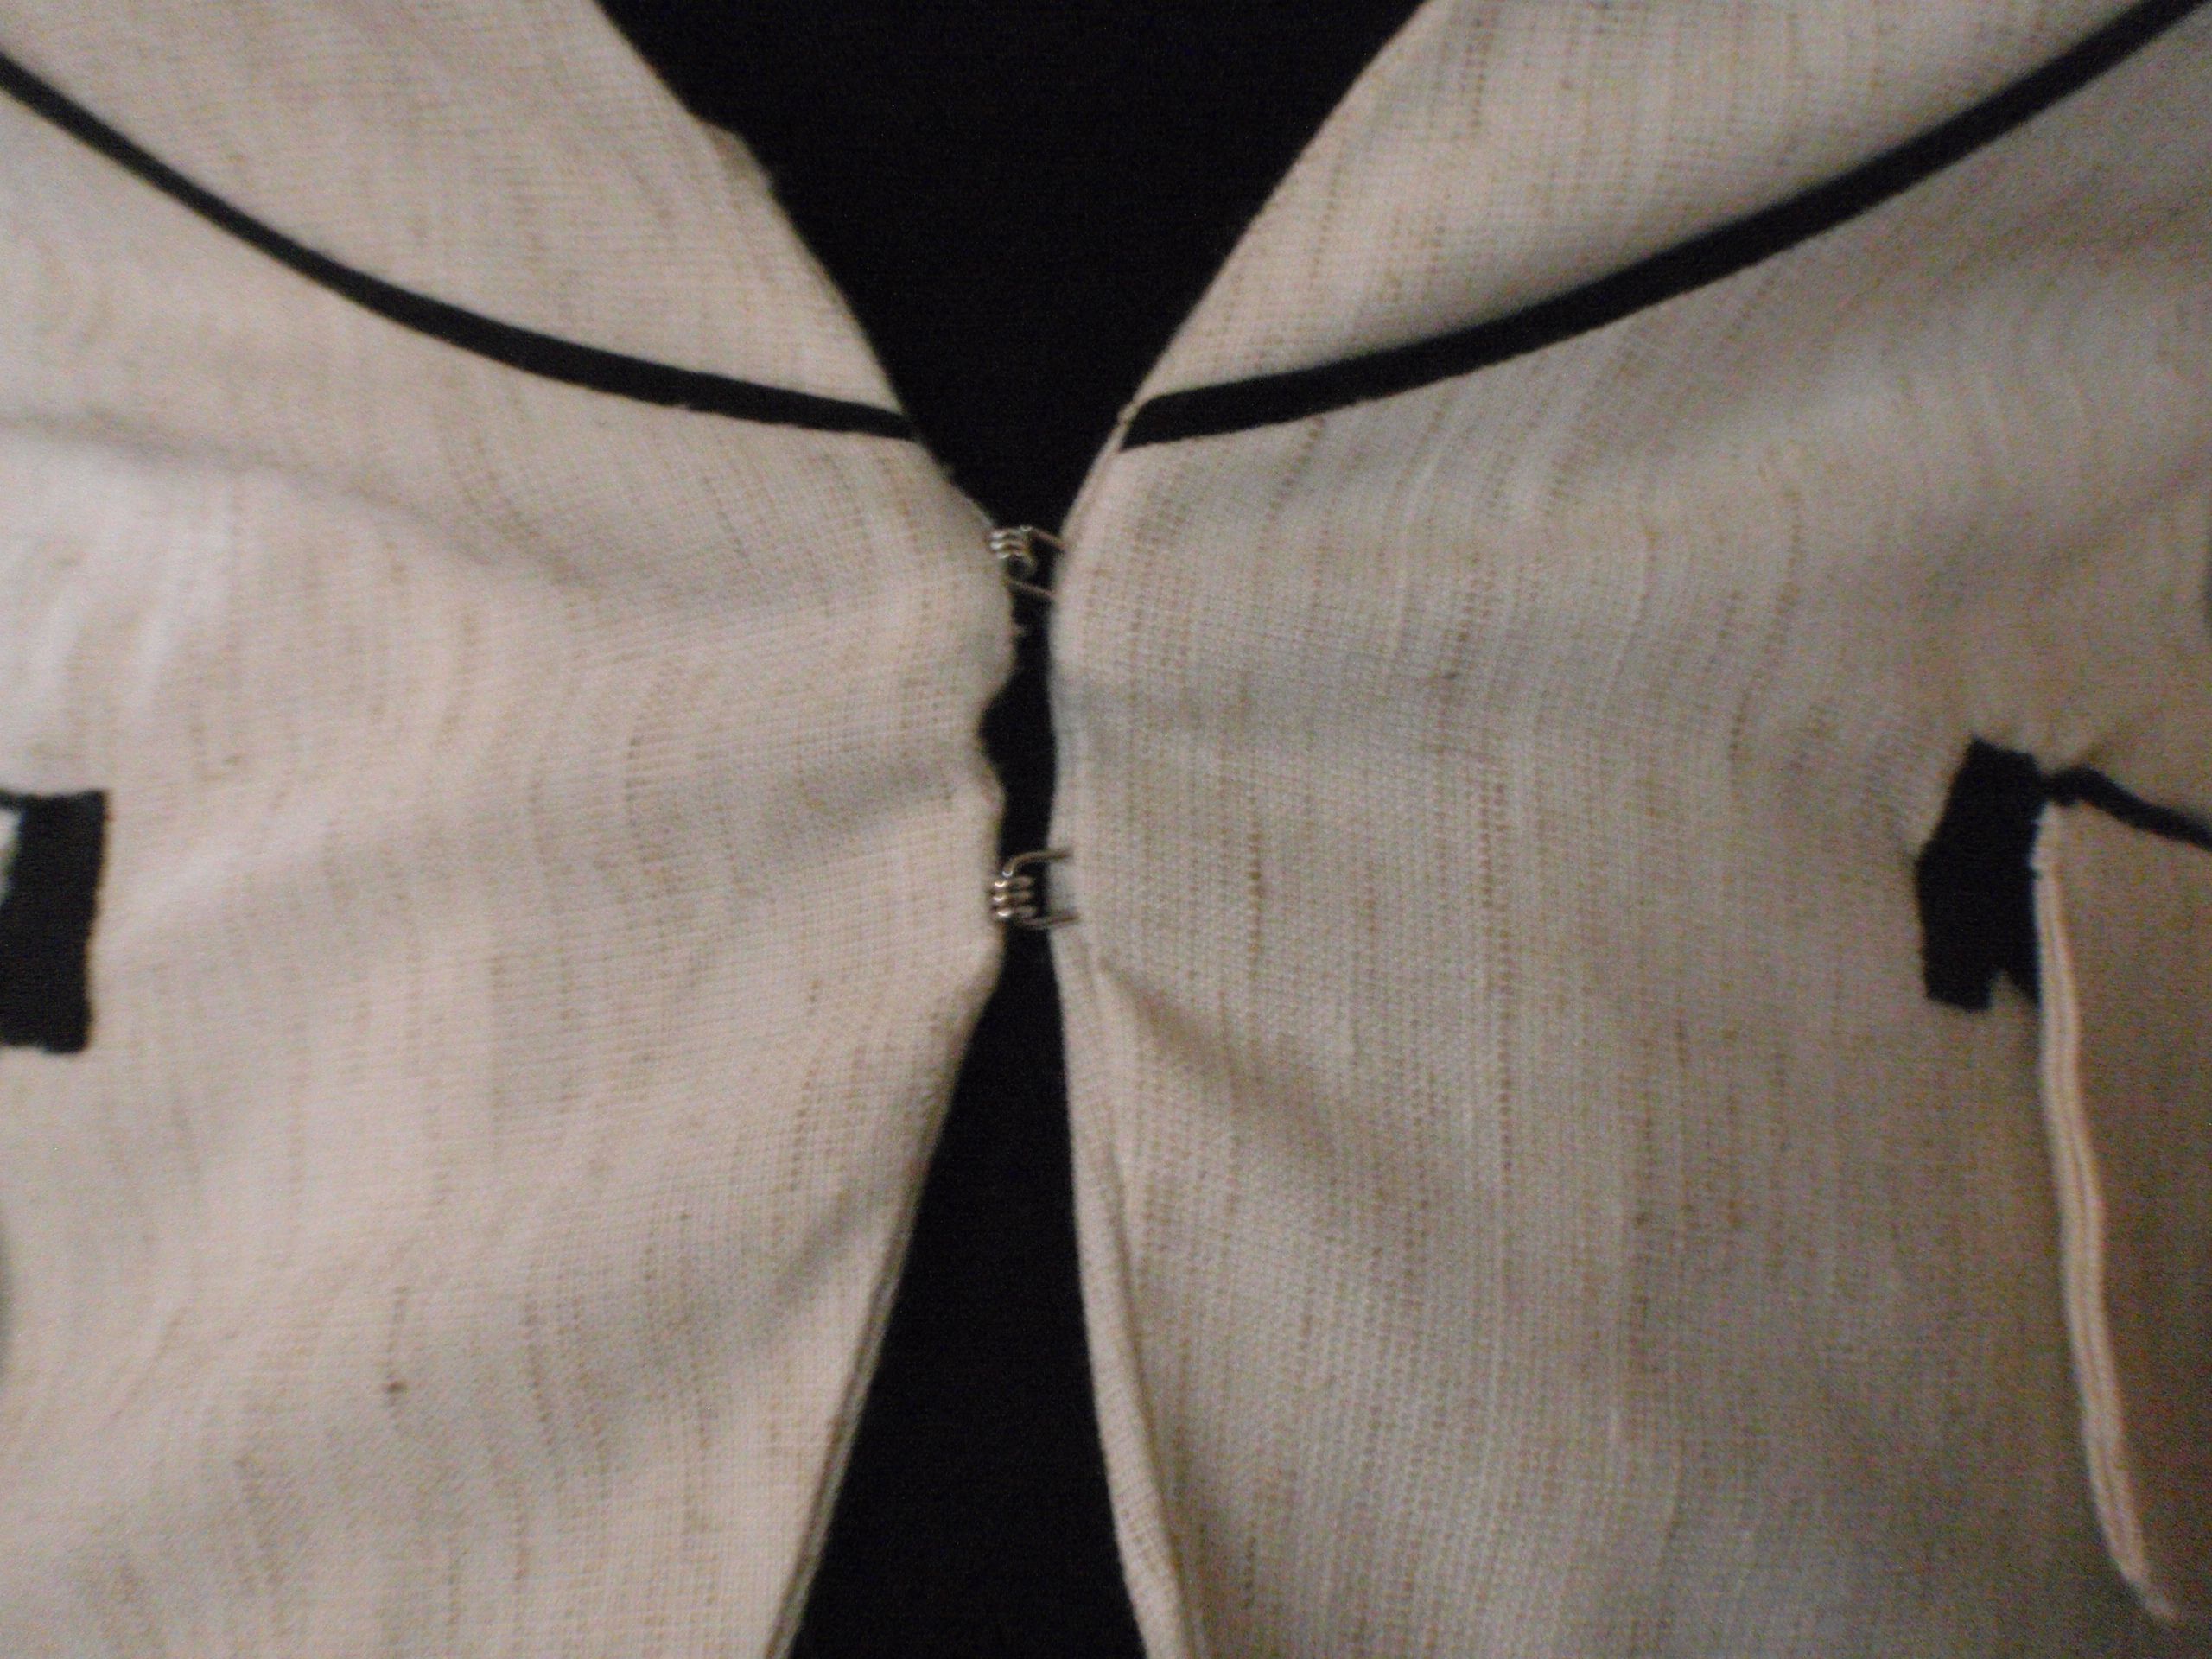
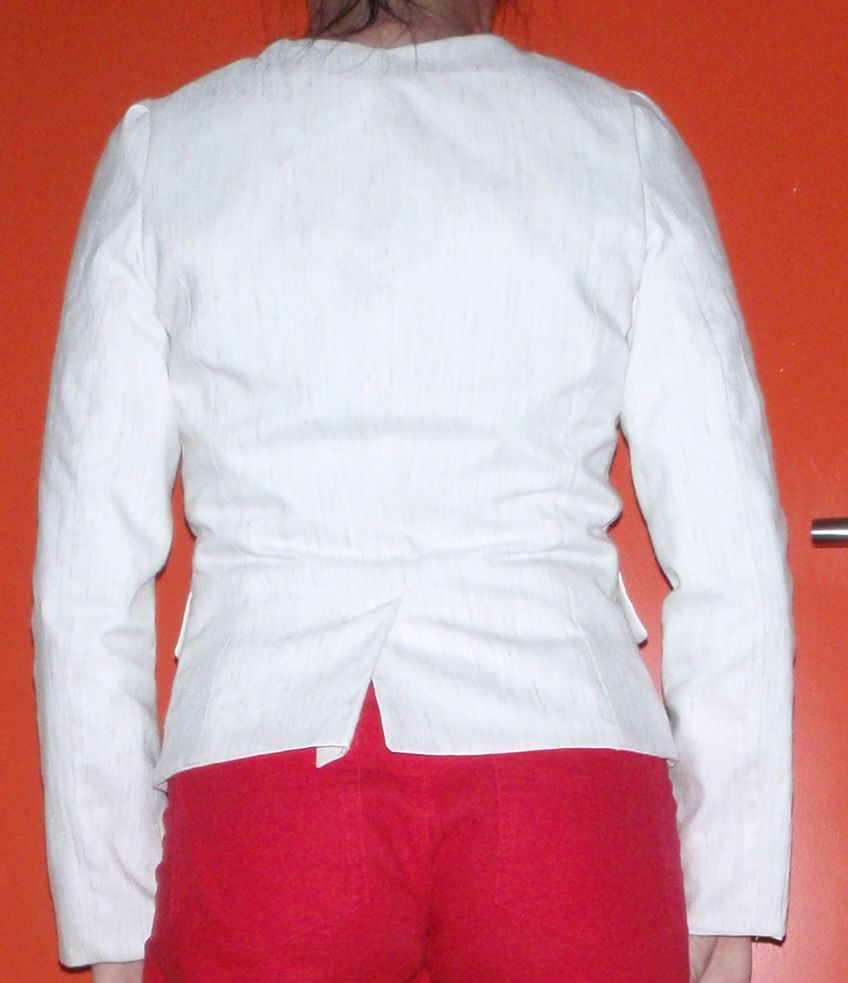
I did exactly that, not perfectly in time (he got back yesterday morning and I stitched the last stitch 1.5 hours ago), but it is finished now. I got the pattern from the Dutch magazine Knipmode. I heavily modified the original pattern because it seemed that they had anticipated on me having a 3 times as large bust as I do. However, the lines have turned out approximately as they had in their description. Although I did choose a hook&eye closure in the front, instead of a button.

So, here it is, front, back, lining and some details: pocket (functional!), neckline stitching and closure:


That is it, my finished jacket. I still have some of the shell fabric left, so expect a skirt soon(-ish, or well possibly at some point, in the future), which will make it part of a fully fledged suit (like outfit).

But for now, it will occupy a place in my closet to function as another garment for my top half. This will increase the me-made jackets by 100% (I now have 2), that can be worn to school. I have also made some progress on the knitting, and will continue with that now.

Finalemente

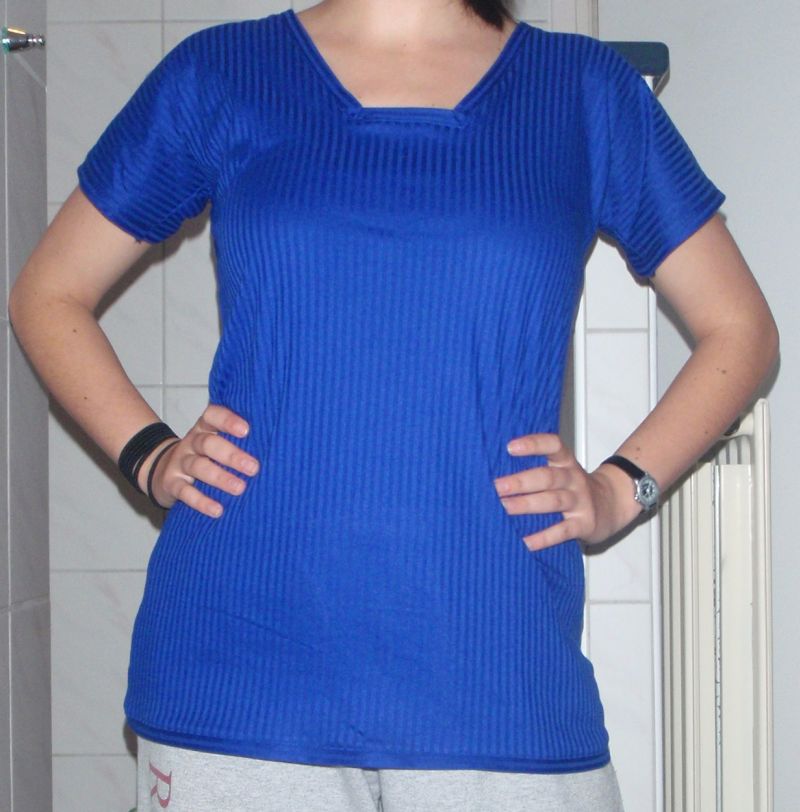
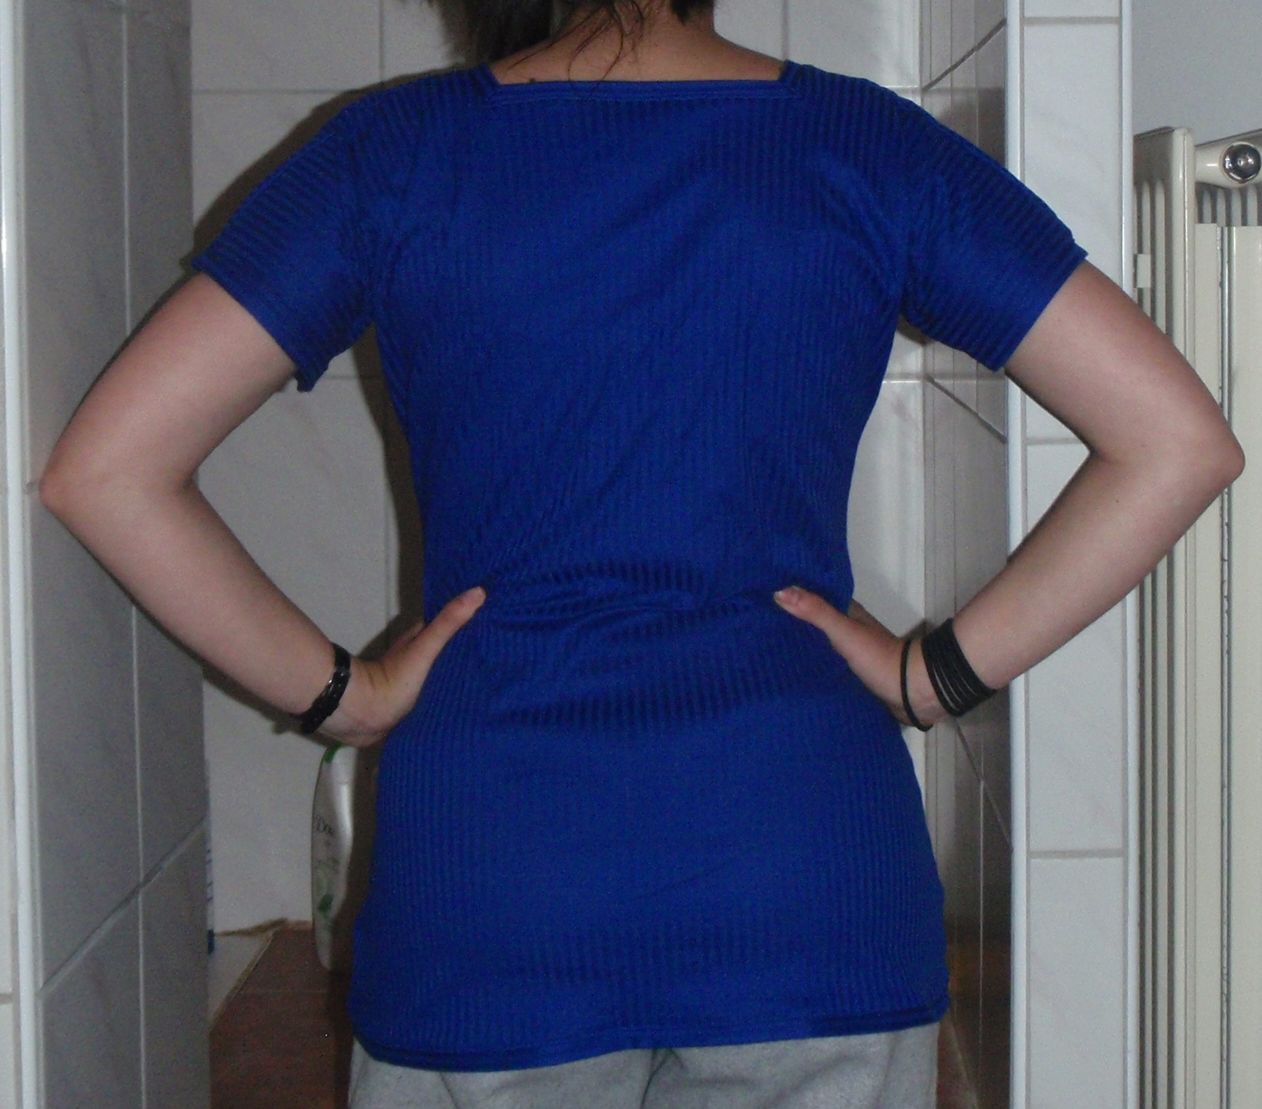
I have.. finally finished the shirt I started making ages ago. It’s another blue one, made from the same fabric as this one, but now with a nice neck and hems. It of course took forever to finish it. I’ve had it serged and ready for final touches (attaching the binding strips to each other at the corners and an extra row of stitches to keep the serged ends under) for at least a month now. However, I never did find the time or willpower needed to actually finish it.

Tonight I finally did, this might be because I had started another project last week (some shorts) that were also in the last stages of finishing, but I’ll tell you about that tomorrow.

So now the blue shirt is up and ready to be worn! As of right now I’m still very happy with it, although I haven’t road tested it yet, due to it only being done a couple of hours ago.
This is the shirt, the front has a sort of U(?) shaped neckline, and the back a square one:


It should be nice for summer and I’m planning on wearing it frequently, just like I do the other blue top. I also hope to do some more sewing as I’ve got break from school now. Finished it all up and although one result was disappointing (and has now thrown away my chances for a cum laude distinction; gah, I hate policy!), the others were all good and the year has been successful. Up to a new year with new challenges, changes and people!

Happy crafting!